


January 23, 2024
Calliope Girl 49
Tuesday
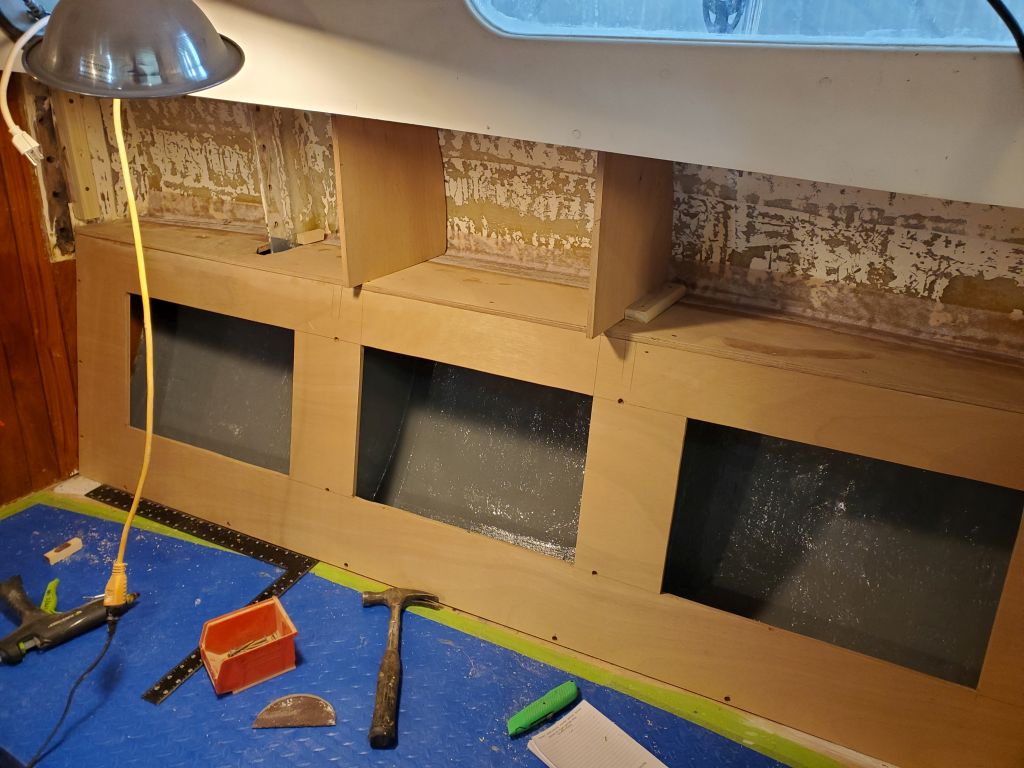
After a quick and light sanding of the newest tabbing securing the settee shelf, I was ready to begin layout and construction for the upper cabinets.
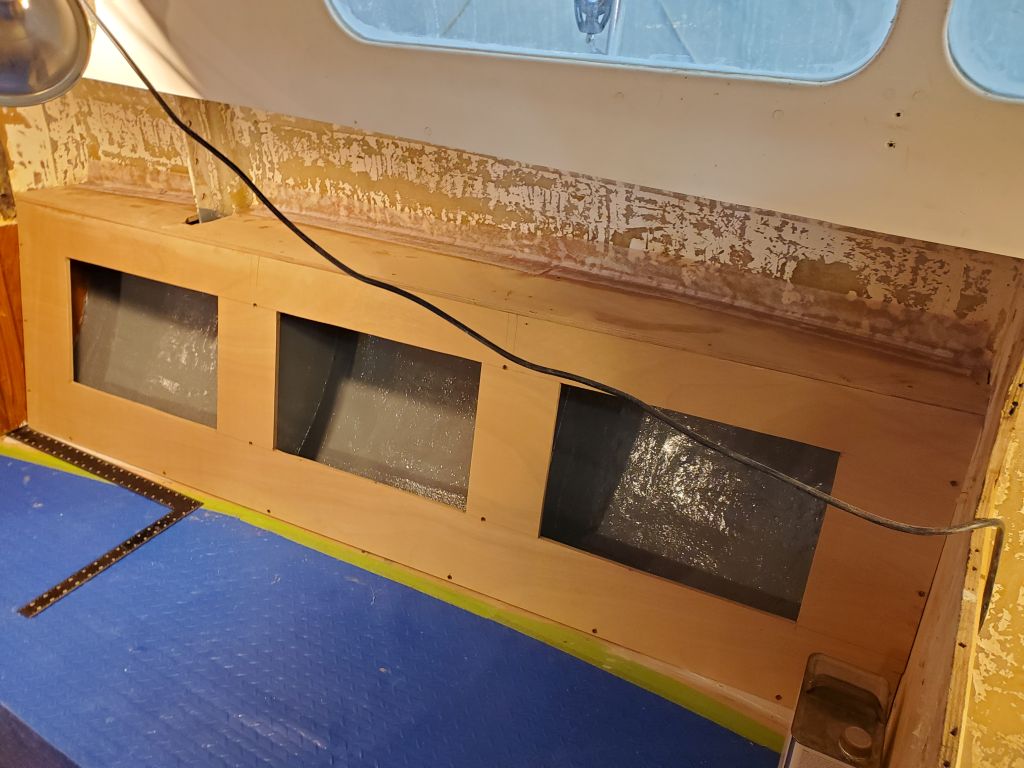
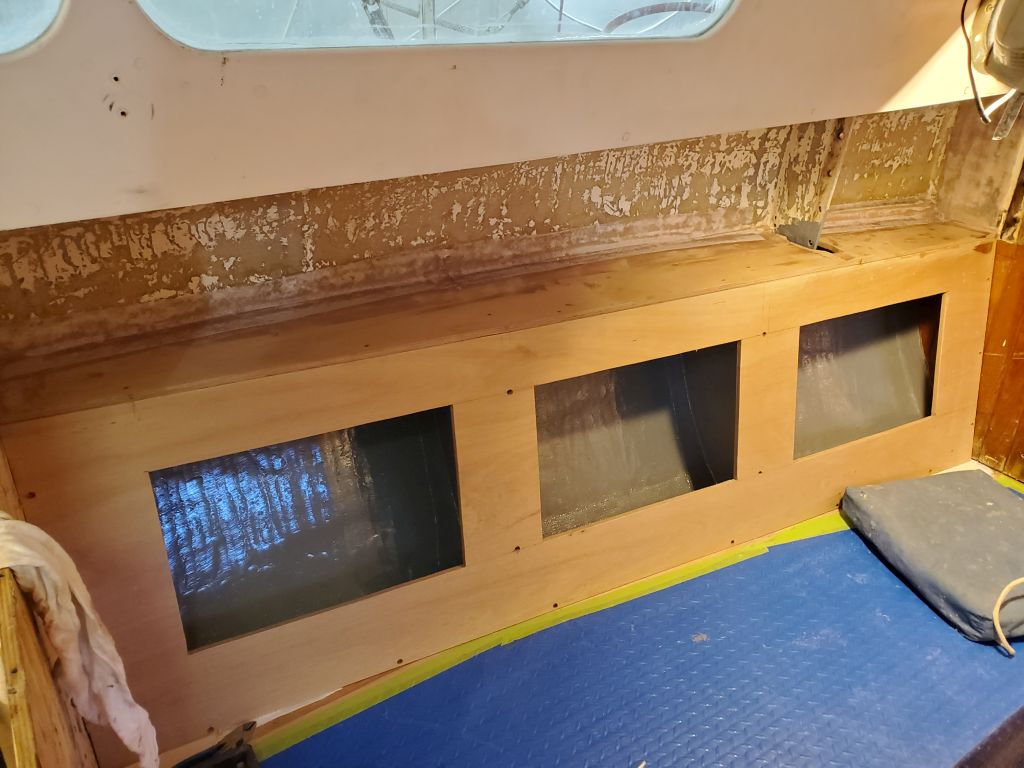

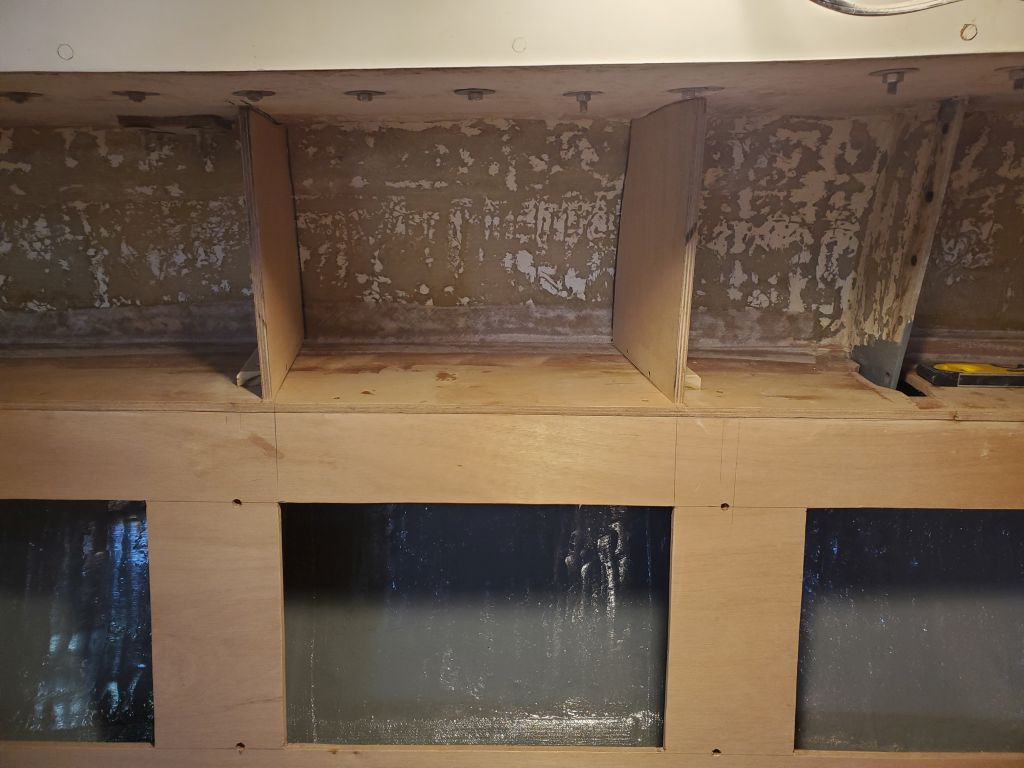
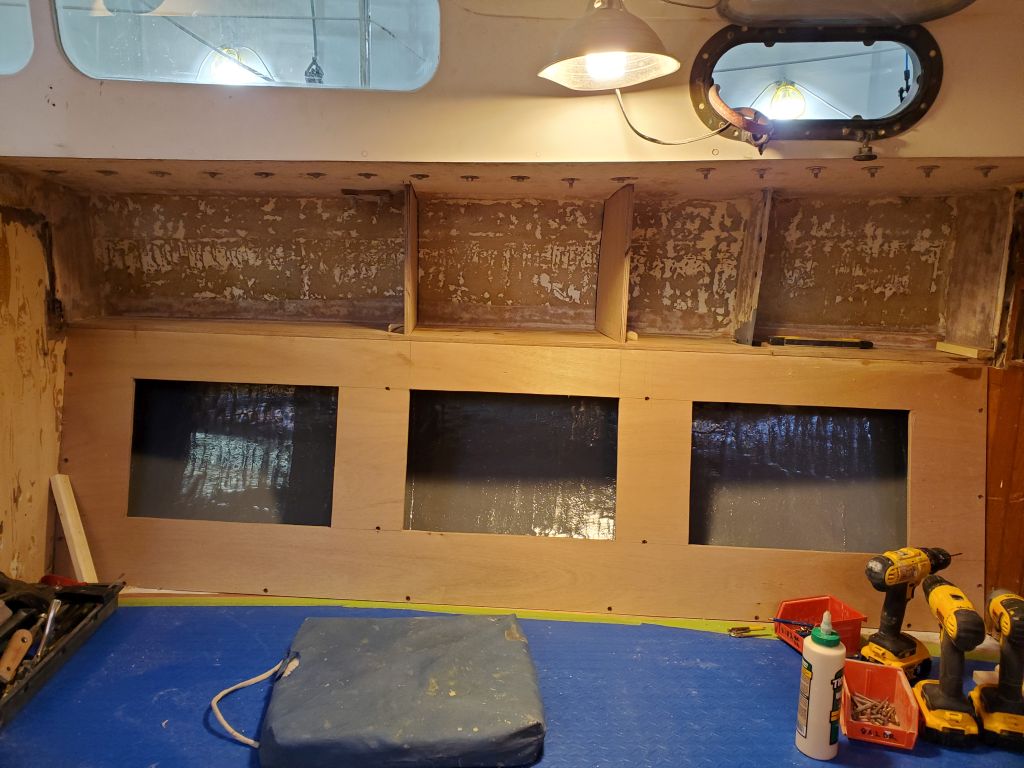
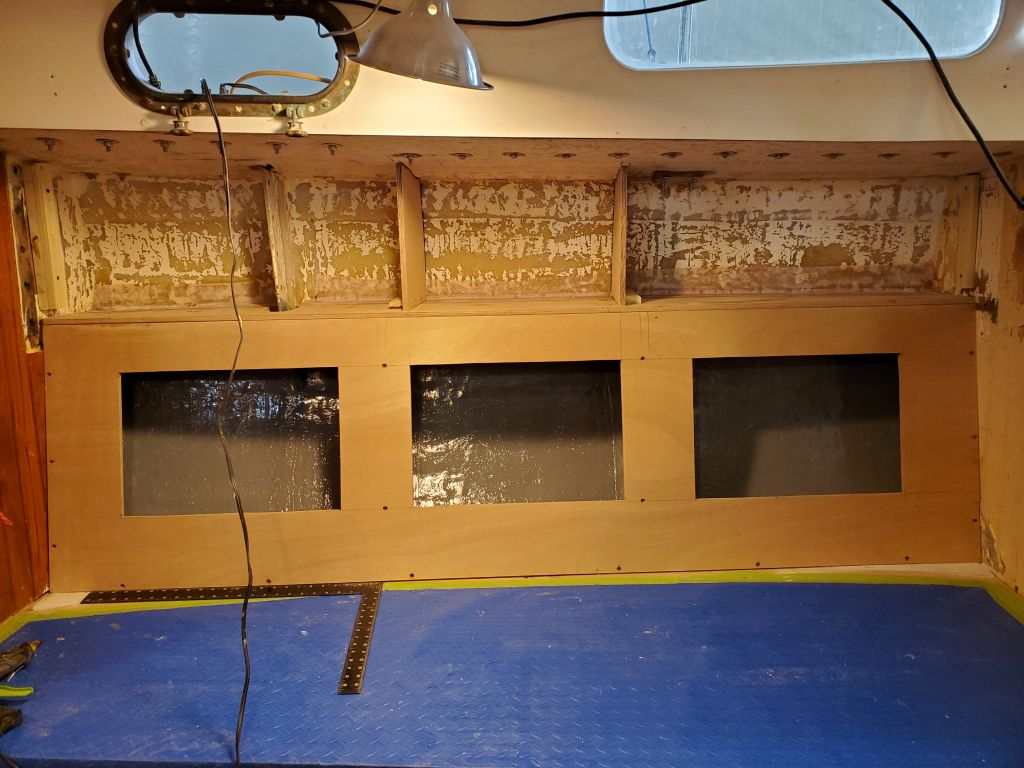
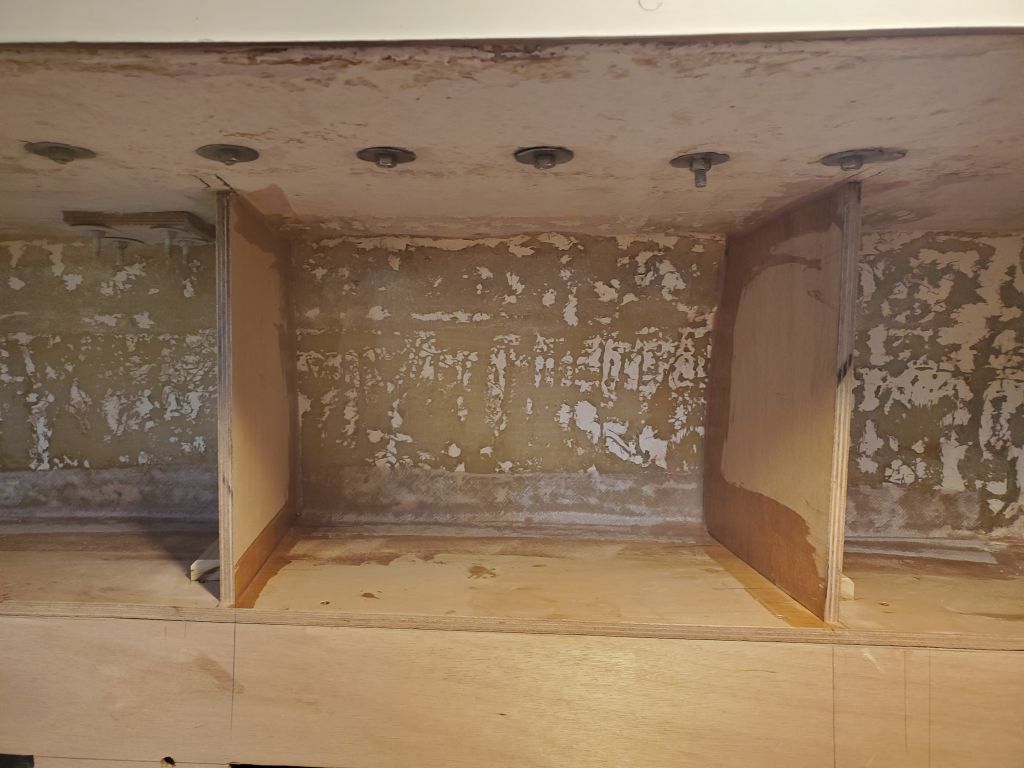
With the basic idea of two enclosed cabinets on each side, bookending an open shelf in the center, I studied the specifics of the spaces and ultimately decided that the center, open section should align with the edges of the center lower locker opening, which would make the two enclosed lockers a bit longer (but essentially symmetrical with each other). The reasons this worked and ruled the day were several. If I’d divided the space equally into thirds, the upper locker openings on the ends would he hard-pressed to align in a pleasing way with the openings below. But by keeping the open section (which probably didn’t need to be as large anyway) just over the center lower opening, this meant the end lockers’ doors could be centered directly over their lower counterparts, which would look the best, and frankly anything else would have seemed odd.
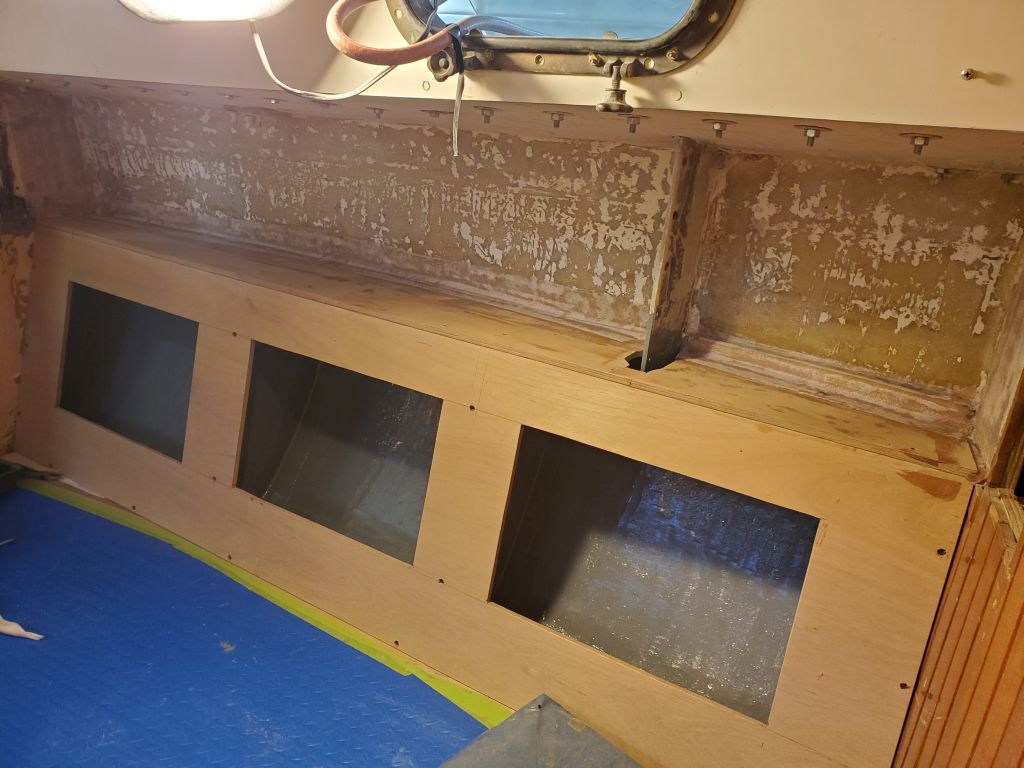
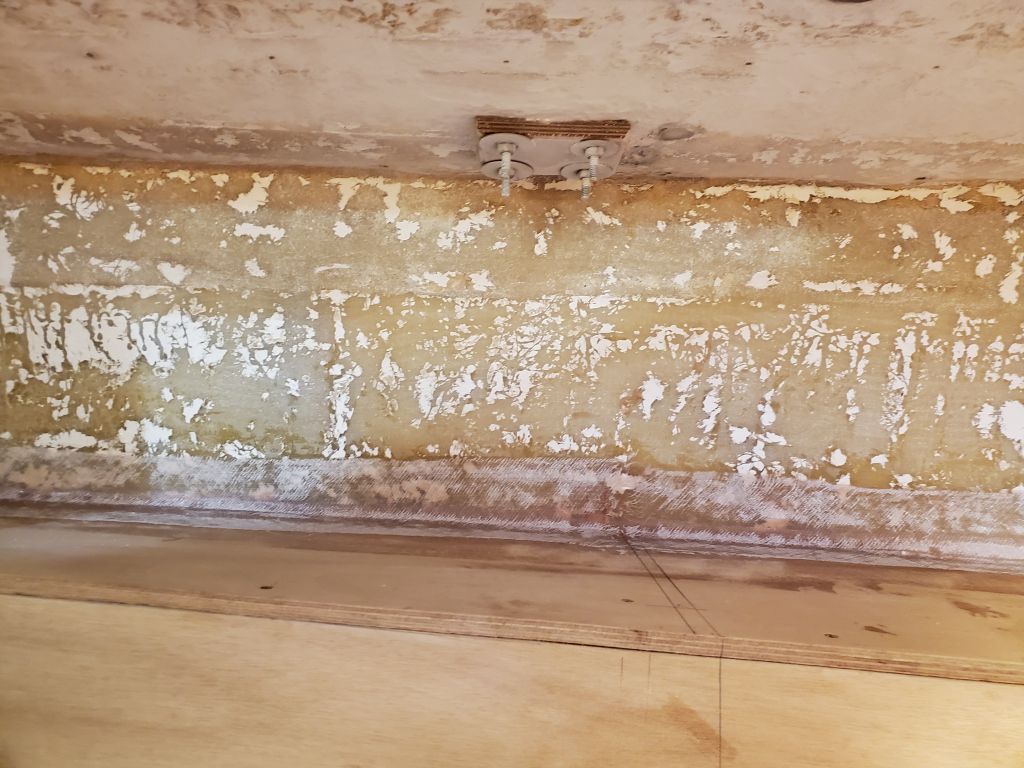
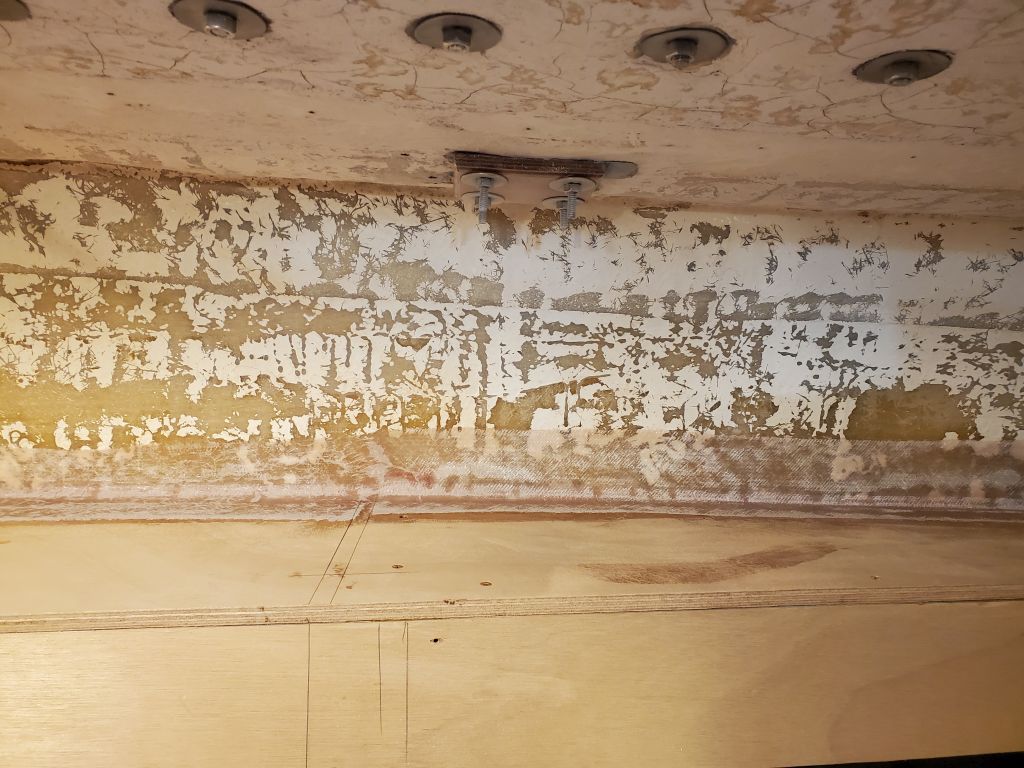
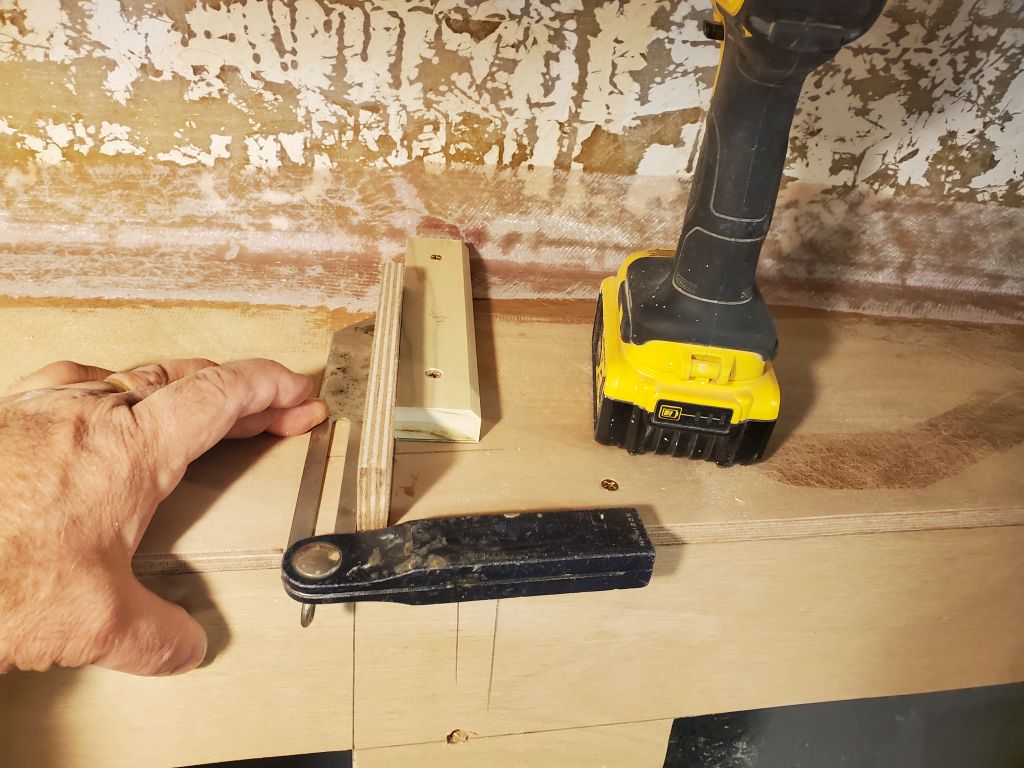
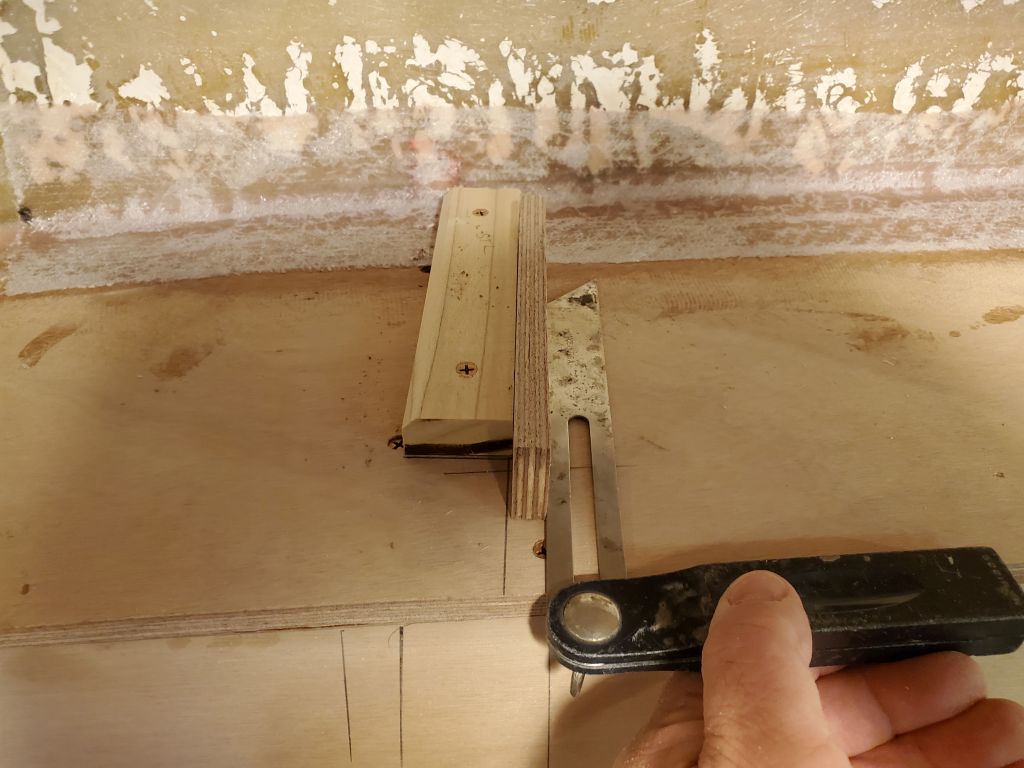
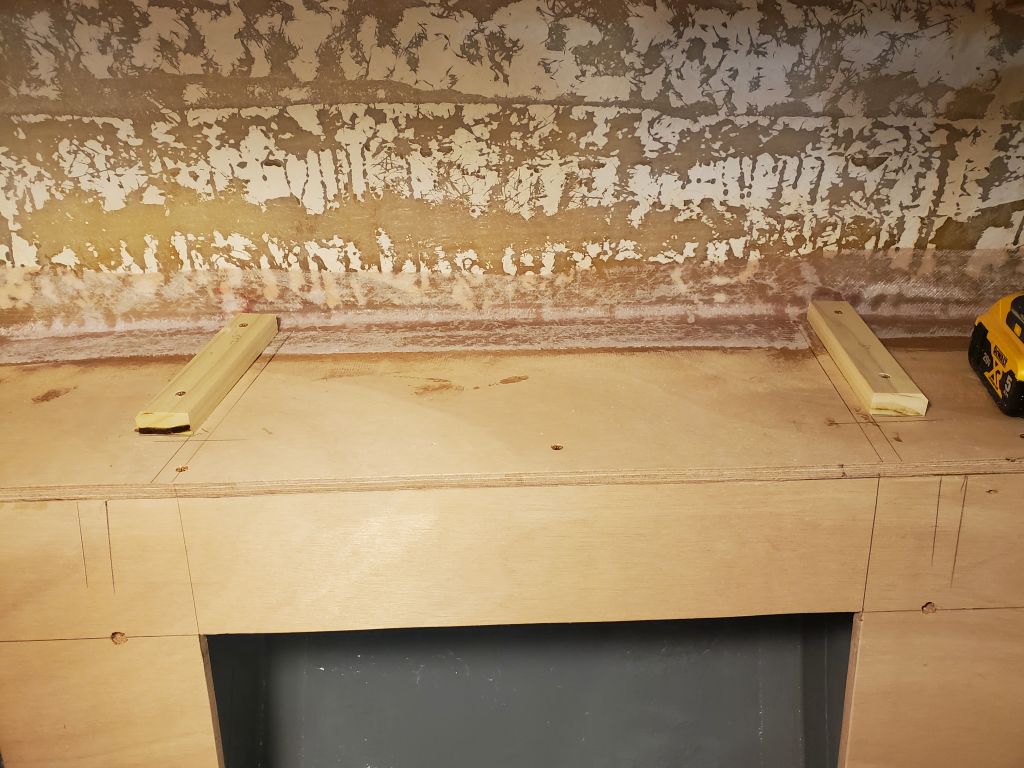
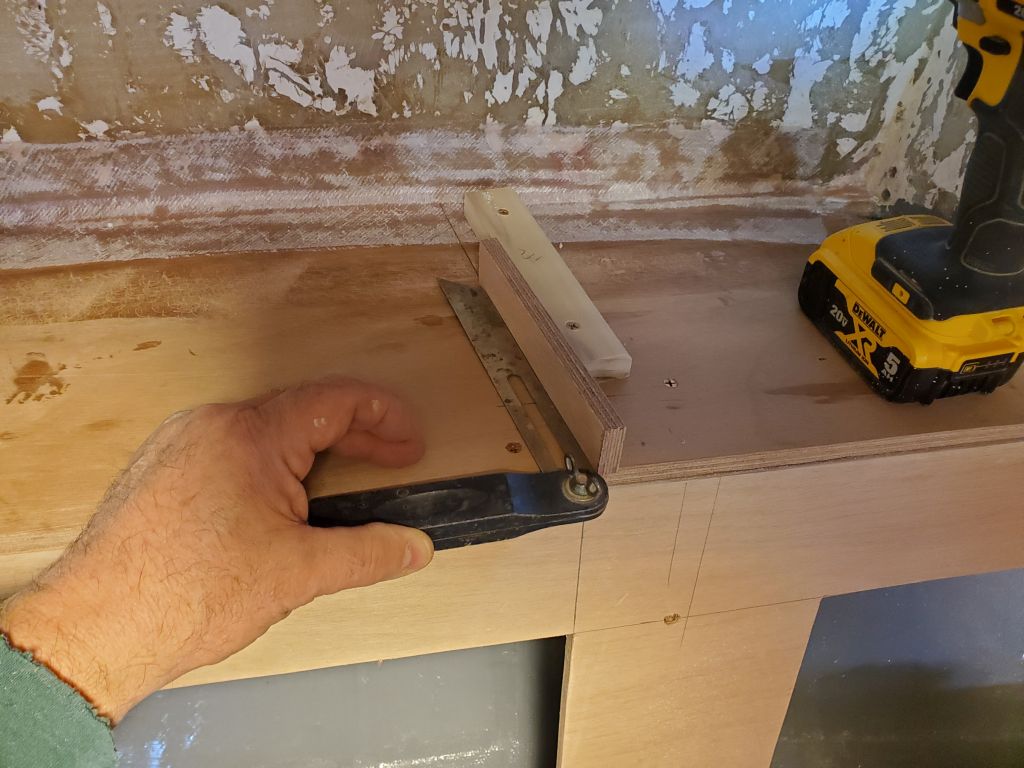
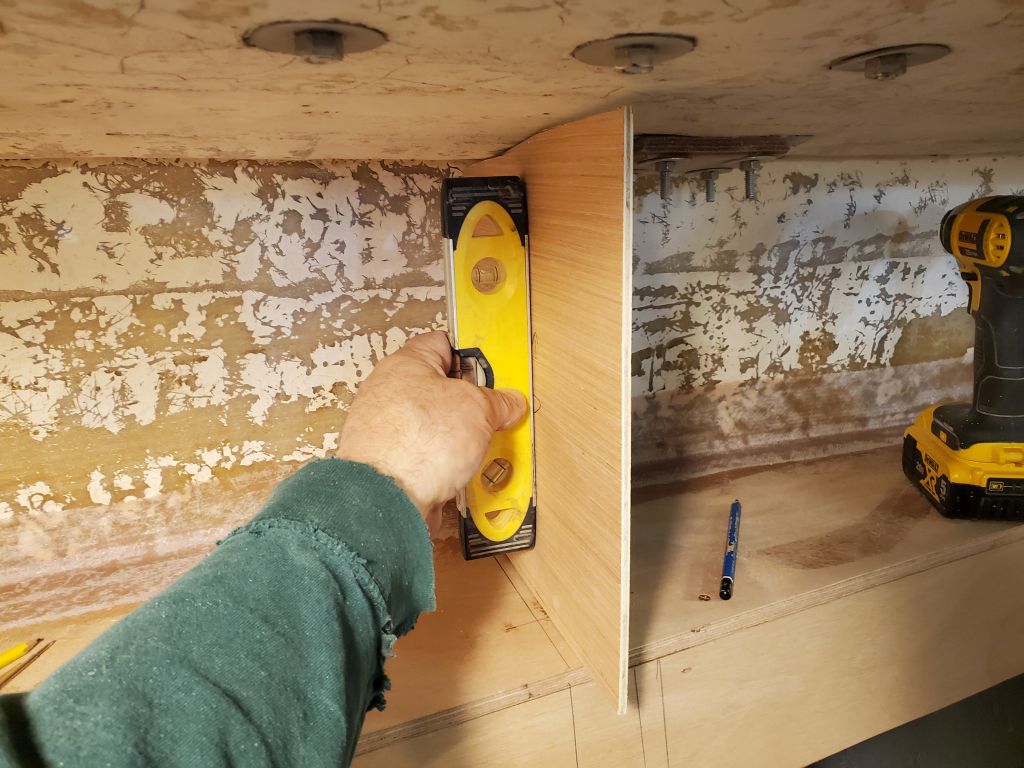
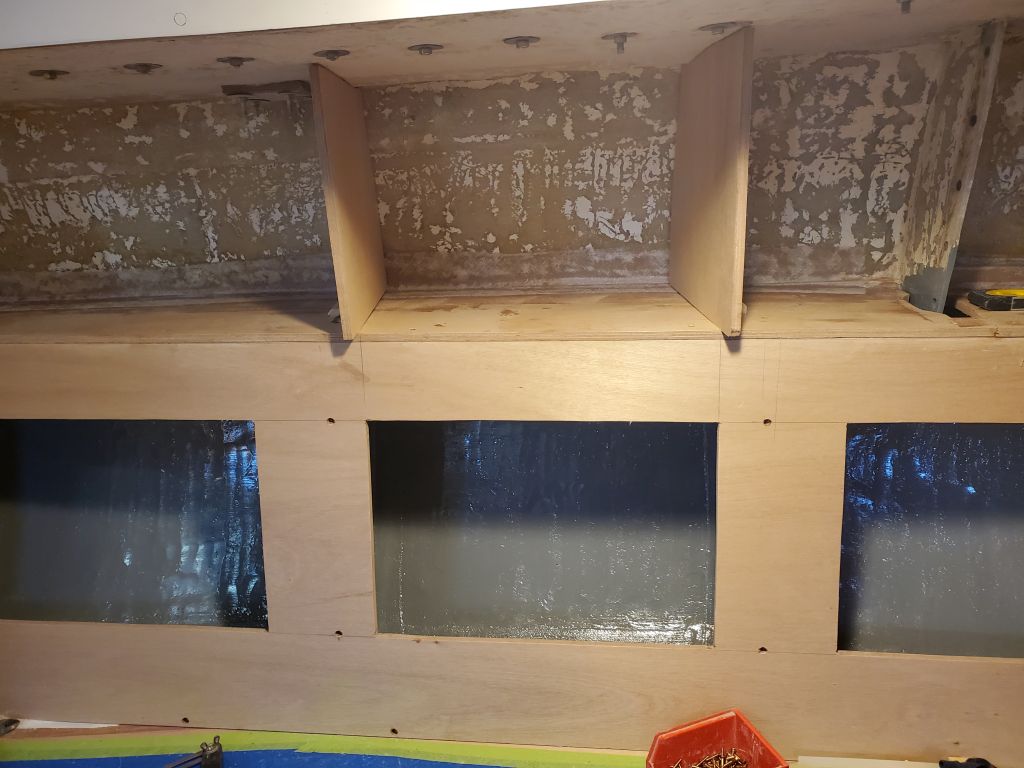
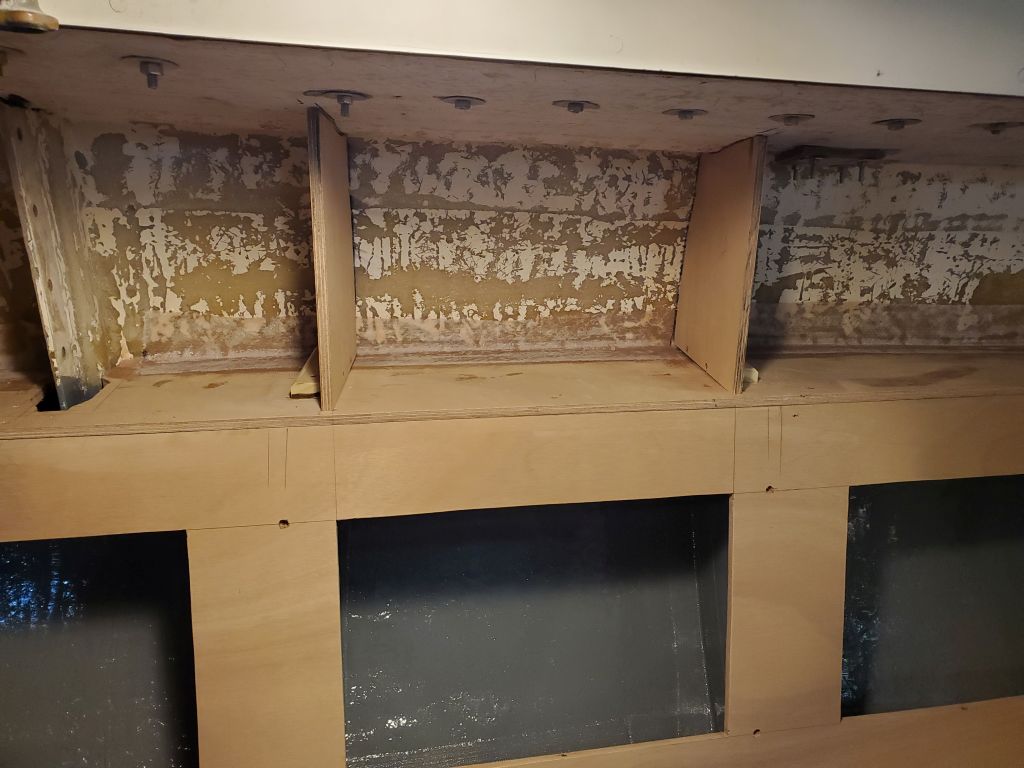
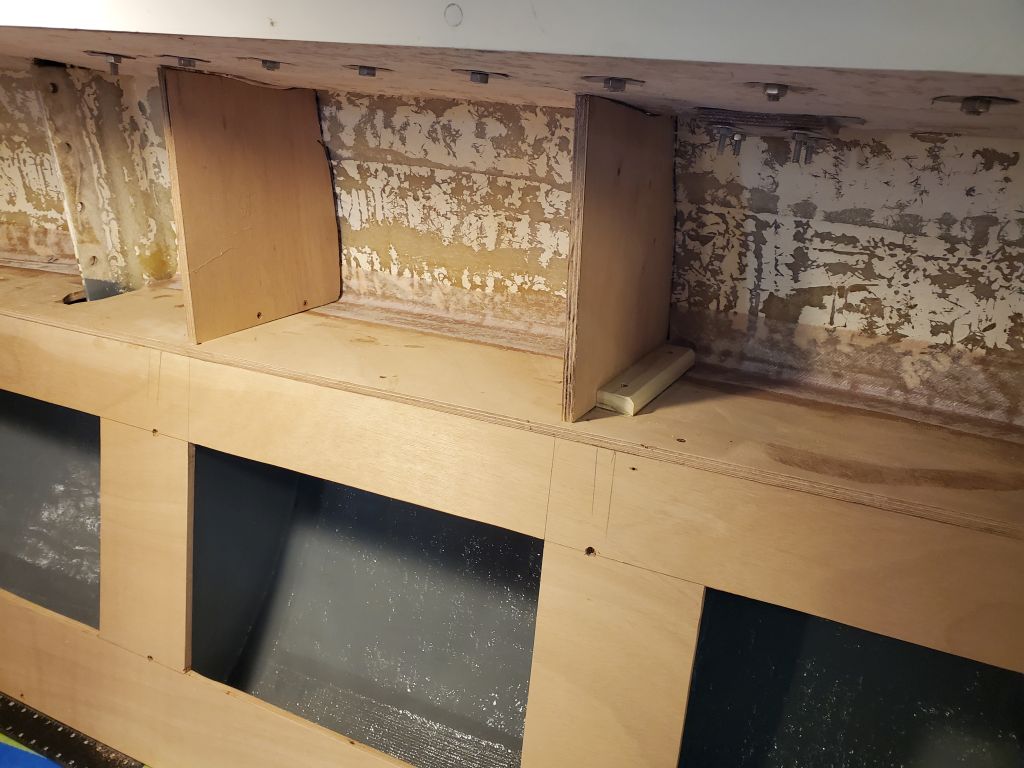
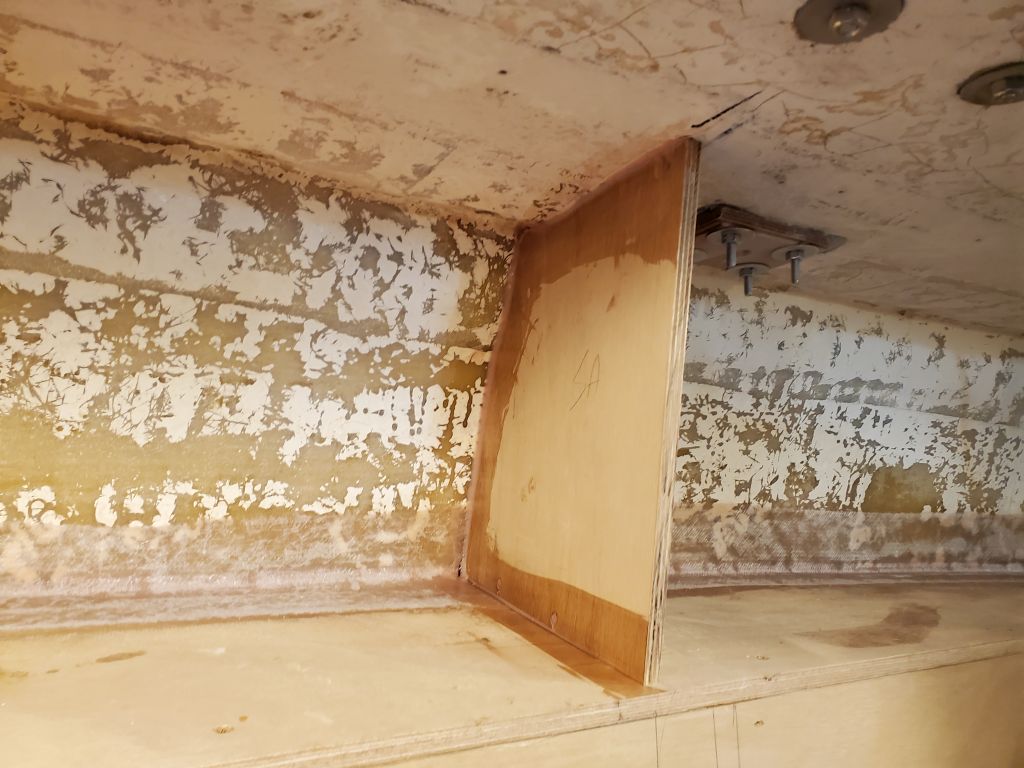
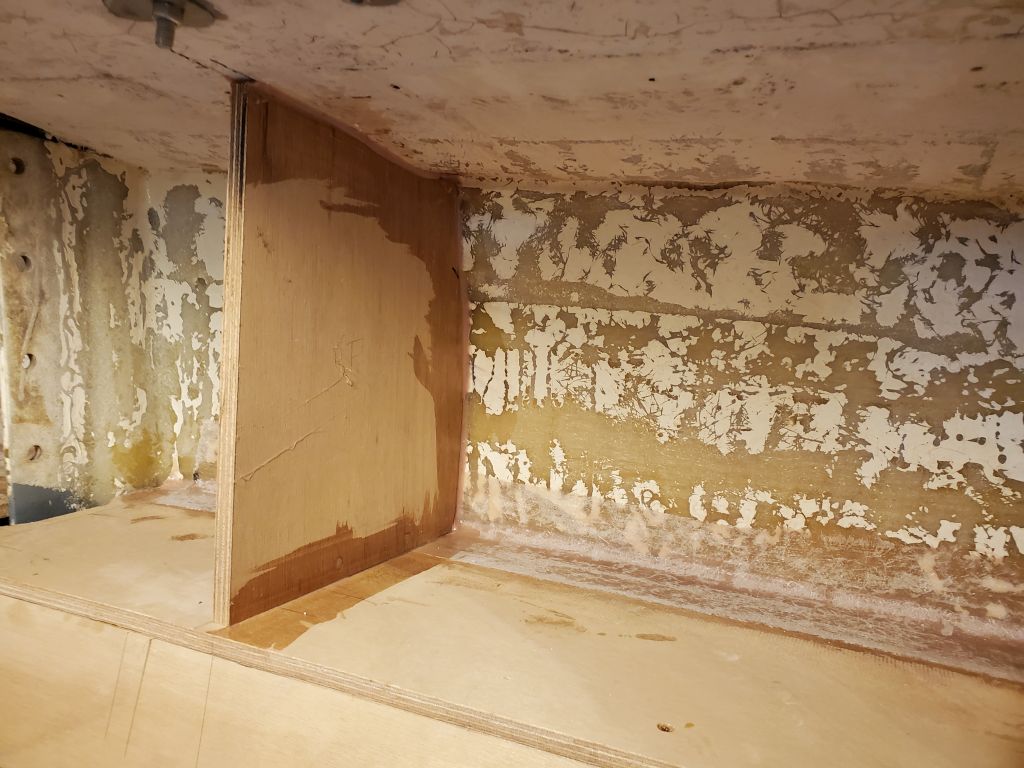
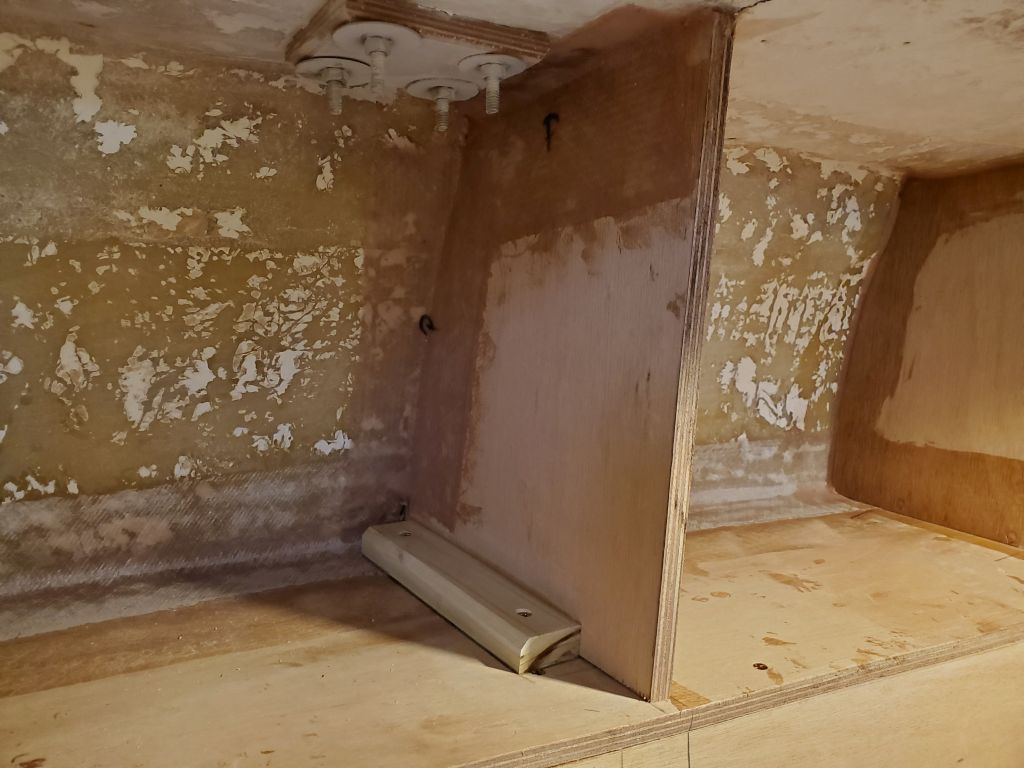
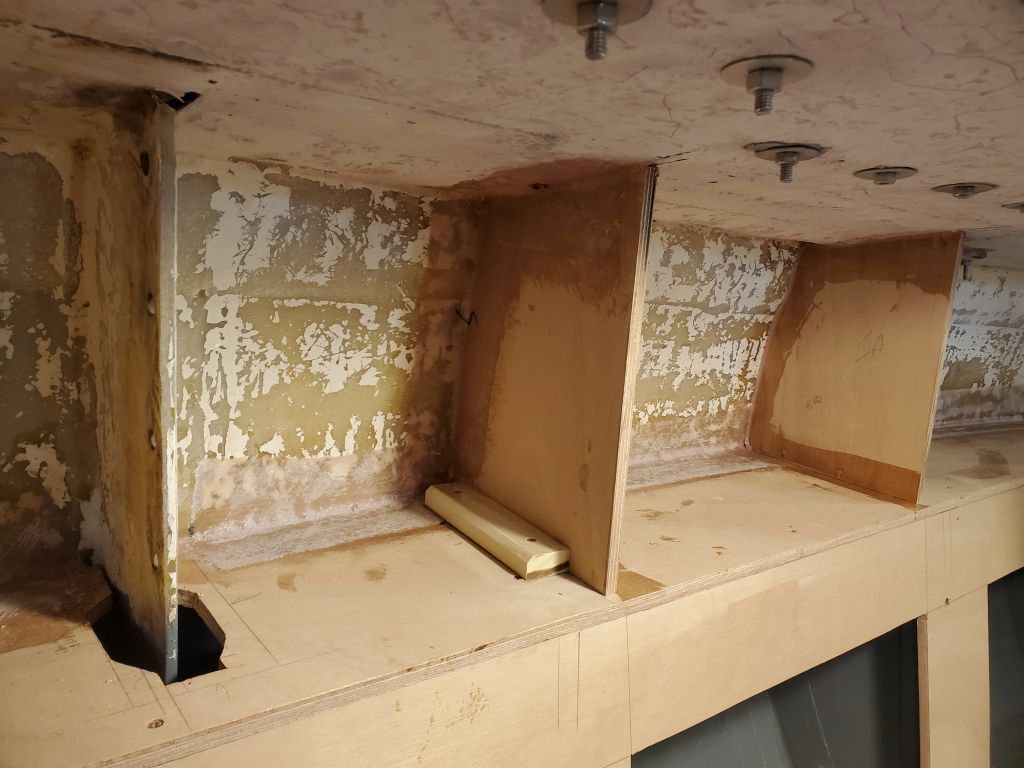
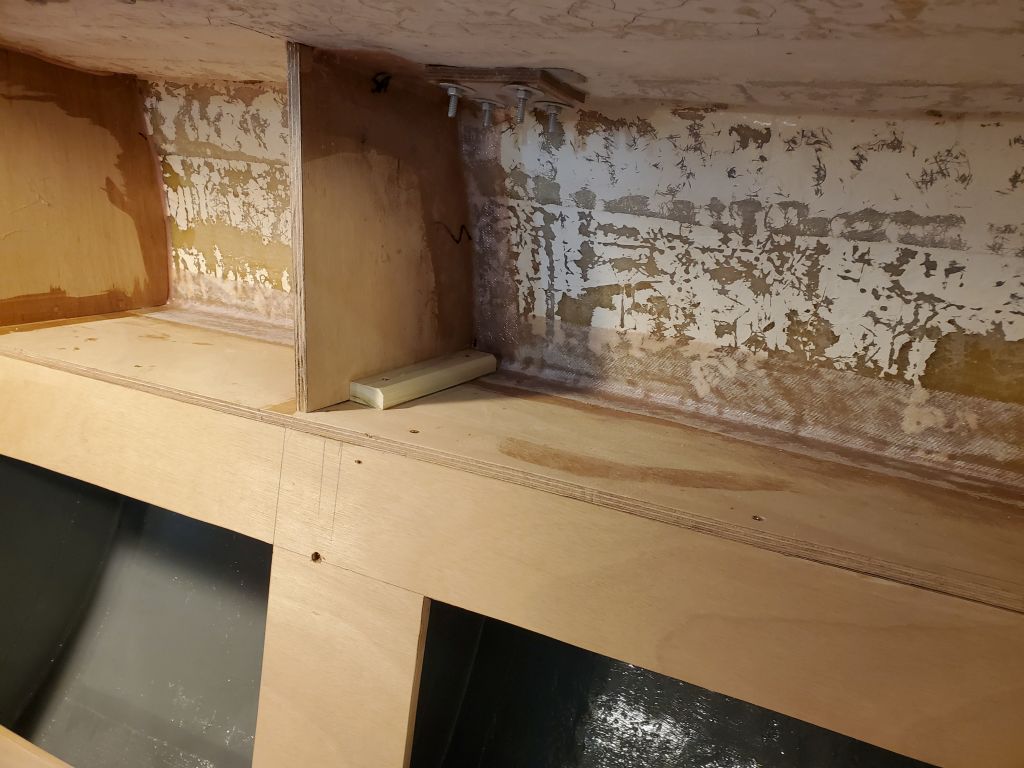
This placement also worked well to avoid–and ultimately hide/enclose–the backing plate and hardware securing one of the stanchions above, with the divider ending up clear of these by an inch or so. I struck layout lines based off the vertical edges of the locker opening below, and, with a bevel gauge set to the angle between the fore and aft bulkheads and the settee backrest, drew marks on the shelf to indicate the position of the small dividers and supporting cleats.

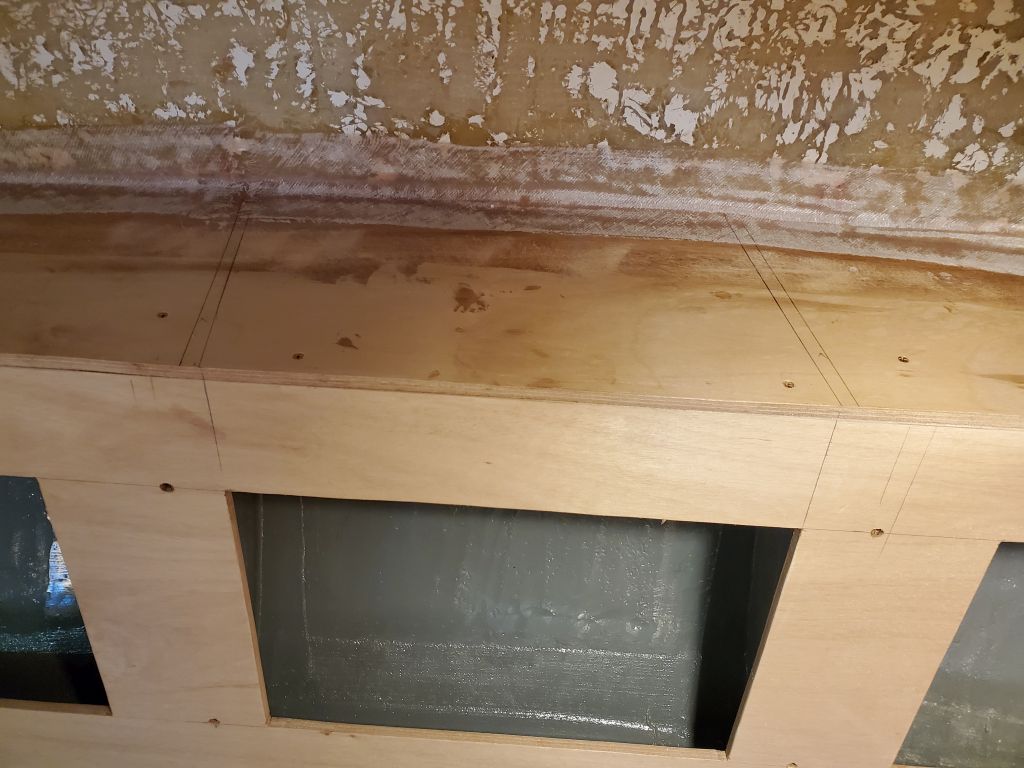
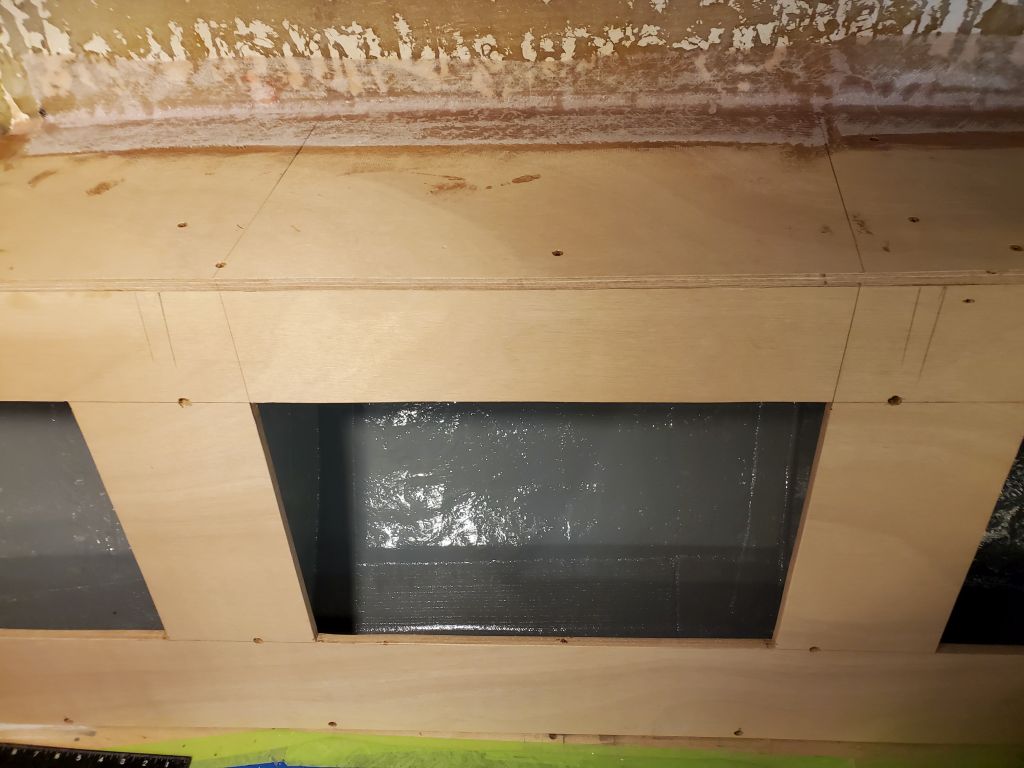
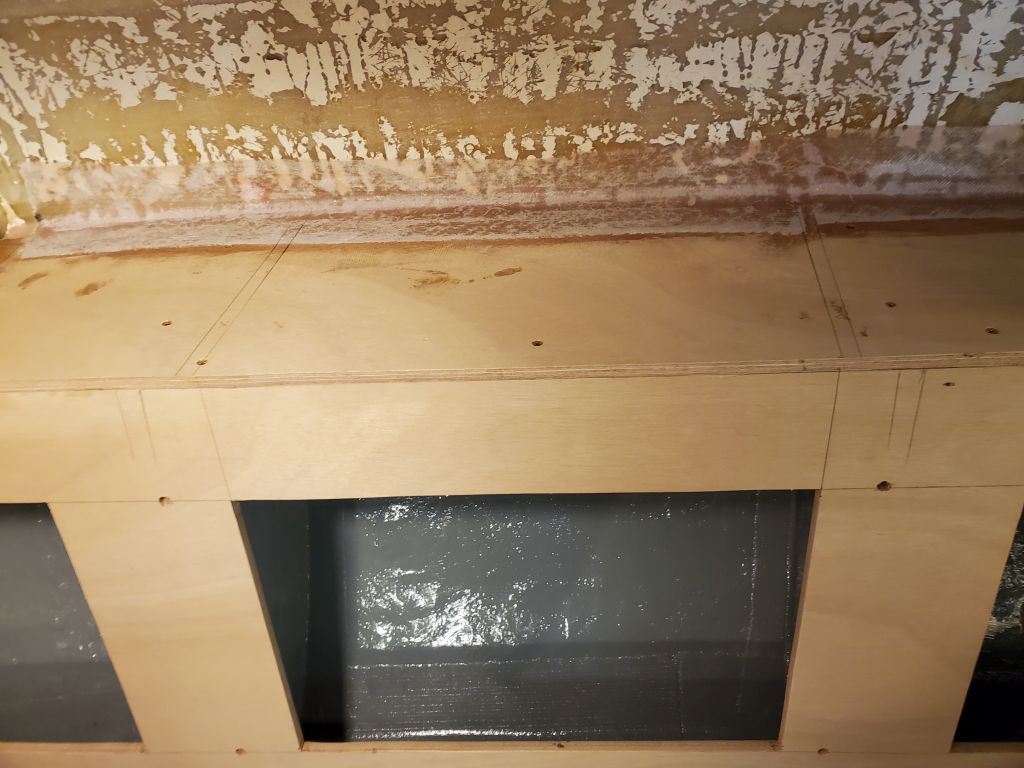
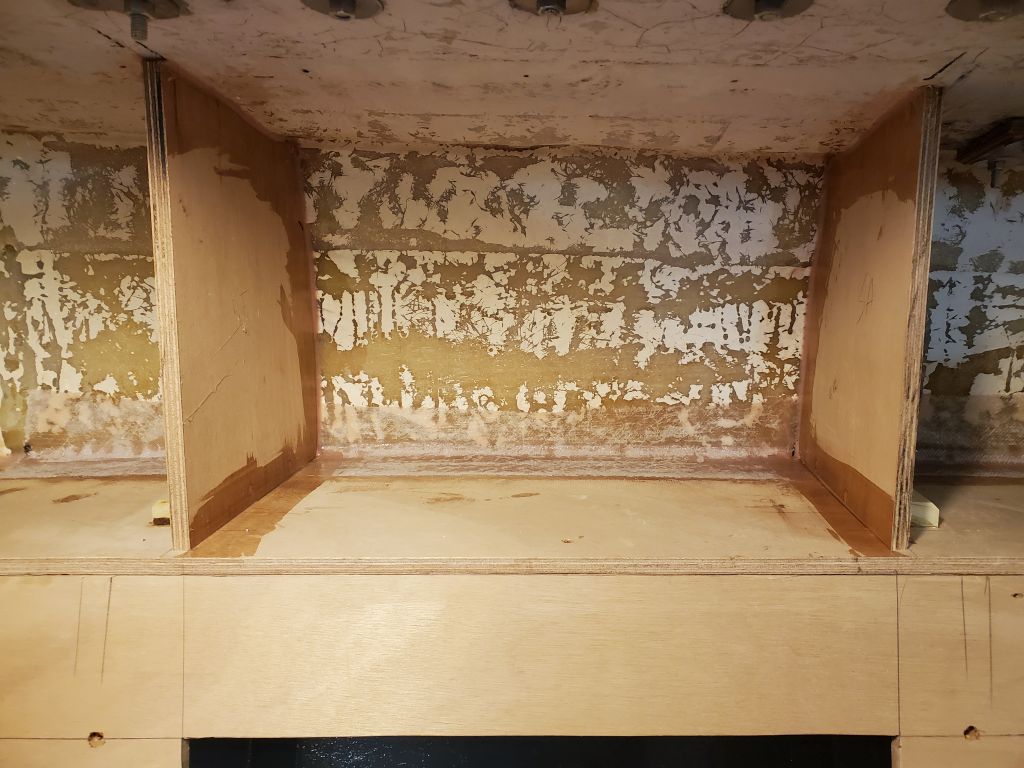
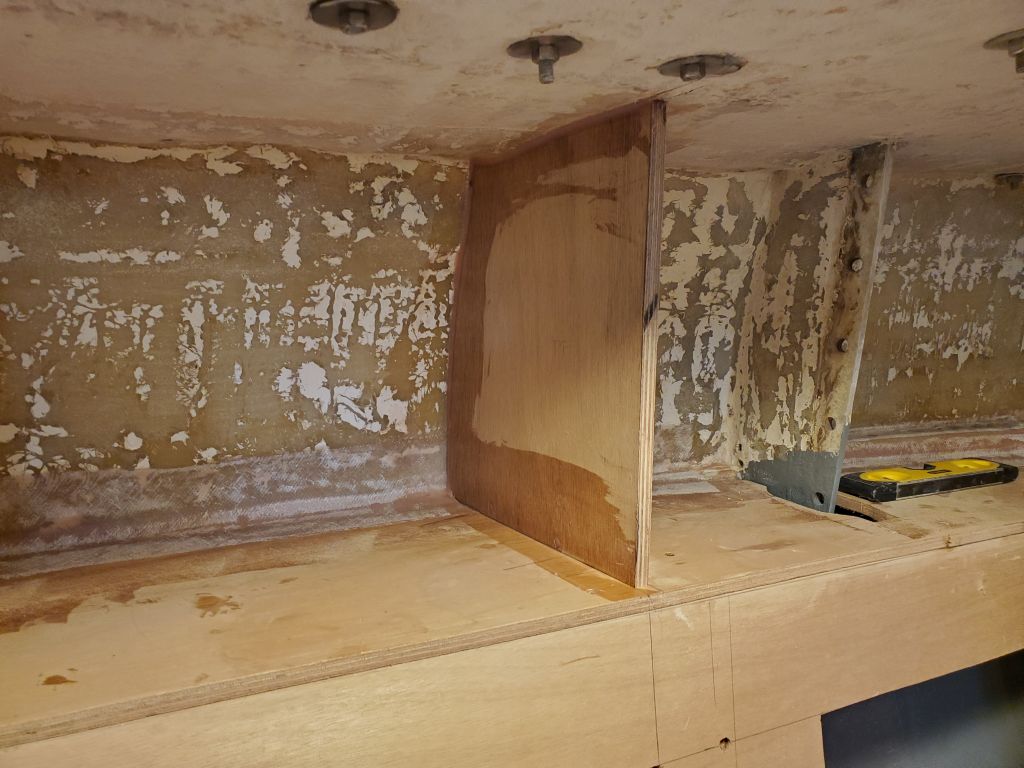
Next, I cut and dry-installed cleats at each of the four layout locations, offsetting the cleats by the thickness of the plywood (so the edge of the divider would be in line with the locker opening below) and ensuring each was aligned at the correct angle, i.e. ultimately square to the boat’s centerline. Then, with cheap plywood templates cut roughly to size, I went through the usual process of scribing/marking and cutting the templates to fit, aligning them plumb and installing hot glue blocks as needed to hold them so.
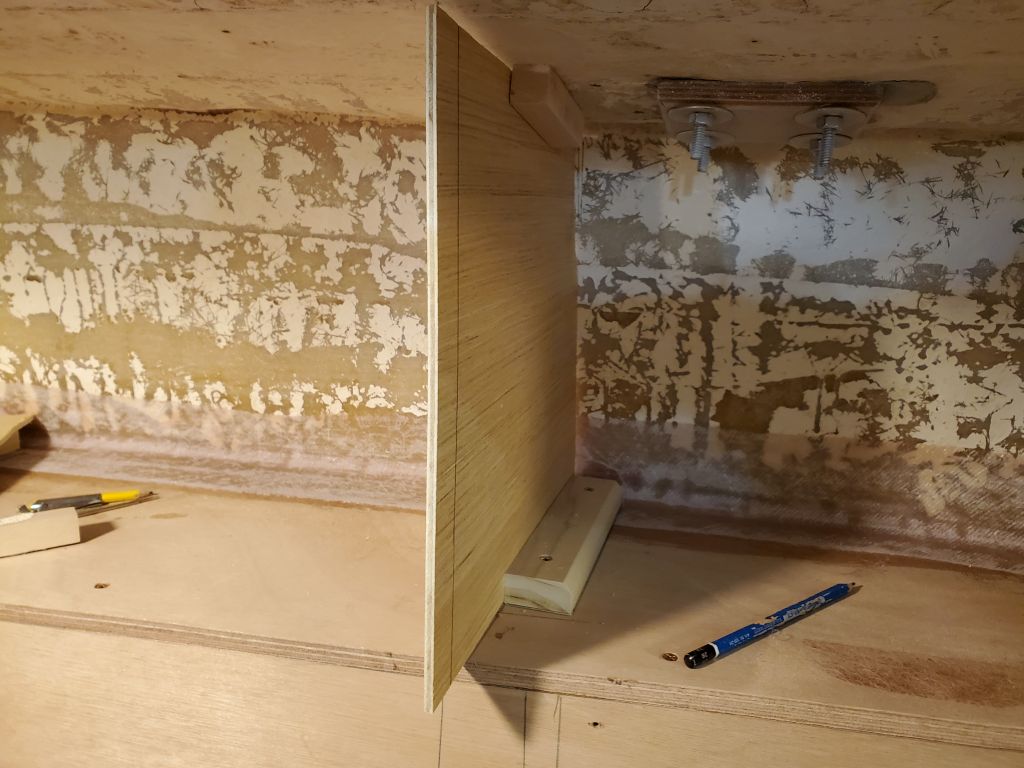

Next, I transferred the shapes to 12mm plywood and checked the fit, leaving the inboard edges wild for marking. I planned to run the faces of the end cabinets past the edge grain of the dividers at each end, so I marked a 12mm offset from the edge of the shelf, then a plumb line up from there.
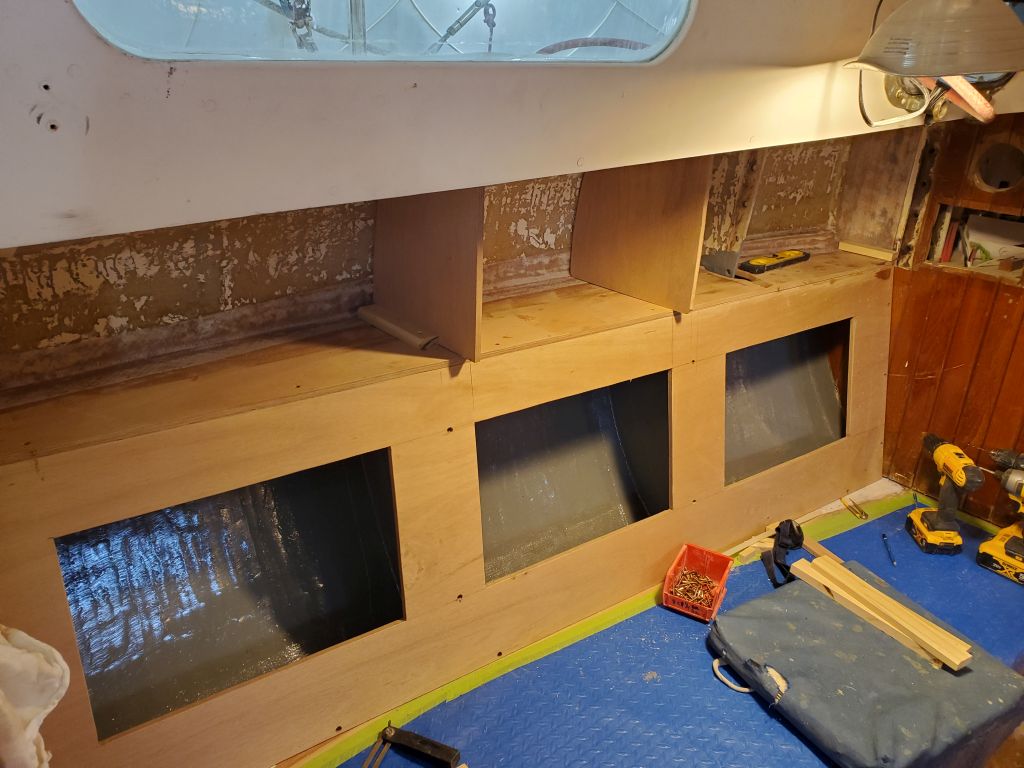
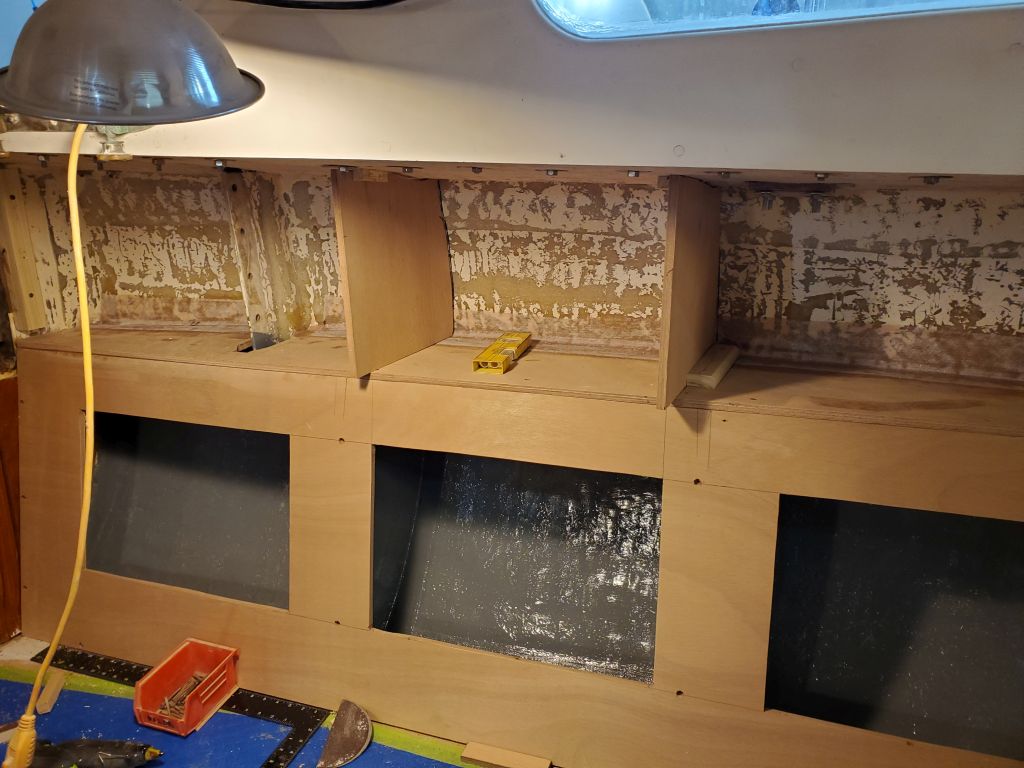
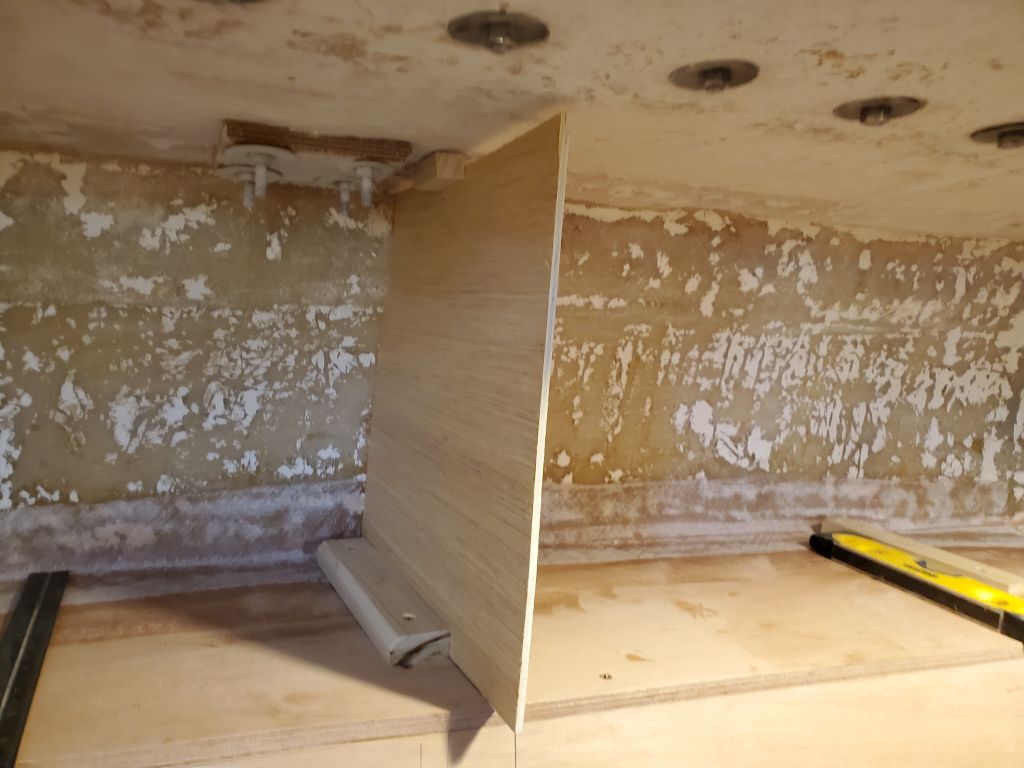
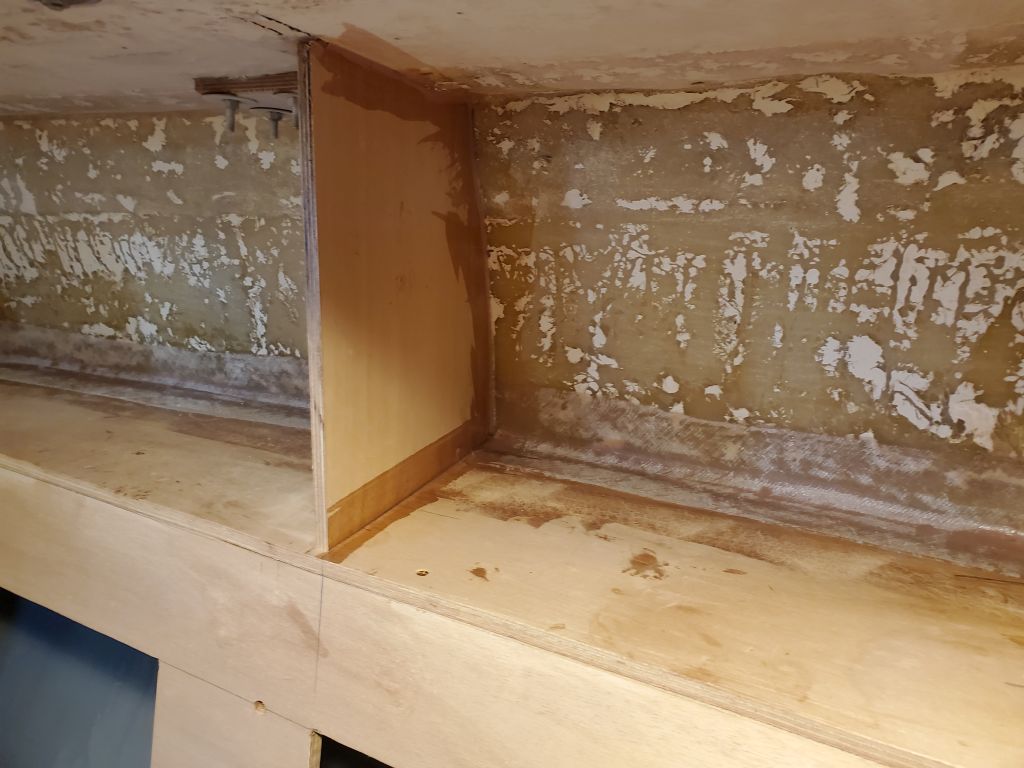
I cut the dividers to their finished lengths, each end angled to match the settee, and, satisfied with everything, permanently installed the cleats with glue and screws, and marked the hull and deck on each edge of the plywood for alignment during installation.
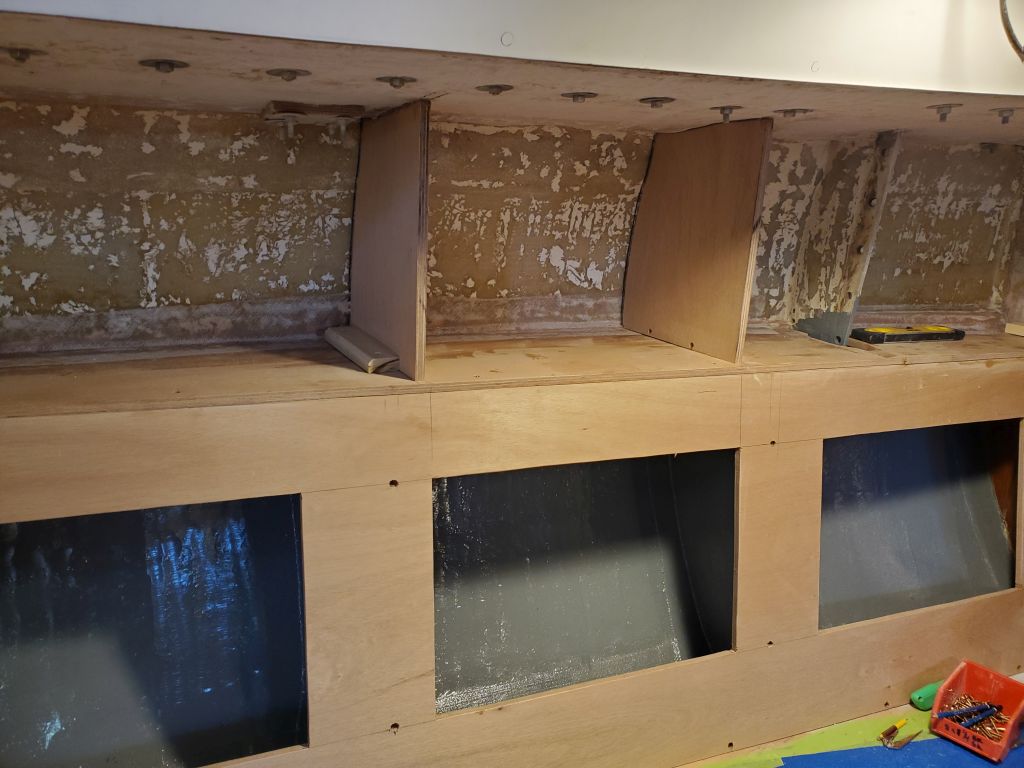
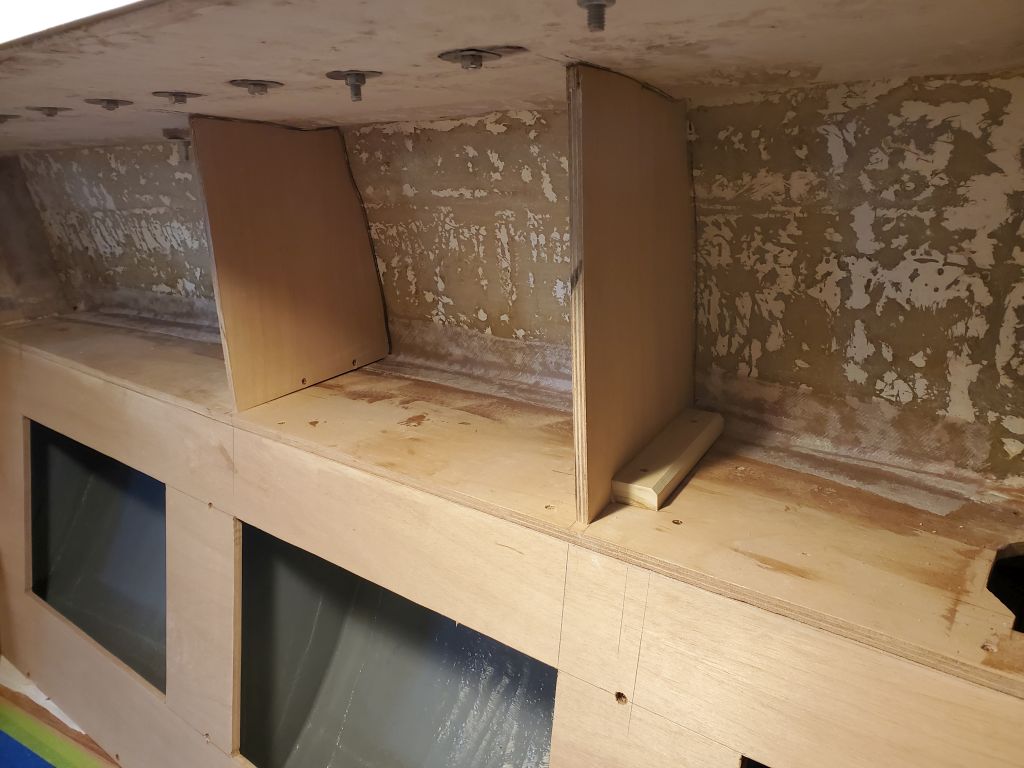
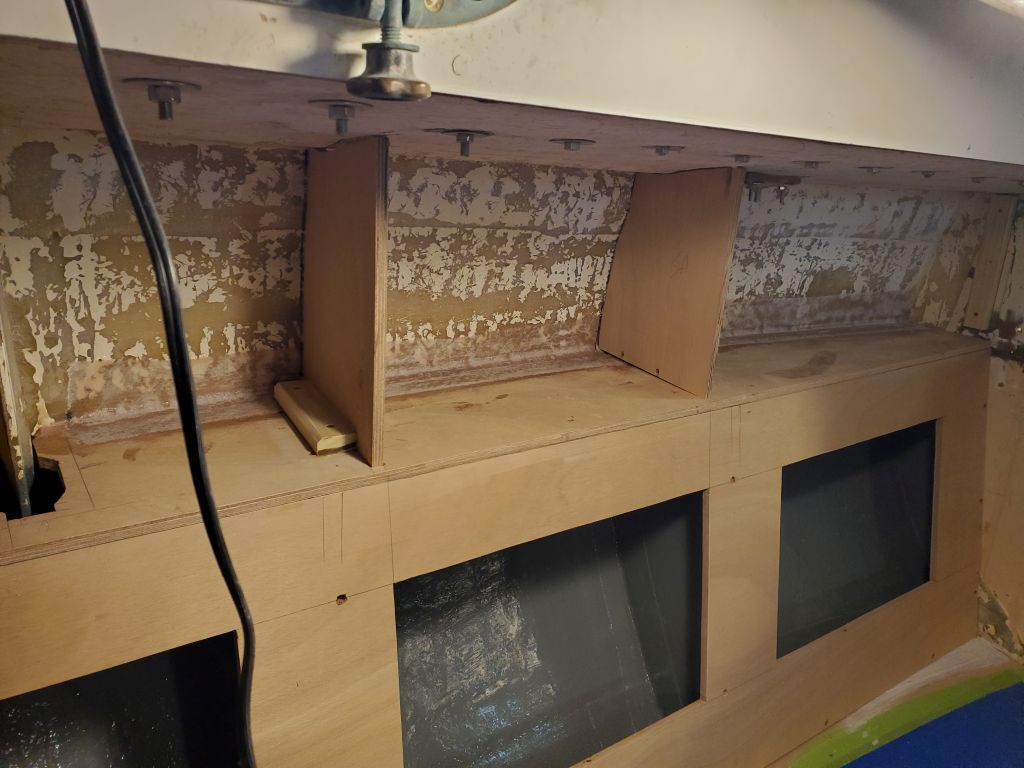
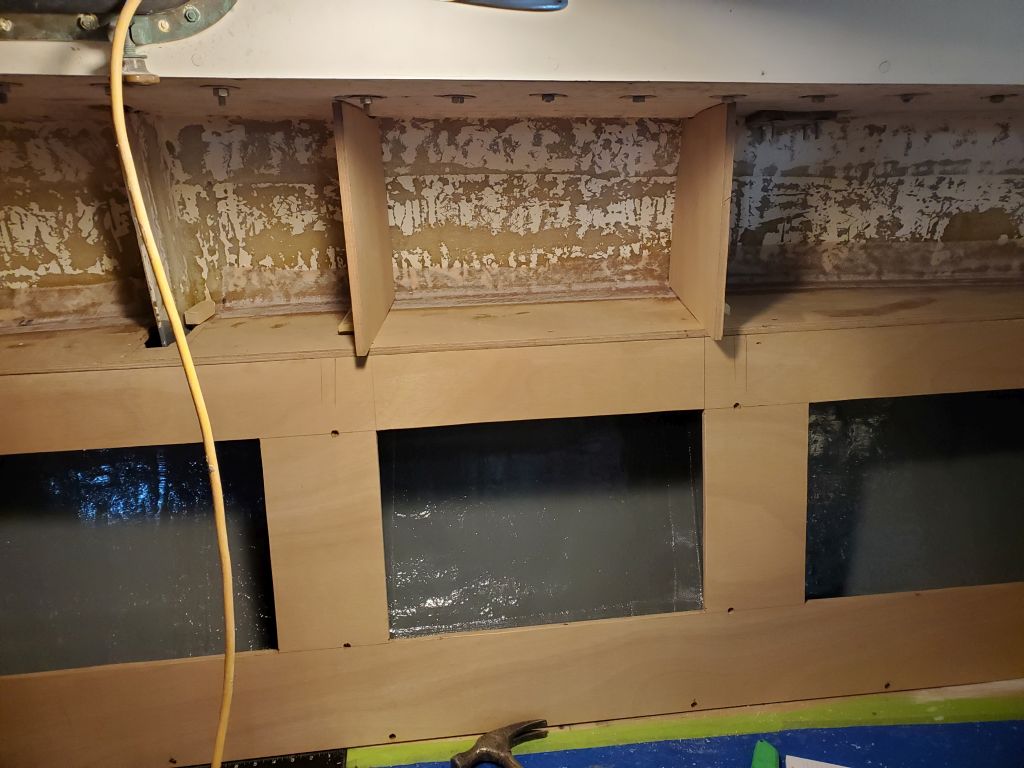
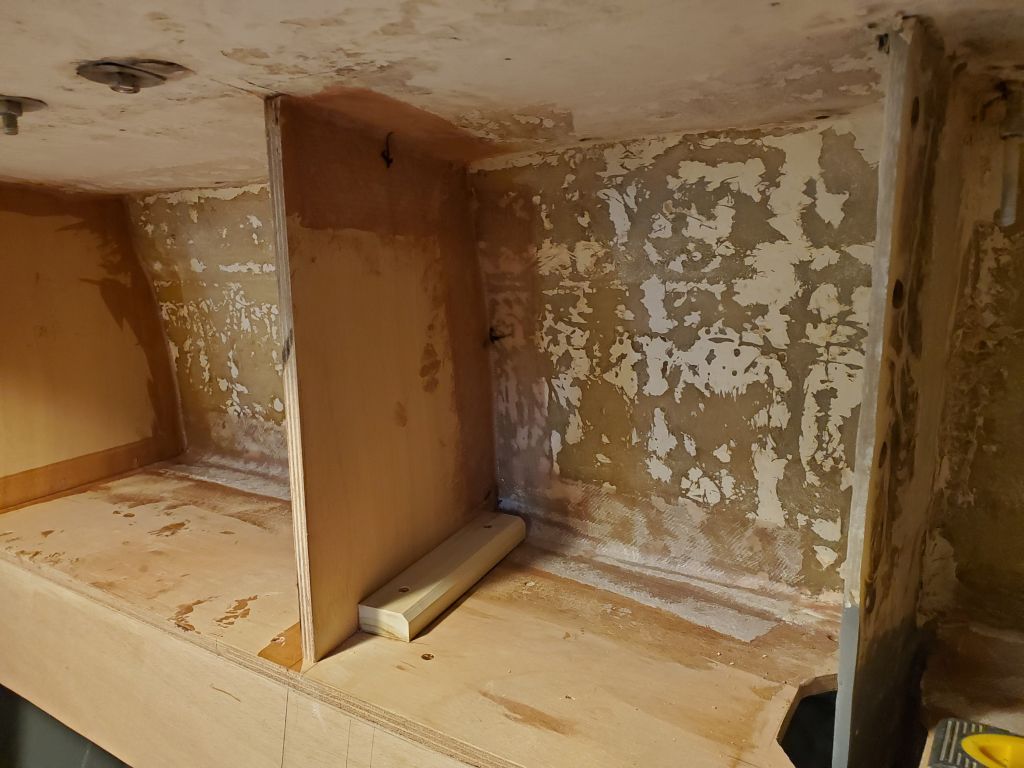
I secured the dividers in place with glue and screws against the cleats, and epoxy along the edges where they met the hull and deck, with just a dab of hot glue on the inboard upper corner against the deck to hold the panels in proper vertical alignment. I formed small cosmetic fillets on the inside edges, which would be exposed in the open portions of the cabinets, and additional fillets on the outer sides, which I then covered with strips of 4″ tabbing to secure these bulkheads in place.
Total time billed on this job today: 7.5 hours
0600 Weather Observation: 35°, partly cloudy. Forecast for the day: Mostly cloudy, 35°