


February 19, 2024
Calliope Girl 68
Monday
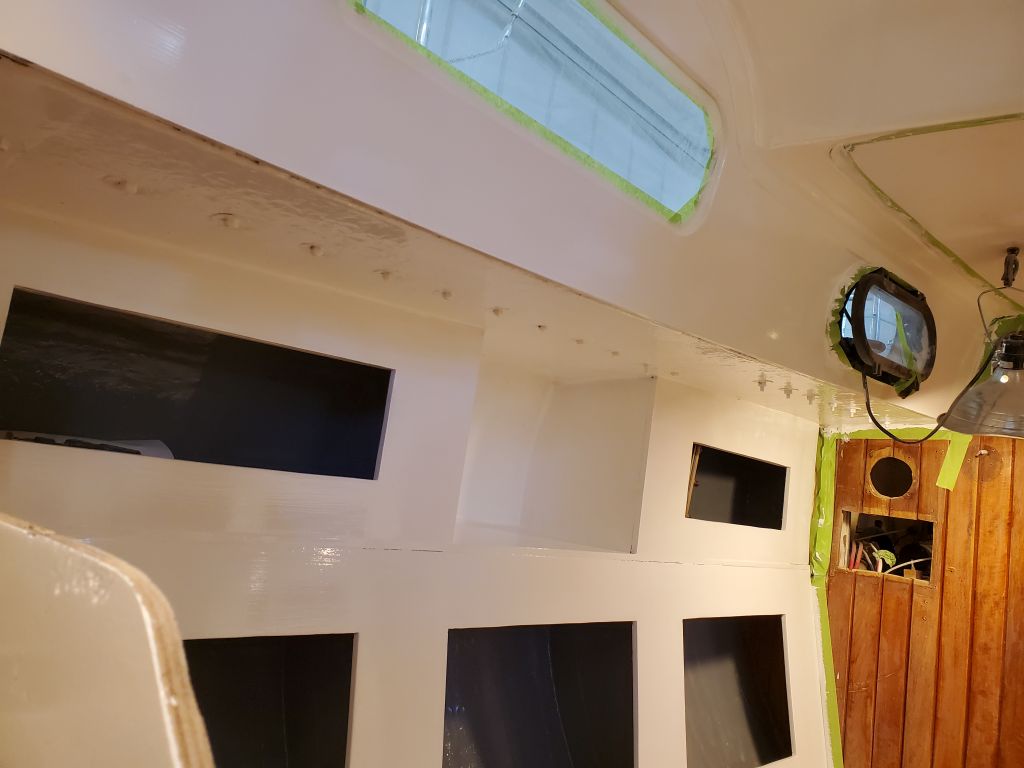
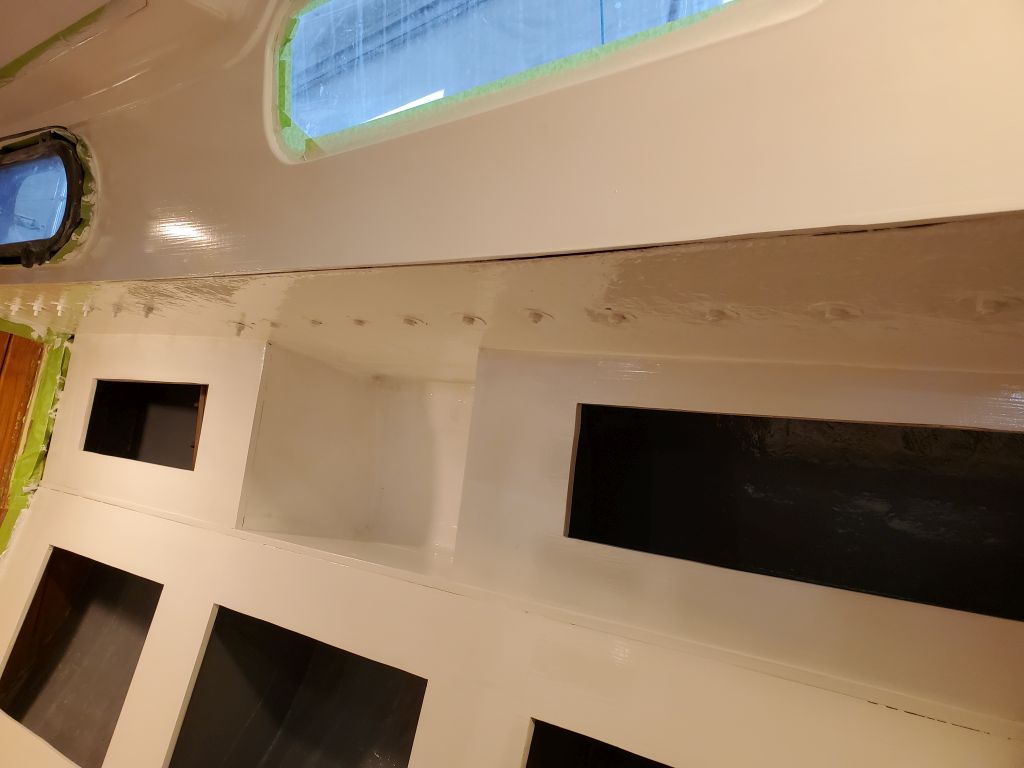
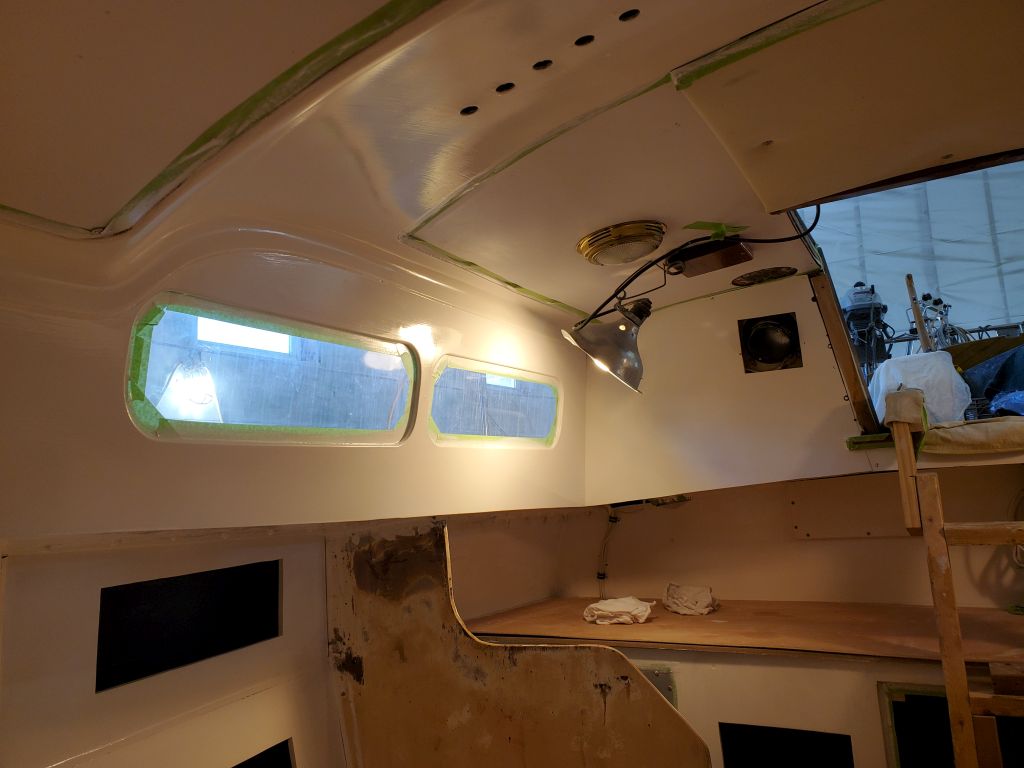
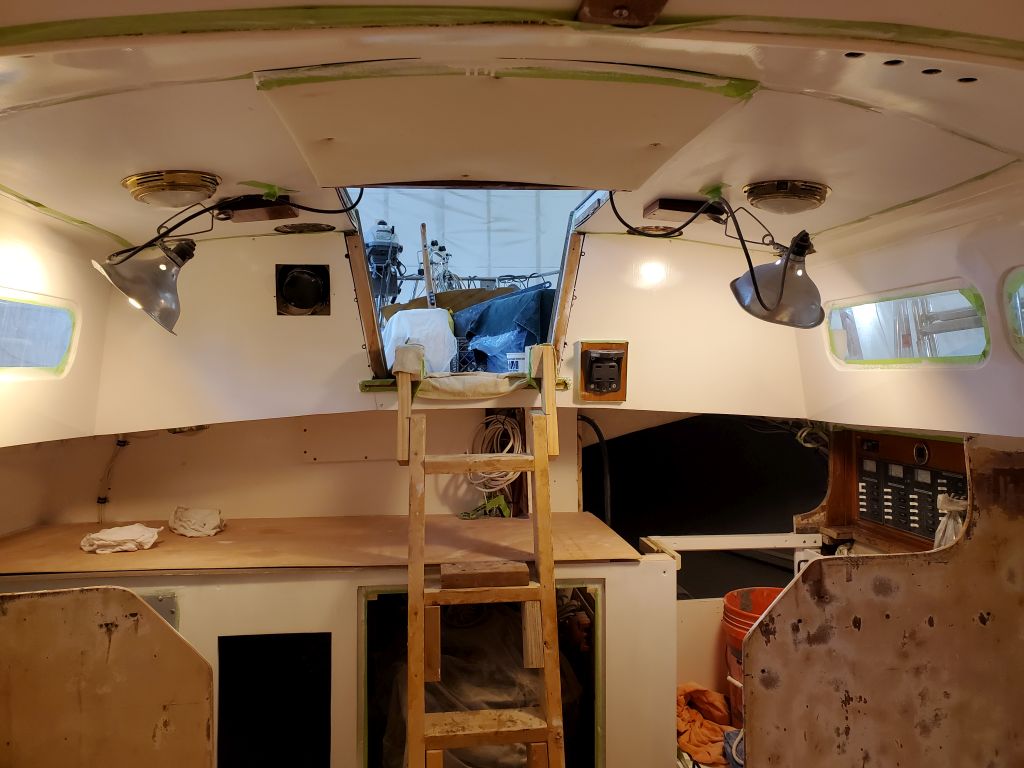
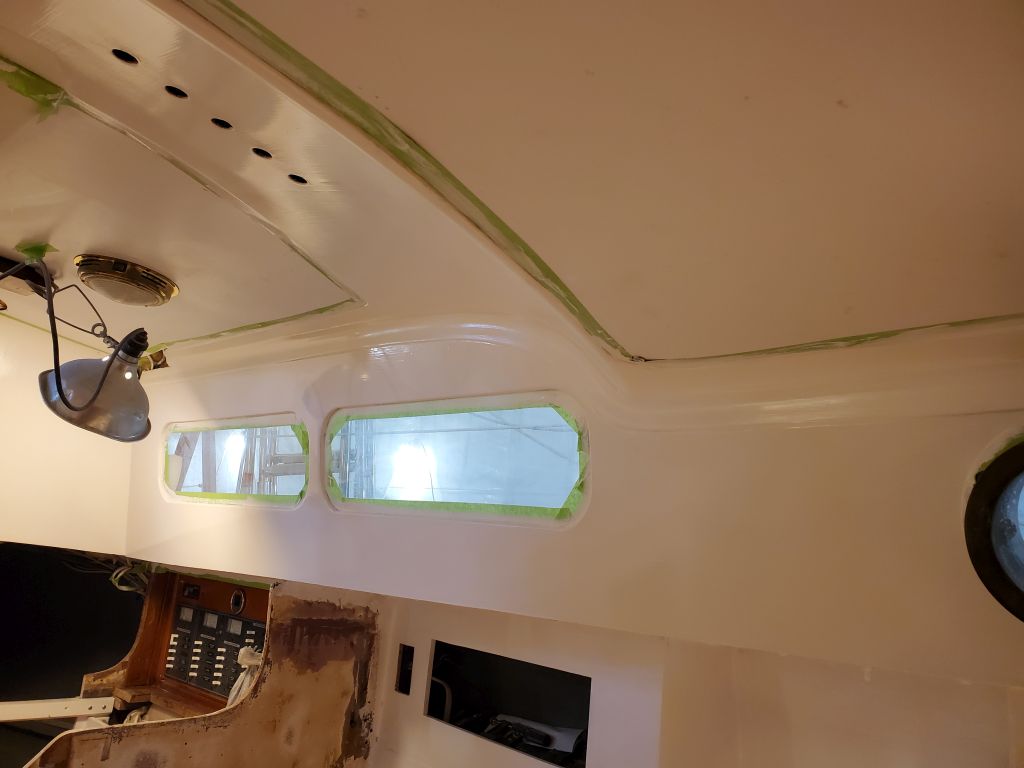
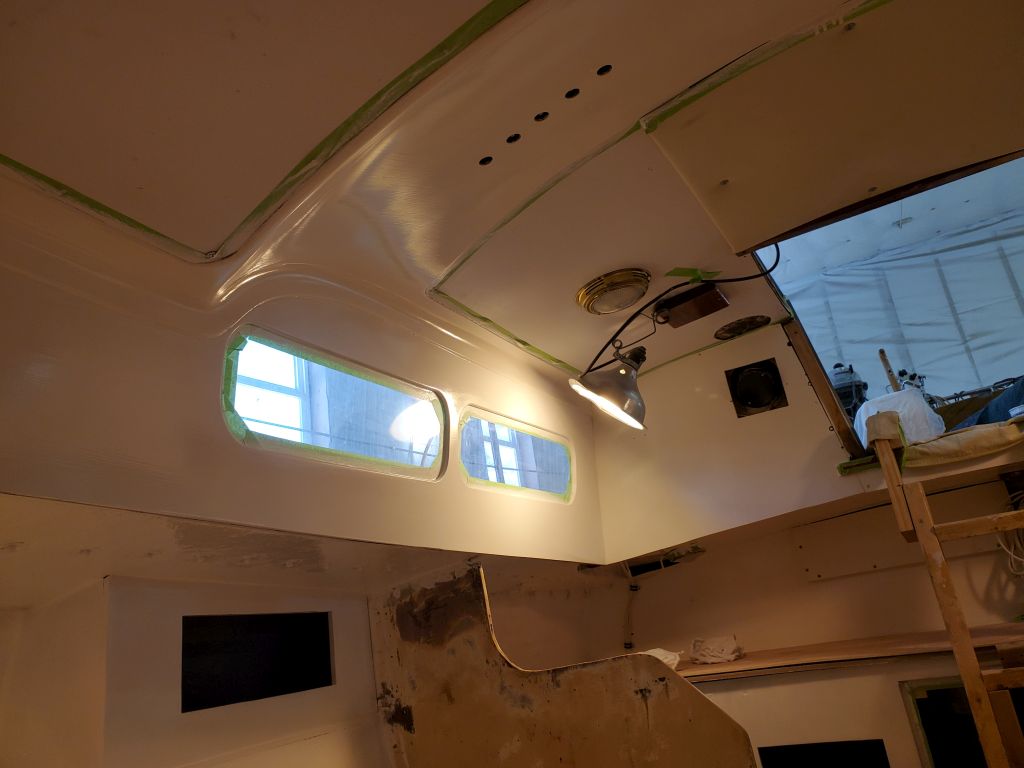
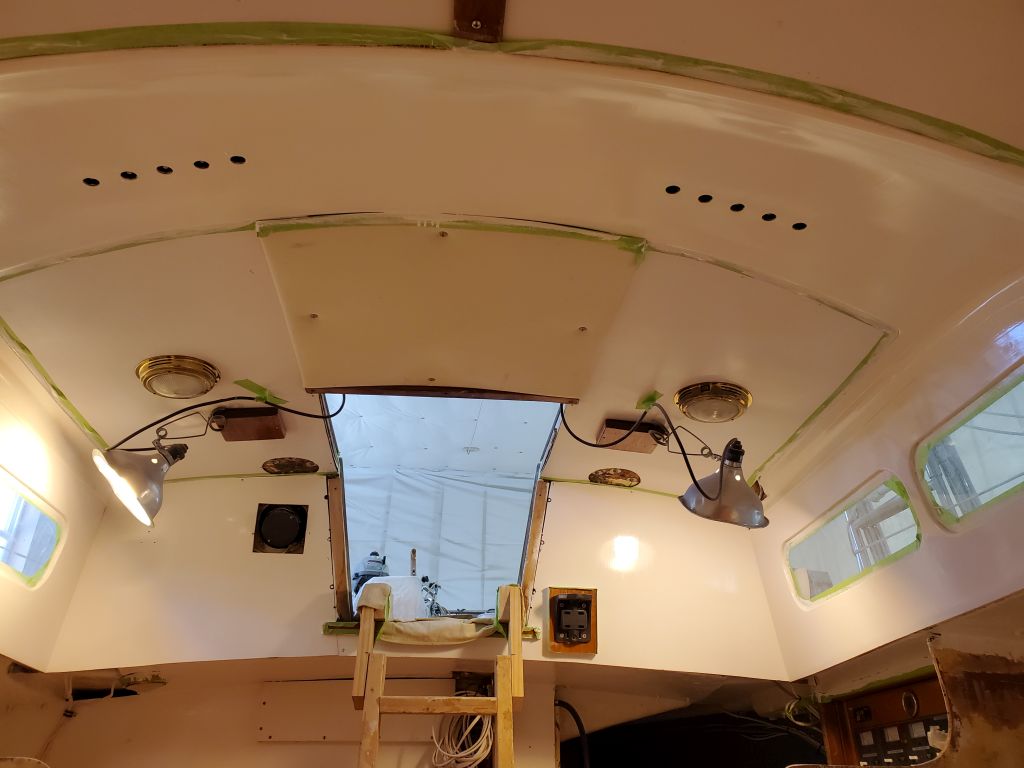
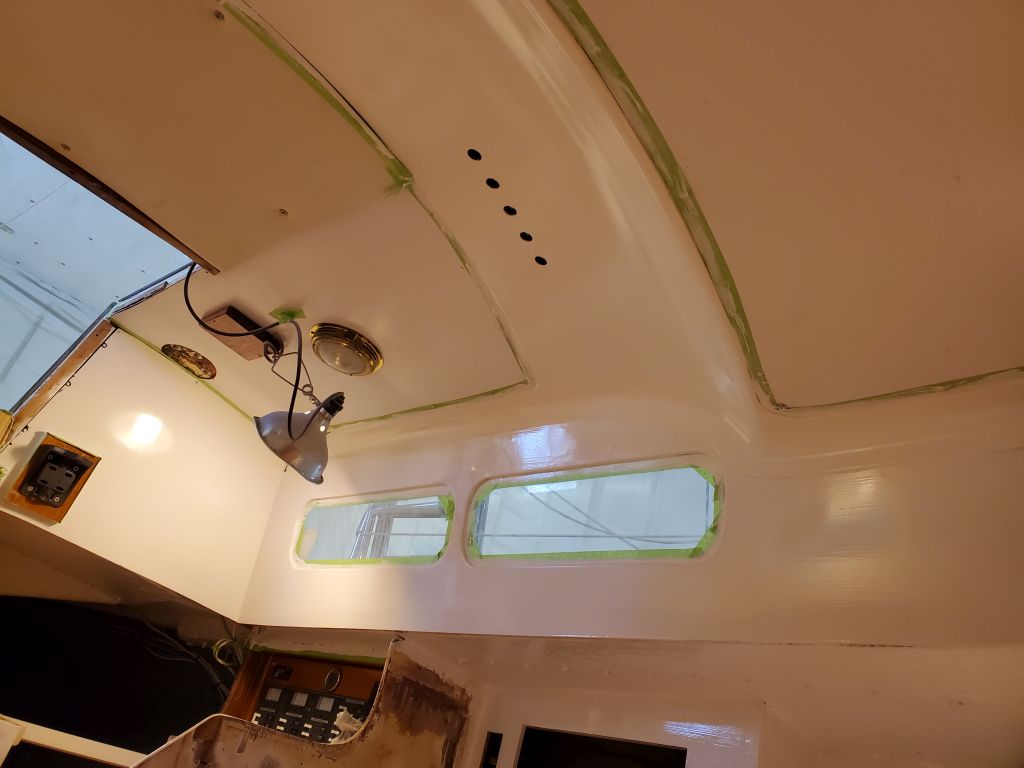
I began by lightly sanding the interior primer with 220 grit paper, striving for a flat, smooth, even surface. Afterwards, I vacuumed and solvent-washed to prepare for the finish coats.
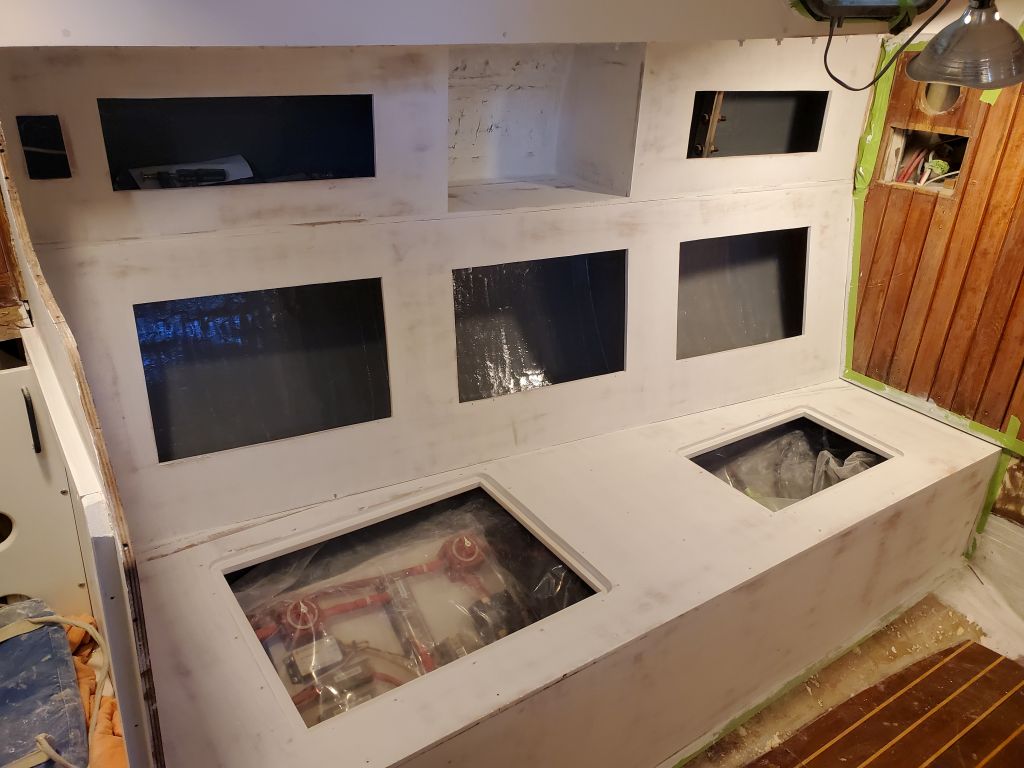
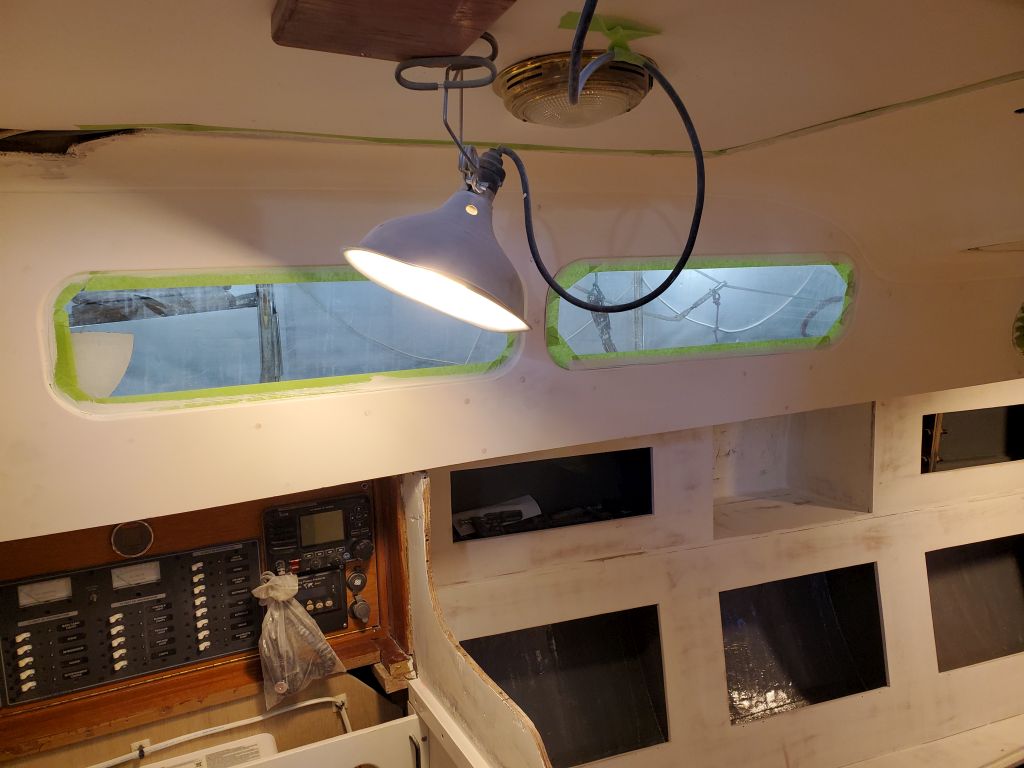
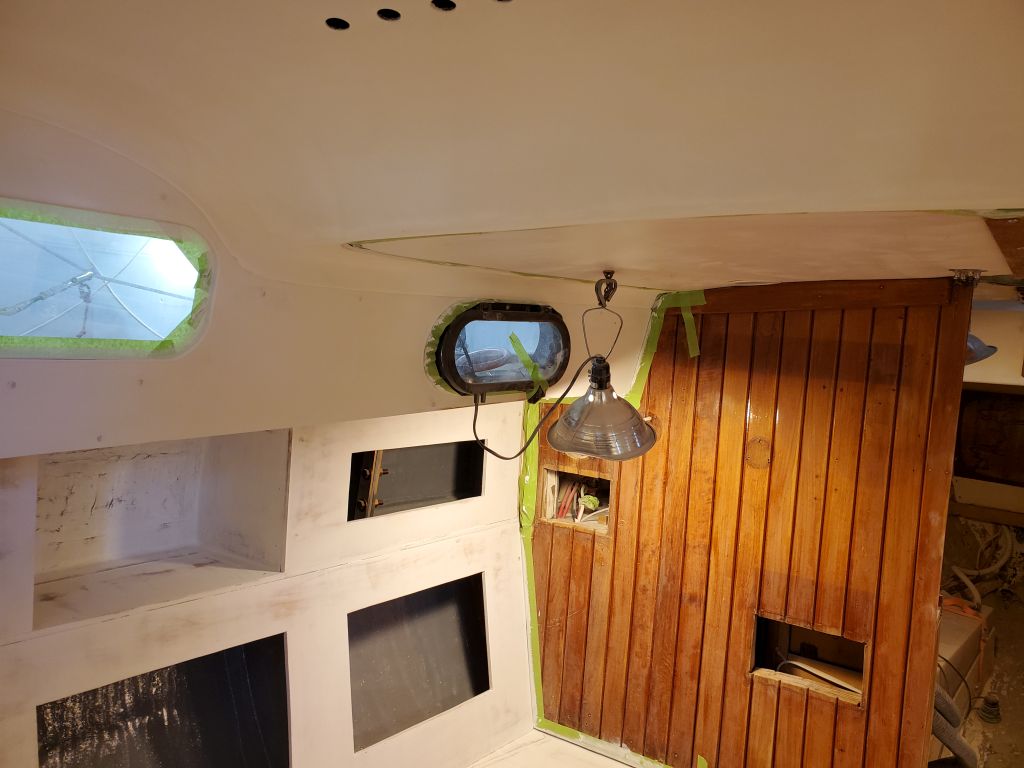

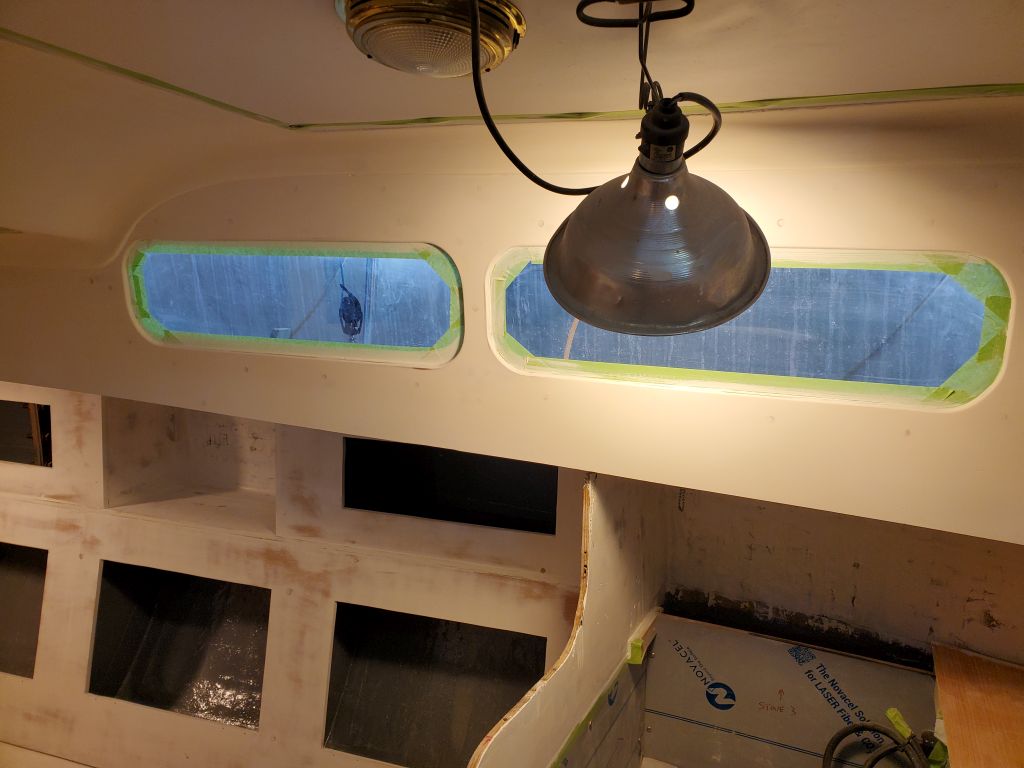
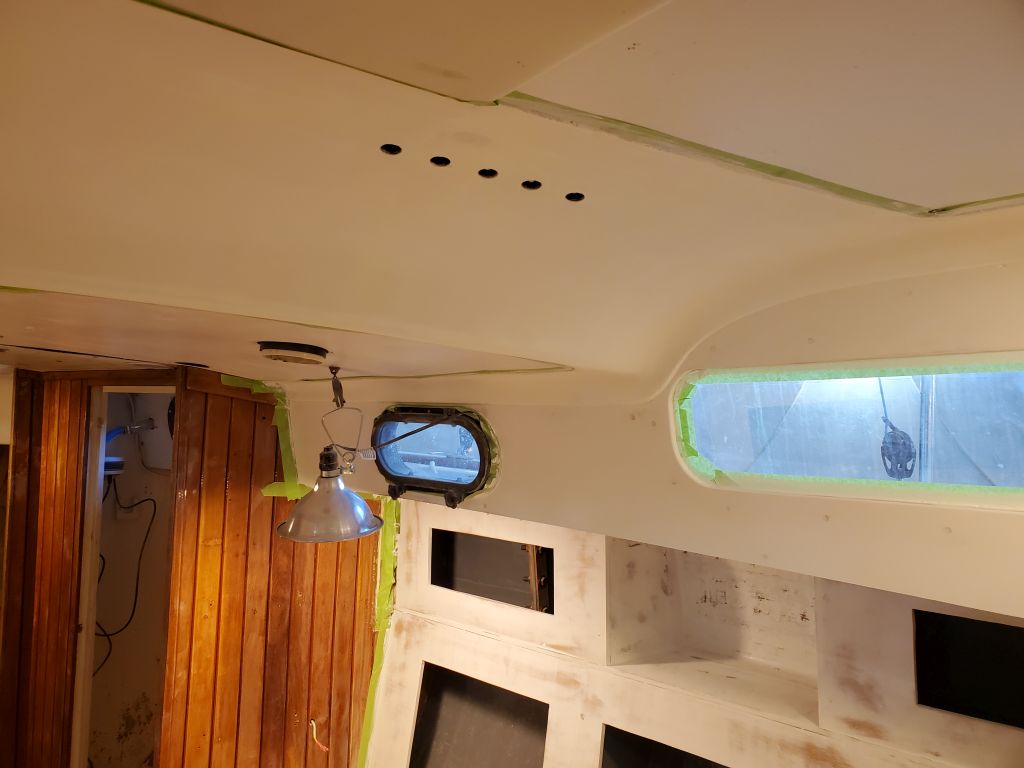
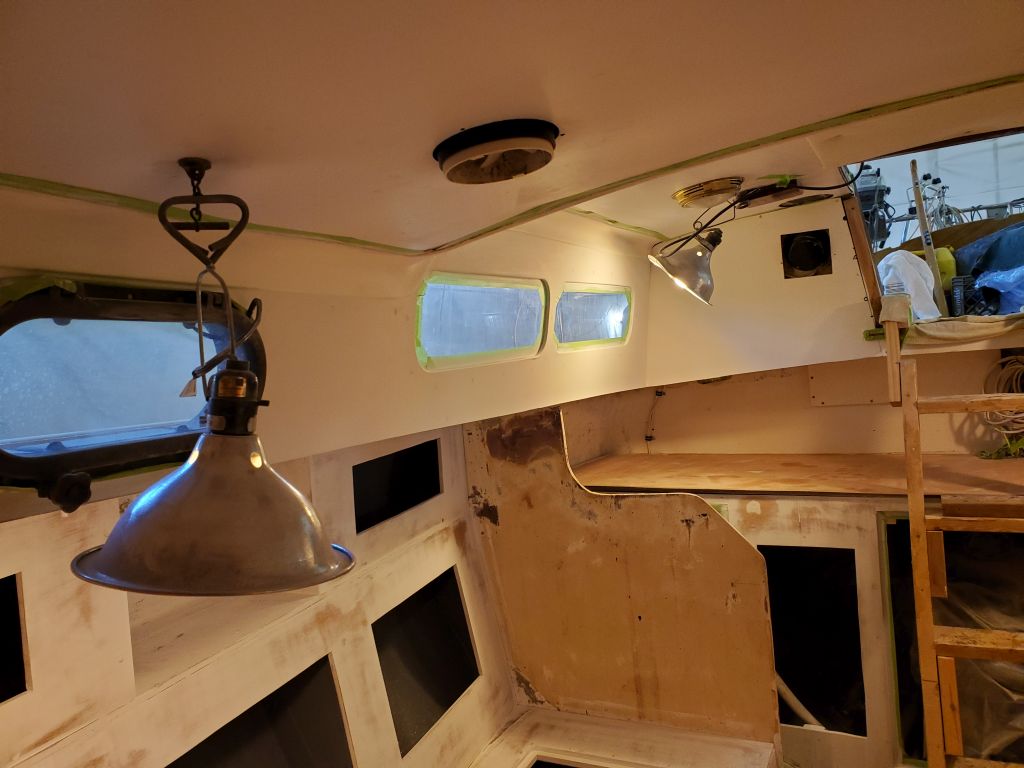
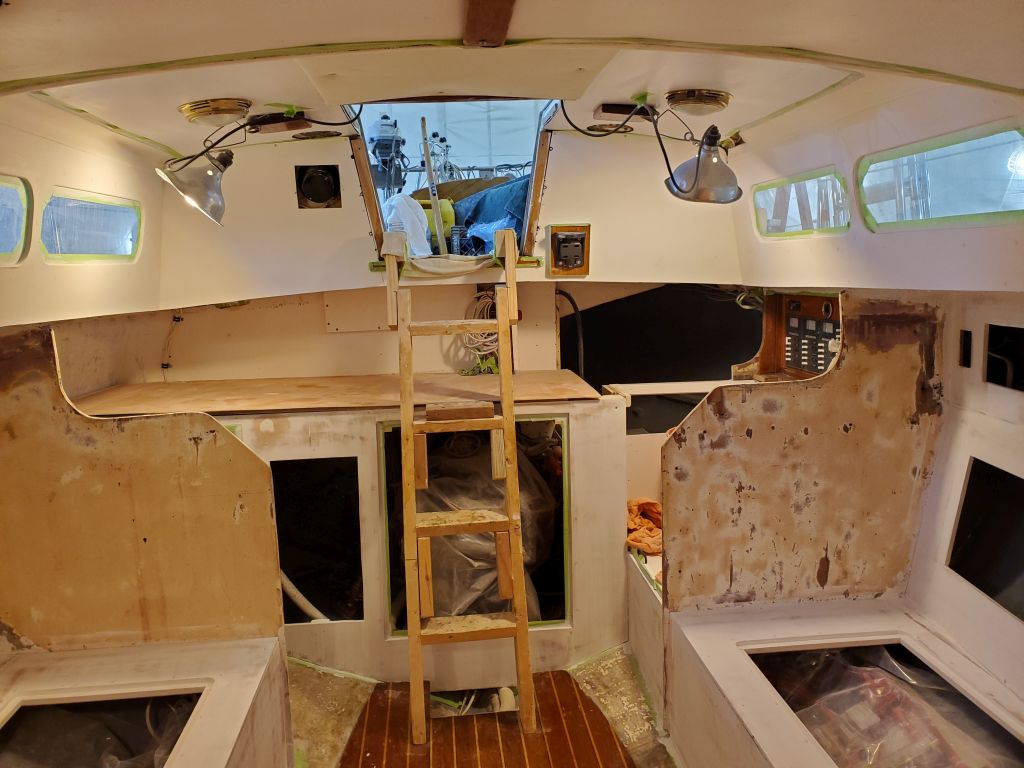
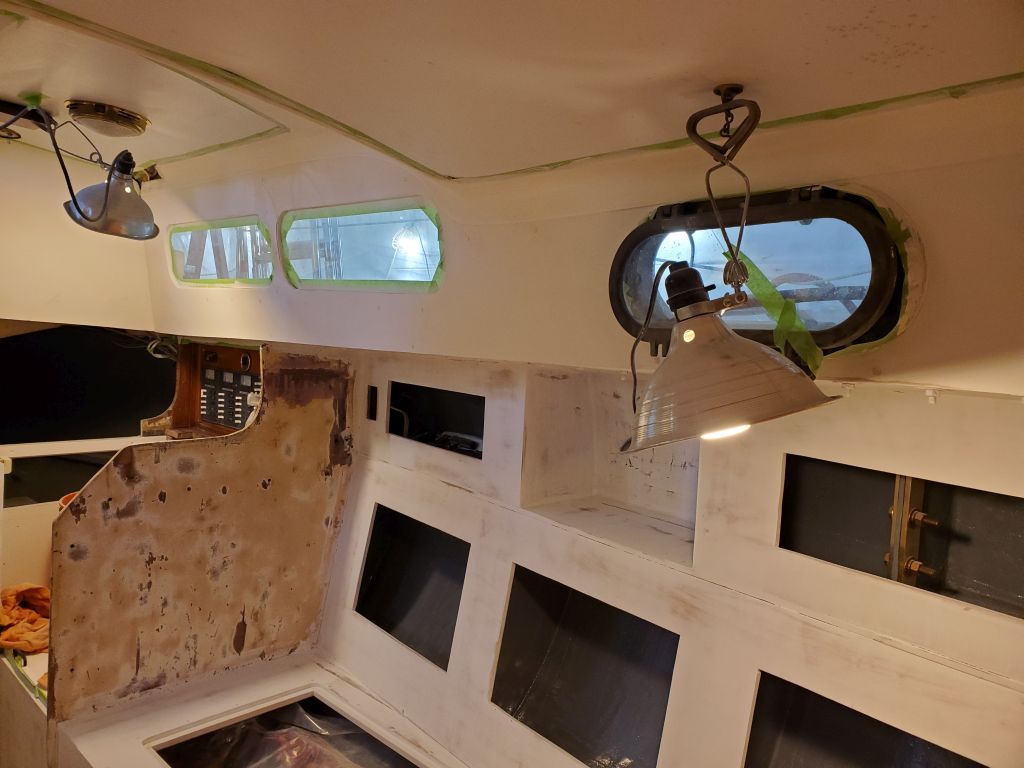
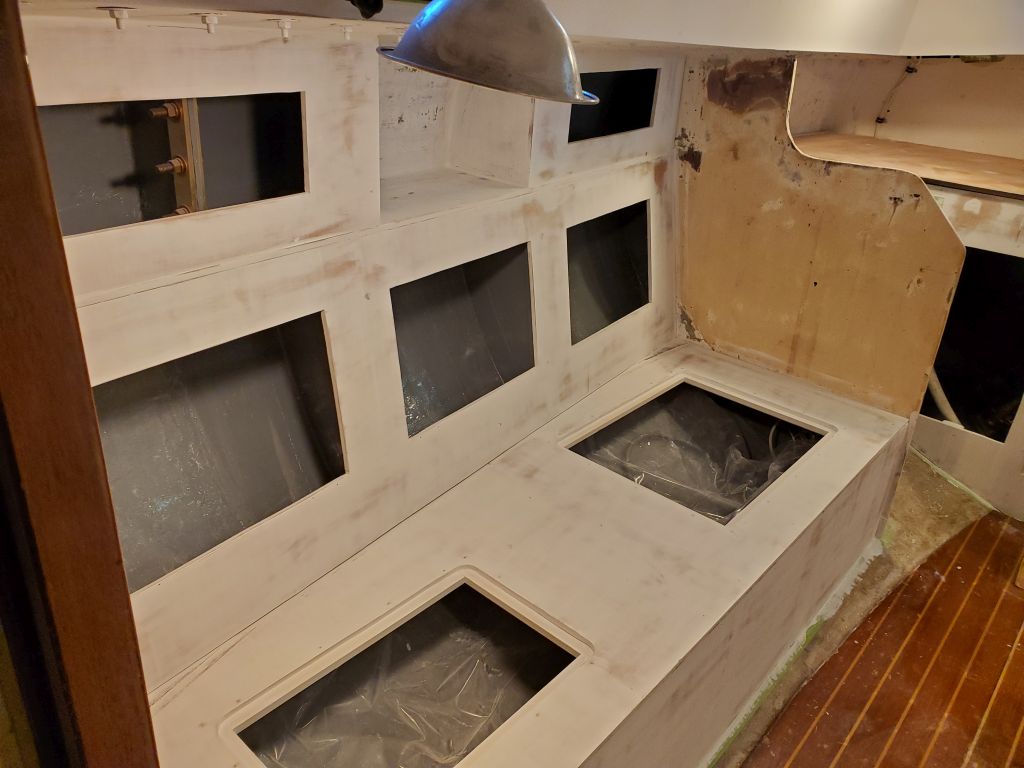
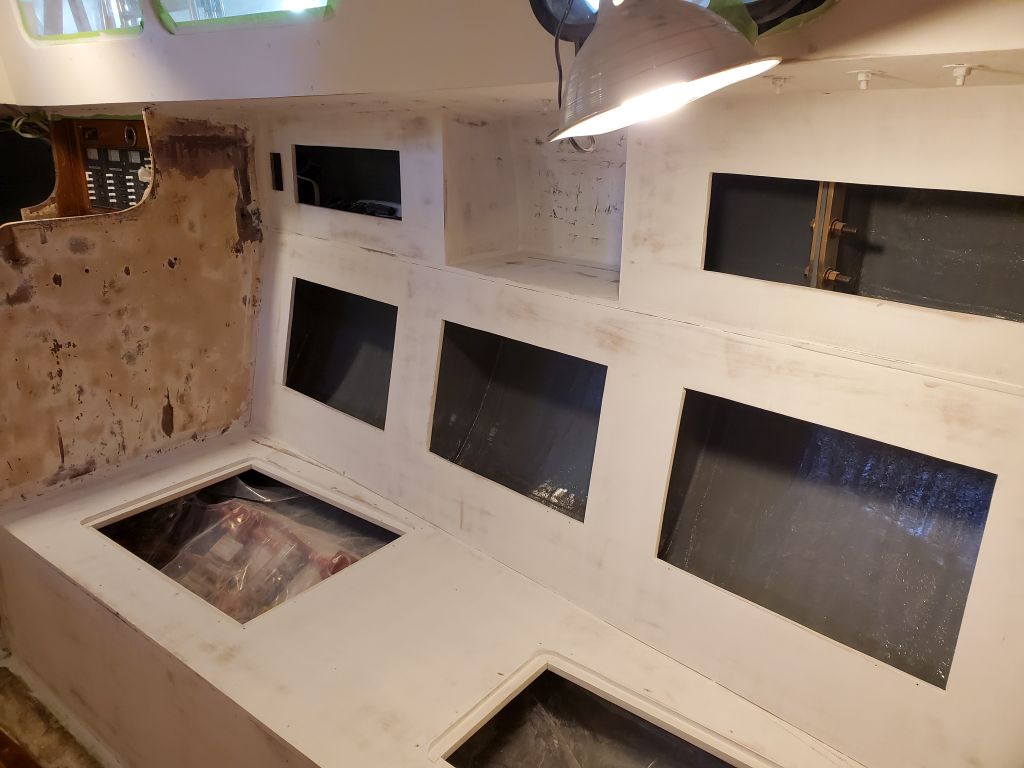
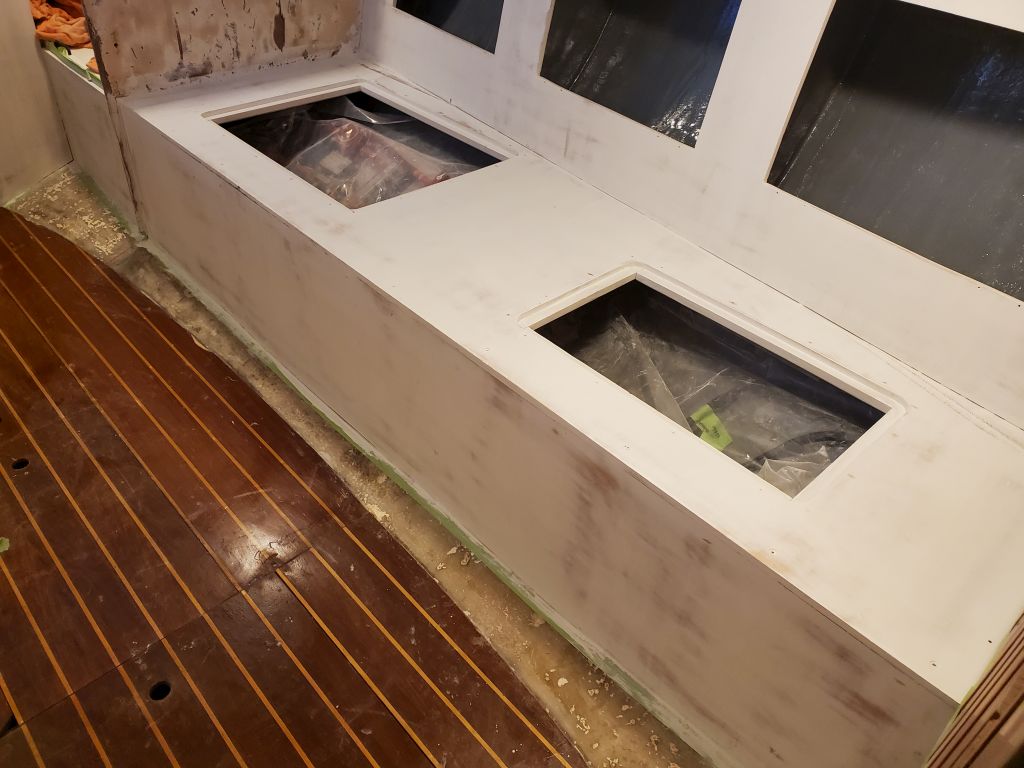
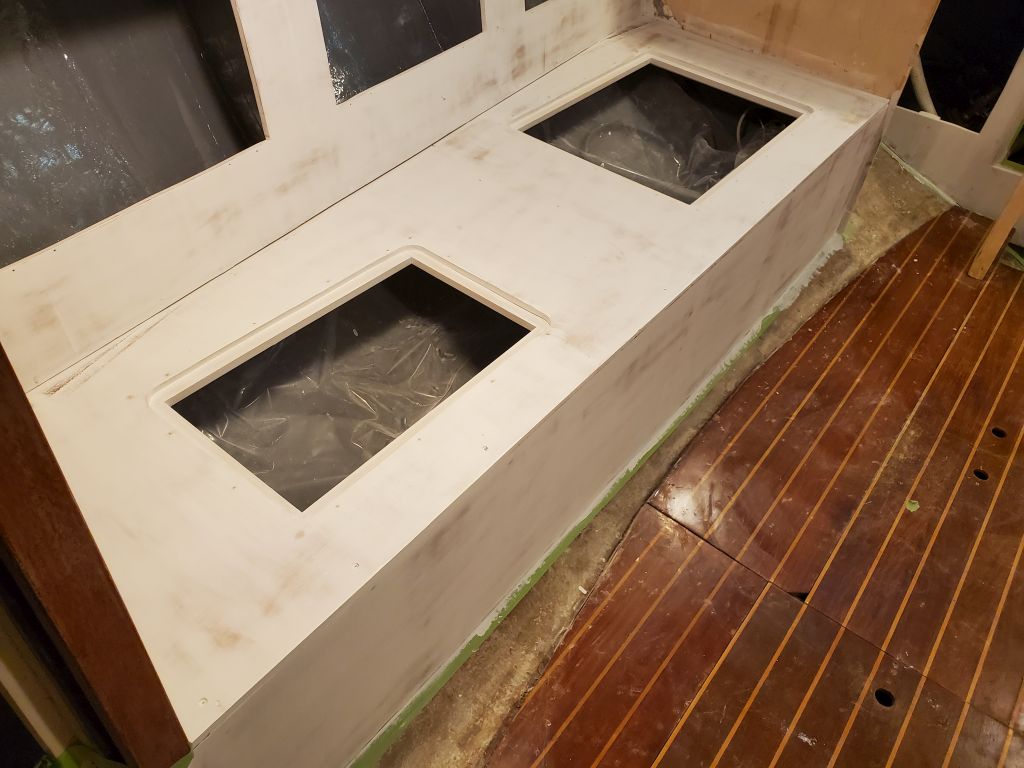
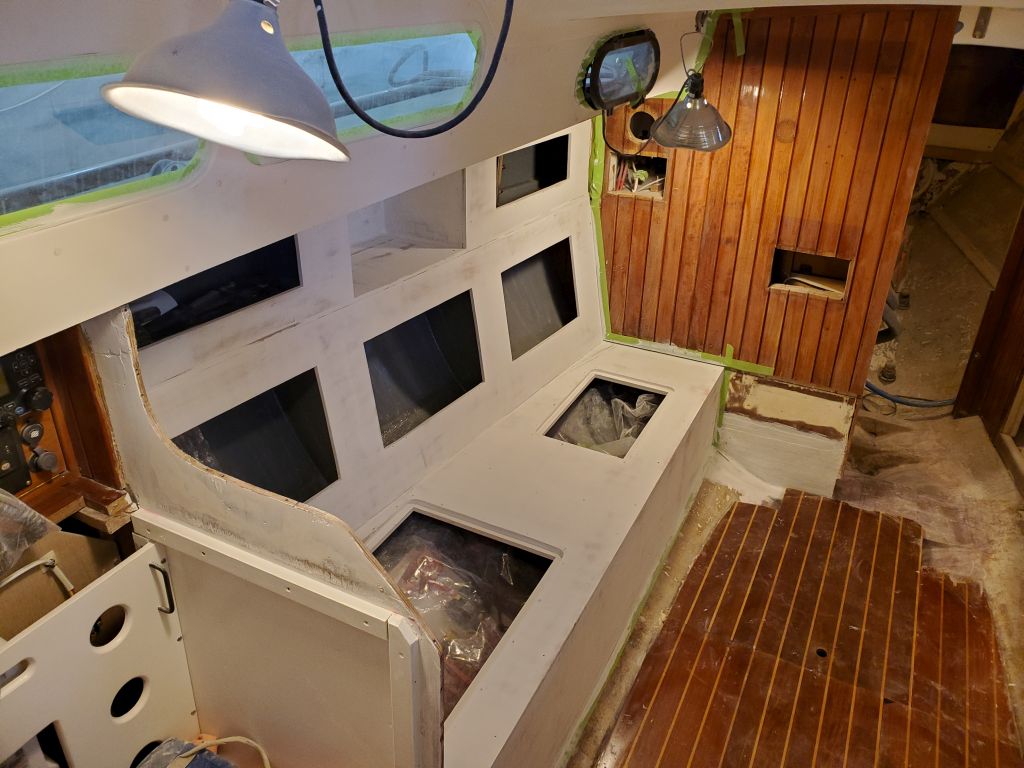
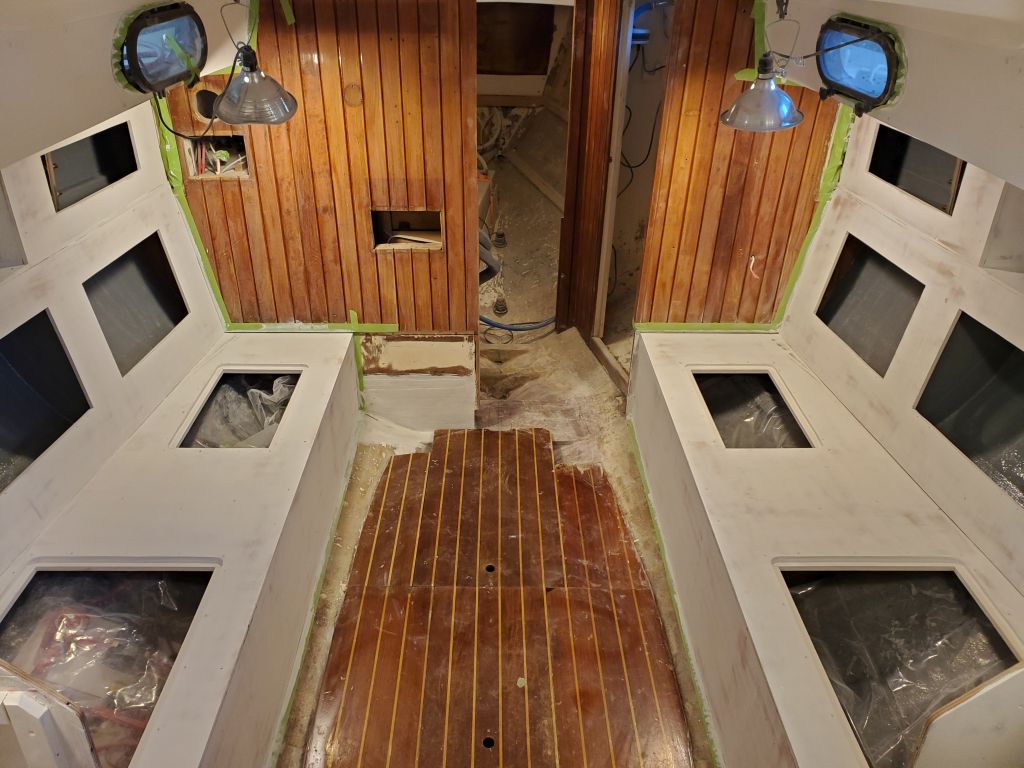

Next, I applied the first of (expected) two coats of semi-gloss white enamel to all areas.
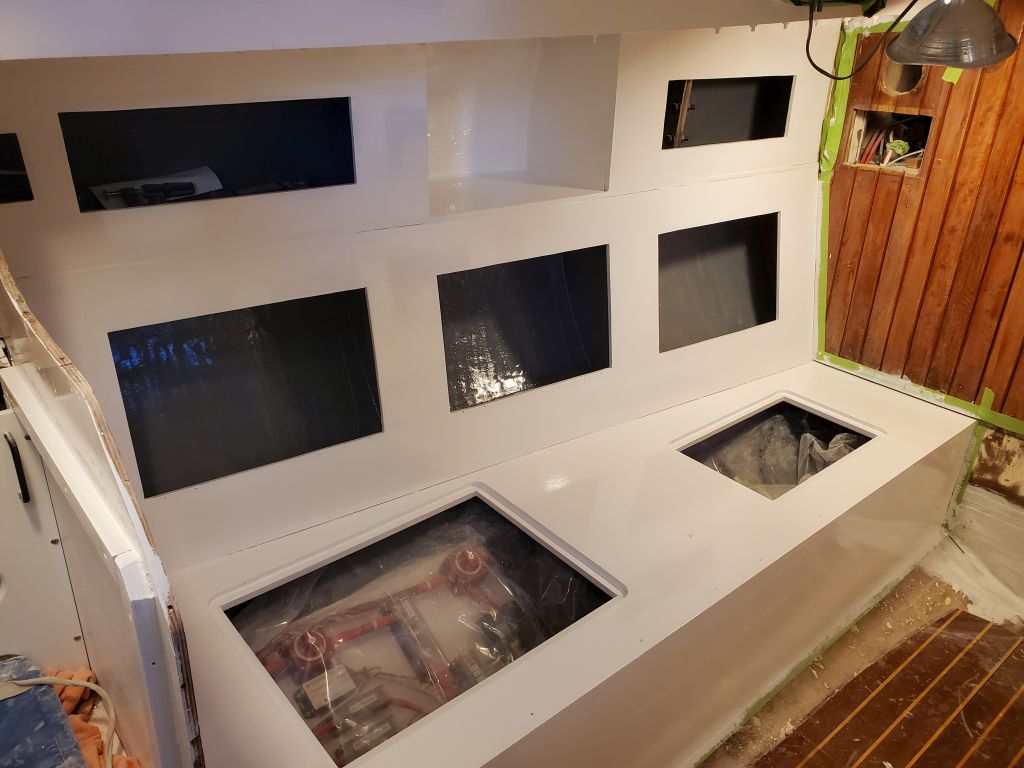
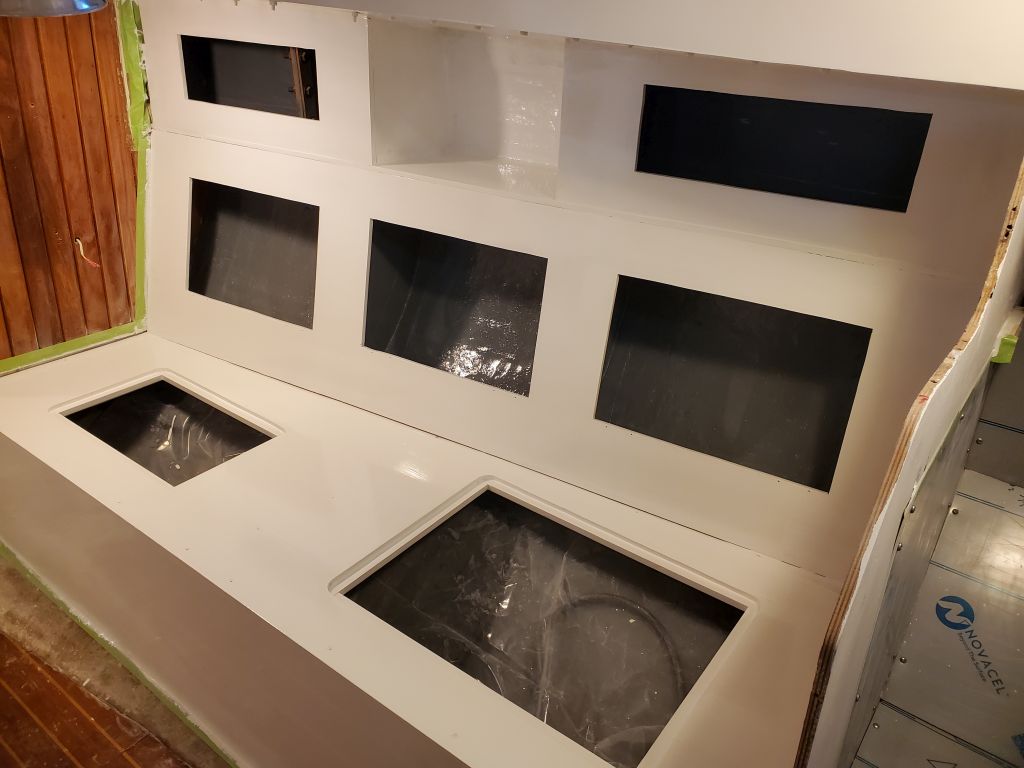
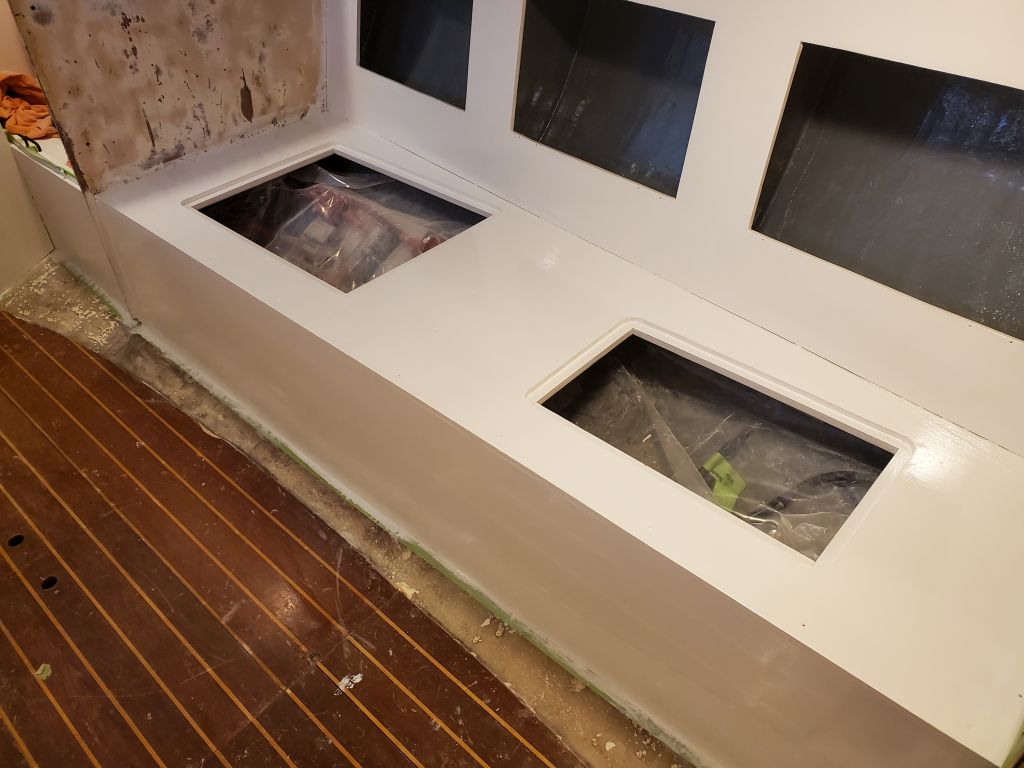
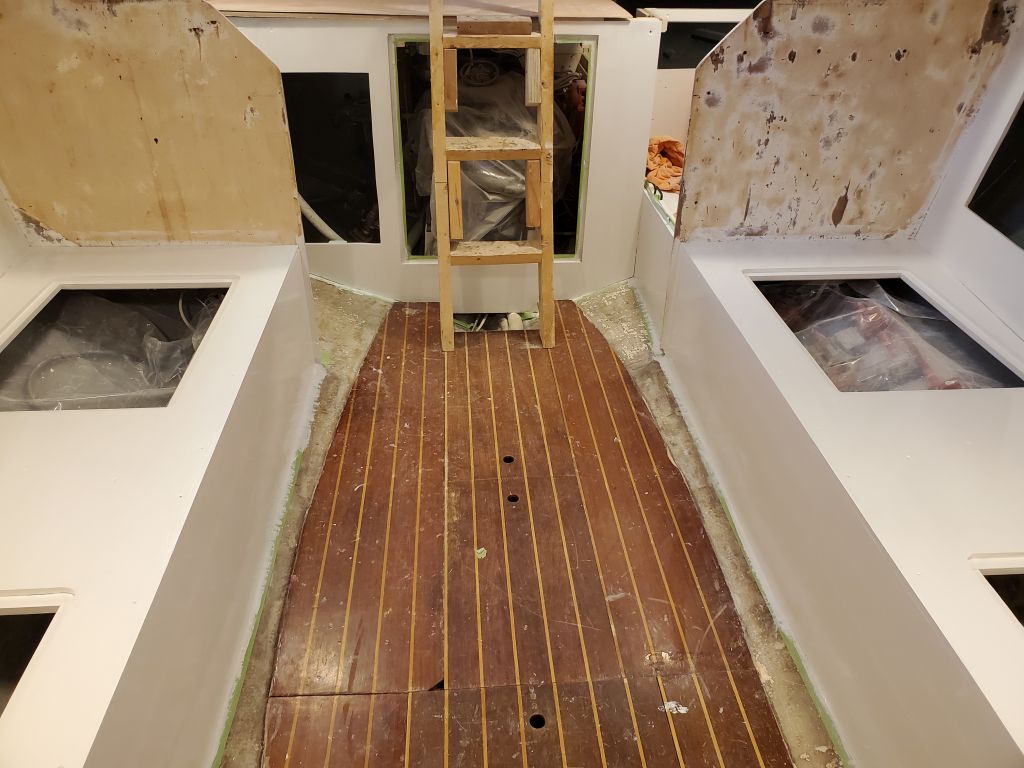
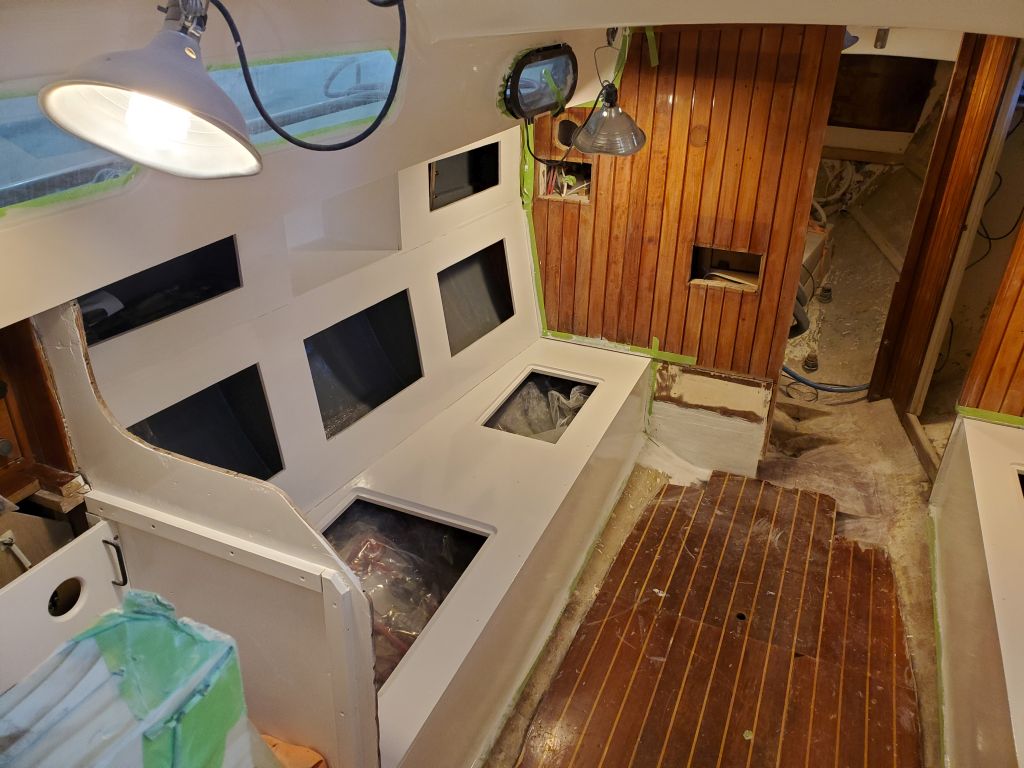


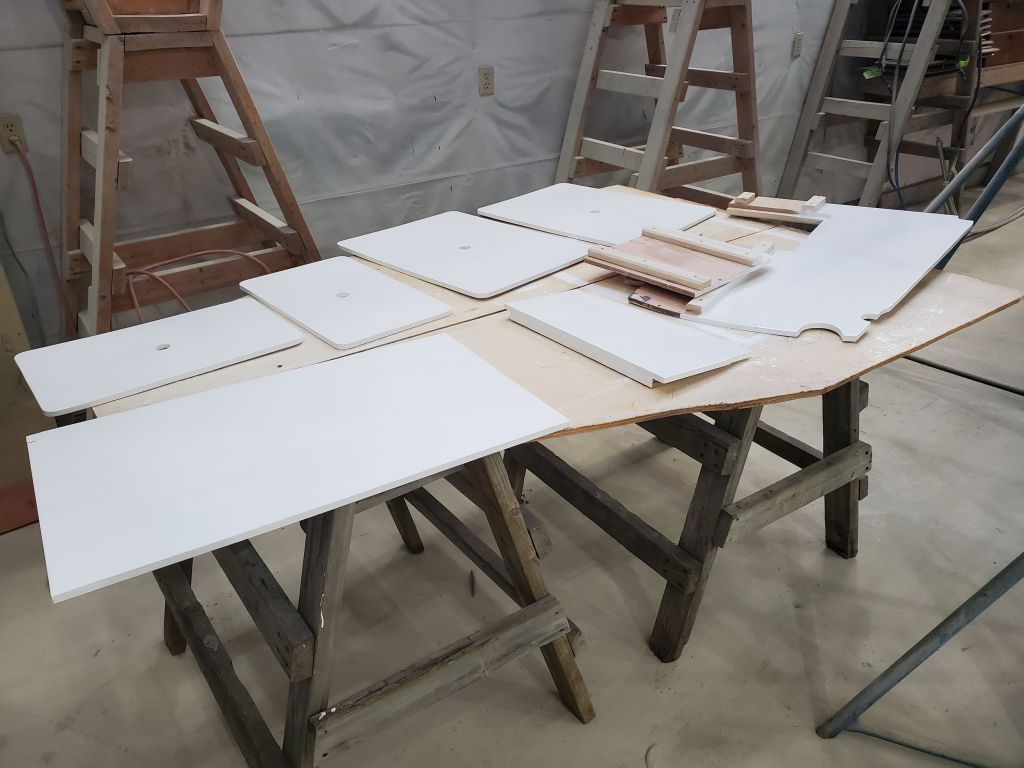
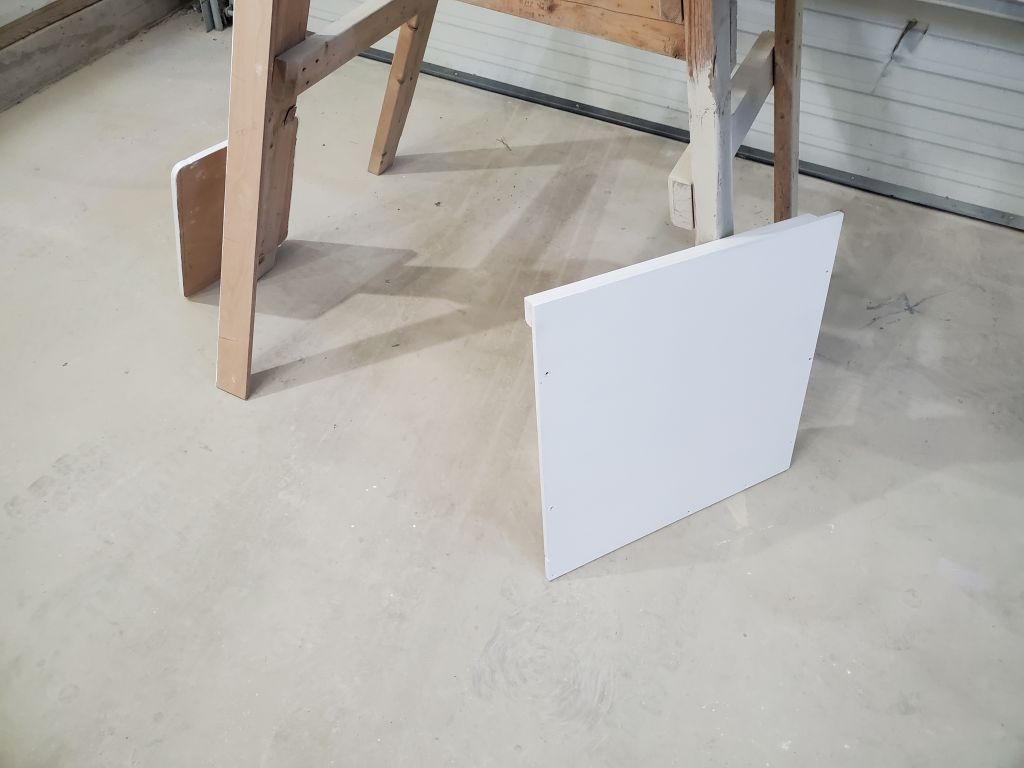
I also applied the finish paint to the settee berth access panels, and other loose panels down in the shop still undergoing treatment.
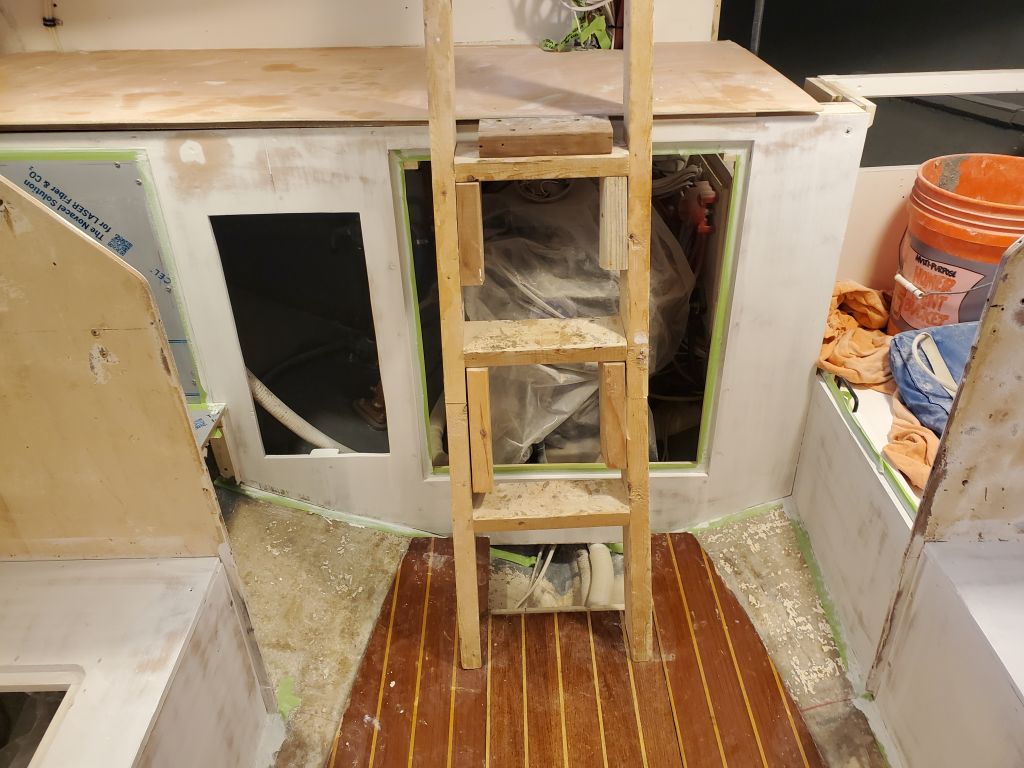
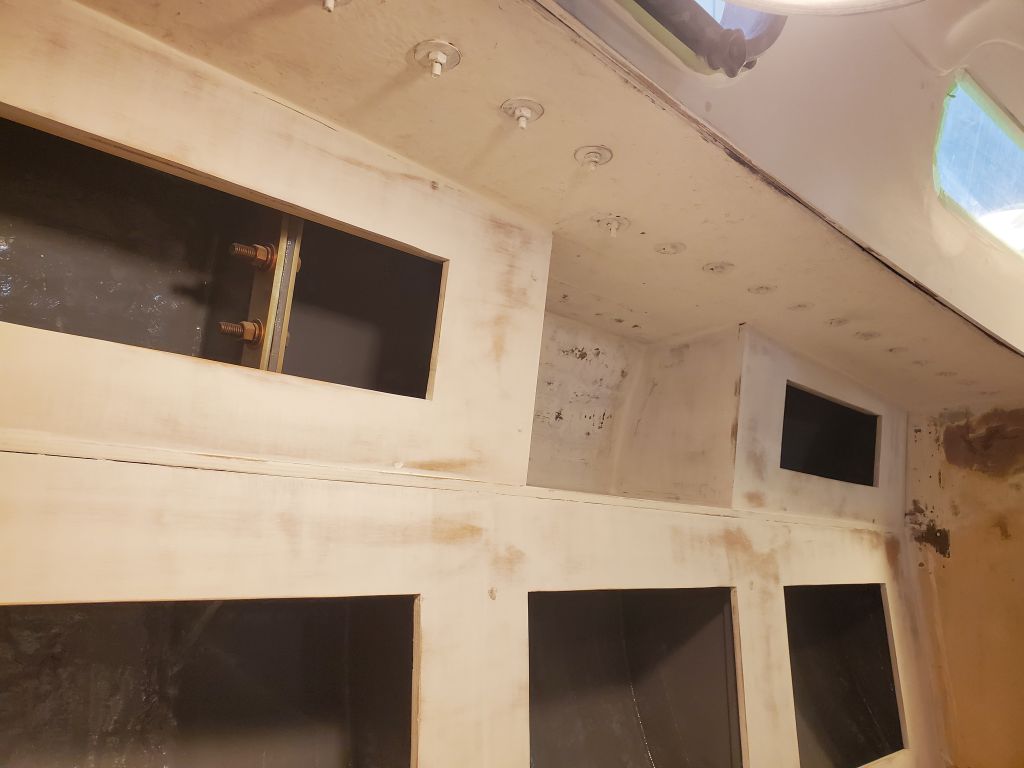
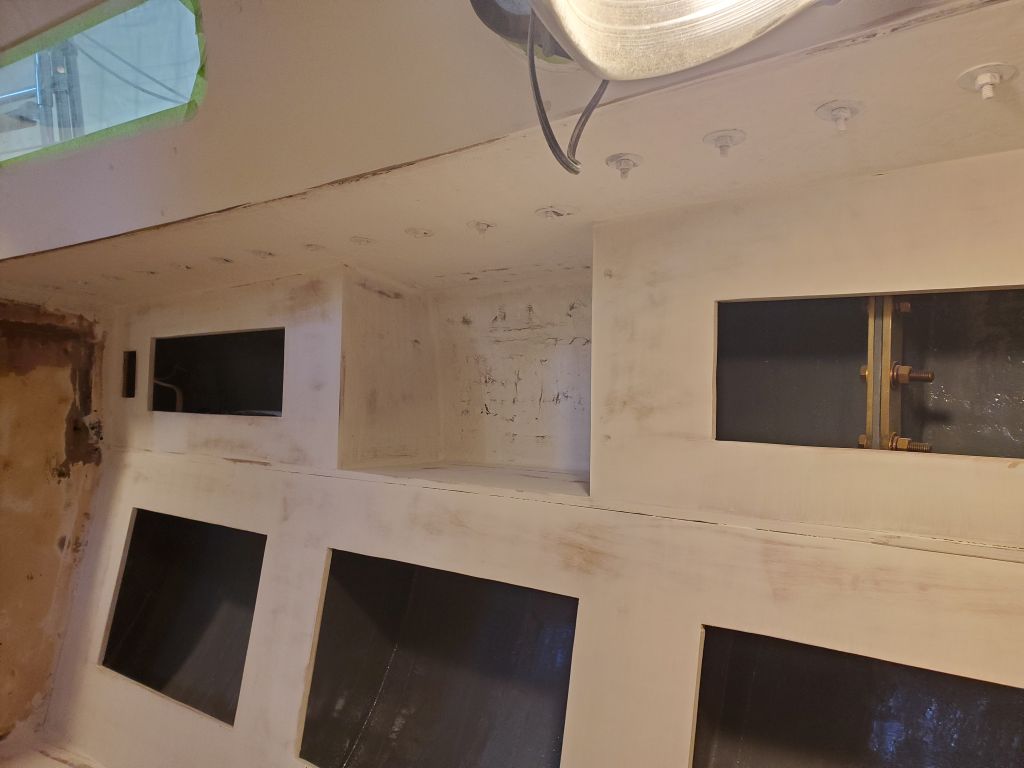
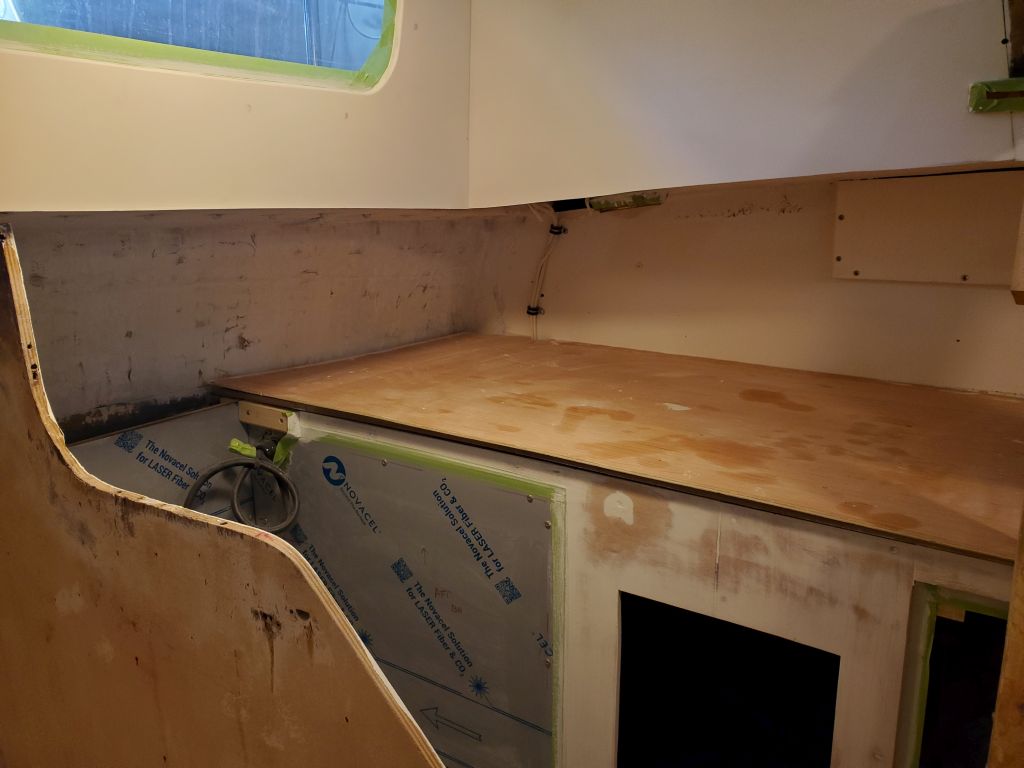
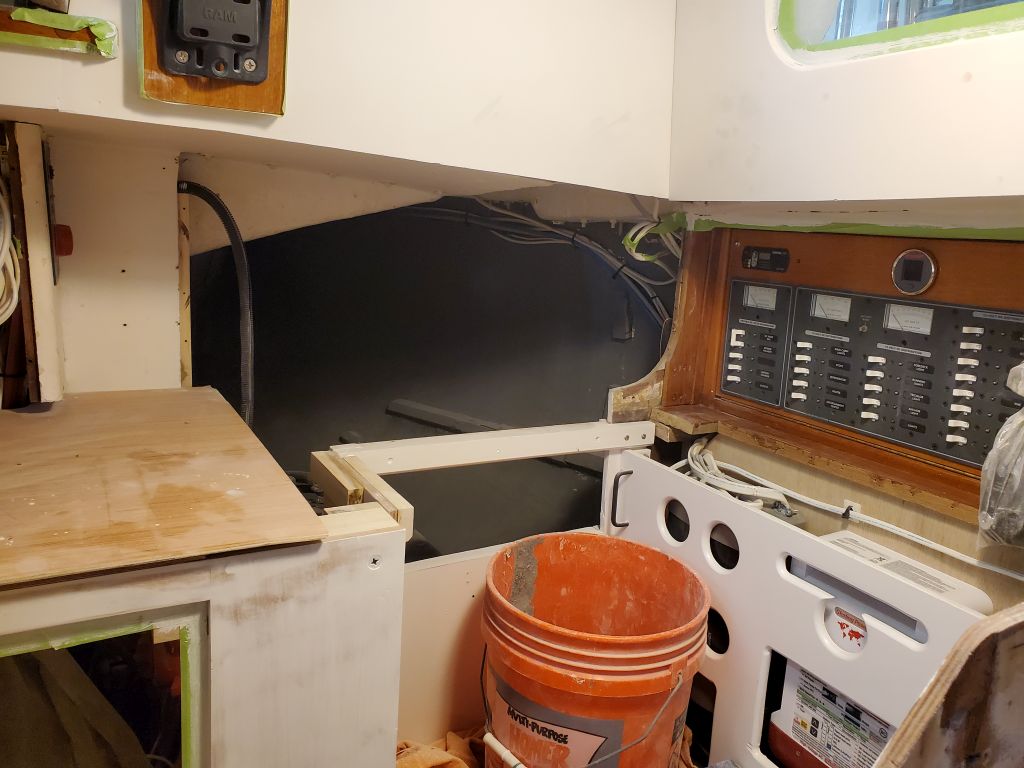
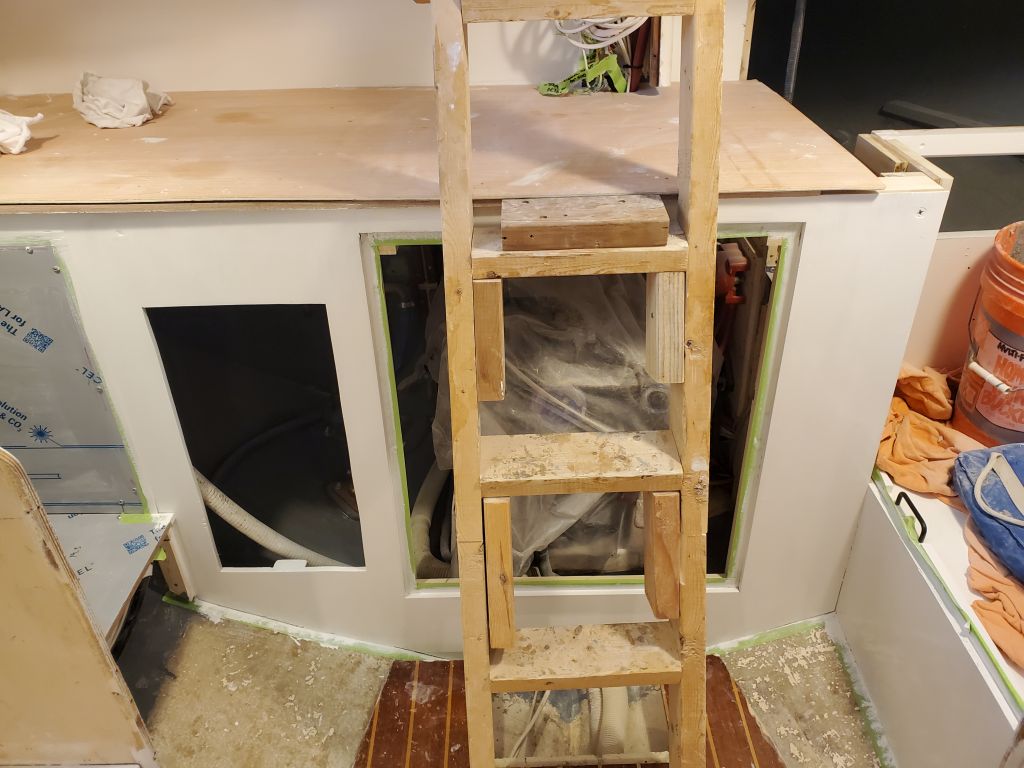
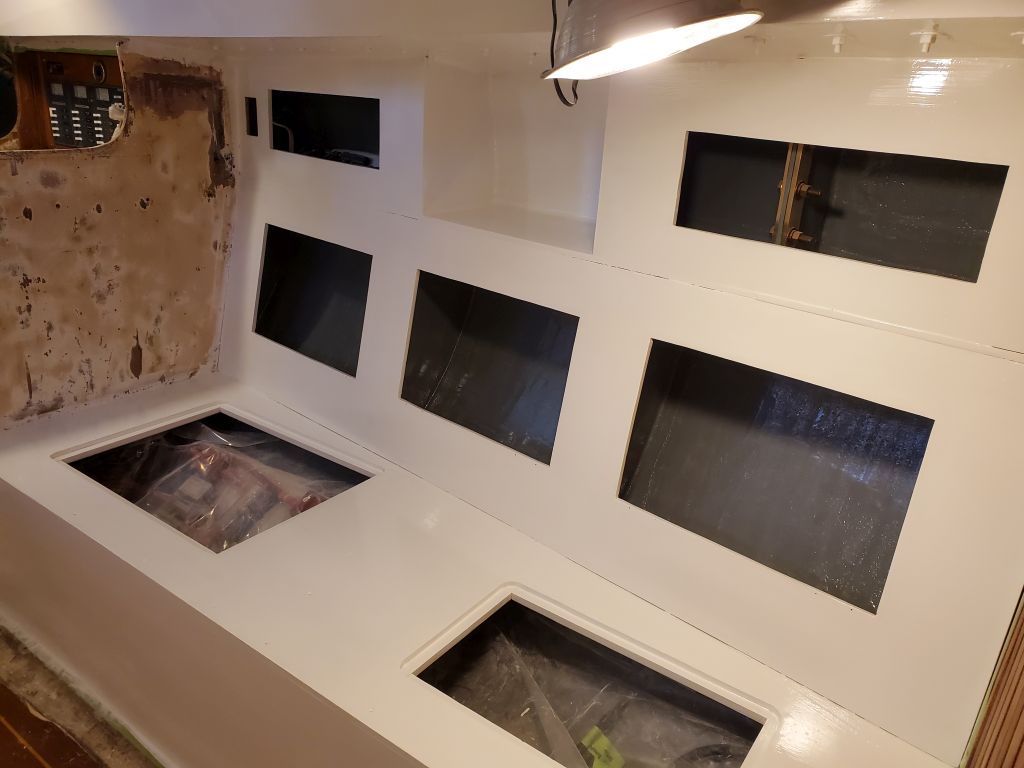
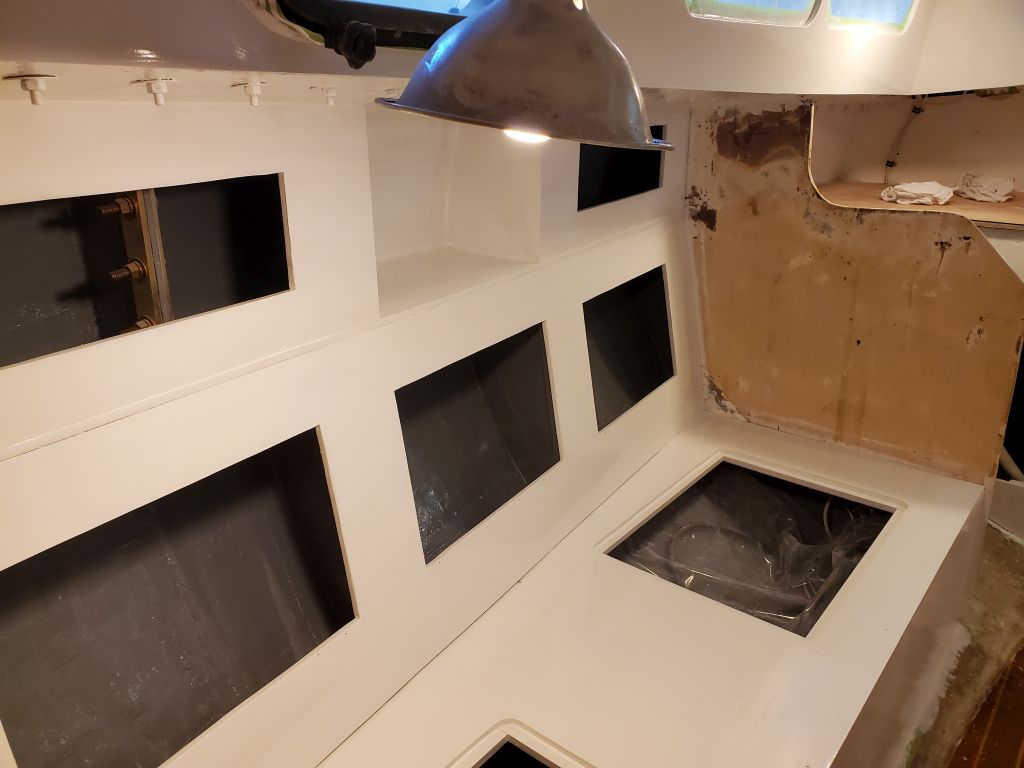
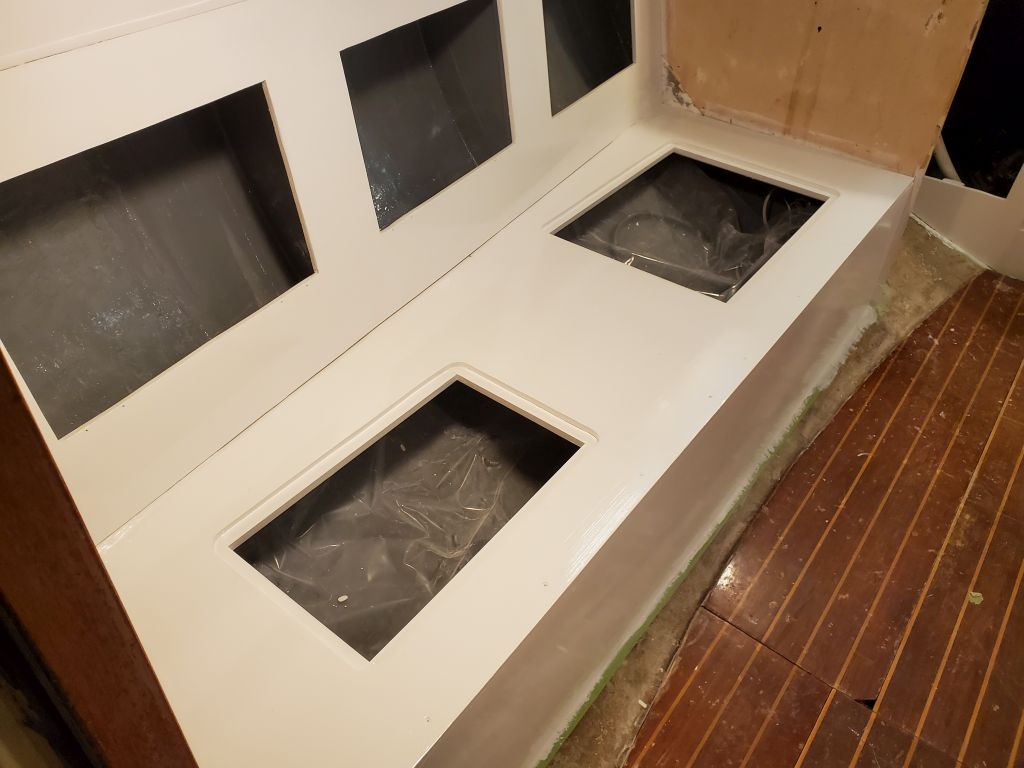
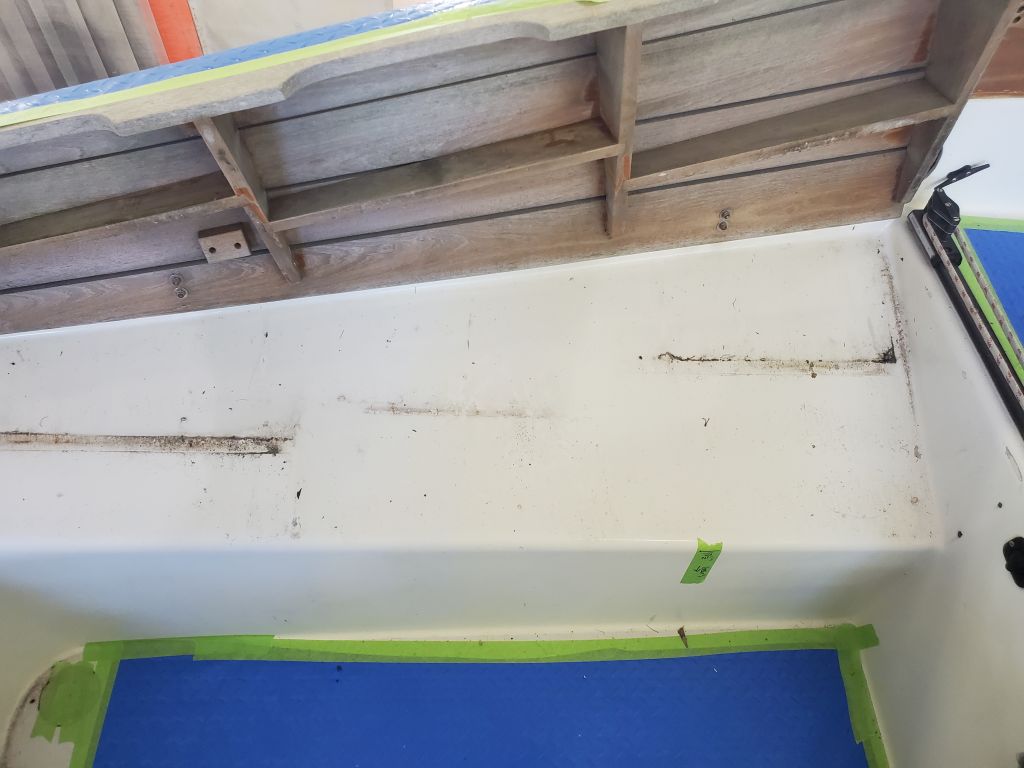
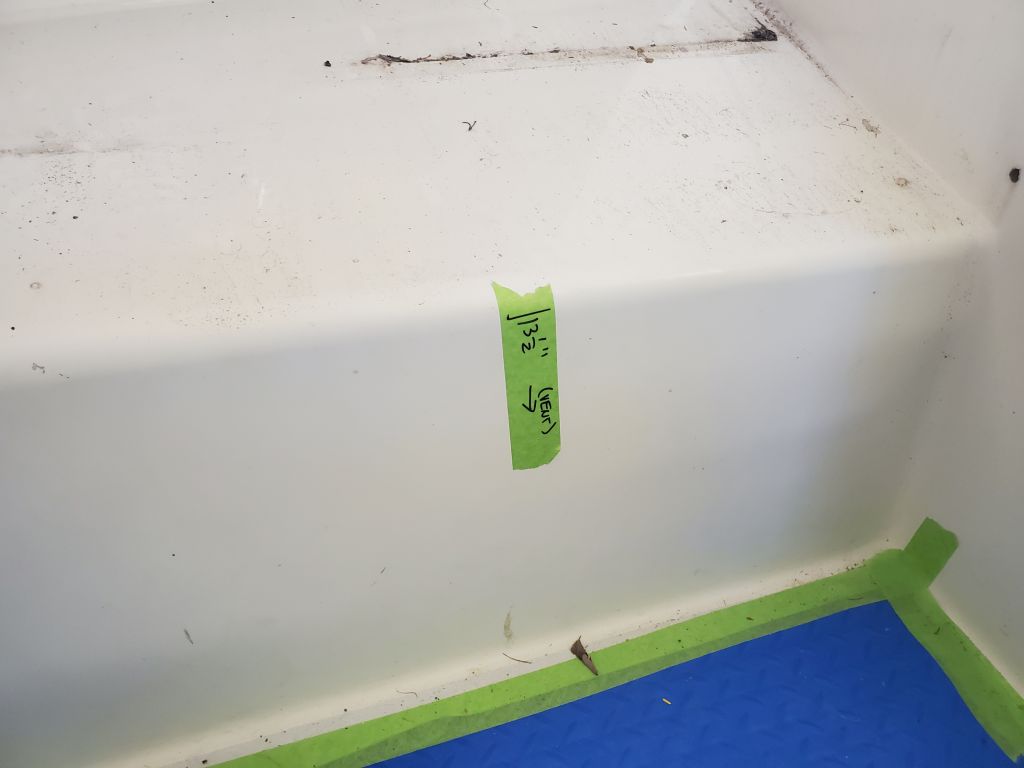
After a trip out in the world to pick up the countertop material, I got to work on the propane cylinder box. The owner and I had decided some time before that the new propane locker would be mounted in the after part of the port cockpit seat, which featured an angled, molded top beneath a hinged wooden seat platform. These photos date from some early planning stages back in October 2023 and are for illustration only, as now the cockpit was full of tools from the interior and I couldn’t easily access the area. To hopefully maintain (and actually create) access to and storage within in the remainder of the locker that was once the quarterberth, the new locker would mount as far aft (to the left in these photos) as possible, leaving whatever space remained for a top-opening locker lid to be constructed later. The second photo in this series shows that from the inside (lowest) corner of the locker to the location of the existing (now closed off) vent from the old locker on the starboard side was 13″ below this point. This location, seen in the third photo of the same vintage, was several inches above the waterline, leaving a bit of room for the requirements of the new locker, but not much, as this vent had to remain above the static waterline.

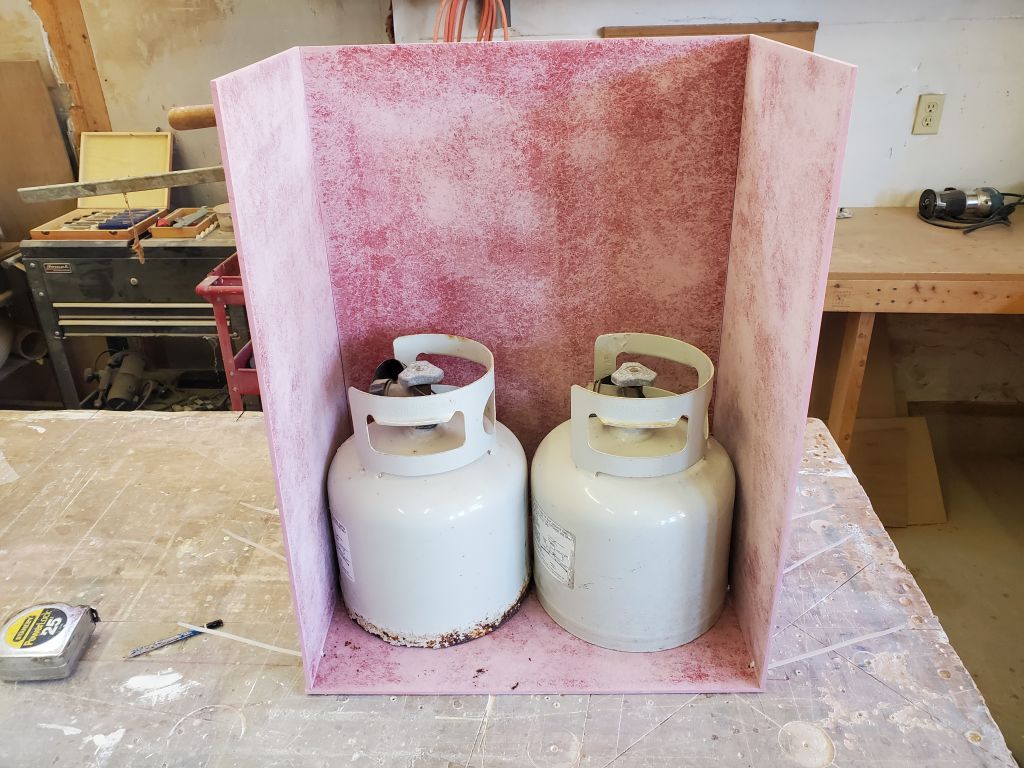
The owner also decided to continue to use the pair of small steel propane tanks he had been using, which were under 12″ tall and were otherwise acceptable. Originally, we’d discussed using an expensive horizontal tank, the dimensions of which might have taken up more of the valuable space in this locker, but in the end the pair of smaller tanks made good sense to use in the new plans. With all this information in mind, I’d come up with an idea for the locker and, some time before, had purchased some materials to use in its construction, which had been awaiting the right moment to be assembled. This was now. I’d previously prepared the prefabricated fiberglass panels for construction by roughing up the smooth factory finish, so they were ready to cut and assemble as needed.
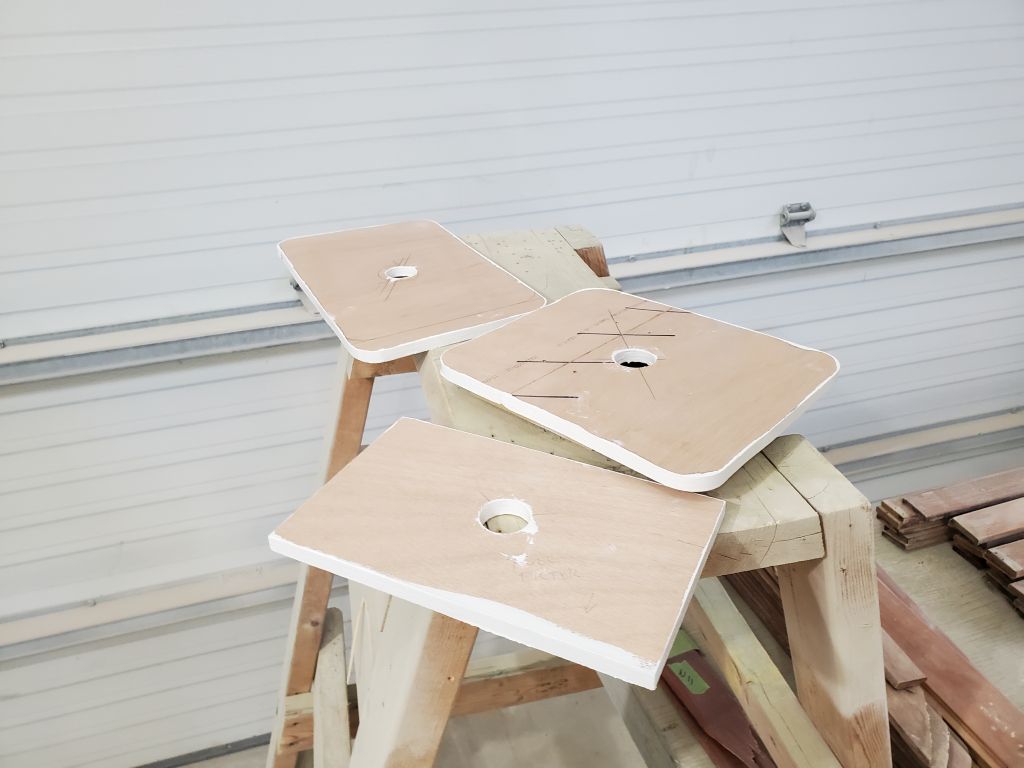
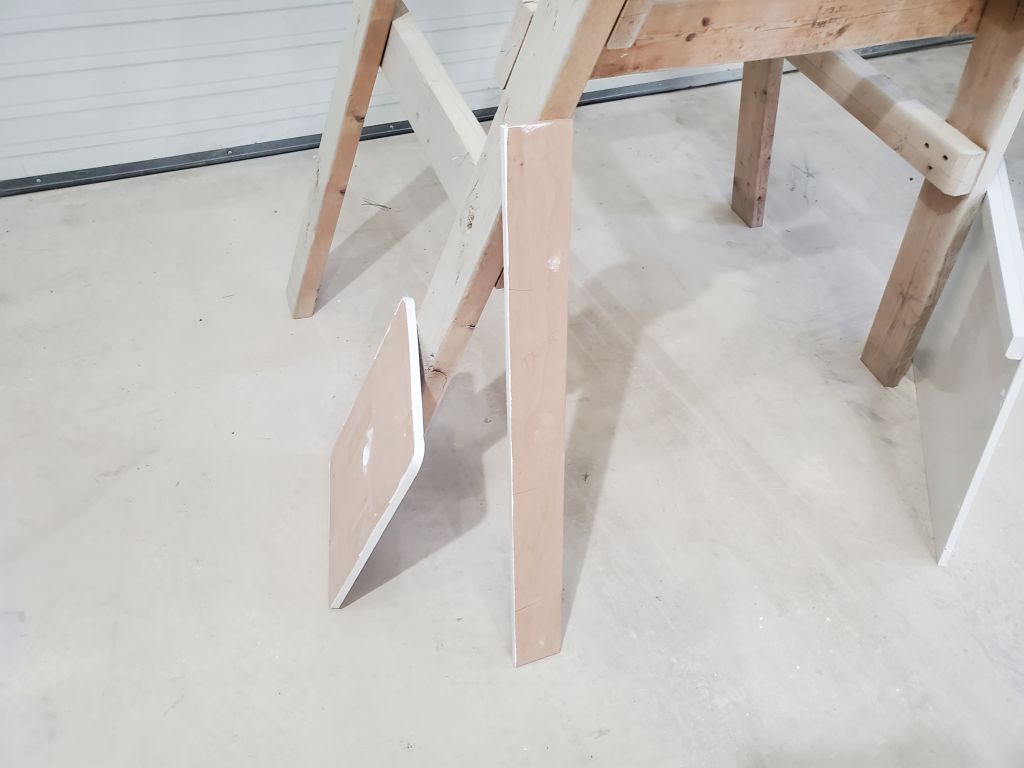
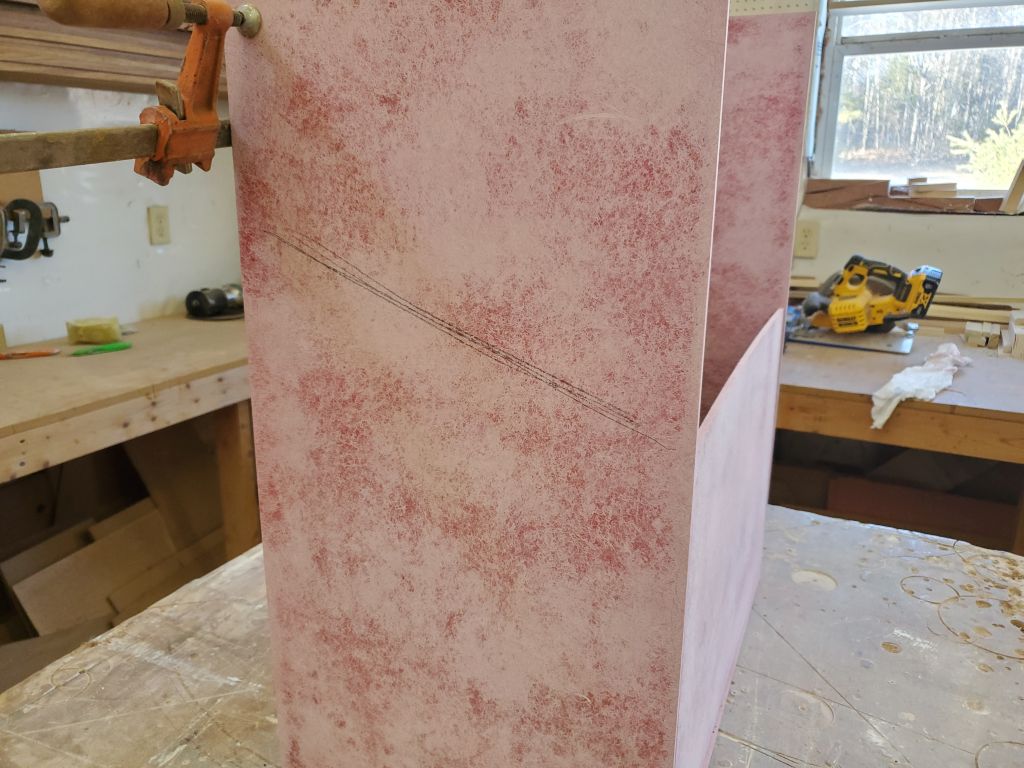
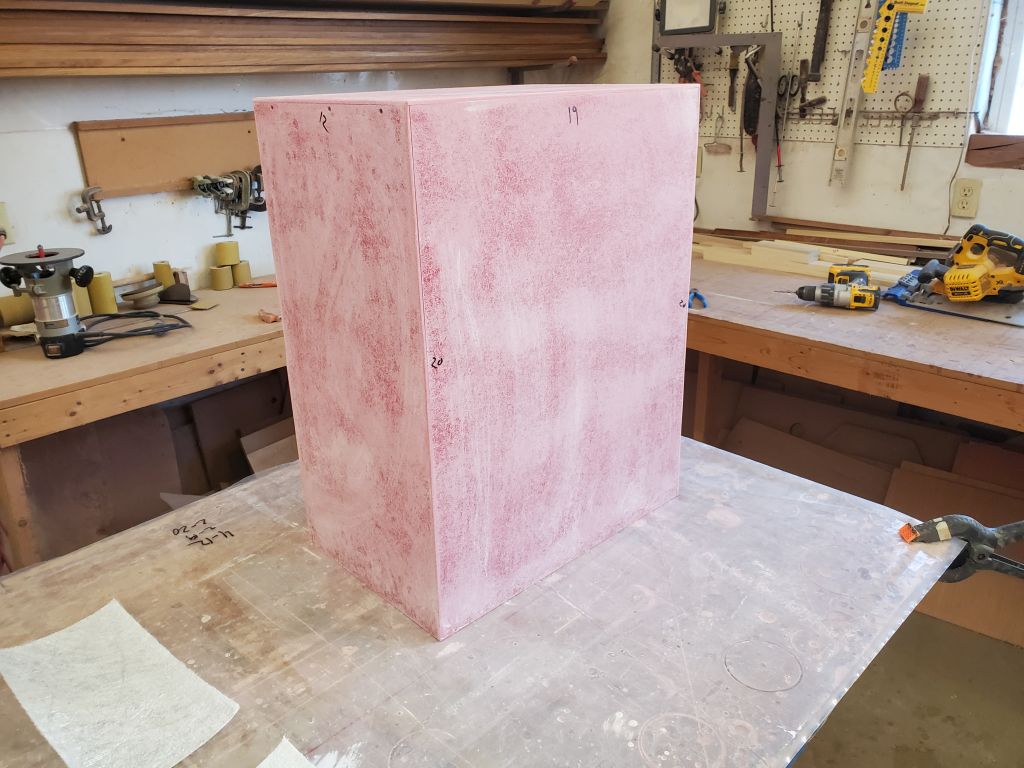
With the two tanks, I determined the length required for the box (19″), and, to leave some space for the tank-mounted regulator, hoses, and other requirements, kept the width at 12″, the stock measurement of the panels I’d ordered. Two 12″ x 24″ panels formed the sides, shown here “stitched” to the base with some wire ties, as initially I’d thought of assembling the box with stitch-and-glue, though I decided against it for reasons I’ll describe momentarily. These side panels, and the back panel that I cut to fit, were substantially taller than they’d need to be, but because of the angle of the cockpit locker (roughed out in pencil for illustration on the final photo in this series), I didn’t know exactly how tall; I planned to figure this out in situ later, but couldn’t do it right now because of the cluttered cockpit and fresh interior paint (which prohibited cutting holes in the boat at the moment). So I chose to assemble the back three sides of the box with extra height for later trimming.
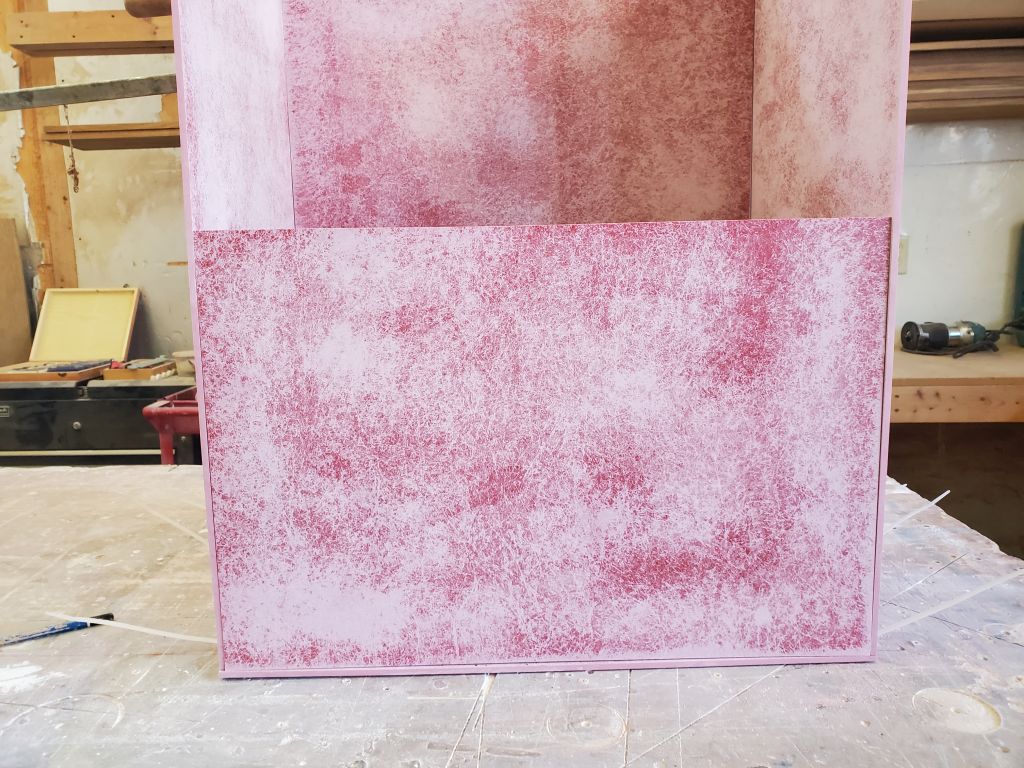
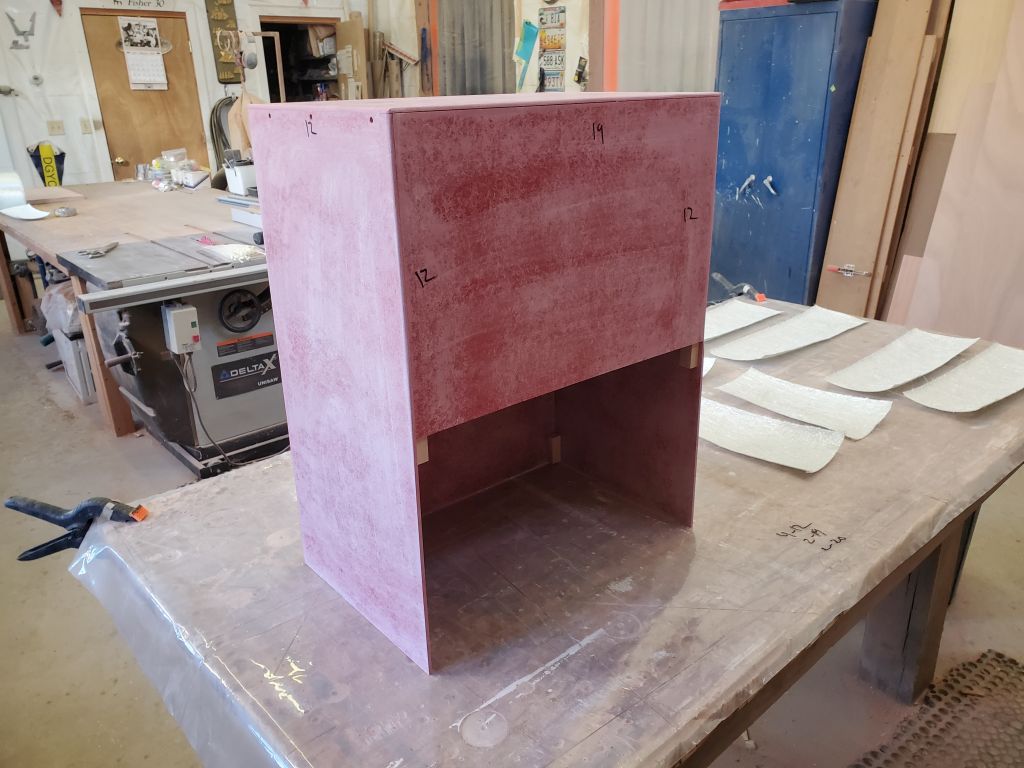
However, the front (i.e. inboard) side of the box would be dictated by the clearance required for the tanks, all the while striving to keep the locker as shallow as possible in order to maximize the distance between the waterline and the vent fitting, which would run out of the bottom of the locker. The tanks were 12″ tall, so I cut the front panel to 12-1/2″, which seemed a practical minimum. Once I could insert the actual box in position through its new cutout in the cockpit, I’d mark the final angle and position and cut the remaining sides accordingly.


I abandoned the idea of stitch and glue in this case because this method would have had me installing epoxy fillets inside the box at all the corners/junctions between panels to secure the parts together, and there frankly wasn’t floor space for these fillets given the design of the tanks, which extended straight all the way to the base with no recess like the well-known 20 lb. BBQ tanks. So with my goal of keeping the locker as small as possible, I needed a flat floor all the way to the sides. Plus, there was really no need to assemble the box in this way, as I had other means at my disposal that would secure the pieces together for the initial stages.
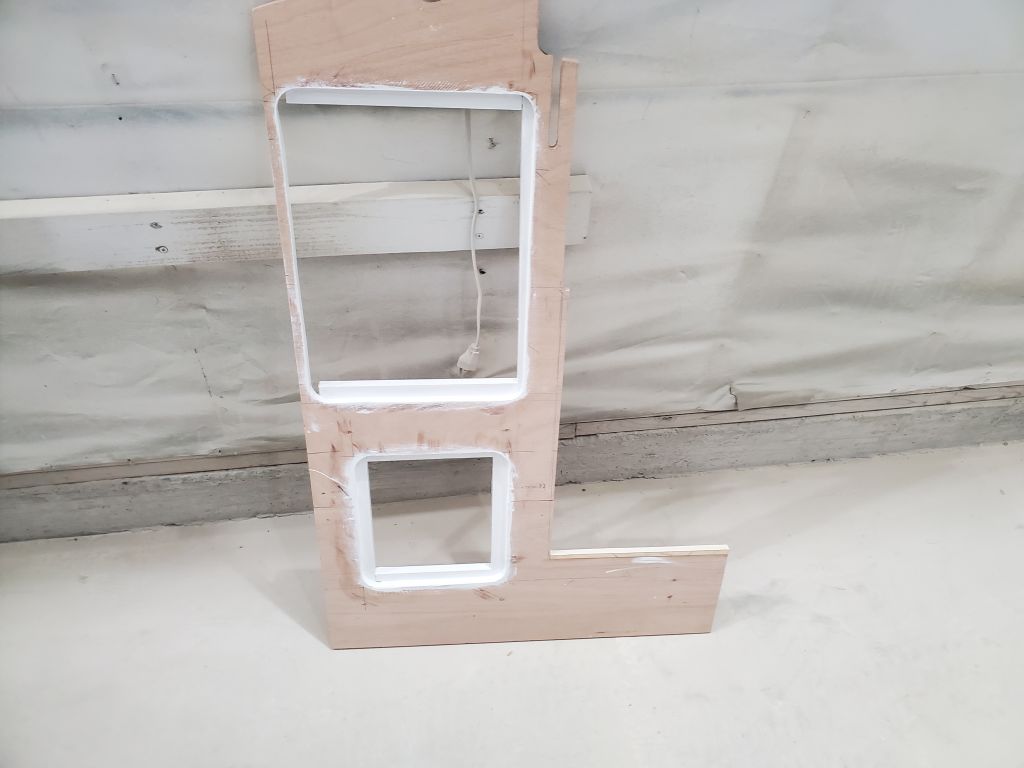
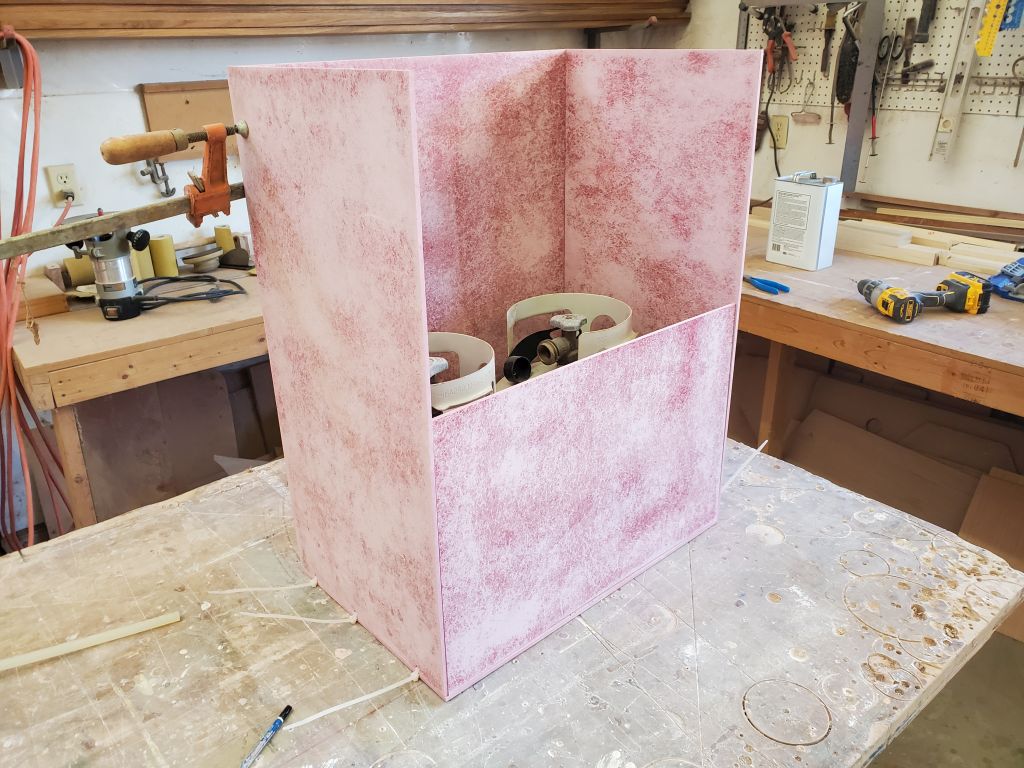
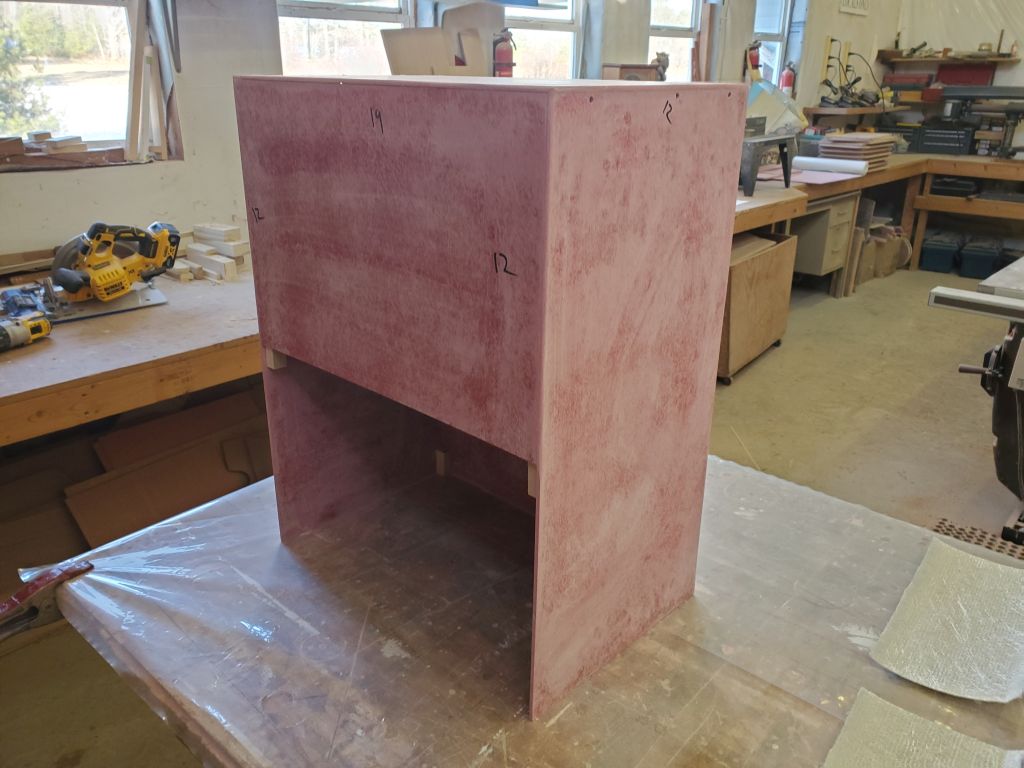
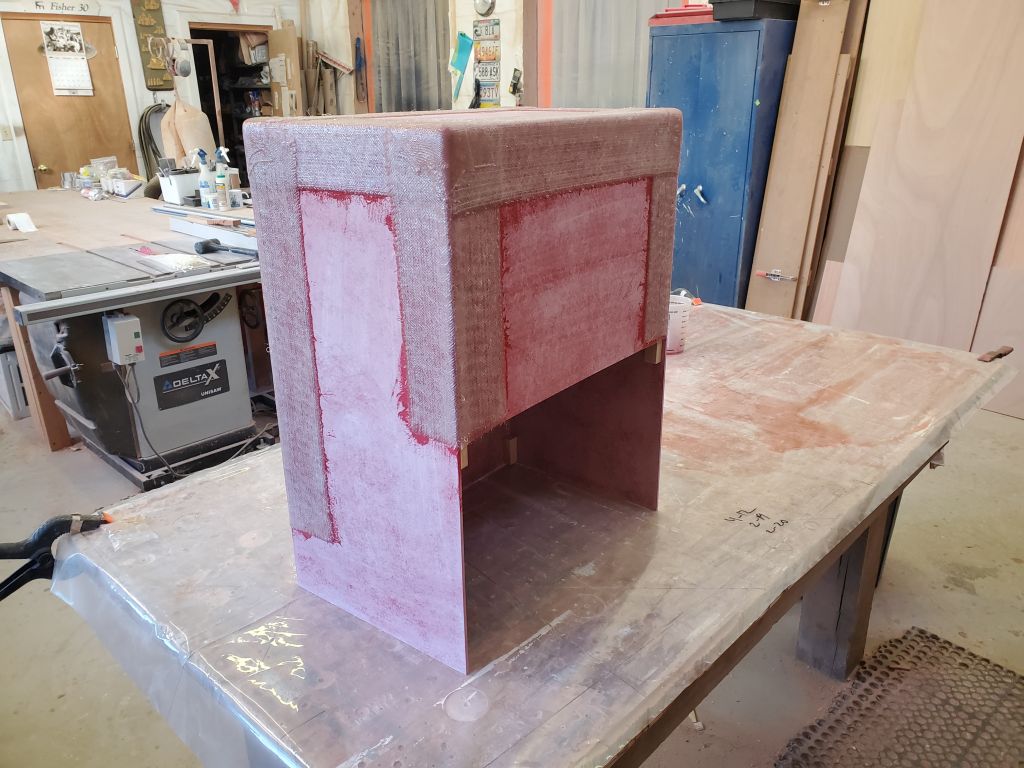
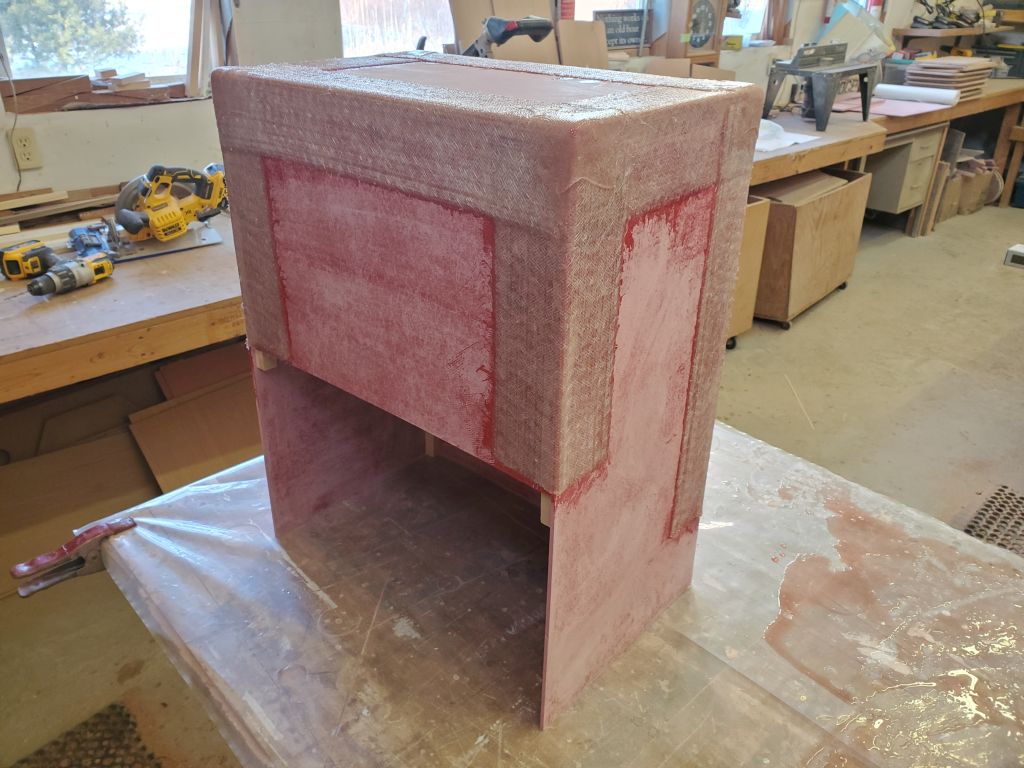
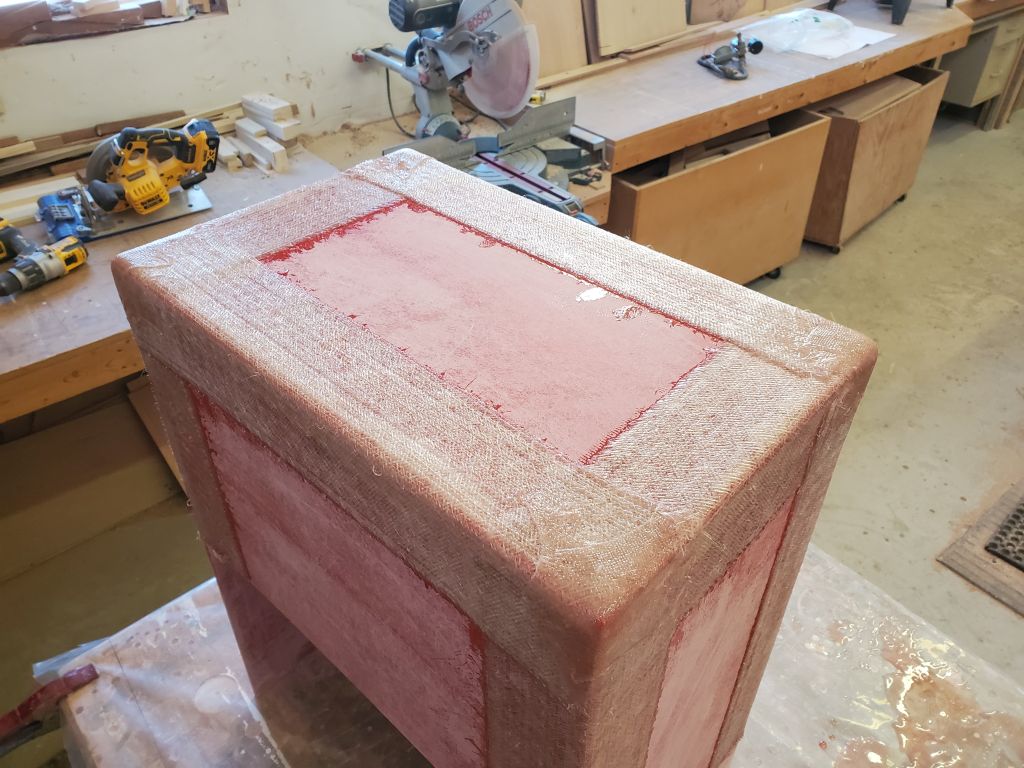
Instead, I secured the panels with small glue blocks inside as needed, which held the box together securely and would be easy to remove later for interior finishing. This method gave me an unencumbered exterior so I could fiberglass the whole thing together easily. First, though, I rounded all the corners slightly to ease the hard edges and make fiberglassing easier.
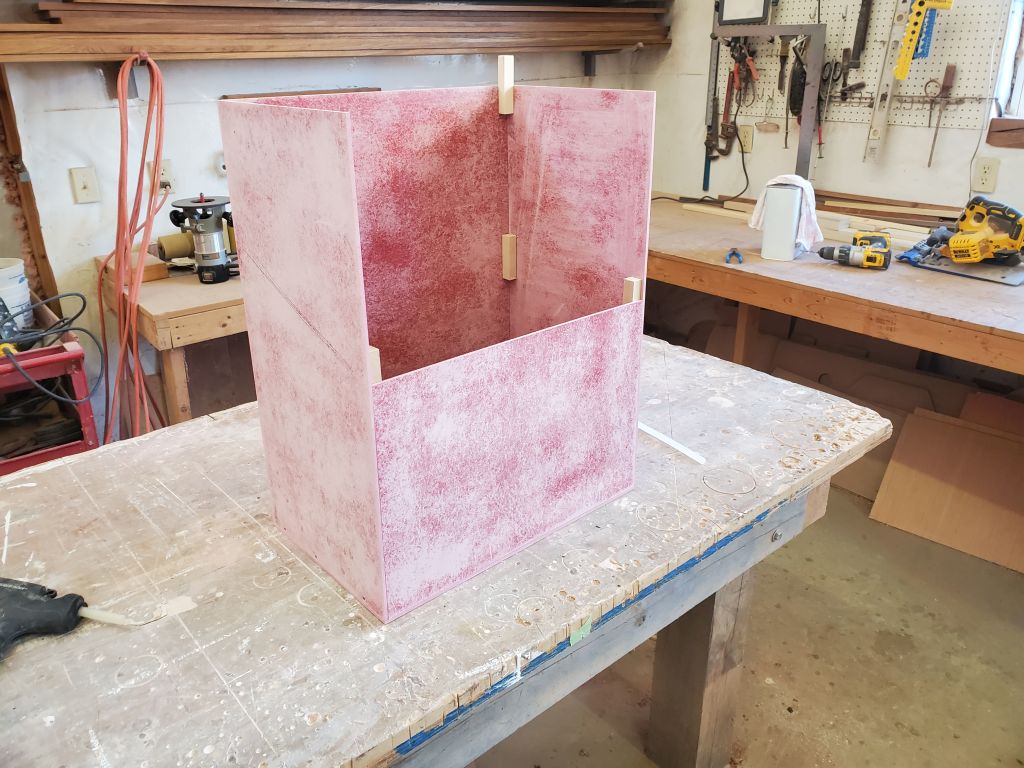
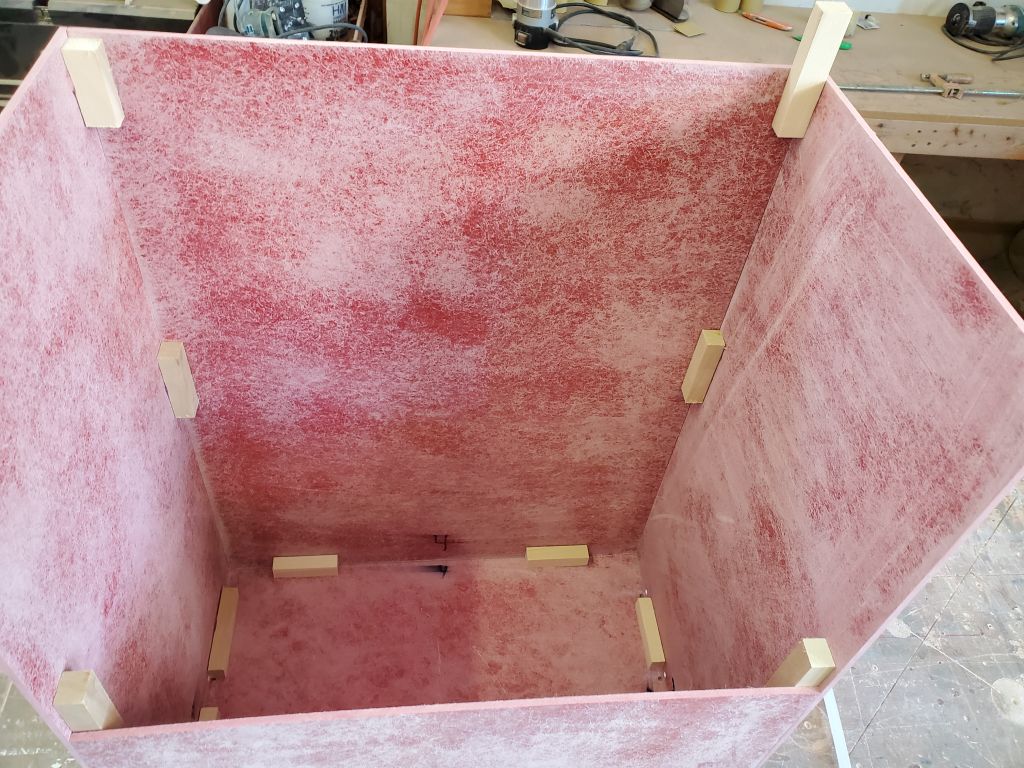
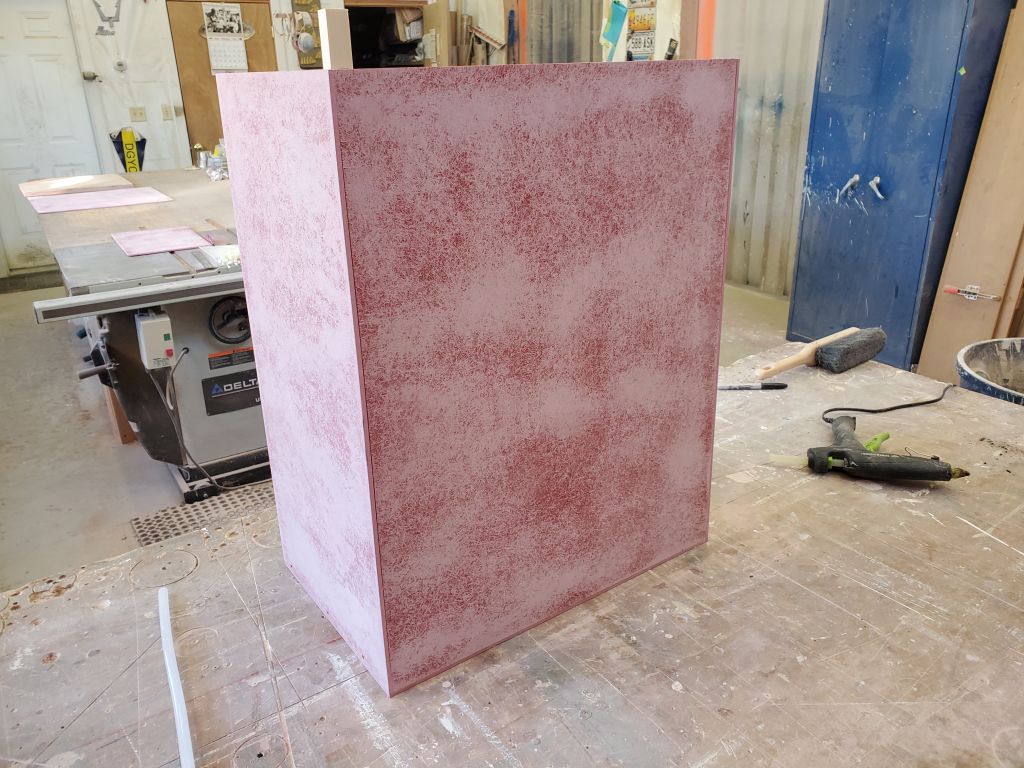
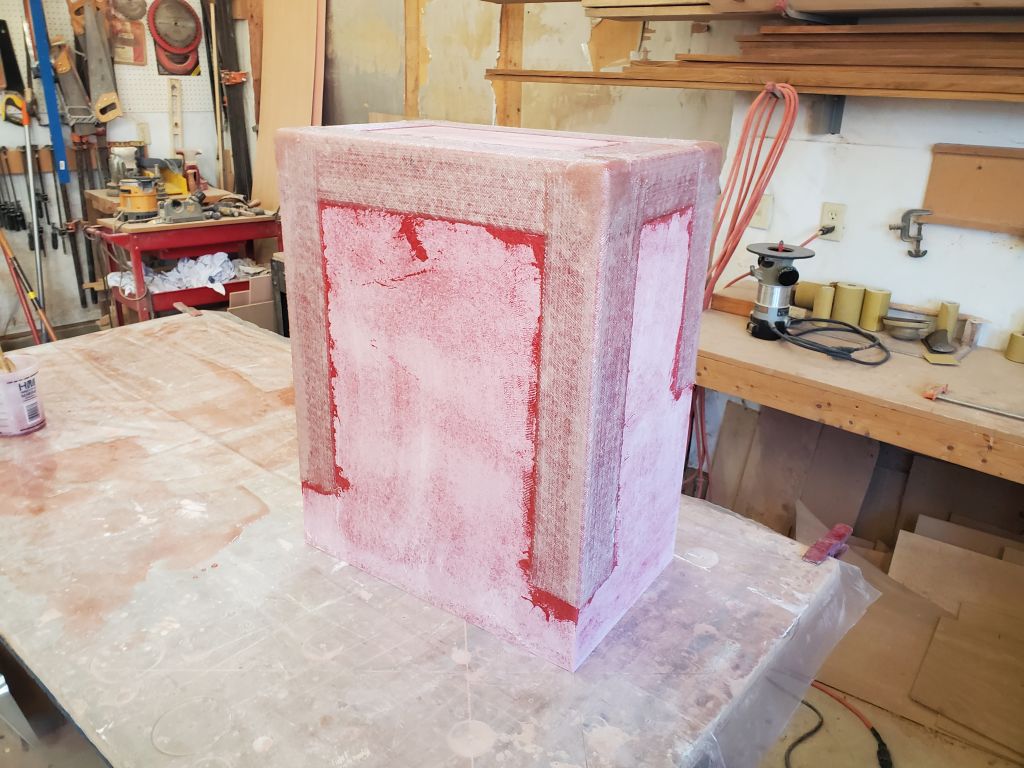
After final preparations, I installed strong tabbing over all the seams and joints to permanently secure the box, adding small pieces of fiberglass at the four bottom (i.e. top in these photos) corners so the entire assembly would be gas-tight when complete. I stopped the long tabbing on the back panel before the “bottom” (aka top) because later I’d be cutting this off somewhere. I left the fiberglass to cure overnight; later, once the exterior was cured, I planned to tab the inside seams too. The final installation would have me adding flanges to the top (once cut to the proper height and angles) that would rest upon, and be secured to, the molded cockpit, with a gasketed lid to sit atop this beneath the wooden hinged seat covers, which could be modified slightly as needed to clear the new hatch. I’d not yet worked out any details for the proposed storage lid forward of this, awaiting the finalization of the critical propane solution first.

Total time billed on this job today: 8.75 hours
0600 Weather Observation: 10°, clear. Forecast for the day: Sunny, 28°