


February 1, 2024
Calliope Girl 56
Thursday
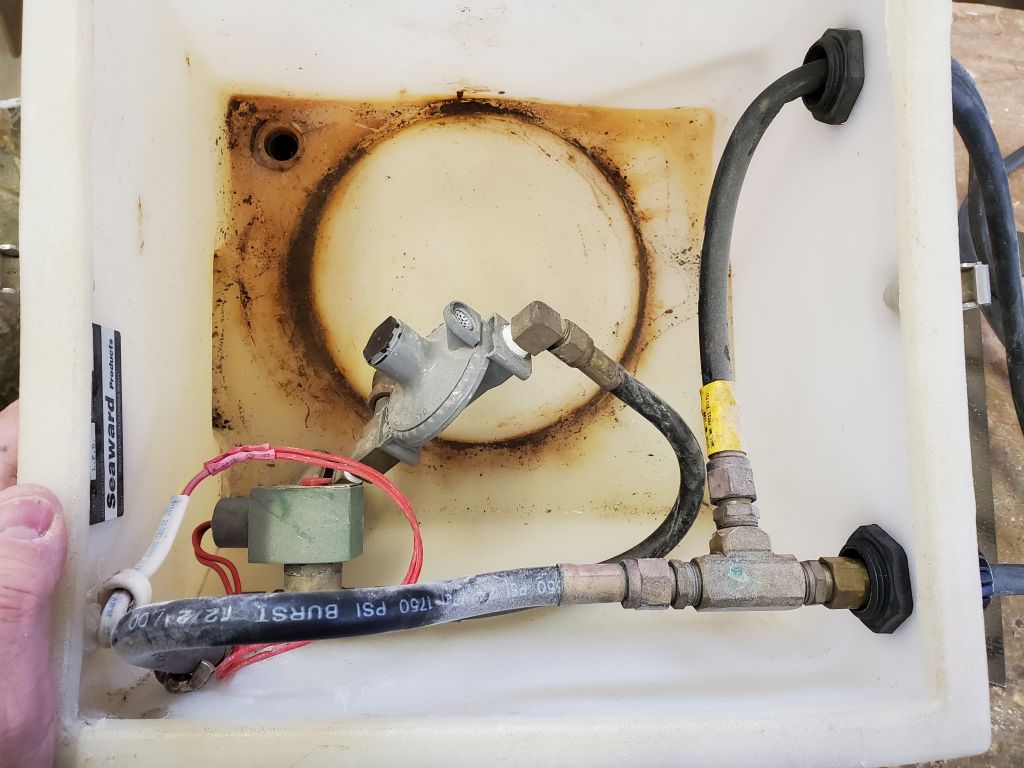
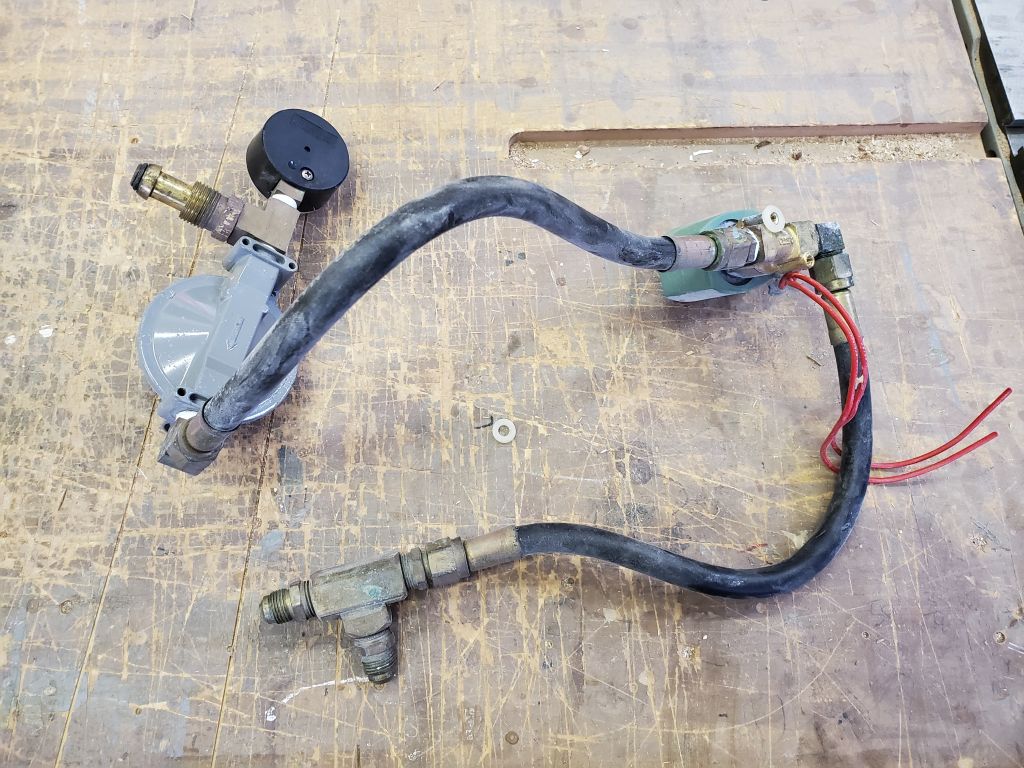
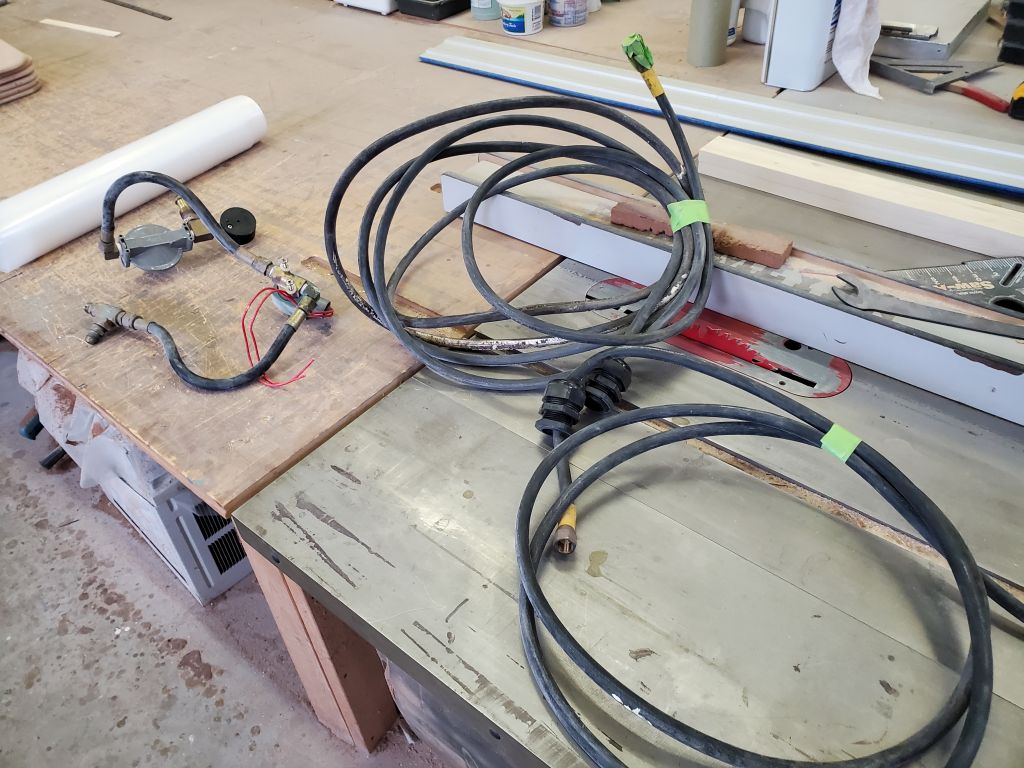
Overnight, I got thinking of the propane lines and connection to the stove, and wanted to check the old lines I’d removed to see if they were of appropriate length and condition to be reused, since the new propane locker would be further away than the original. This got me into briefly removing the regulator and valve assembly from the old plastic locker, as well as removing the two hoses, neither of which would be long enough in the new installation.
I also checked the connection on the back of the stove, and as I’d feared, it was something different than the normal US standard, which normally would have a male 3/8″ flare connection to mate with the female ends on all standard hoses. The connection on this stove featured female 1/2-14 BSP threads, as indicated on the plastic shipping plug. This led me down a rabbit hole of searching for an adapter fitting that would be appropriate, as most standard adapter fittings found at the usual sources were all intended only for the standard thread profile. I eventually found and ordered one possible candidate (requiring a combination of two fittings) so I could check the threads on hand, and also contacted the stove company looking for their suggestions (as of this writing, I had not heard anything back yet).

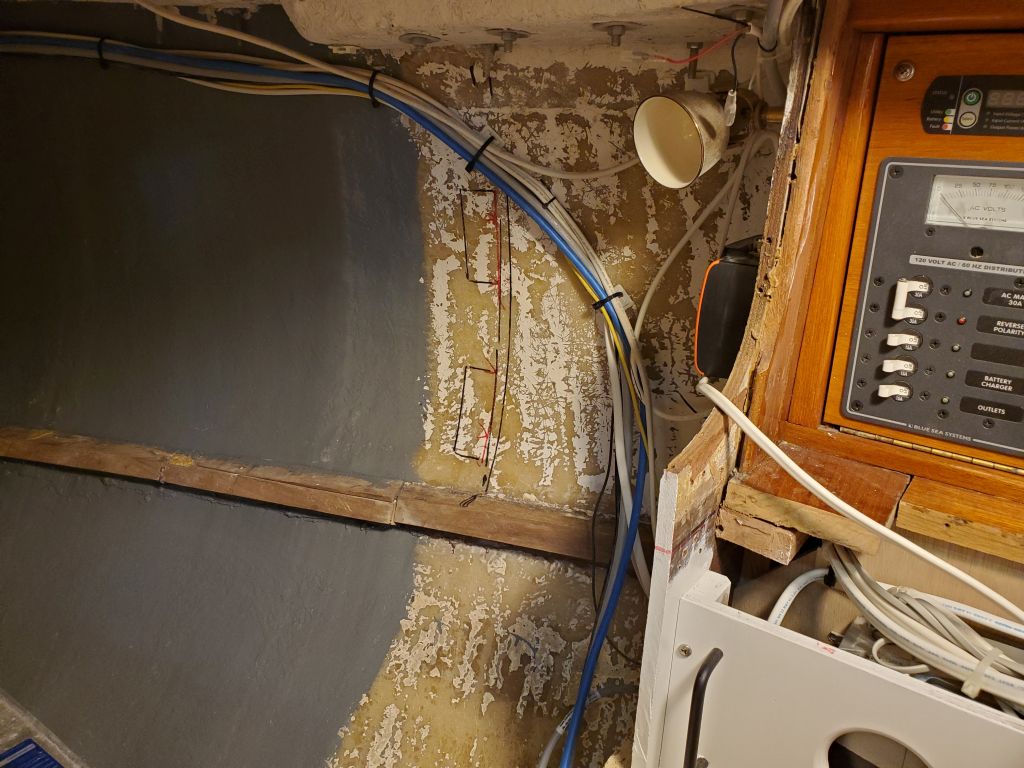
With that situation at least moving towards resolution, I spent most of the rest of the day working on the port aft corner of the galley. I needed to close off the old quarterberth, while striving to maintain reasonable future access to the fuel tank for service and even removal. My first step–I thought–was to replace the existing warped plywood quarterberth platform with a new piece of plywood, and I started down this road, but soon realized that what I actually needed first was the vertical bulkhead/divider, onto which the platform would eventually rest. This would give me several possible avenues to maintain the access as needed.
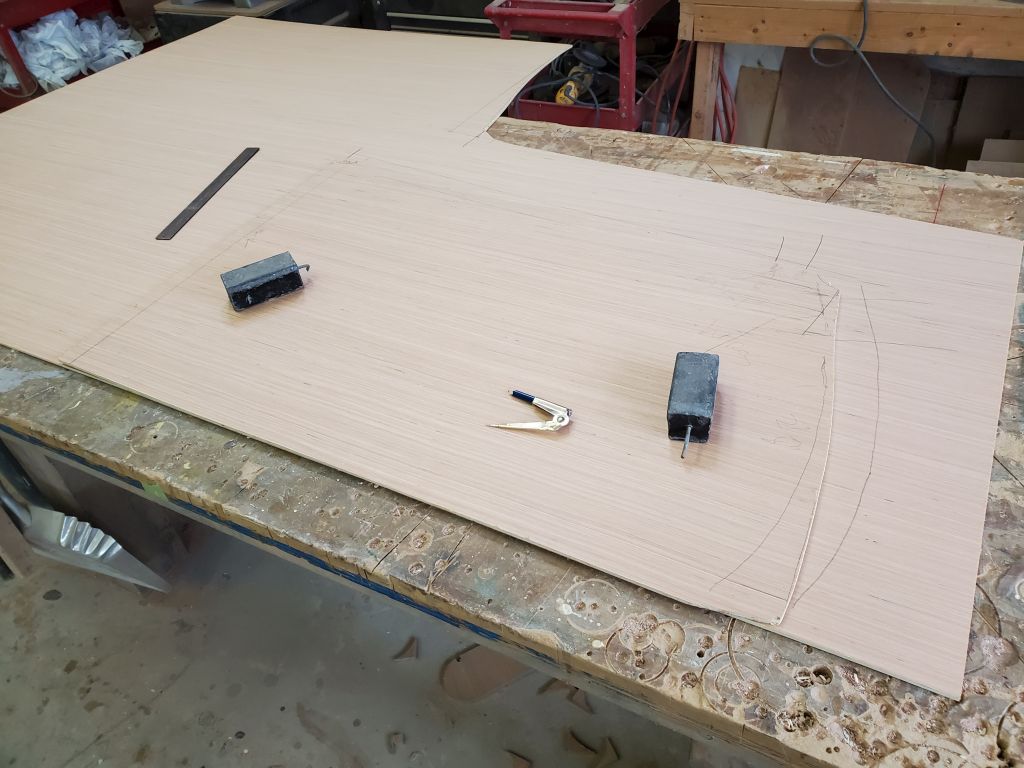
With the old platform in place just to help with layout, I extended the plane of the existing bulkhead across the space to the hull on the port side, and made some reference marks for use during templating. Then, I cut and installed a support cleat on the edge of the inboard bulkhead.
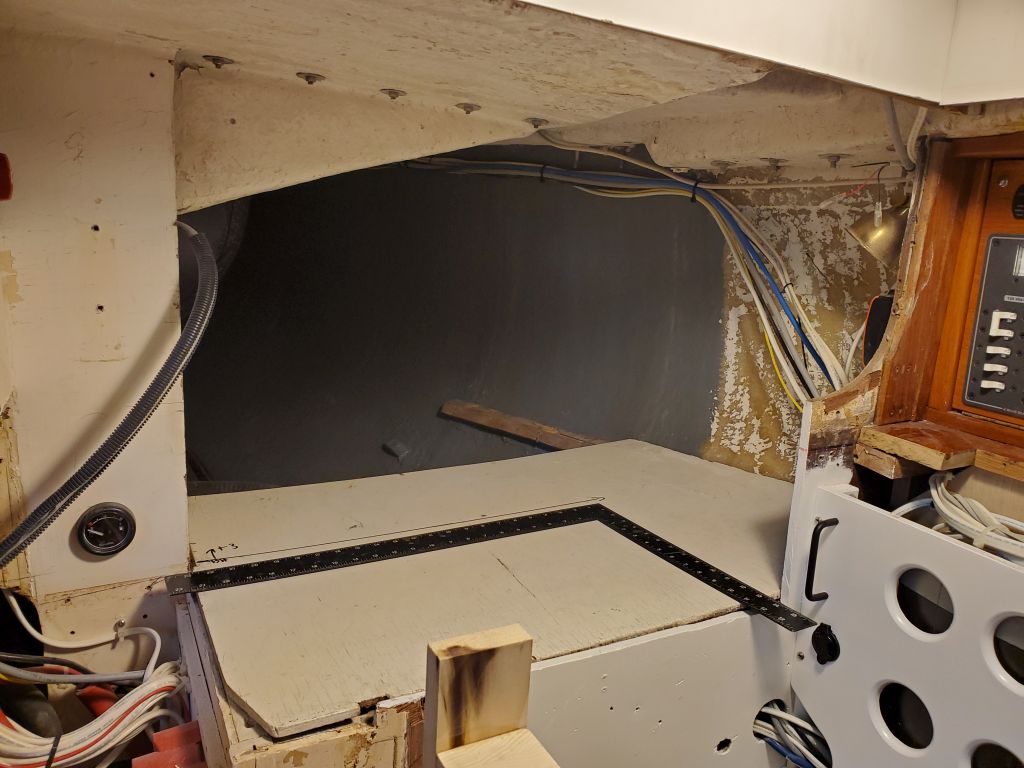
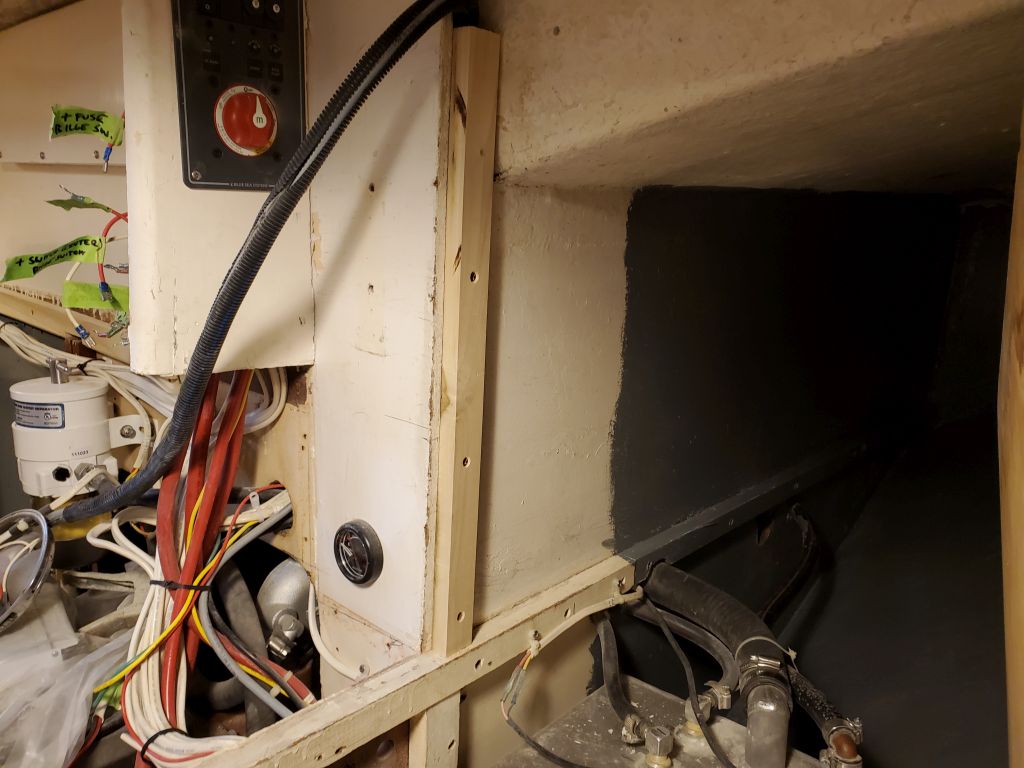
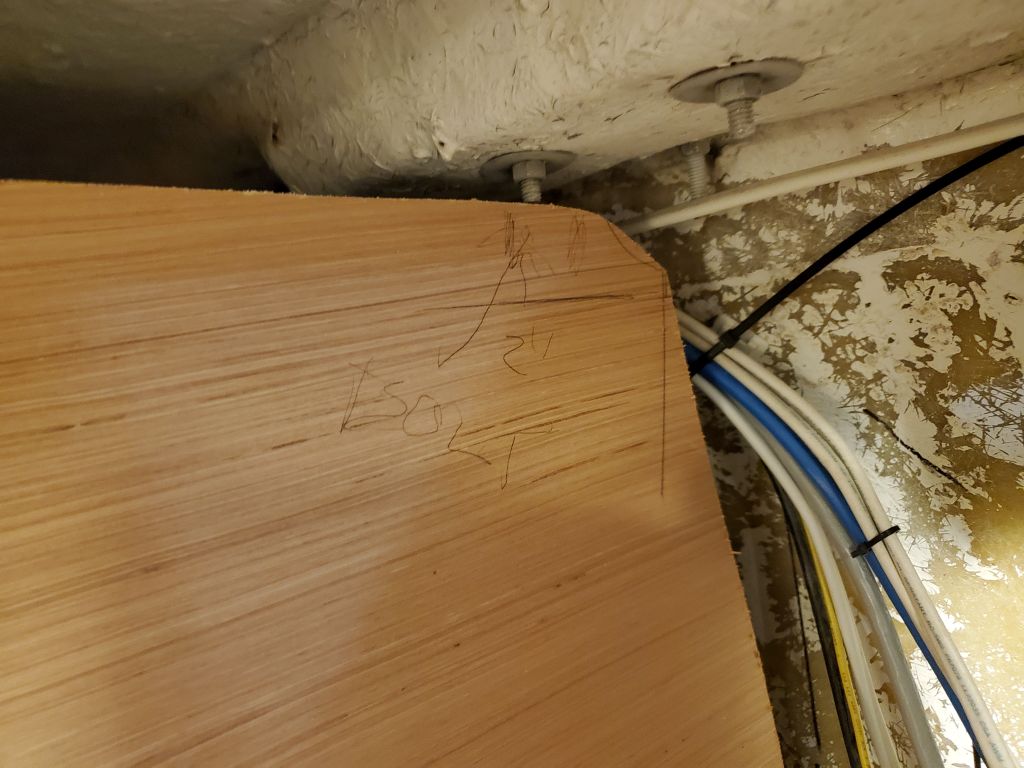
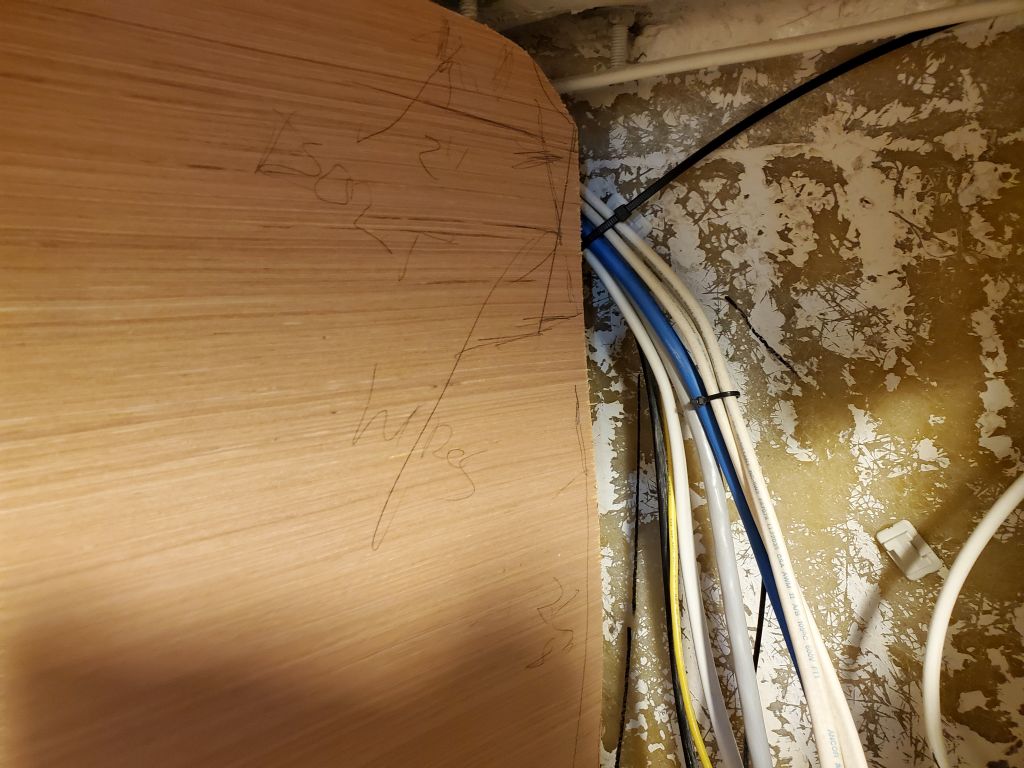
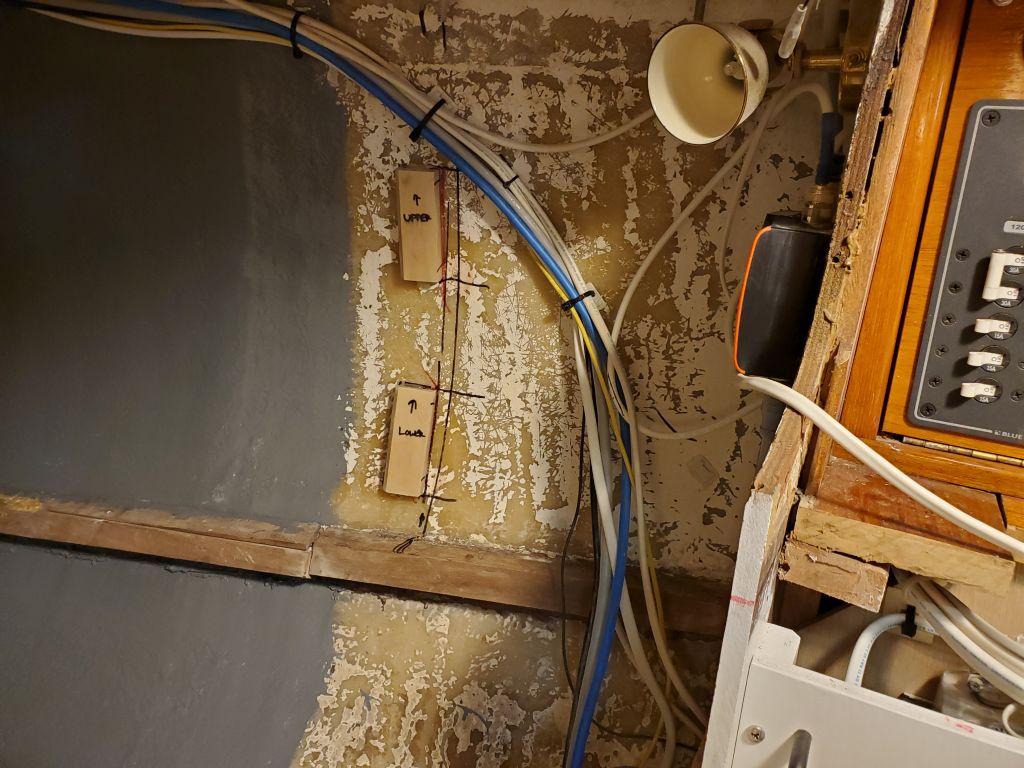
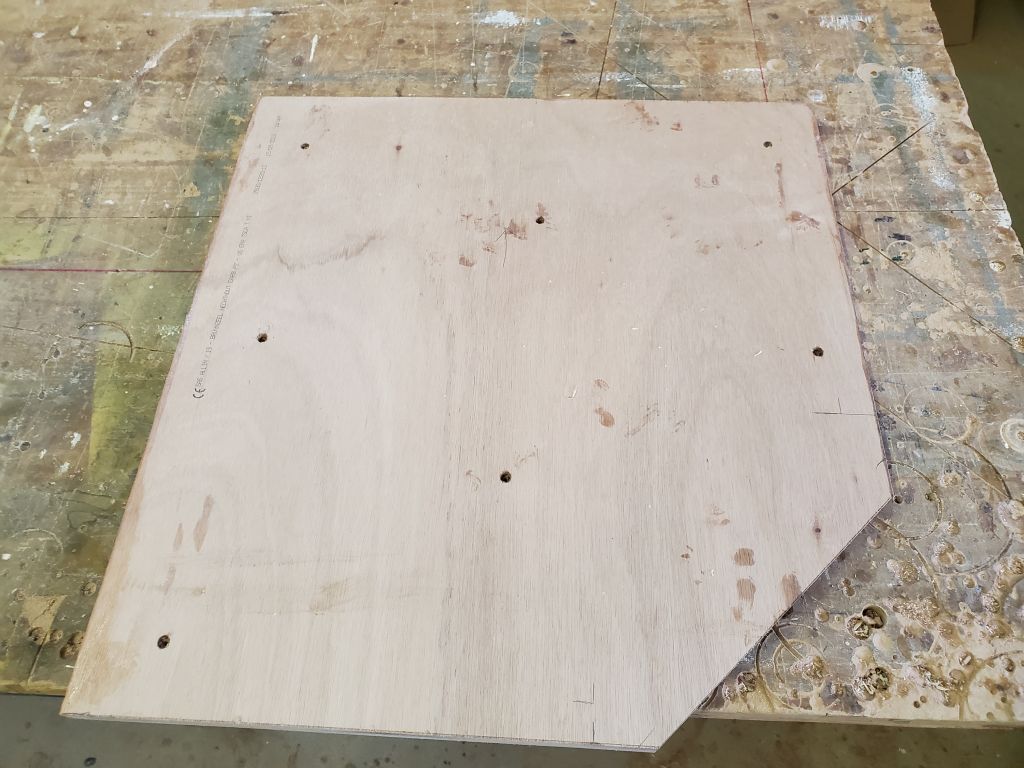
In the usual way, and starting with basic measurements of the space, I created a rough plywood template, which I used to scribe the hull and overhead as needed, then transferred these to another piece of template material to better ensure the final fit before cutting the piece out of the 12mm plywood. I left spaces for some of the existing wires to run, and, in the center portion of the fuel tank space, let the bulkhead hang down a bit to provide room for a support cleat for the new platform/shelf to be installed. With the bulkhead in the proper position, I marked the edge where it met the hull so I could install some support cleats there, which I did next, securing them with thickened epoxy adhesive and a dab or two of hot glue as insurance while the epoxy cured overnight.
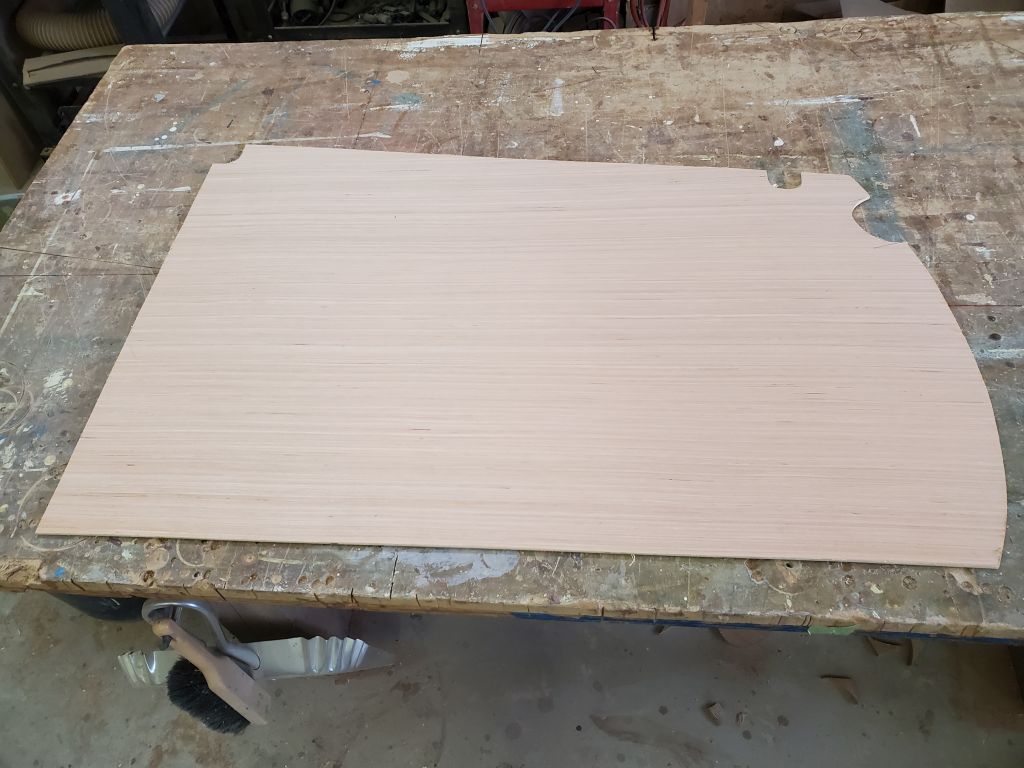
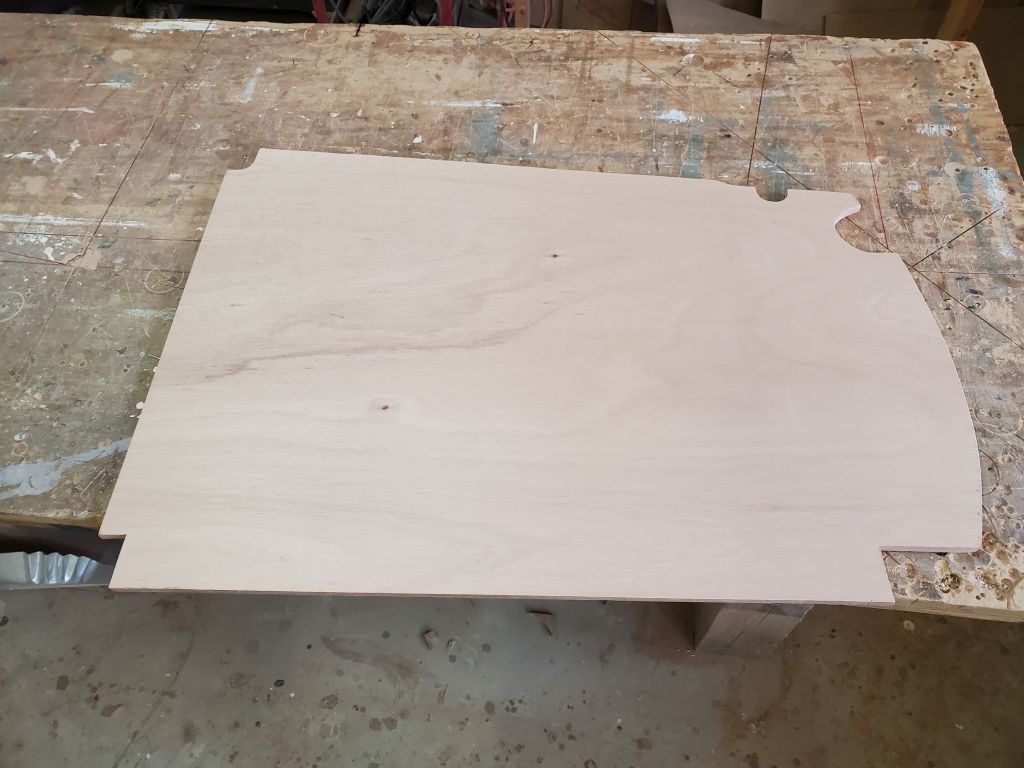
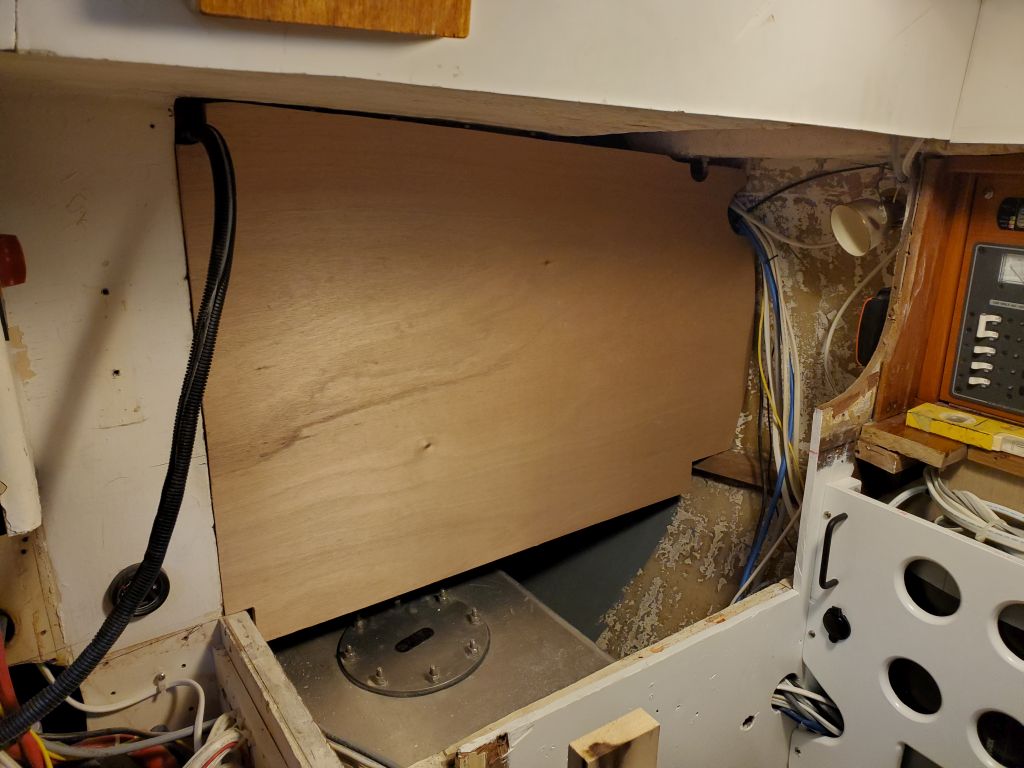
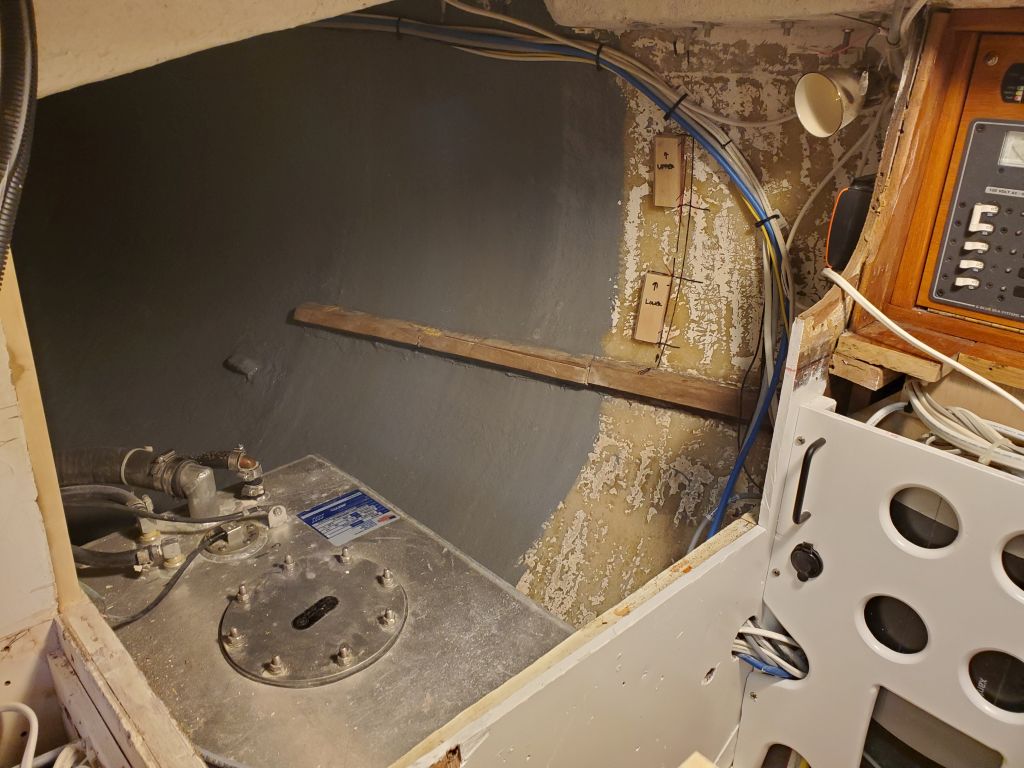
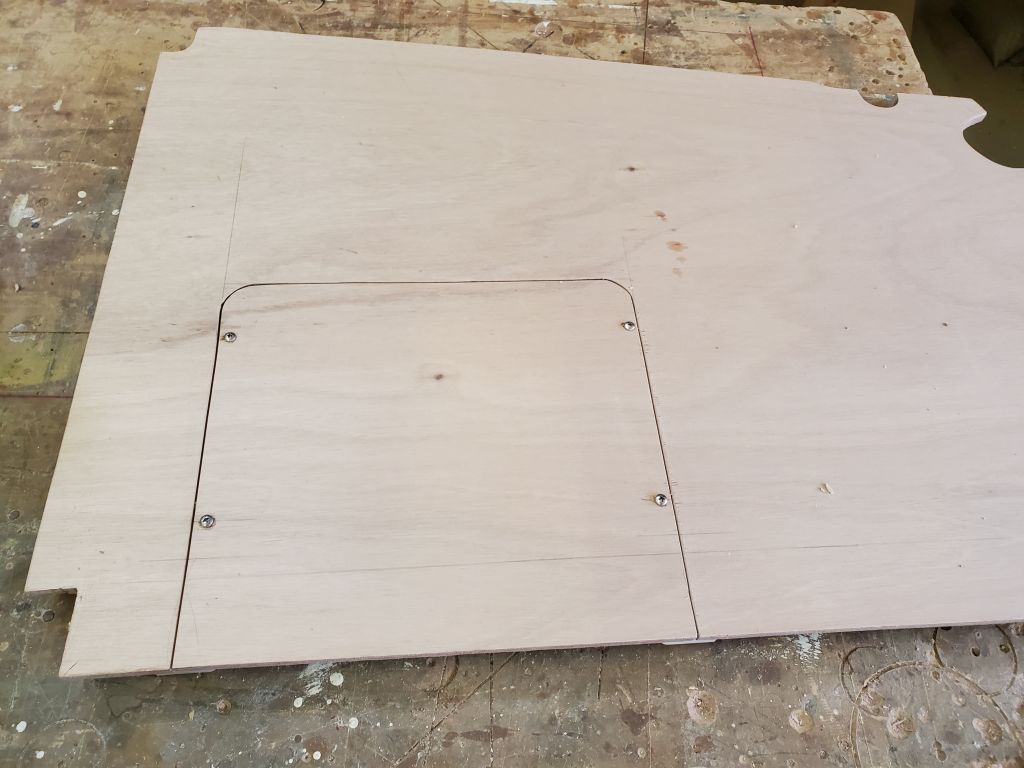
Though I planned to keep this new bulkhead (and things being built using it as a basis) completely removable if needed, to provide more route access I built in an access hatch over the fuel tank, which, when removed, would allow access to the cleanout and fittings at the aft end. I cut out an appropriate section of the plywood, then installed hardwood support cleats on the aft side.
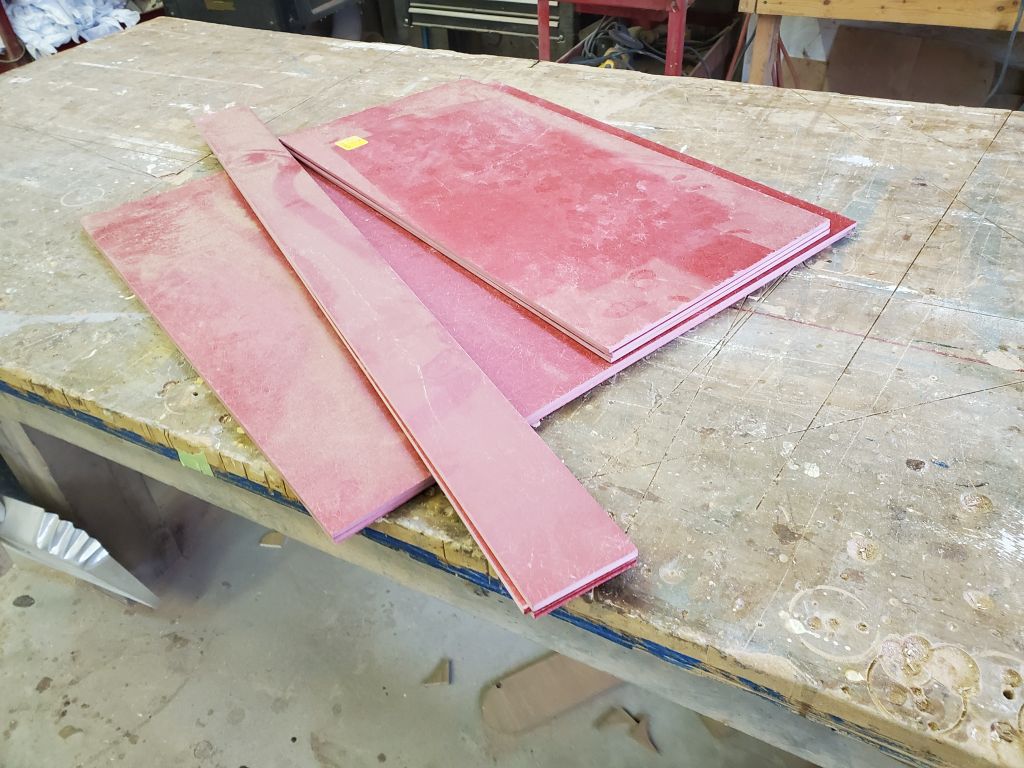
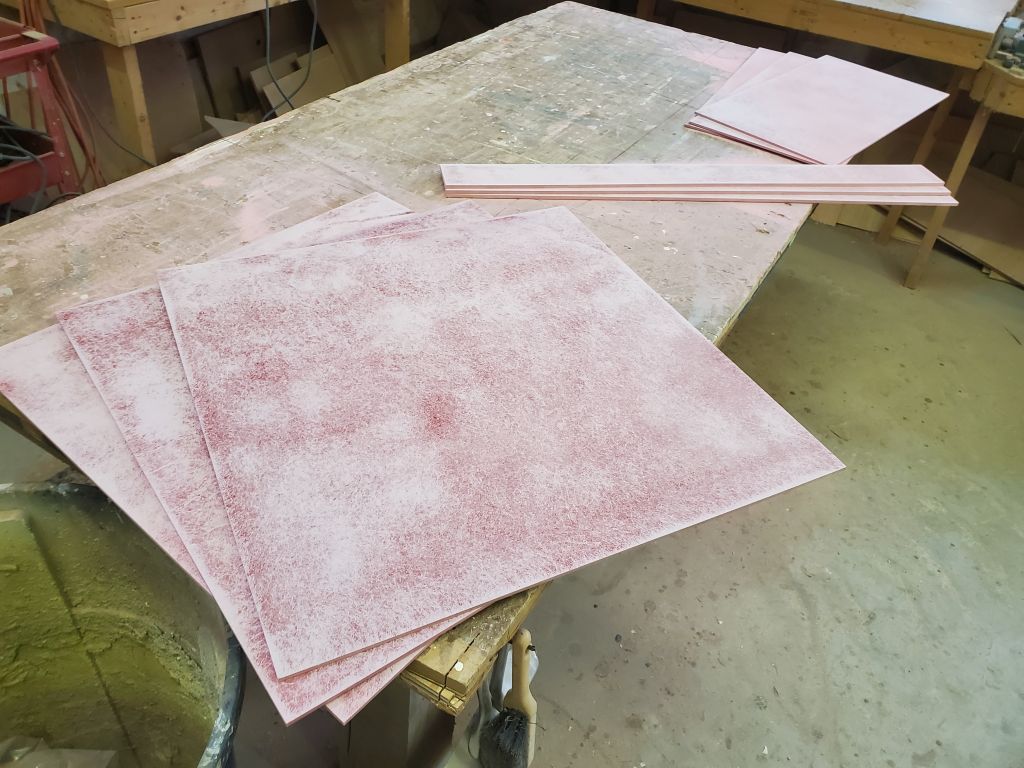
With a bit of time left in the day, but no immediate way to progress the galley construction while awaiting the epoxy cure time, I prepared several prefabricated fiberglass panels that I planned to use to build the new propane tank locker, so they’d be ready whenever I was ready to start building the locker, perhaps during future slack moments like this. The first step with this material is always to sand the factory finish to prepare the fiberglass for additional bonding and paint work, which sanding I completed now and set the pieces aside.
I cleaned up the edges of the new battery compartment base, removing any epoxy squeezeout left from lamination, then trimmed the aft corner at 45° along the line I’d drawn during the initial layout.
Finally, using a scrap of teak I cut a large number of bungs to use in the settee construction, and eventually for trim work going forward.

Total time billed on this job today: 7.5 hours
0600 Weather Observation: 21°, partly cloudy. Forecast for the day: Mostly cloudy, 37°