


April 1, 2024
Calliope Girl 90
Monday
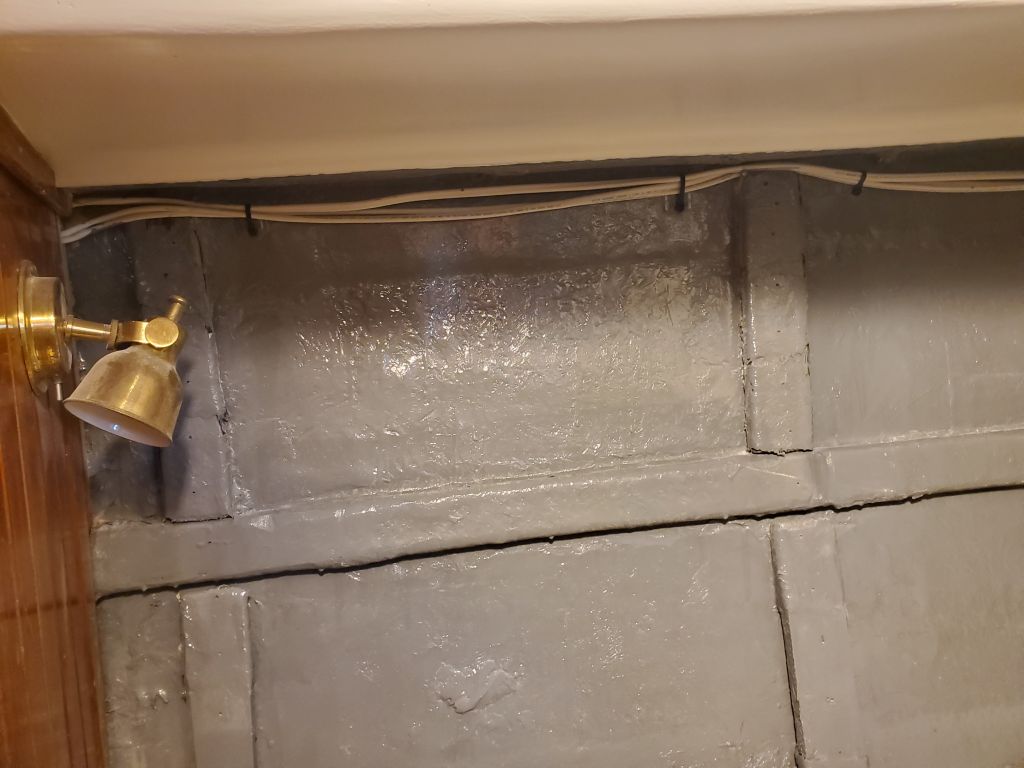
After a week away from the shop, I checked over the various paint I’d applied before departure, and in the v-berth this led me down the path to clean up and resecure the various wiring and plumbing I’d disconnected and been storing in the port aft corner throughout the project. First, along the port gunwale, I secured the wire runs that led forward to the chainlocker, using the new wire mounts I’d installed earlier. The wire leading down from the bundle runs to a small fan that would remain outside the ceiling once that was reinstalled.
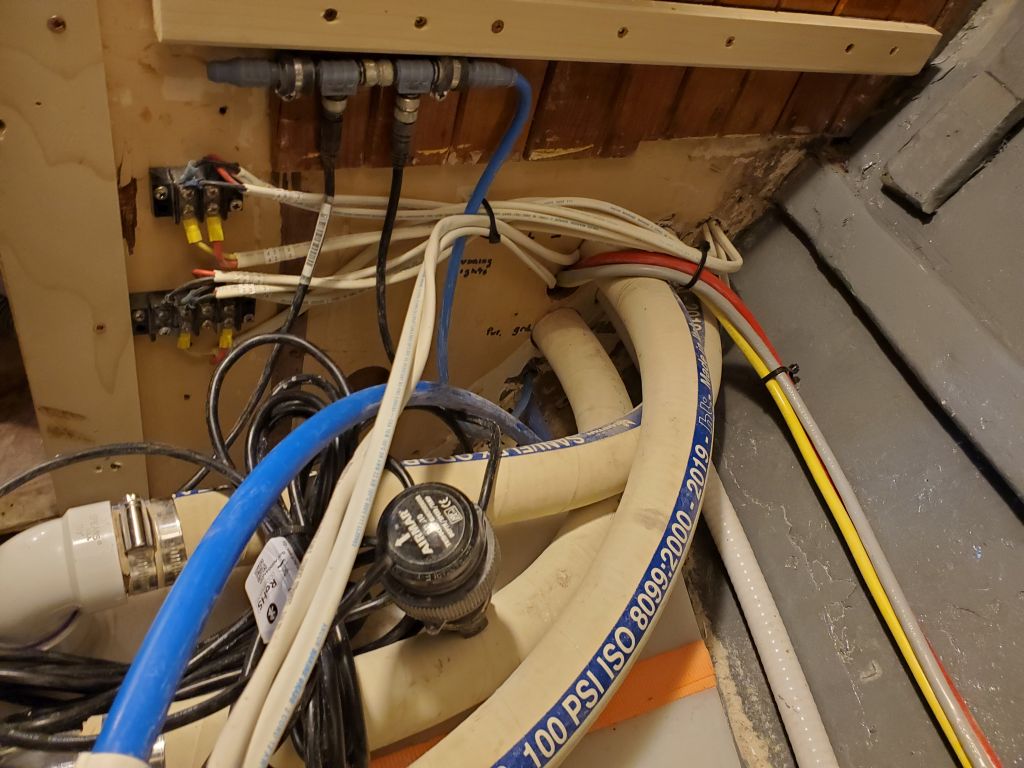
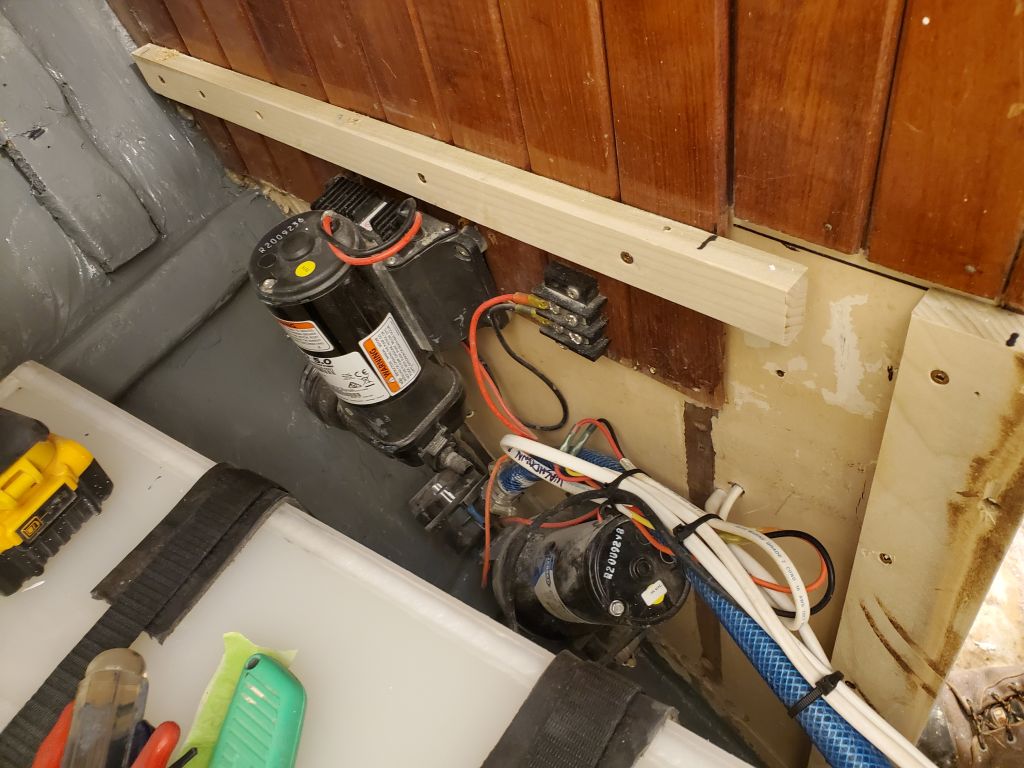
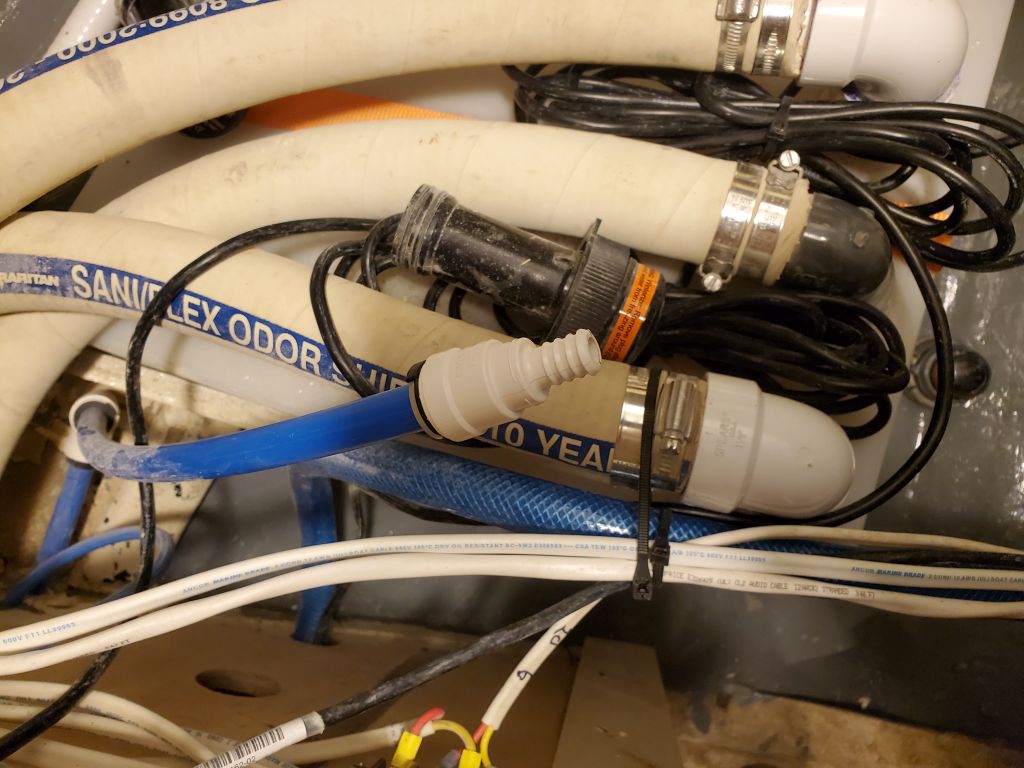
At the aft end, I reinstalled a couple terminal blocks containing wiring for various components, along with some network wiring for the transducers and related equipment, and reconnected a couple of the wires I’d removed to allow clear passage into the space du ring the project, since these wires had to run across the opening into the berth. I secured these wires to the water hose leading from the washdown pump. To eventually reconnect the fresh water line leading to the toilet flush (the blue PEX), I repurposed an adapter fitting so I could connect the hose I was using elsewhere in the project to the water pump, but before I could do that I needed a few additional fittings that I ordered, mainly a tee fitting to split the supply between the toilet and the galley sink faucet.

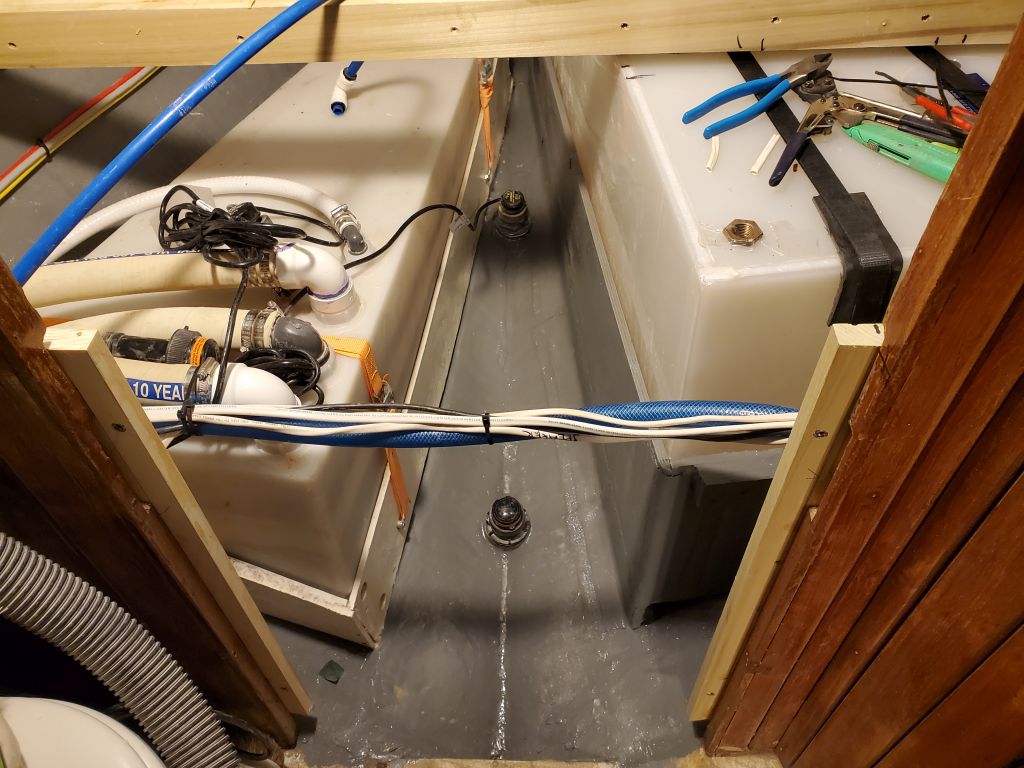
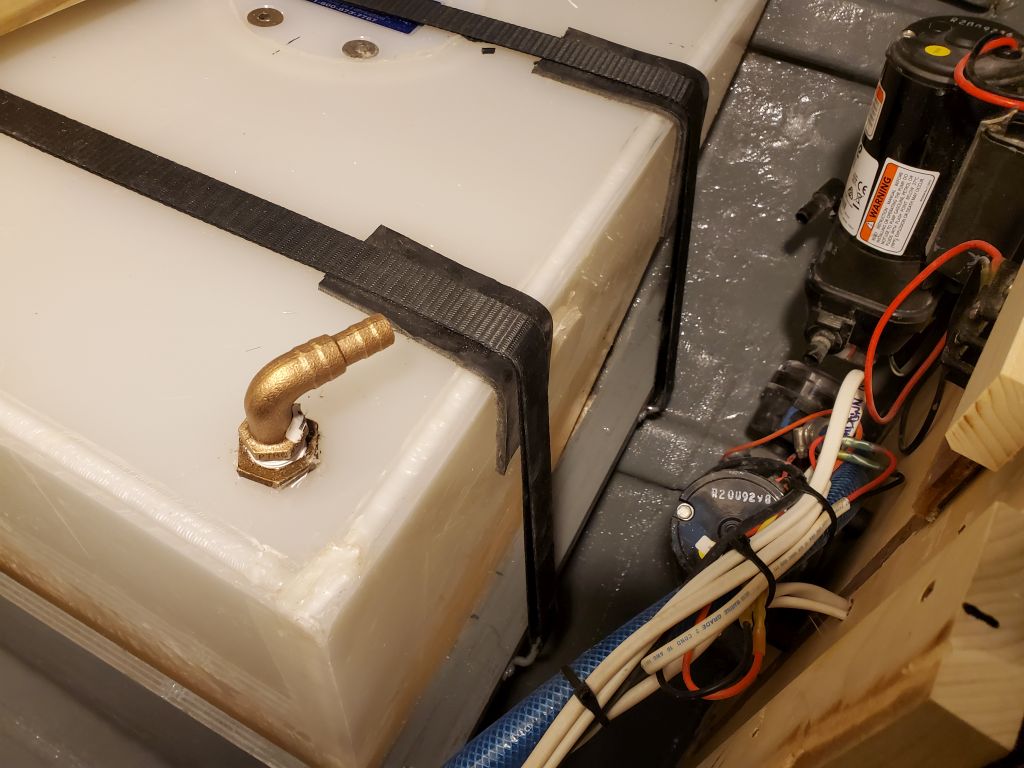
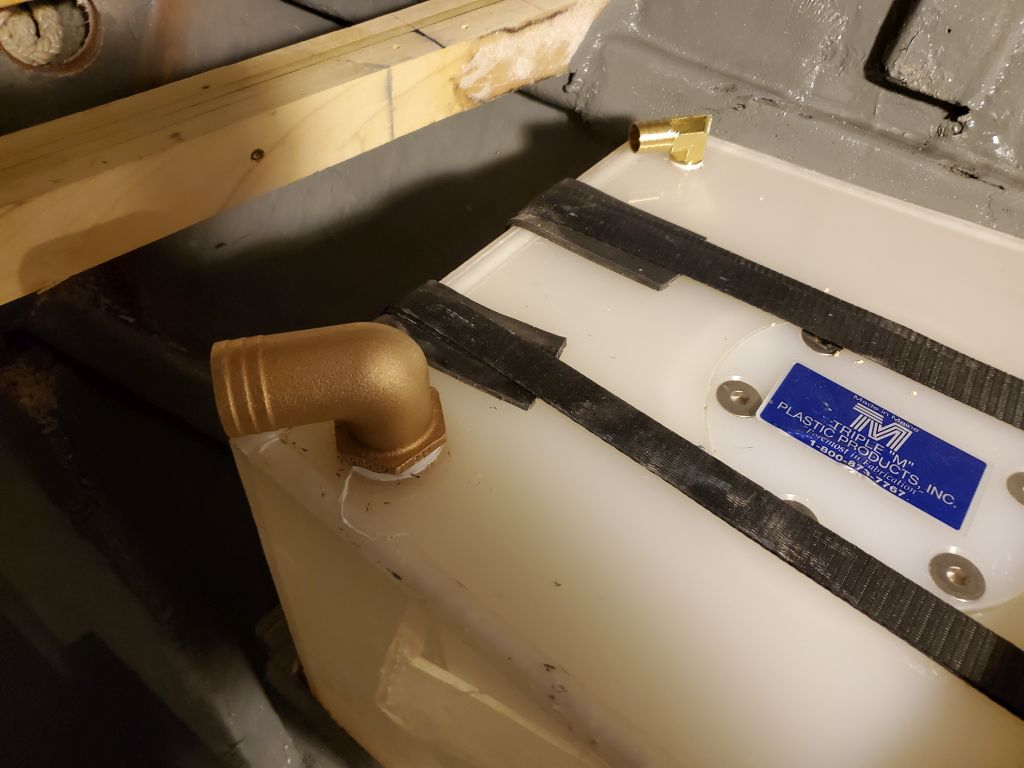
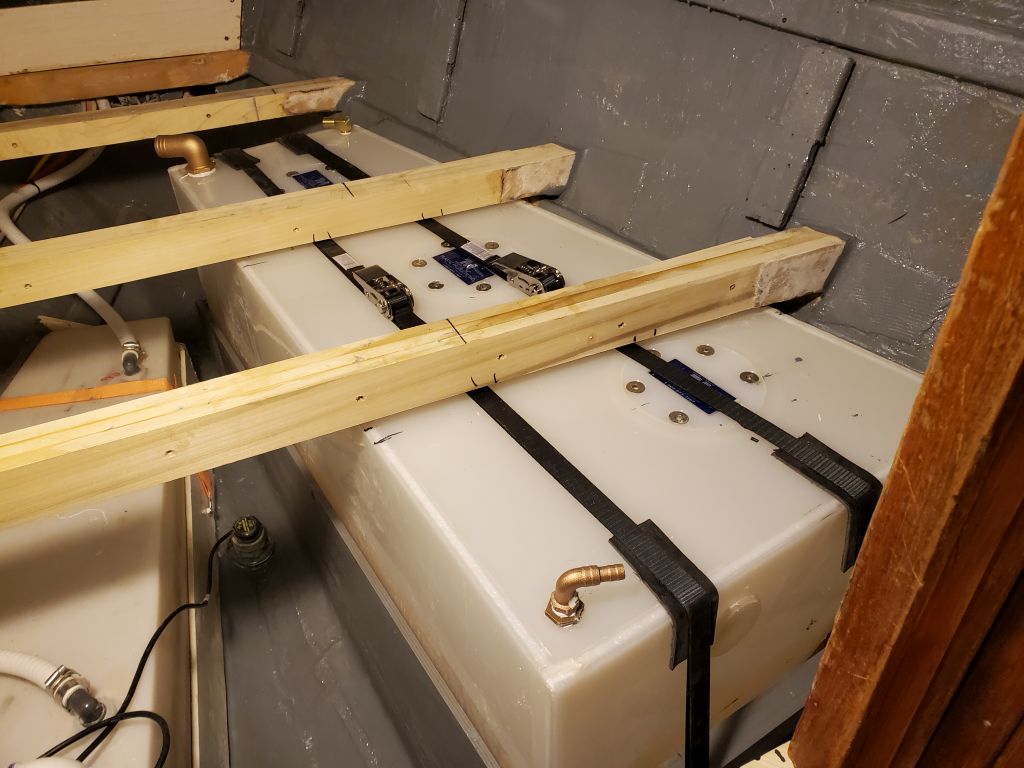
While I was up there, I also tightened the ratchet straps securing the water tank another click or two now that the epoxy securing the mounts had had ample cure time, then I installed the plumbing fittings on the water tank (fill, vent, and supply) and drilled a hole through the chainlocker bulkhead so I could run the fill and vent lines through. I had to order some hose for these connections and would continue in due course, looking to tie up all the loose ends and prepare to reinstall the platform permanently as soon as possible.

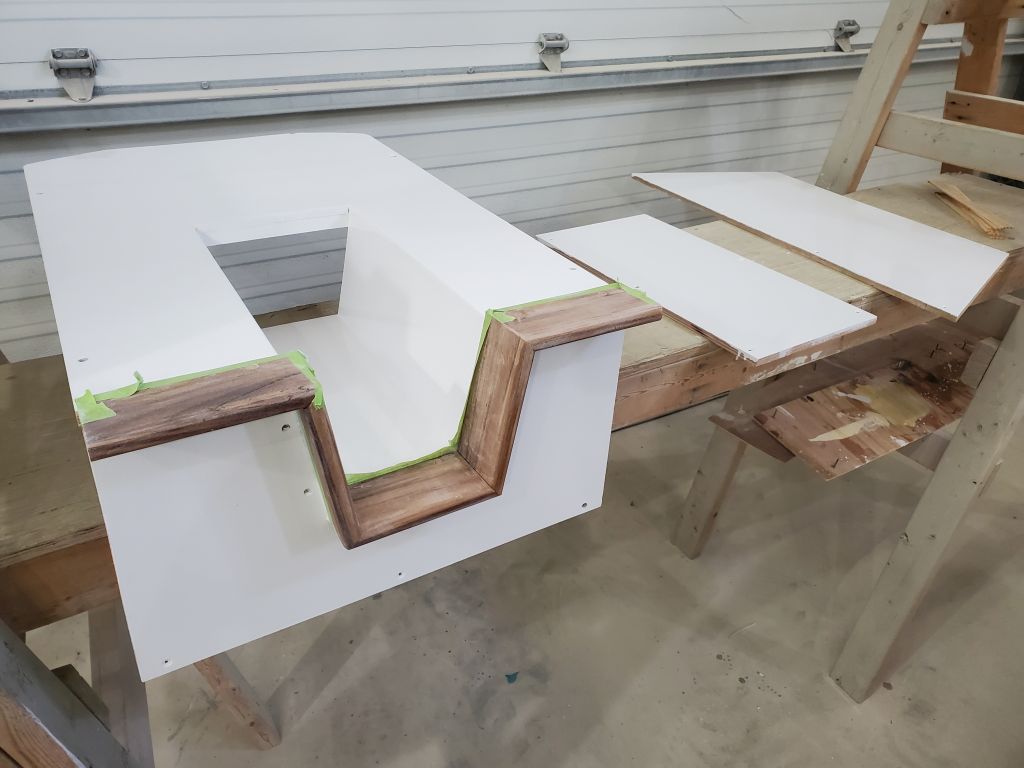
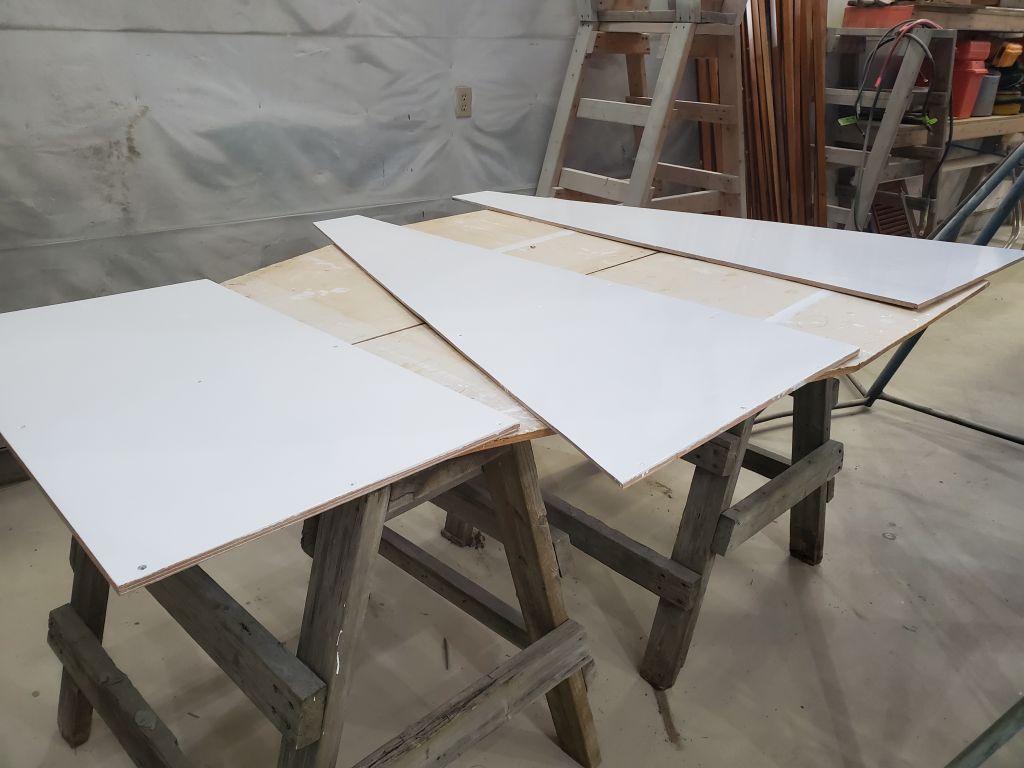
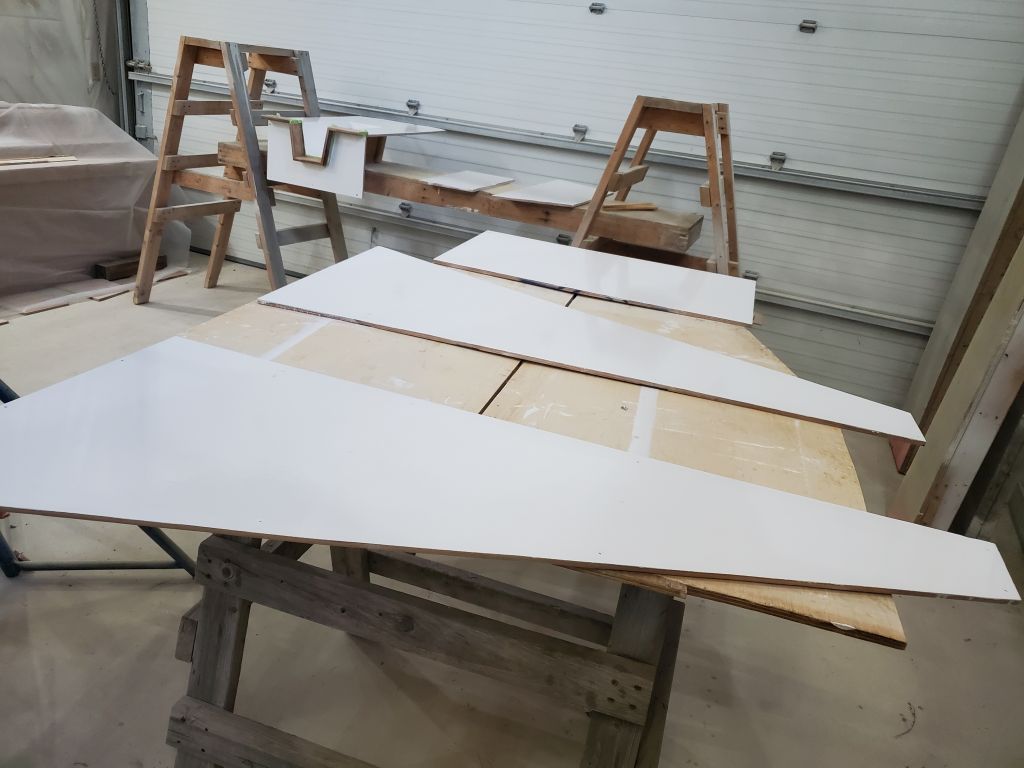
To further that end, I lightly sanded the various panels from the berth, then applied a second, and presumably final, coat of the white enamel to all areas.
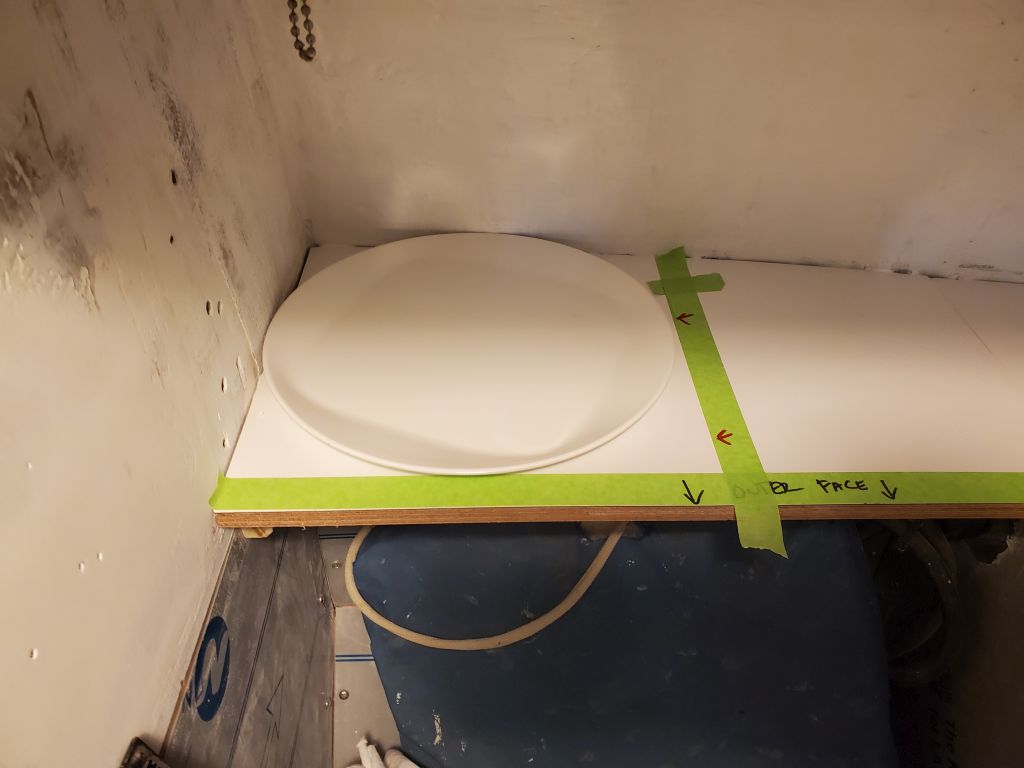
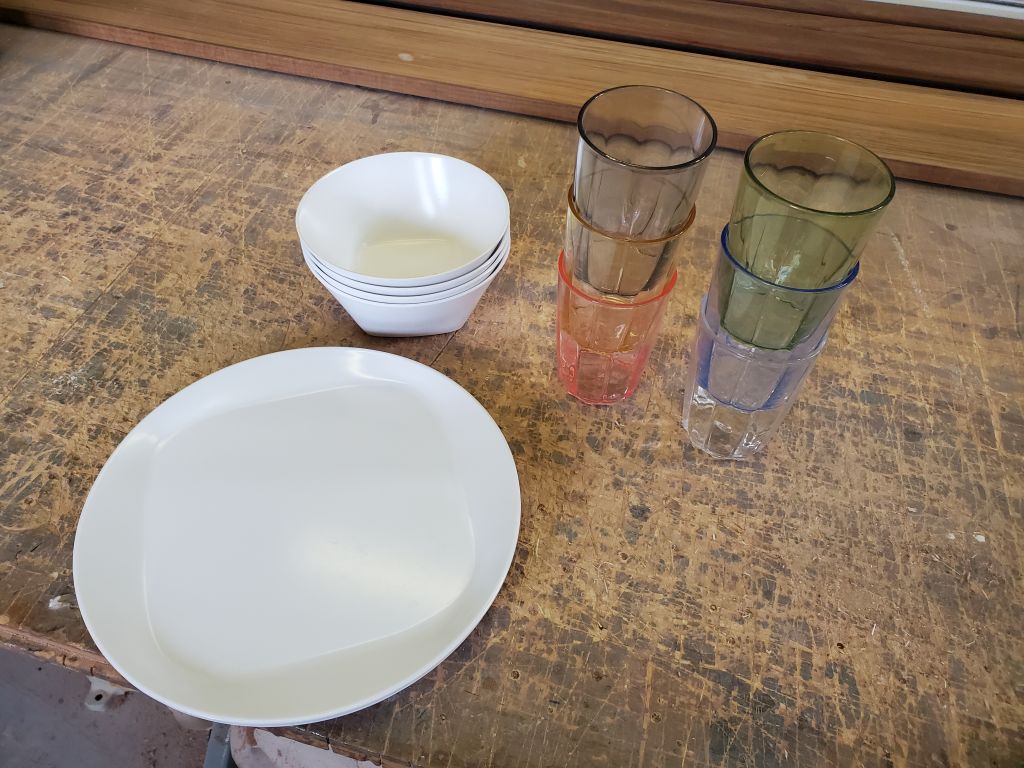
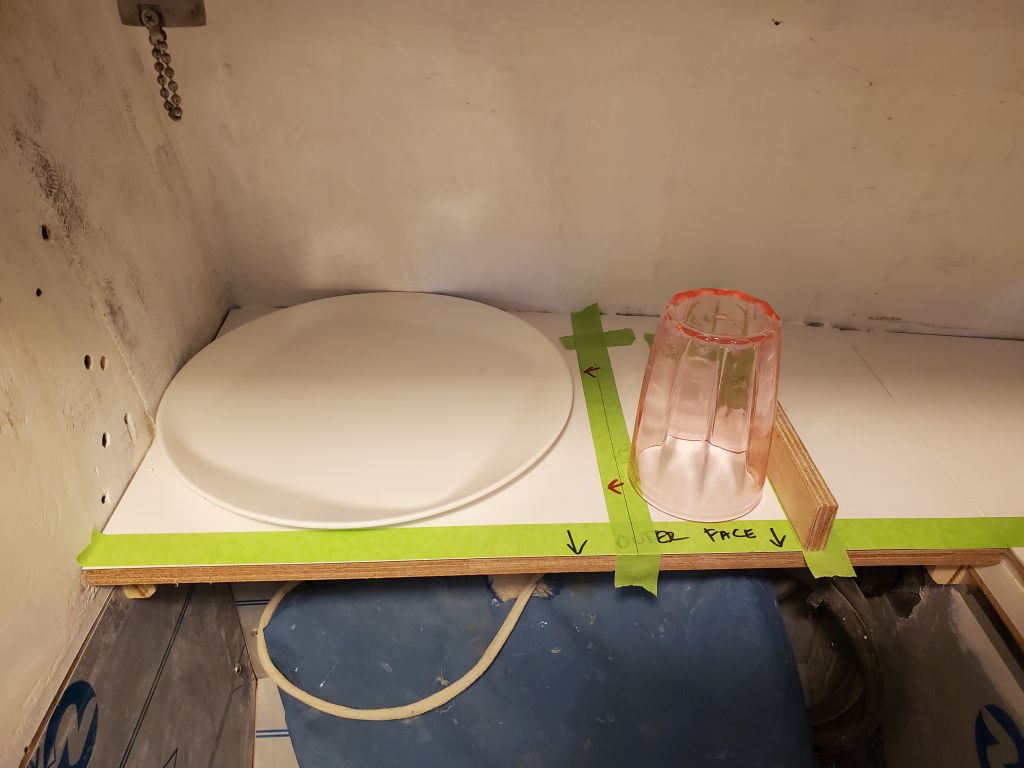
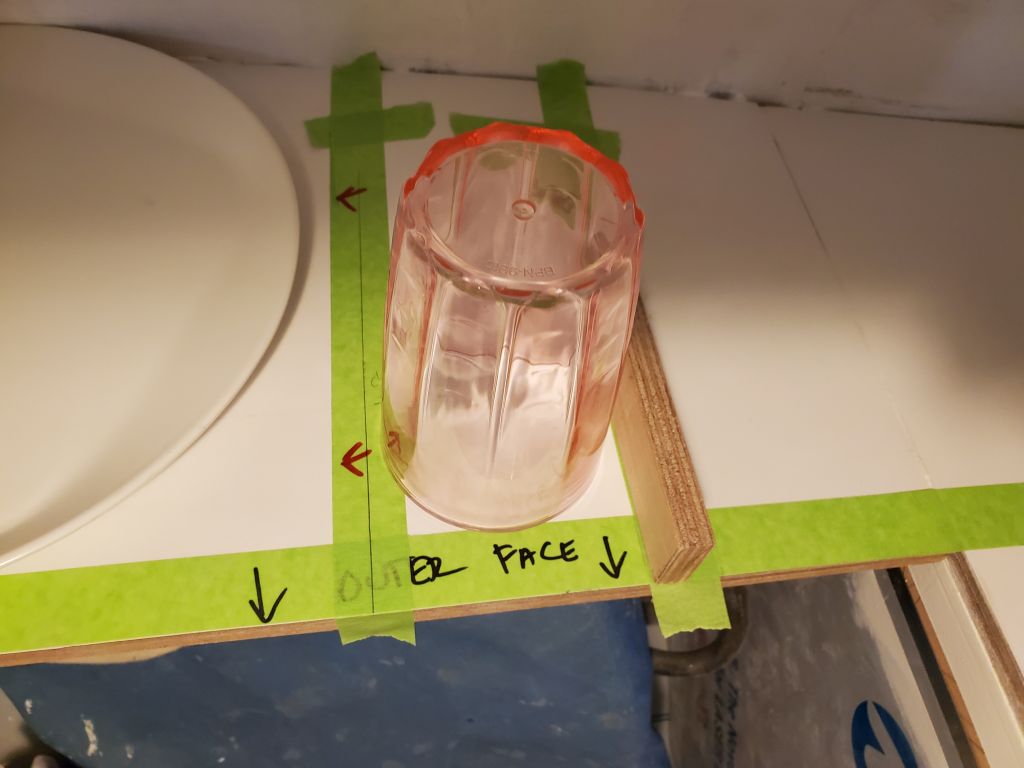
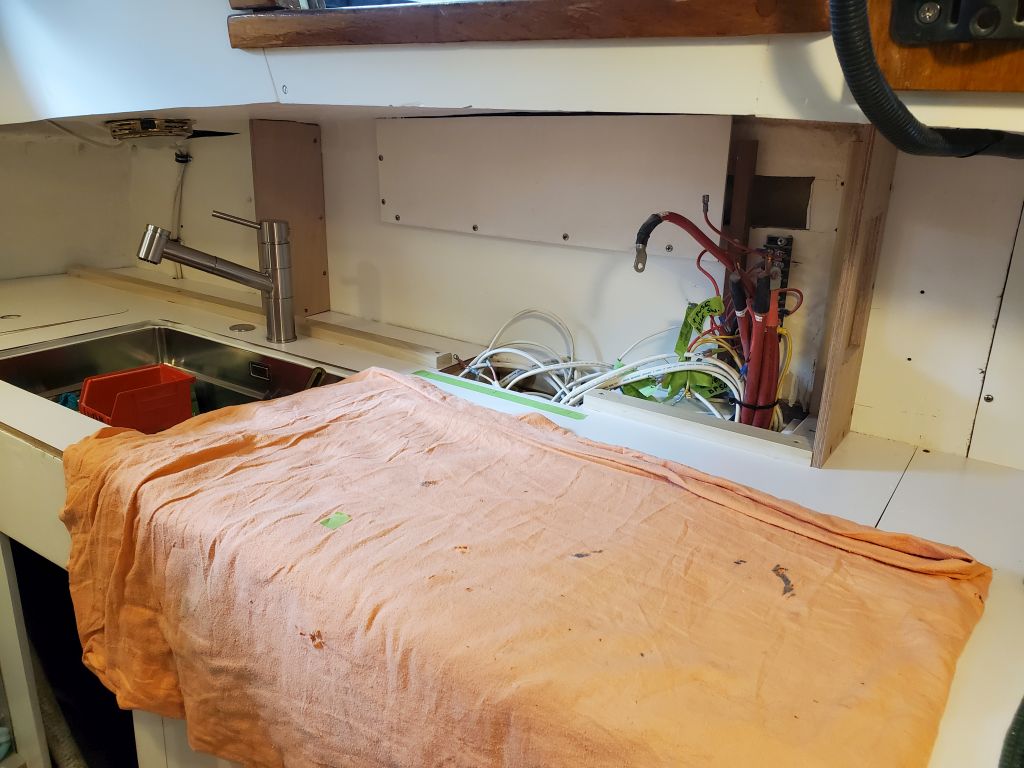
Next, I turned to the upper galley cabinets. After some discussion of various possibilities, the owner elected to devise plate and drinkware storage in the area behind the stove, which had proved to be a good fit for the dimensions required. I did some basic layout to determine how much space would be required for a couple built-in storage areas to house these items, which would allow me to continue with the layout and construction of the remaining upper cabinetry as well.
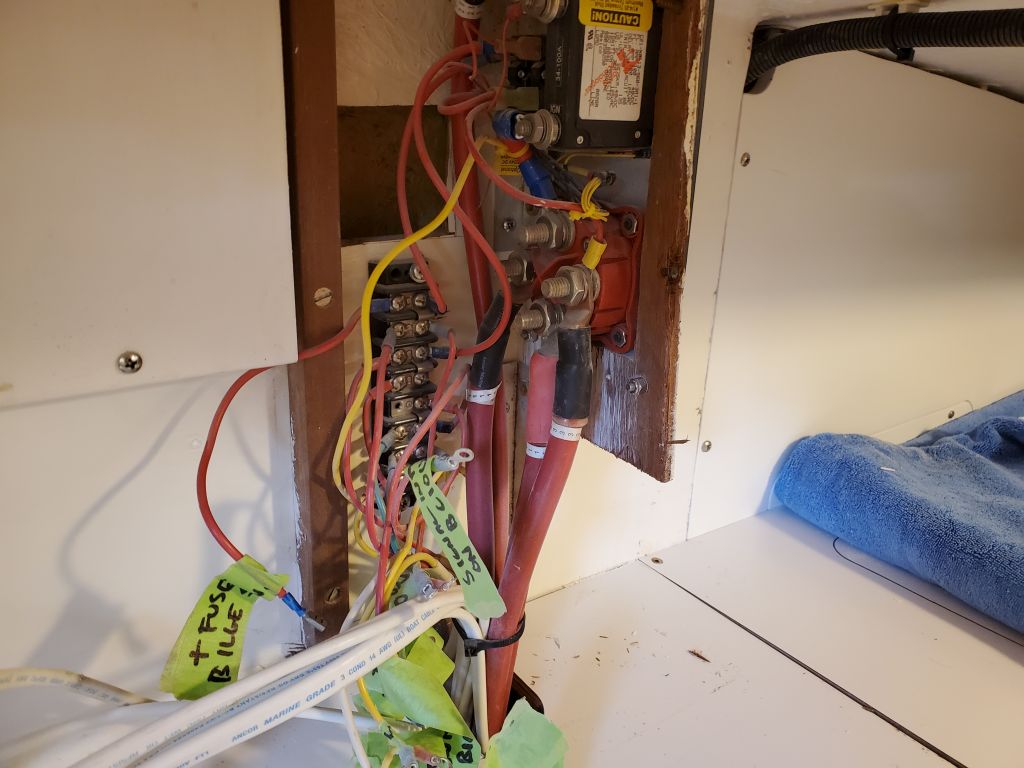
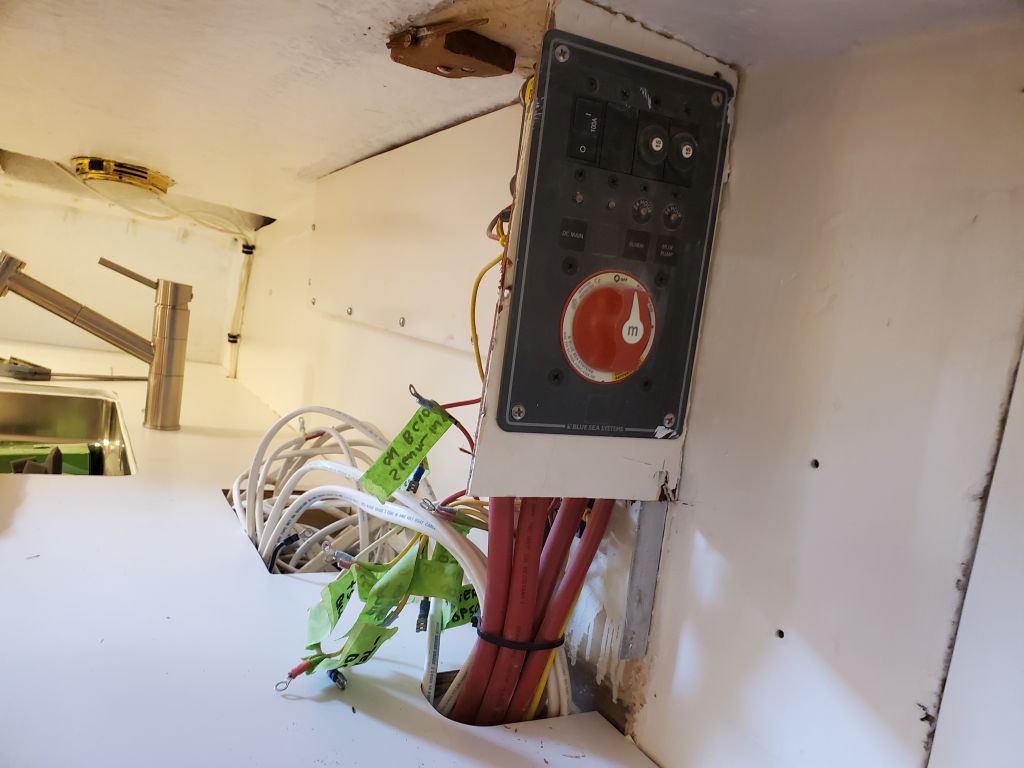
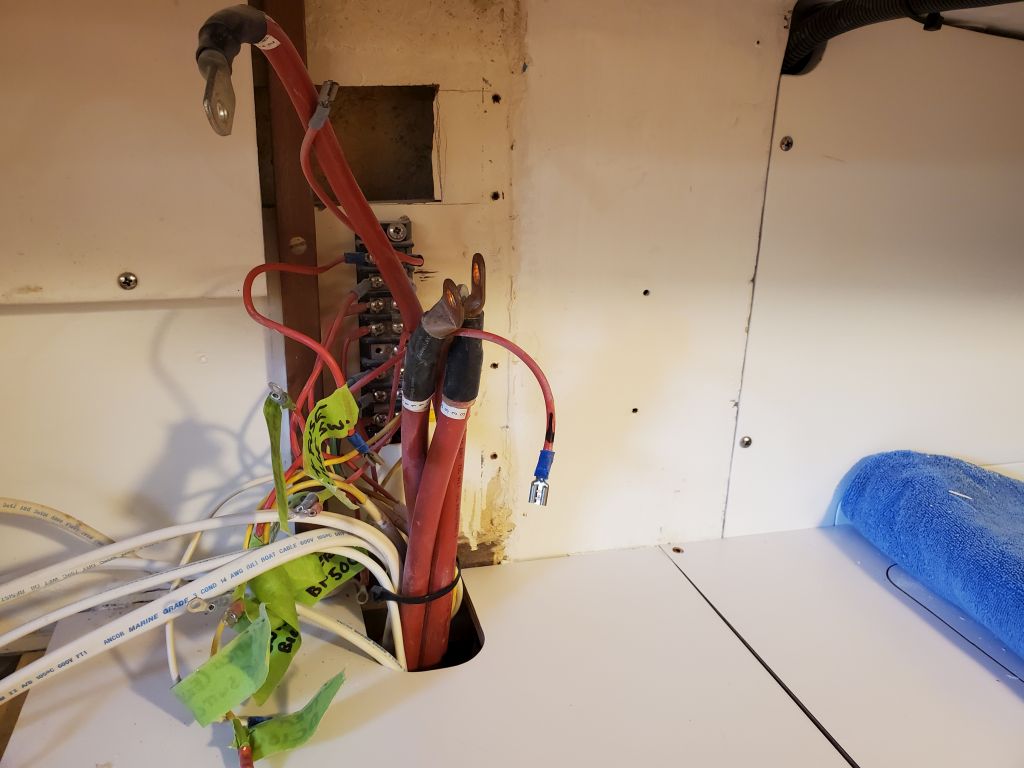
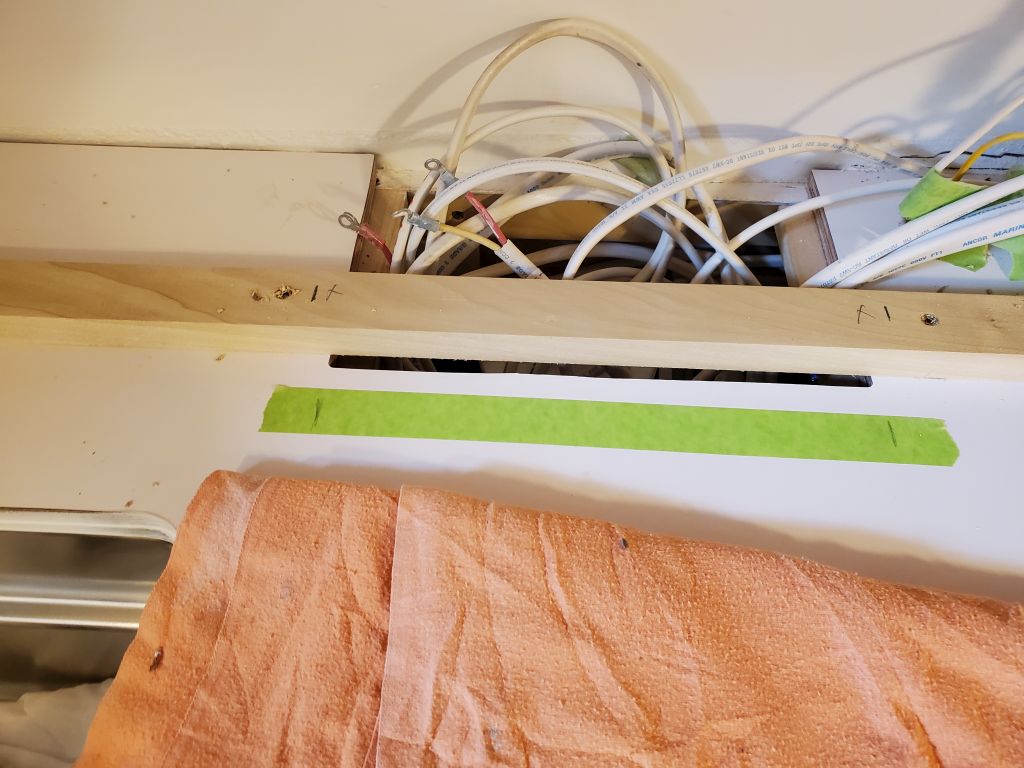
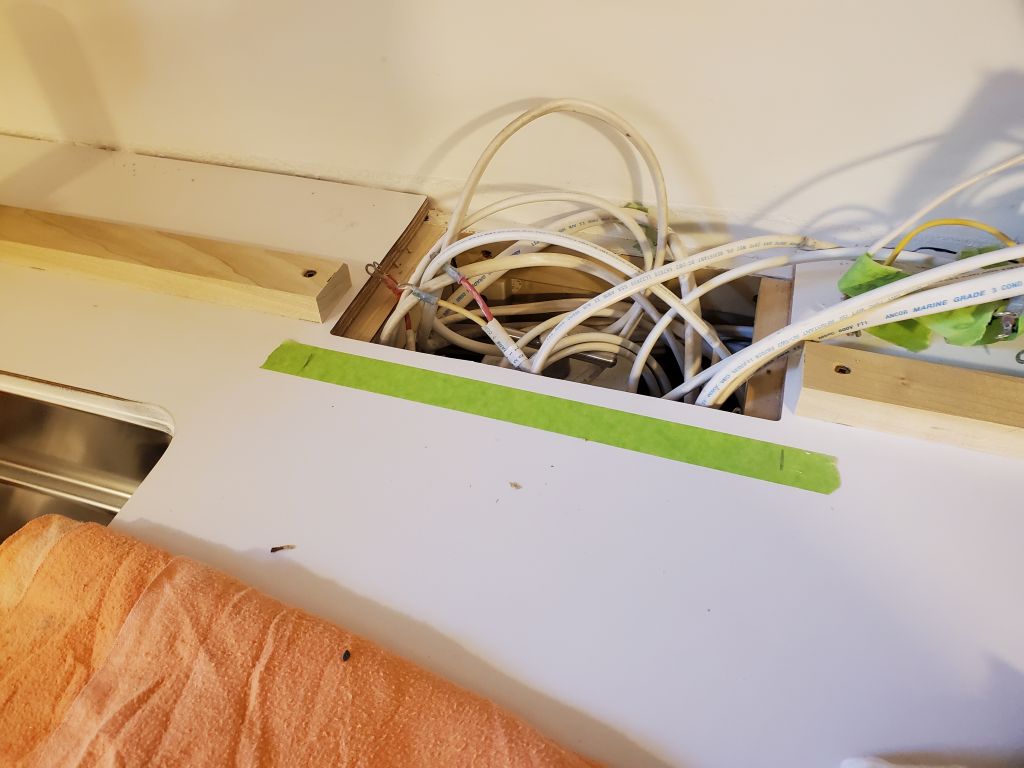
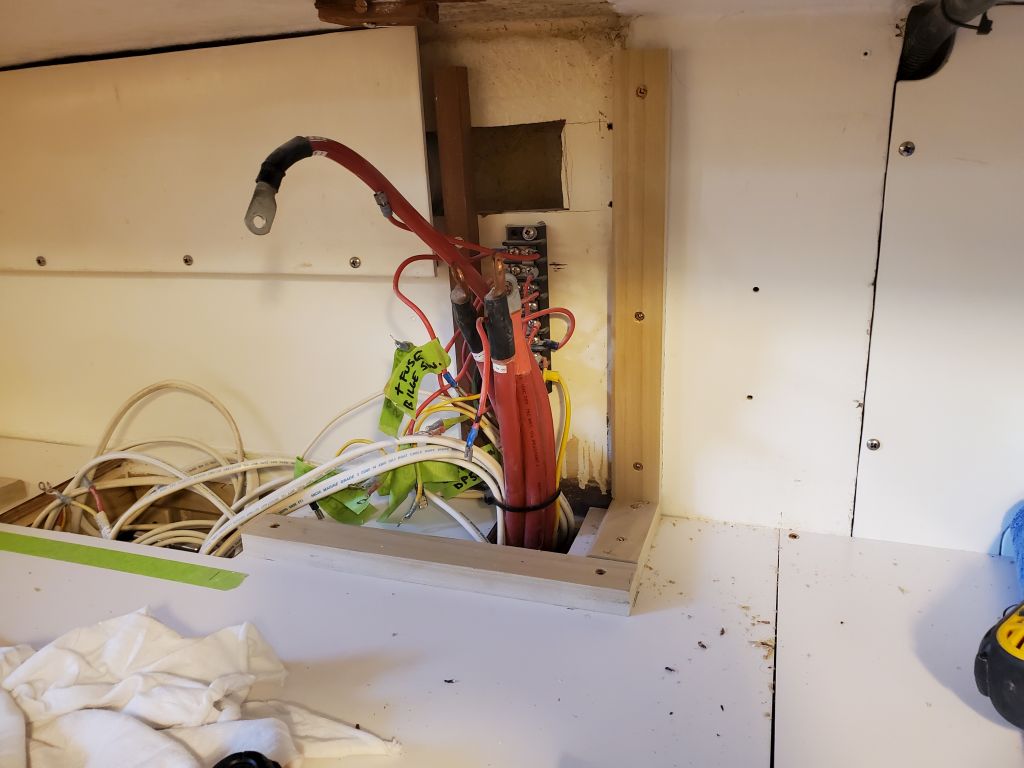
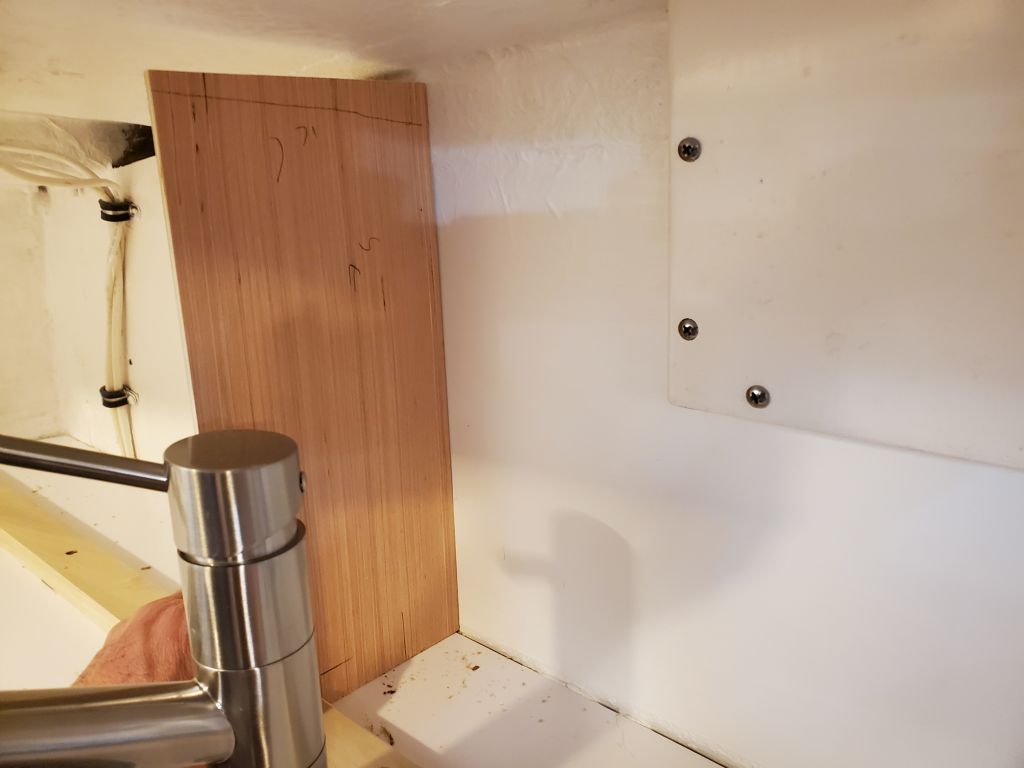
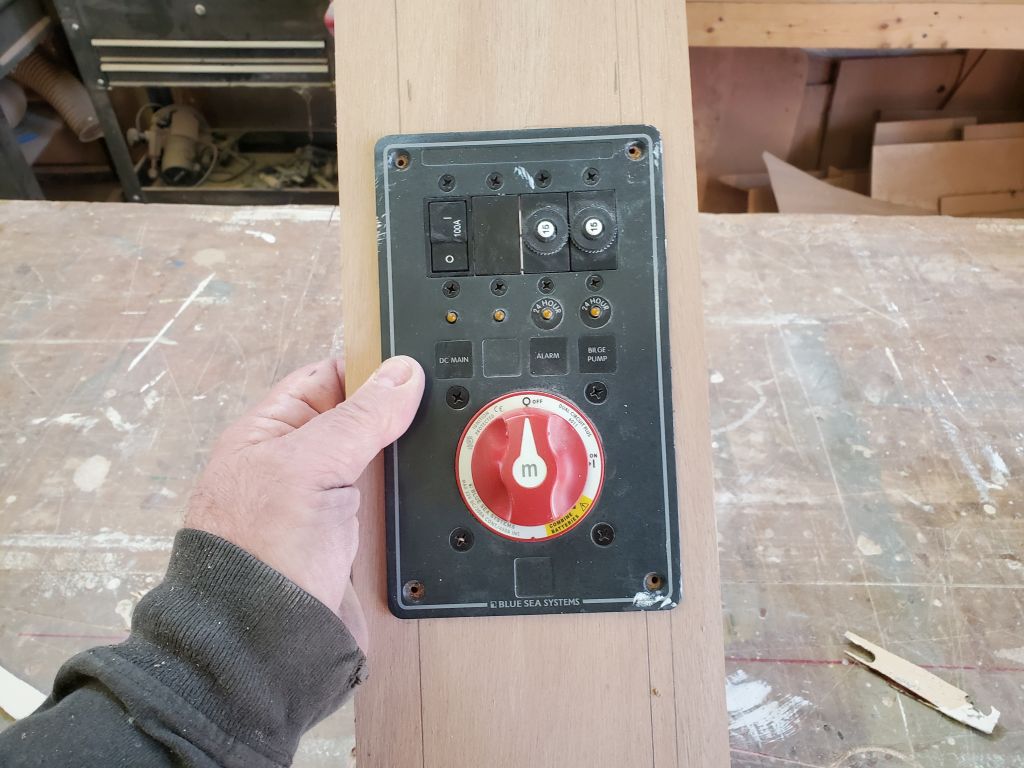
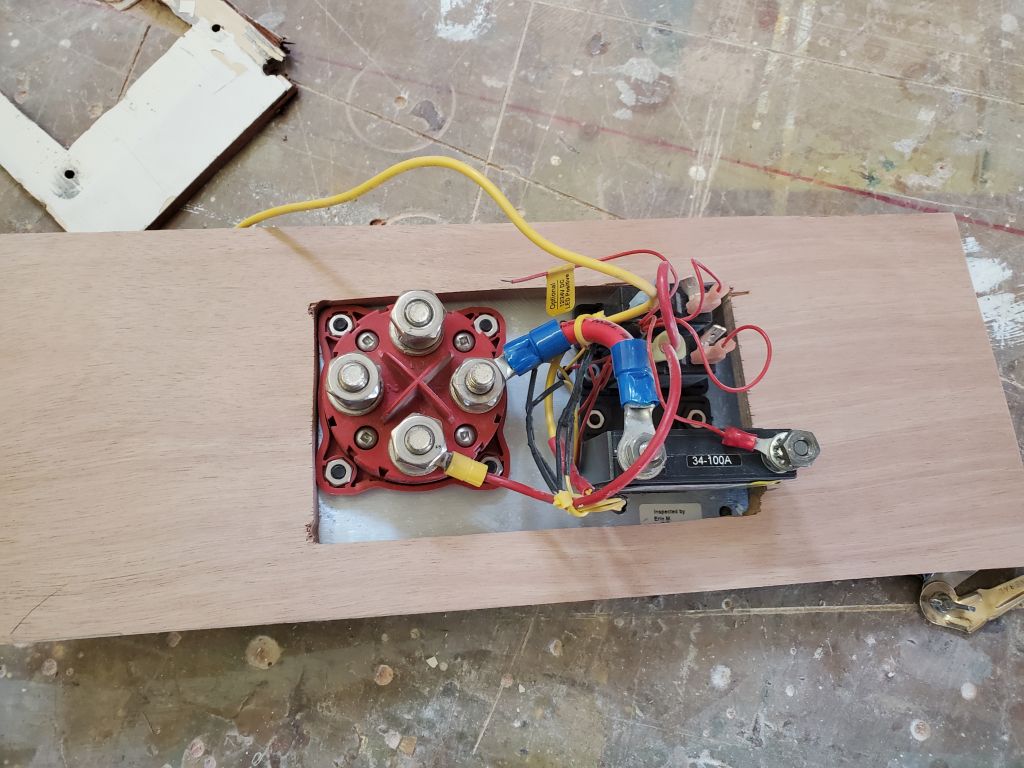
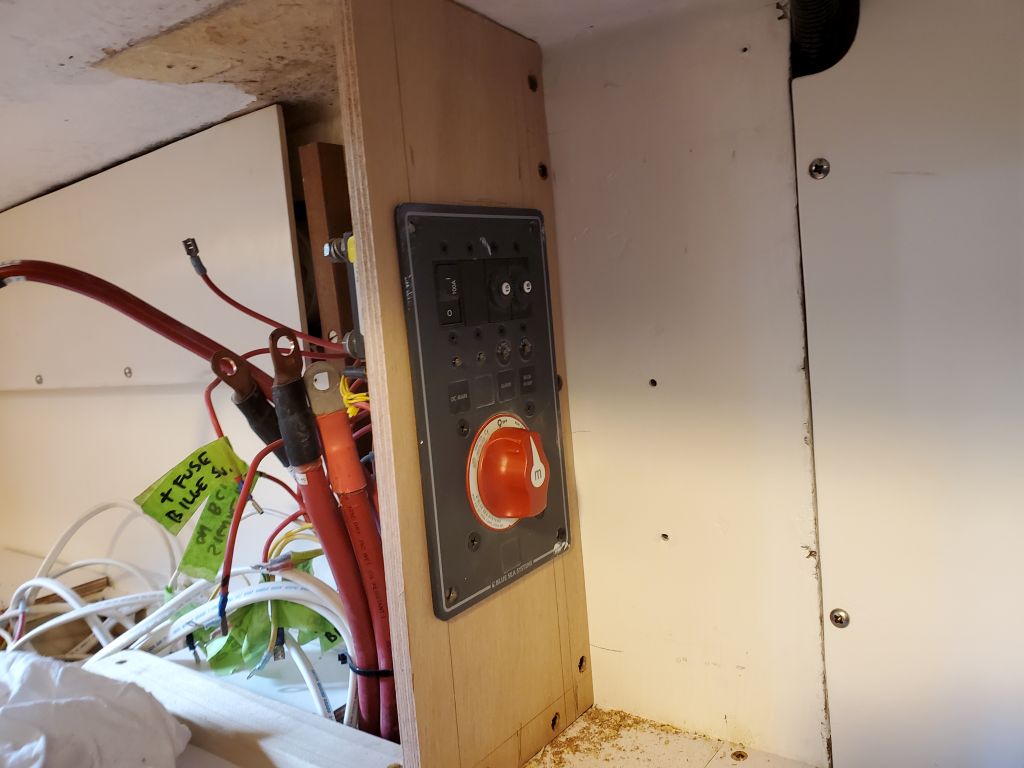
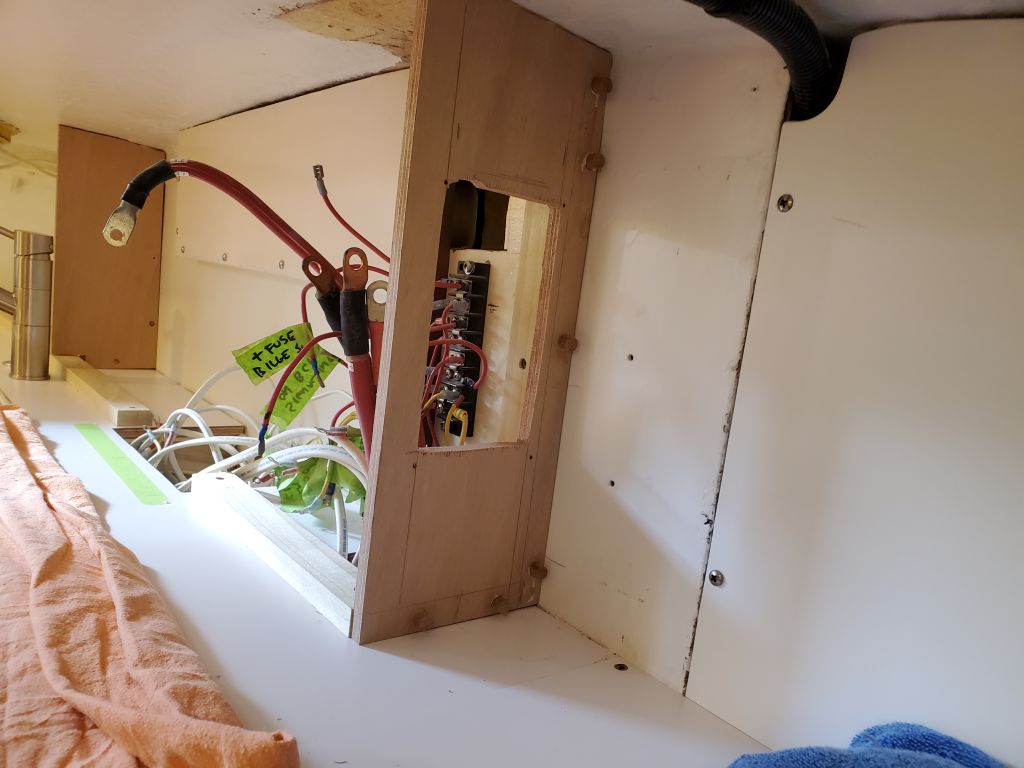
Throughout the project so far, I’d avoided the battery switch panel located above the engine room on a short longitudinal bulkhead, and in fact had always planned to leave it be to avoid unnecessary wiring work. My initial plan had been to keep this inside the new cabinets, accessed with a new locker door, but the owner told me he liked having this switch (apparently the main switch for the system) easily accessible, so I changed my construction plan now to incorporate the panel into the new end cap of the upper cabinets. This actually worked well given how the whole galley had come together, since with the removable port section I couldn’t build uppers over that area anyway, so now, despite my efforts to avoid it, I removed the panel temporarily, disconnecting its wiring, so I could built it into the new uppers.

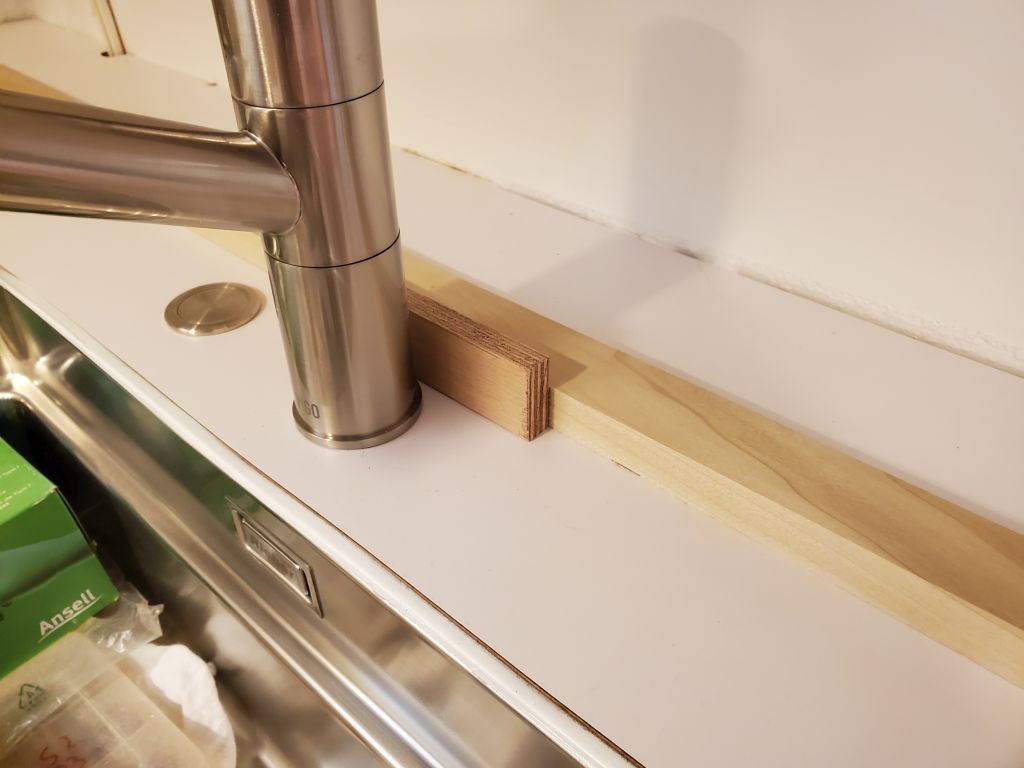
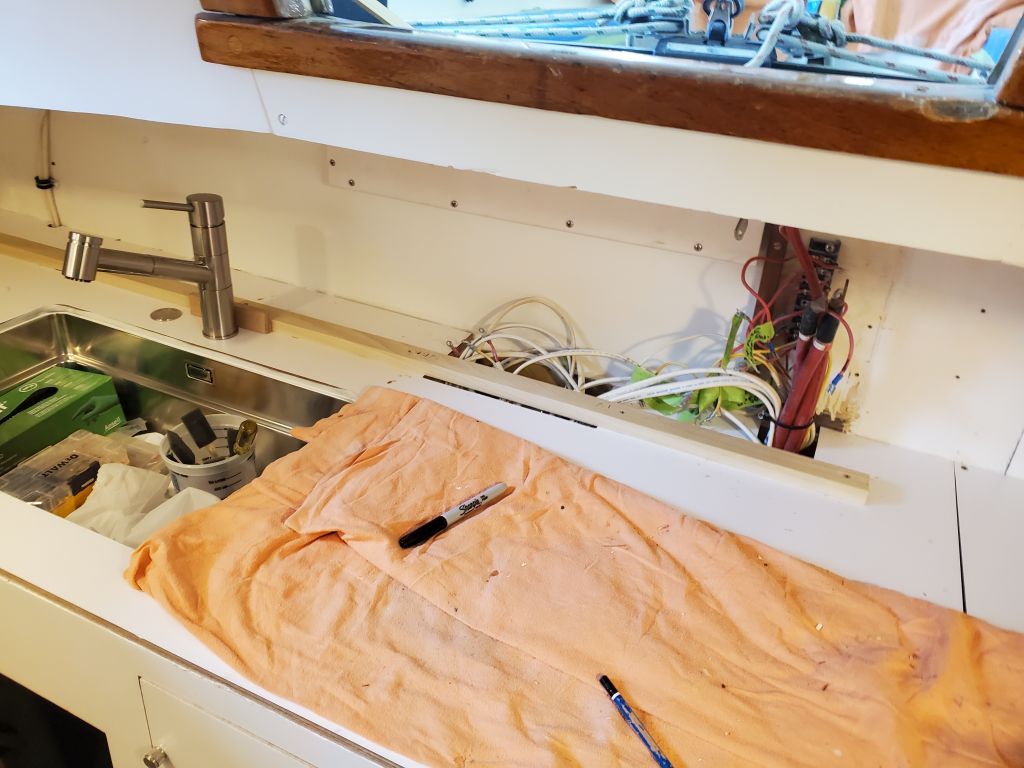
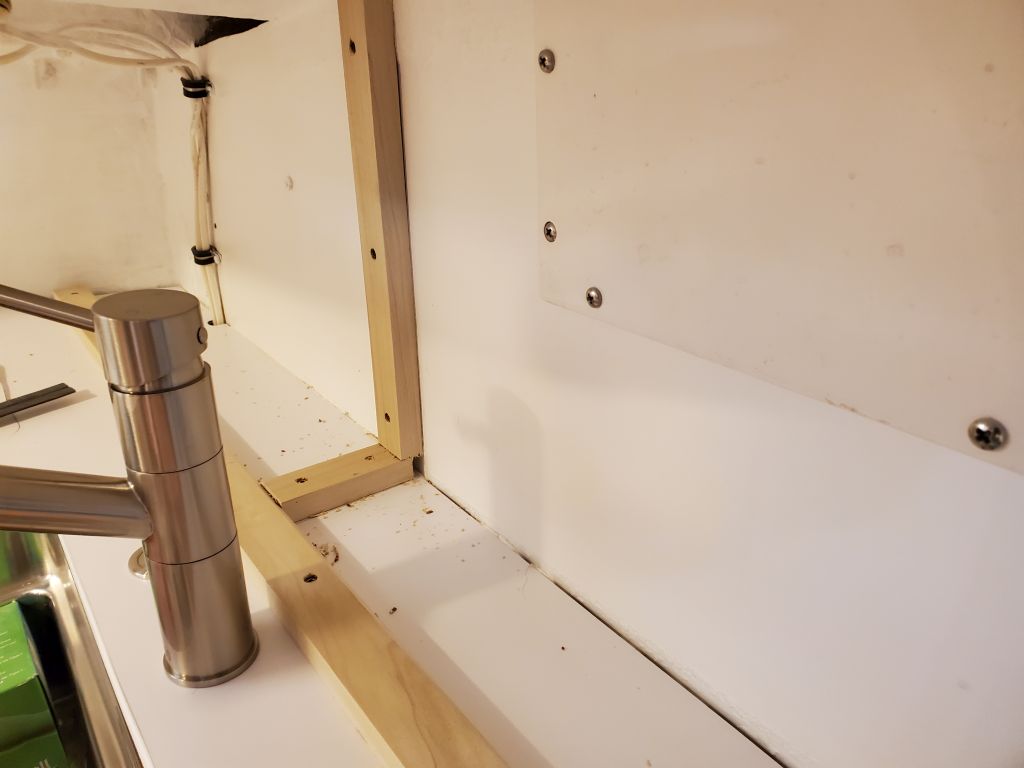
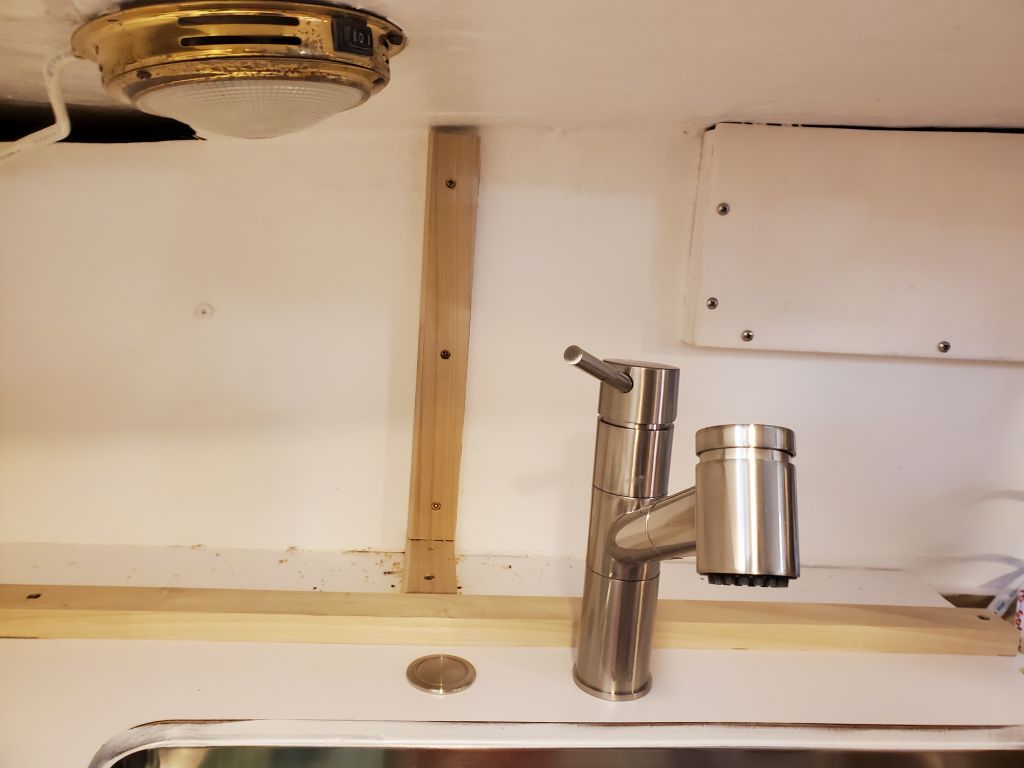
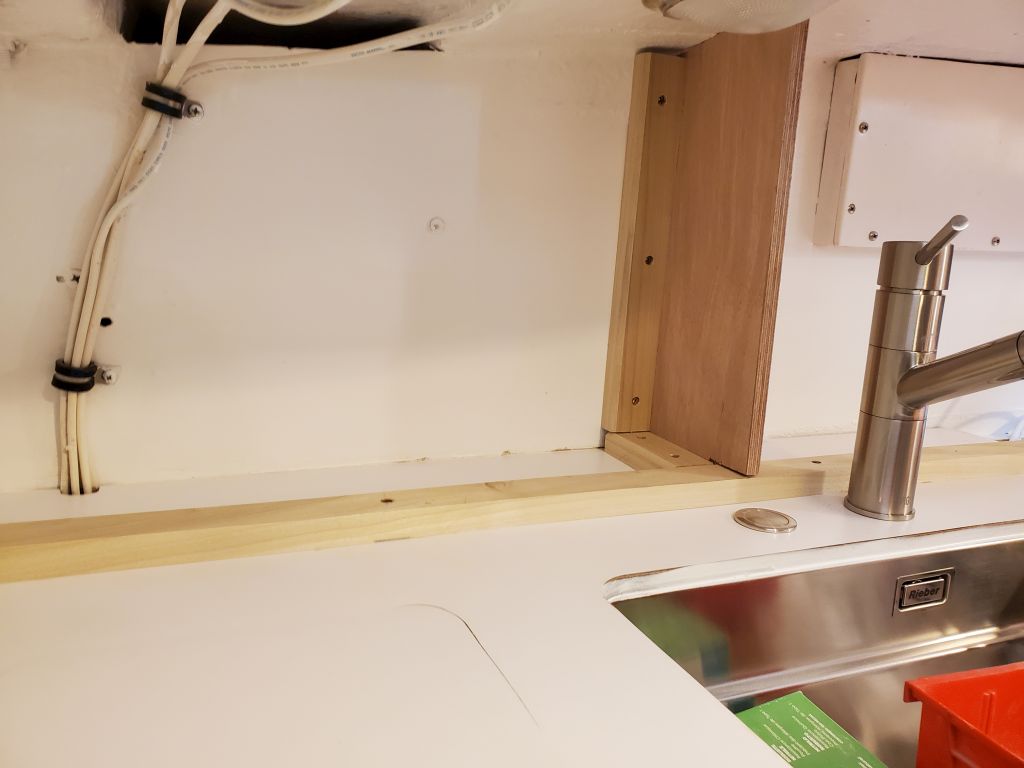
I laid out some marks for a support cleat along the countertop behind the sink, leaving enough room for the thickness of the cabinet face itself but otherwise maximizing the depth of the cabinet, then cut and installed a long cleat across the space, leaving an opening where the fuel filter access panel was located. I continued with a short cleat to define the port end of the cabinet, located so as to allow reconnection of the battery panel as well as ample clearance for removal of the port countertop pieces, and installed additional support cleats near the faucet to divide the cabinet into a couple sections within.
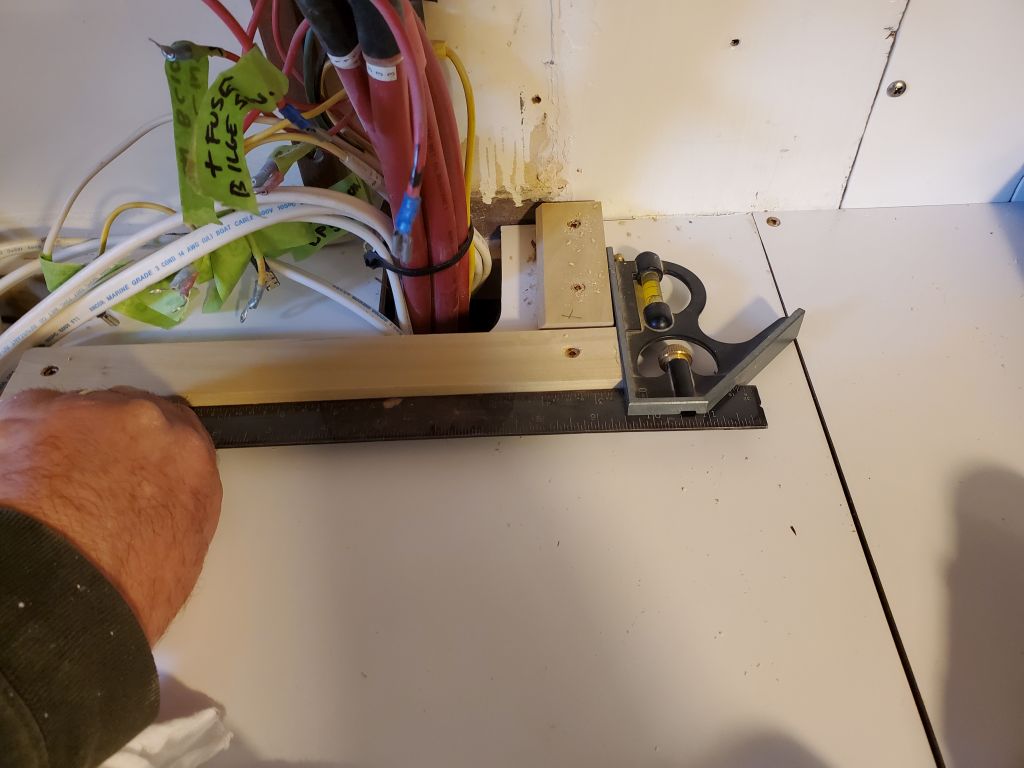
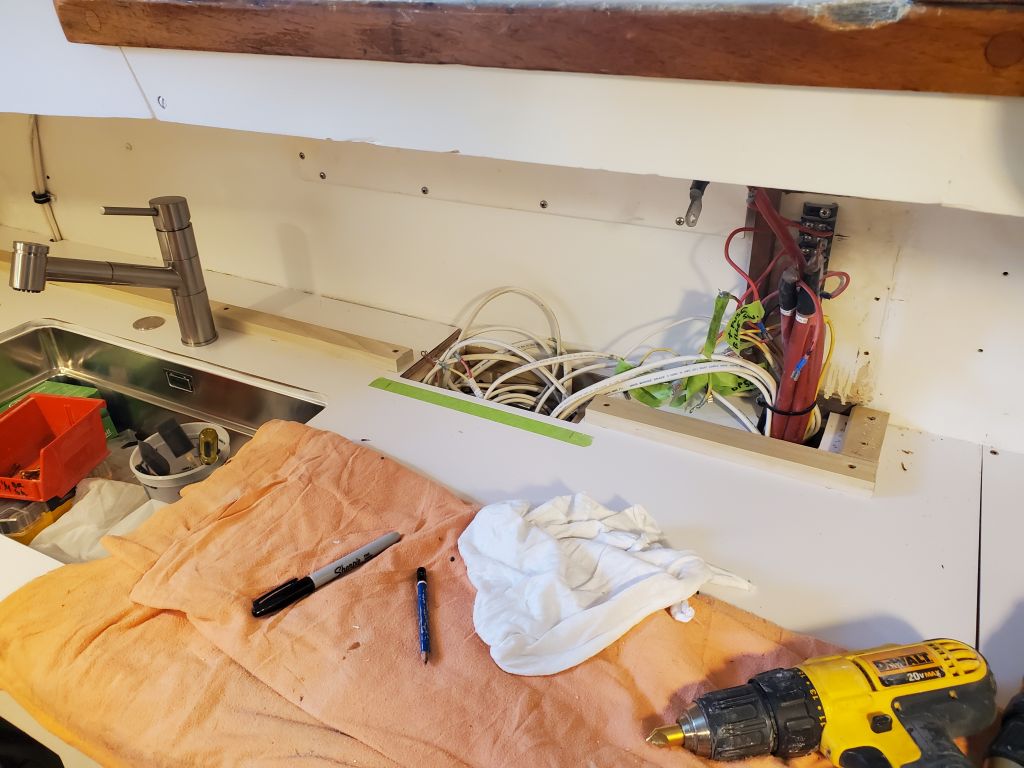
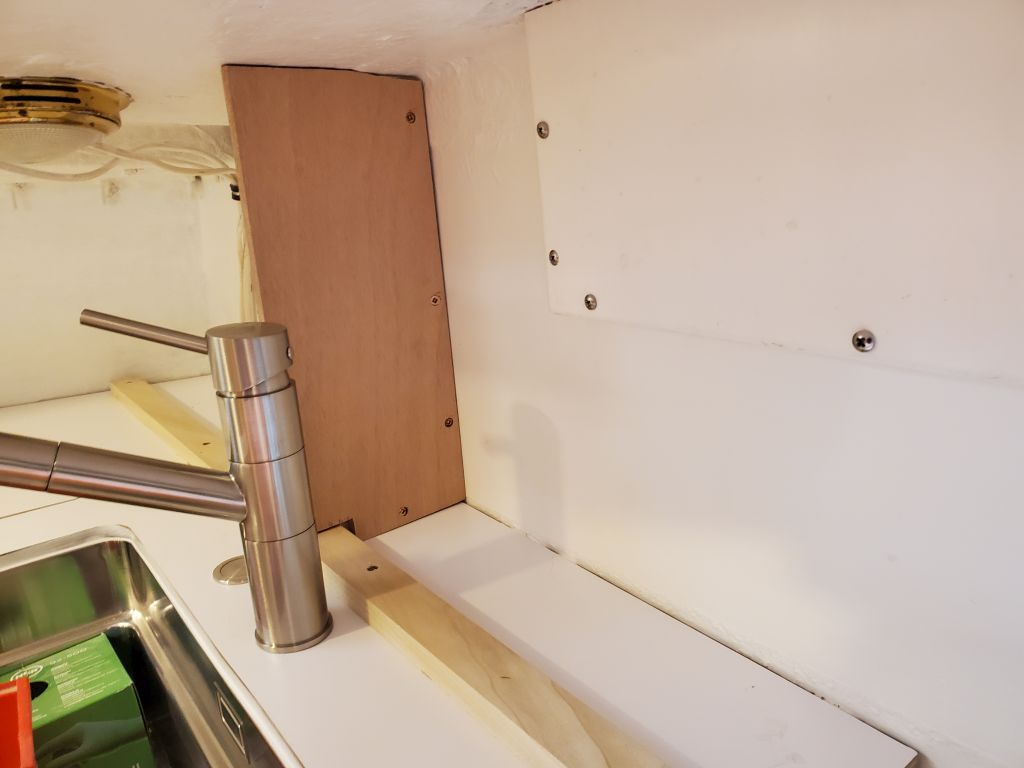
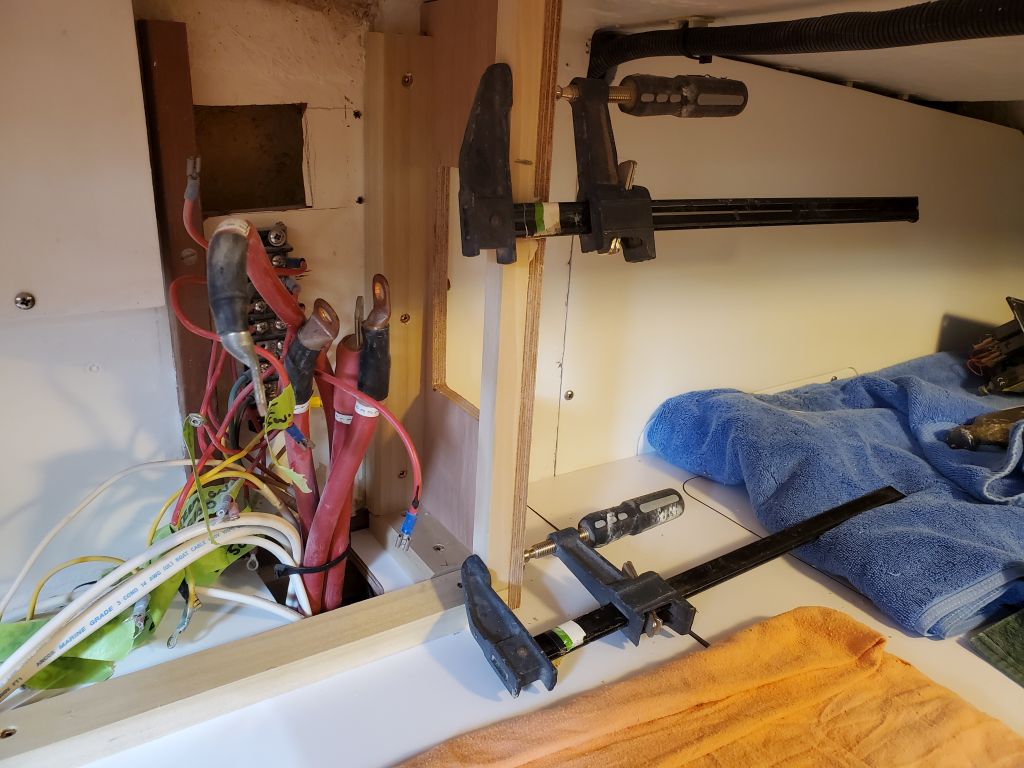
With the basics in place, I templated the two small vertical bulkheads with cheap plywood, then cut out the actual pieces from 12mm okoume, preparing an opening for the battery panel in the port bulkhead. I let the vertical faces run a little long so I could mark and then trim them plumb and even with the edge of the countertop support cleat at each location, then installed each bulkhead permanently.
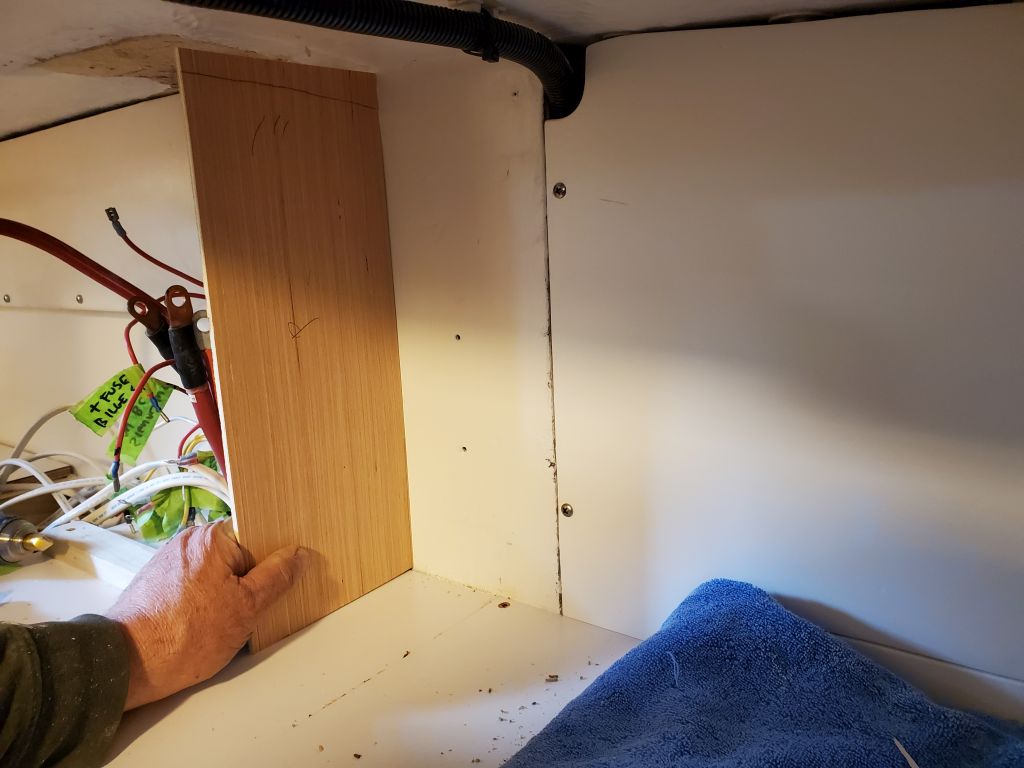
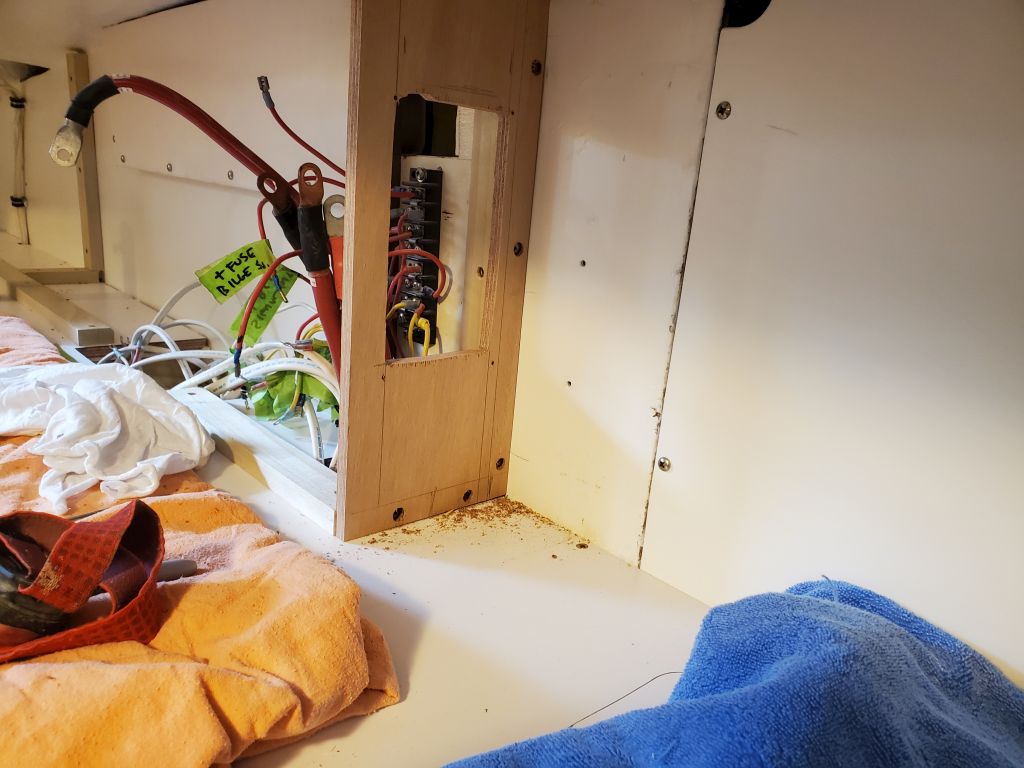
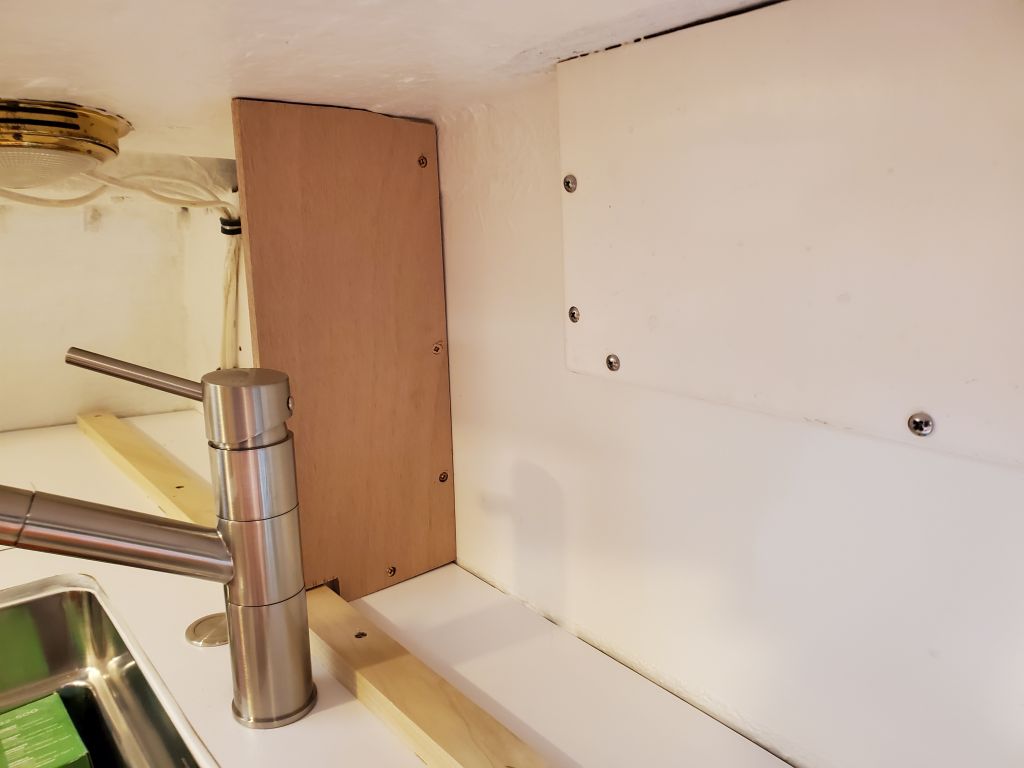
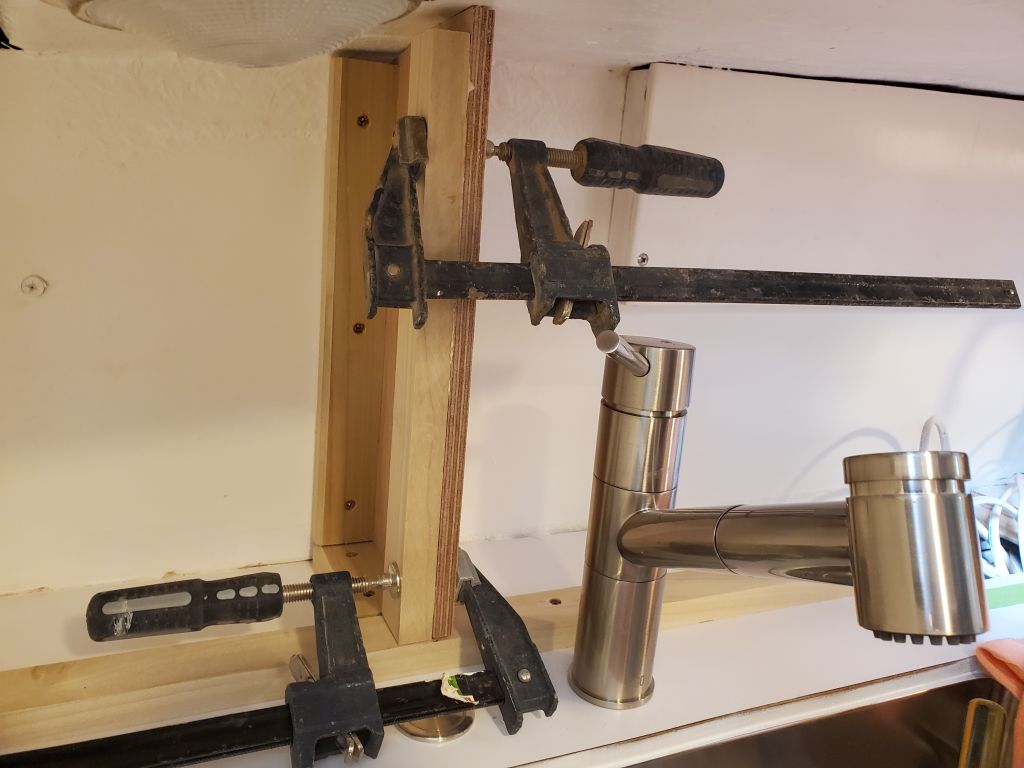
To finish up for the day, I bunged the screw holes on the port bulkhead, and installed support cleats on the vertical edges of both bulkheads to give the cabinet face support and a solid means of fastening.
Total time billed on this job today: 7.5 hours
0600 Weather Observation: 28°, clear. Forecast for the day: Sunny, 50°