


February 13, 2024
Calliope Girl 64
Tuesday
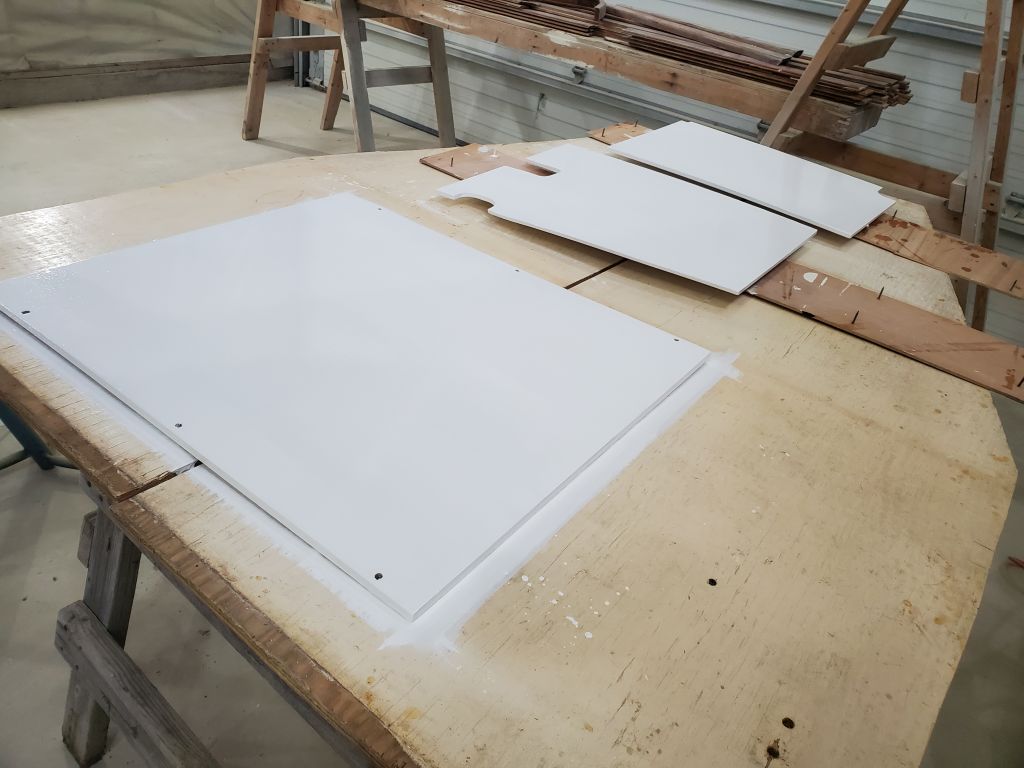
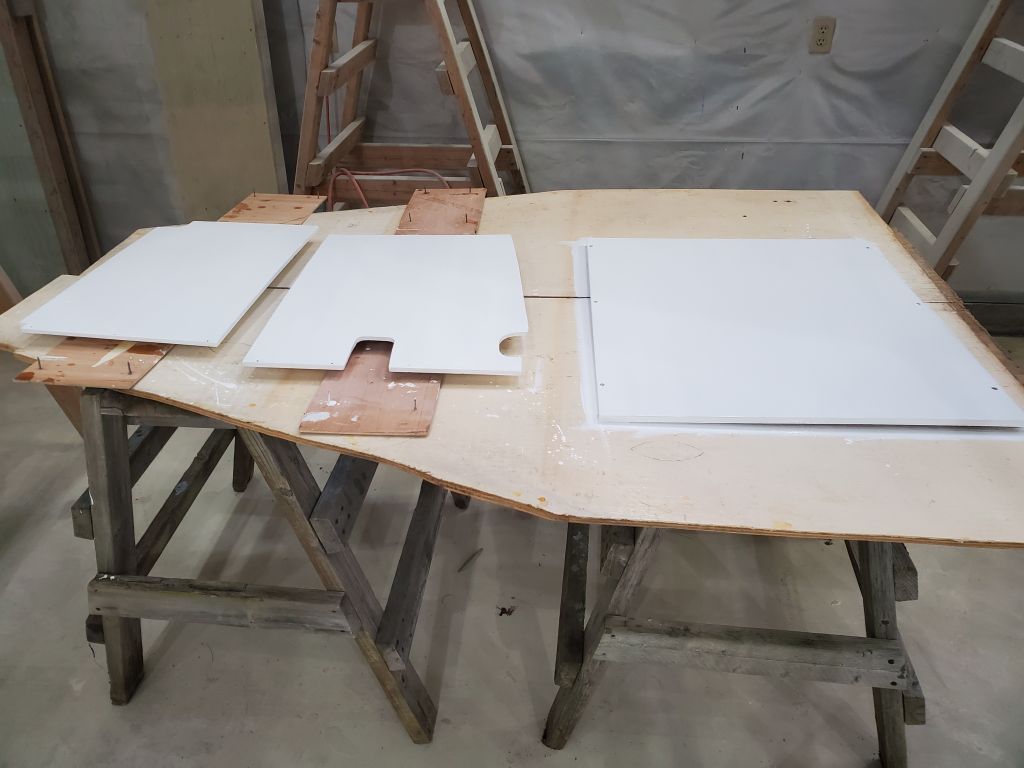
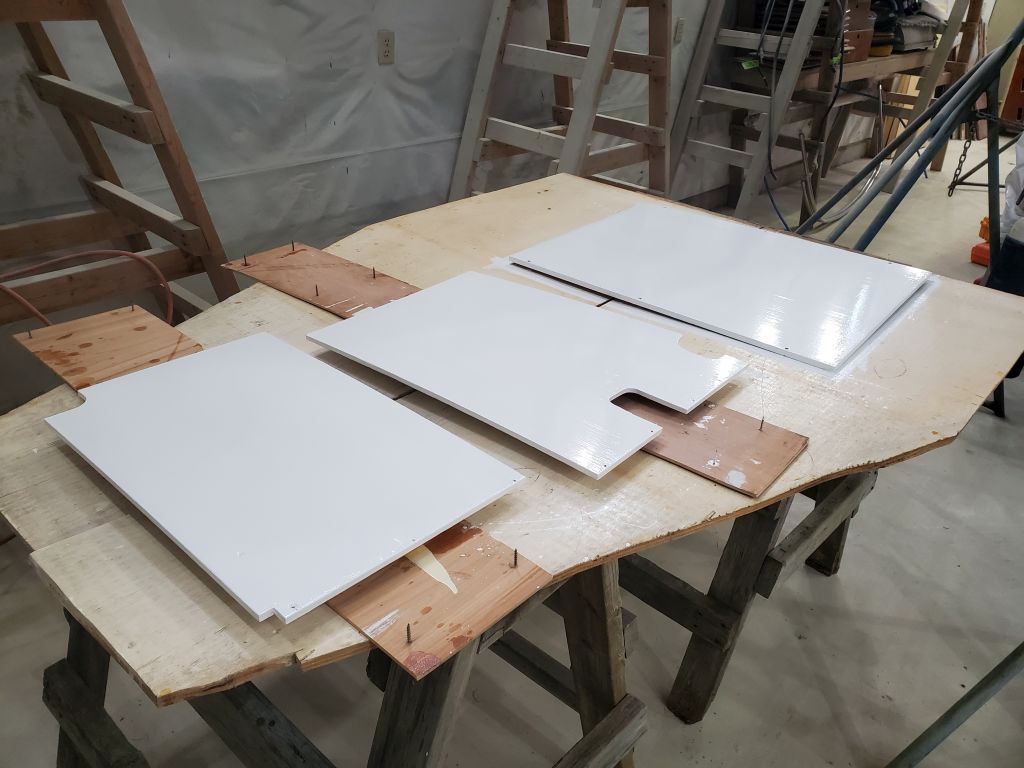
I started by lightly sanding the freshly-primed panels currently underway, then, after final prep, applied the first coat of semi-gloss white finish enamel.
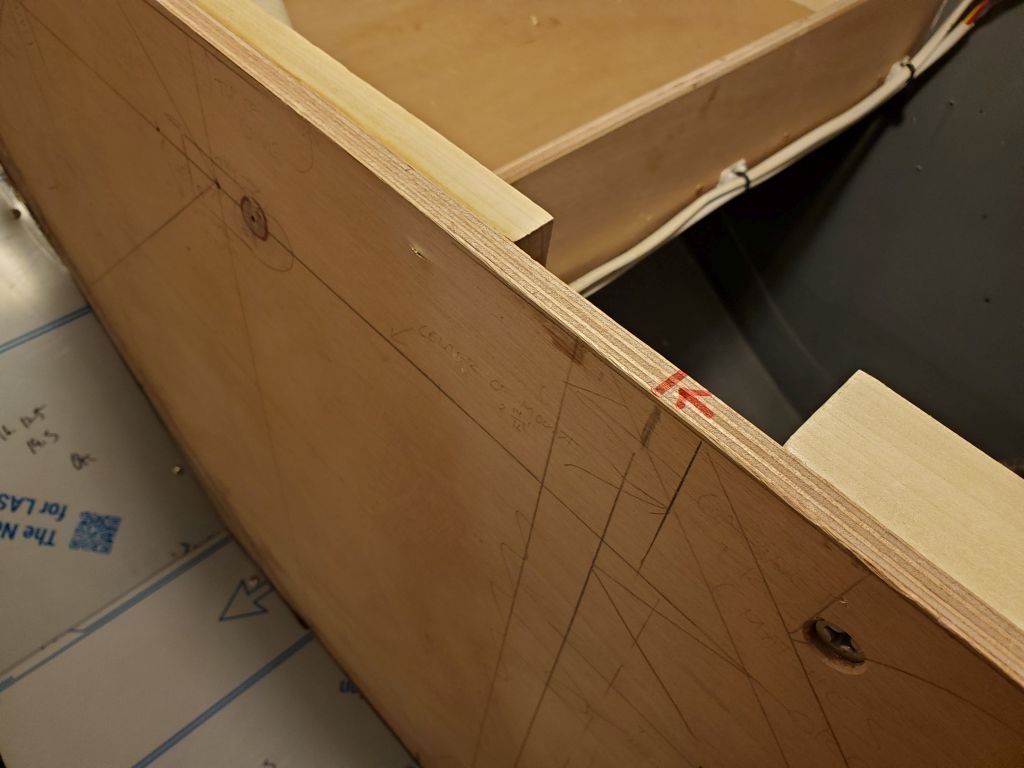
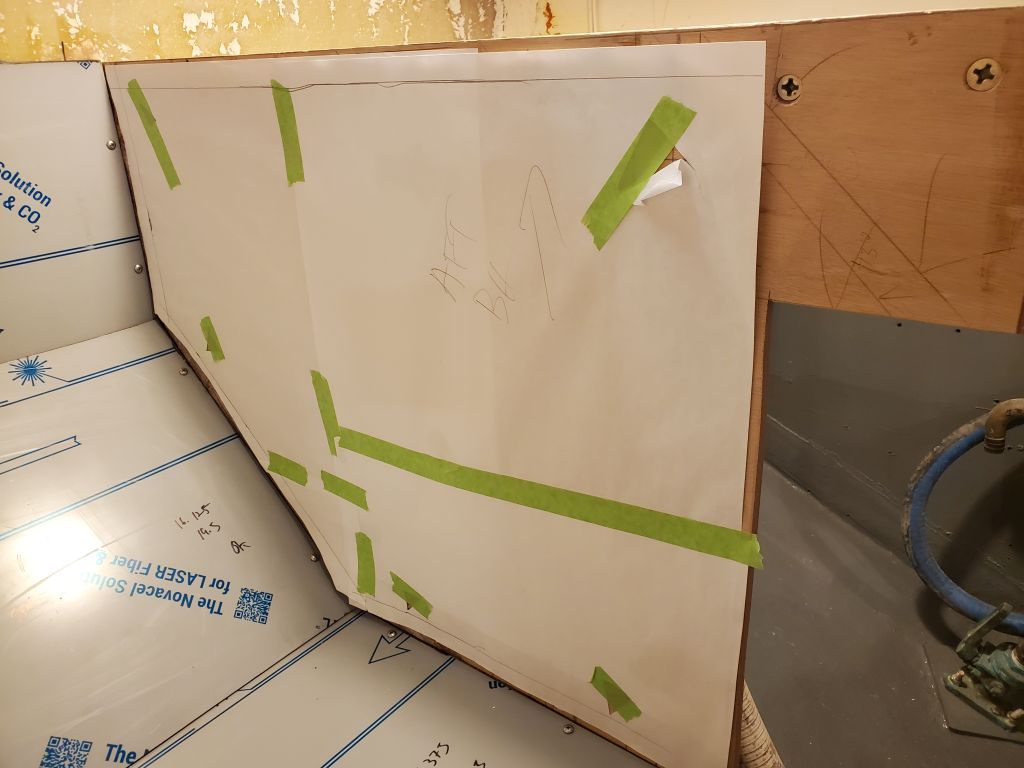
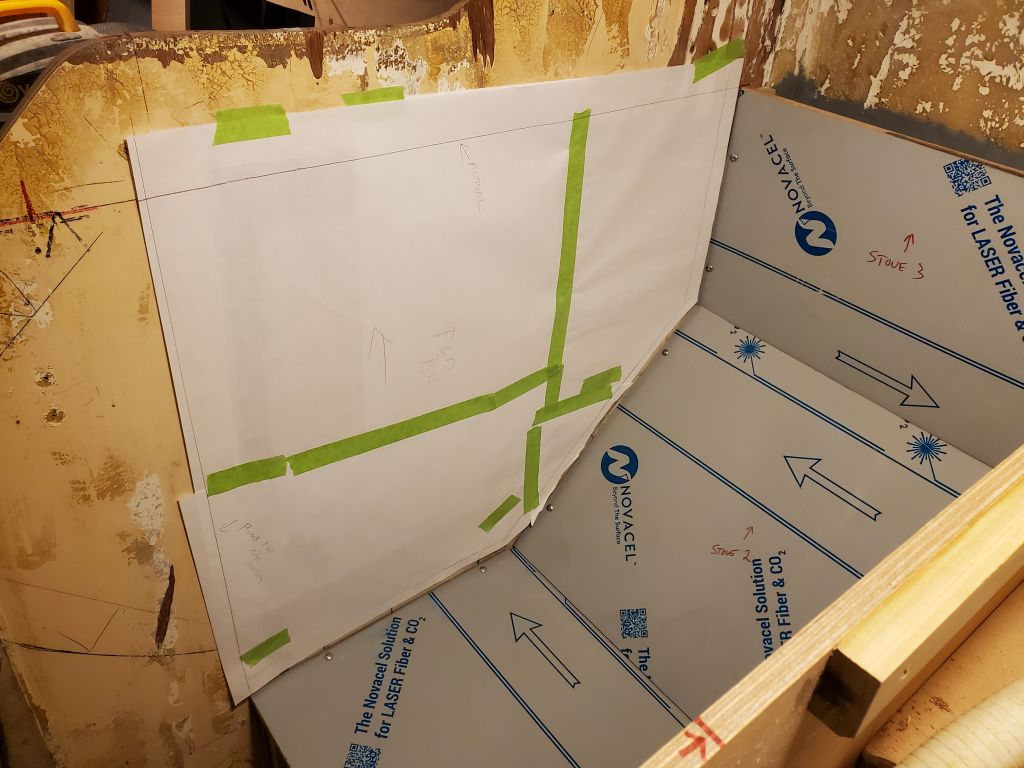
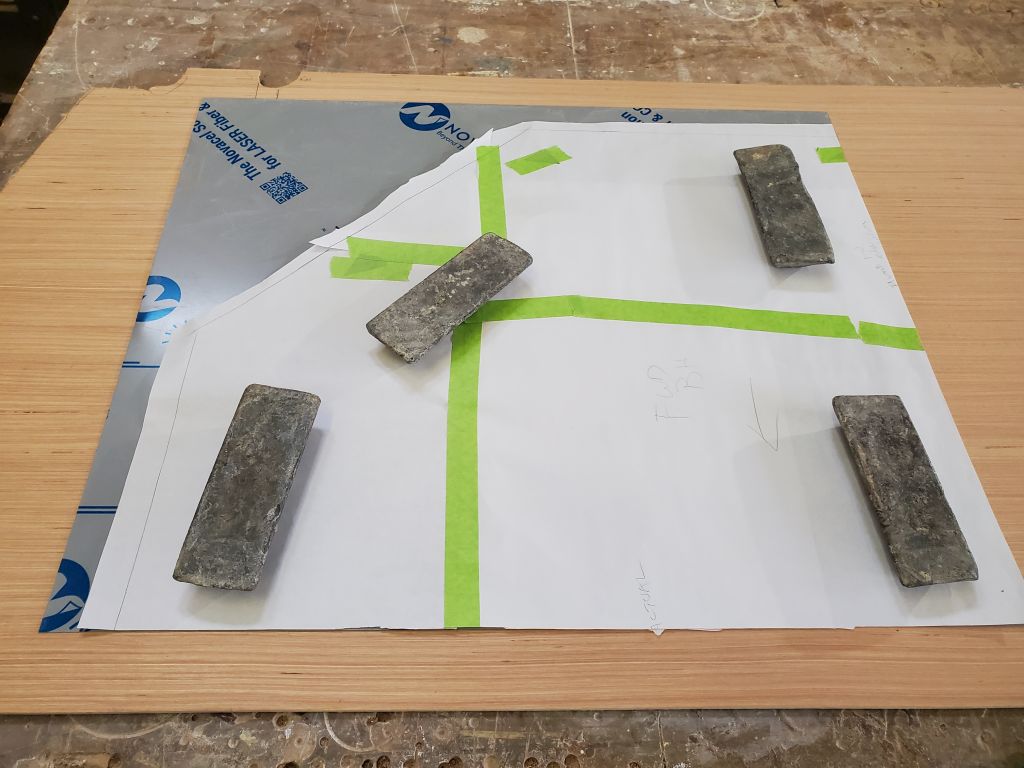
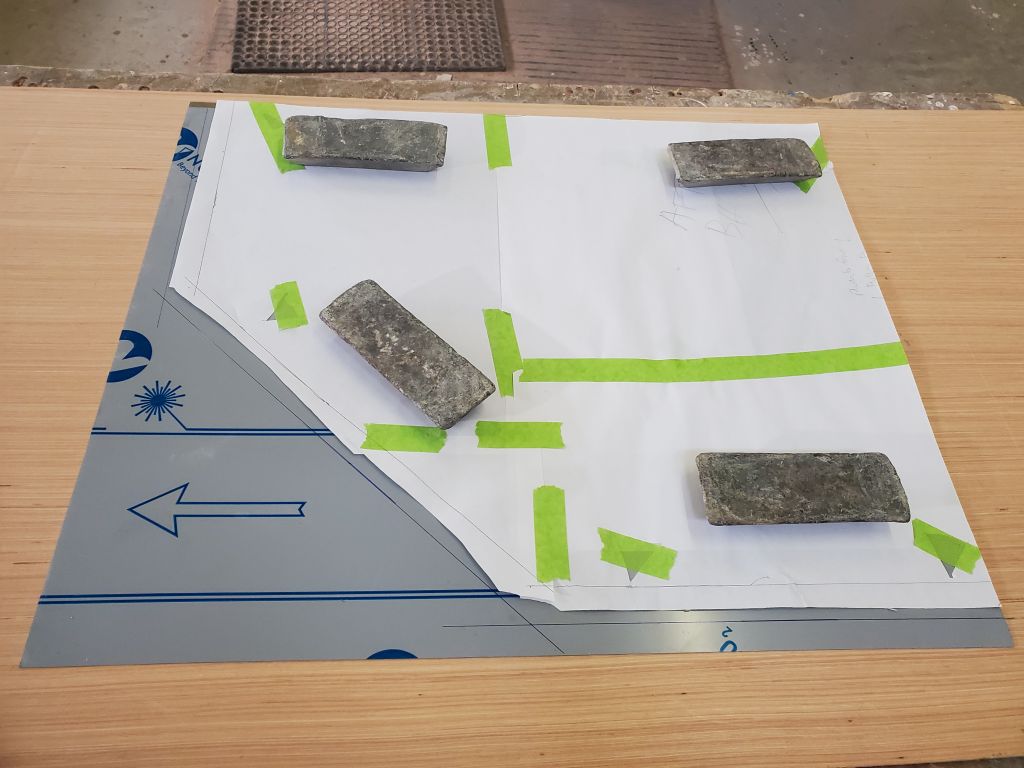
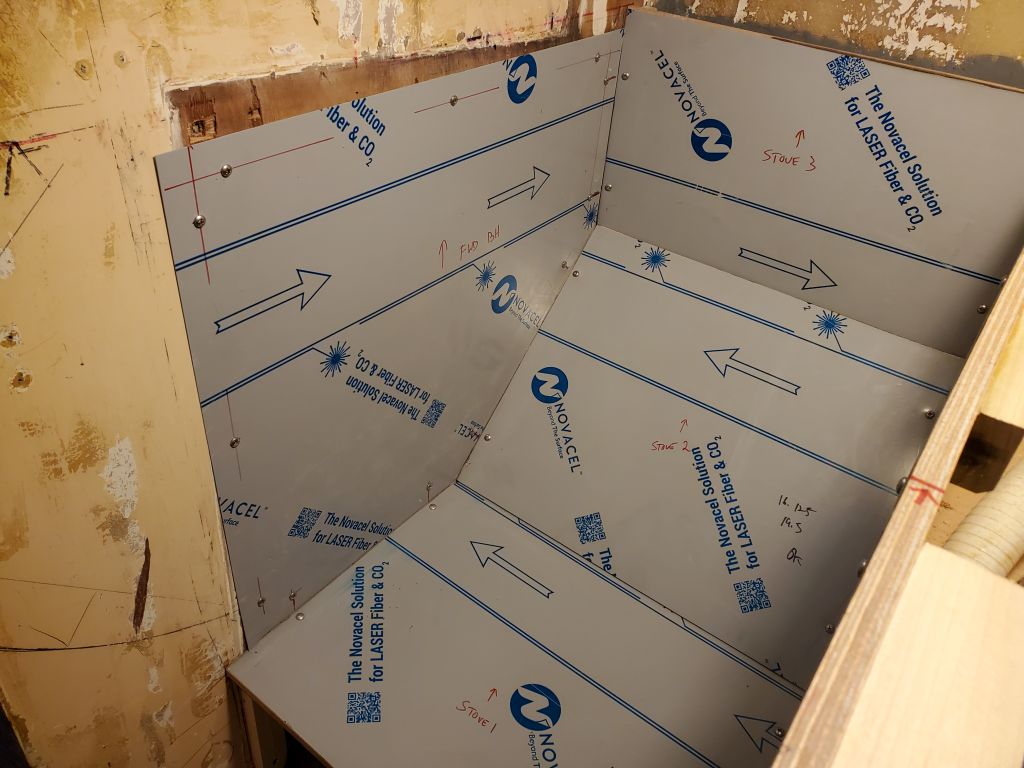
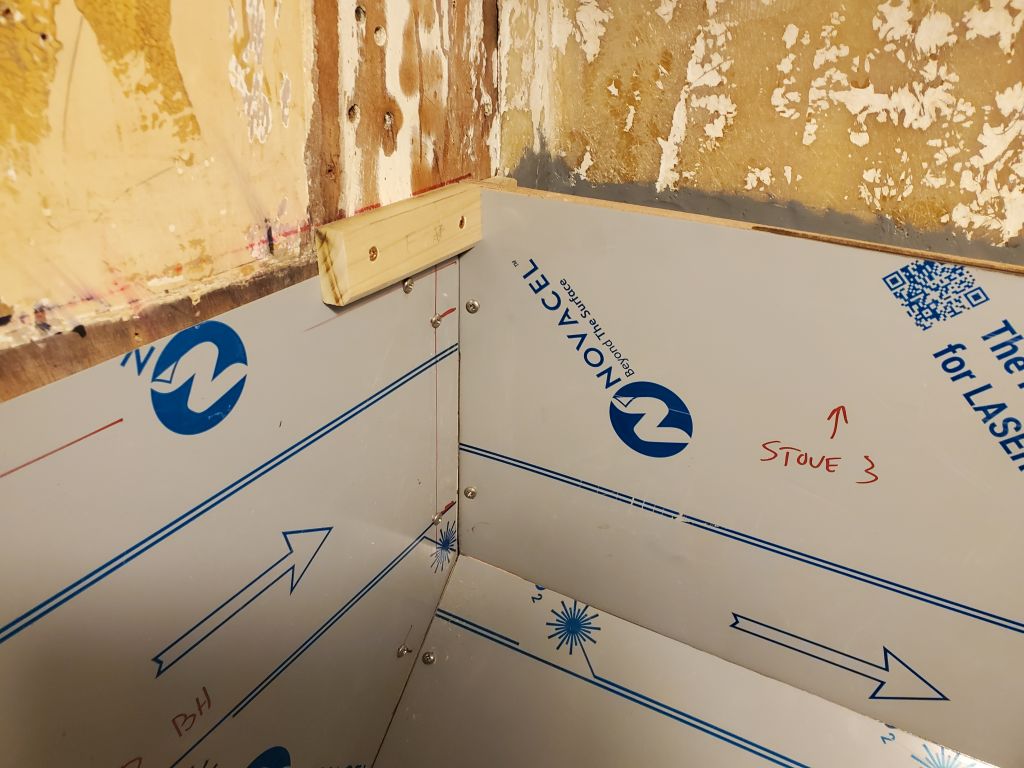
With the area behind now painted and ready, I installed the three faceted panels of the stove surround. I double-checked the position of the stove on each side using my plywood template, and made a couple additional reference marks at the tops of the bulkheads since I’d be covering up most of the layout lines with the sheet metal and would need to re-create the mounting centers for the gimbal brackets. Afterwards, I made paper patterns of the forward and after bulkheads so I could cut the side panels to the correct size and shape.
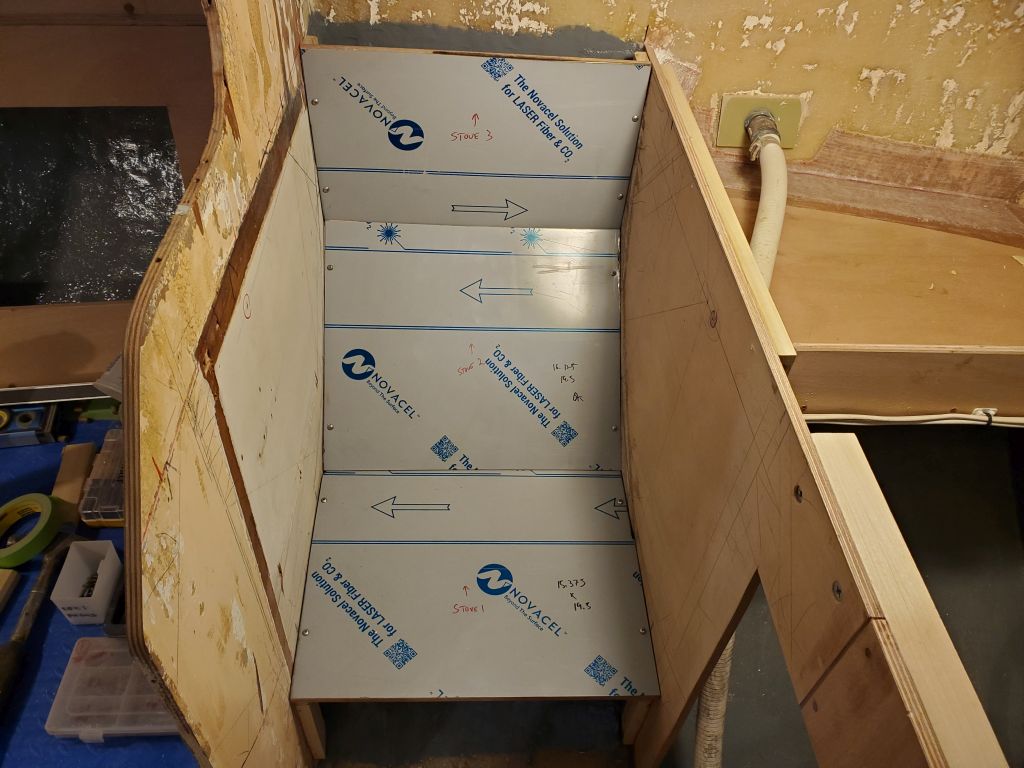

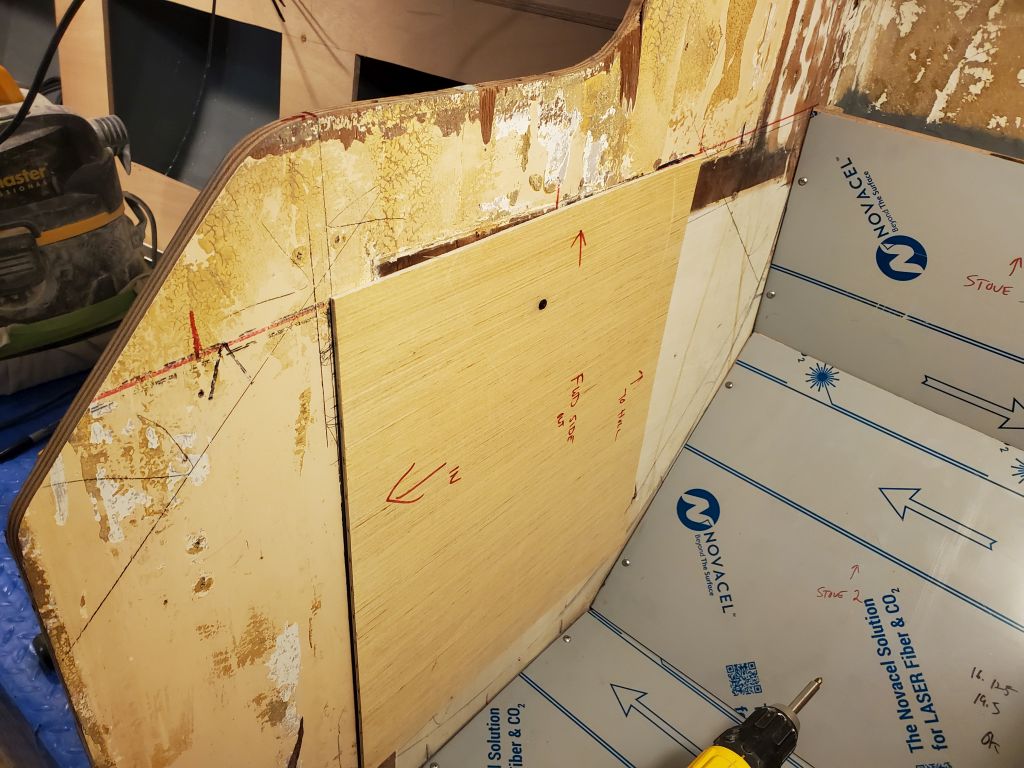
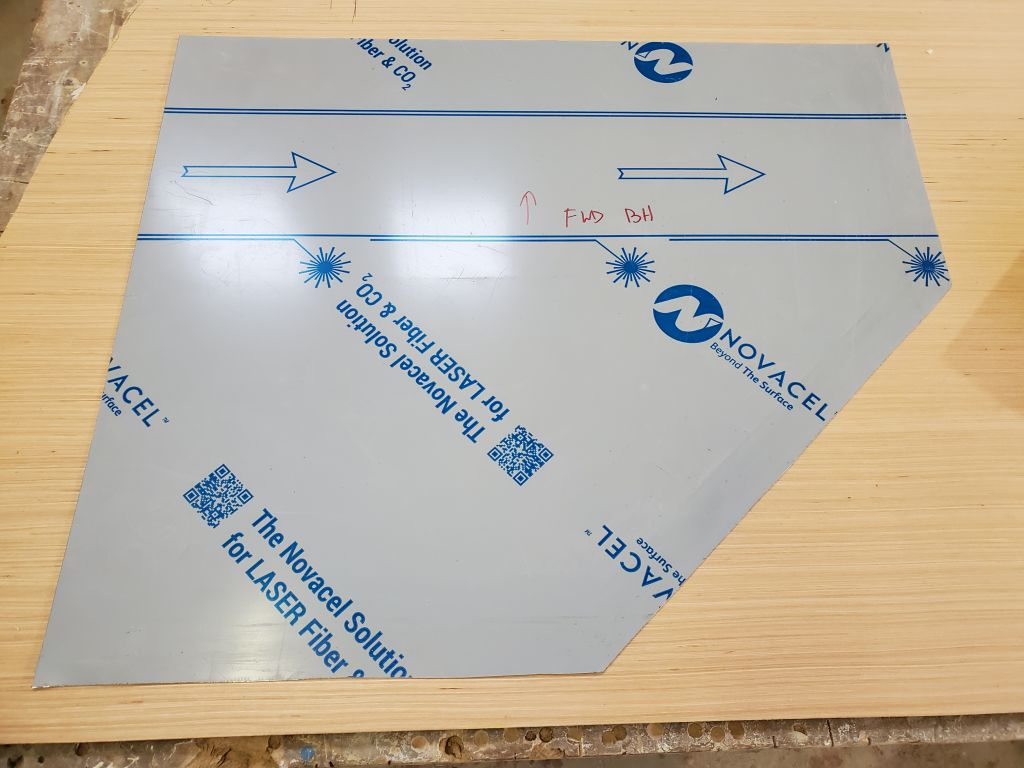
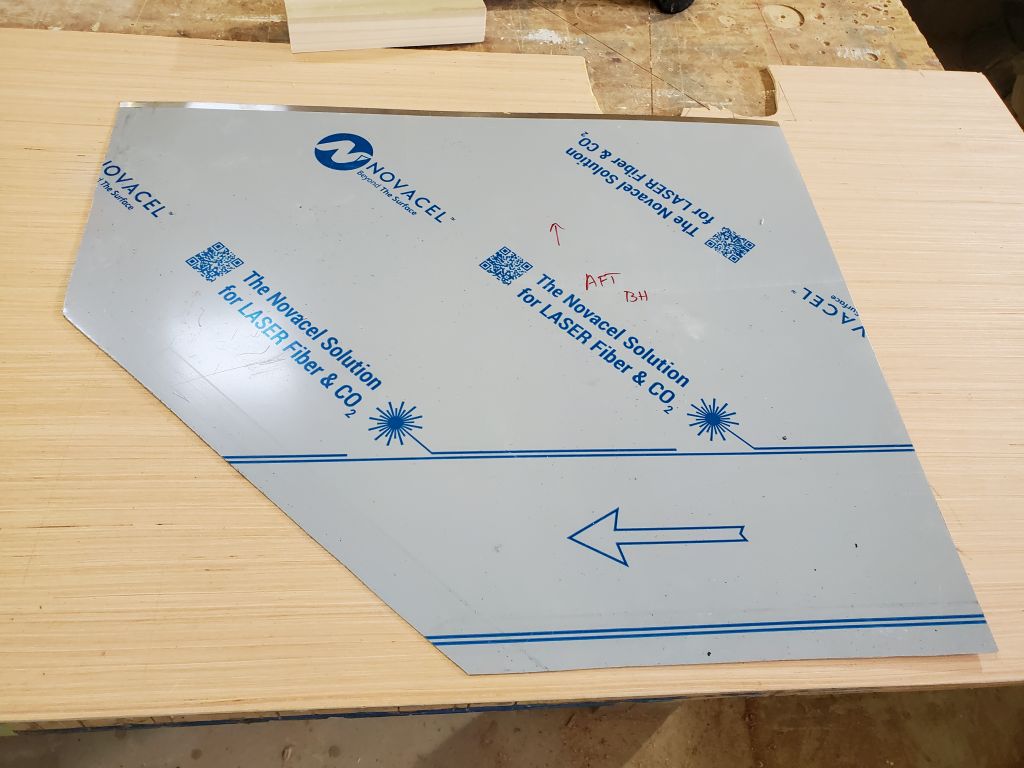
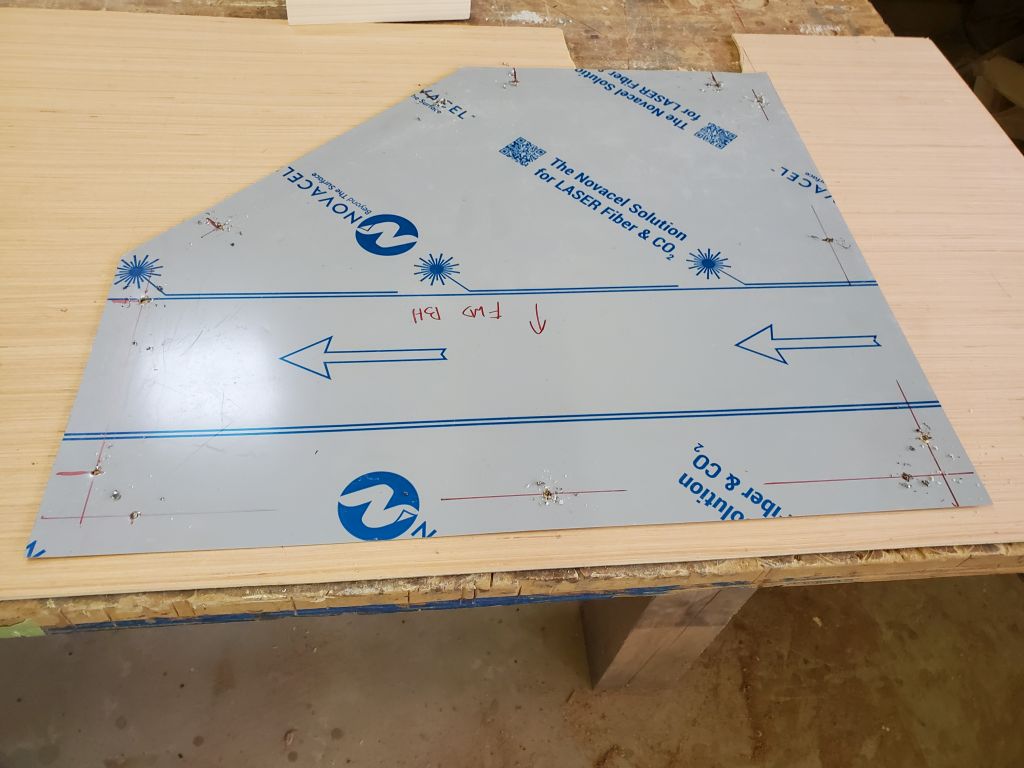
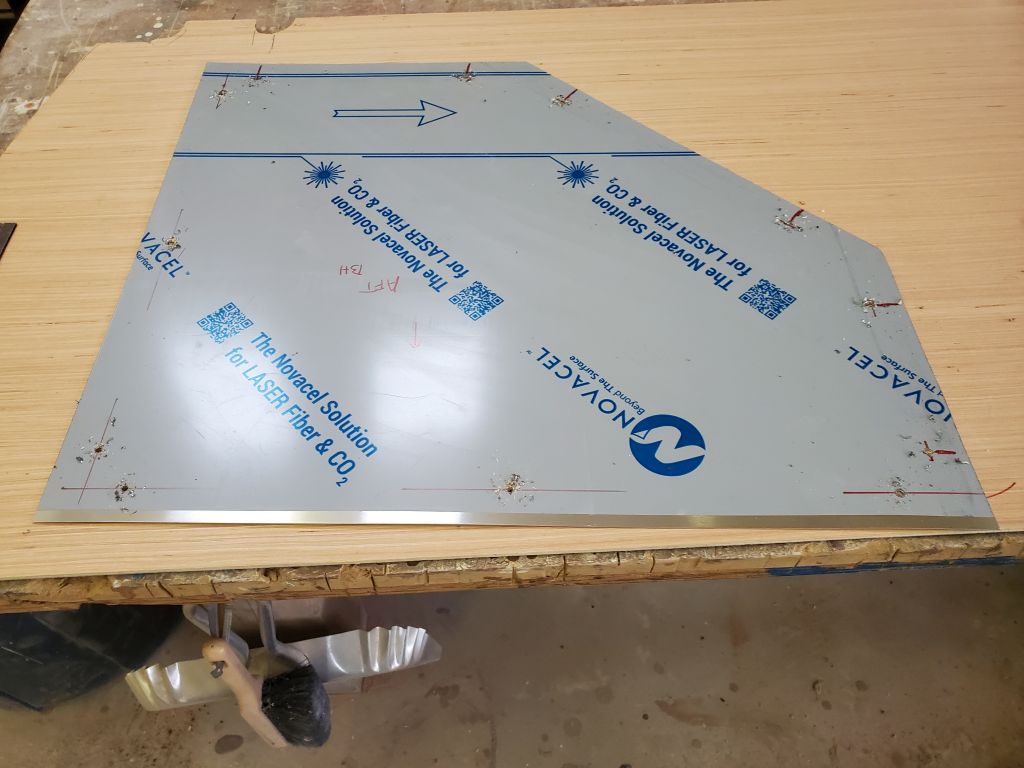
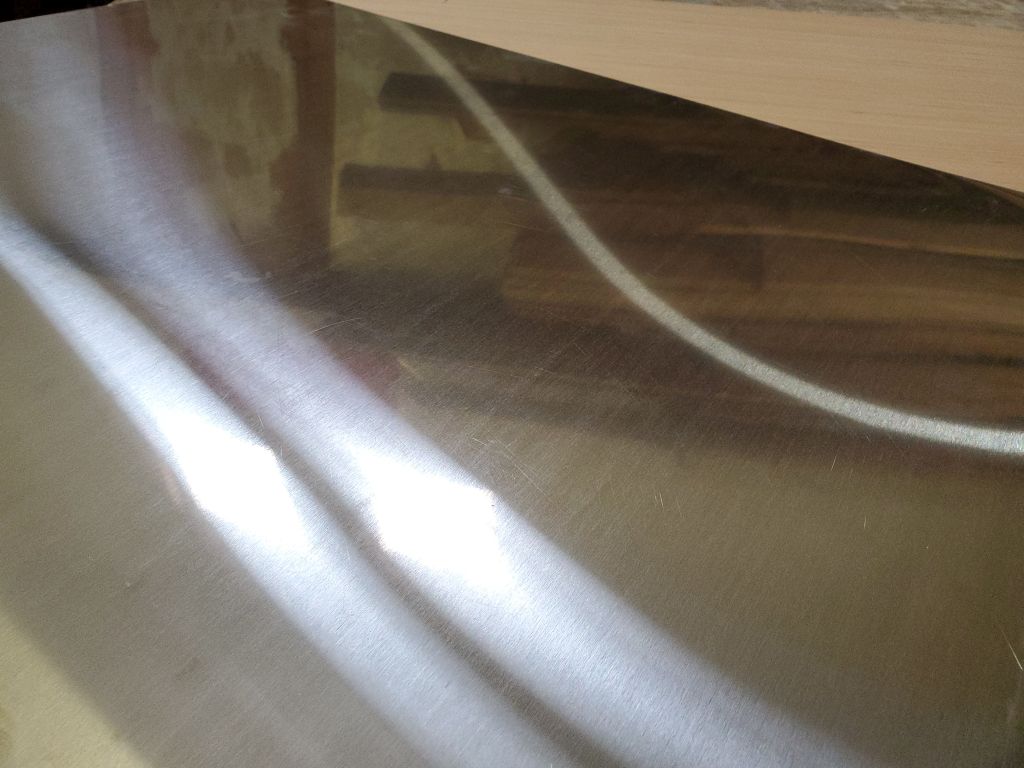
I transferred the patterns to the sheet metal, which I’d ordered cut to the basic rectangular dimensions of the space. I kept the top and inboard edges about an inch in from the edges of the actual space defining the stove enclosure, so that I could later install trim to transition between the stainless steel surround and the adjacent surfaces. I cut the panels to size, test-fit them and marked screw locations, then, after center-punching and drilling for fasteners, I installed the vertical panels, leaving all the protective plastic in place for now; the finished surface, seen on the back side of the panels, was typical #4 brushed finish.


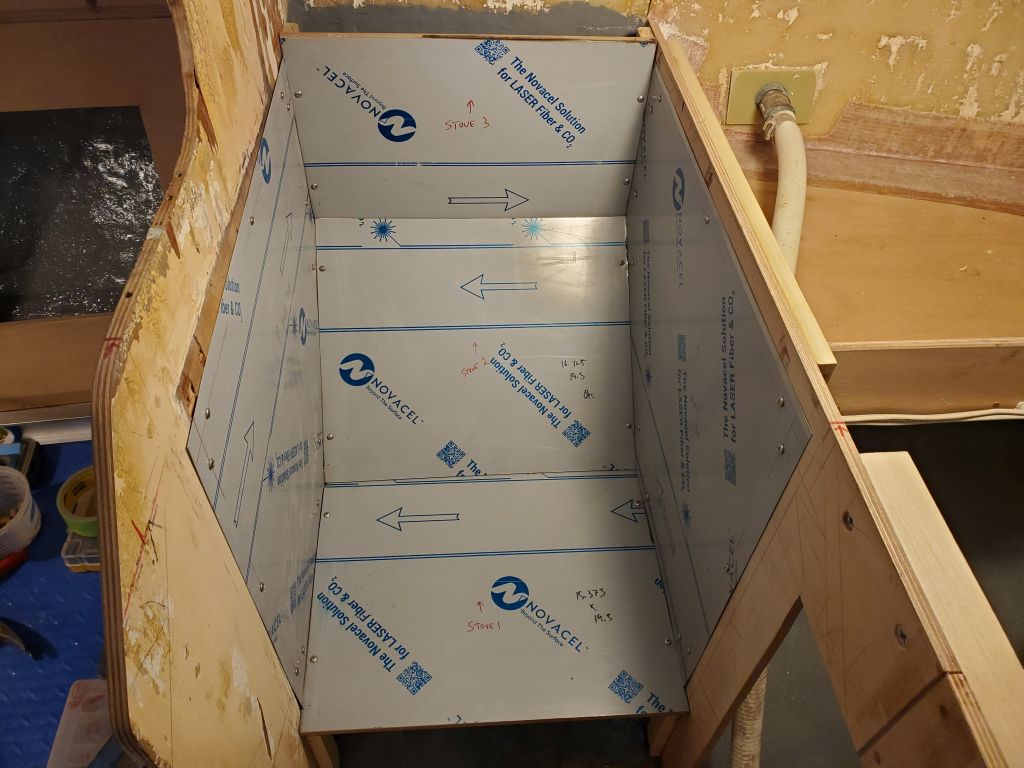
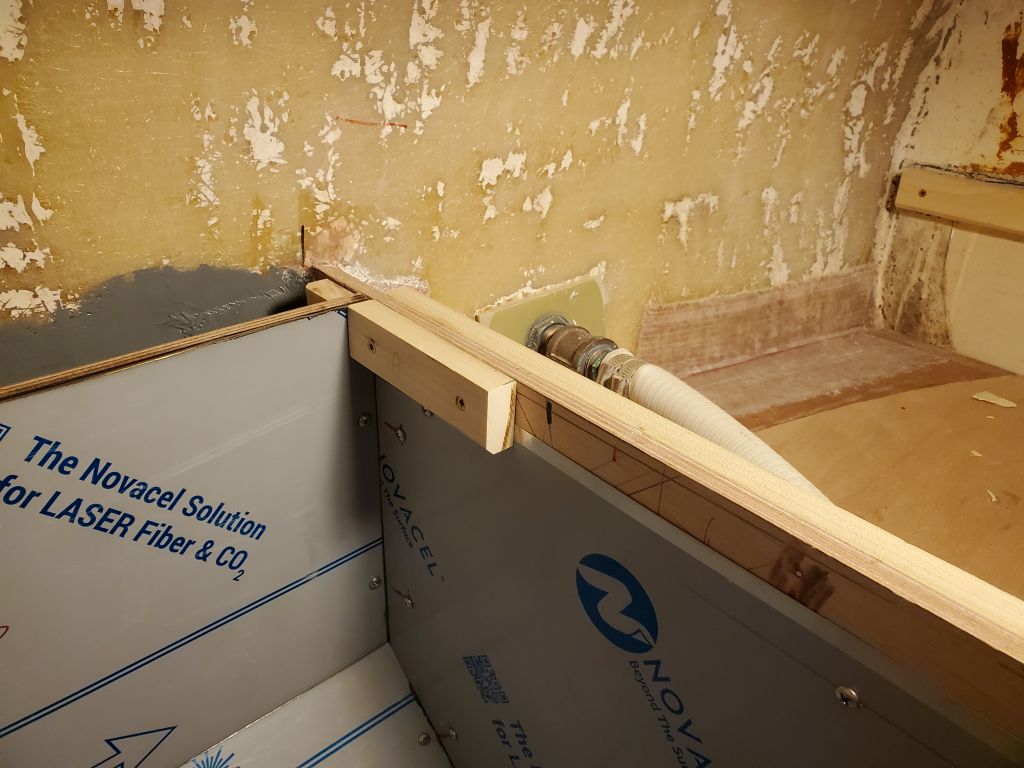
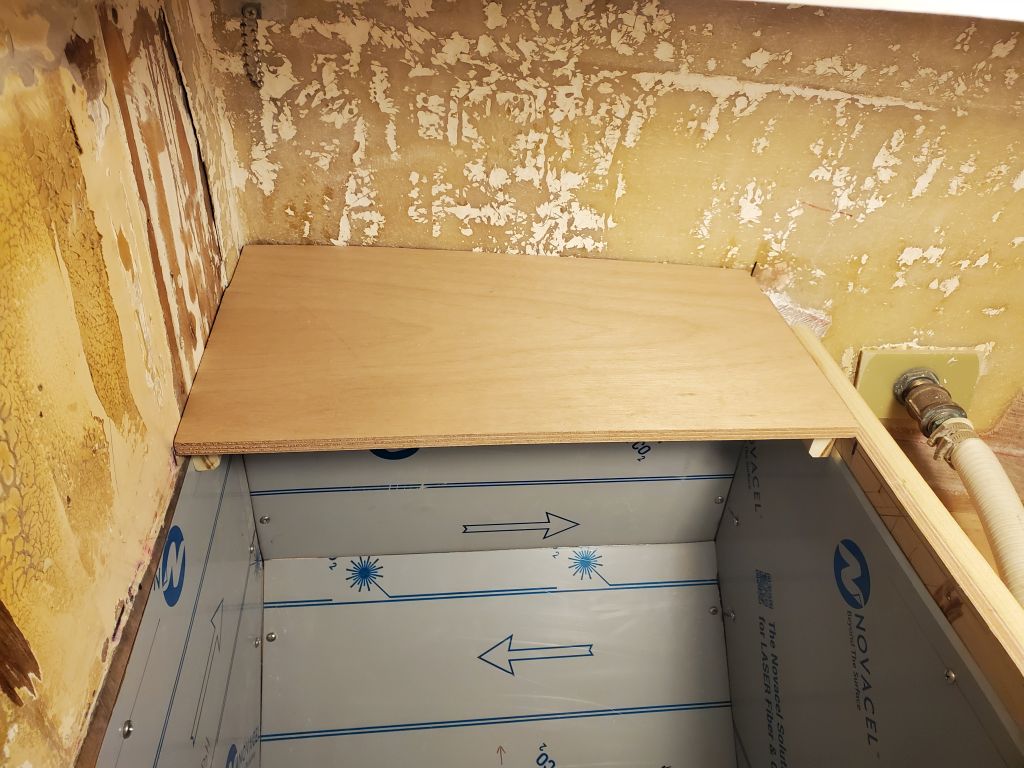
With the sheet metal now in place, I could cut and install the support cleats needed at the top outboard edge to support the small countertop running across this area.
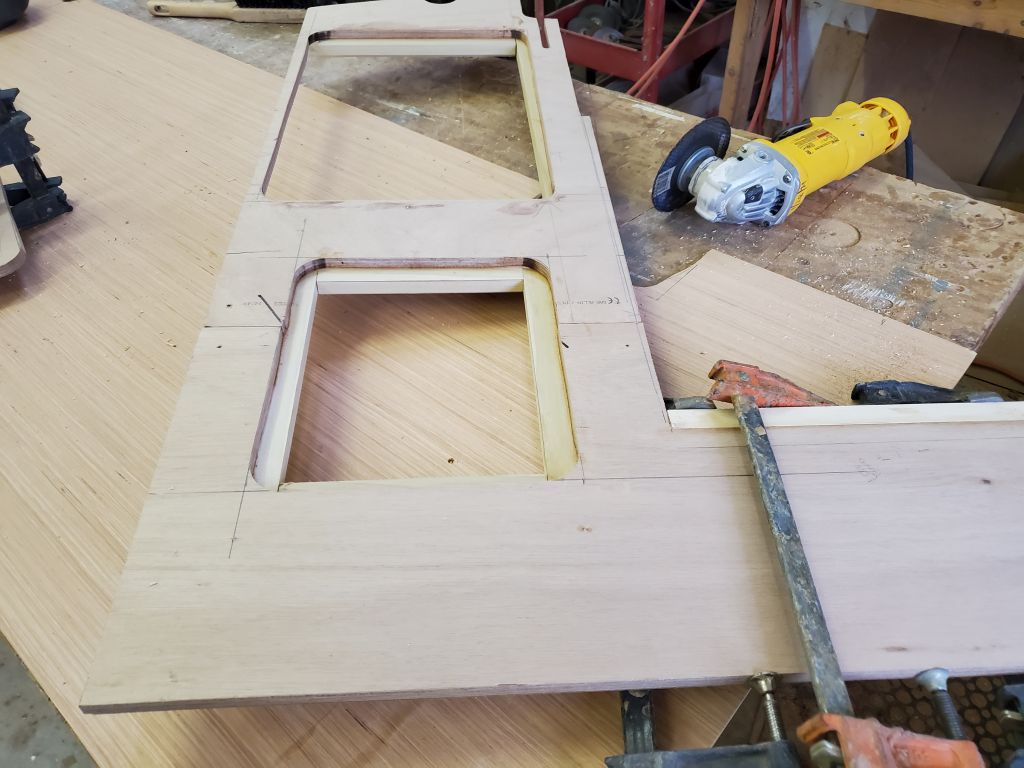
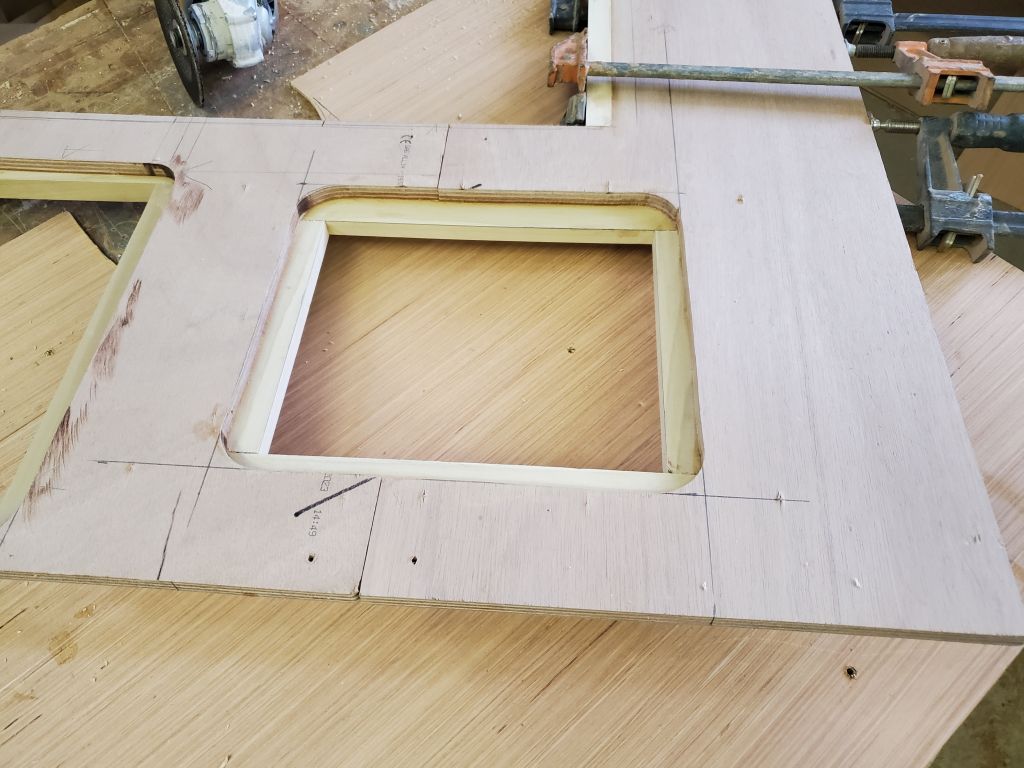
On the port side of the galley, I decided to combine the two smaller sections forming the aft part of the countertop, after considering how the whole space was going to work going forward. I also wanted to include an additional access hatch to the space beneath, inboard of the trash container. With little clear space available, I wanted the cleats that held together the two plywood panels to also serve as the support cleats for the new hatch, so I spent some time on the correct layout and transferring measurements to the top of the sheets so I could make the cutout, all the while keeping the pieces pinned together for proper alignment. Because whatever upper cabinetry we added to this part of the galley would also necessarily be removable, this meant that the hatch opening was feasible since whatever storage was placed atop (the owner was currently considering some kind of tableware/utensil storage) would be removable when or if access was required to the space beneath. And the large opening over the trash container had to remain exposed for regular use.
I also added another support cleat to the engine side of the space, at the top of the panel leading to the refer locker.
Countertop material was on order and I expected it soon, but in the meantime this gave me time to finalize the substrates and make advances in other parts of the project.
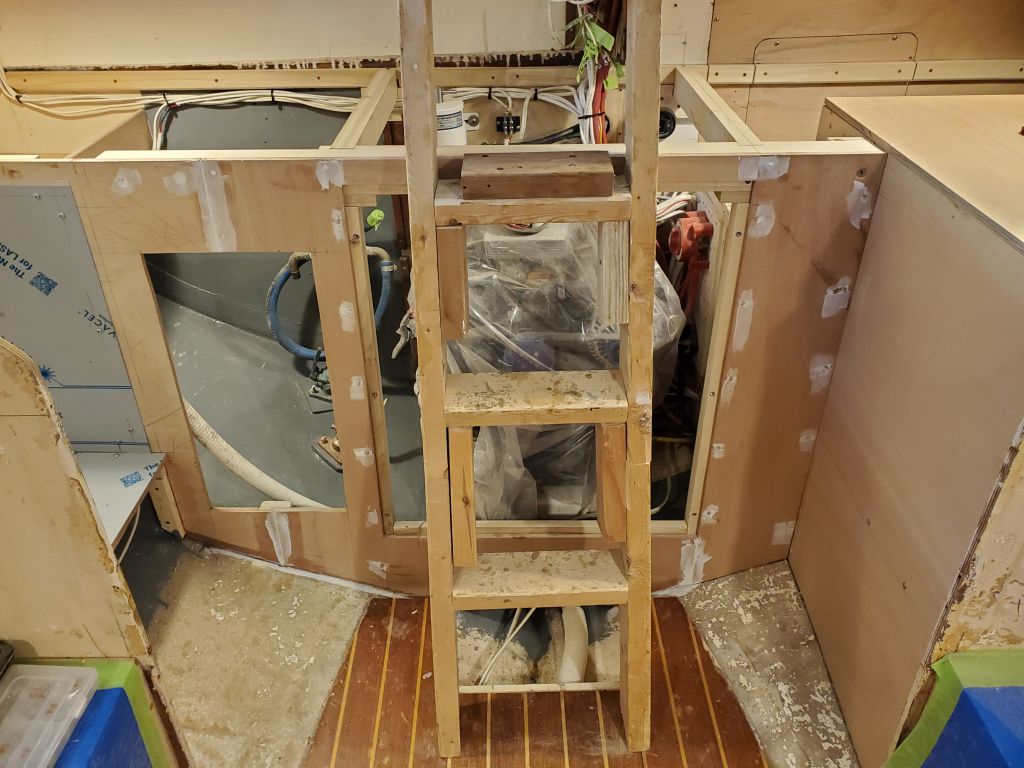
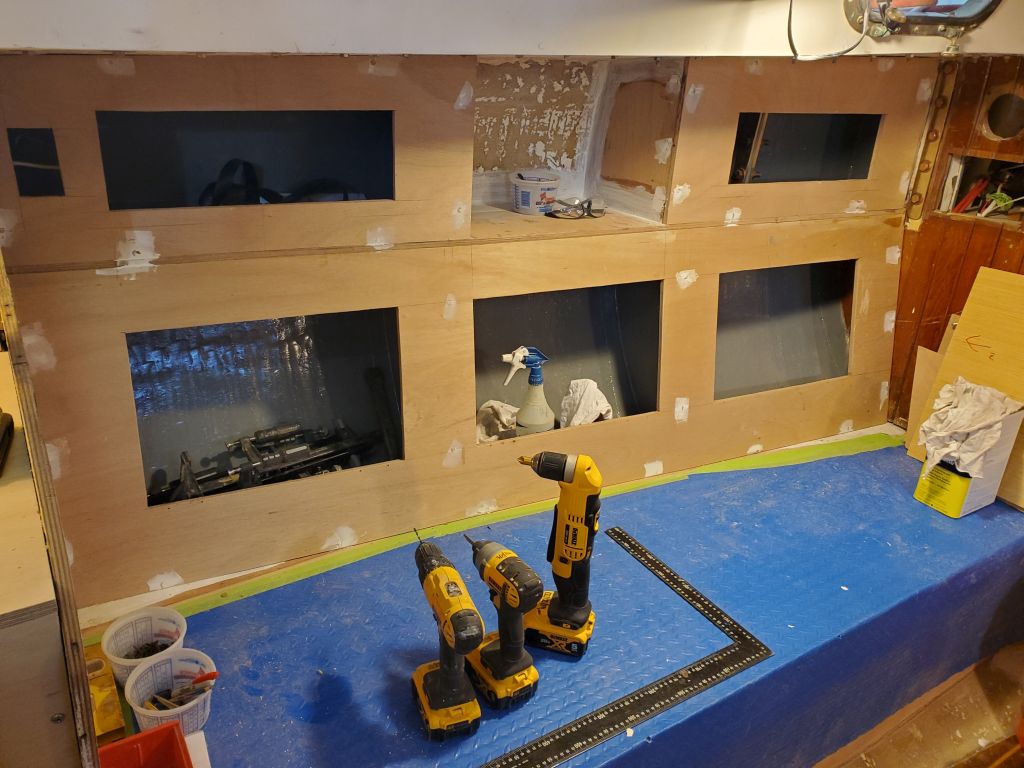
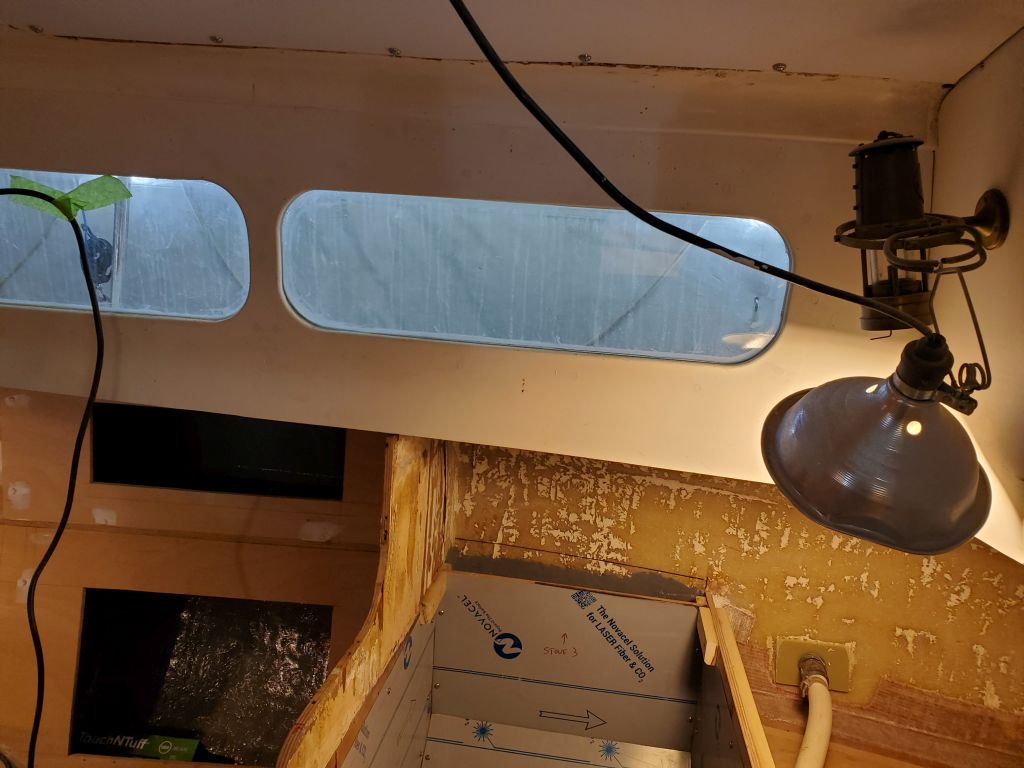
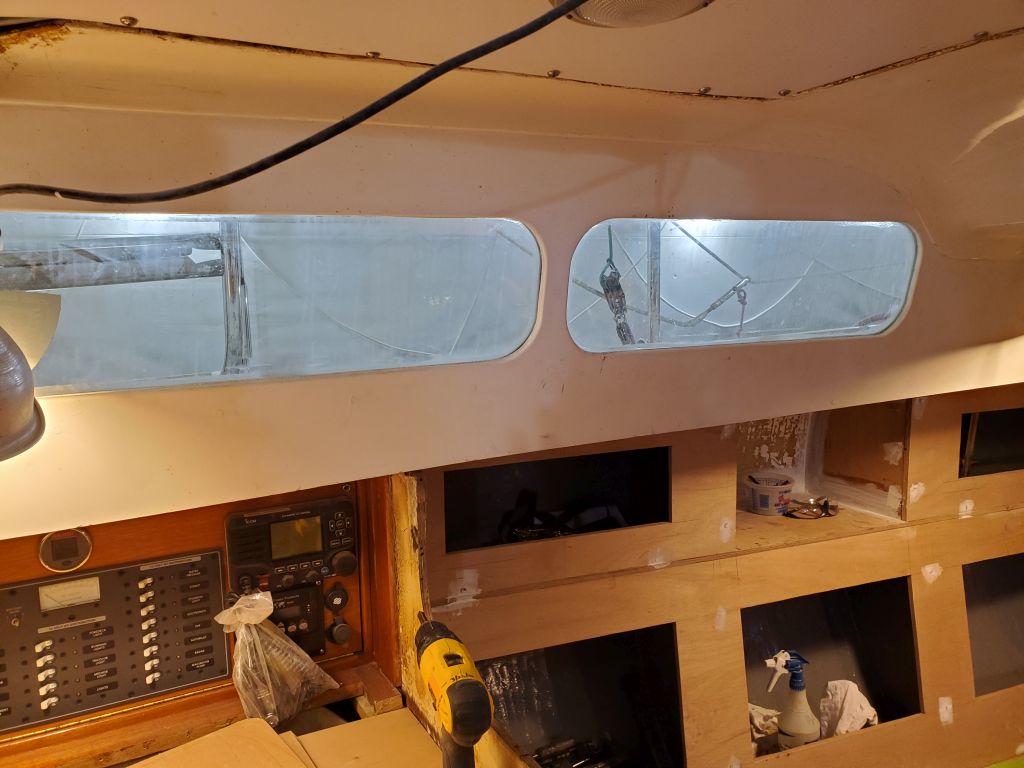
Gearing up for some upcoming surface prep and beyond in the main cabin, I applied some lightweight filler material to various places, mainly over a few panel seams and bung locations to fill minor plywood splintering that had occurred during panel installation. By installing some of the fairing material now, I’d have a head start once I lightly sanded all the surfaces to prepare for primer and paint. I did the same on the cabin sides, where there were a few old screw holes to fill and some existing bung locations that required dressing; I’d also be priming and painting the cabin sides and overhead liner here.


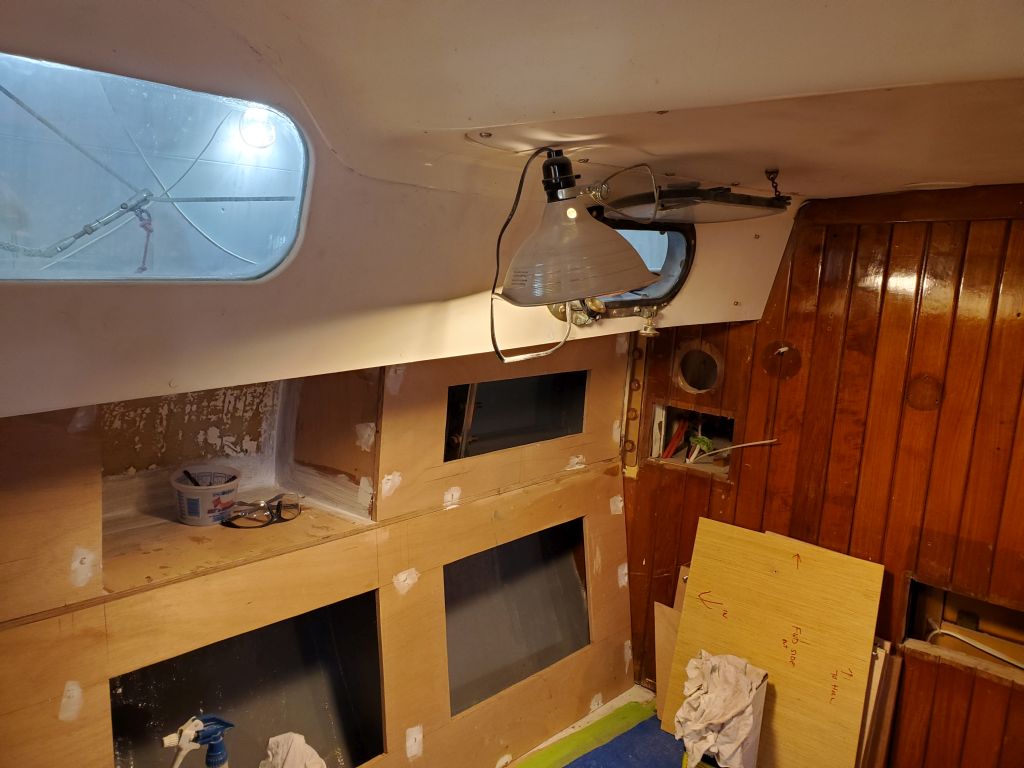
Finally, the engine through hull bolts locations required a minor second coat of fairing compound to finish up.
Total time billed on this job today: 8.25 hours
0600 Weather Observation: 32°, cloudy. Forecast for the day: Cloudy, slight chance of snow, 34°