


May 13, 2024
Calliope Girl 121
Monday
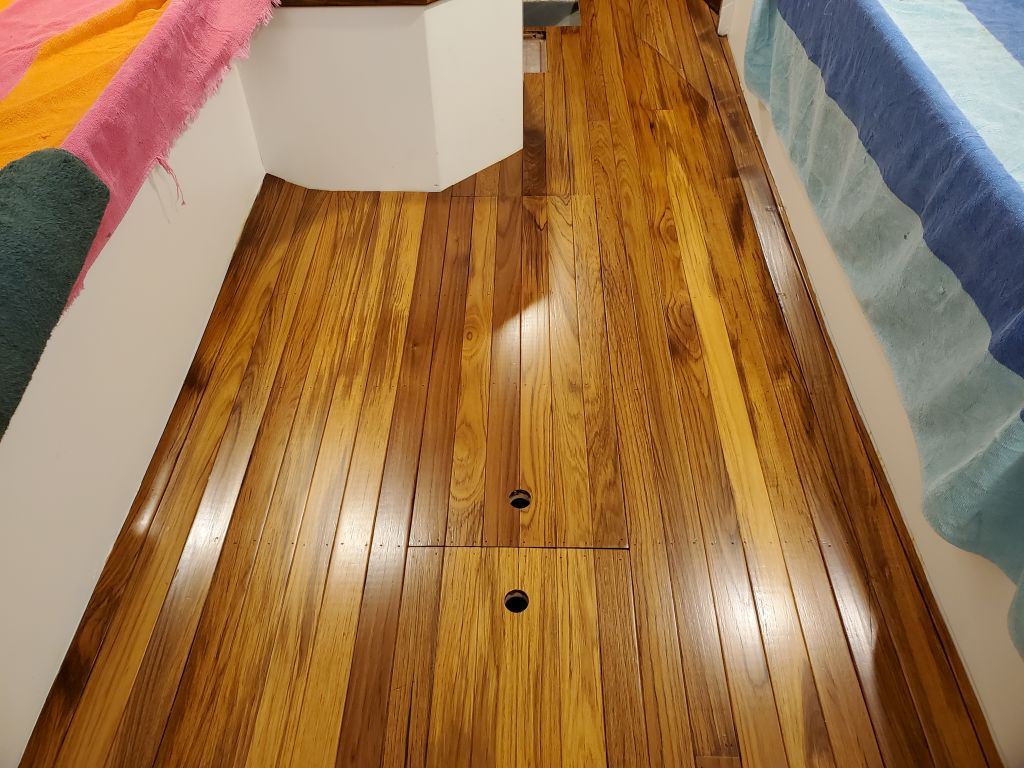
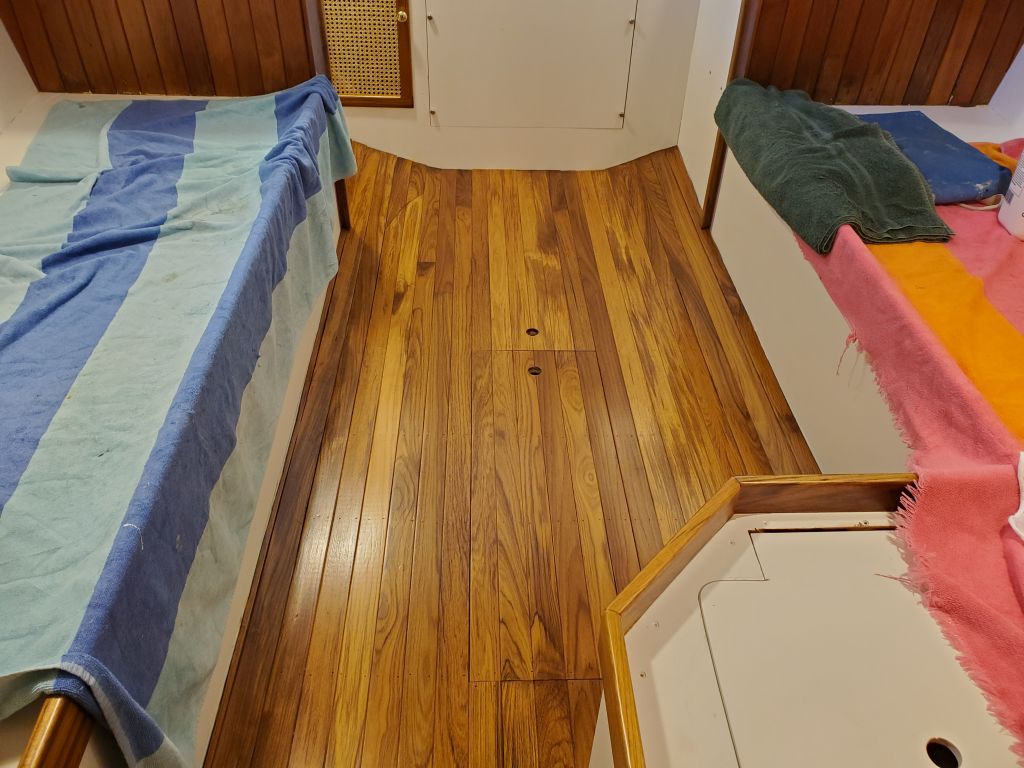
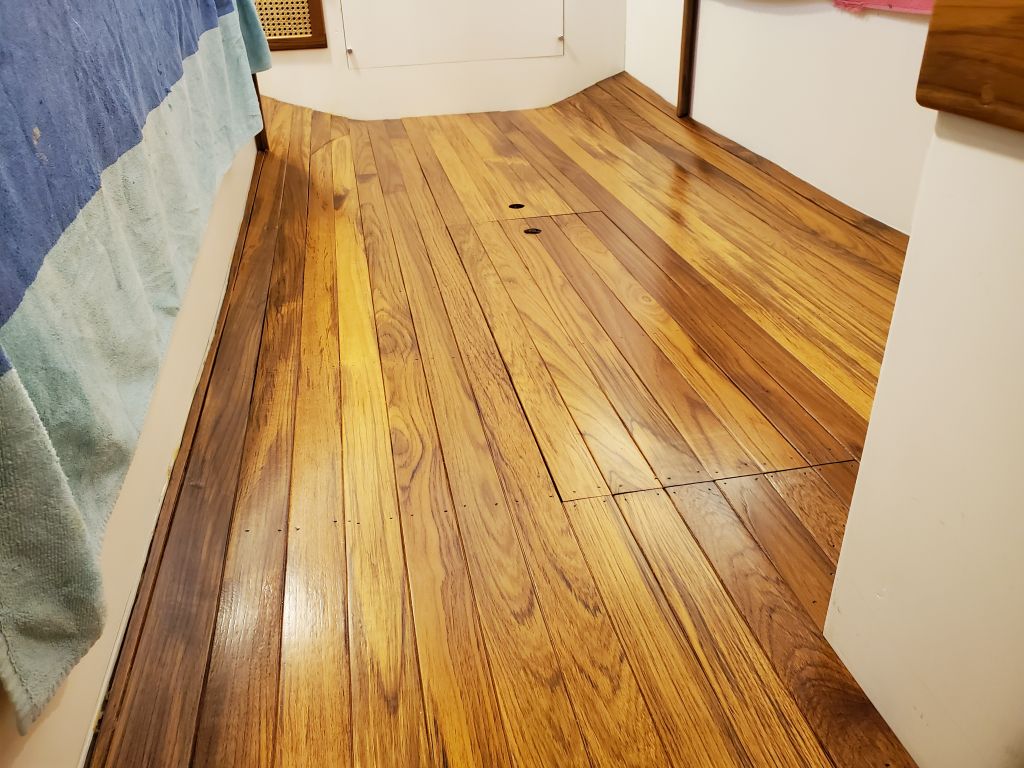
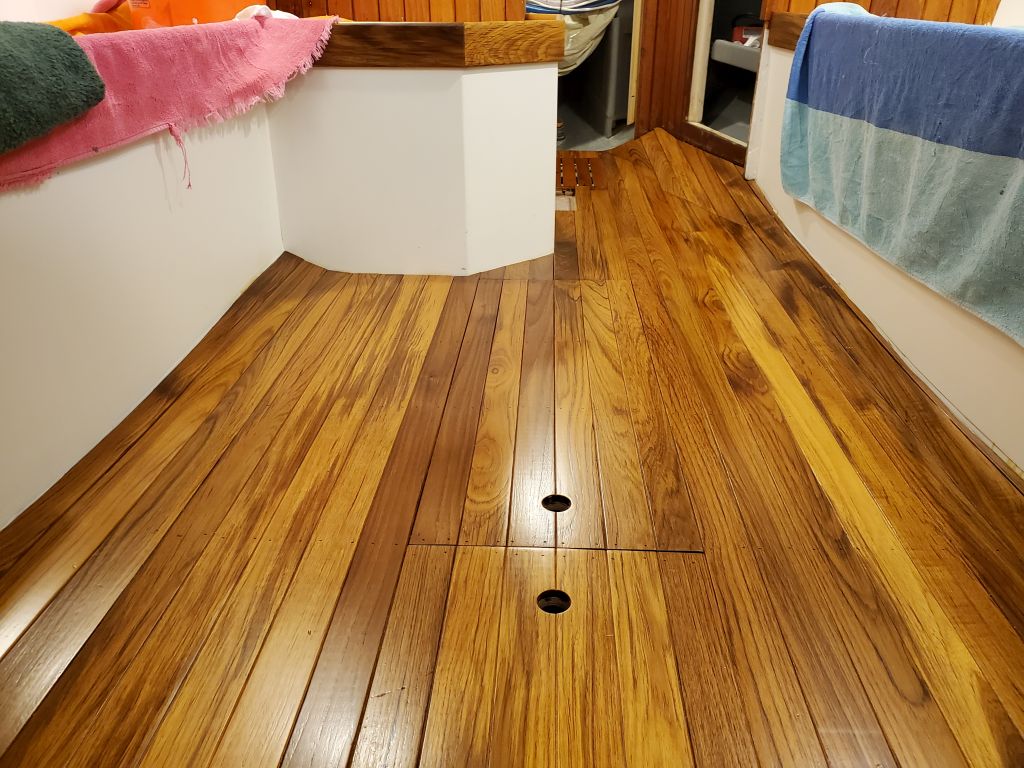
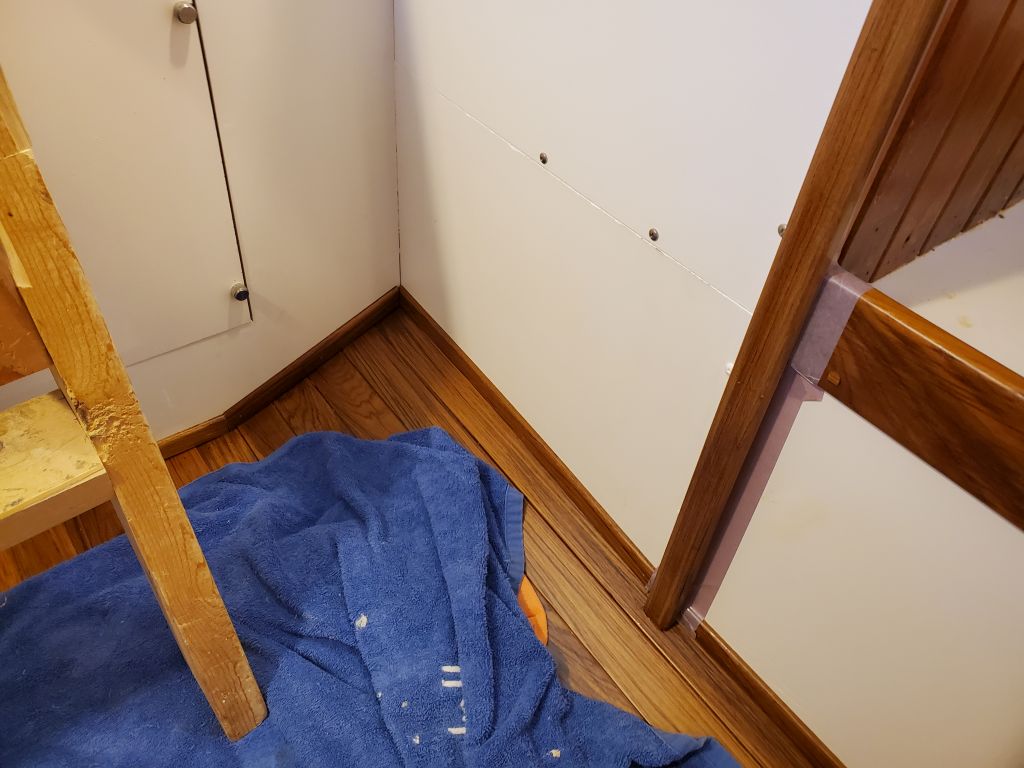
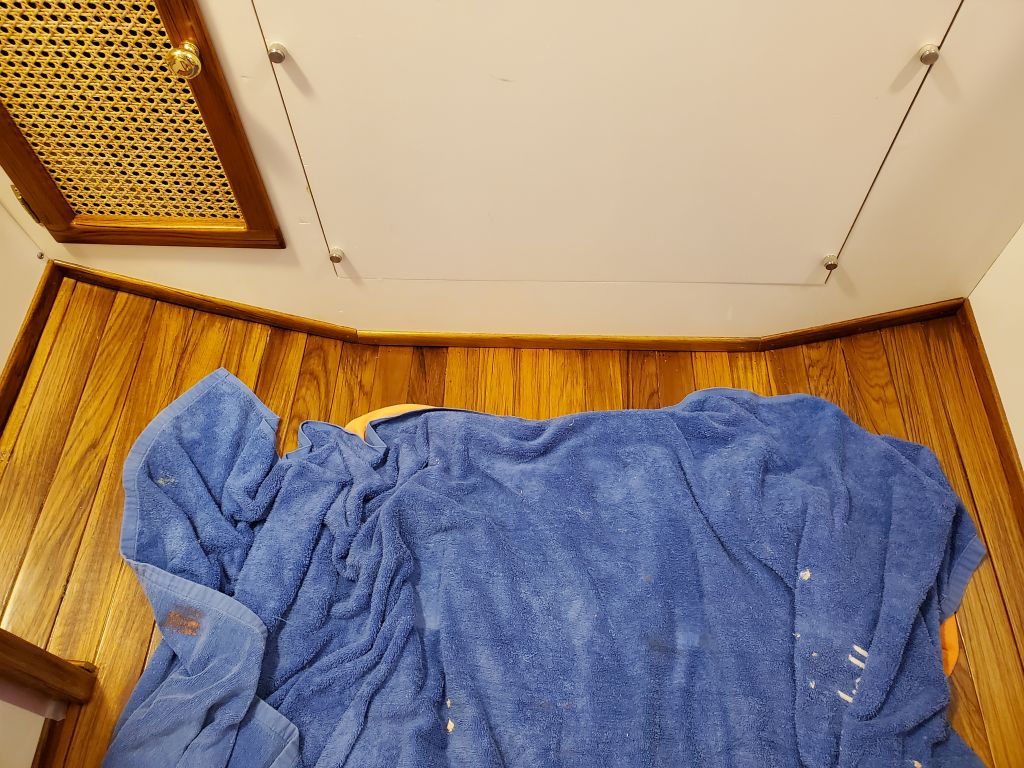
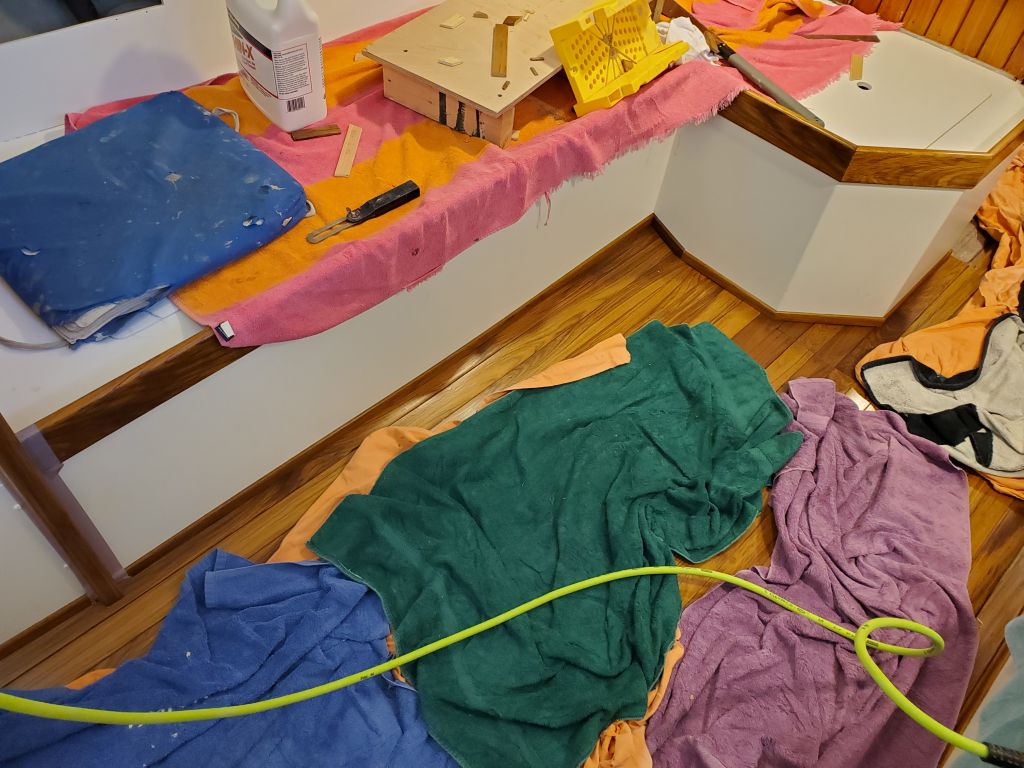
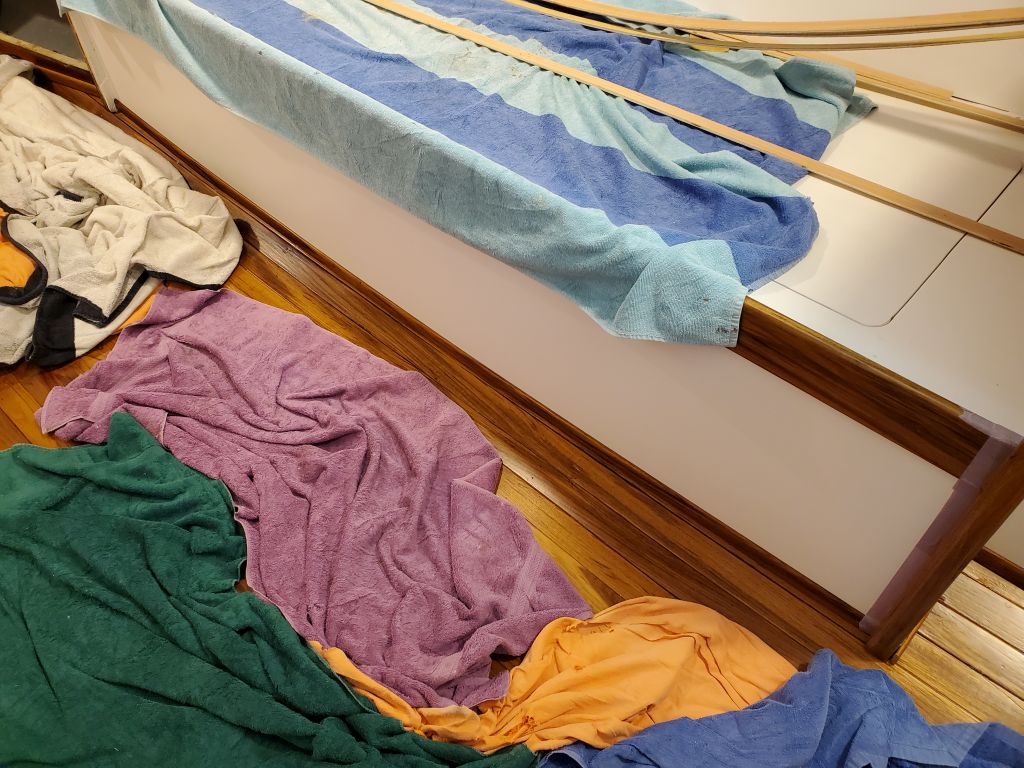
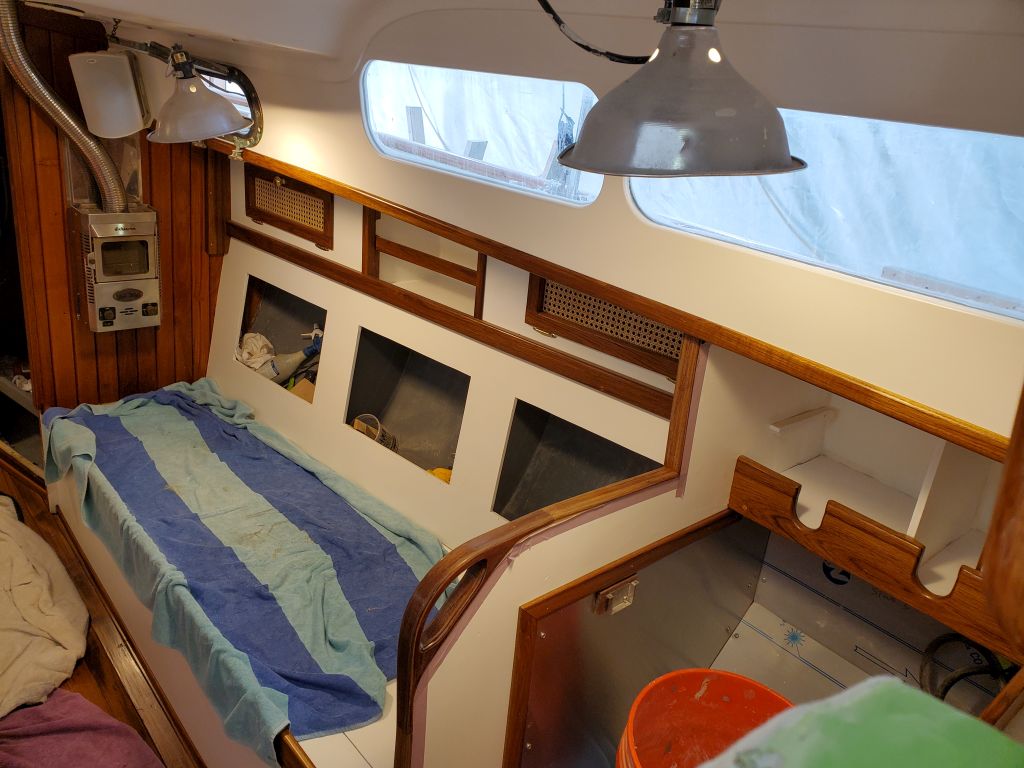
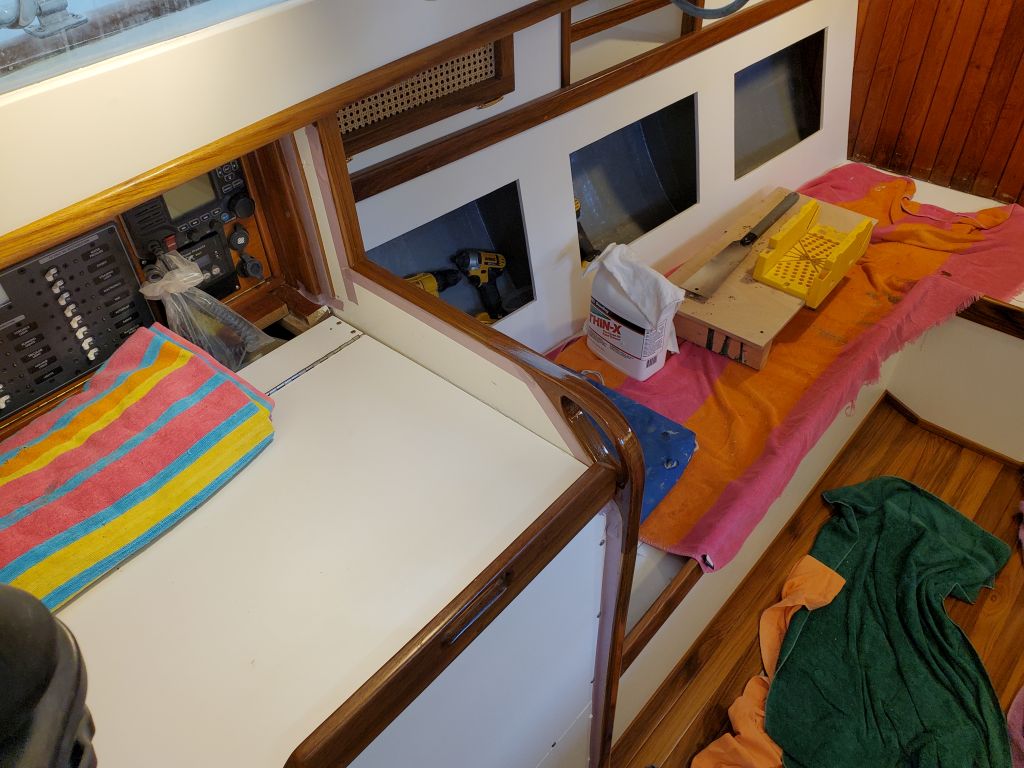
The final coat on the cabin sole looked good after a weekend’s cure time. I enjoyed its appearance briefly before covering it with various towels and drop cloths for protection while I continued working.
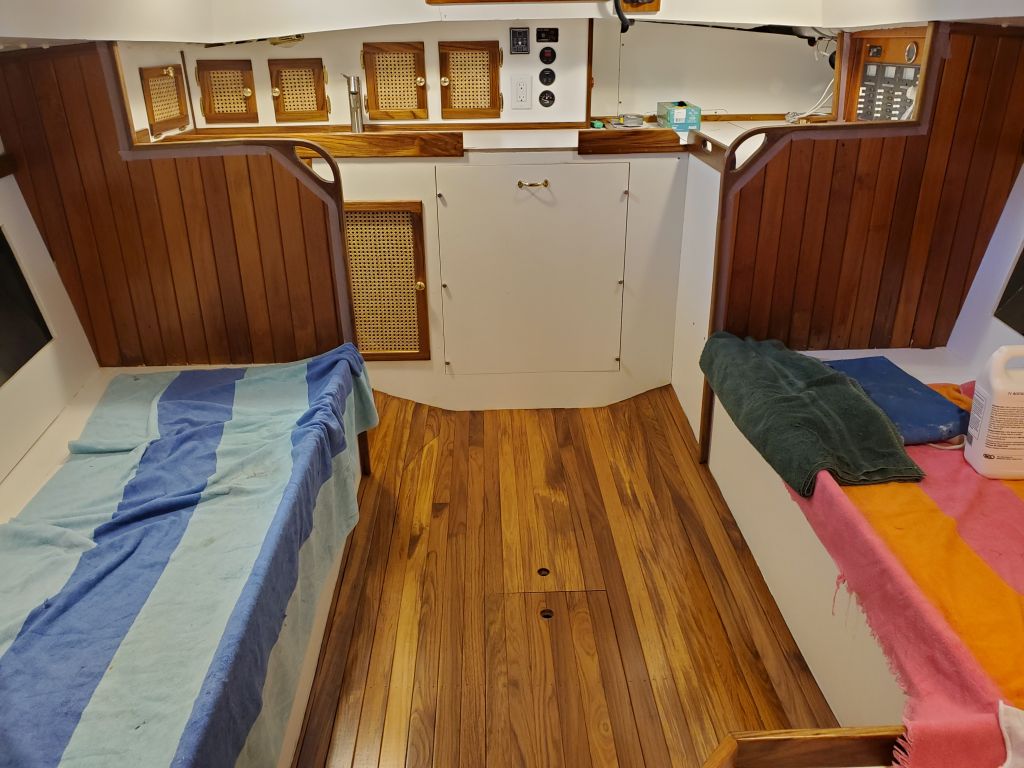
My immediate task was to install the trim around the edges of the sole–baseboard for lack of a better term. I’d milled and pre-finished pieces of this all-purpose trim earlier, so now it was a matter of cutting pieces as needed to fit the myriad lengths and various angles required. This took several hours.

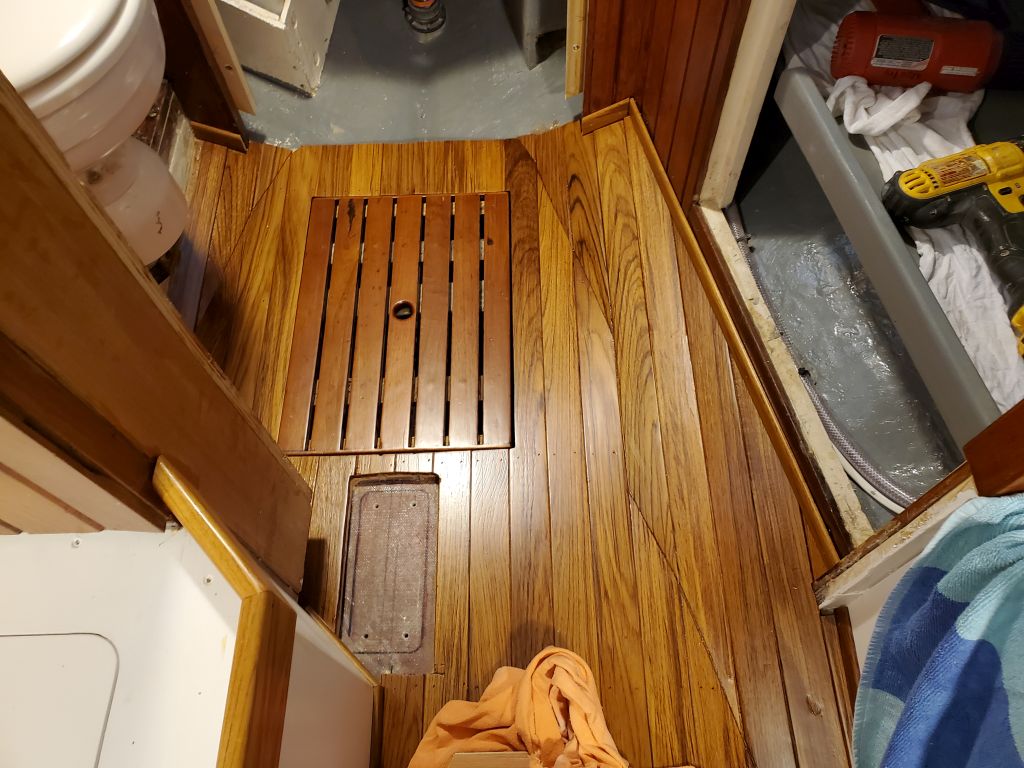
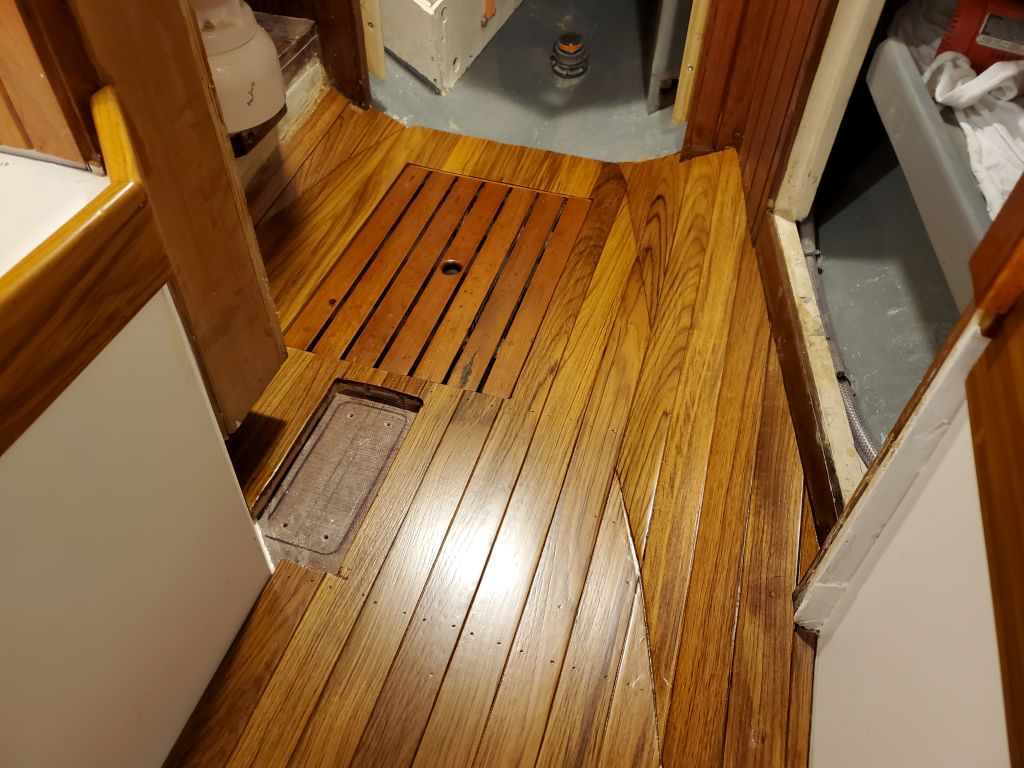
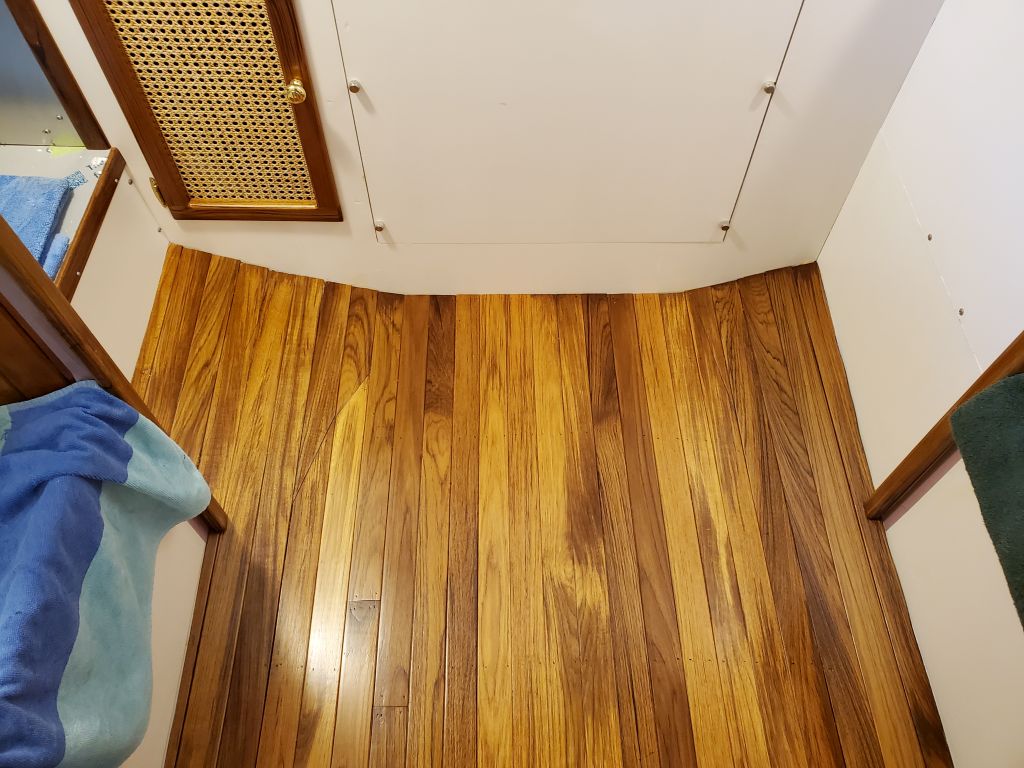
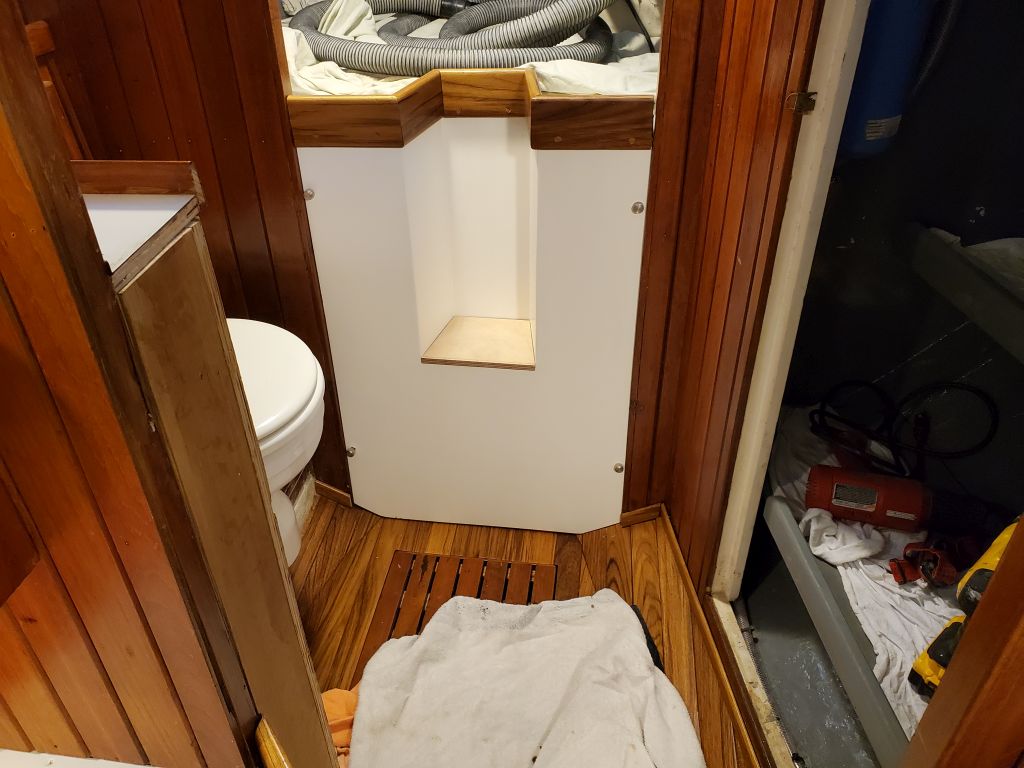
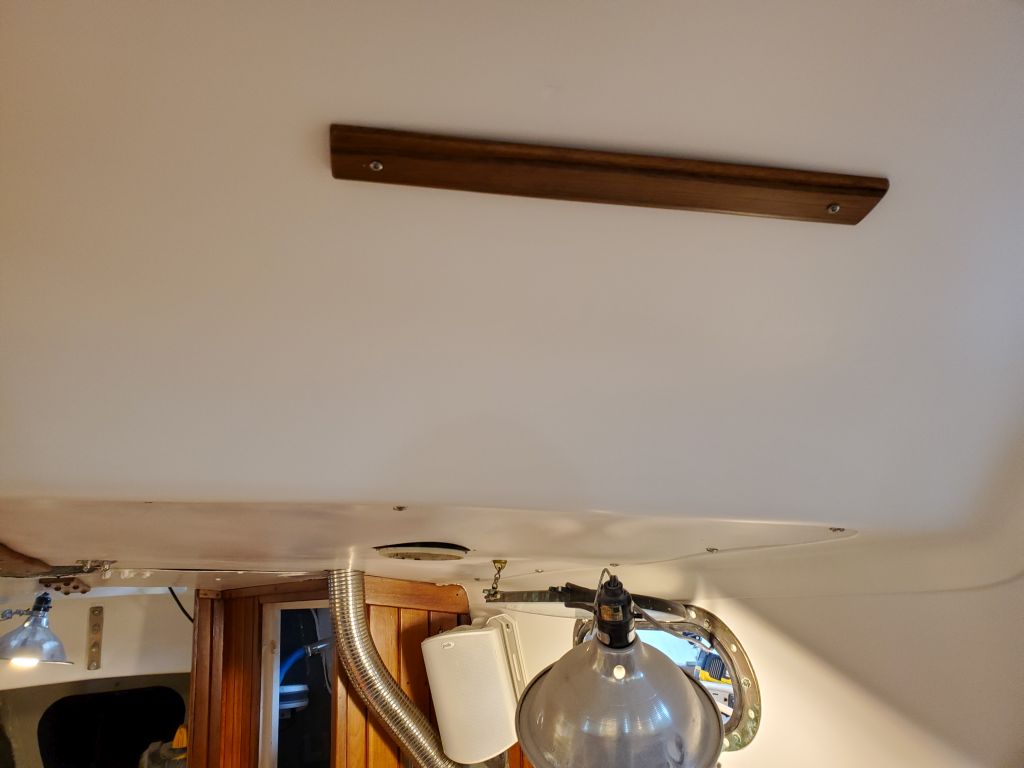
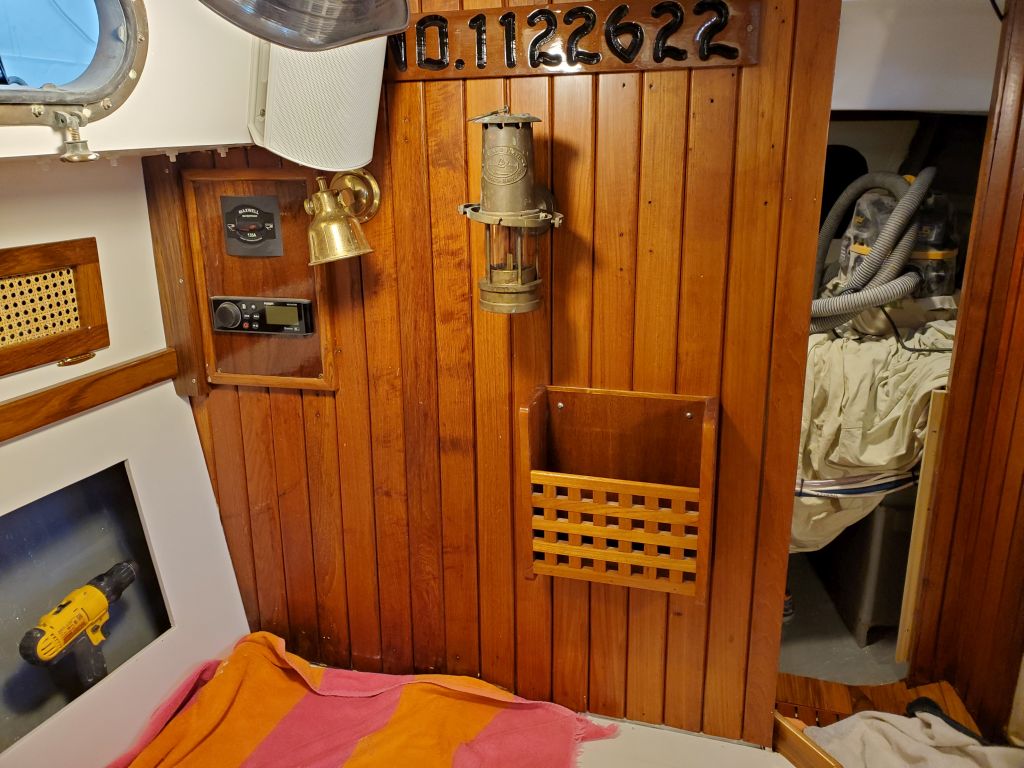
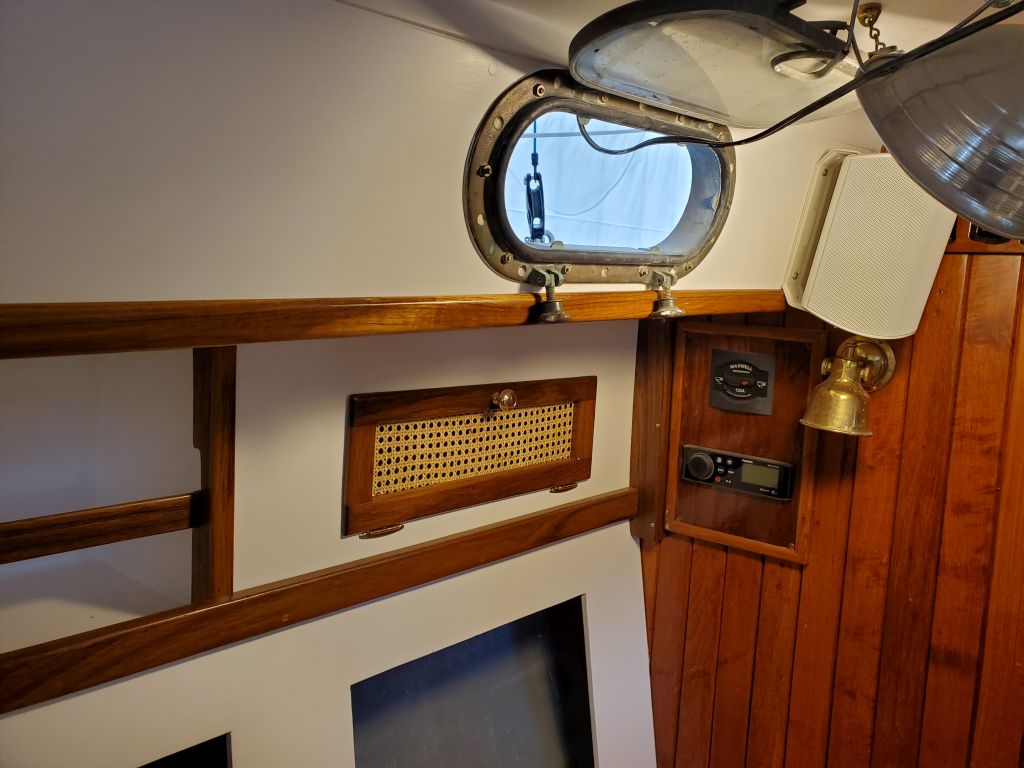
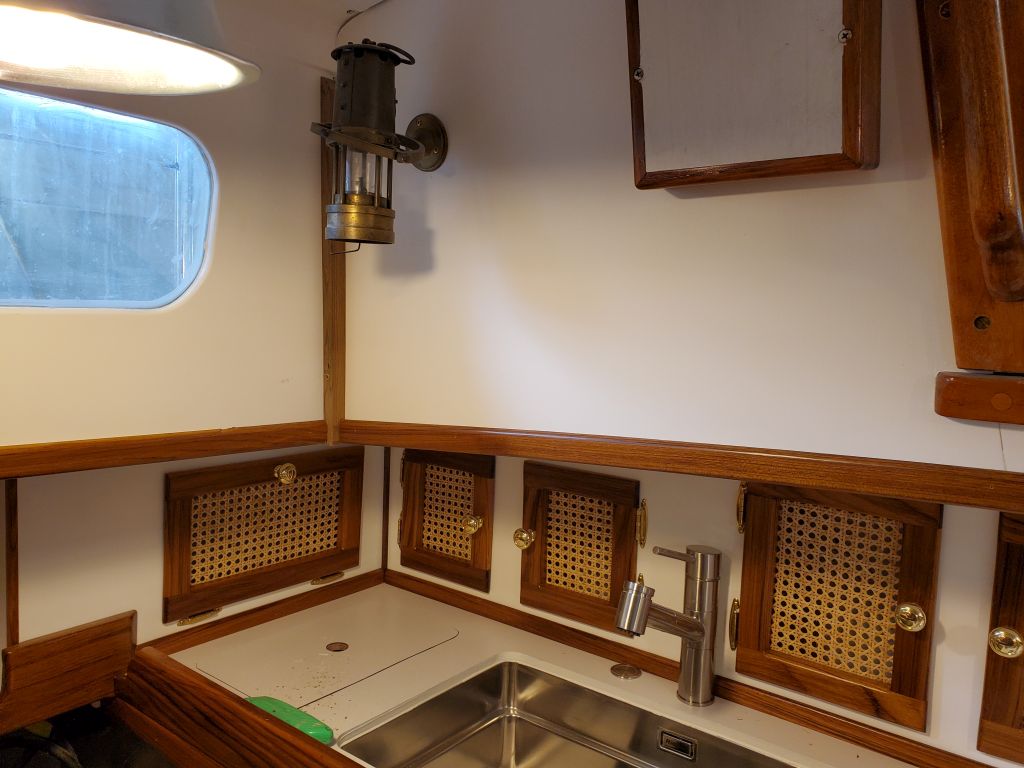
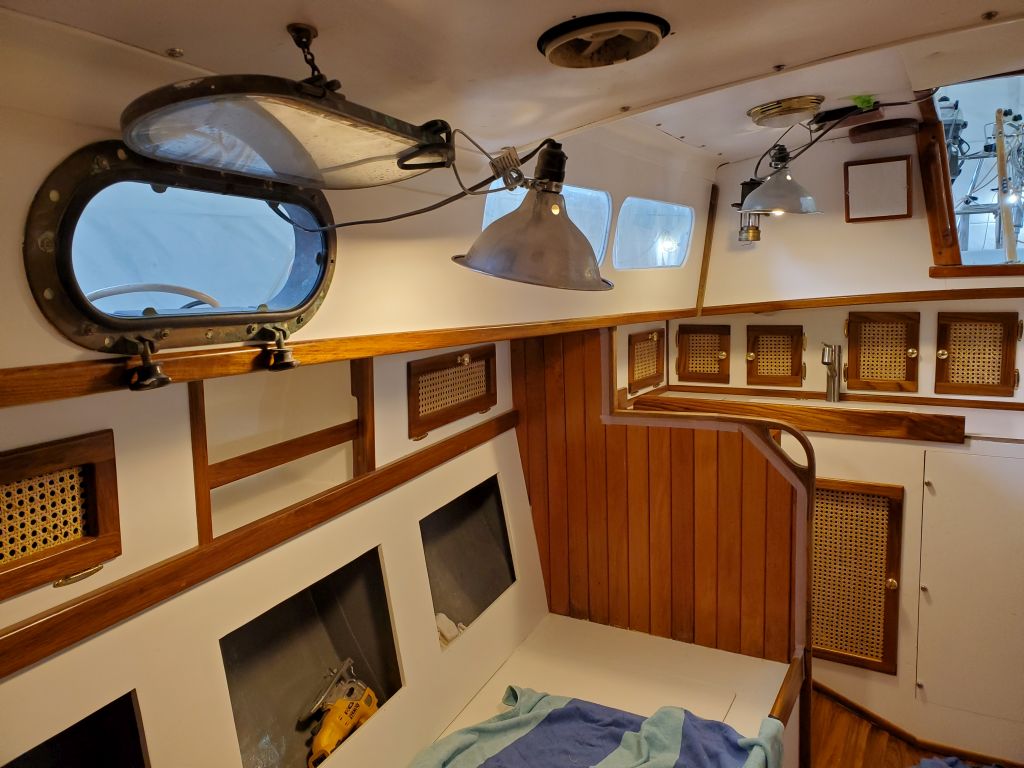
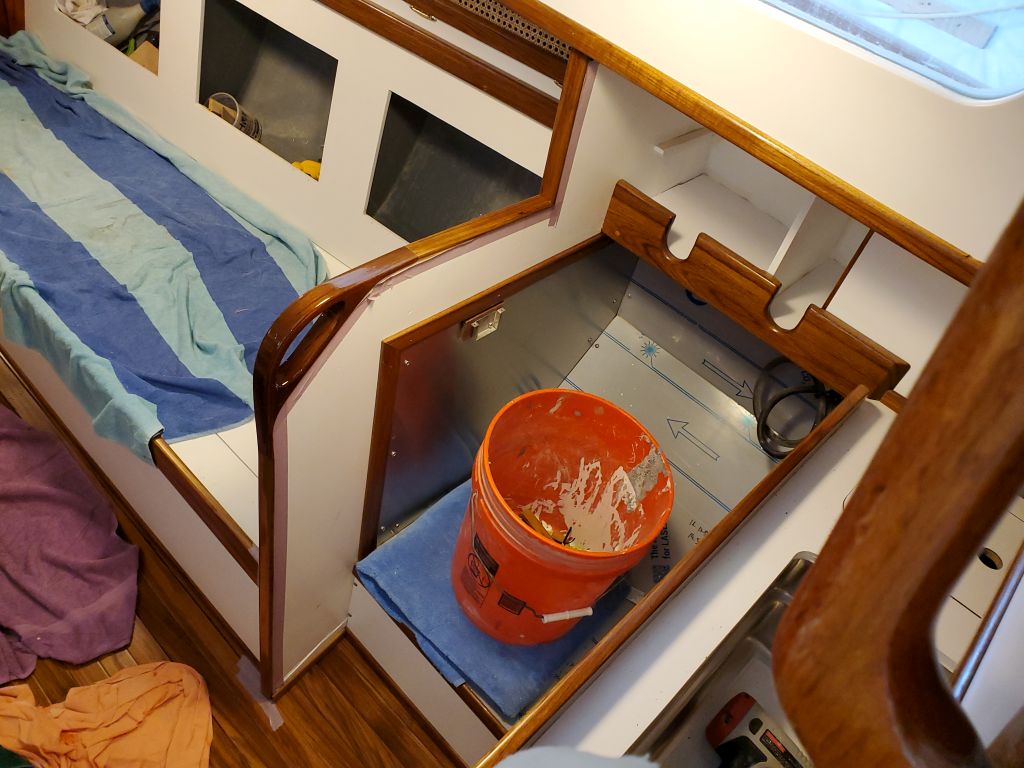
Now that the cabin sole was done, I refitted the removable section leading to the forward cabin. I’d previously cut the base shorter to accommodate the new sole, but found I had to scribe and cut it again to match the angles on the sides. I left the temporary plywood step in place till I finished work in the forward cabin soon. Meanwhile, I reinstalled a magazine rack on the bulkhead, covering a hole left from some long-ago installation, and installed a couple small pieces of trim I’d prepared earlier to fit over and cover some bolt access holes in the main cabin overhead.

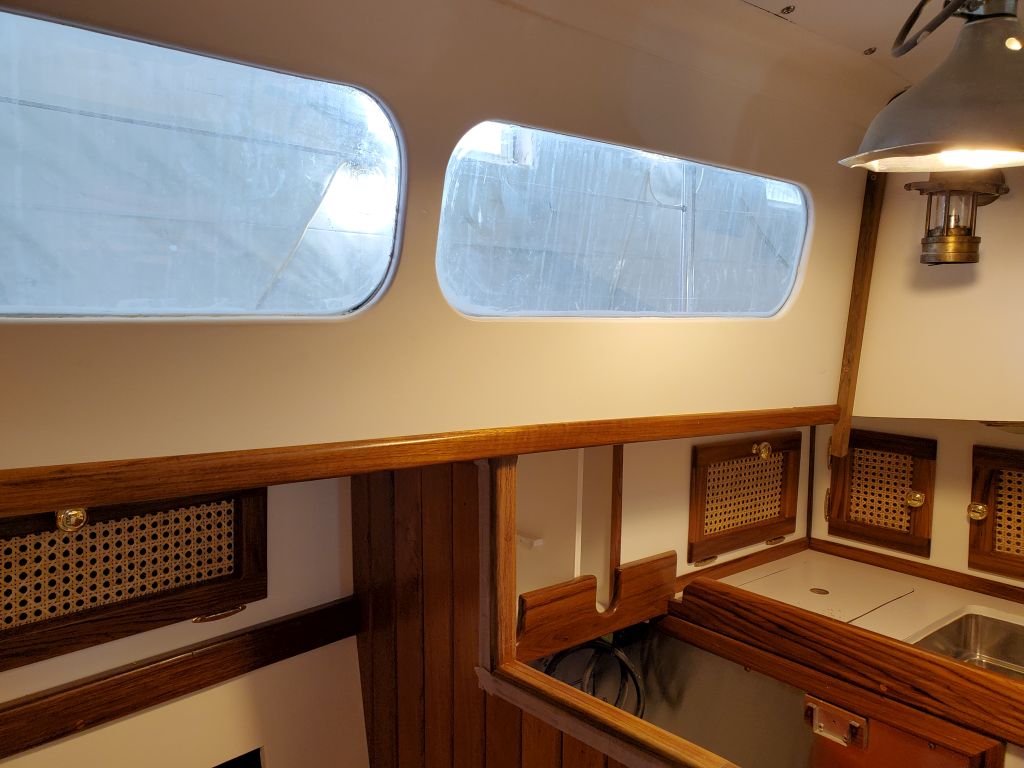
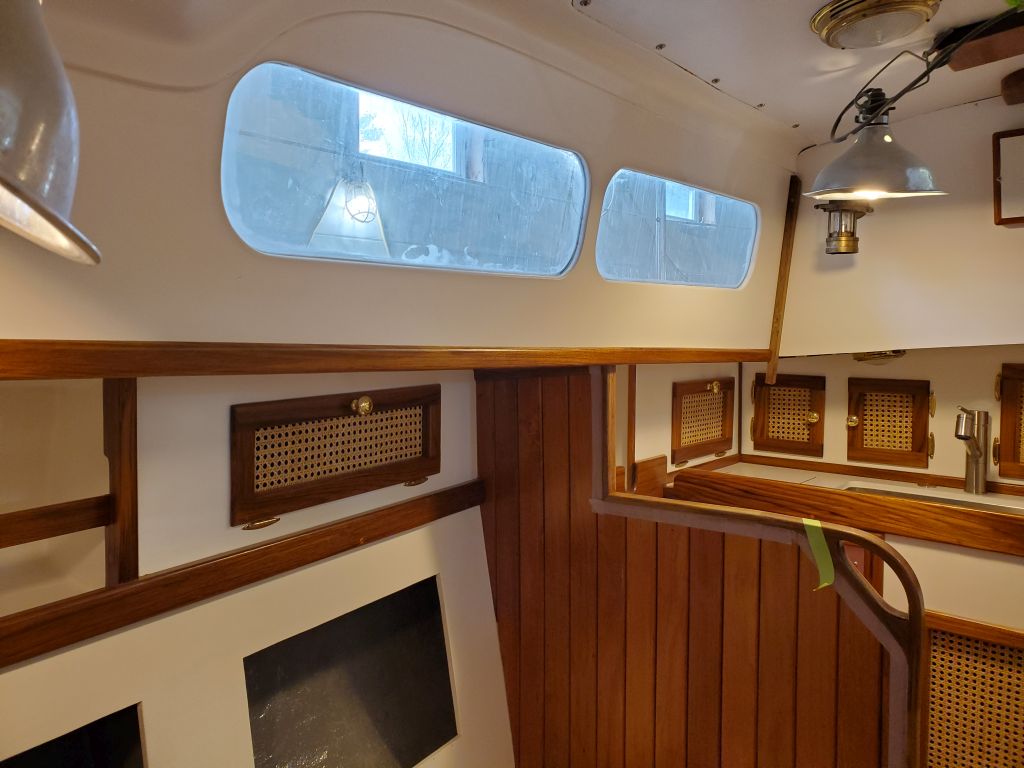
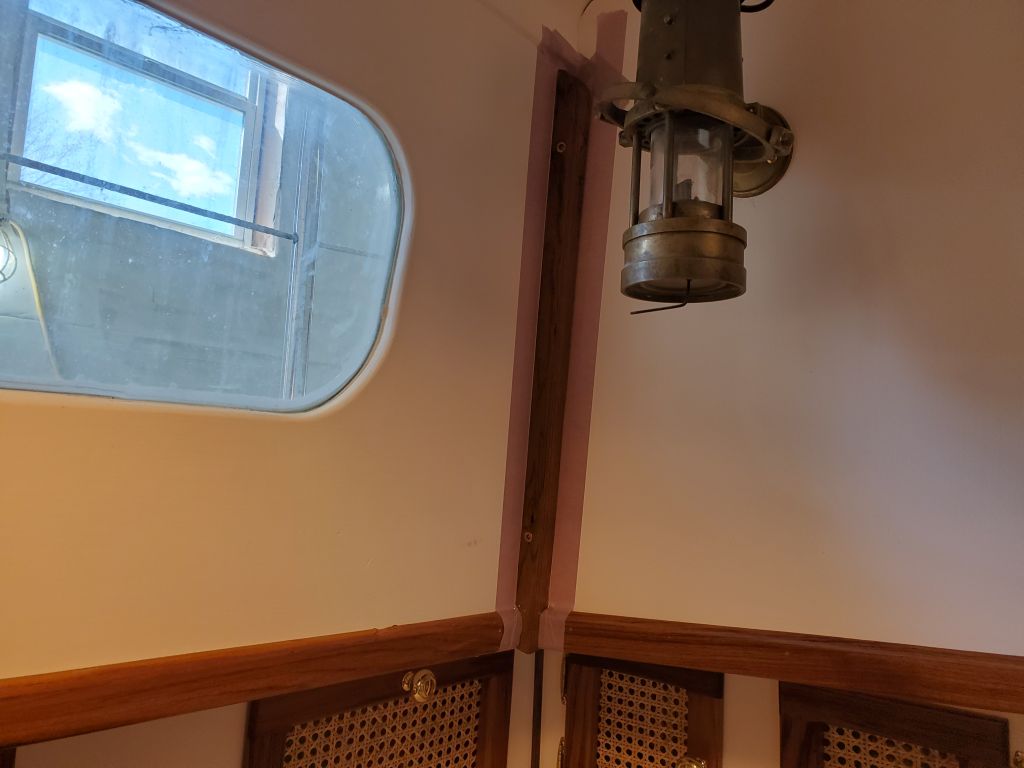
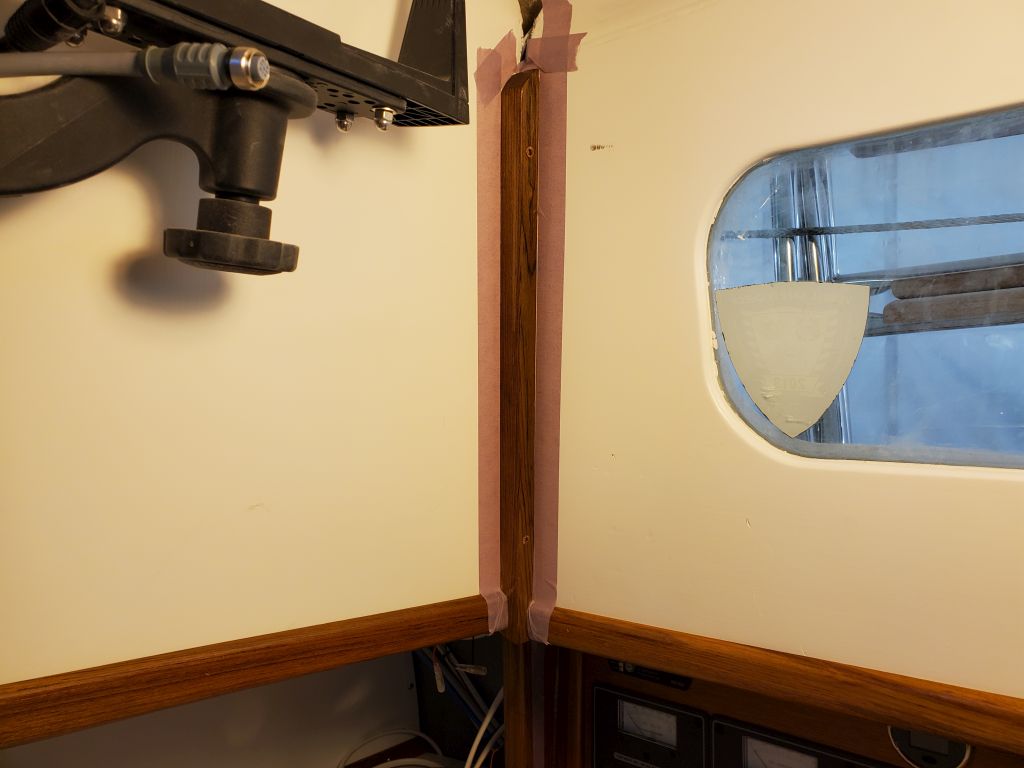
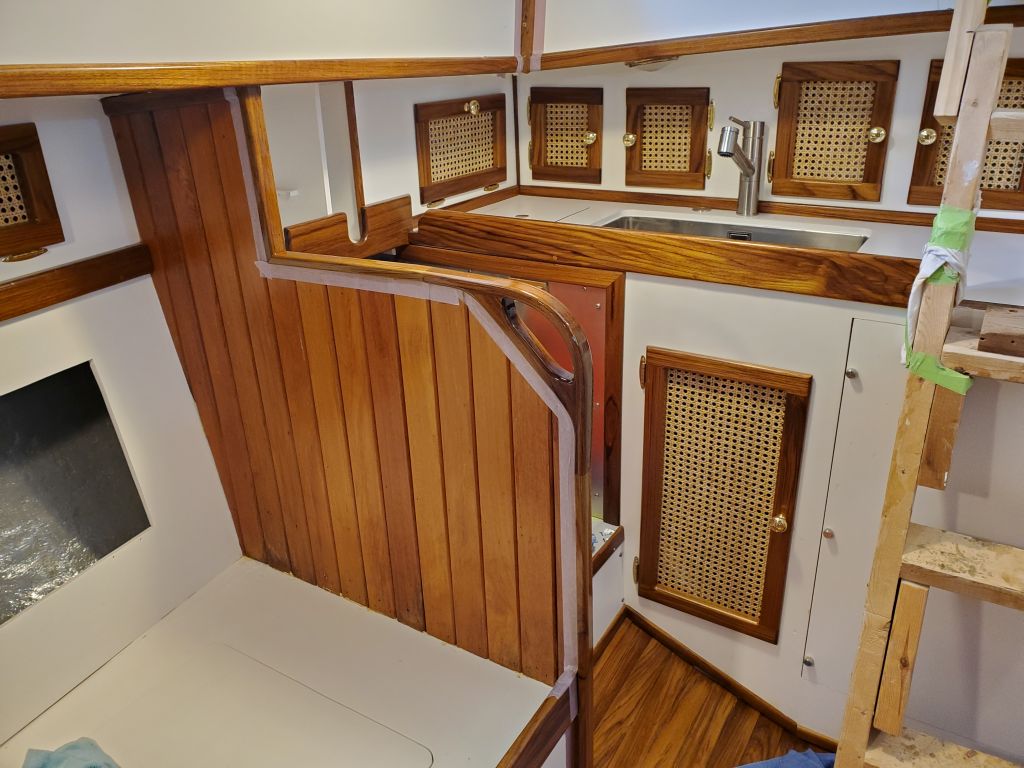
With the baseboard in place, I turned to the final pieces of significant trim in the boat: the cabin edge trim, pieces for which I’d milled and pre-finished earlier, wrapping up their final coat of varnish at the end of the previous week. With fixed lengths required, camber and sheer to contend with, L-shaped trim and overlaps, and the compound angles at the aft corners, there was no way I was going to attempt mitered joints where the side pieces met the transverse aft piece across the galley, so I milled some teak trim pieces to fit in the after corners of the cabin, which had the added benefit of hiding the seams in the plywood (installed by others in the past) at the corner. For now, I left these trims raw and over-length, but with a fixture in the corner now I had something against which I could measure and install the trim pieces.

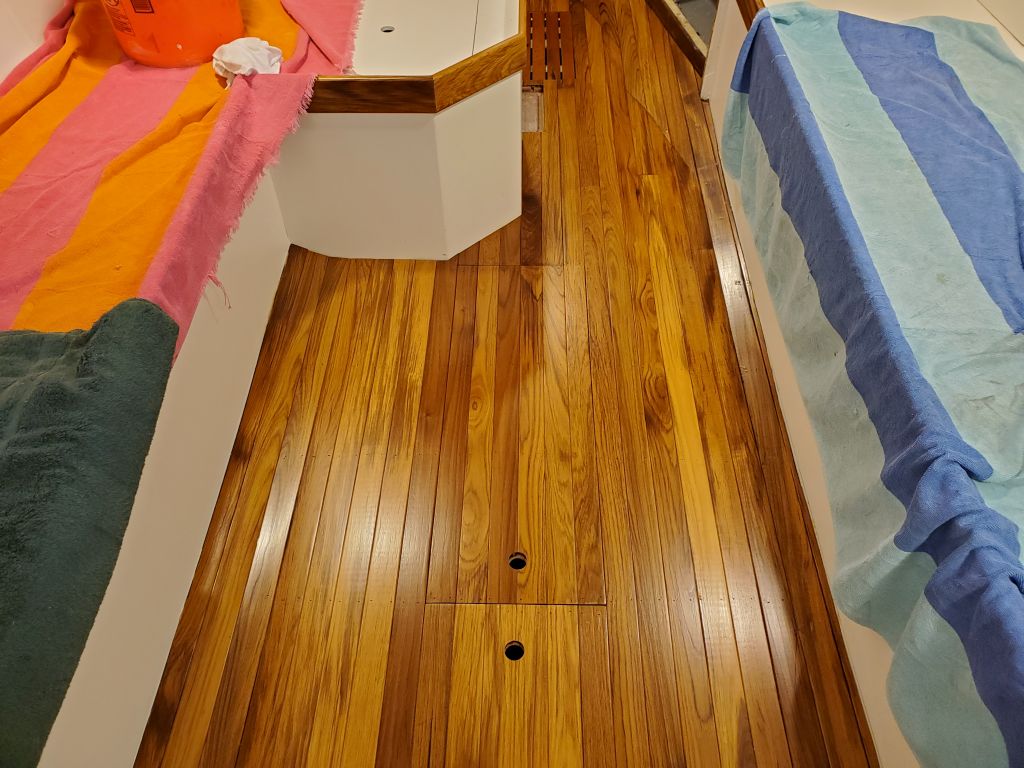
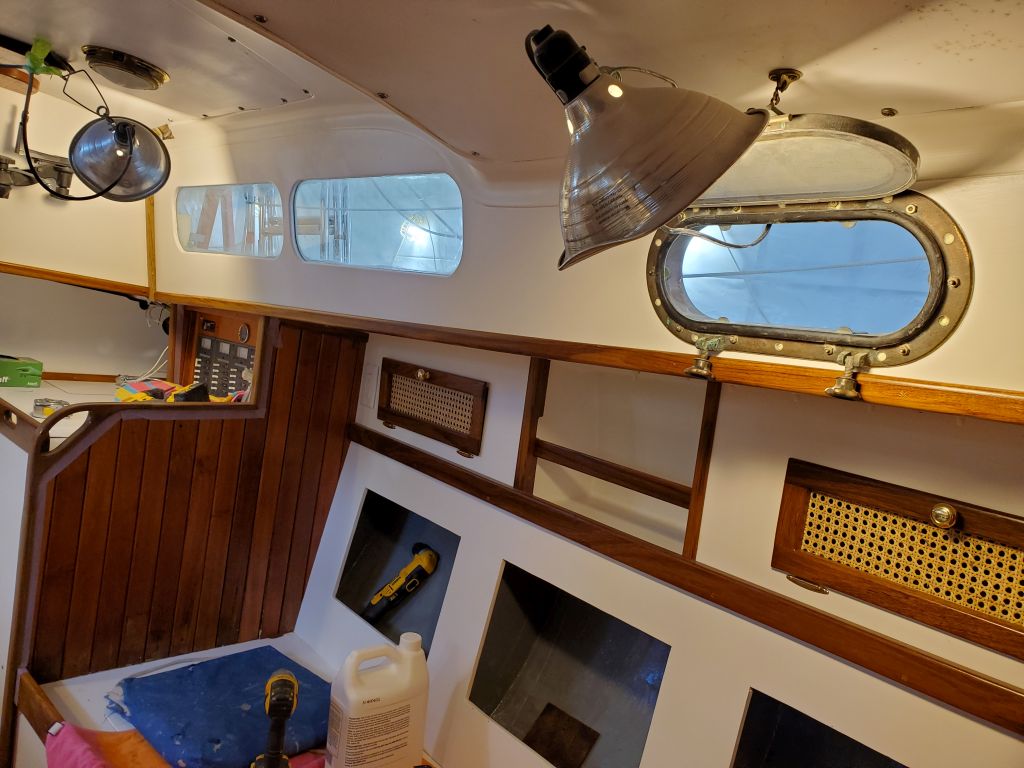
With short lengths of trim cut off from the longer pieces, I mocked up the angle cuts required at each end of the longitudinal side pieces, then, with a careful measurement, cut the long trim to size and installed it on each side.

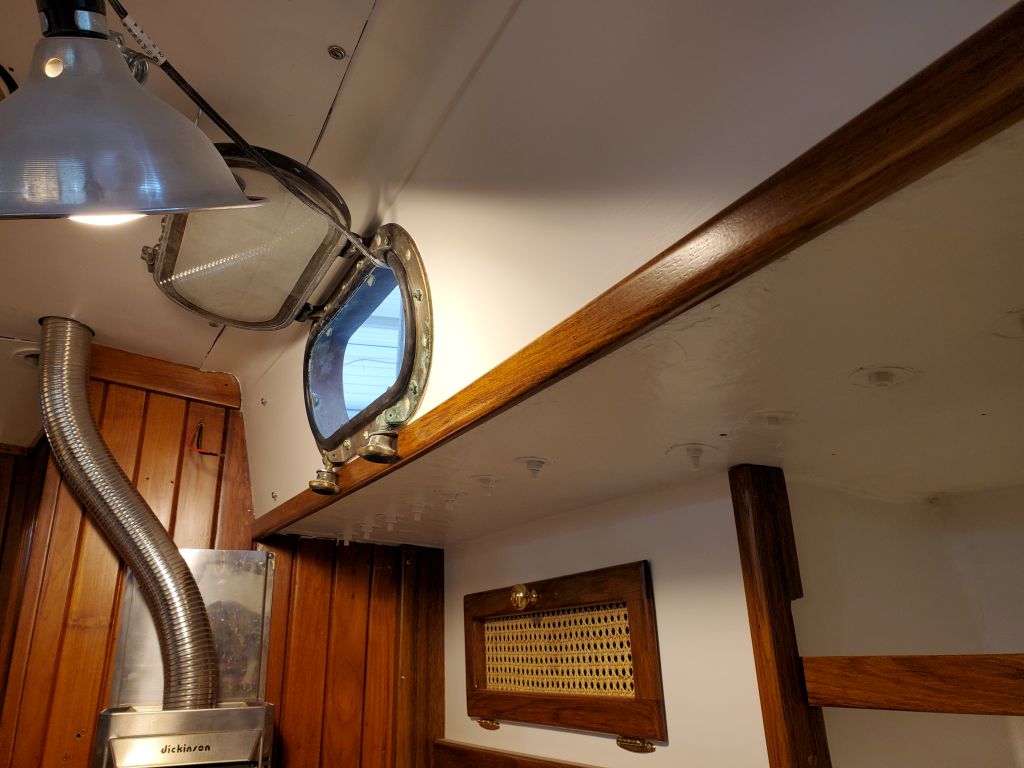
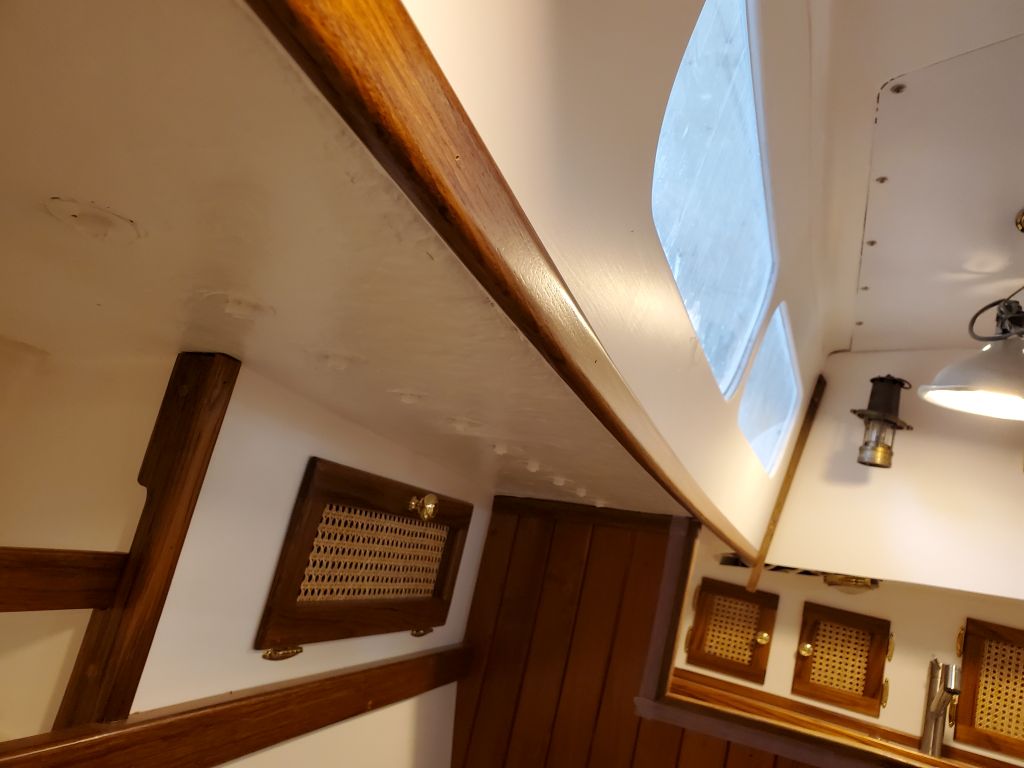
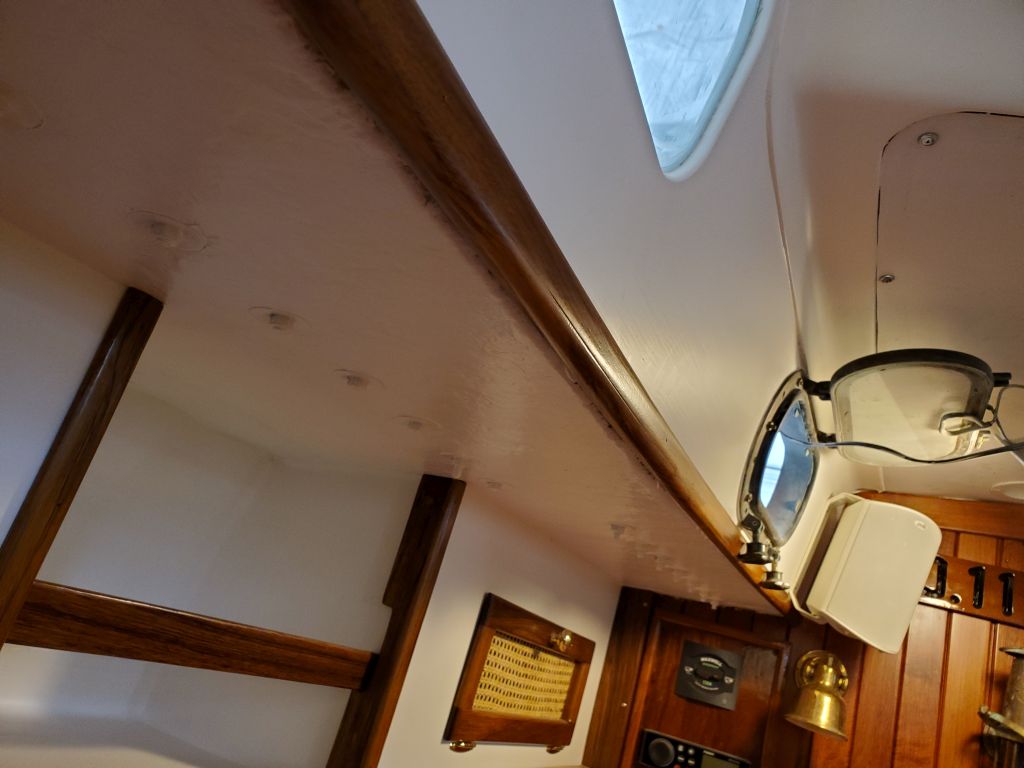

I used a short cutoff of the after trim profile to get the angles required at each end, and also to mark the corner trim for its final length at the bottom. I temporarily removed the corner trim to cut to length, finish off the top edge in a suitable way, and to sand and clean up before reinstalling a final time. The after trim had to conform to the significant camber of the deck at the aft end of the cabin, requiring a bit of a bend and some careful measurements and numerous “just a bit shorter” cuts to sneak up on the correct final length to just fit into place as I bent the center of the trim up towards the companionway. This new trim dressed up the cabin’s appearance in a way that belied its simplicity, and, with its rounded bottom profile, would be nicer to the noggin than the original hard, sharp plywood edge had been (something I discovered far more times than one would think possible over the course of the project).
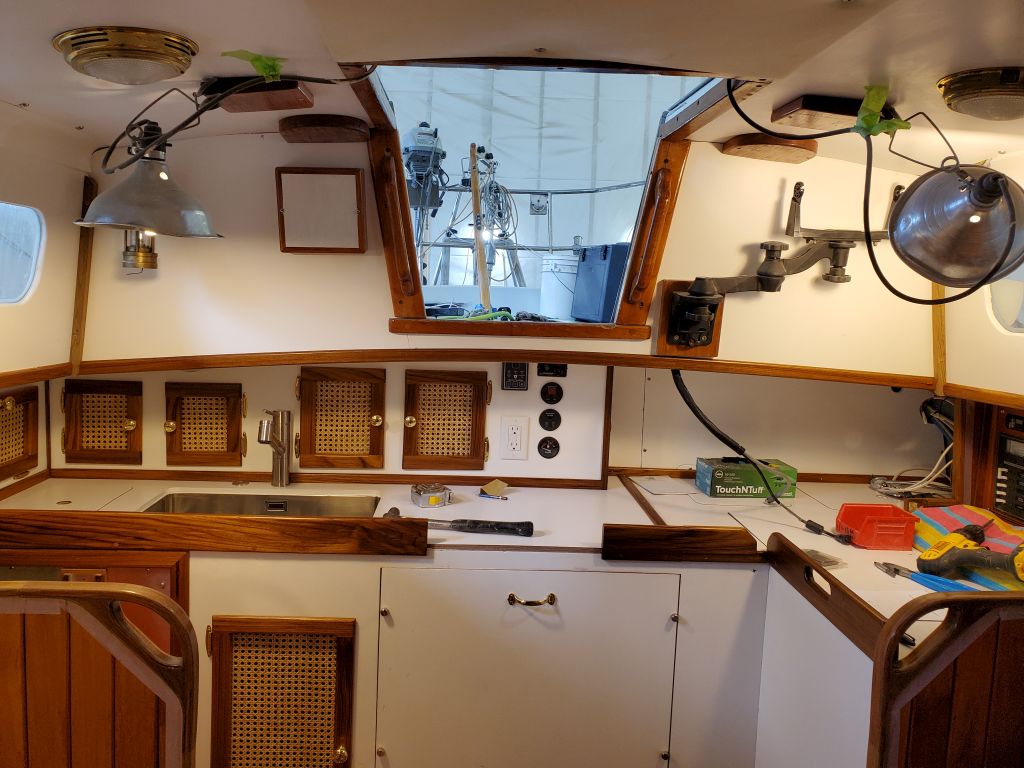
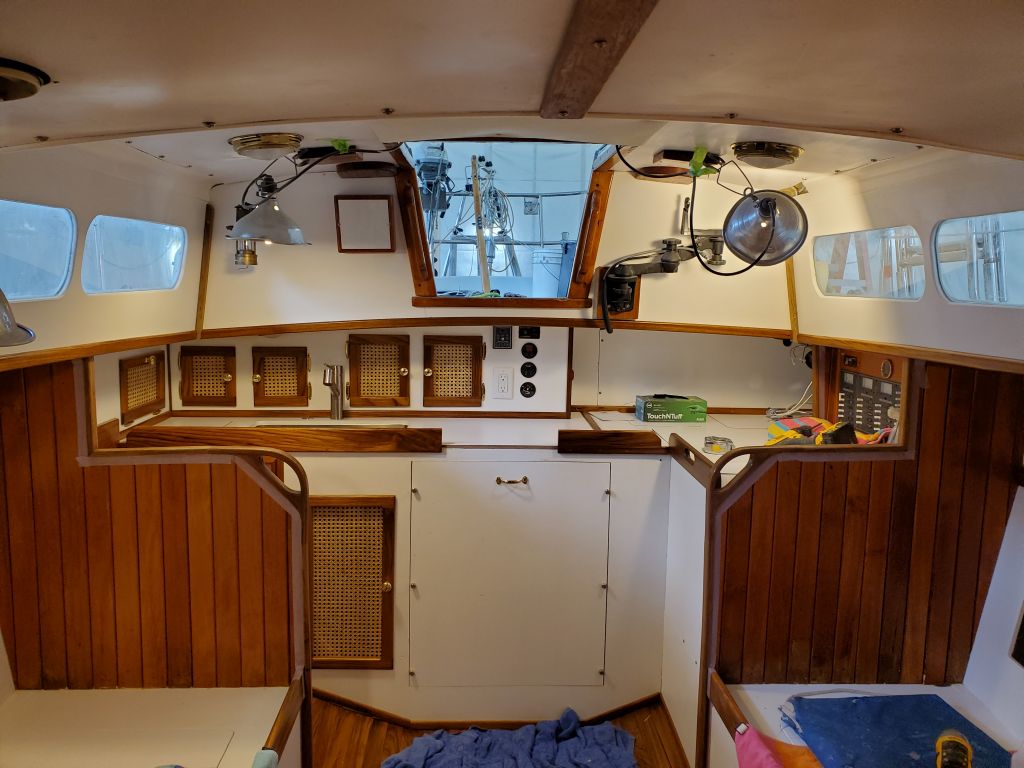
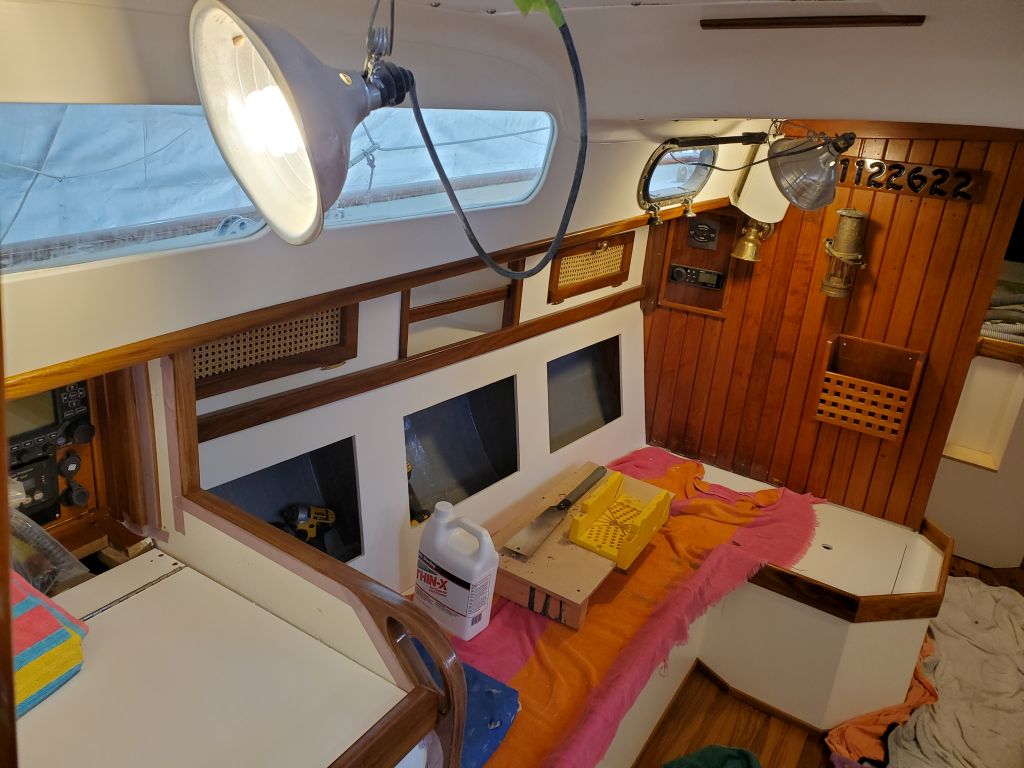
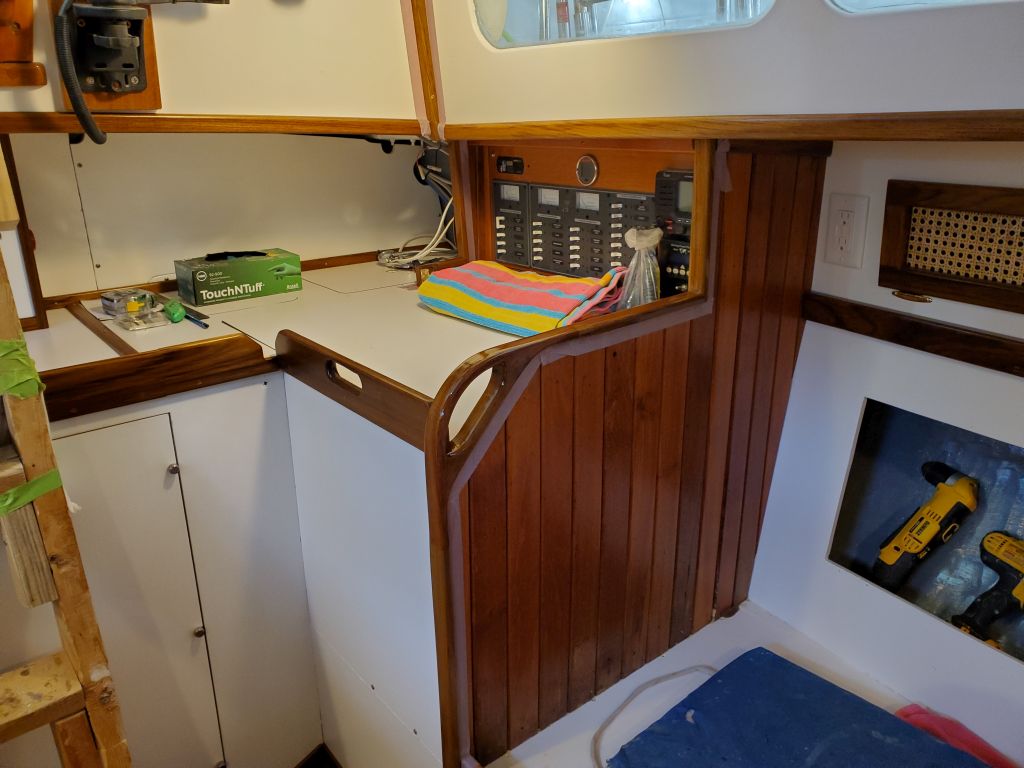
I finished up the trim installation just in time to do my next coat of gloss varnish on the galley bulkhead trim, and also on the new corner trim pieces I’d just installed.
Total time billed on this job today: 8.25 hours
0600 Weather Observation: 38°, mostly clear. Forecast for the day: Sunny, 67°