


April 2, 2024
Calliope Girl 91
Tuesday
With some rough measurements of the space, I cut a thin plywood template of the aft galley cabinet, using a compass to scribe the actual contours on the blank. While I could fit in a one-piece template of the cheap plywood, it was immediately clear that I’d not be able to build the final face out of a single piece, as I wouldn’t be able to maneuver the less-flexible piece into the space with its tight clearance at the faucet and the shape of the cambered overhead.
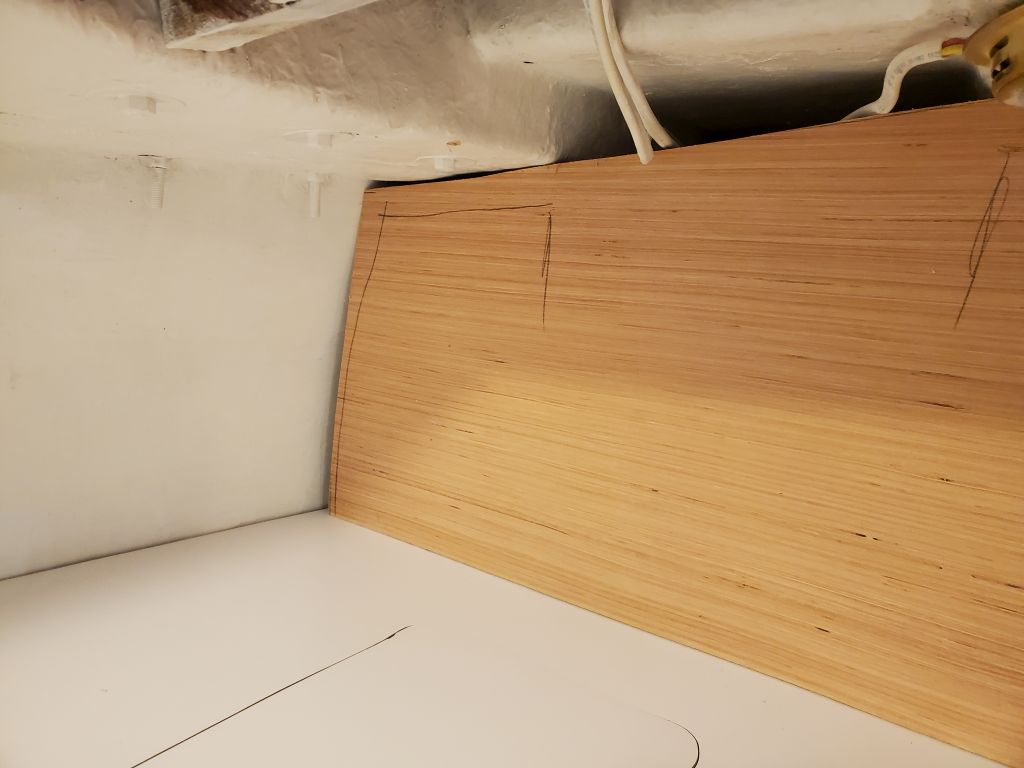
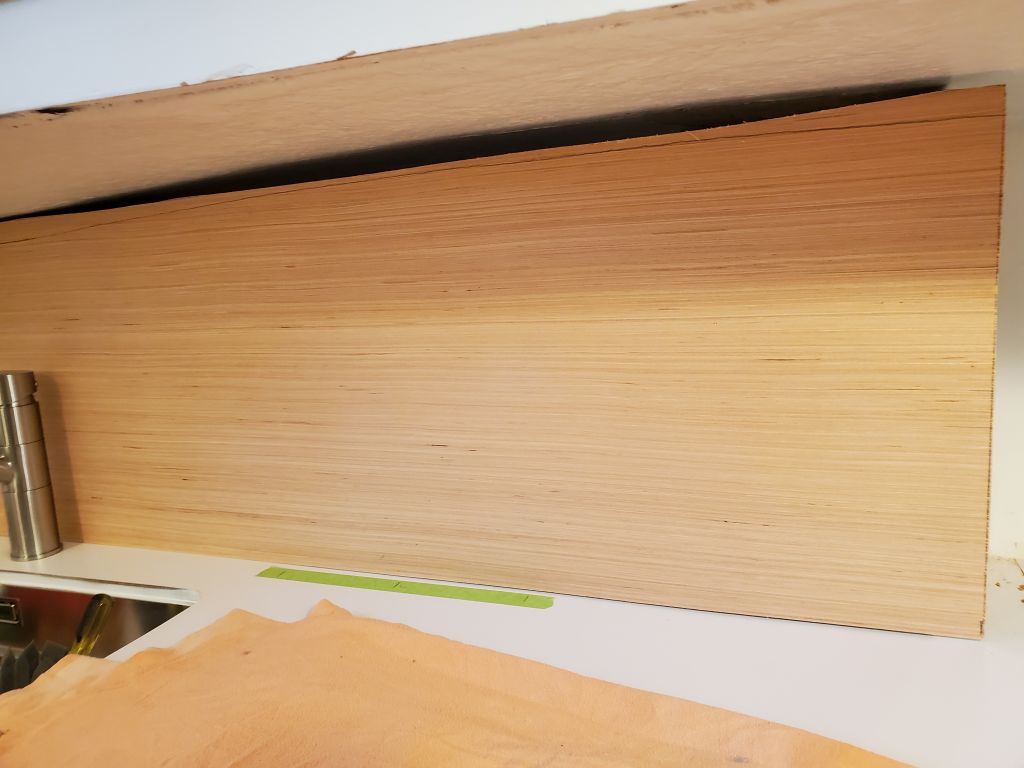
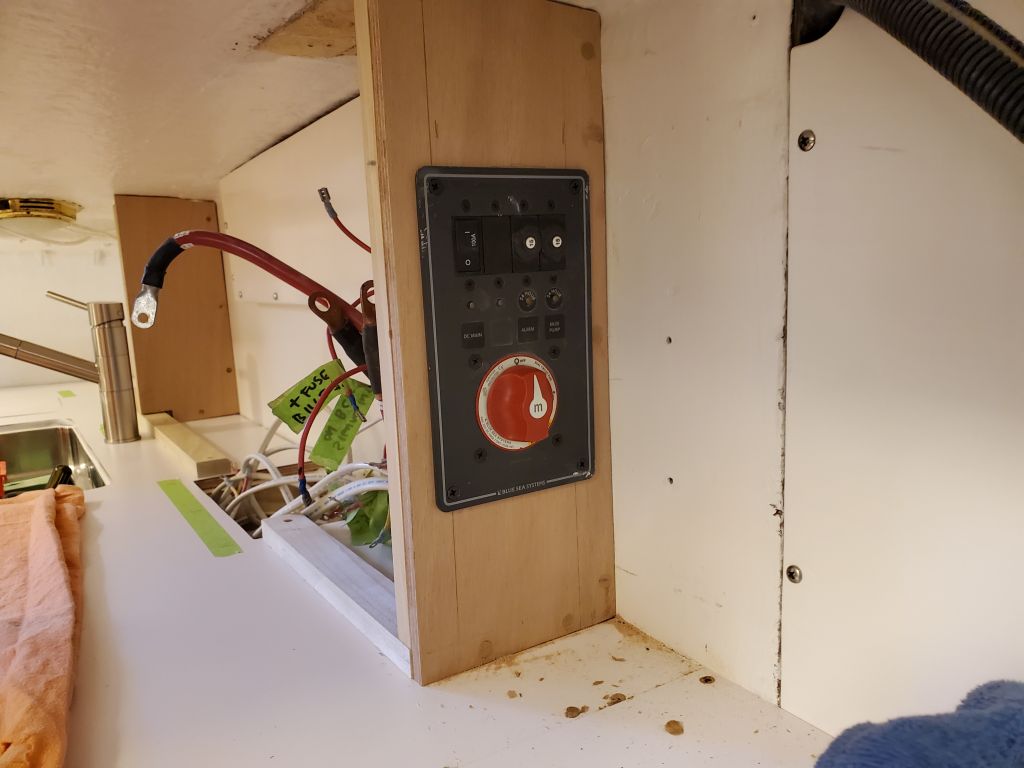
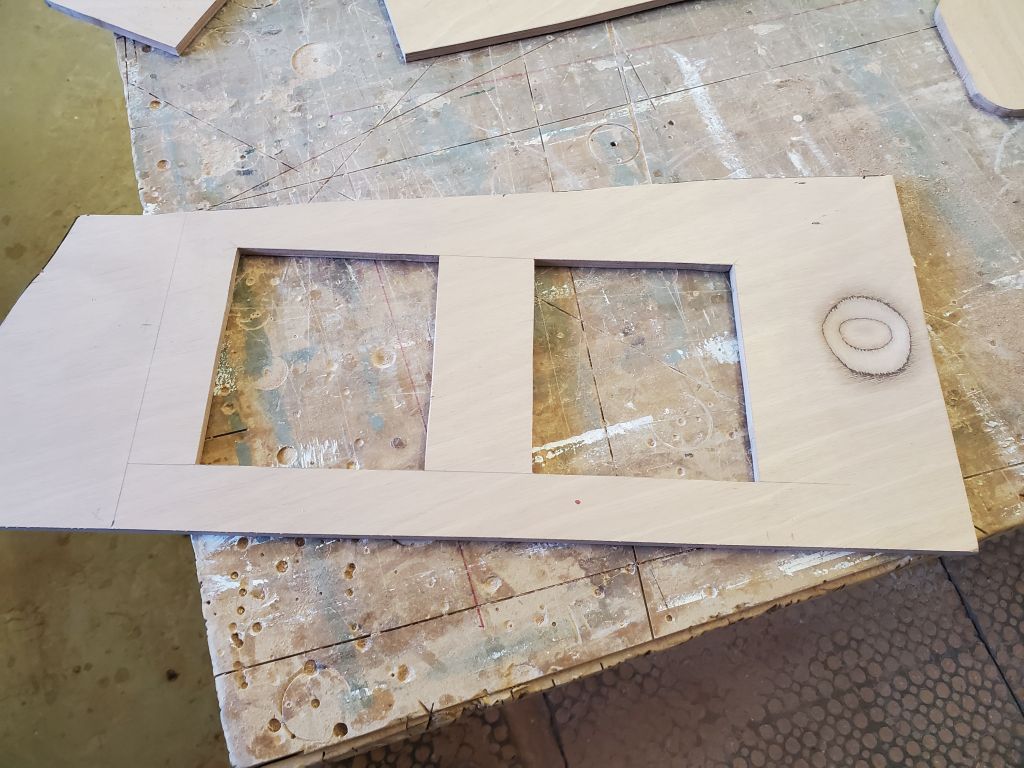
With the template on the bench and atop a piece of plywood for the final cut, I traced the scribe marks and cut out the piece, then cut it in two at a location just inboard of the faucet, which coincided with one edge of a planned locker opening to minimize the length of the actual seam. I test-fit both pieces and made minor adjustments till they fit correctly, and trimmed the overlong port end flush with the short bulkhead already in place. I chose also to reinstall the battery panel at the end now, while access to the back side was as good as possible. Access would still be available when all was said and done, but it would be less convenient, so installing the panel now, though it meant having to mask and paint around it, was the lesser of two non-ideals.

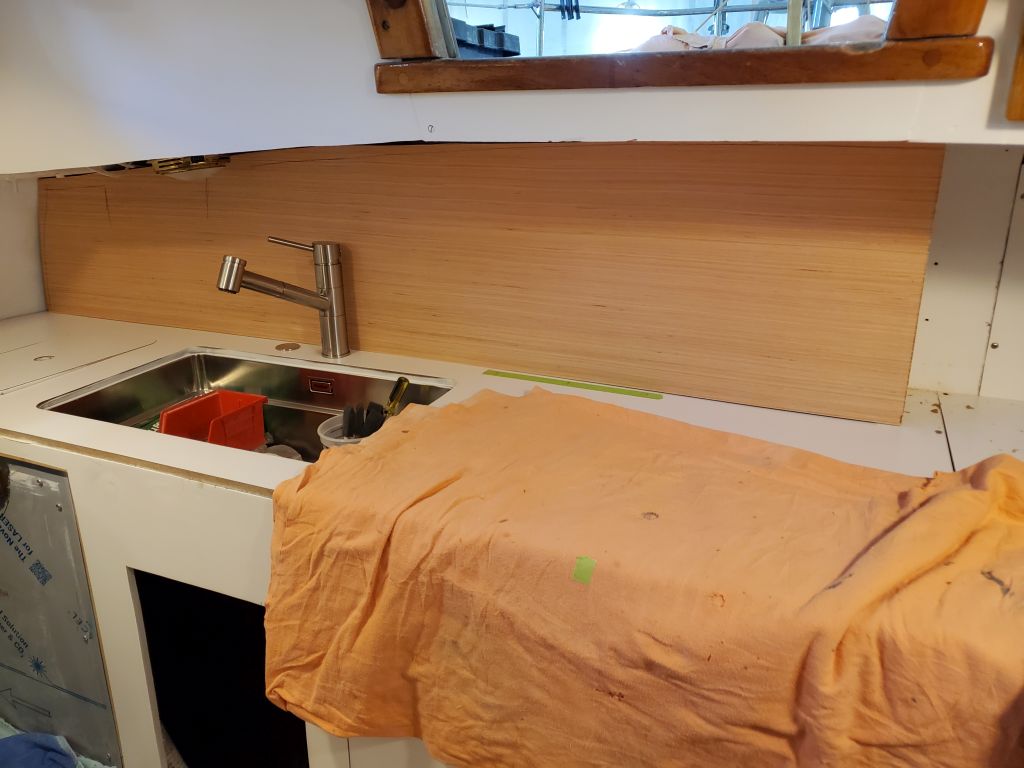
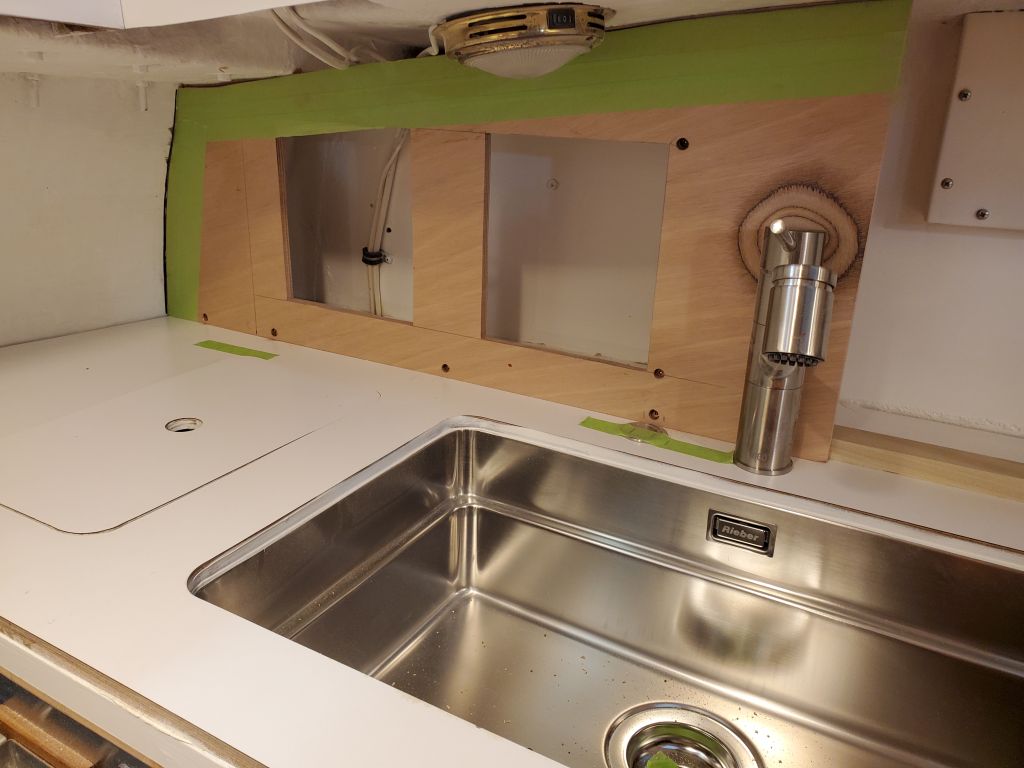
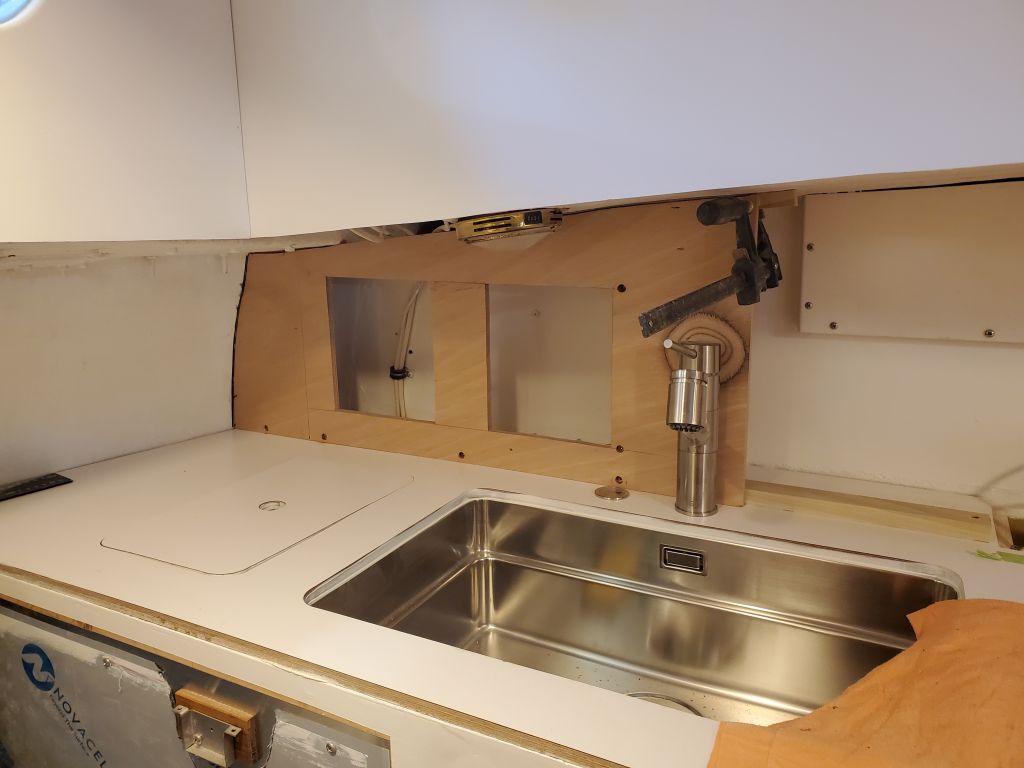
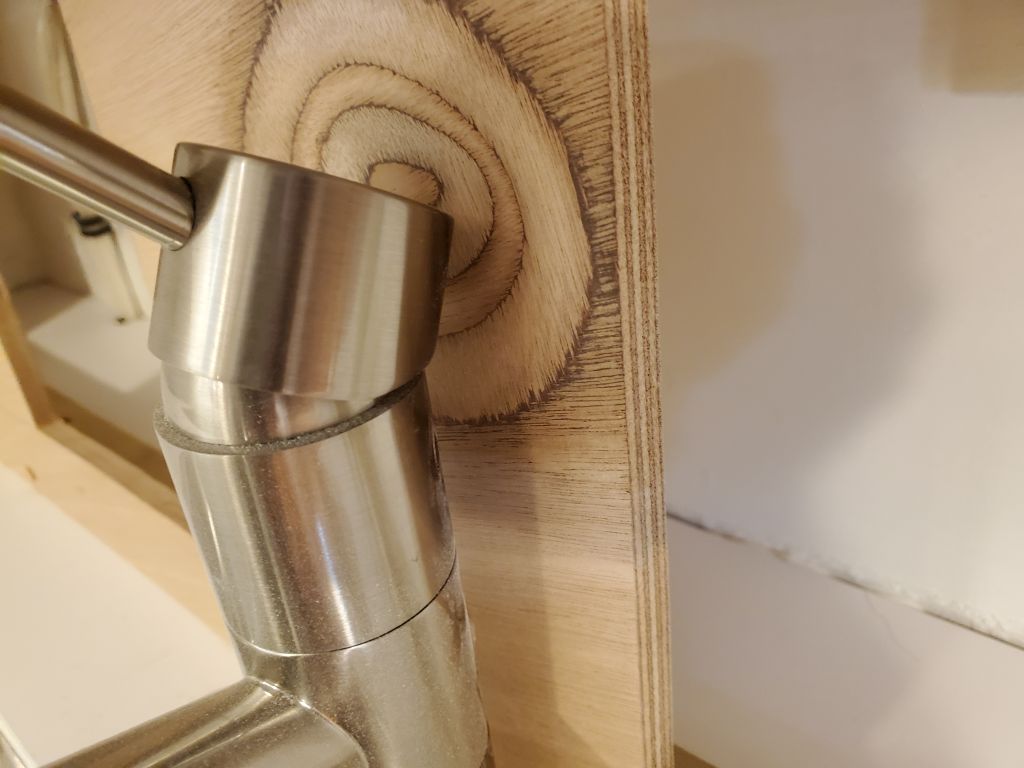
After double checking measurements and laying out locker openings in both halves of the locker face, I cut the two openings in the outboard section and installed it permanently with screws into the cleats and epoxy adhesive where the plywood met the hull and overhead. Before this, I’d taken the time to sand off the paint in the bonding areas. During the test fit, I’d found that the faucet’s operation required me to relieve the panel directly behind, since the action of lifting the faucet caused the back side to tilt back, and initially there wasn’t quite enough clearance for full action. I chose to make a gentle and wide and smooth relief in the panel, which was noticeable now with the various striations, but would blend in once painted.
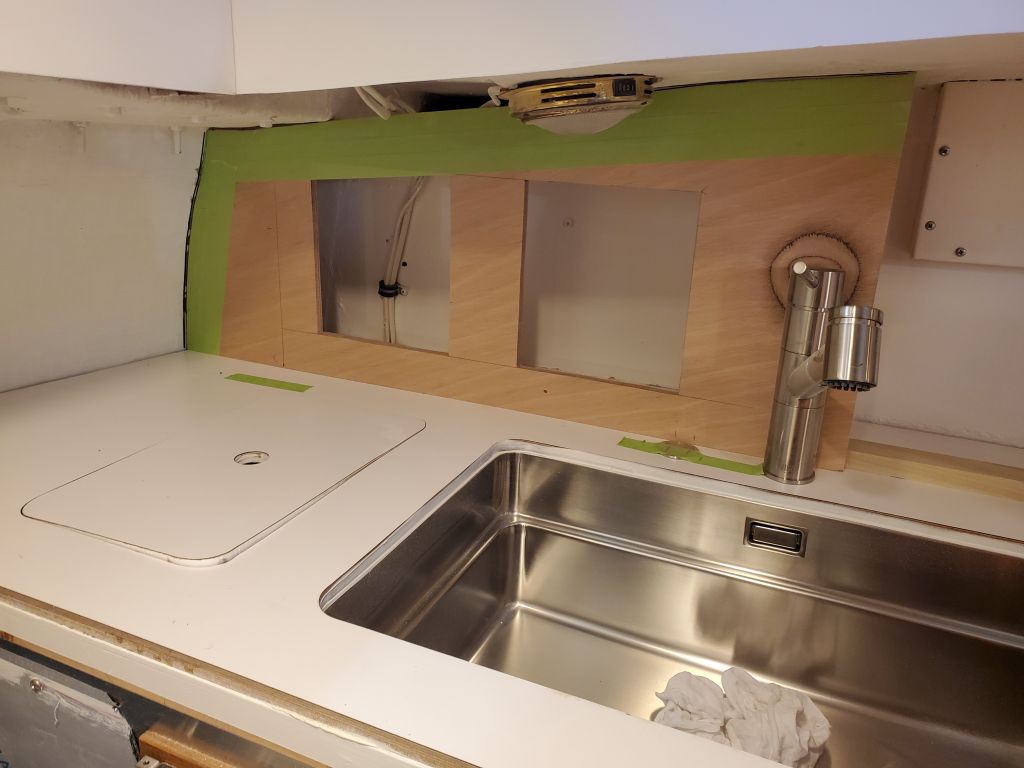

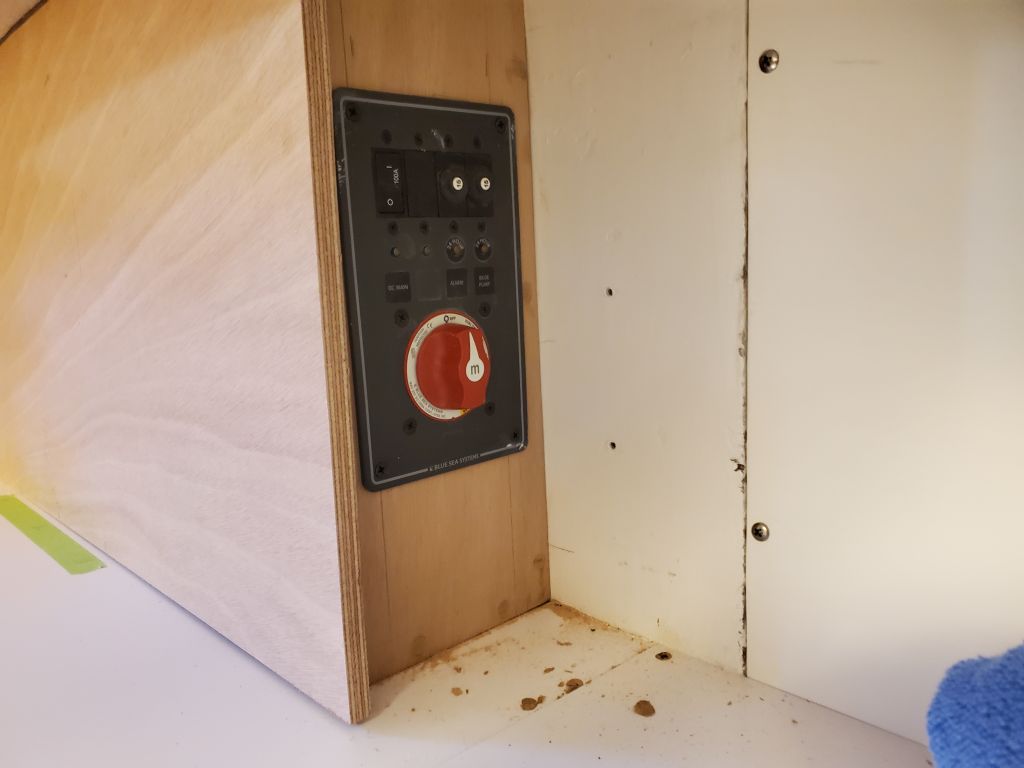
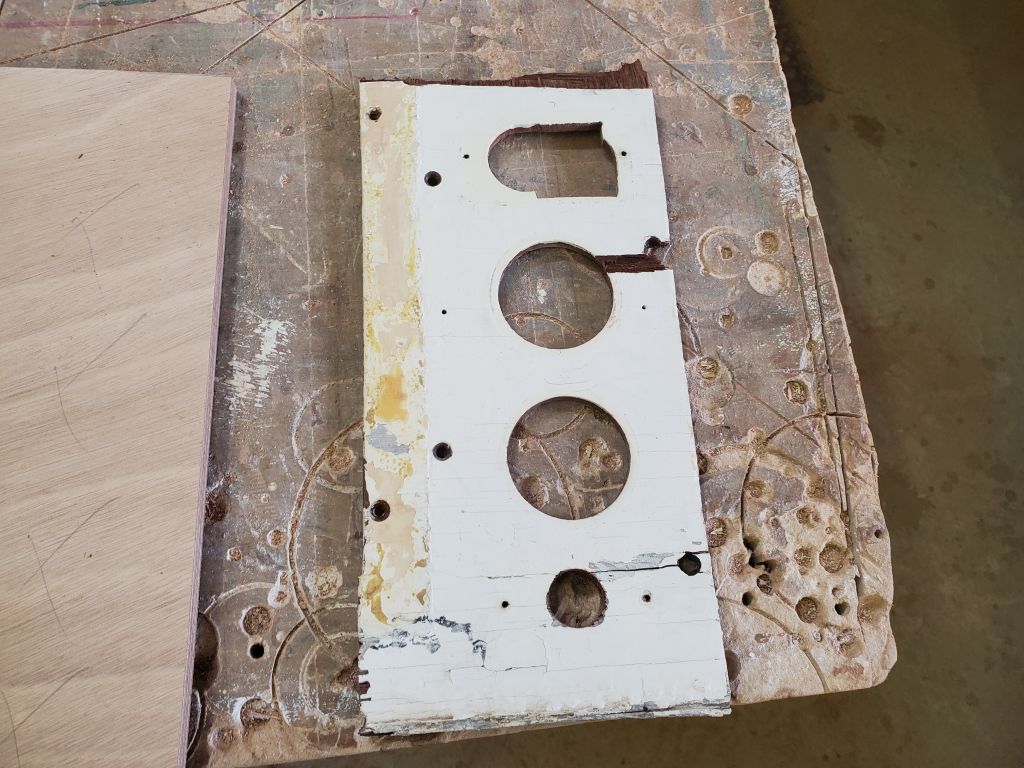
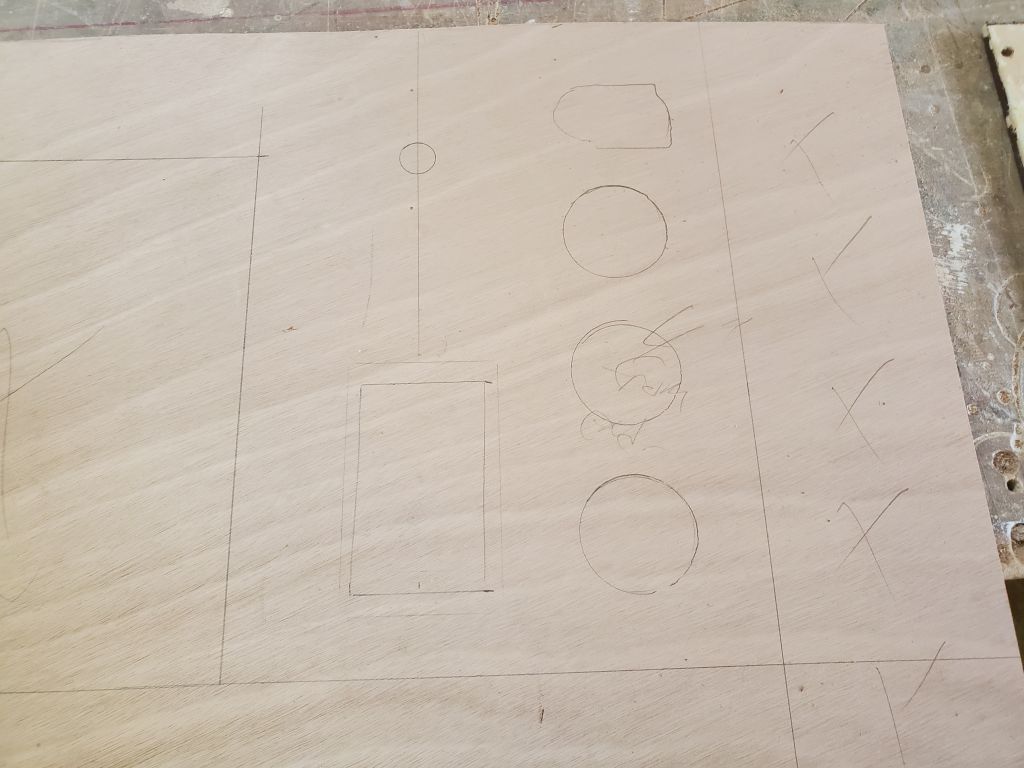
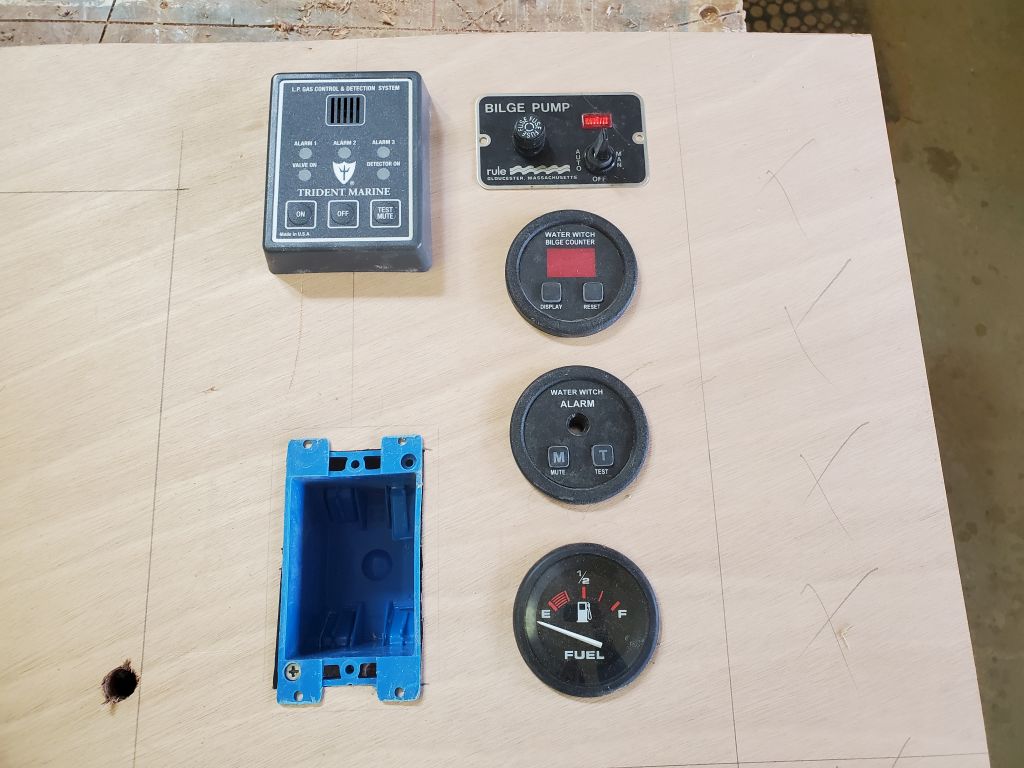
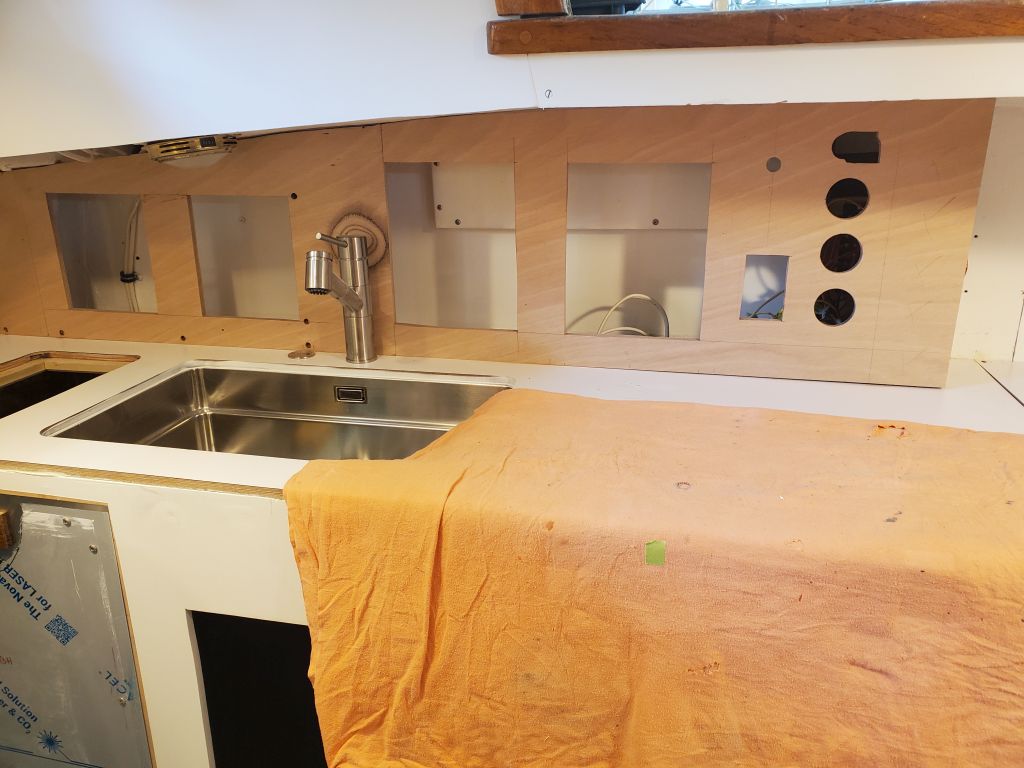
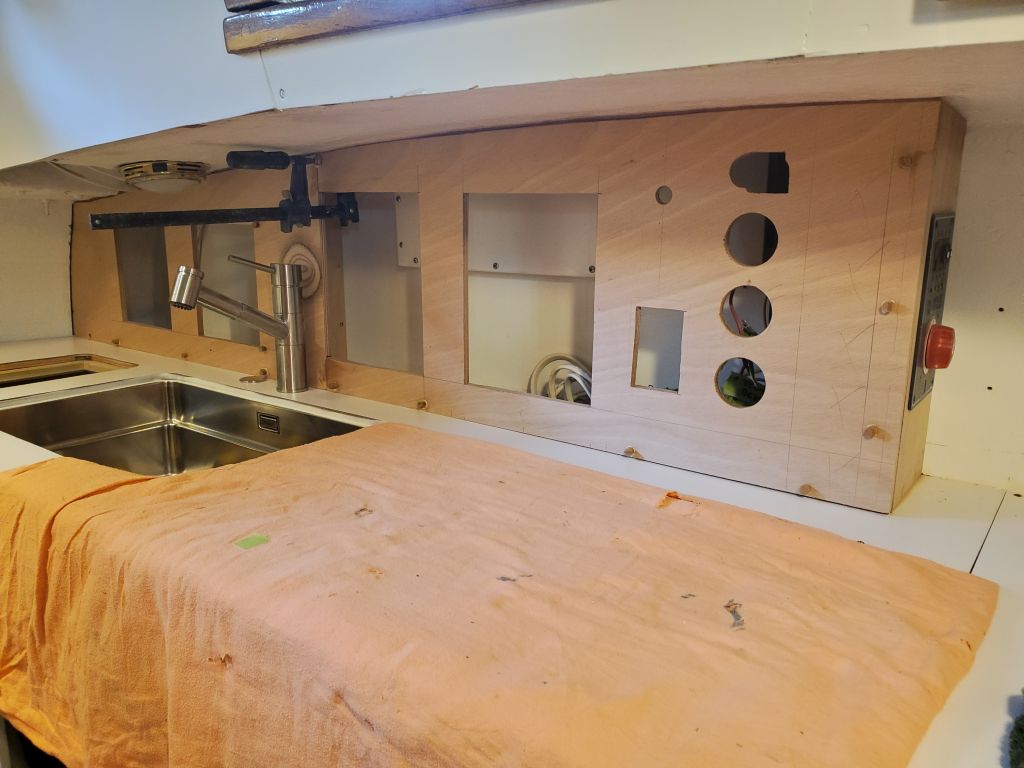
The layout for the inboard panel was a bit more complicated, as I had to incorporate various control panels and gauges that had come off the original panel, including an AC outlet and a new combined propane control and alarm panel, to which the owner chose to upgrade as it simplified wiring and reduced the panel burden (original system shown in the first photo). I’d kept the piece of the original cabinet face with the gauge layout, which made it straightforward to replicate the cutouts and spacing and add the additional hole for the fuel gauge. Then I added two large locker openings, including one directly in line with the fuel filter access hatch in the countertop.

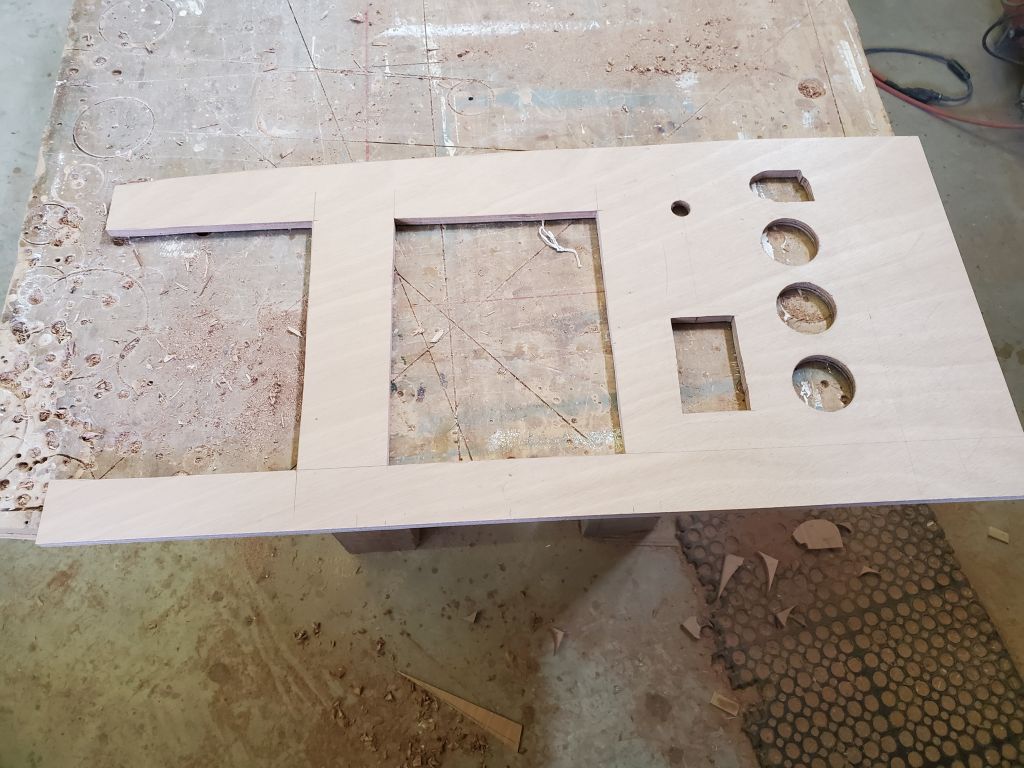
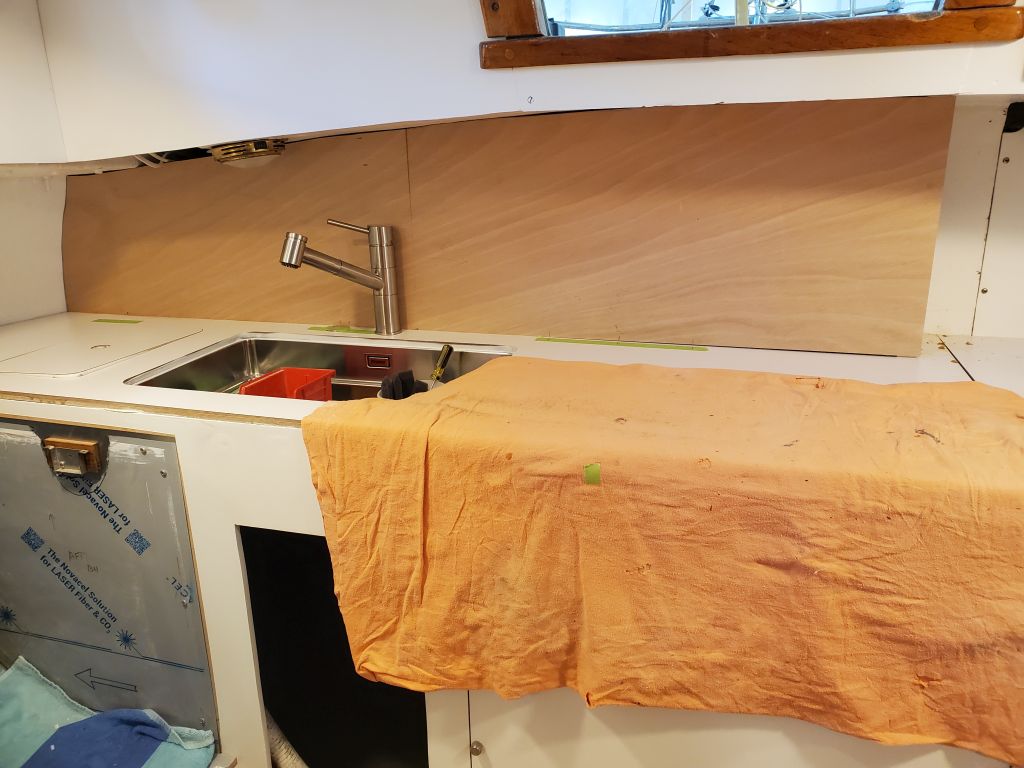
As before, I installed the second part of the panel with screws into the cleats and epoxy adhesive where it met the overhead and the edge of the first panel. Afterwards, I bunged all the visible fastener holes.
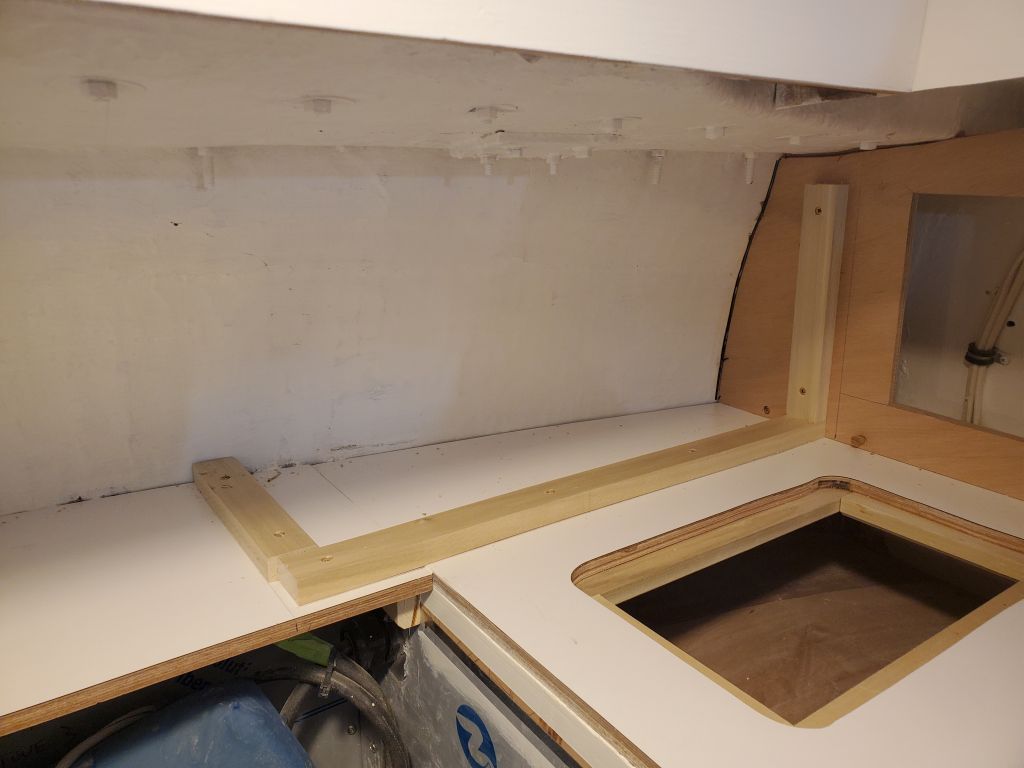
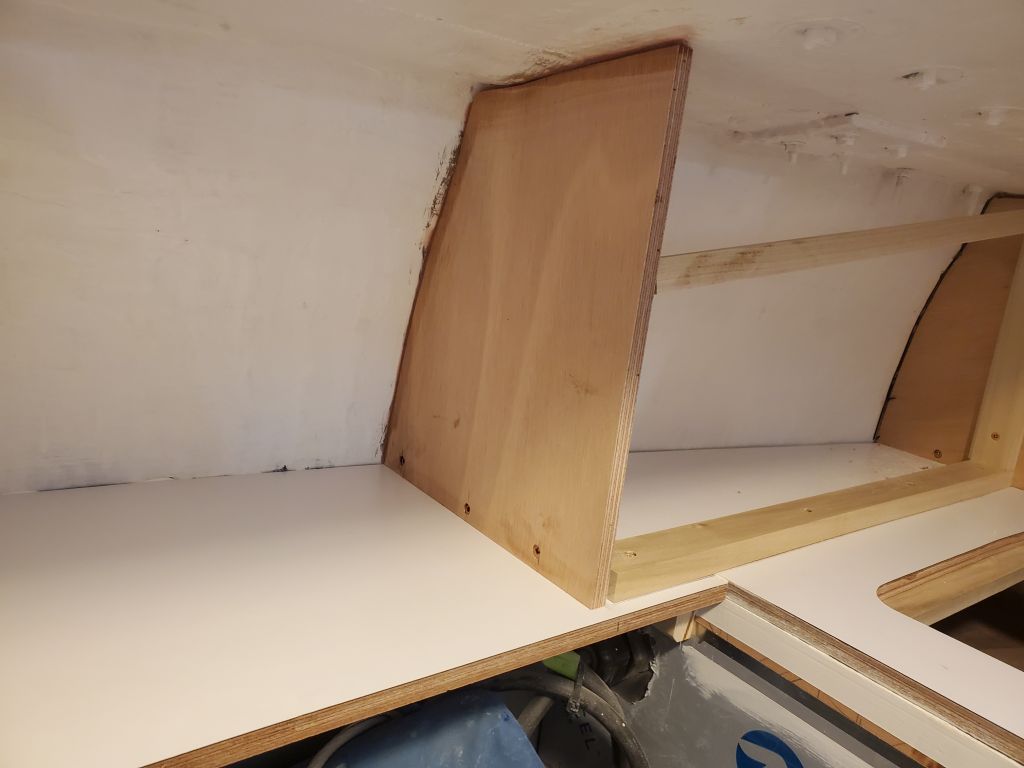
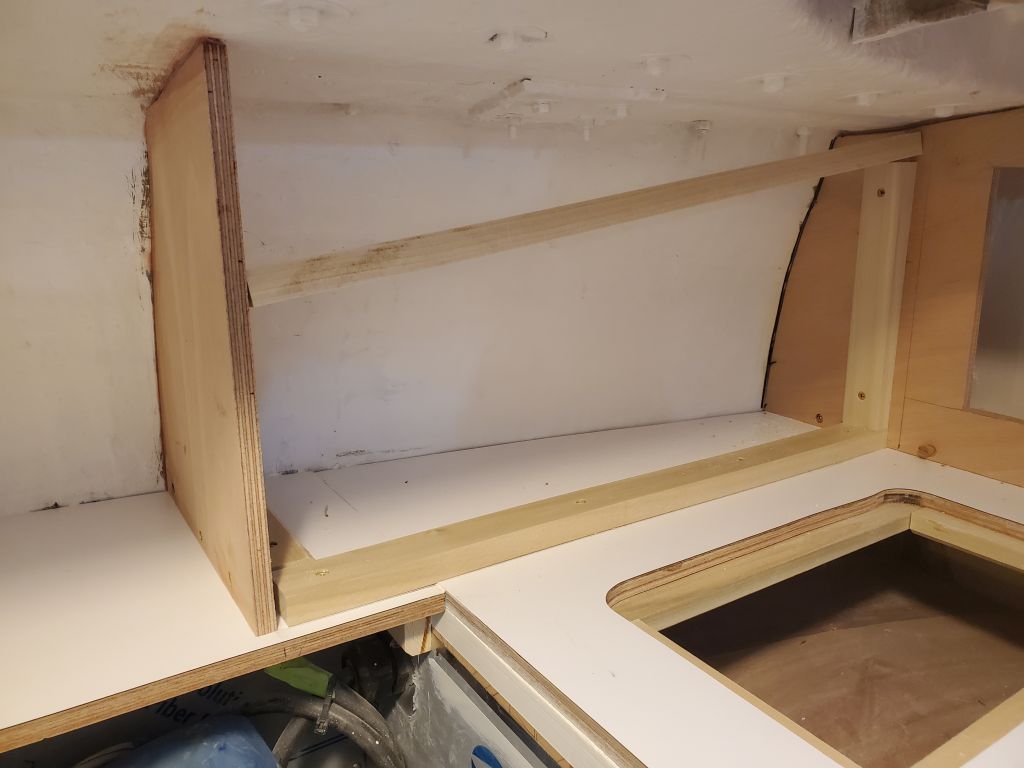
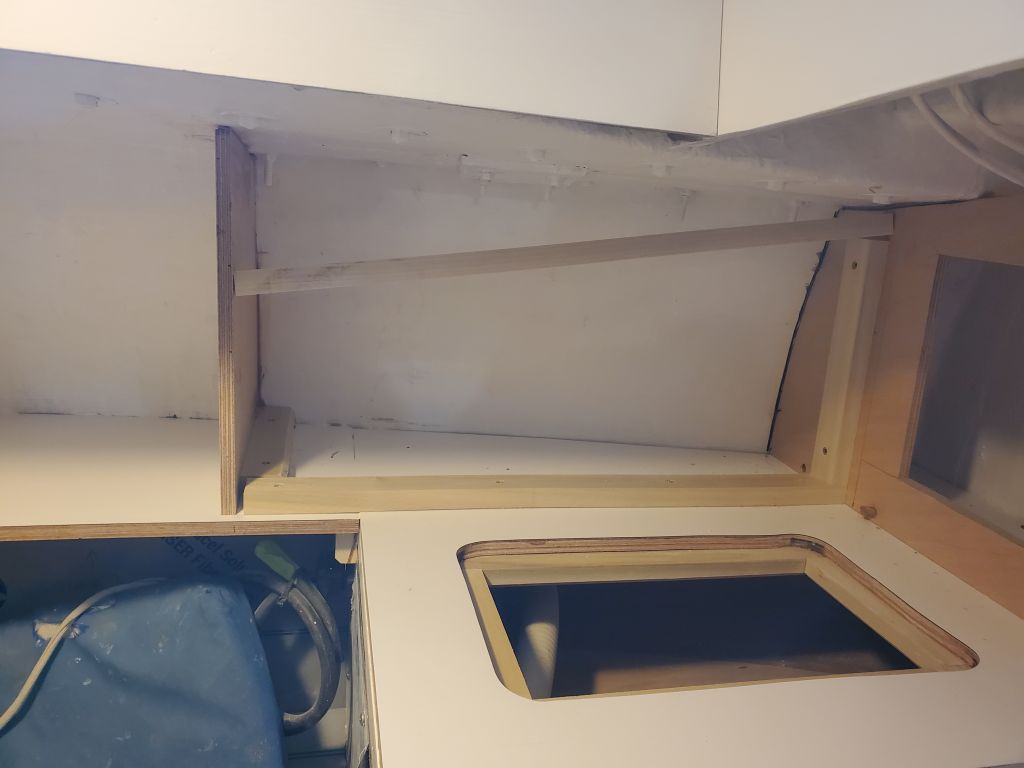
Now I could get to work on the second section of uppers, located along the hull on the starboard side. I installed support cleats on the countertop and face of the aft cabinet as needed, then templated the two faces needed. I had enough time before the end of the day to cut and install the short forward bulkhead with screws and epoxy adhesive where appropriate. This bulkhead defined the enclosed cabinet behind; forward of this bulkhead would be the space where I’d build in the dedicated storage for plates and drinkware. I used the wooden brace to hold the bulkhead properly plumb while the adhesive cured overnight.
Total time billed on this job today: 7.25 hours
0600 Weather Observation: 33°, mostly clear. Forecast for the day: Partly sunny, 51°