


March 13, 2024
Calliope Girl 83
Wednesday
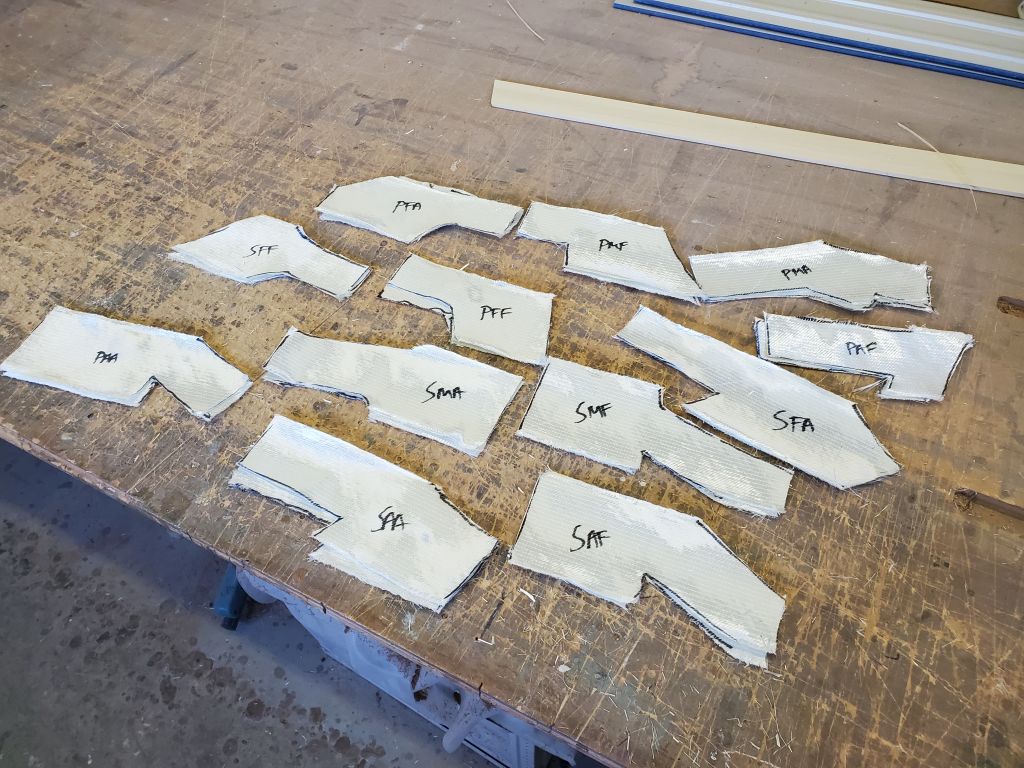
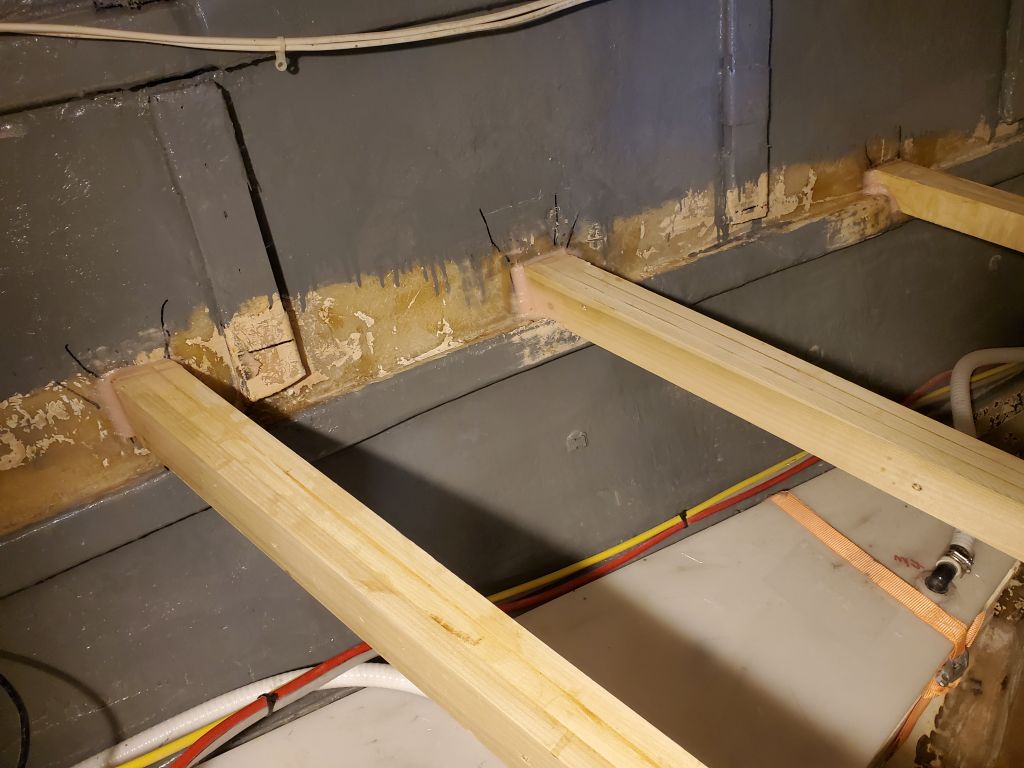
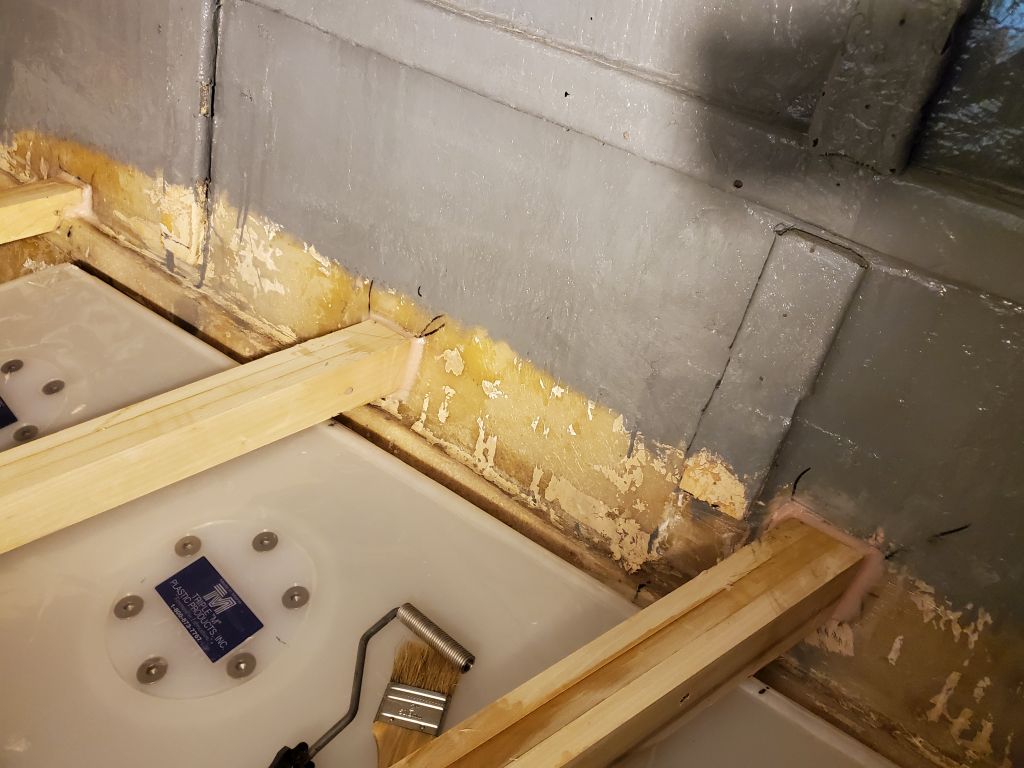
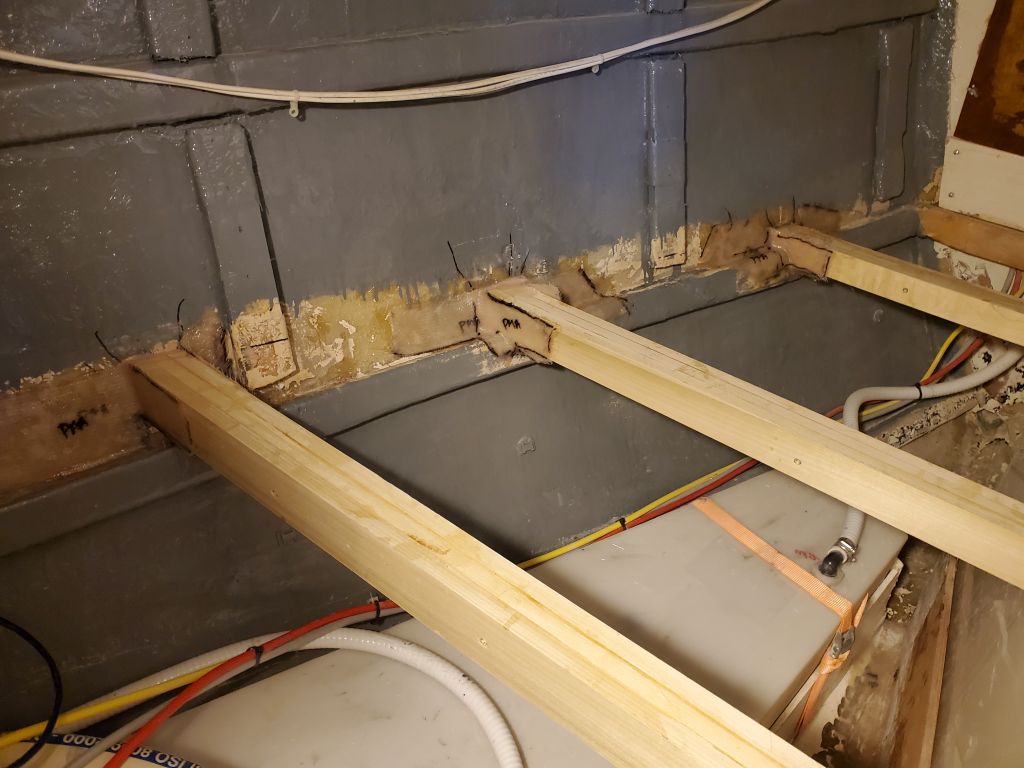
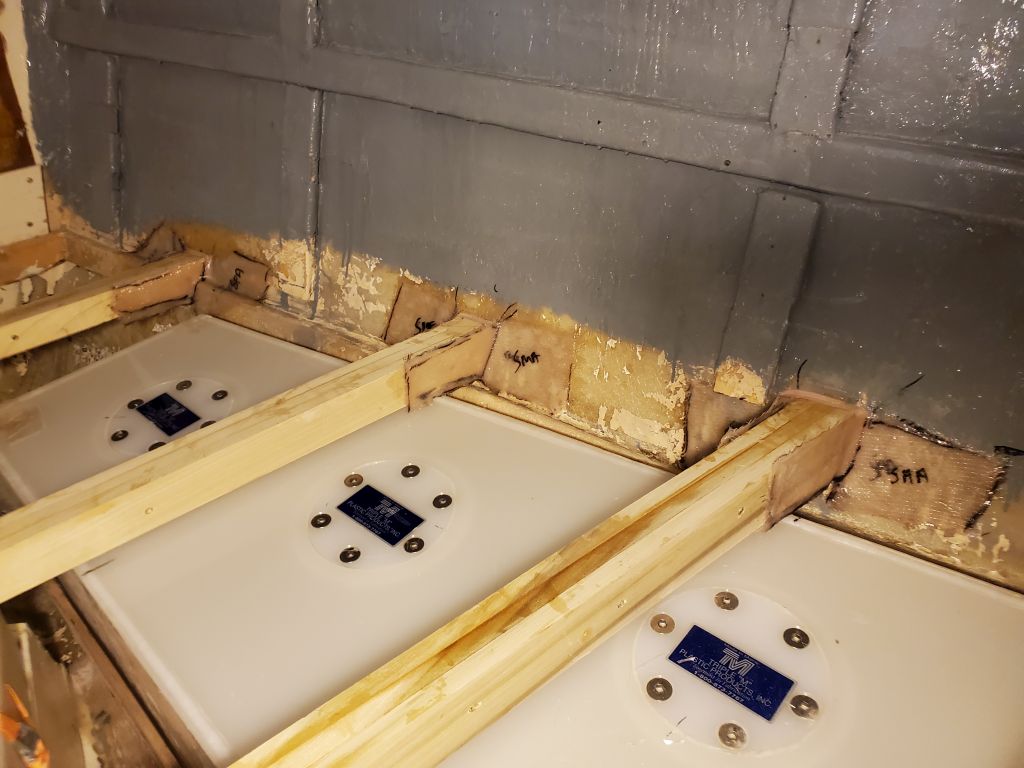
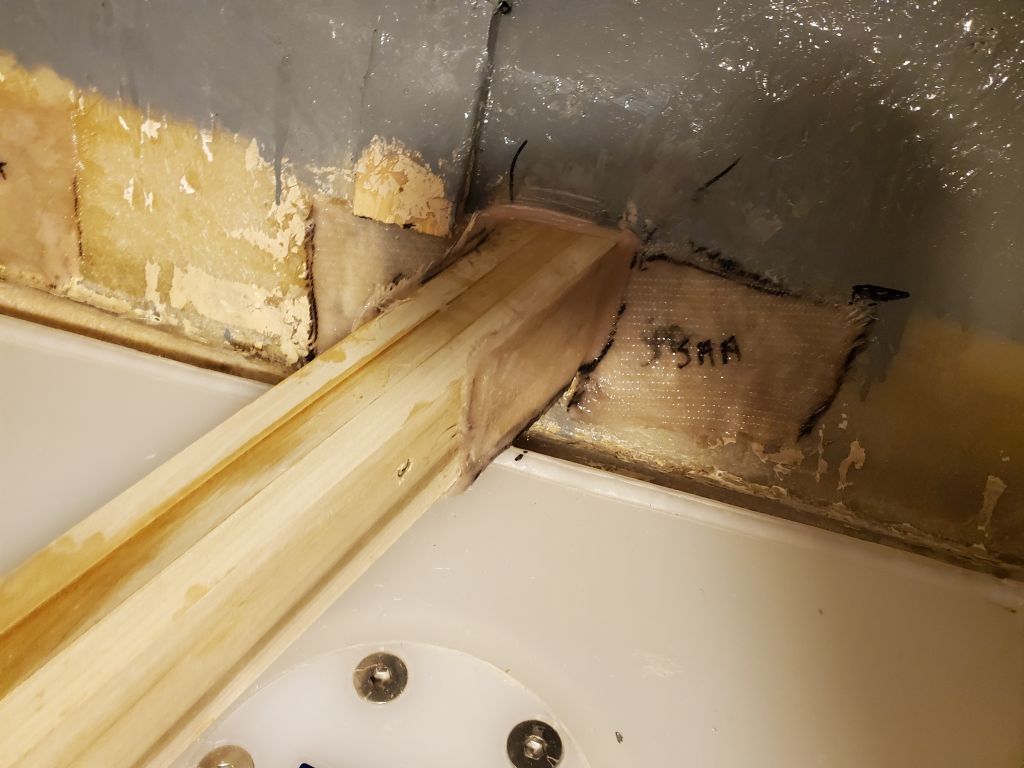
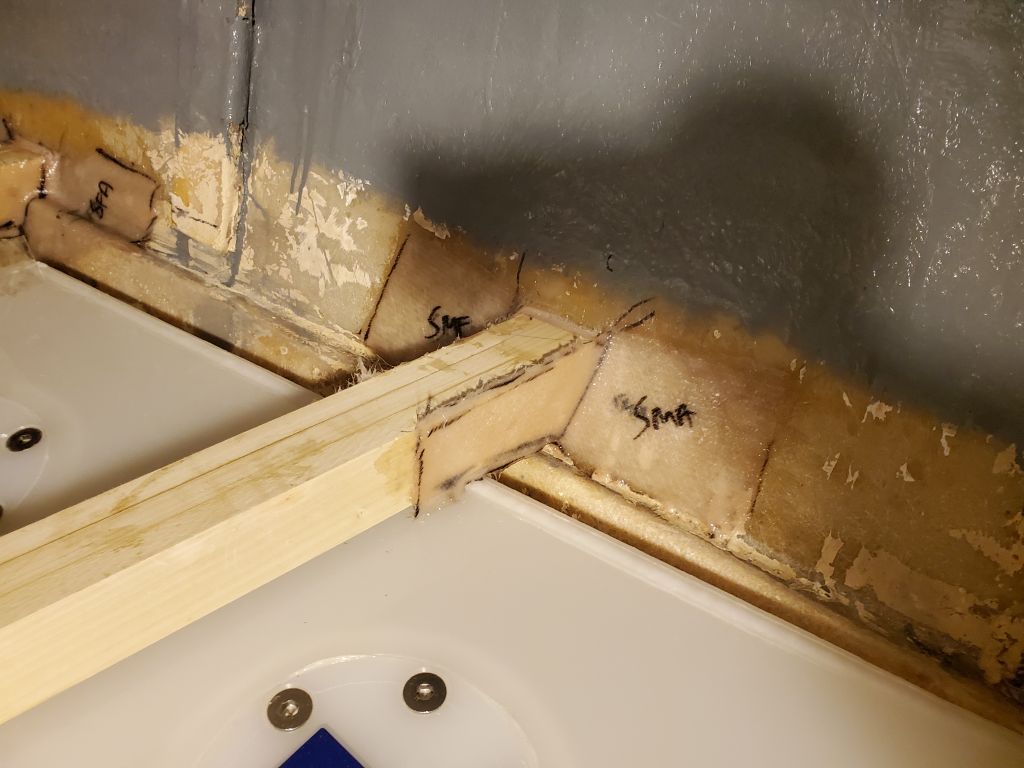
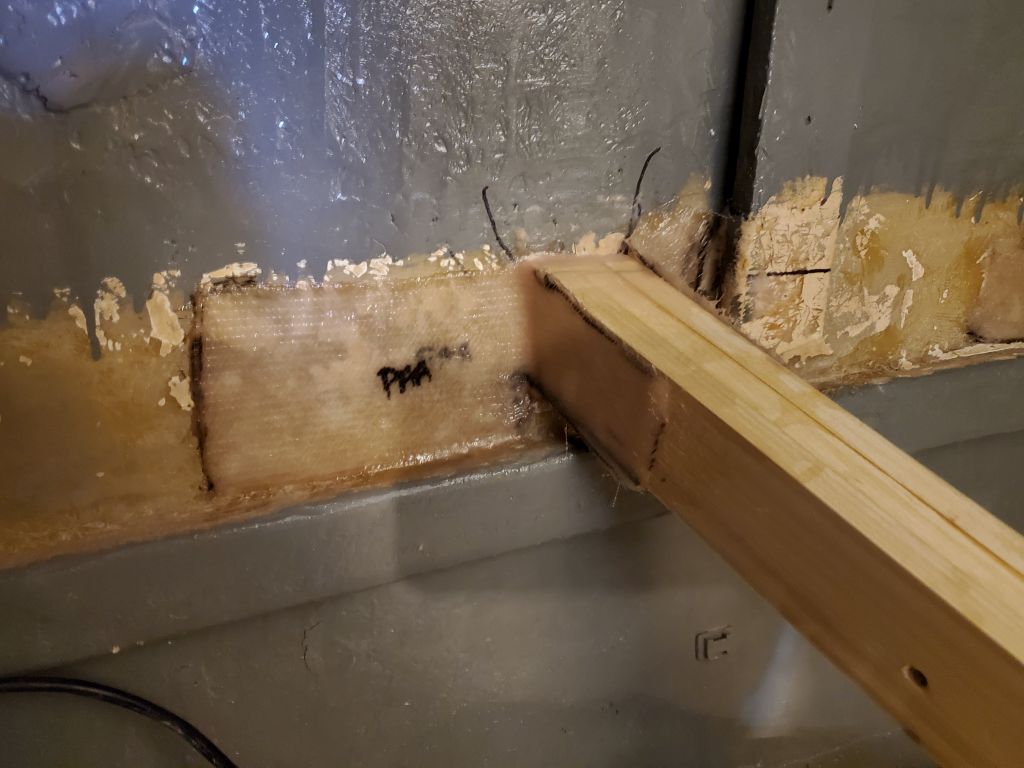
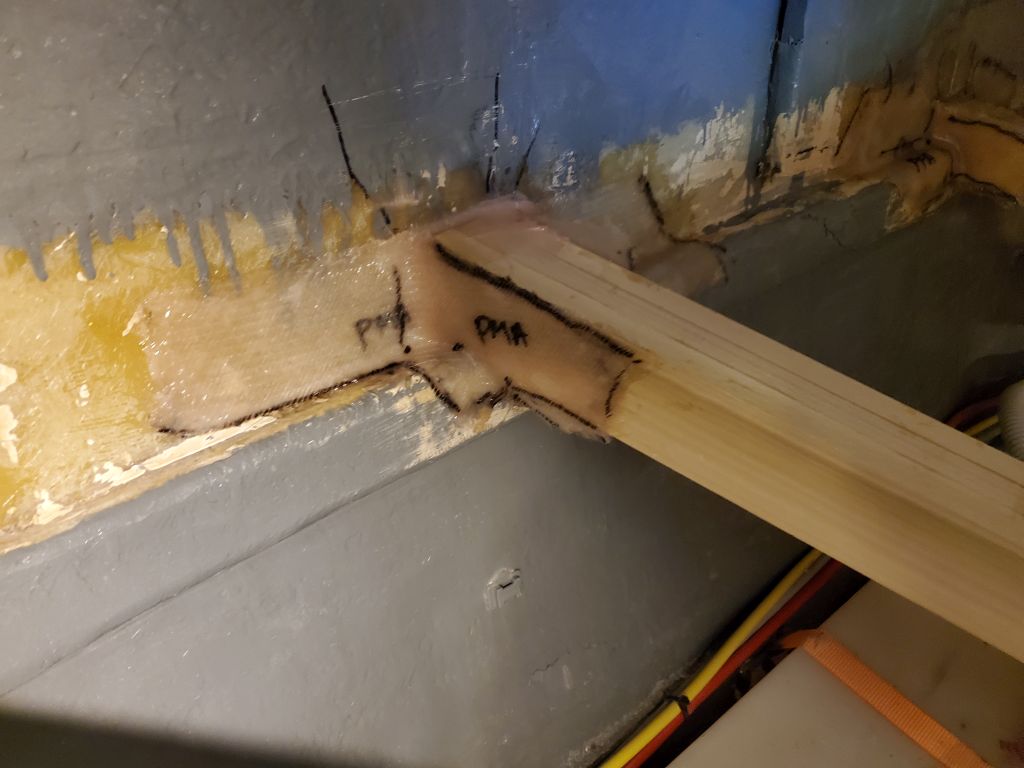
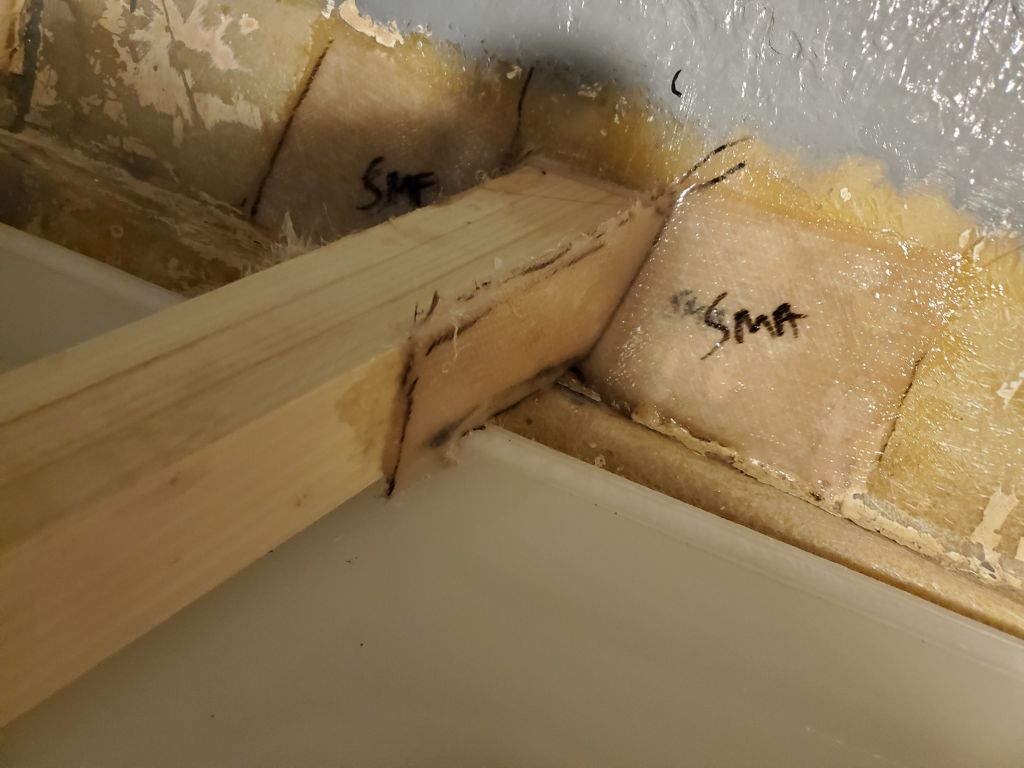
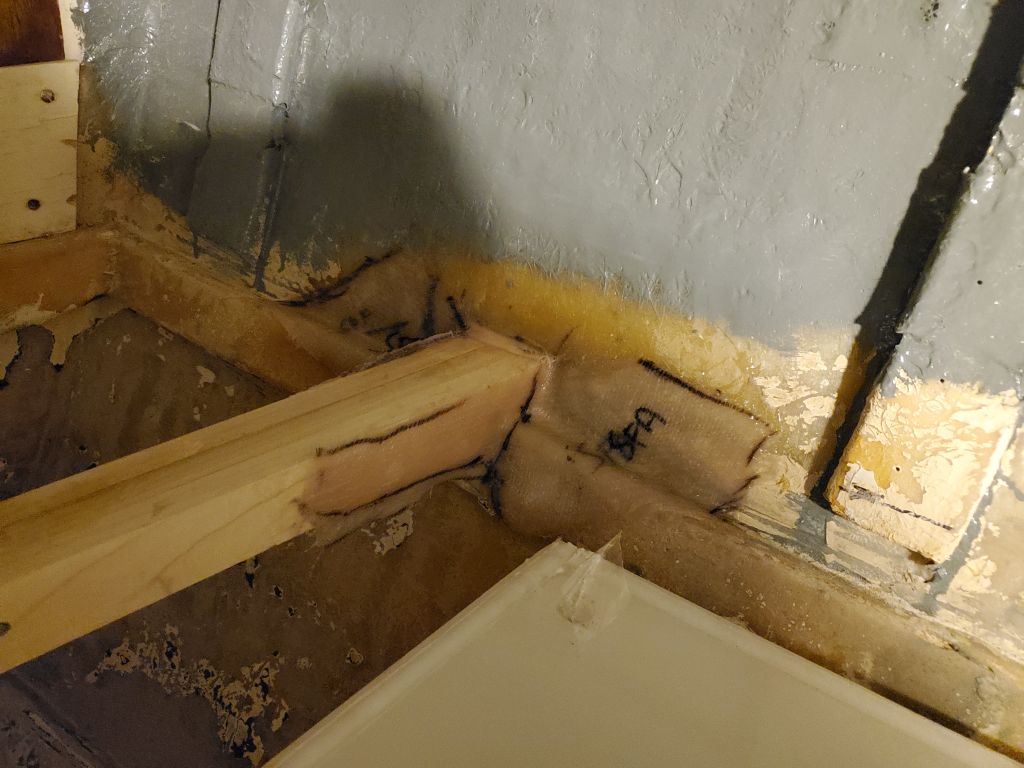
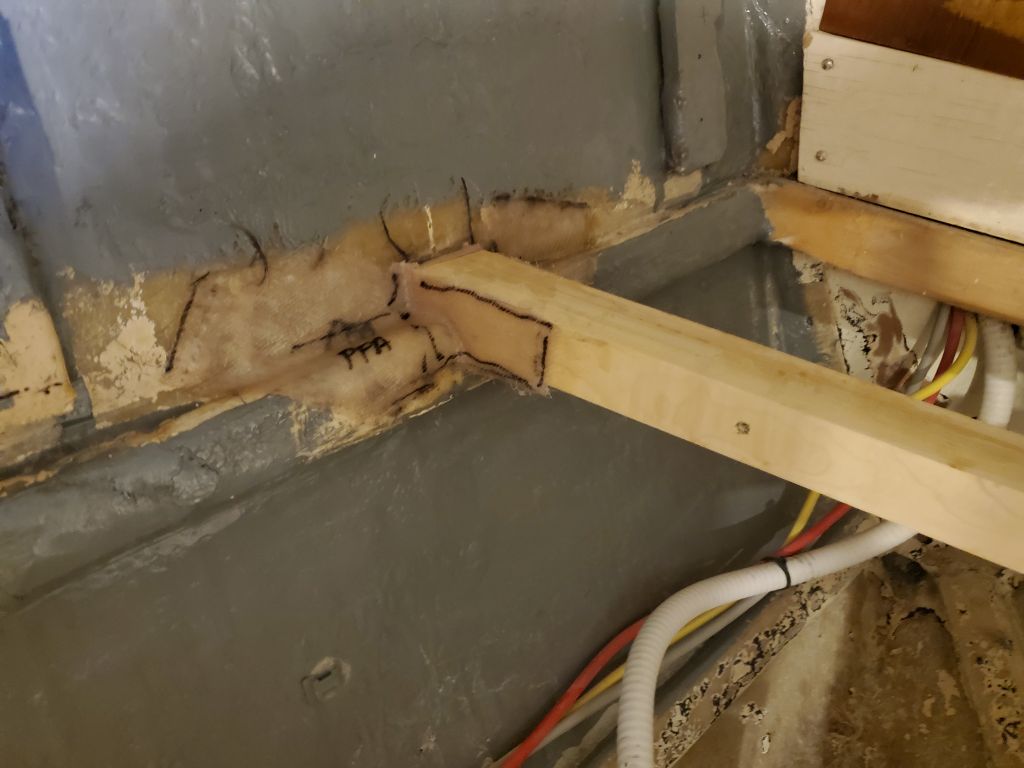
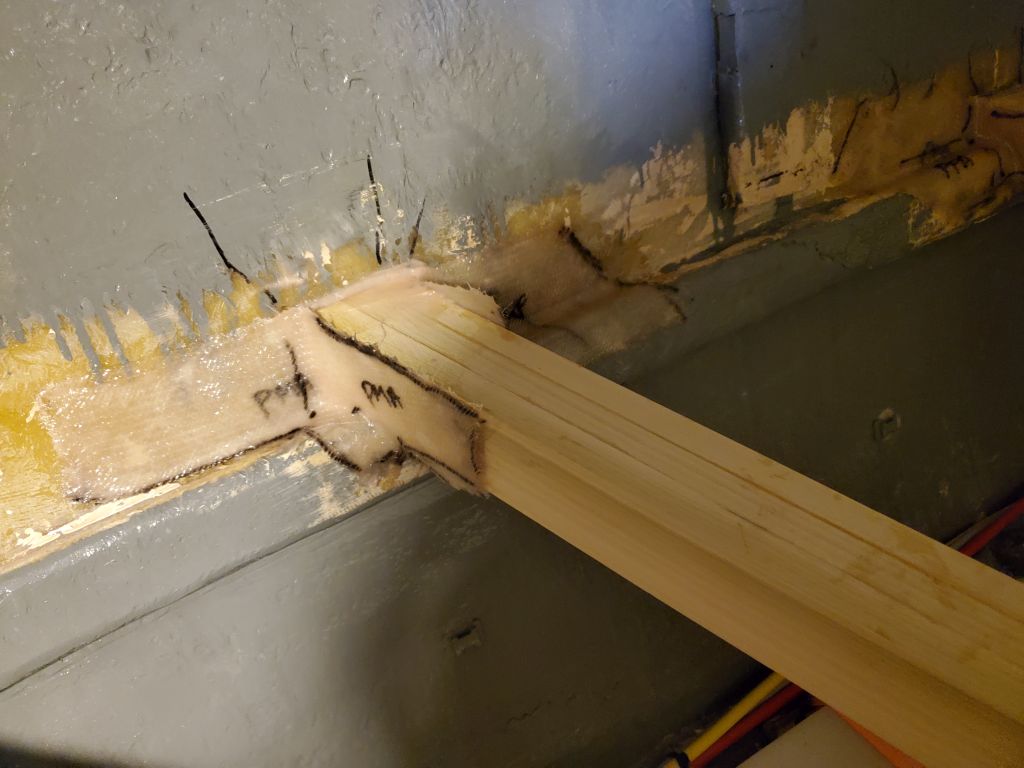
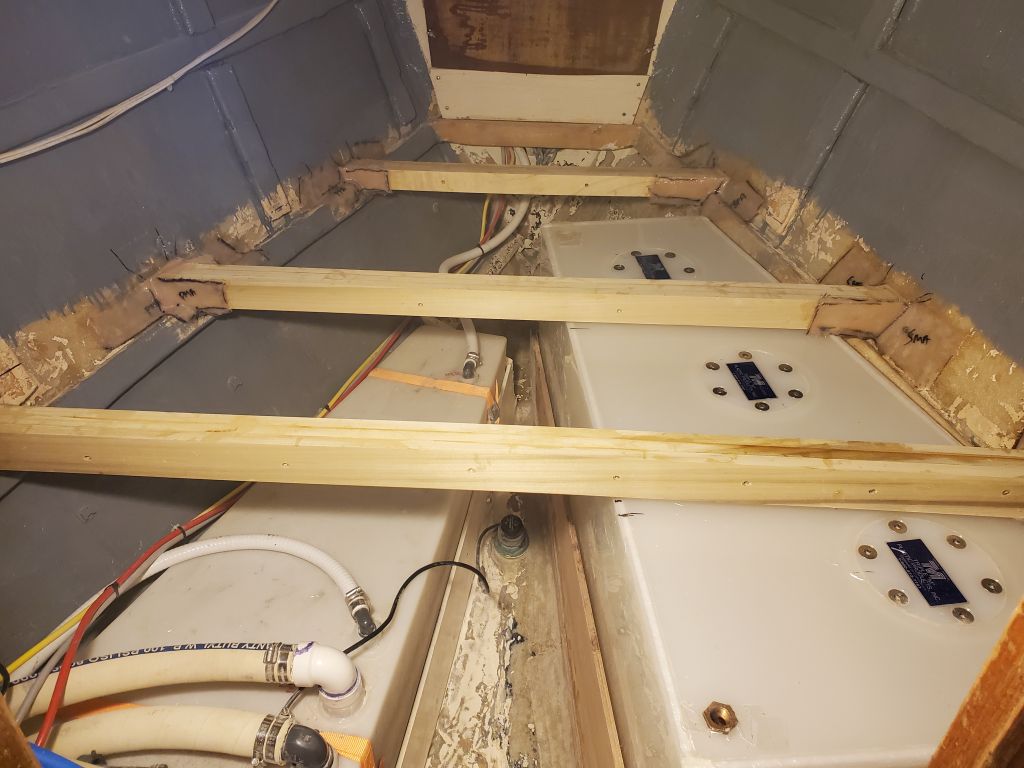
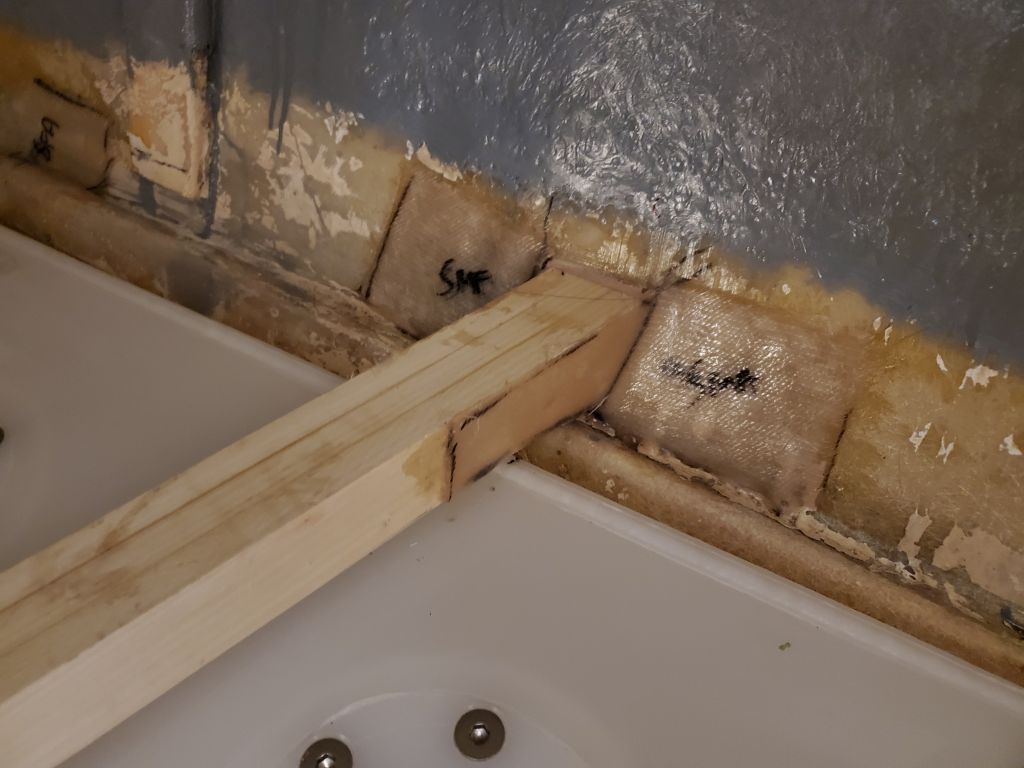
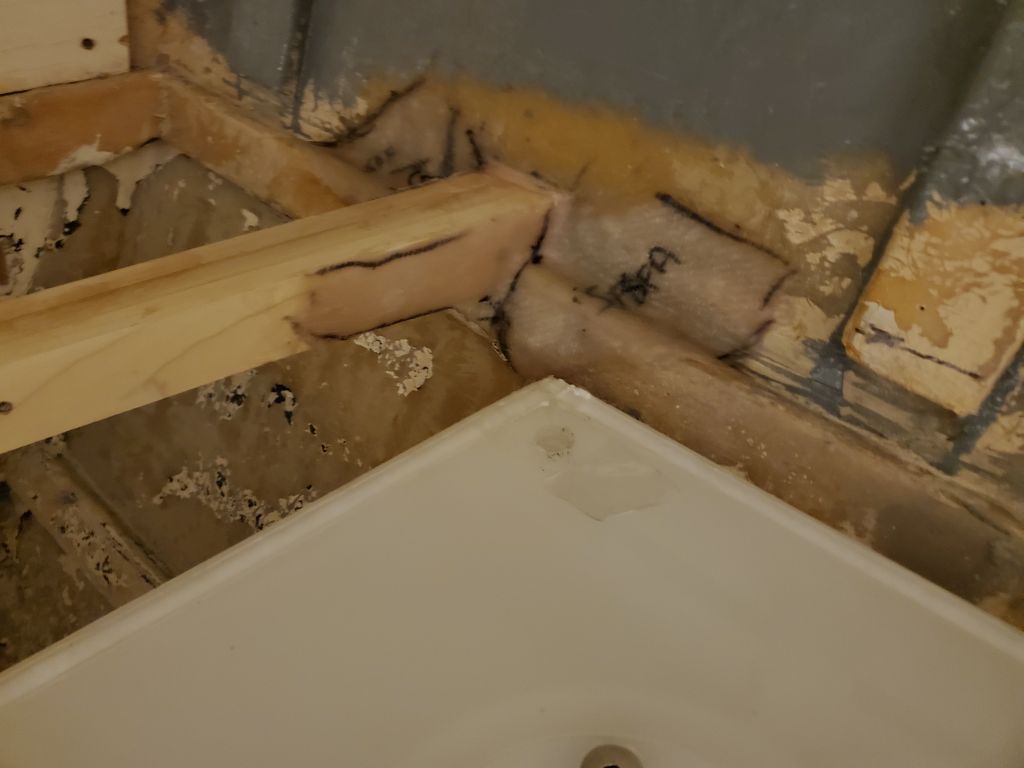
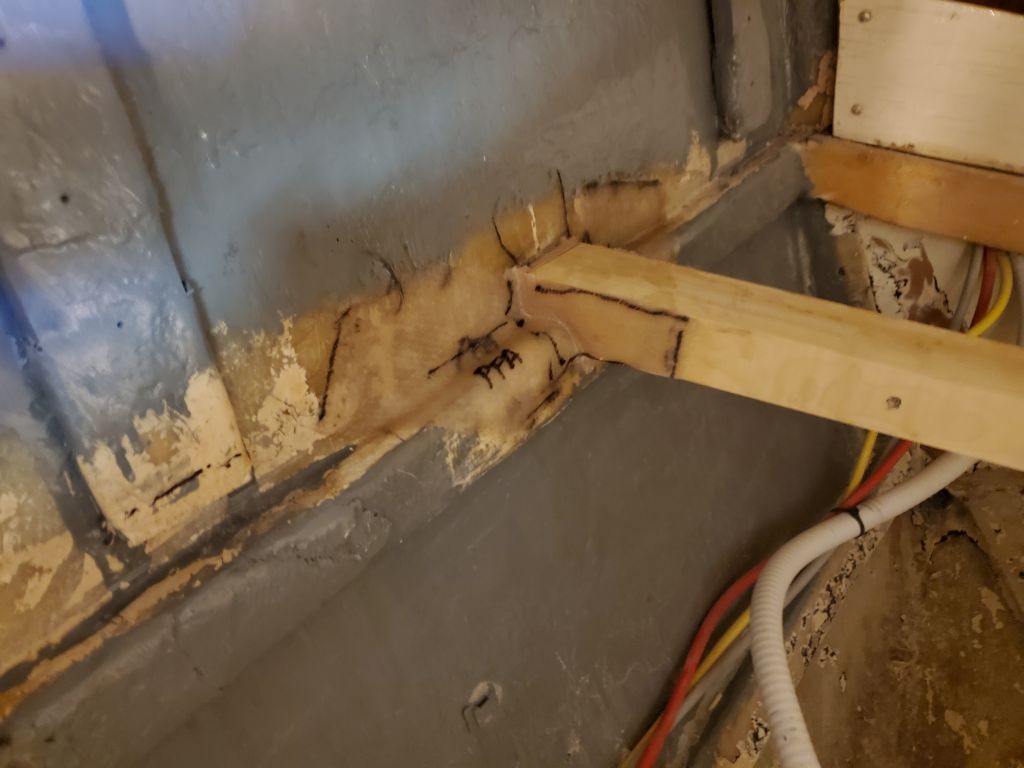
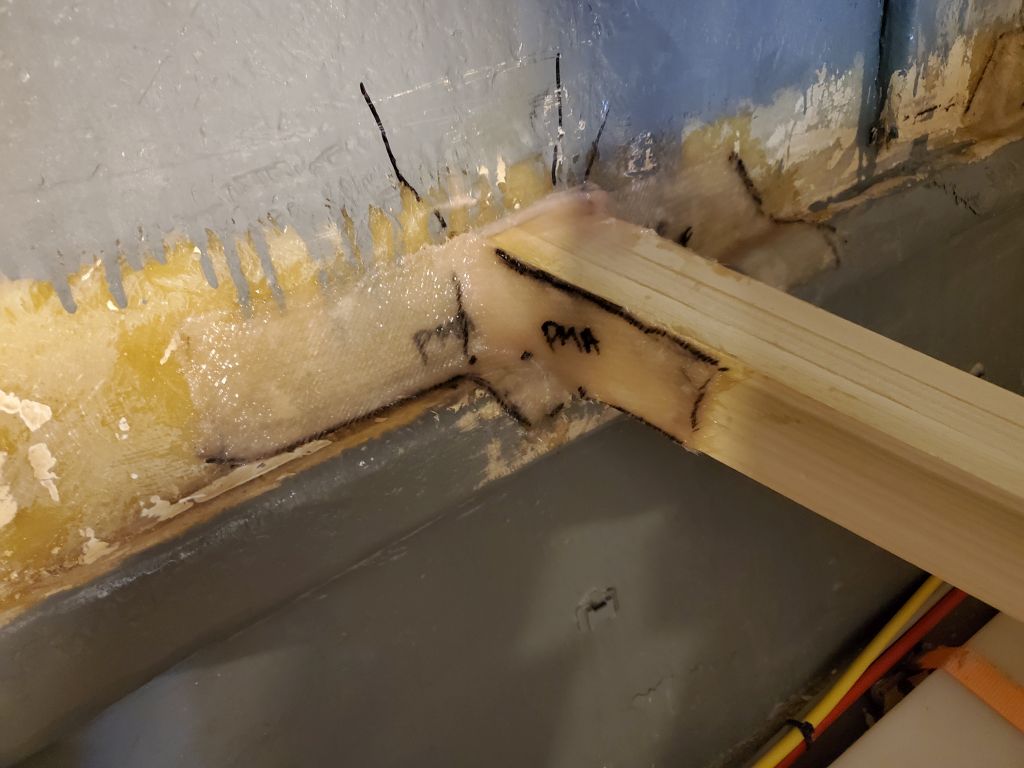
With the v-berth beams now tacked in place with epoxy adhesive, I removed the clamps and supports and prepared two layers of tabbing for each side of each beam, each piece more or less cut to the shape required to lay into the spaces at hand. I installed additional epoxy fillets at the edges of the beams, then wet and and applied the two layers of fiberglass at each location, leaving any overhanging bits for now. I planned to trim them later in the day once the resin had cured enough.
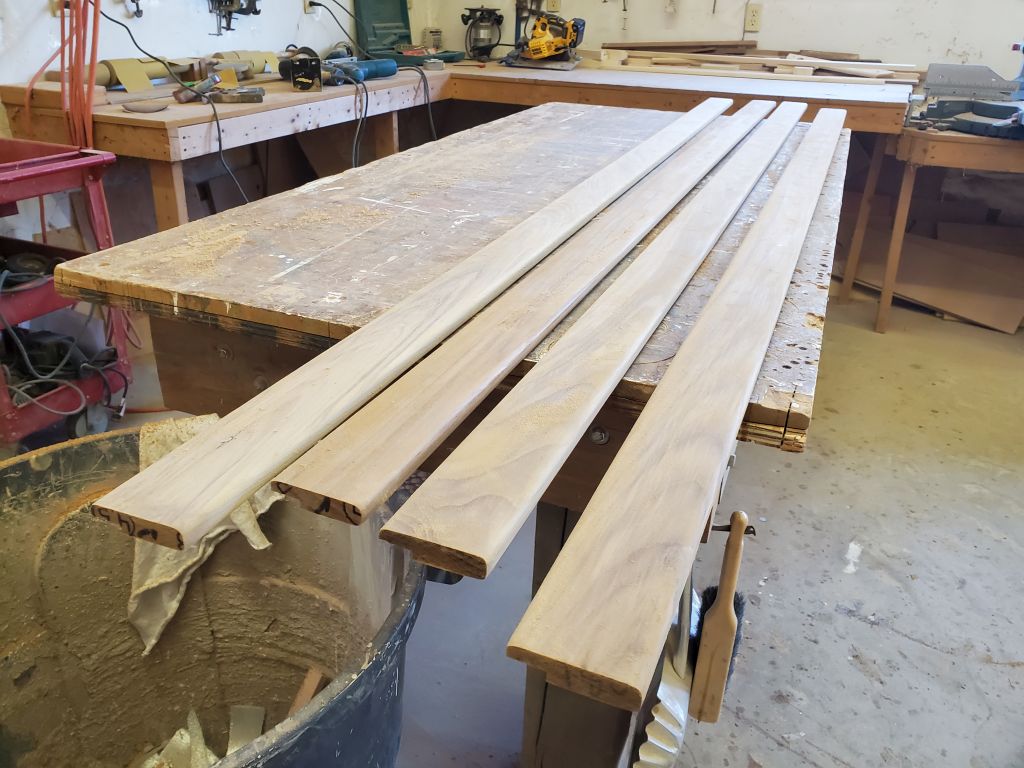
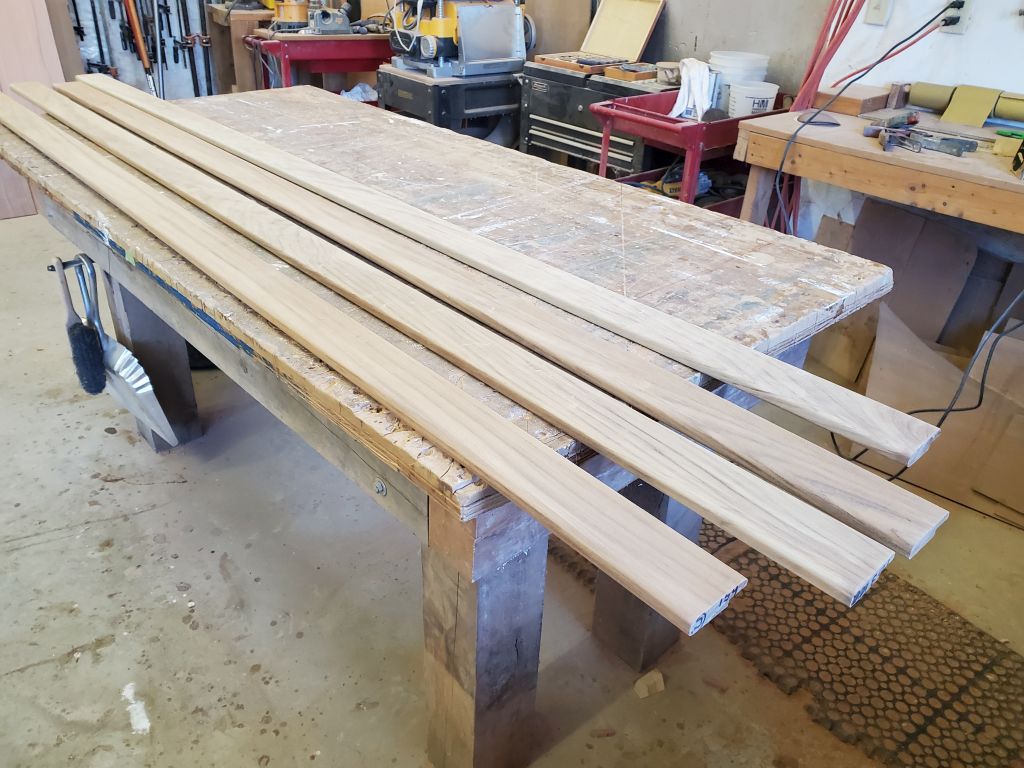
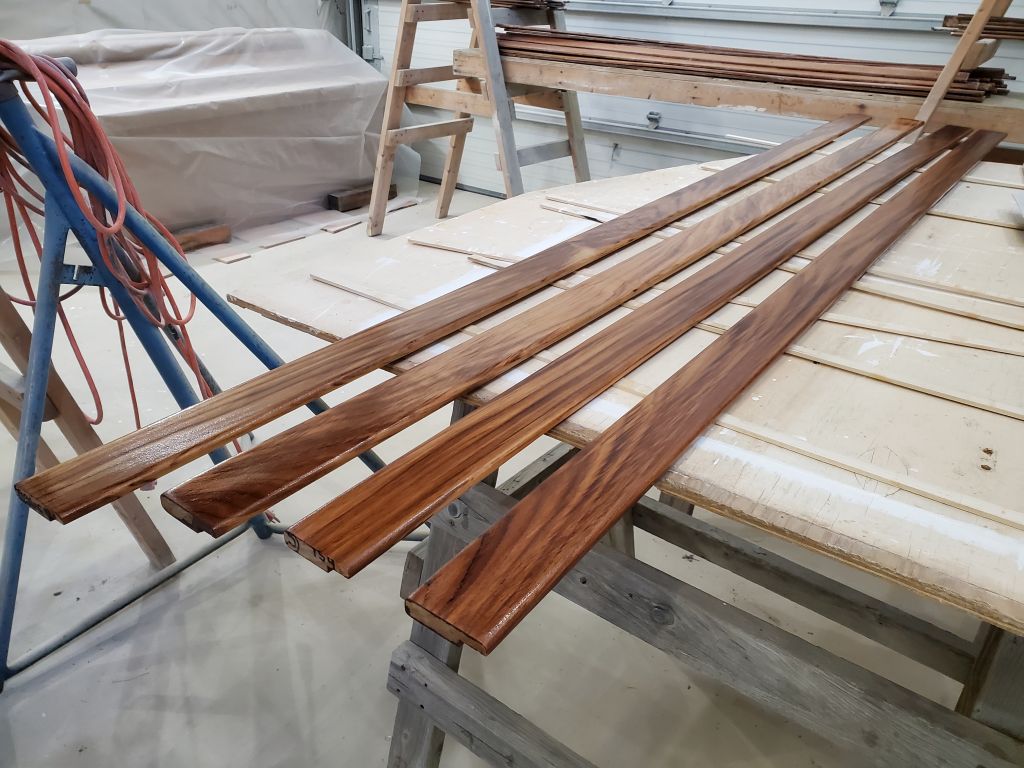
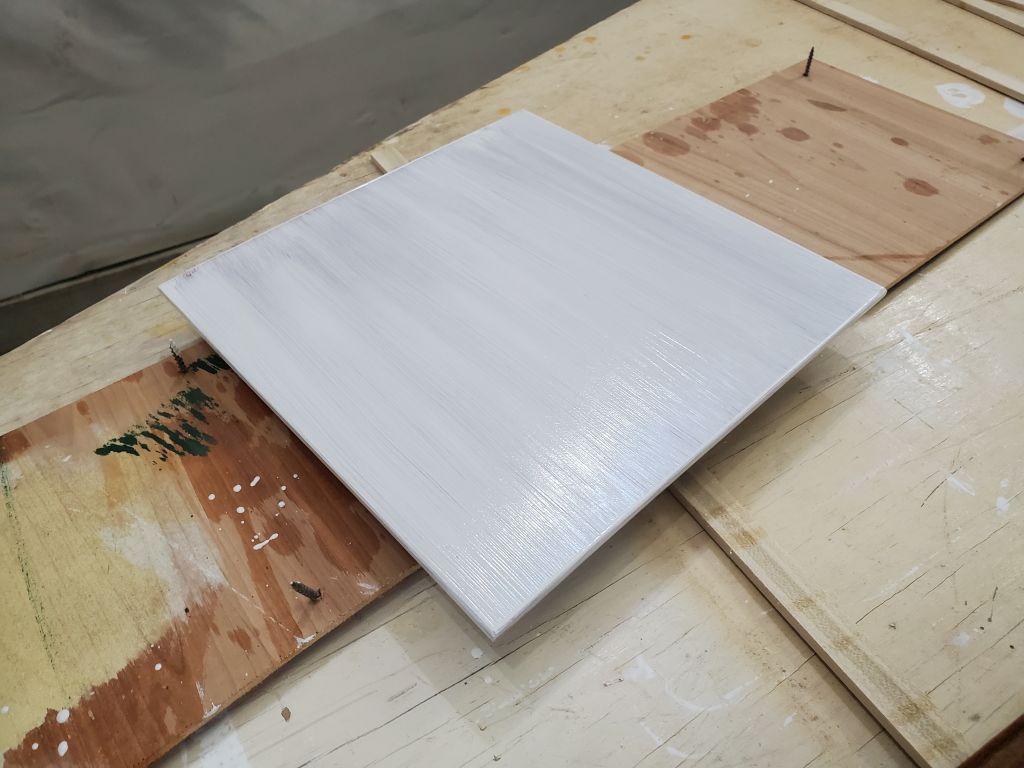
From two of the teak trim boards that someone had thoughtfully planed and prepared earlier in the project, I milled four pieces of fiddle trim for the berths, since I needed this in place for upholstery patterning. Each piece was 3″ wide, with a 1″ dado on the back side so the trim would sit 2″ above the berths, with 1″ hanging below to cover the edge. I rounded the three exposed edges, and sanded the pieces smooth before applying a sealer coat of varnish to all sides. I also took a moment to sand smooth and prime the fiberglass shop-made hatch for the propane locker.

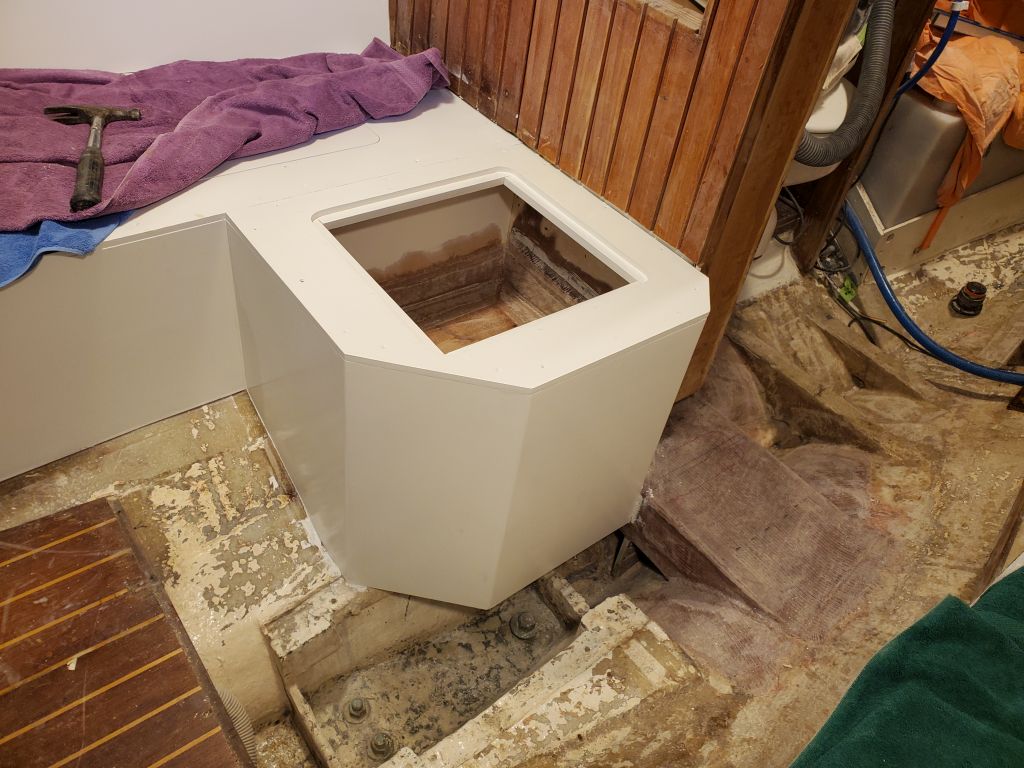
Back in the boat, I installed the hatch from the battery compartment, mainly to show the completed locker now that the paint was done.
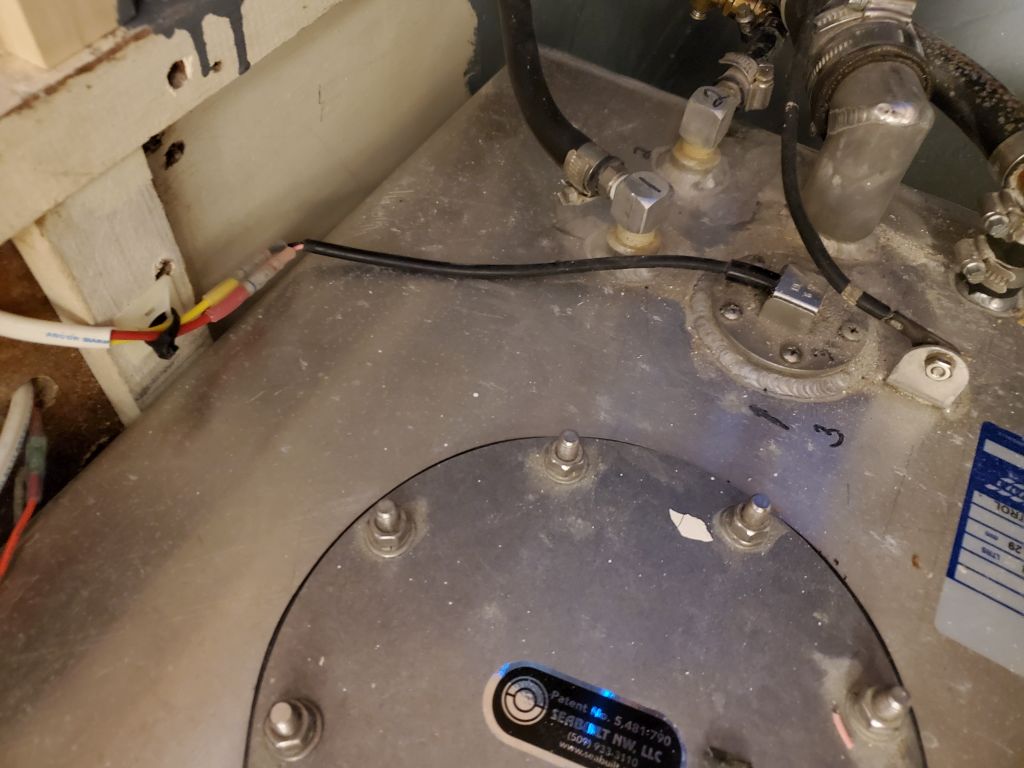
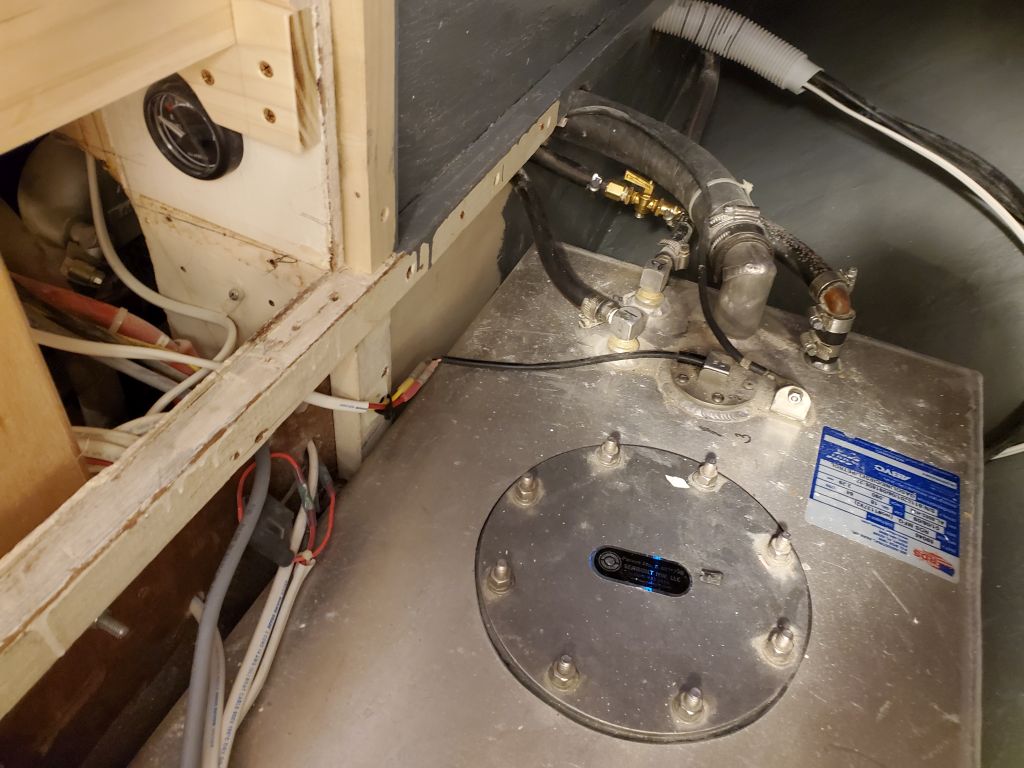
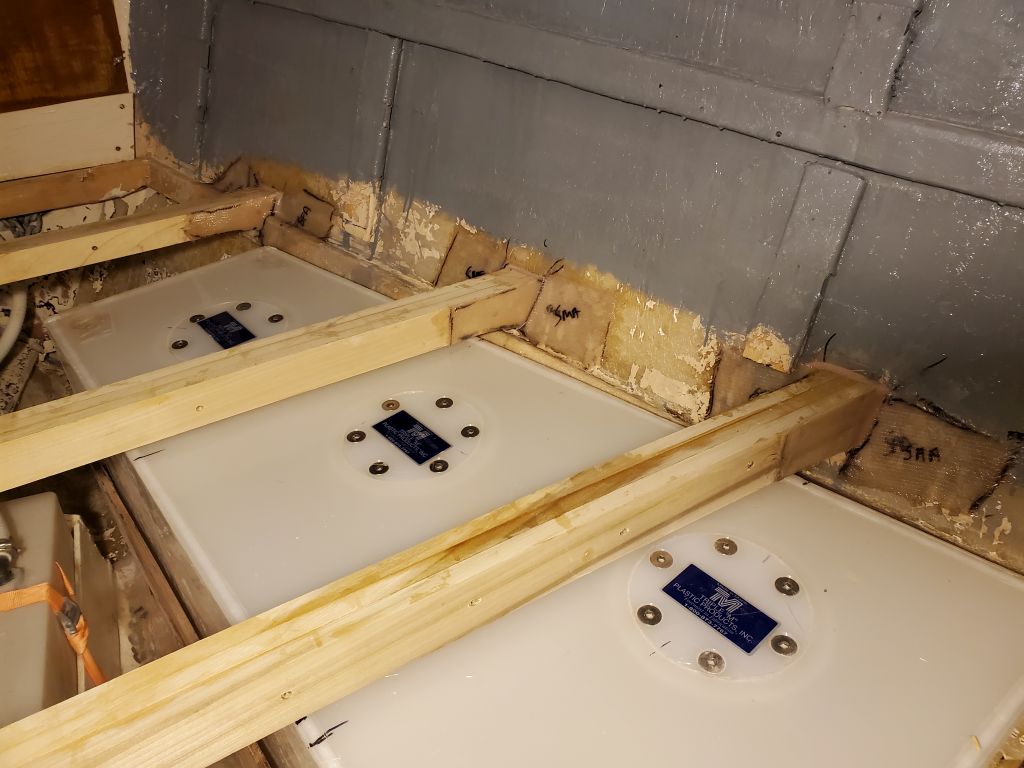
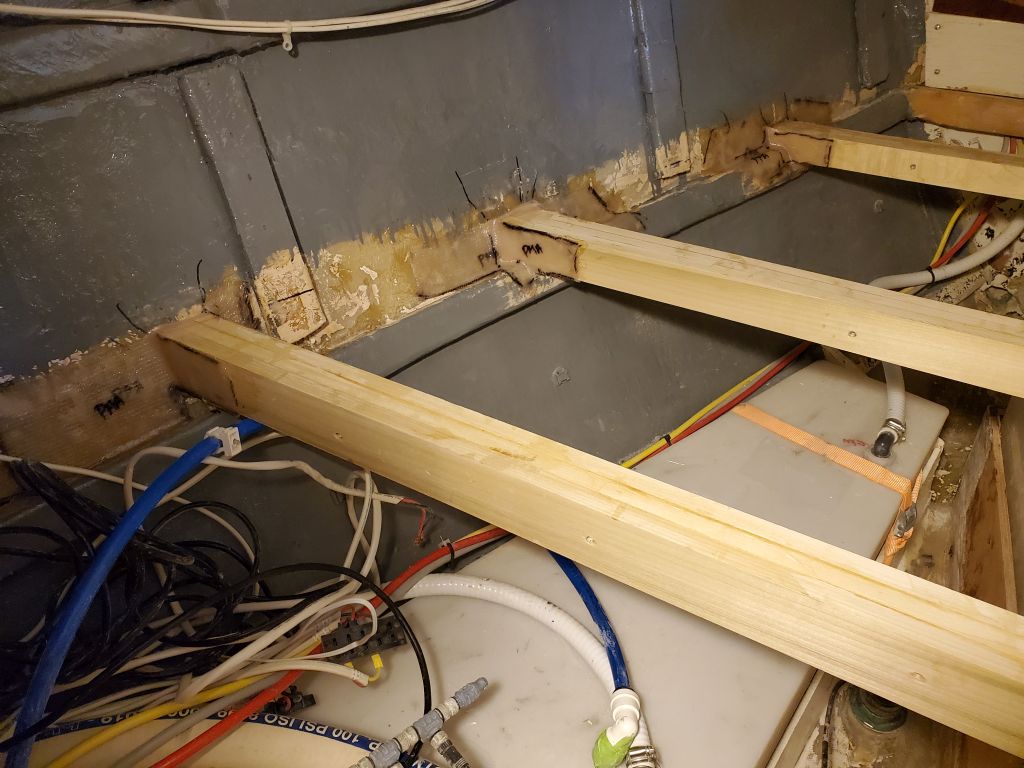
With a little time before lunch, I took care of another small project from my list that I tried to knock off whenever there was a small window of time between bigger things. The owner asked me to either move or replace the existing fuel gauge (currently located in the engine room beneath the countertop) to a more visible location, such as the yet-to-come panel above the galley, and earlier investigation had revealed that access to the back of the existing gauge for removal was too difficult, so it made more sense to buy a new gauge than expend the time and effort trying to remove the old one. To that end, while I still had full fuel tank access, I ran a new wire from the sending unit on the tank up to the eventual location for the gauge.
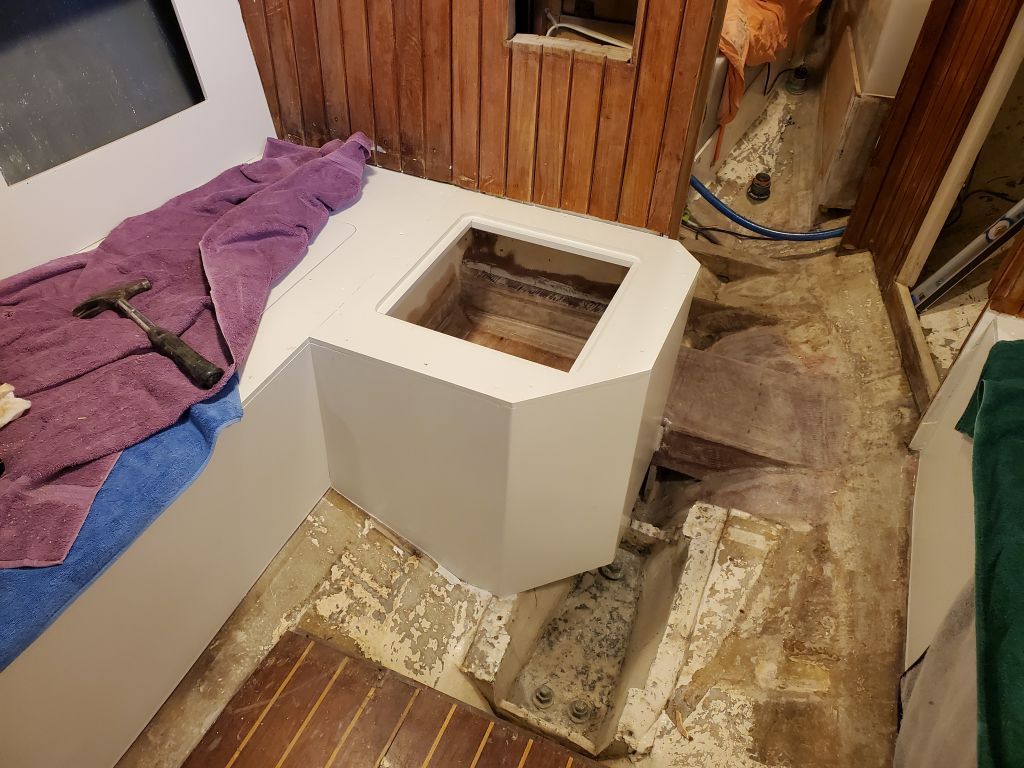
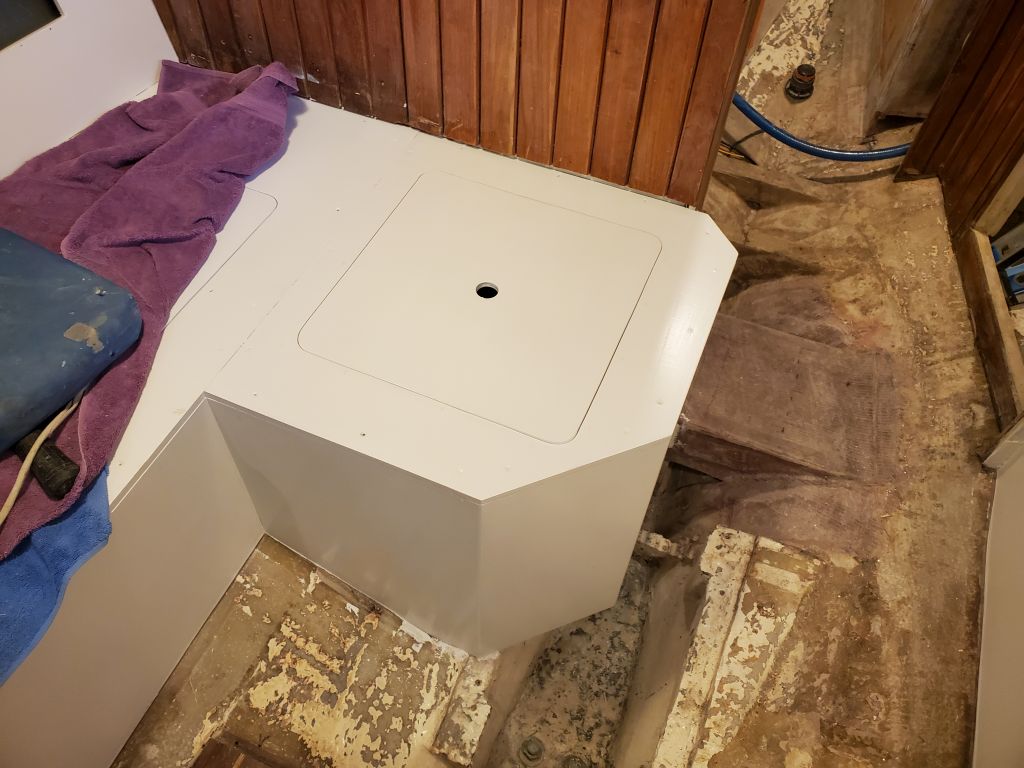
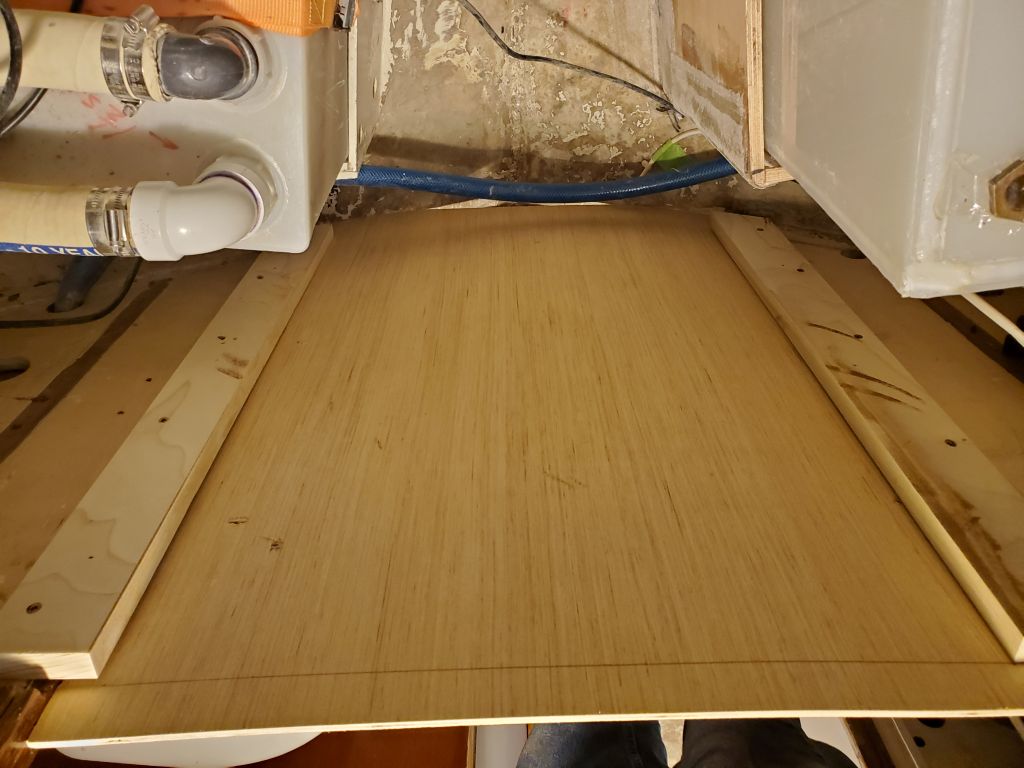
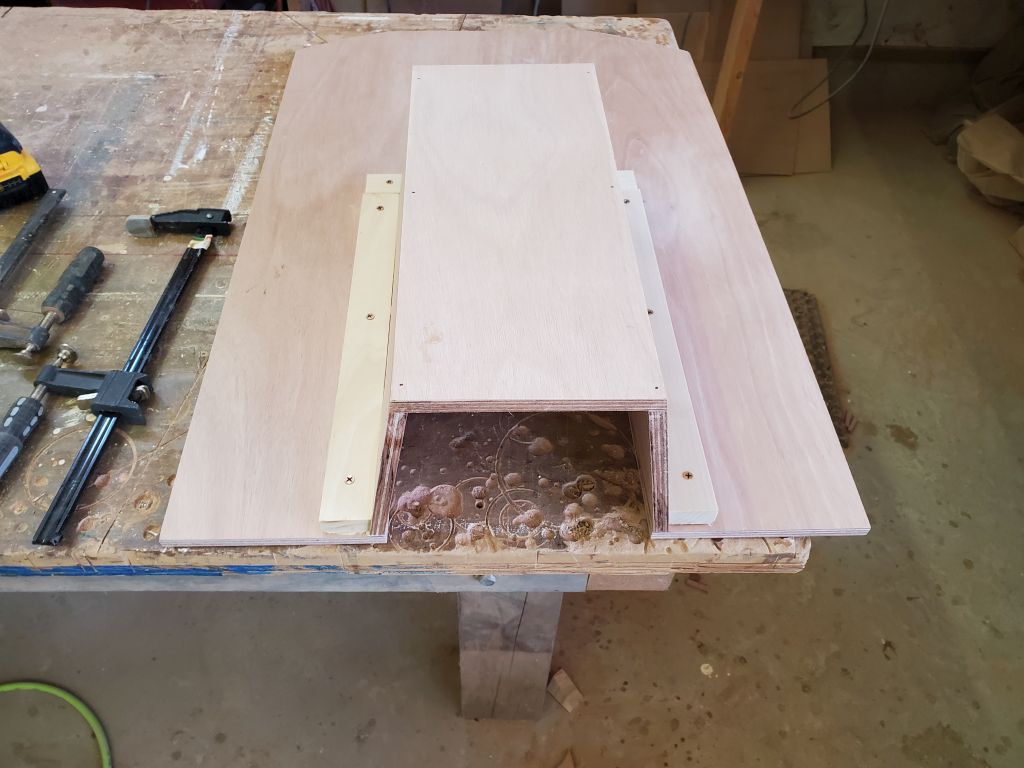
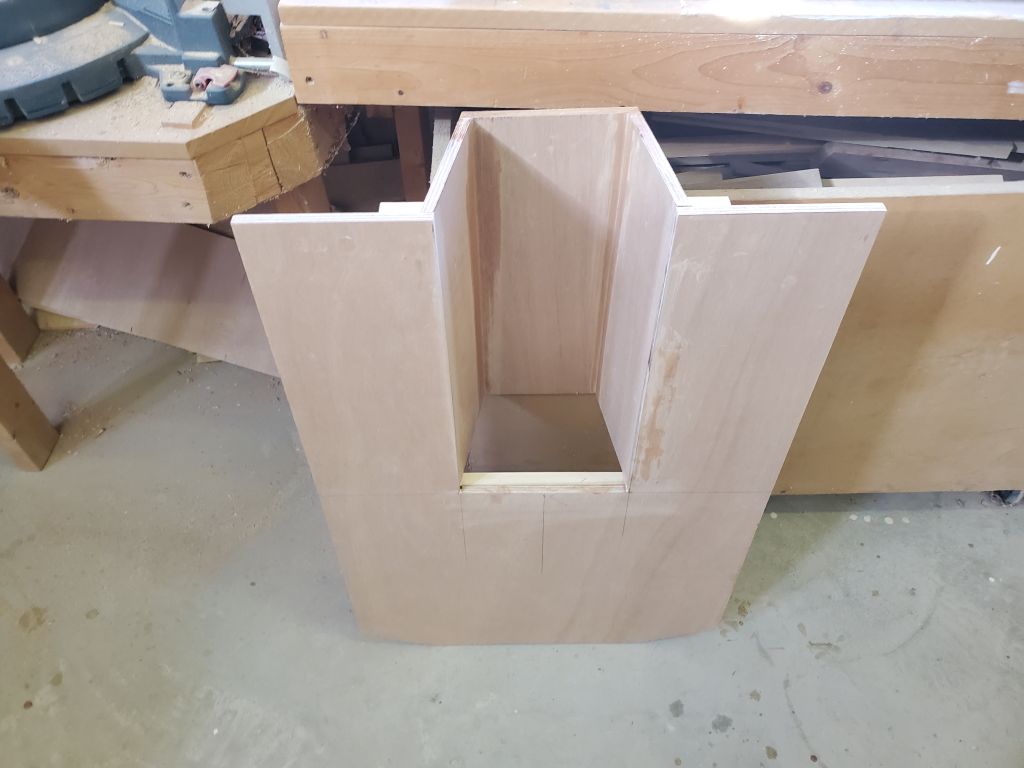
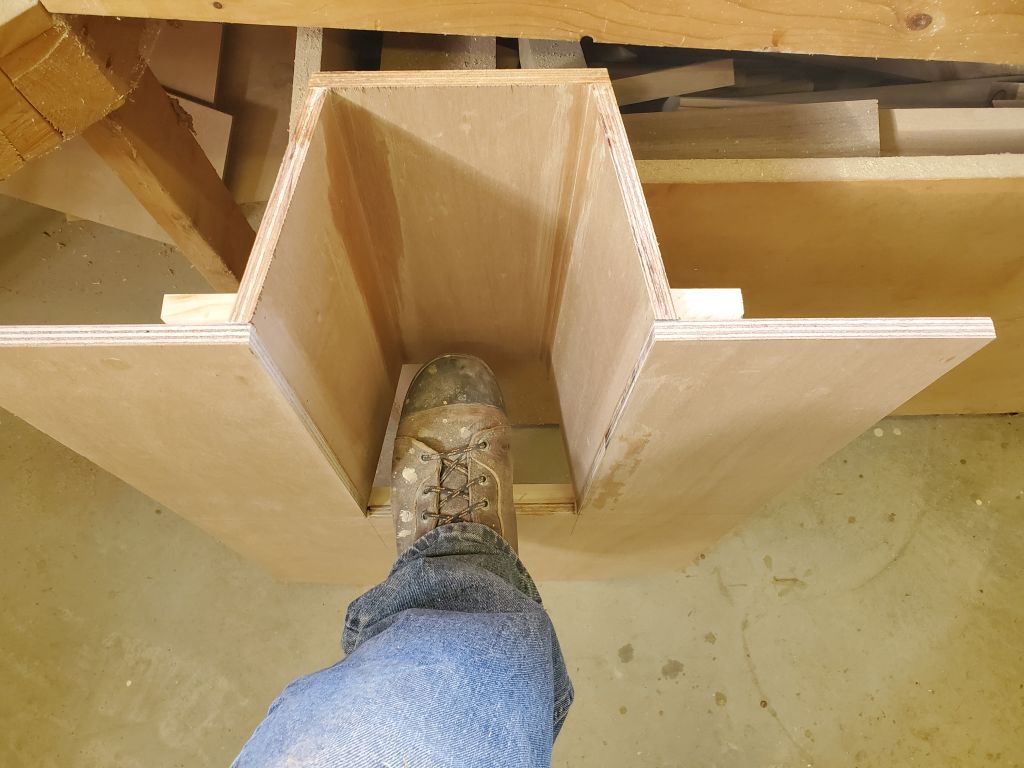
In the afternoon, I focused on the panel to enclose the v-berth at the aft end, and to provide a step for easier access to the berth. I’d been running this through my mind for weeks, biding time till the rest of the space started to come together. The plan that stuck was to build a simple, removable (if needed) access panel that incorporated a small step and notch above–not a true v-berth notch, since space was limited by the two tanks and in any event a walk-in notch wasn’t necessary or even desired, but just enough of one for a solid, recessed step. I liked the idea of a removable panel to improve access to the tank and utility space at the aft end, and this also tied in to the growing idea that the v-berth platform itself would be in several easily-removable pieces to maintain good access to all areas of the space going forward.
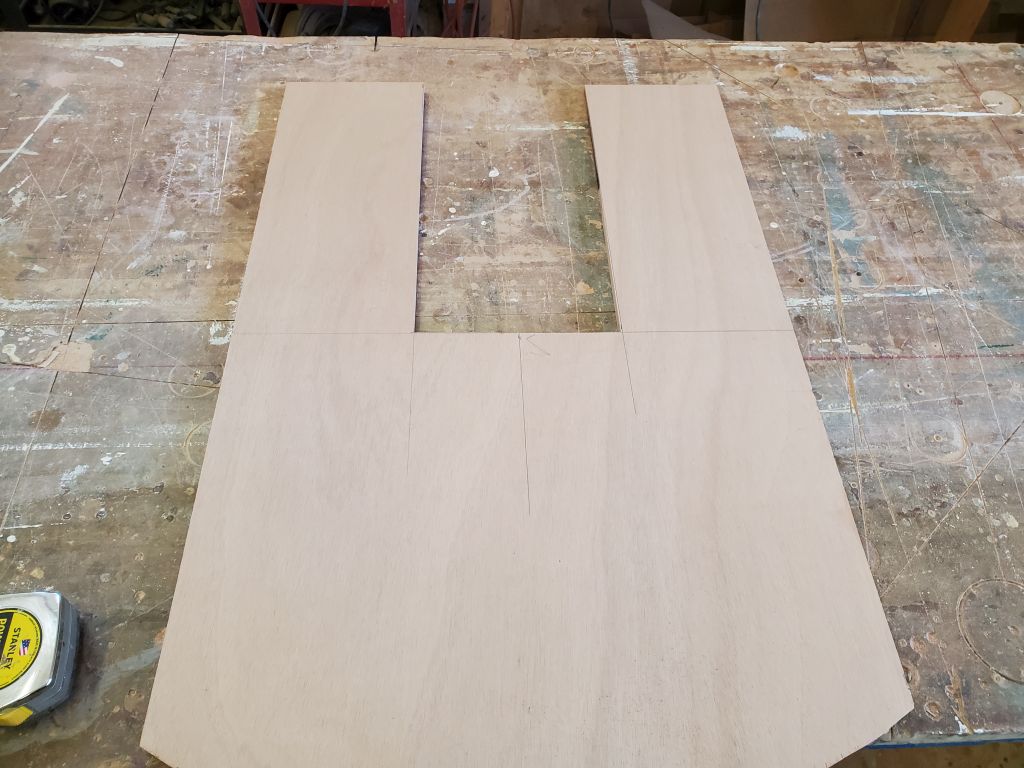
To begin, I milled two wide cleats for the sides of the opening, which would support the panel on the aft side. I actually repurposed the cut-off end of one of the laminated beams I’d made for the berth, since it was about the right length and width, resawing it back into two 3/4″ cleats about 2-1/2″ wide that gave me sufficient width to secure to the forward side of the bulkheads on each side of the opening with a good 1″ bearing surface left exposed for the new panel. From there, I made a template panel from 3/16″ plywood, then transferred to a final piece of 12mm okoume.
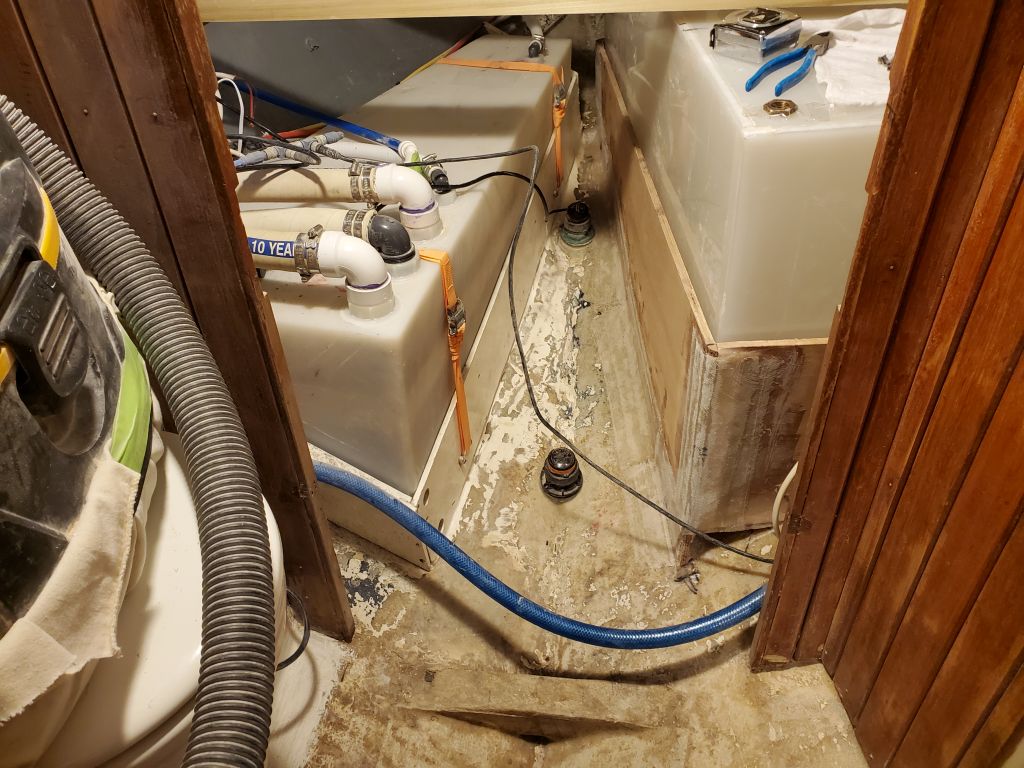
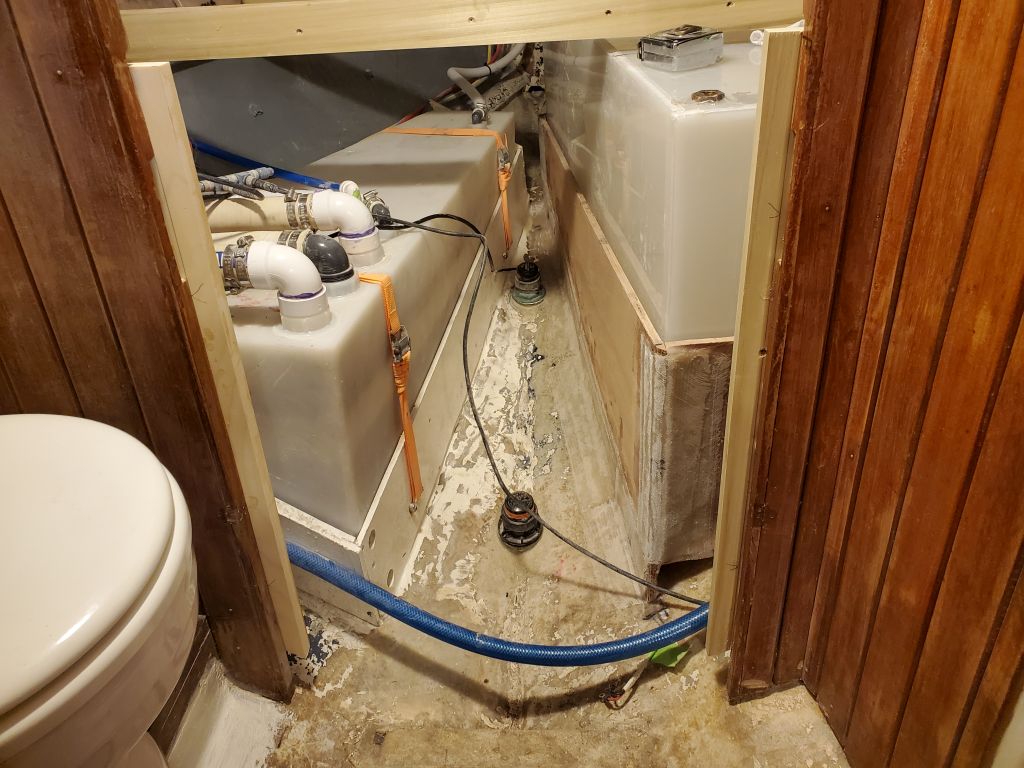
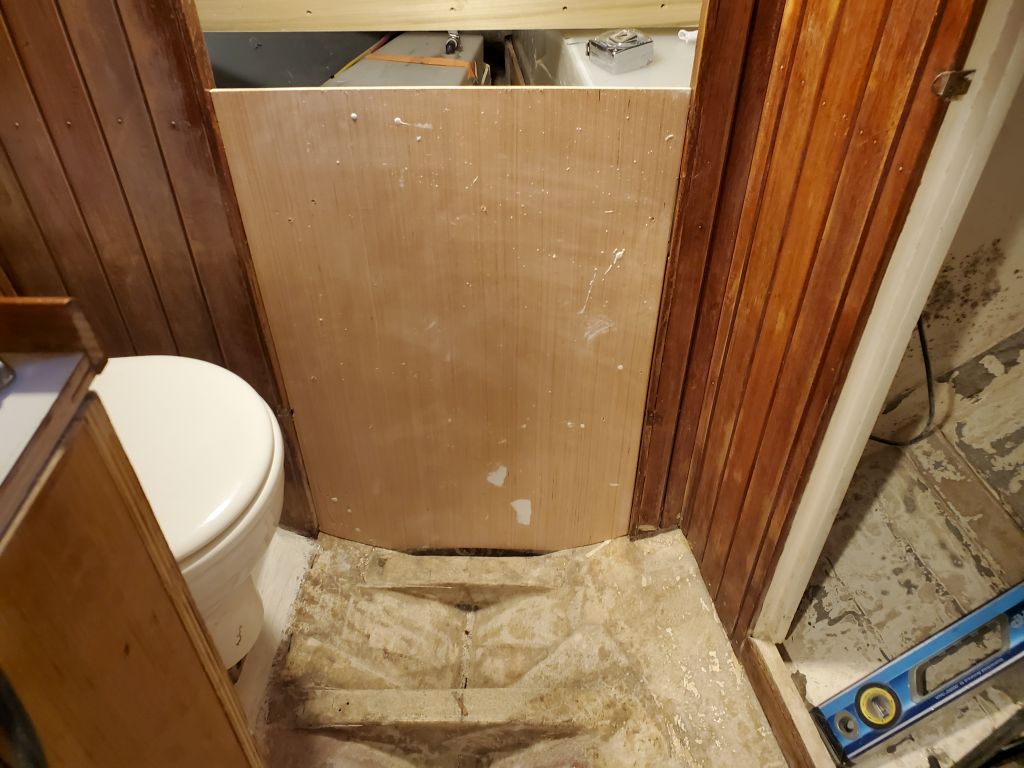
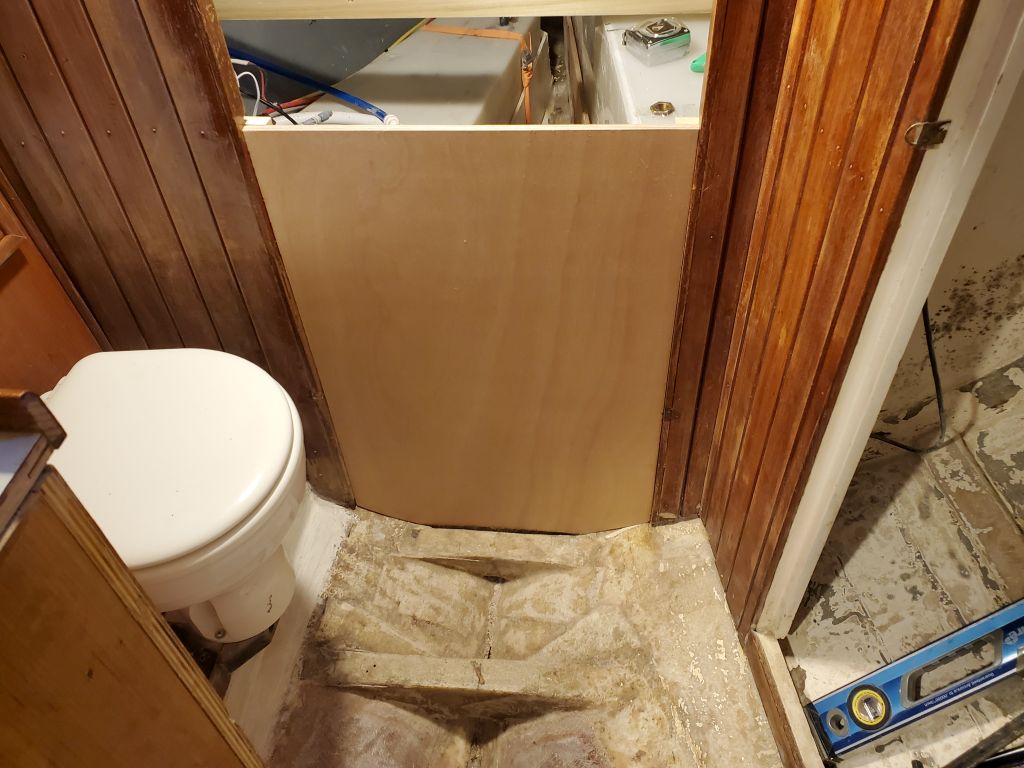
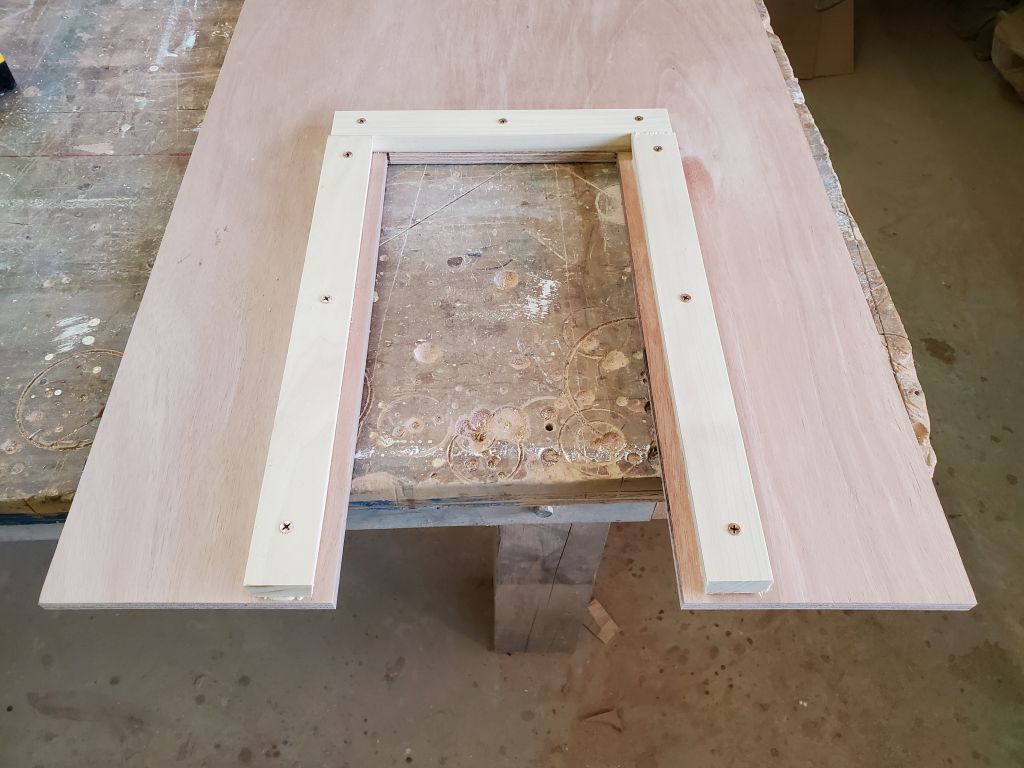
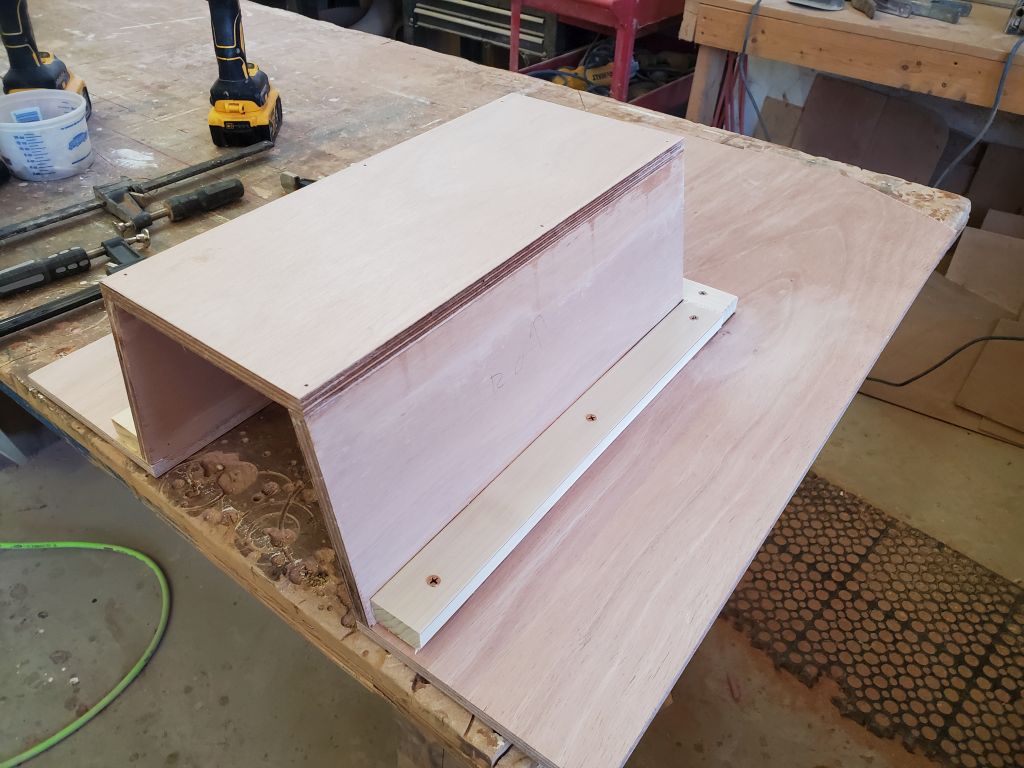
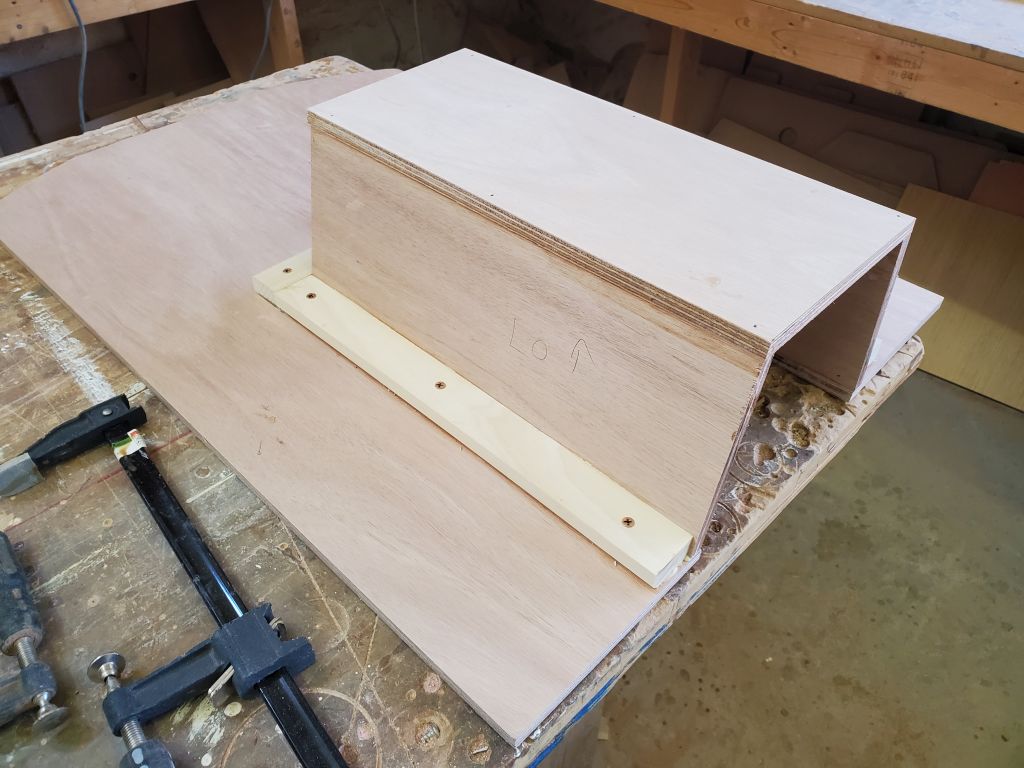
With the panel on the bench, I laid out and cut an opening in the center for the step/notch. The overall height of the berth platform off the sole was about 32″, and it made sense to build the step at about 16″ off the sole. I decided on a 10-degree angle for the notch, and cut and installed support cleats and the notch sides accordingly, then closed off the back with another panel. I secured the three pieces of the notch with glue and brads to hold things while the glue cured. This provided a nice secure step with plenty of space for secure footing on the way up to the berth. I planned to finish it off with a teak step to fill the base, possibly removable on its own depending how useful access through the open bottom of the notch seemed.
Finally, at the end of the day, when the tabbing had cured green, I trimmed the excess along the beams with a sharp knife to leave clean edges that would require minimal sanding.

Total time billed on this job today: 7.5 hours
0600 Weather Observation: 29°, clear. Forecast for the day: Sunny, 52°