


March 7, 2024
Calliope Girl 79
Thursday
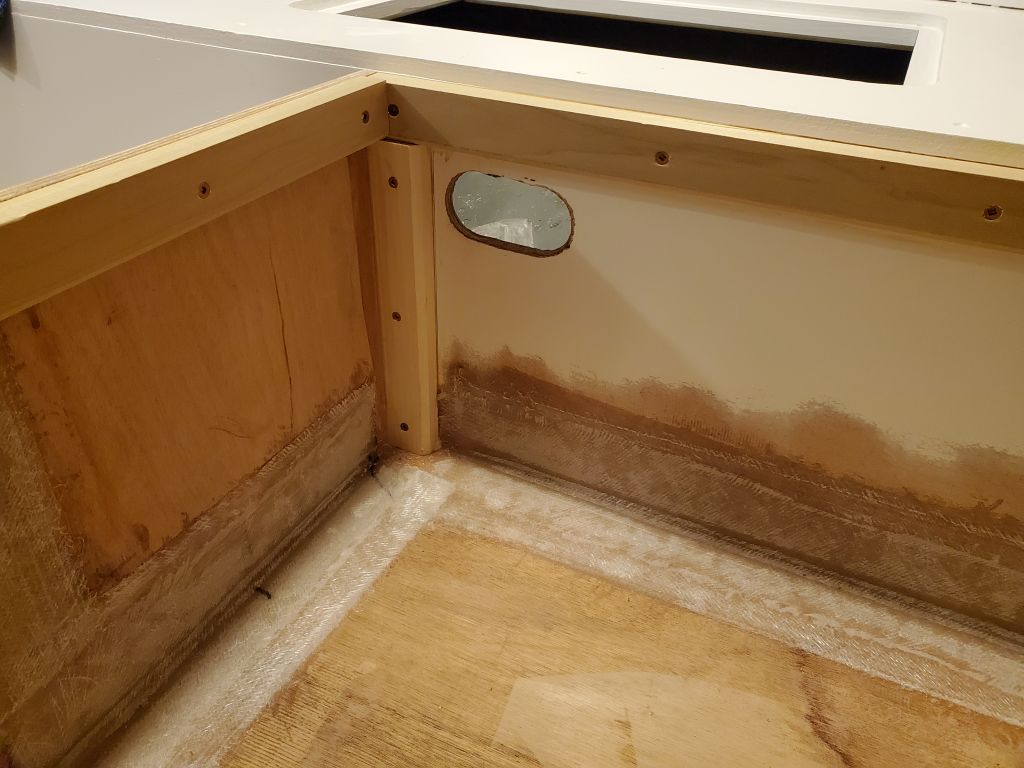
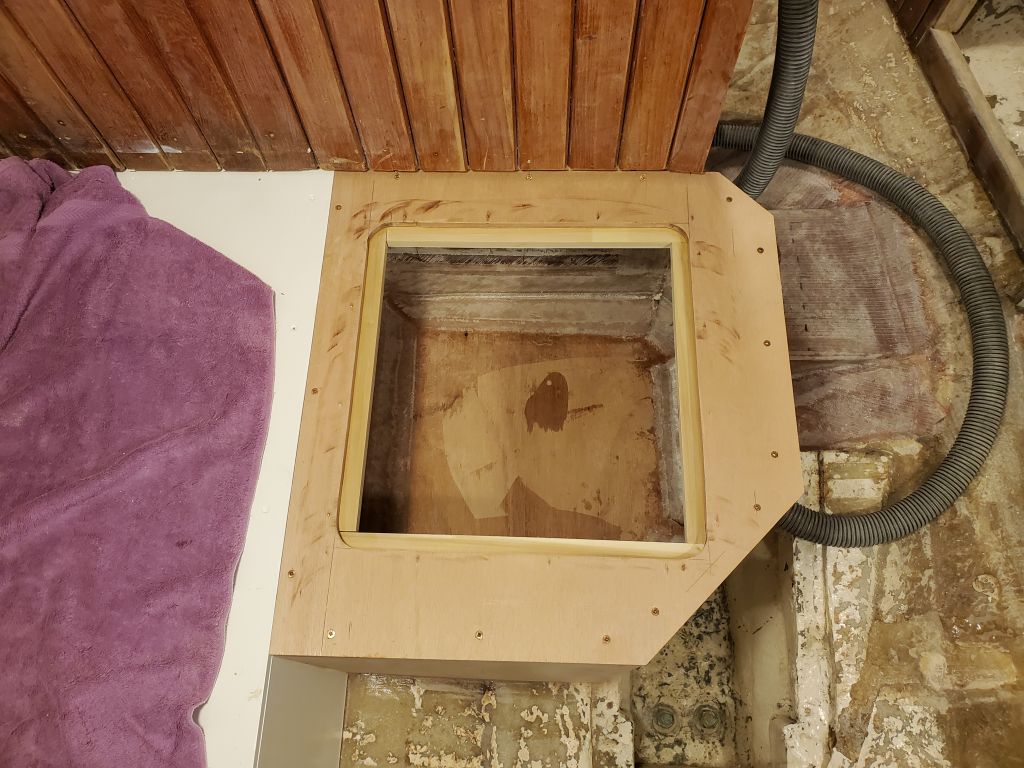
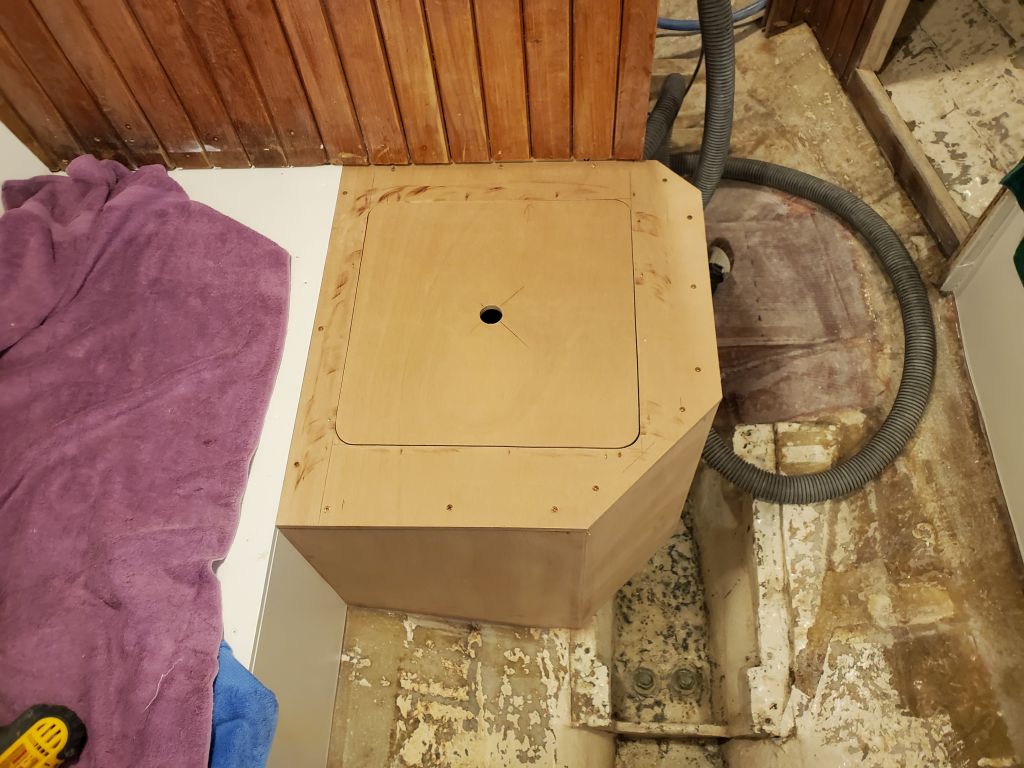
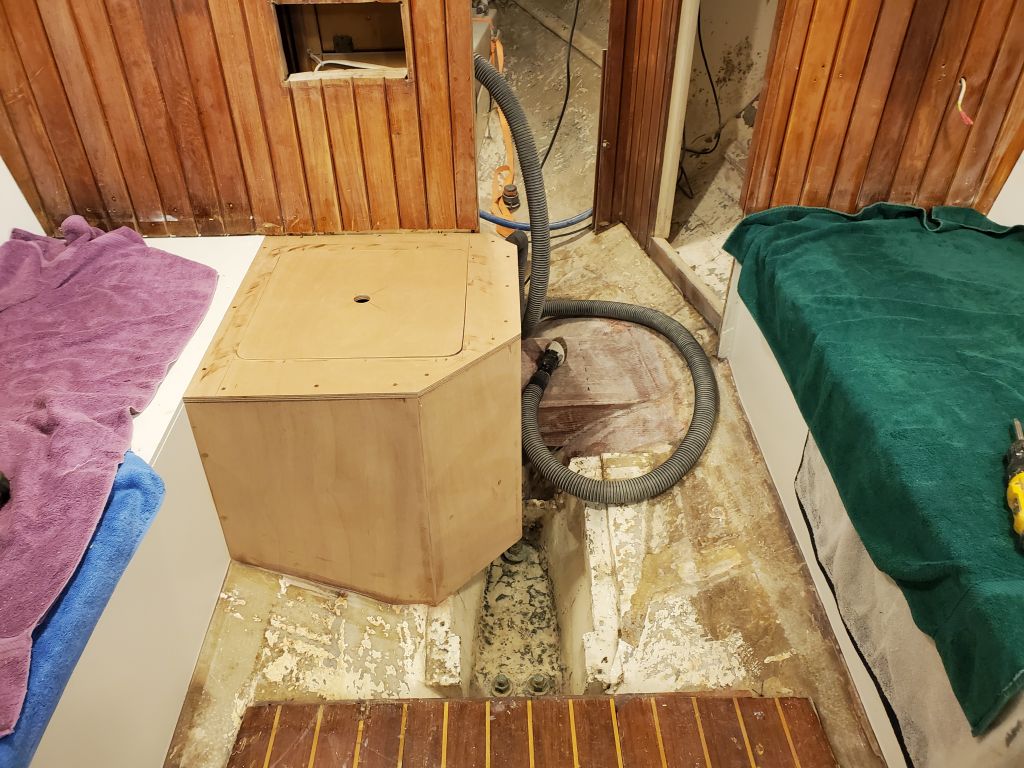
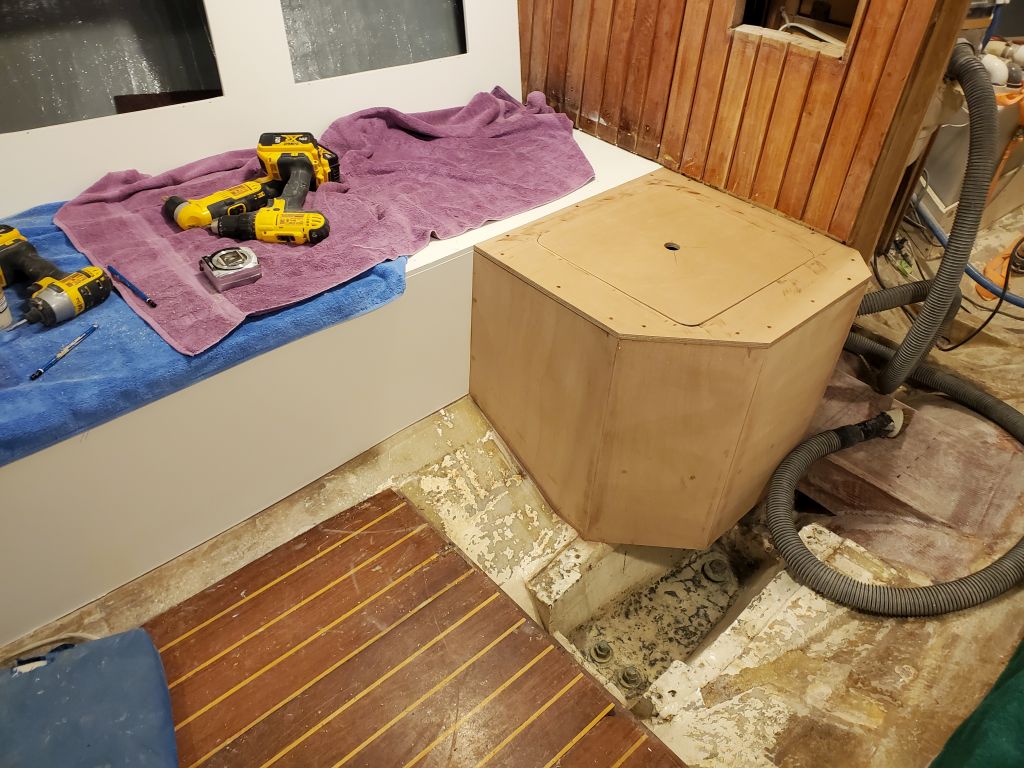
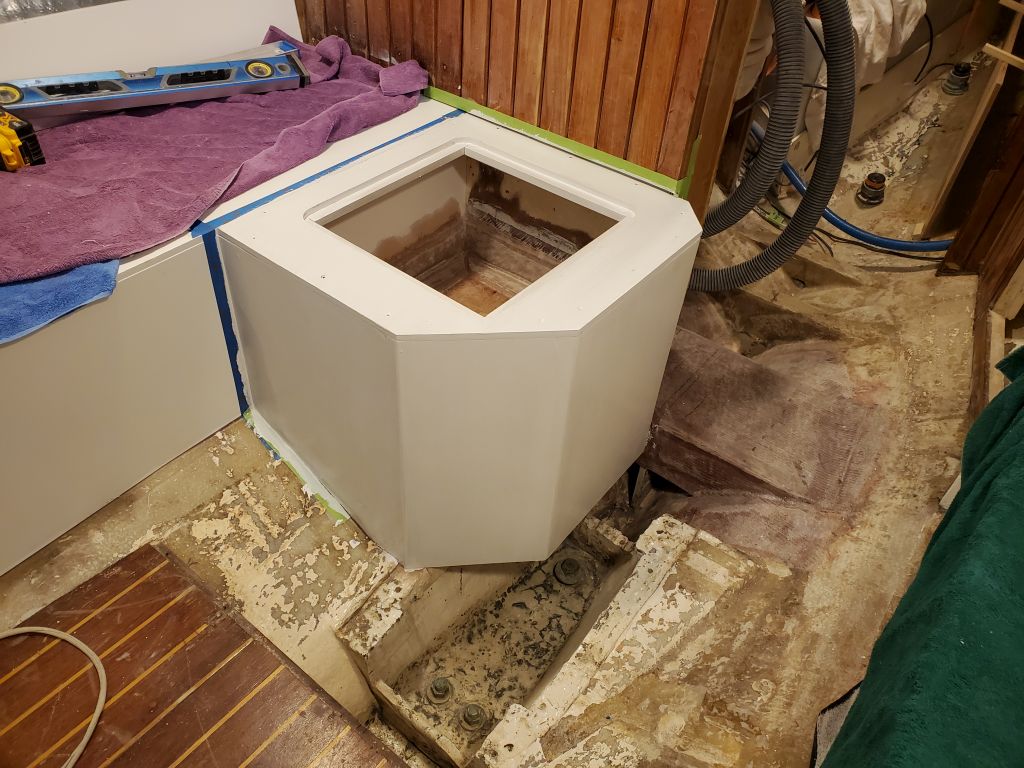
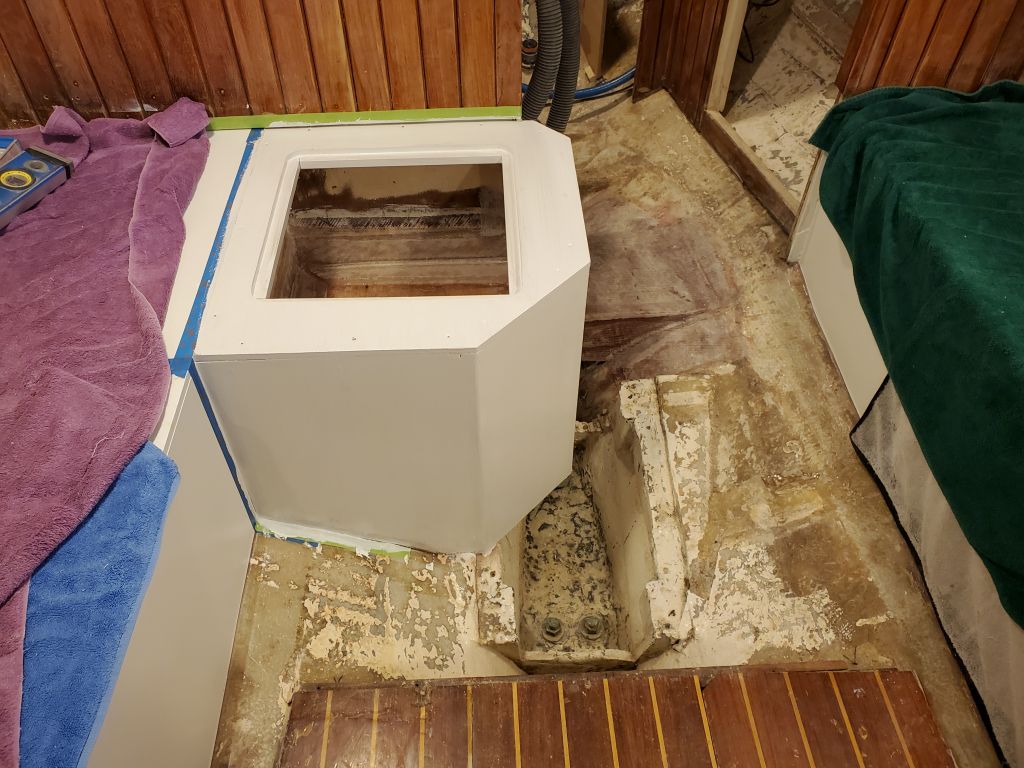
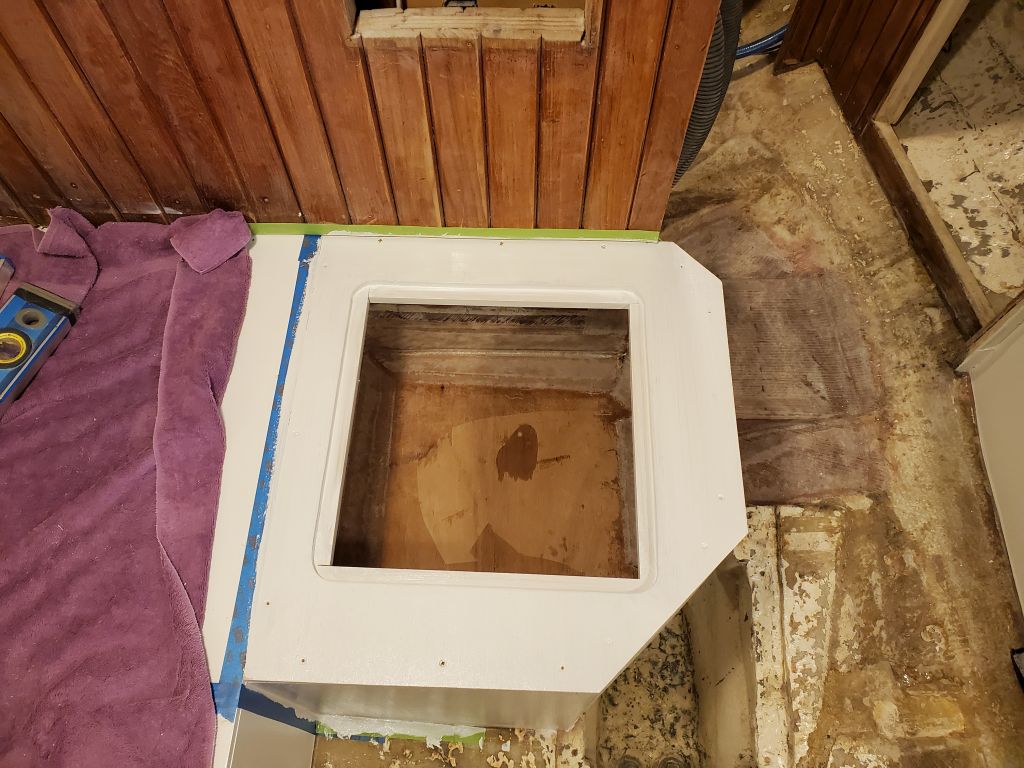
I finished up the hatch support cleats on the top of the battery box, then installed it permanently with glue and screws. Before installing the top, I cut an oval opening in the bulkhead leading to the port settee, which would give the battery wiring passage through. I sized the hatch as large as I practically could in the space, leaving an opening large enough for two batteries to pass through simultaneously–not that that would ever happen, but it allowed plenty of maneuvering room.
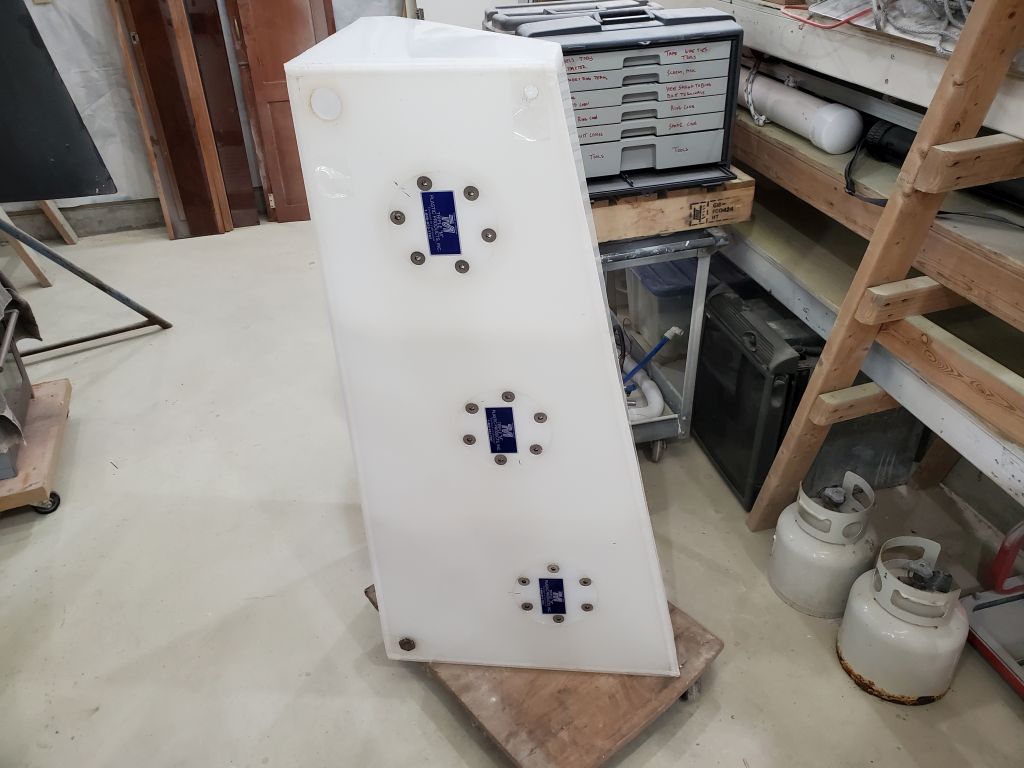
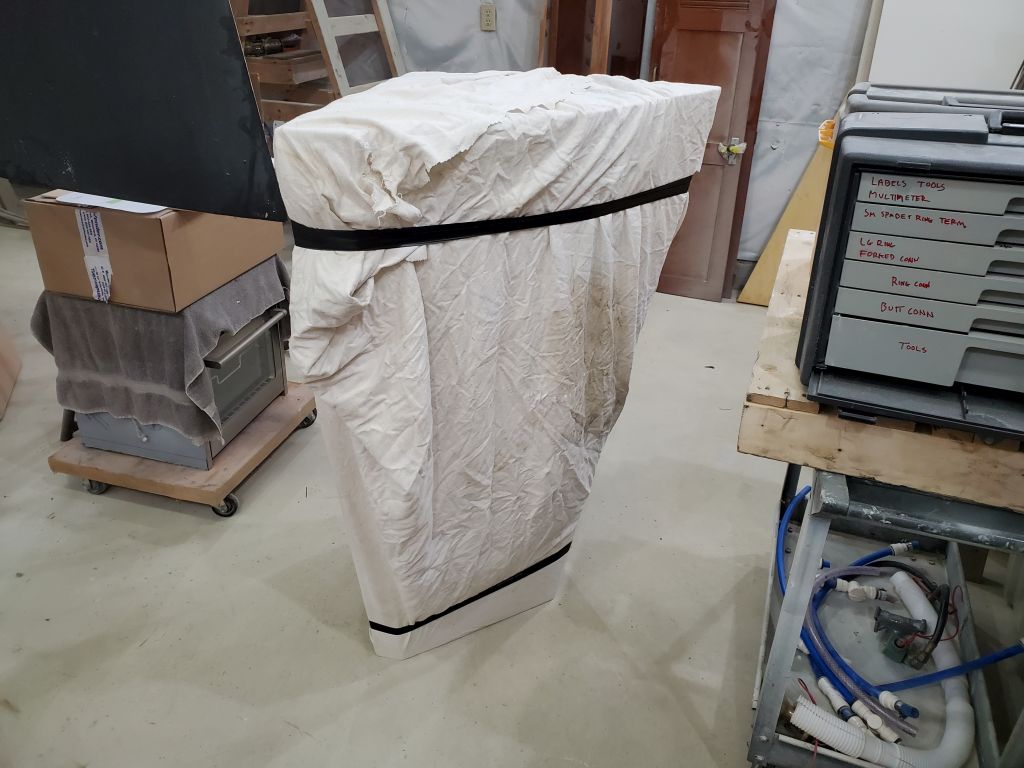
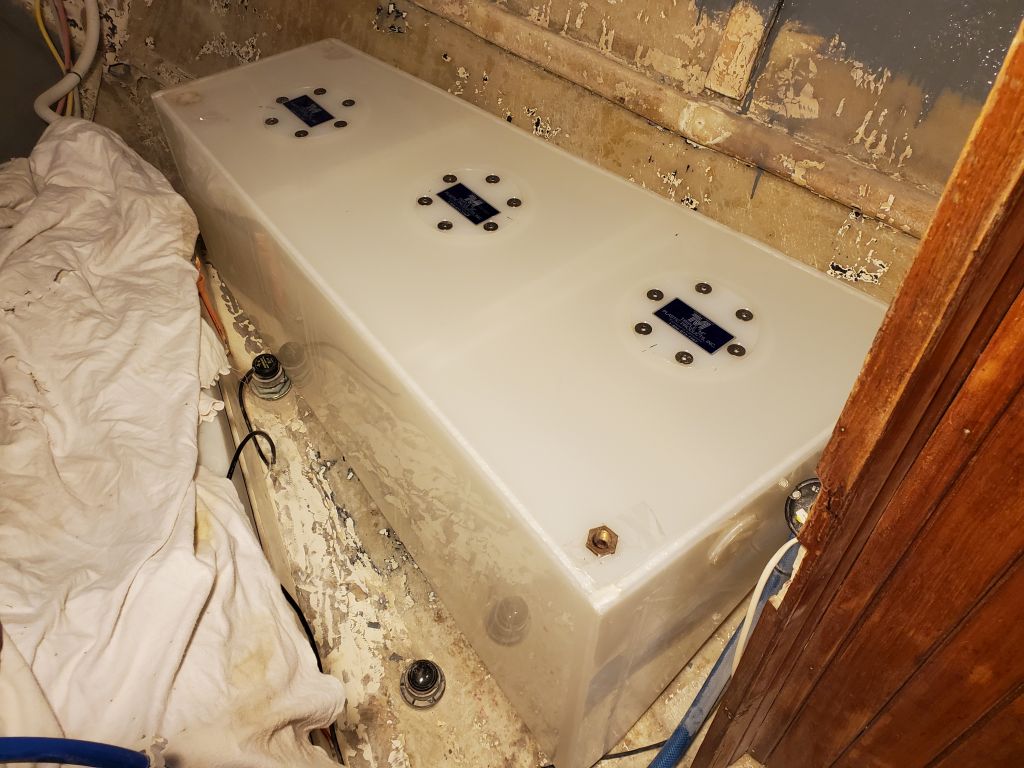
With that done, I turned my focus to the water tank. I’d been anticipating the tank’s arrival for a long time and couldn’t wait to have it installed and off my mind. The first order of business was to somehow get the tank up into the boat. My magic spell repertoire failed me, and I had to come up with a way to do it myself after all. The tank was heavy, but worse than that it was awkward. The large end was too far around to fully grasp, and the weight distribution was too unbalanced to carry it in any sort of logical way up a ladder and 10′ above the shop floor. I had no mechanical means at my easy disposal and in any event figured by the time I’d worked something out, I could otherwise have the tank up there some other way. I wrapped the tank in an old blanket to protect the boat (and, less importantly, the tank) and to give me some purchase on the slippery plastic surface. I attempted to install ratchet straps or a line to give me a sort of bridle, but the angled shape of the tank just caused these to slip free.
Eventually, I set up a section of staging next to the boat, and lifted the tank up onto the platform. From there, not without difficulty, I got the tank up over the cockpit coaming and into the cockpit to the point that I could manipulate it from above. Then, it took a bit to get it down the companionway. The plywood mockup had fit–just–so I knew the tank itself ought to fit, but for a few minutes it had me doubting. Eventually, I removed the companionway hatch slide, which gave me just a bit of extra room that allowed the tank into the boat easily.
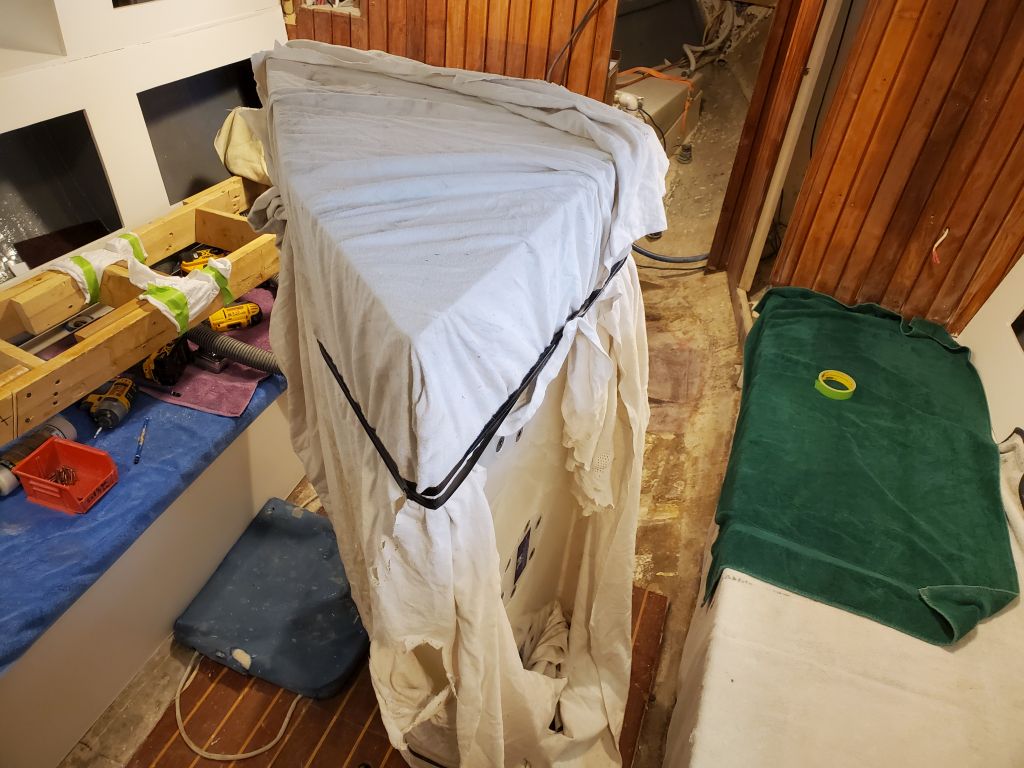
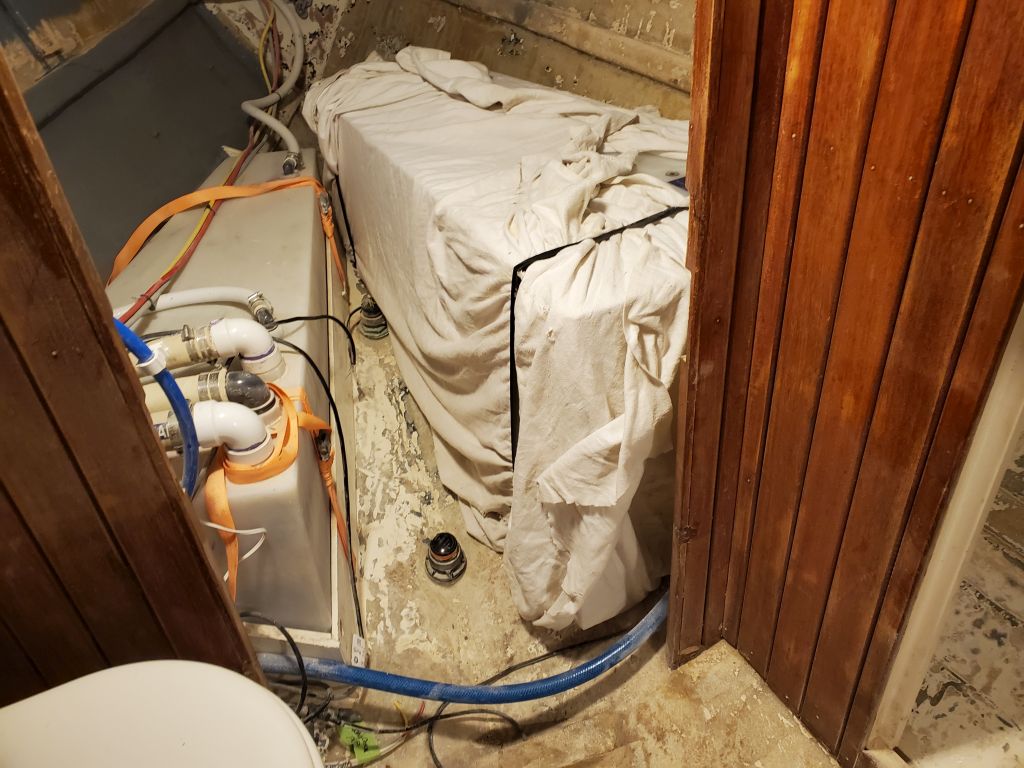
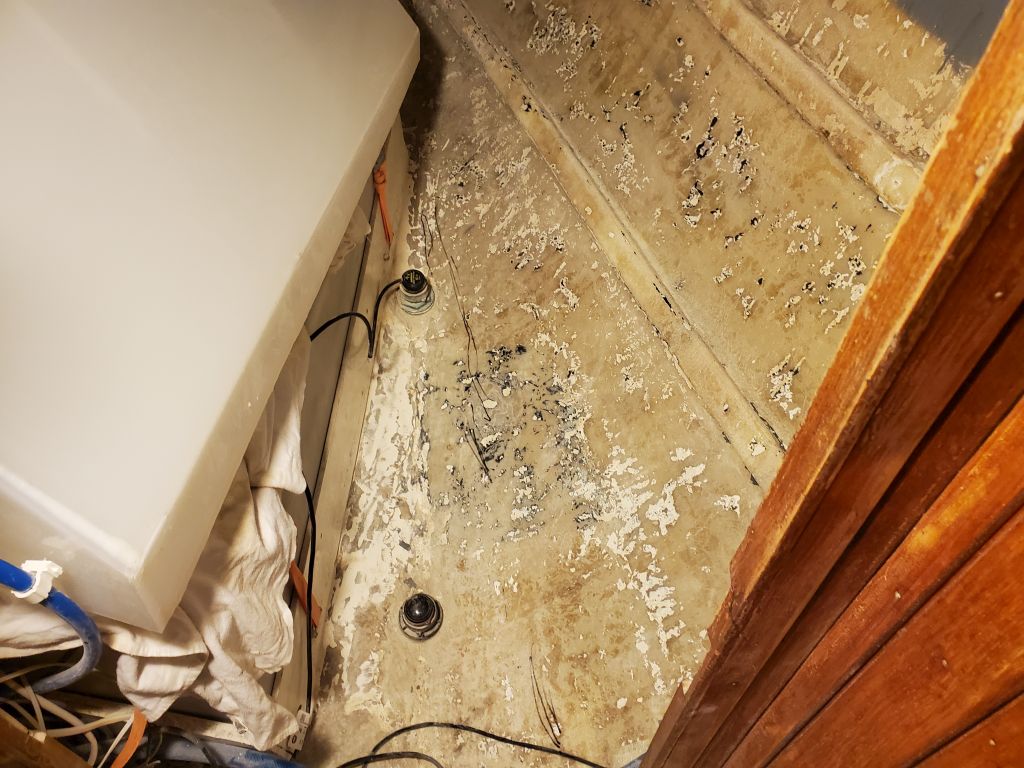
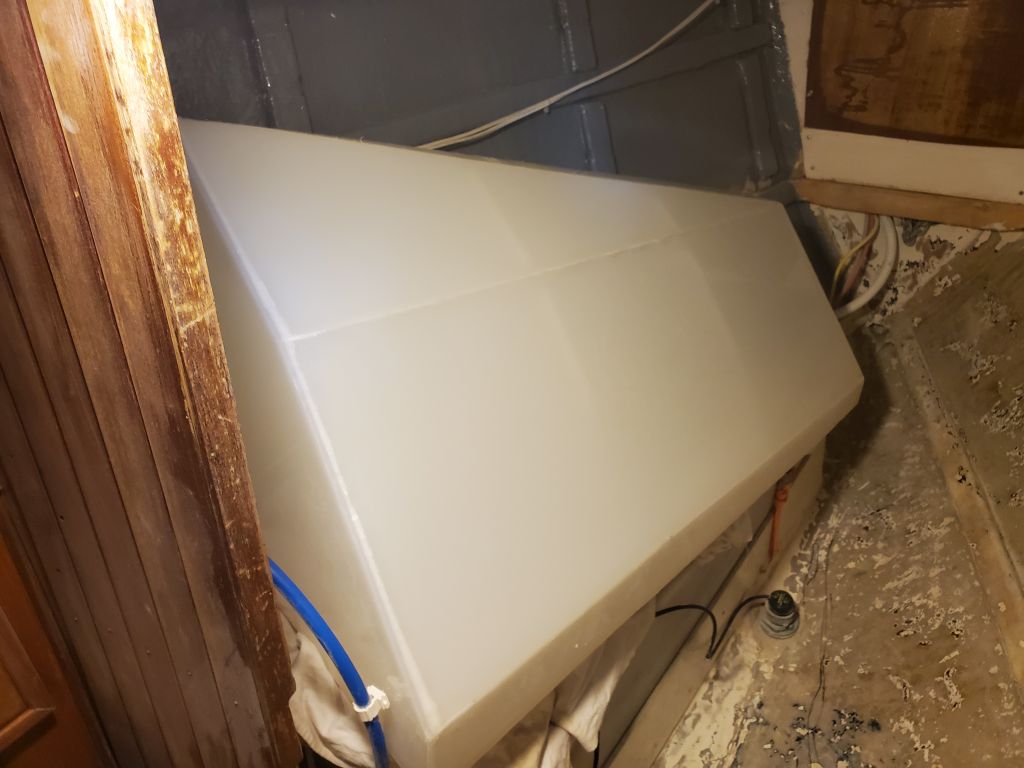
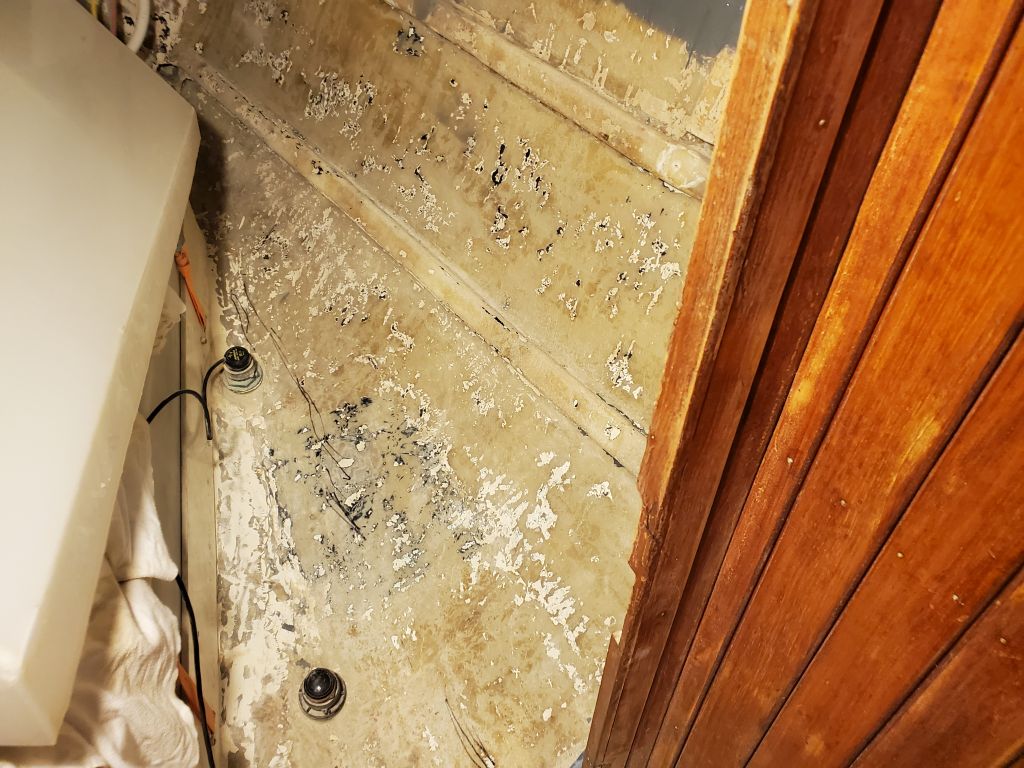
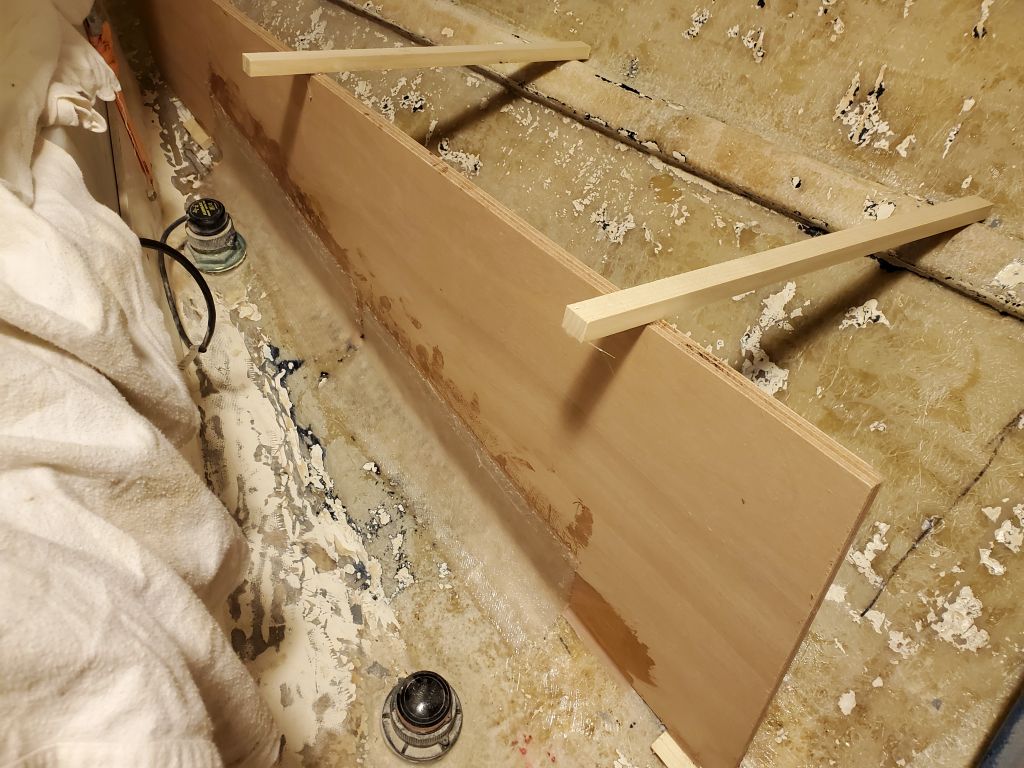
I wrestled the tank into the v-berth where it belonged, and, holding it generally in place by hand and after removing the temporary blanket, made some rough reference marks on the hull at the inboard edge to mark where I needed to build the first support bulkhead. Then I rolled and tipped the tank across and on top of the holding tank to port to keep it out of the way.
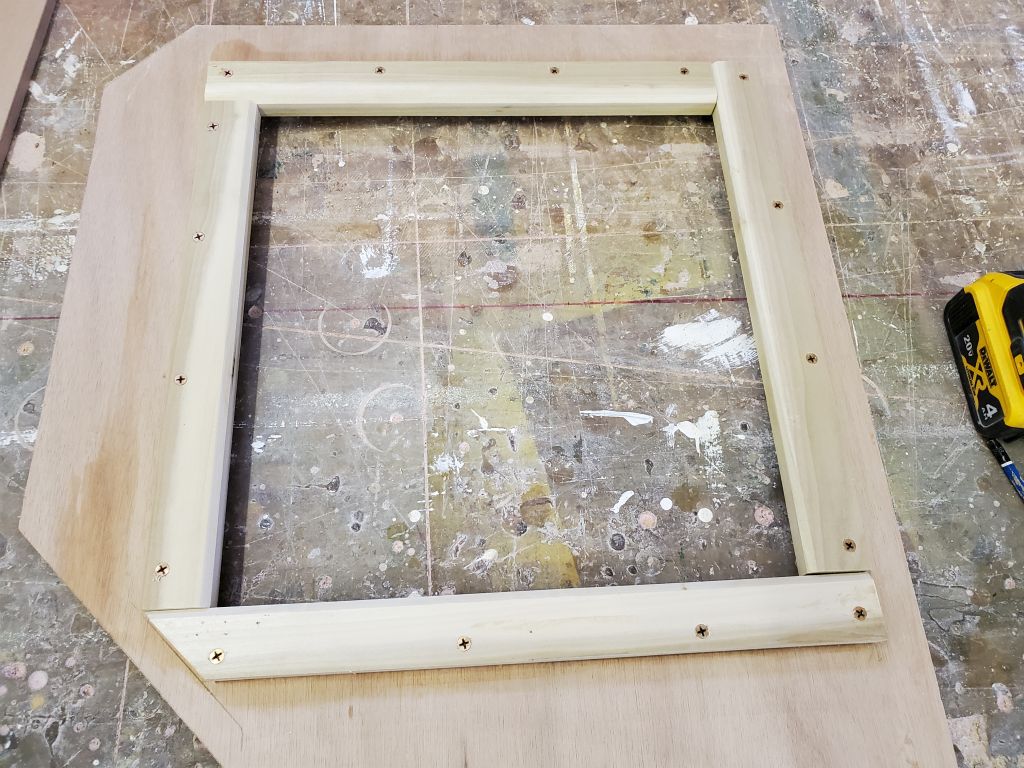
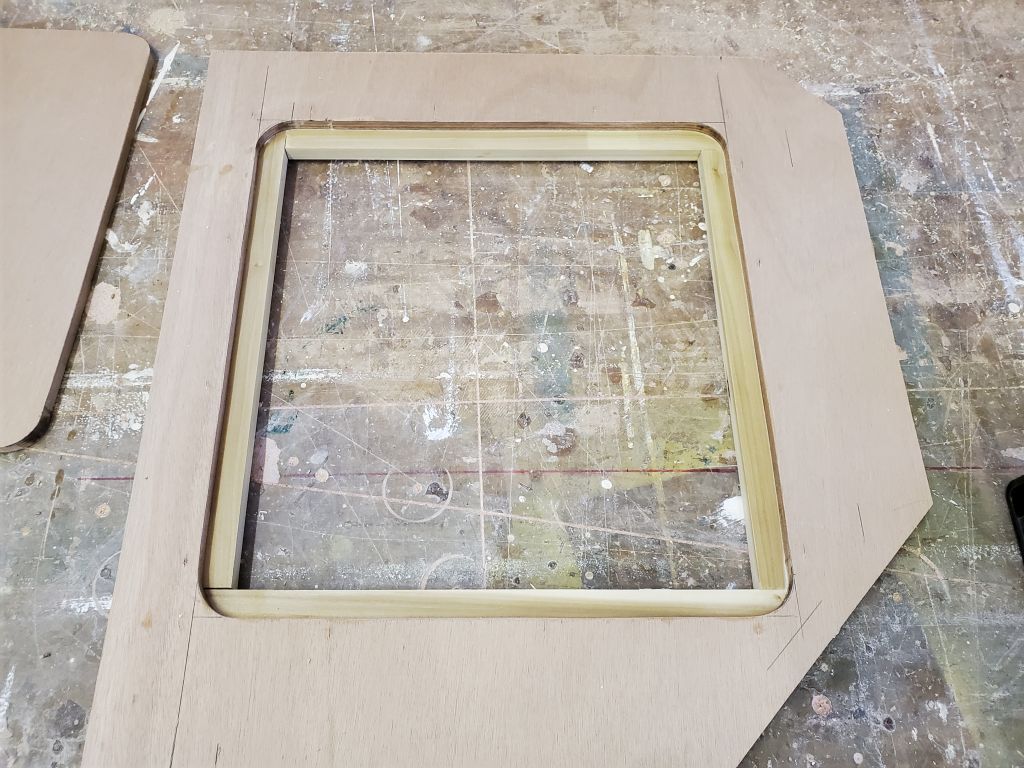
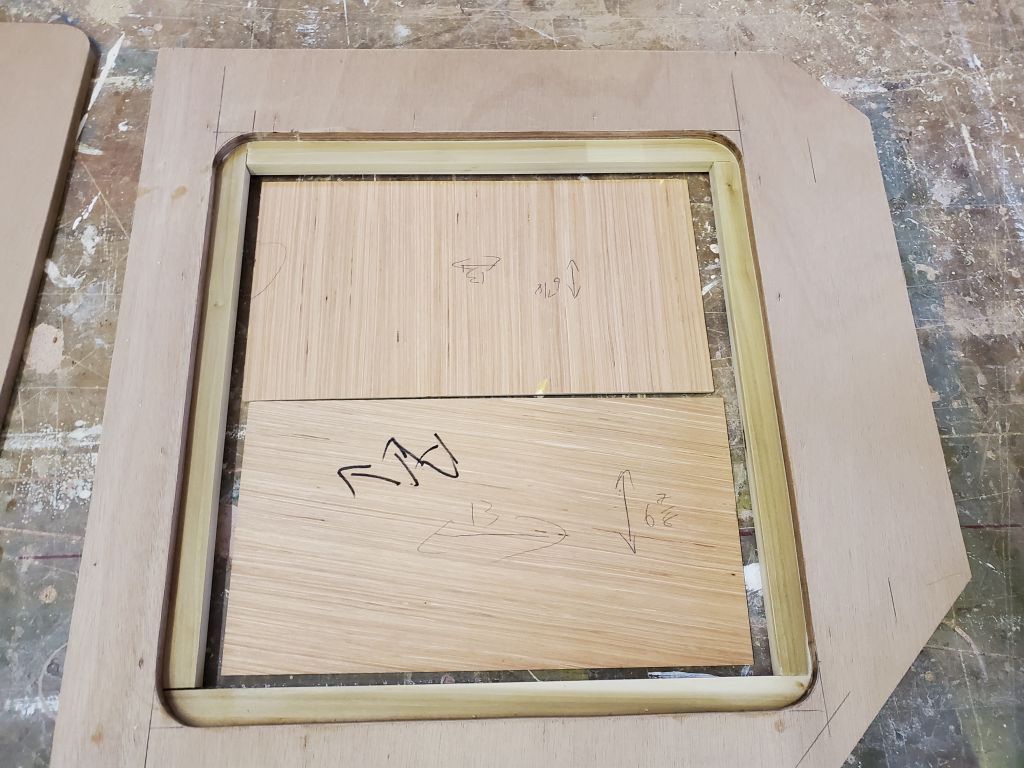
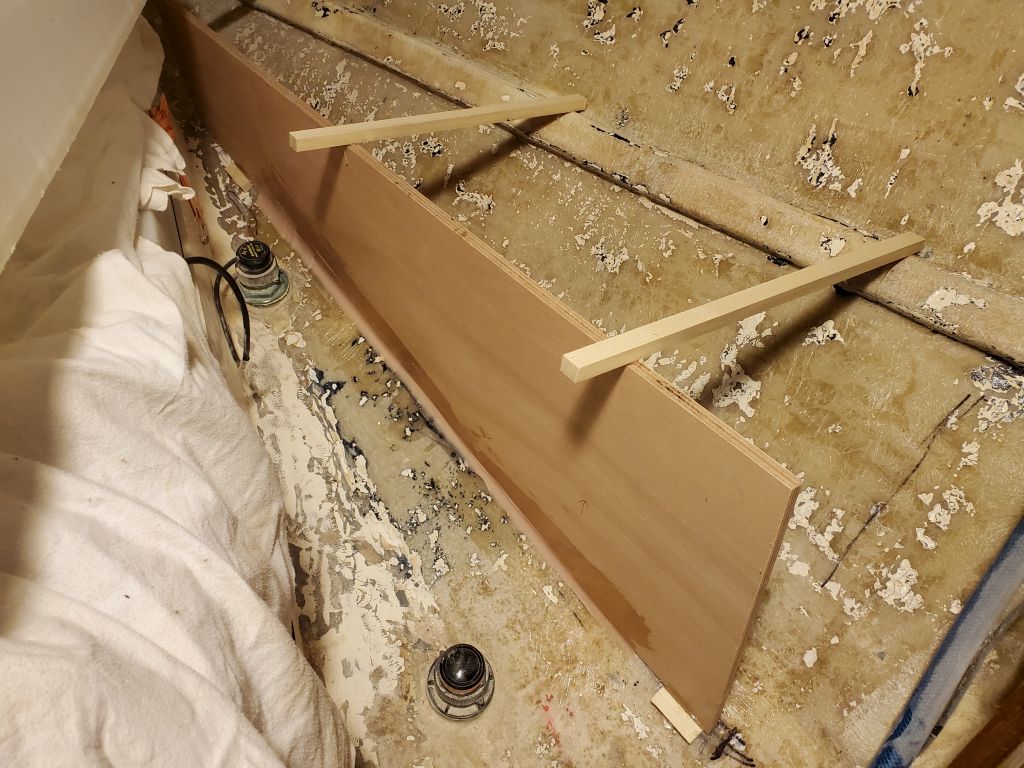
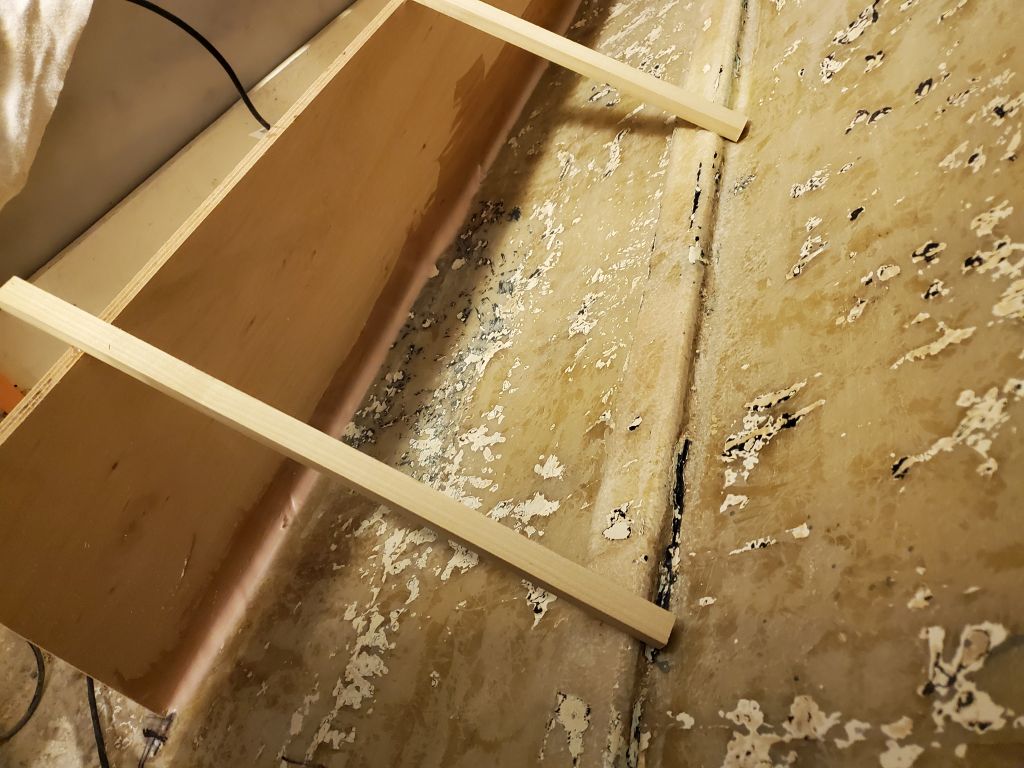
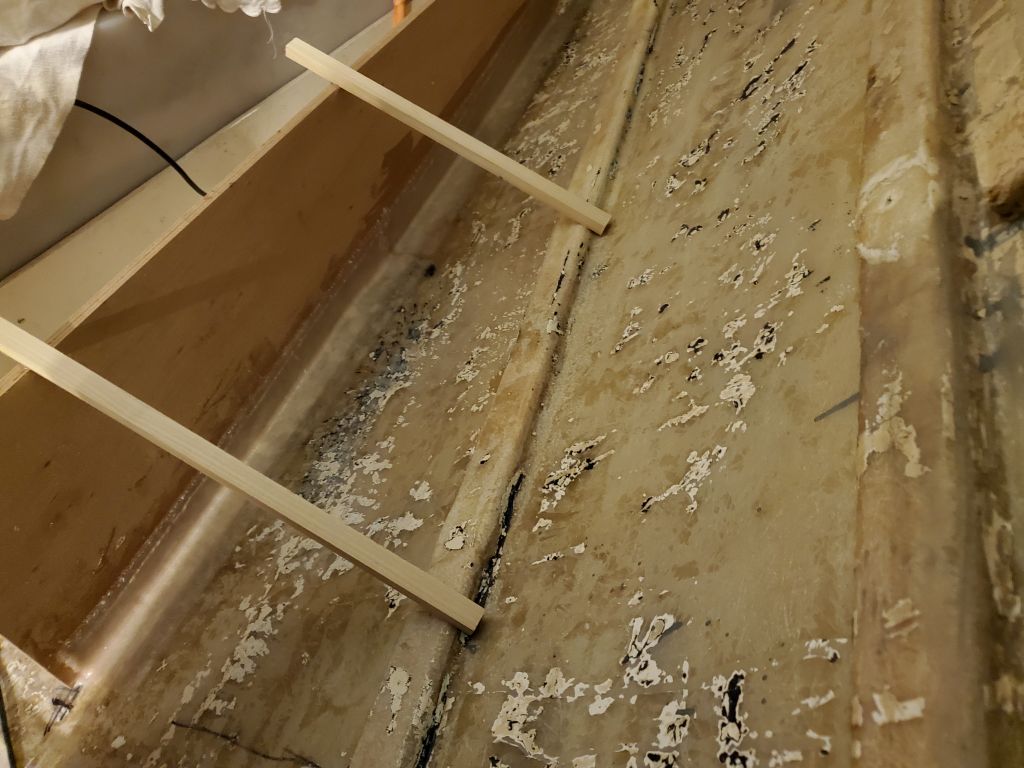
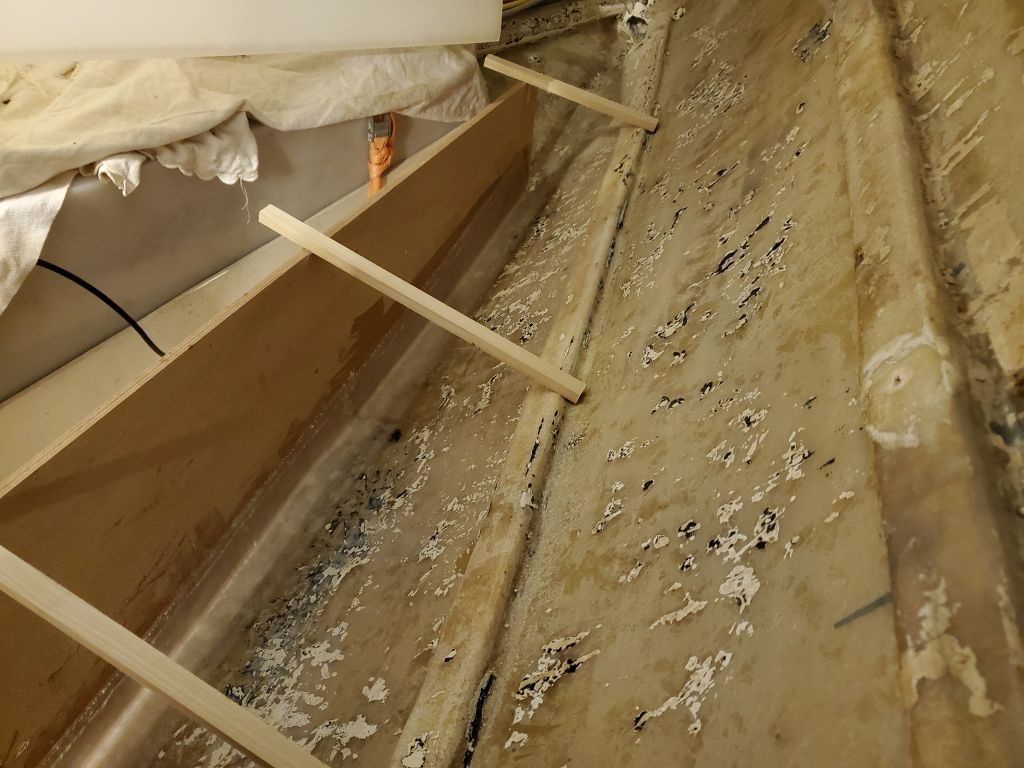
Starting with a cheap plywood template, I went through the usual steps to mock up, scribe and cut, and eventually transfer to real plywood the shape of the hull, and cut so the ends were plumb and the top level. I secured the bulkhead with hot glue blocks and braces along the top to hold it steady.
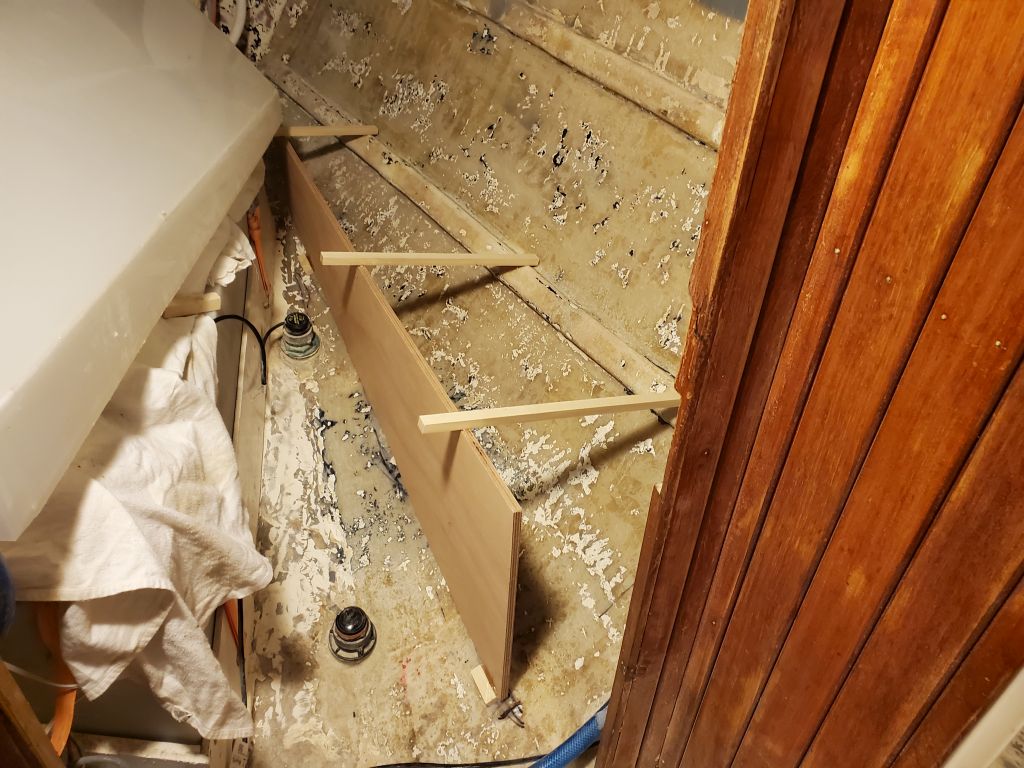
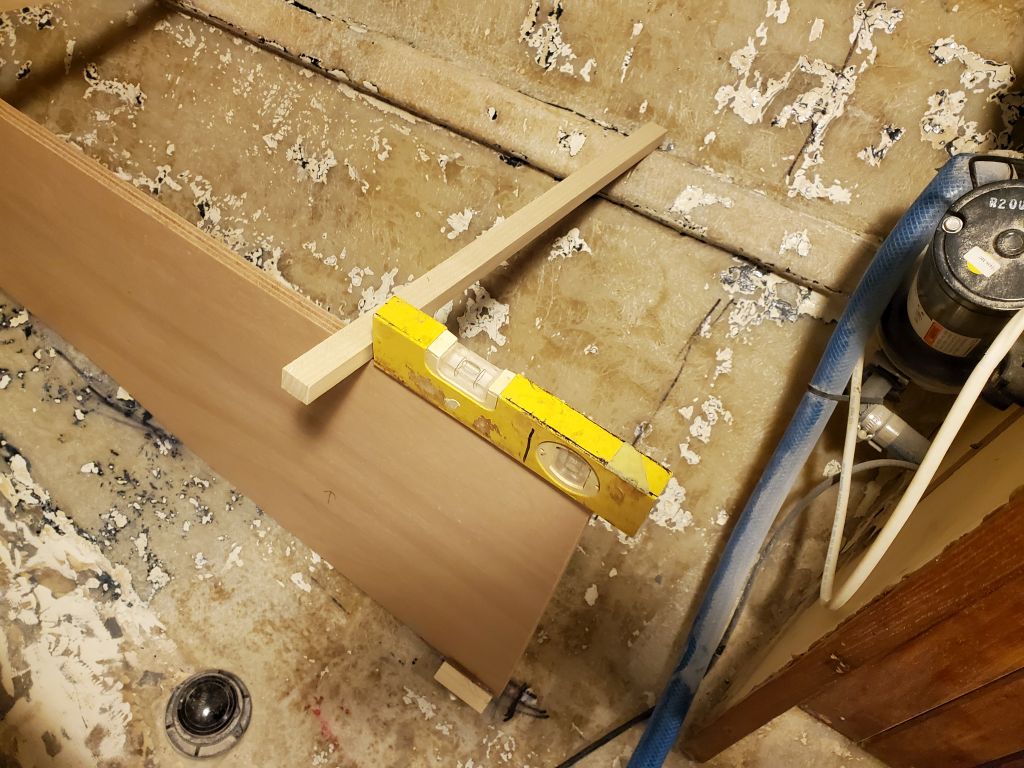

I installed epoxy fillets along both edges of the bulkhead (the outboard, or righthand in these photos, side was unencumbered, while the inboard side had a couple glue blocks near the end that had me stopping the fillets a foot or so short of each end for now), and, while I let the fillets set up a bit, I prepared two layers of heavy tabbing for each side of the bulkhead and then wet out and installed them. I left this arrangement to cure overnight, and for the moment that was all I could do for the water tank.

After final preparations and masking, I applied a coat of primer to the new battery box exterior, looking to catch its construction up with the adjacent areas.
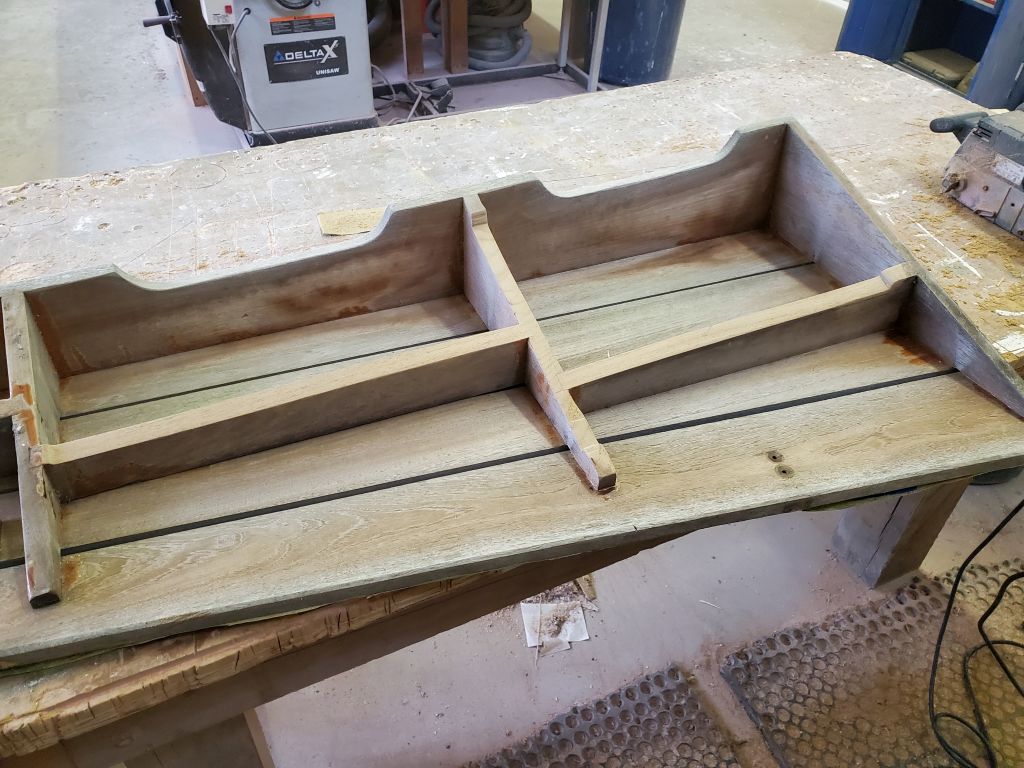
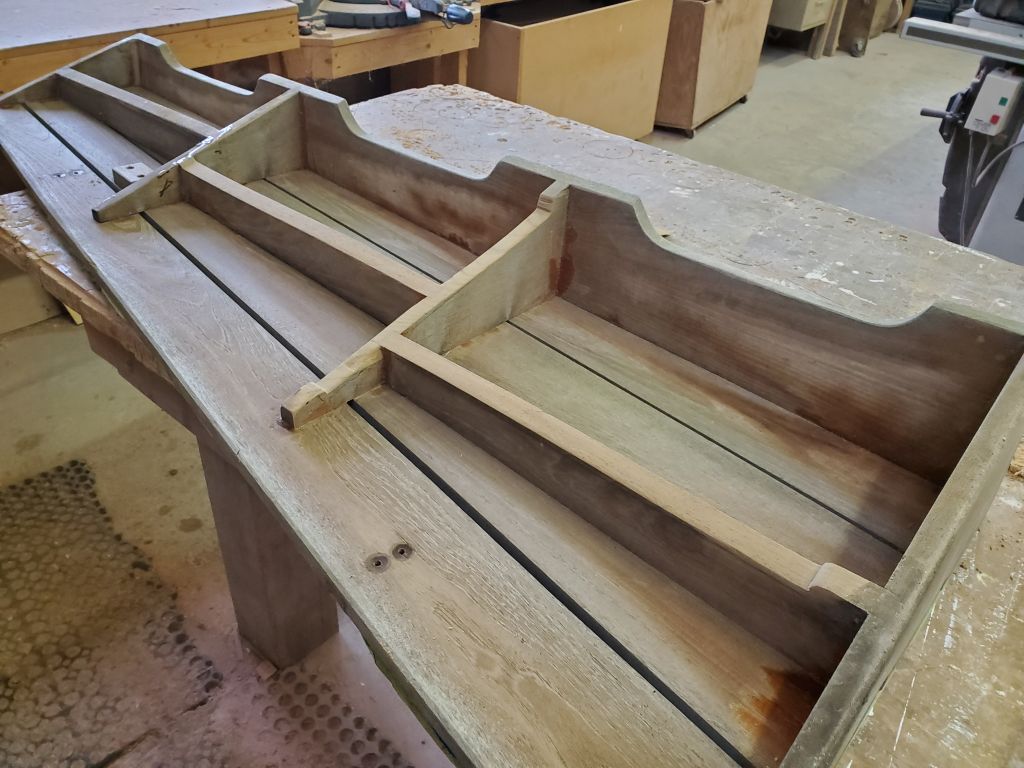
Finally, with the time remaining in the day I worked on modifying the teak cockpit locker seat/lid so it would close properly over the new locker and propane hatches. For this, I removed the hatch from its hinges and brought it to the bench for easier working, eventually using a planer and sander to modify the underside cleats to fit. Not wanting to take too much, I kept the changes conservative, checking the fit in plate a couple different times, and by the end of the day I was close, but there was still a bit more material to remove, as the lid was still hitting the plastic access hatch before closing all the way. I left the final modifications for next time.
Total time billed on this job today: 9 hours
0600 Weather Observation: 42°, rain. Forecast for the day: Rain, 41°