


February 5, 2024
Calliope Girl 58
Monday
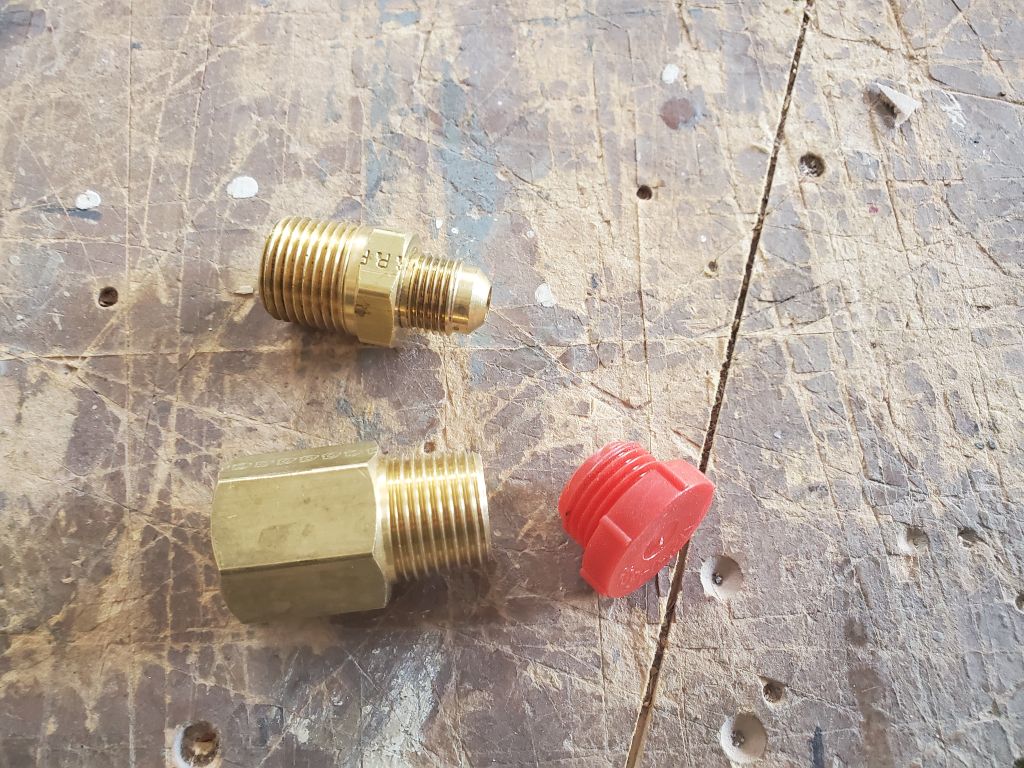
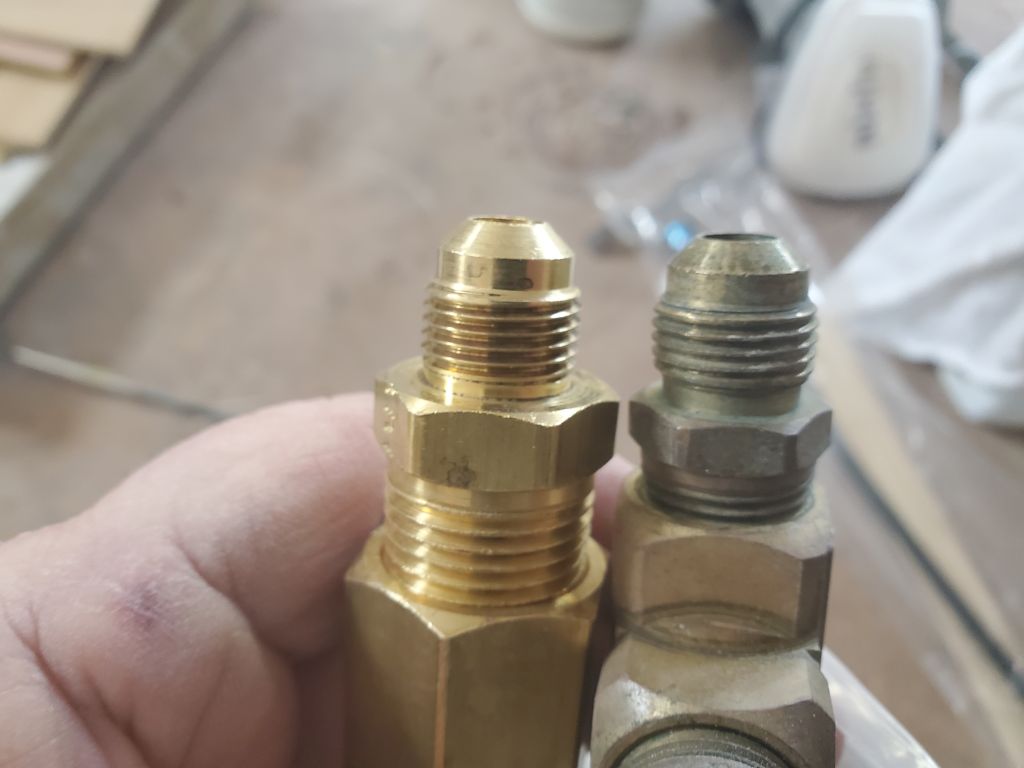
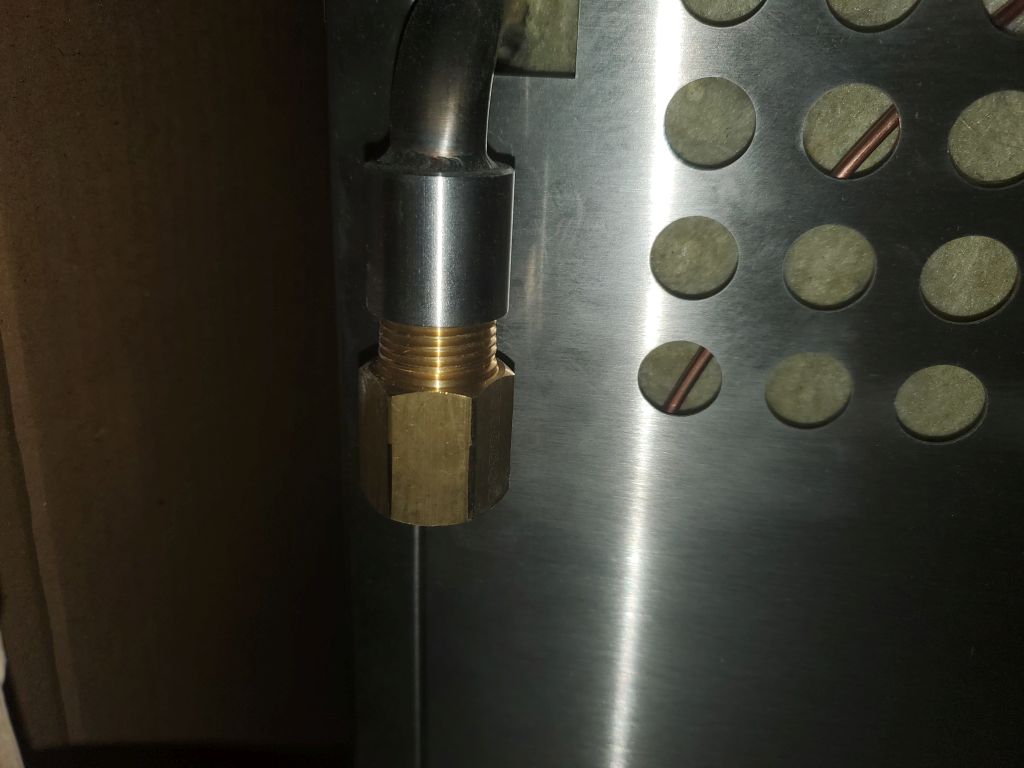
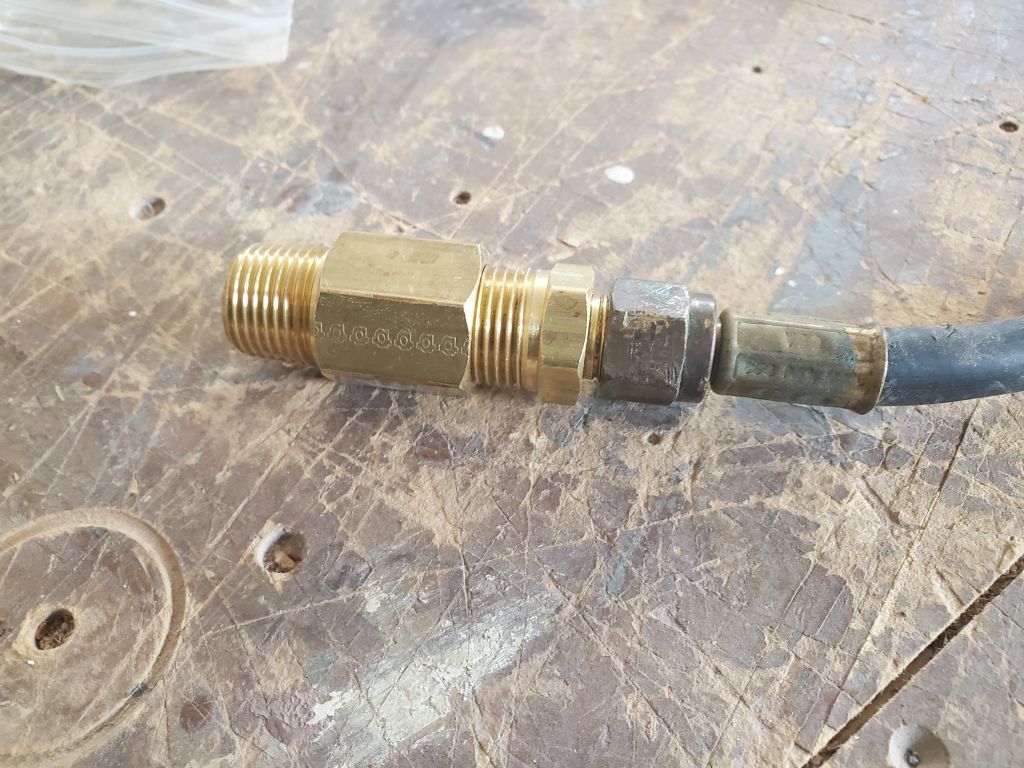
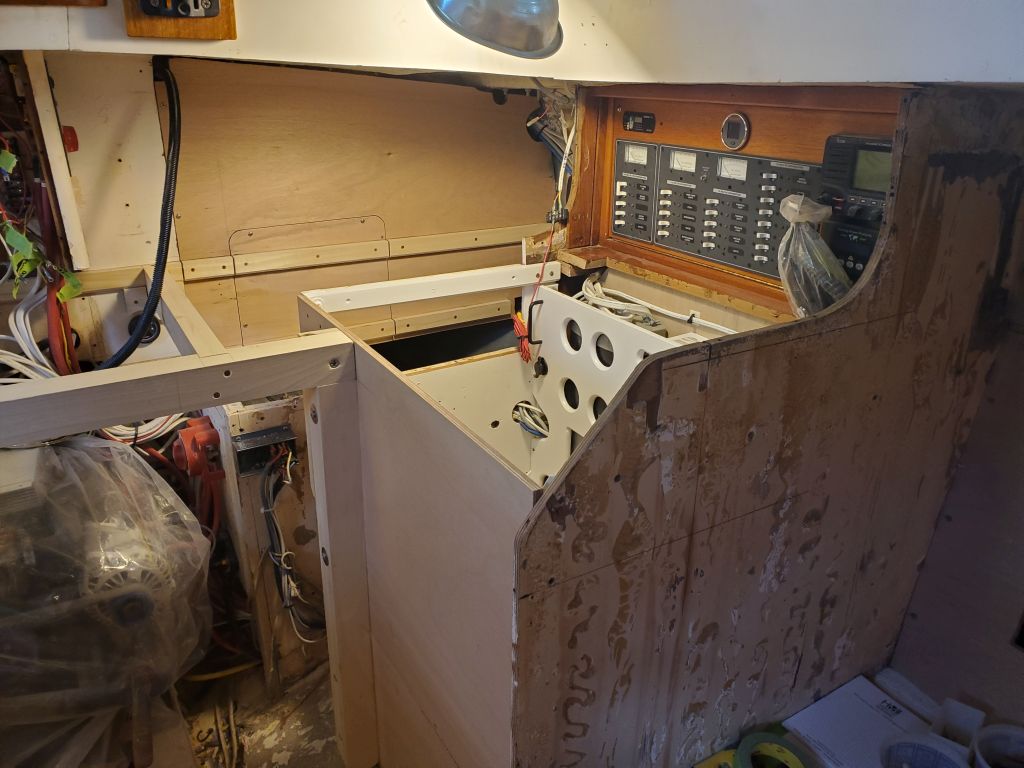
The brass adapter fittings I’d ordered for the stove connection had arrived, and I checked them to ensure they would do what I needed. There was one threaded adapter to convert the female 1/2-14 BSP threads on the stove fitting to 1/2 NPT female, then a second fitting adapting between the NPT threads and the gas flare fitting required to mate with the hose. After I’d ordered these last week, I also heard back from the stove manufacturer, who also suggested that the only way to adapt between the stove and the US hose ends was with the very pieces I’d ordered, so this was good confirmation that this was the most efficient (and only) way to make this connection.
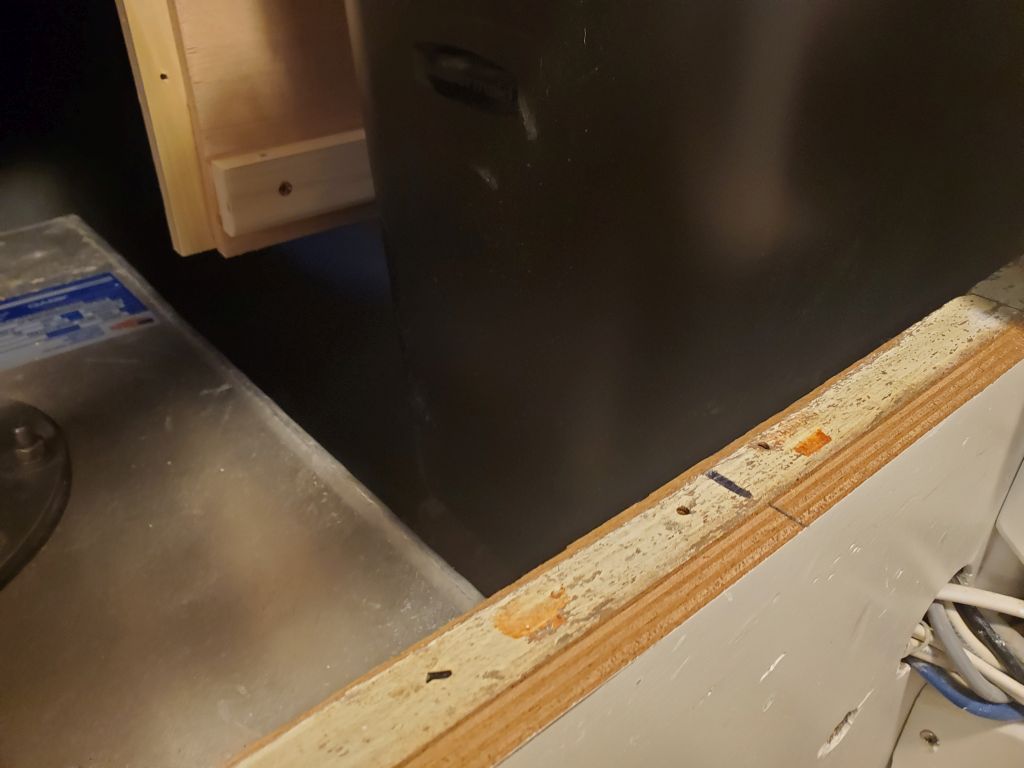
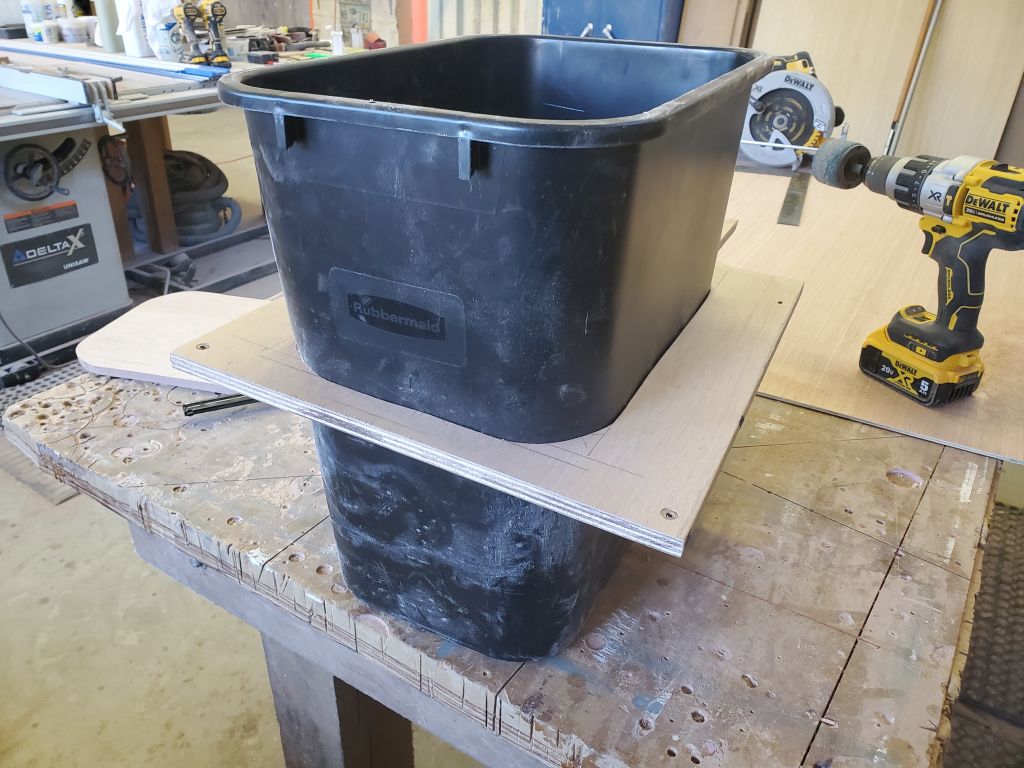
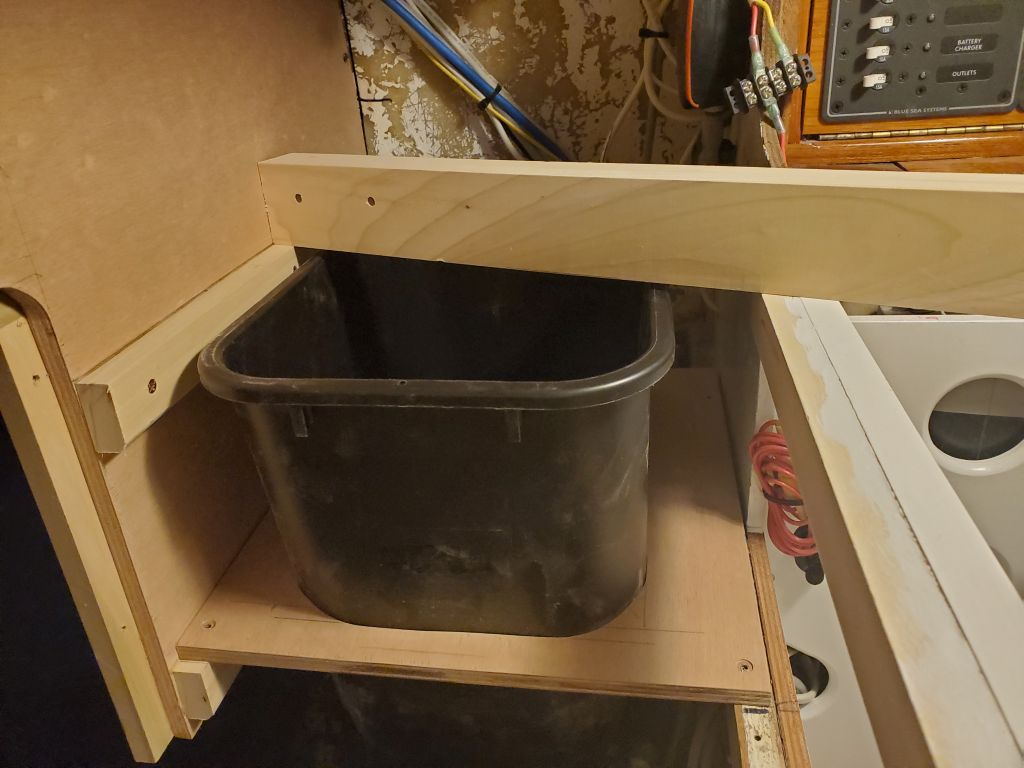
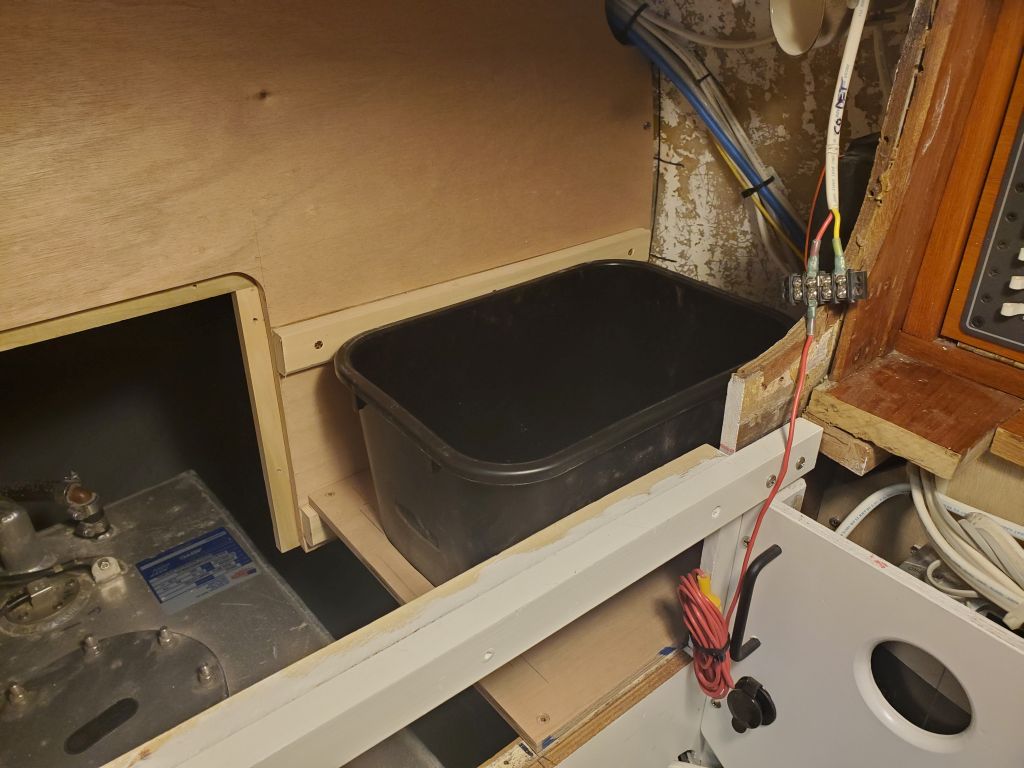
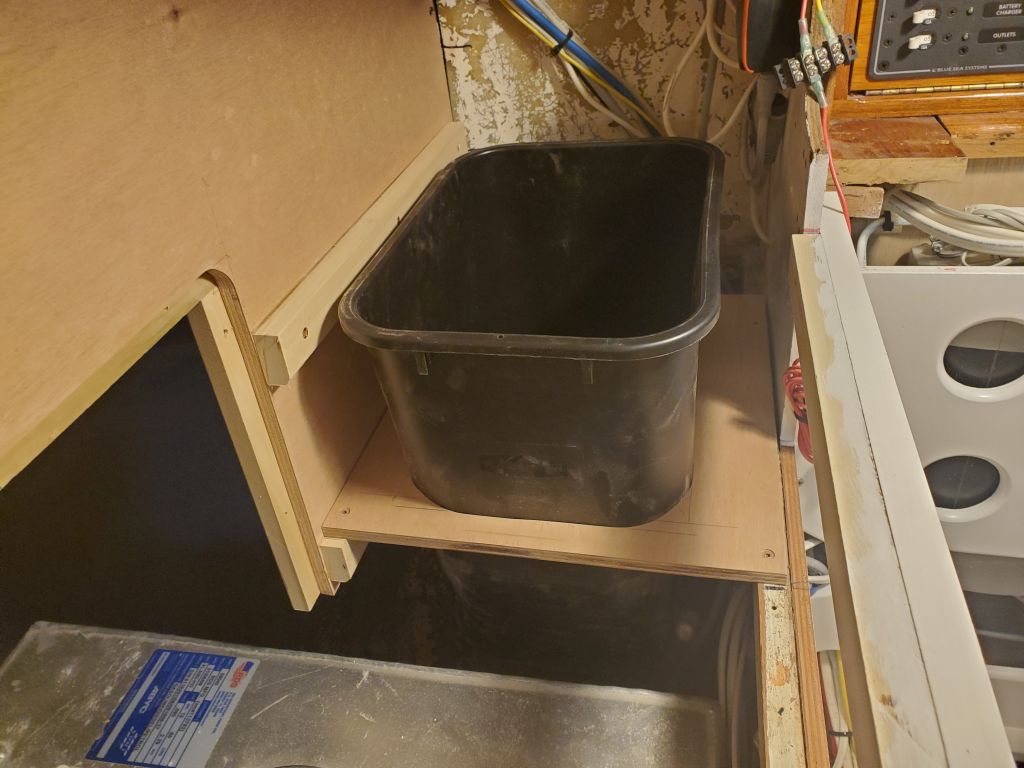
Over the weekend, I purchased a plastic trash can that I hoped would work in the port galley, and now I proceeded with some of the installation details. The can needed to pass through the lower shelf I’d built, and extend into the open space outboard of the fuel tank to the point that the top of the can would be below countertop level. After confirming that the can would indeed, fit, I began the day working on its installation details. I’d eventually configure the countertop to allow access from the top for normal disposal.

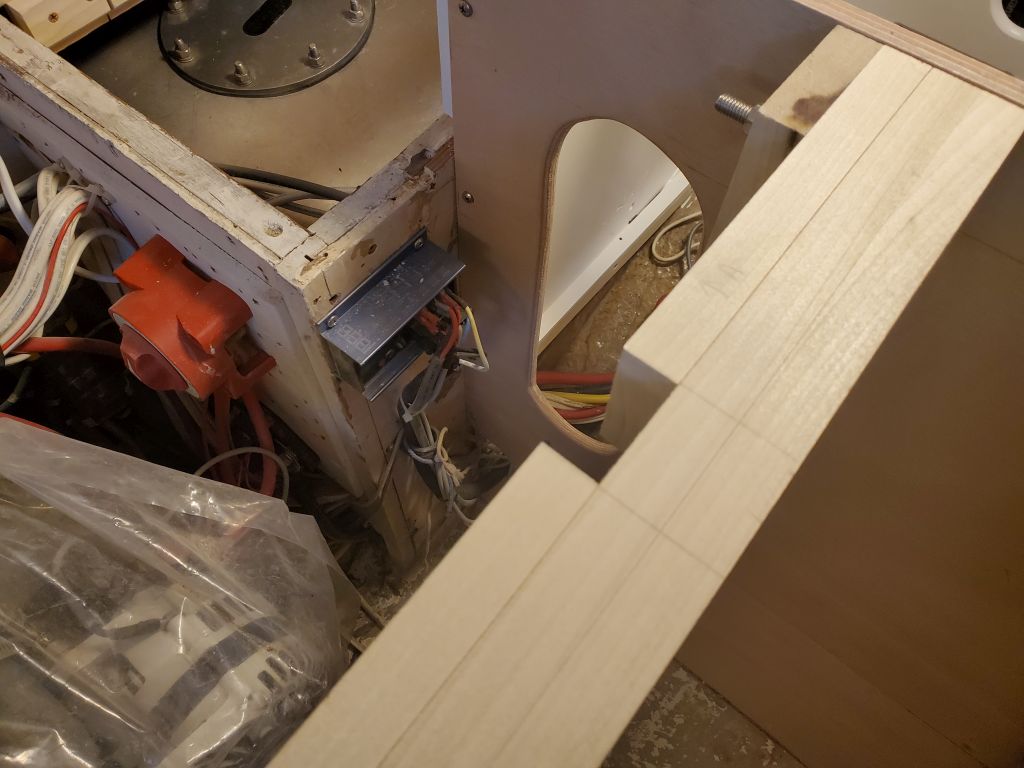
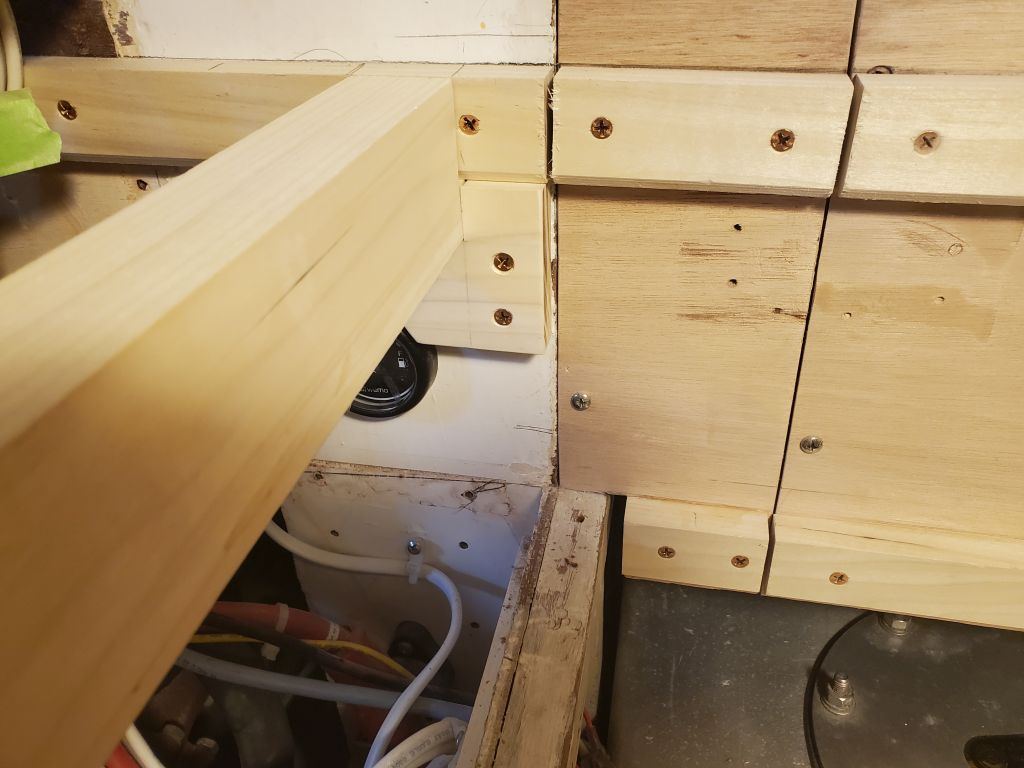
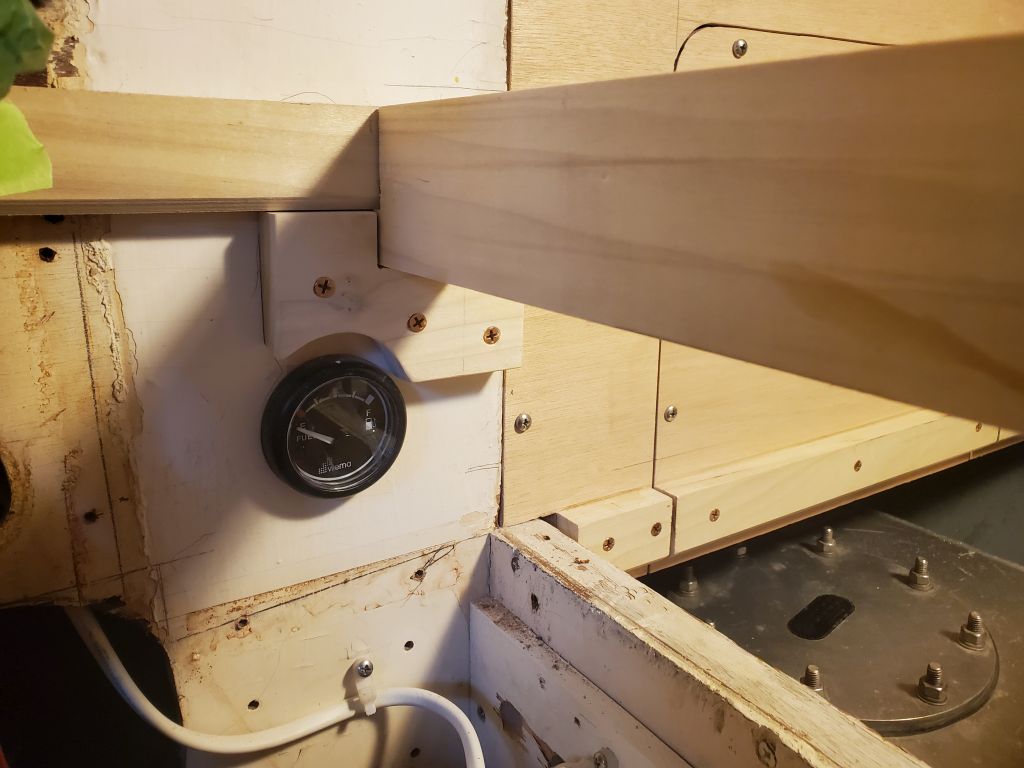
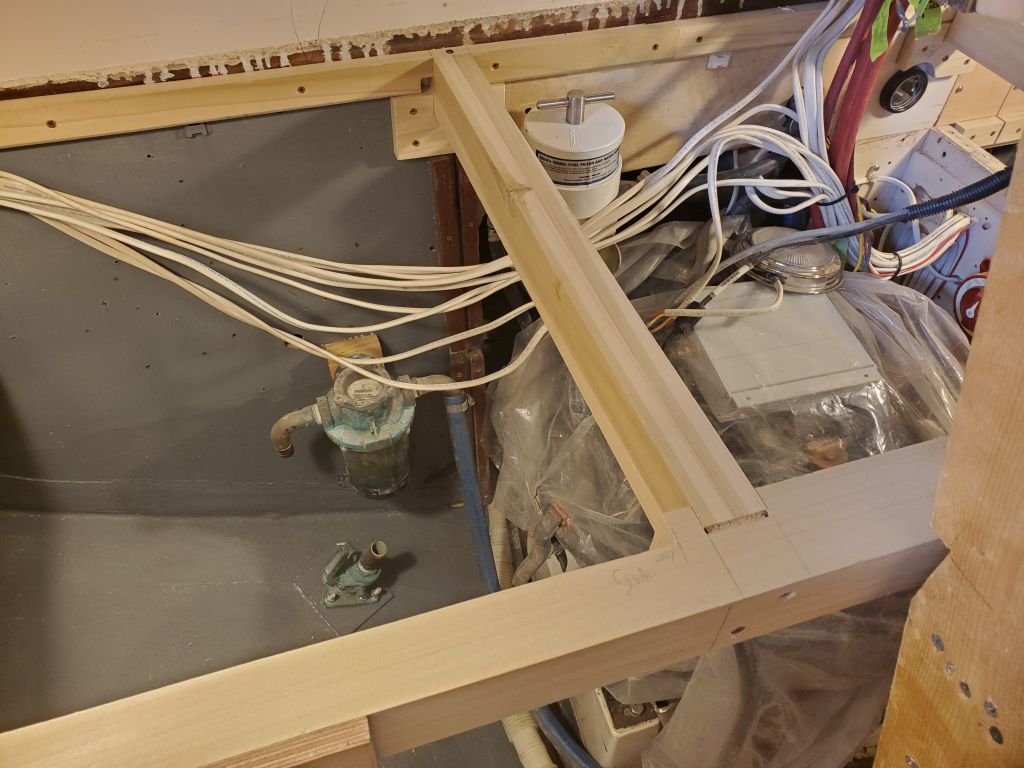
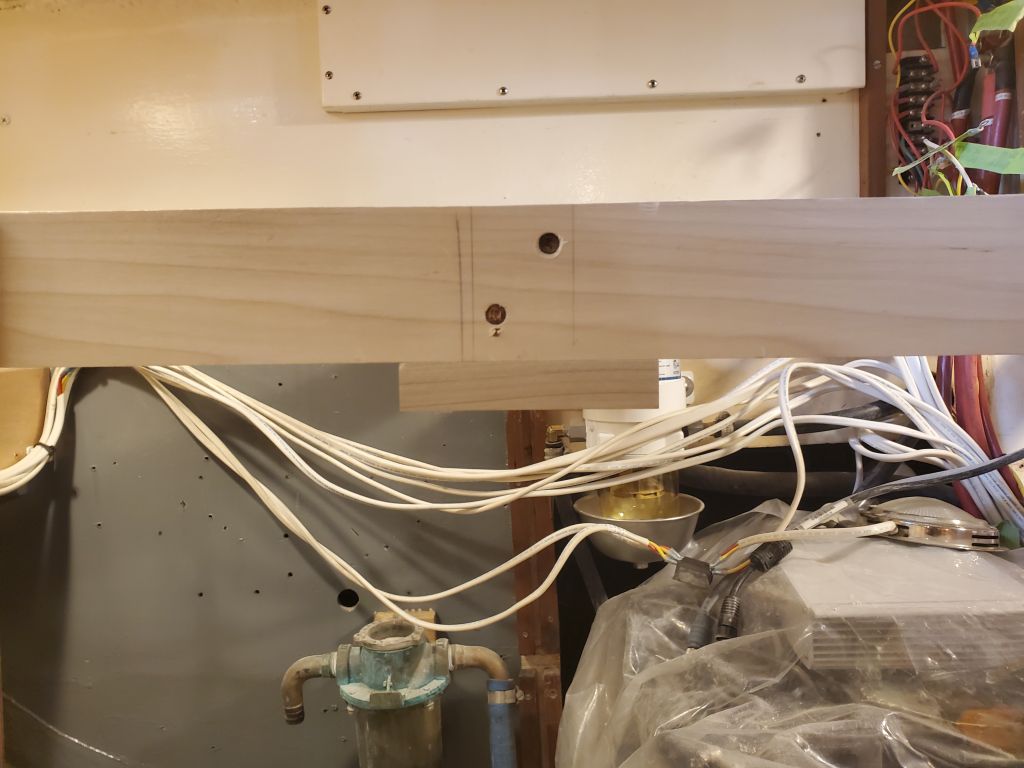
The initial cross-beam arrangement I’d worked out last time wouldn’t allow the port section of the galley to be as removable as I’d planned, so next I removed the cleat I’d installed to support the aft end of the beam and turned to the beam’s new location just inboard of the edge of the port aft galley bulkhead. I squared the beam to the transverse cross beam, and made layout marks at each end. I planned to support the beam with a cleat at the aft end, and inside a notch in the transverse beam at the forward end.
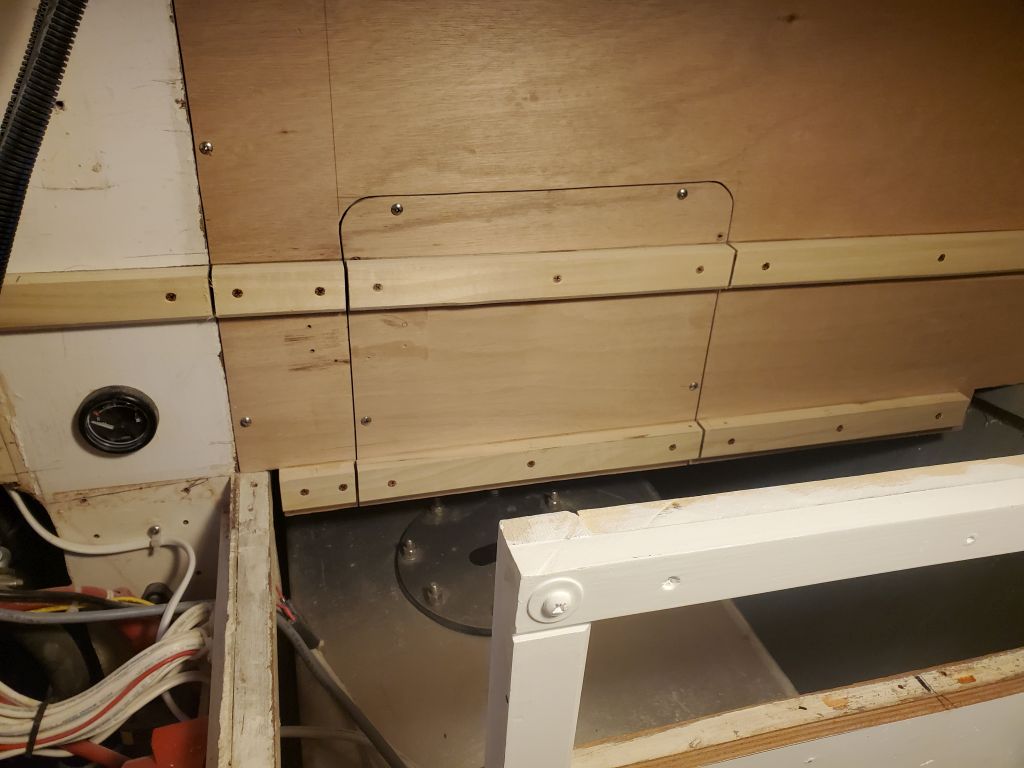
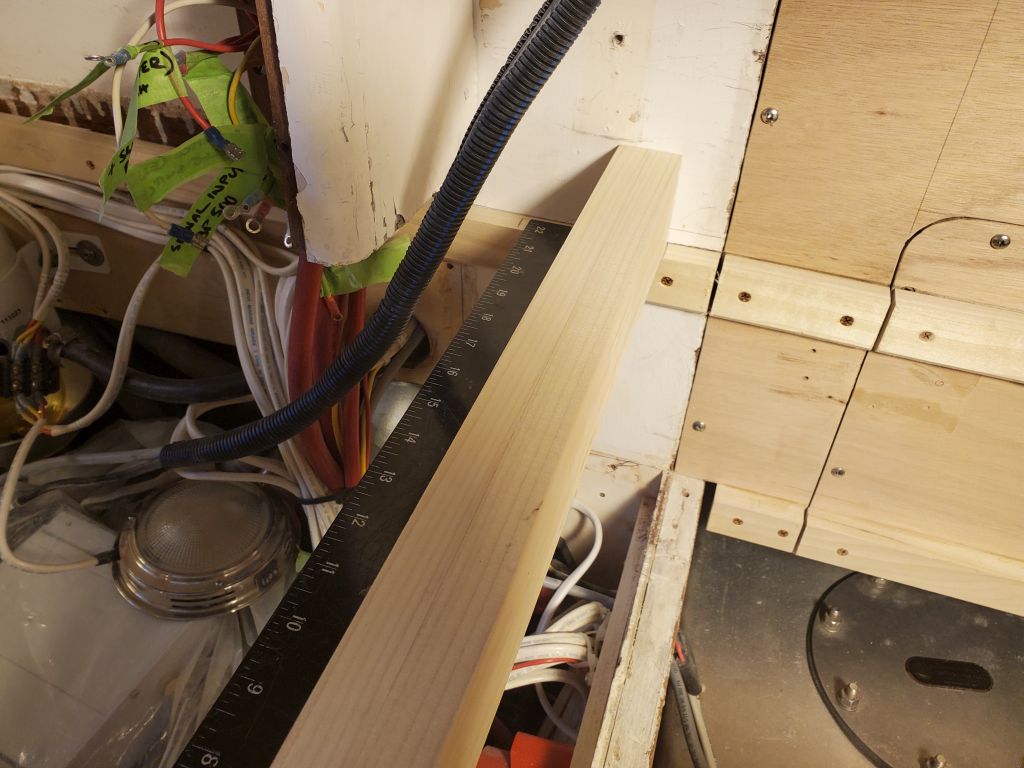
Similarly, I laid out for a second cross beam on the starboard side of the engine. The original engine room layout had a pair of removable panels enclosing the engine on this side, which helped provide access to that part of the engine for maintenance, and I intended to replicate that arrangement in some form, so for that and other reasons, such as sink placement and general support needs, it made sense to align the beam with this bulkhead location. There were two pair of cleats mounted to the after bulkhead that supported the aft ends of these removable sections, so they easily demarked the correct location. As with the port beam, I squared the beam location to the transverse beam and made the necessary marks.
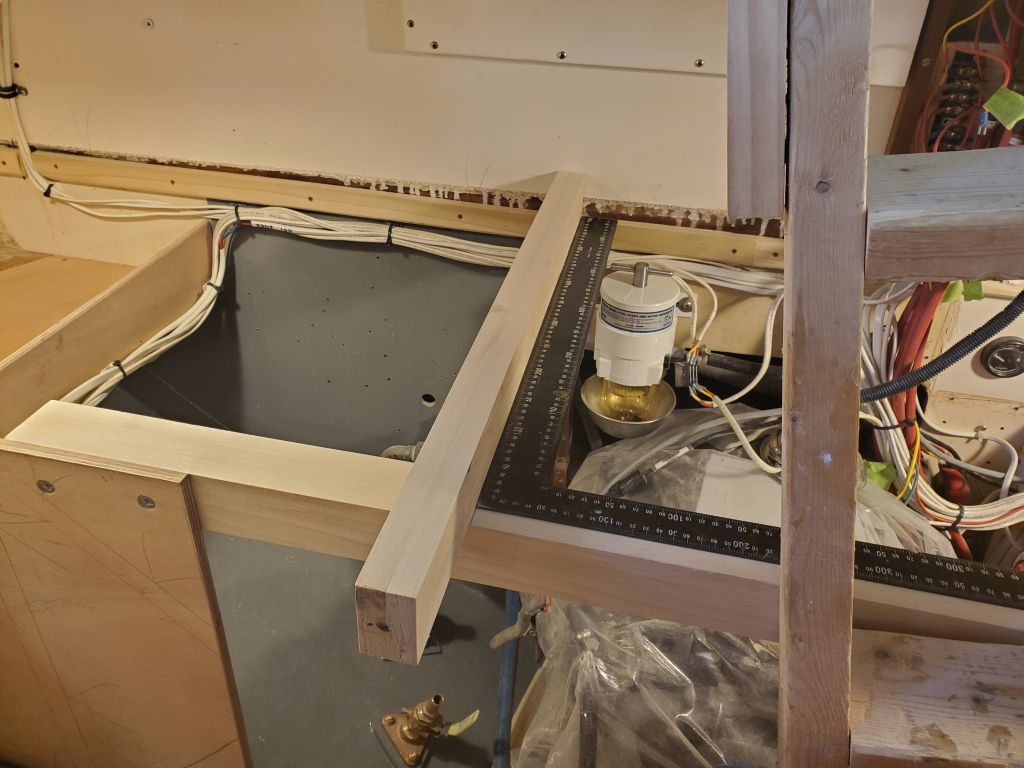
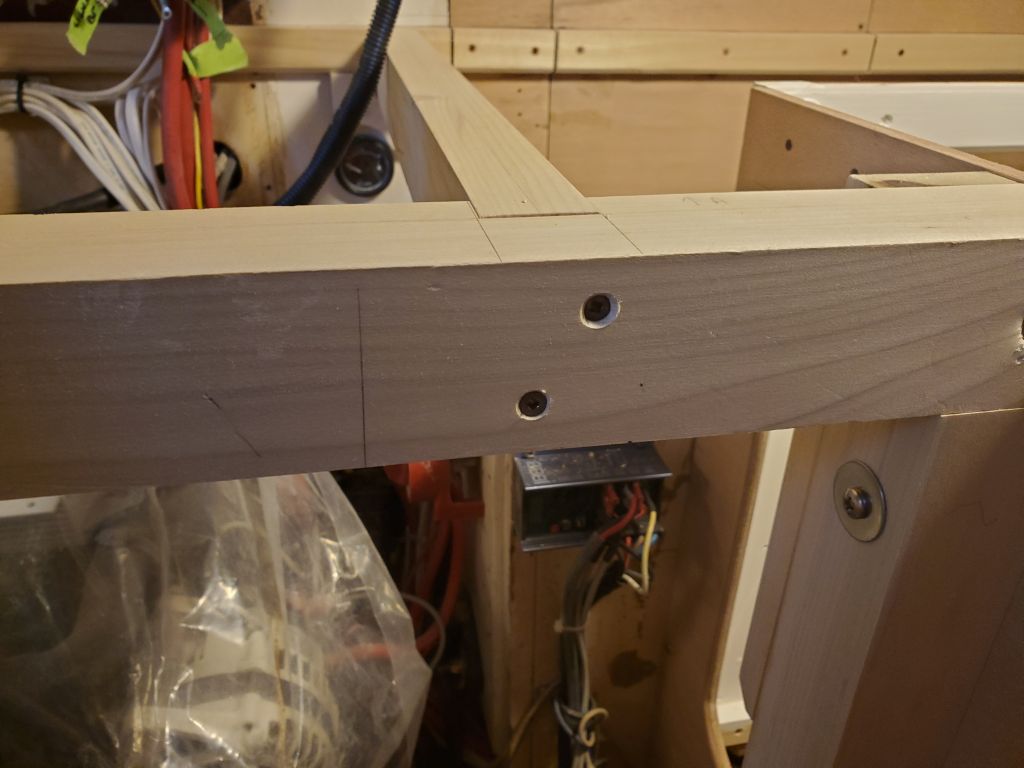
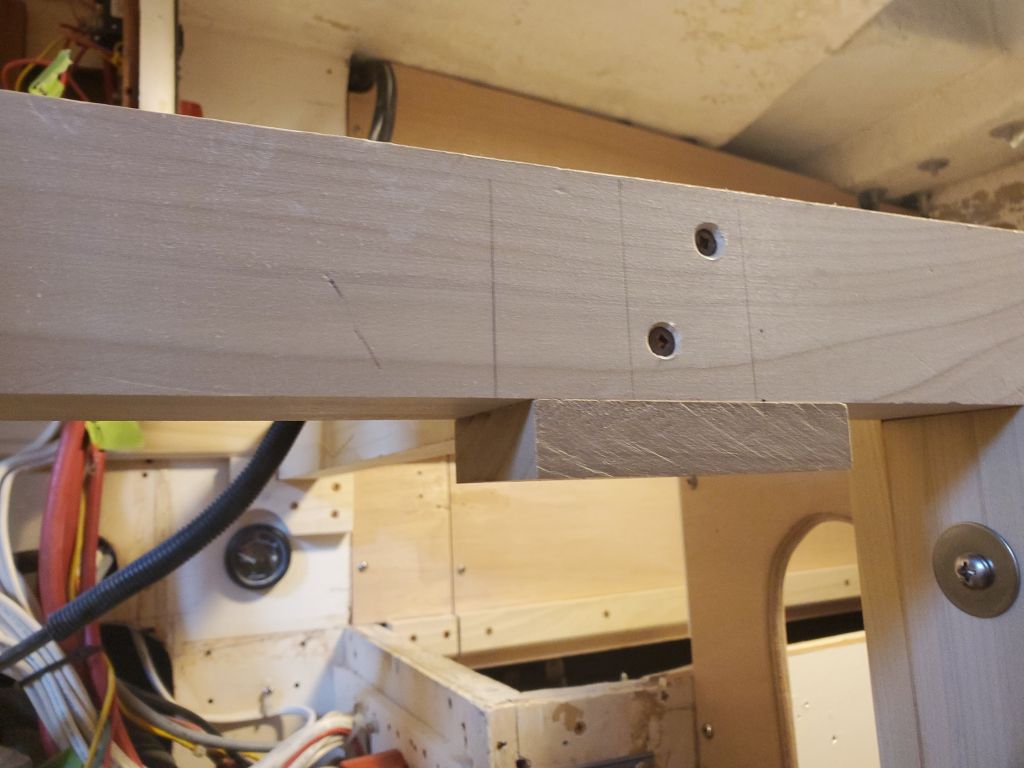
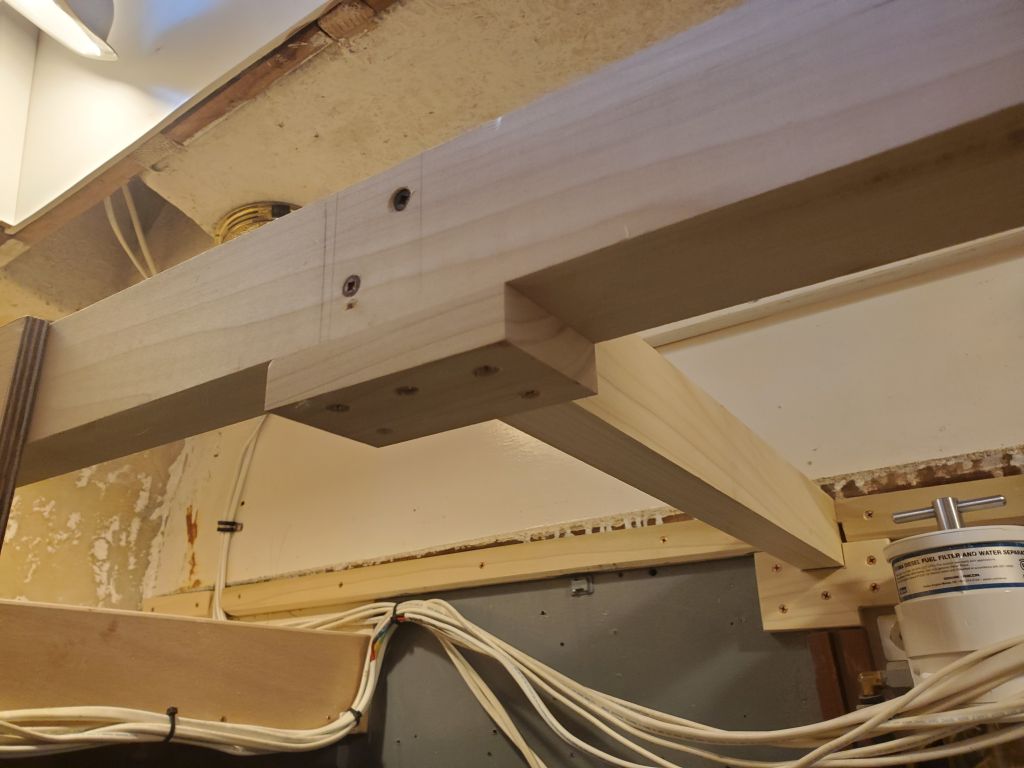
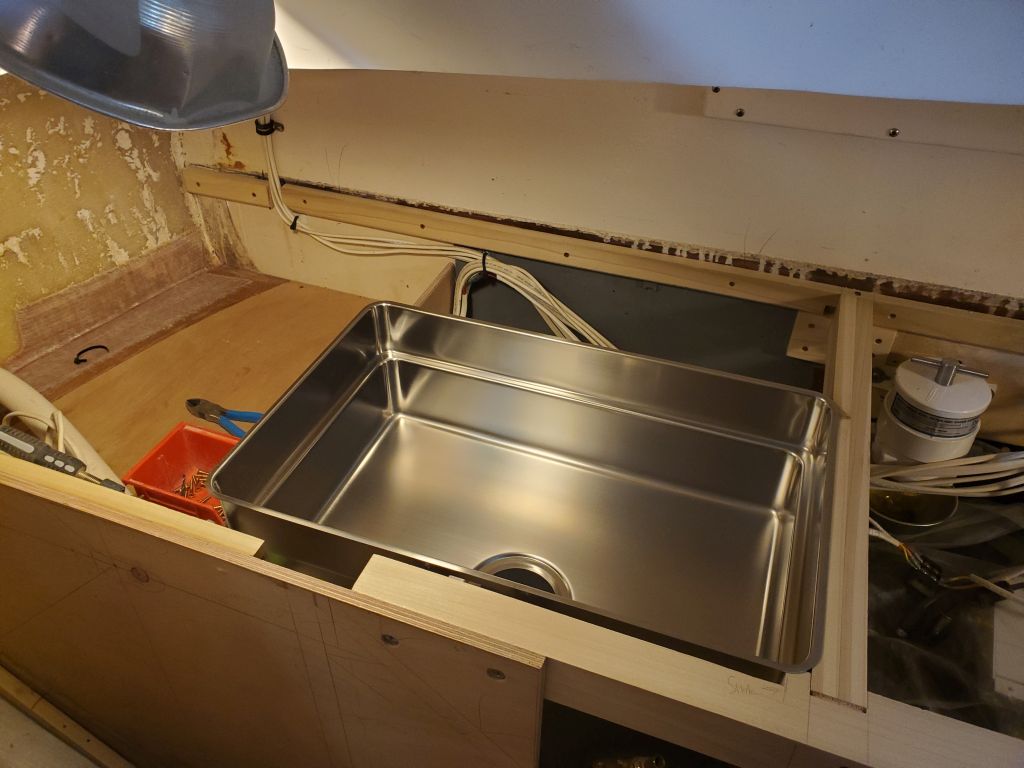
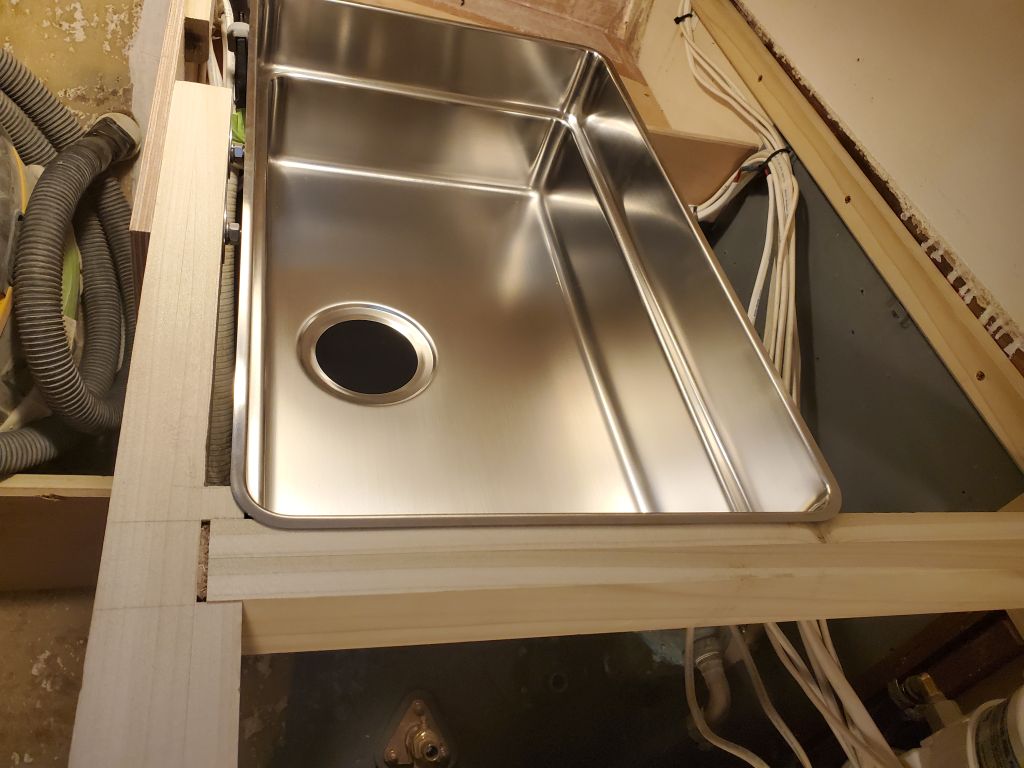
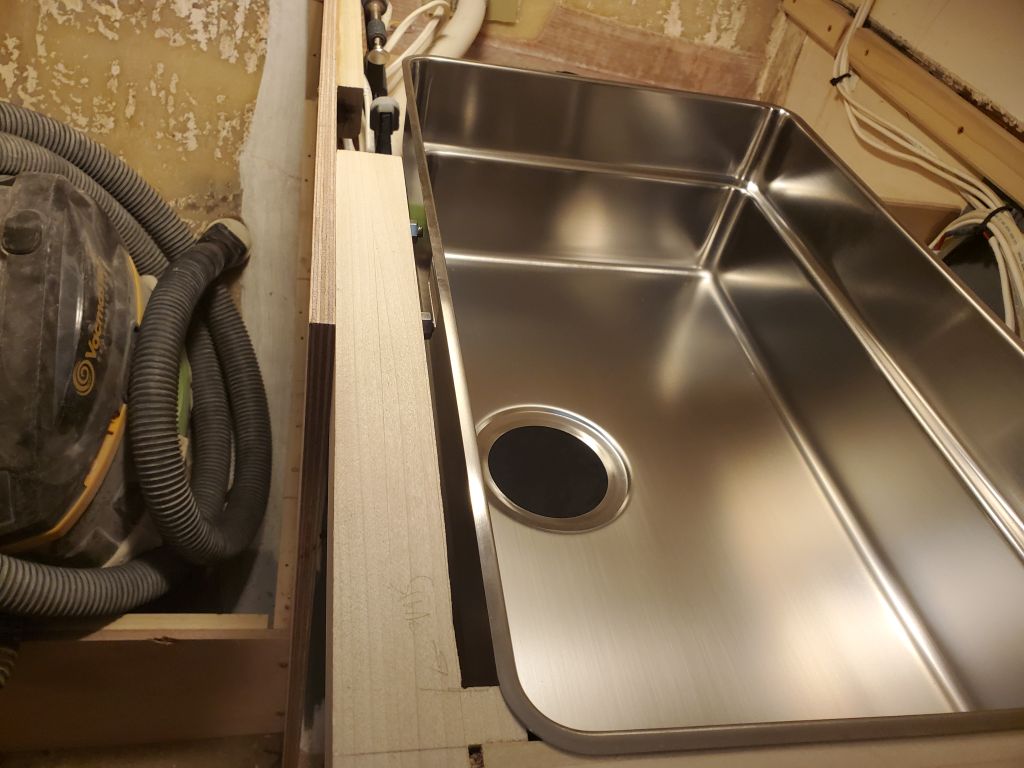
Next, I removed the cross beam and, down in the shop, notched it to accept the longitudinal beams. I also cut back the starboard end a bit so the beam would take up less space in way of the sink location, so the sink could be mounted closer to the edge of the countertop.

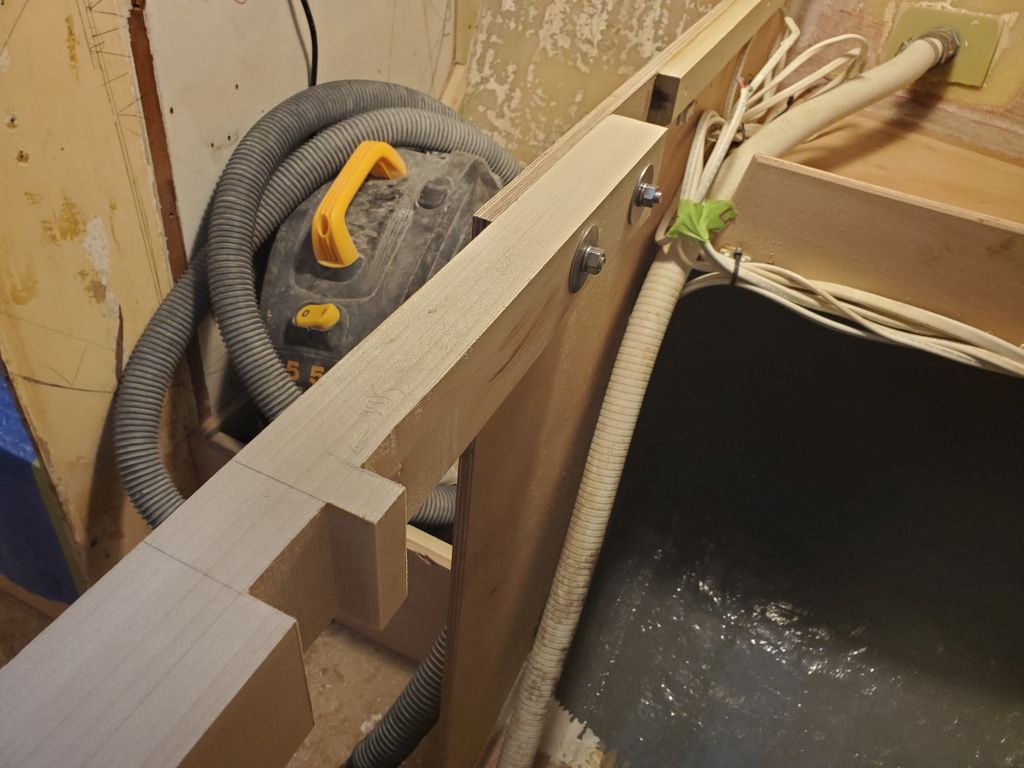
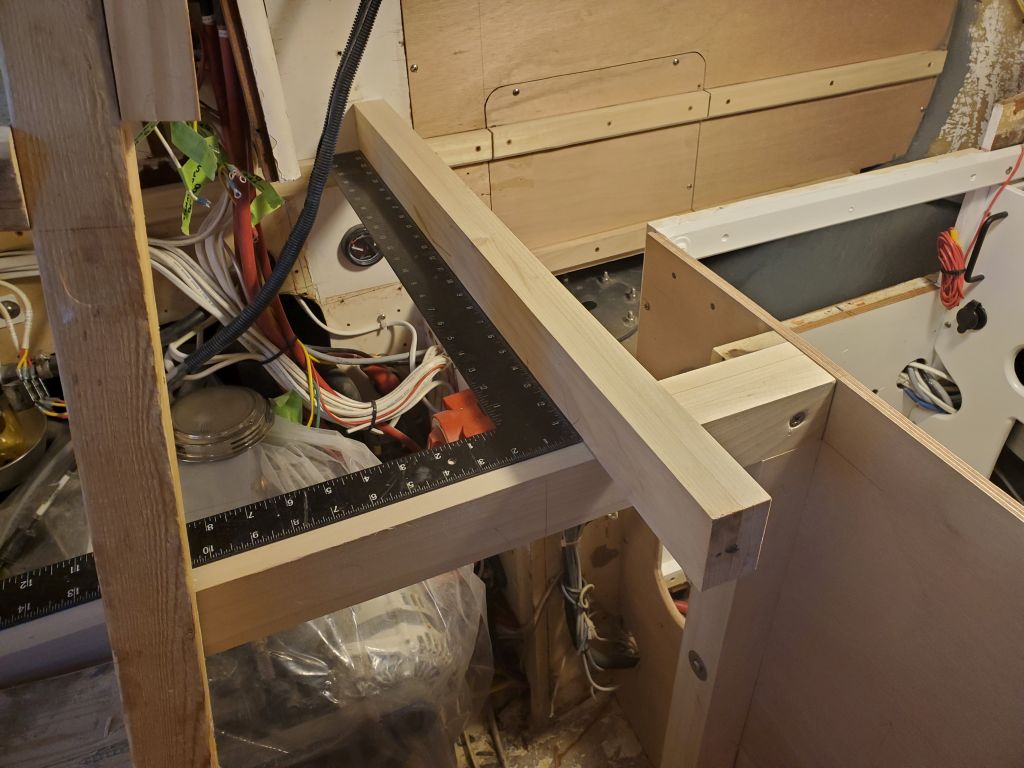
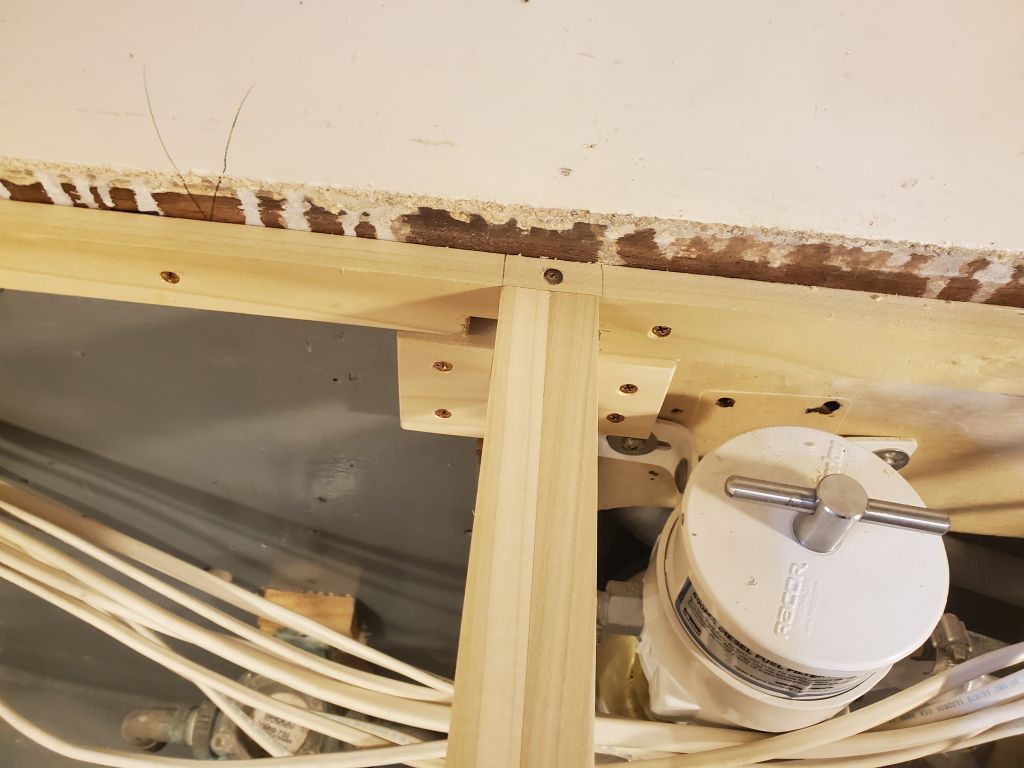
Next, I installed the port beam, cutting and fitting it as needed between the beam notch and the aft bulkhead, where I installed a support cleat and one screw to pin the beam to the cleat below. At the cabin end, I secured the beam with an additional support timber below, and some screws driven in from the transverse beam.
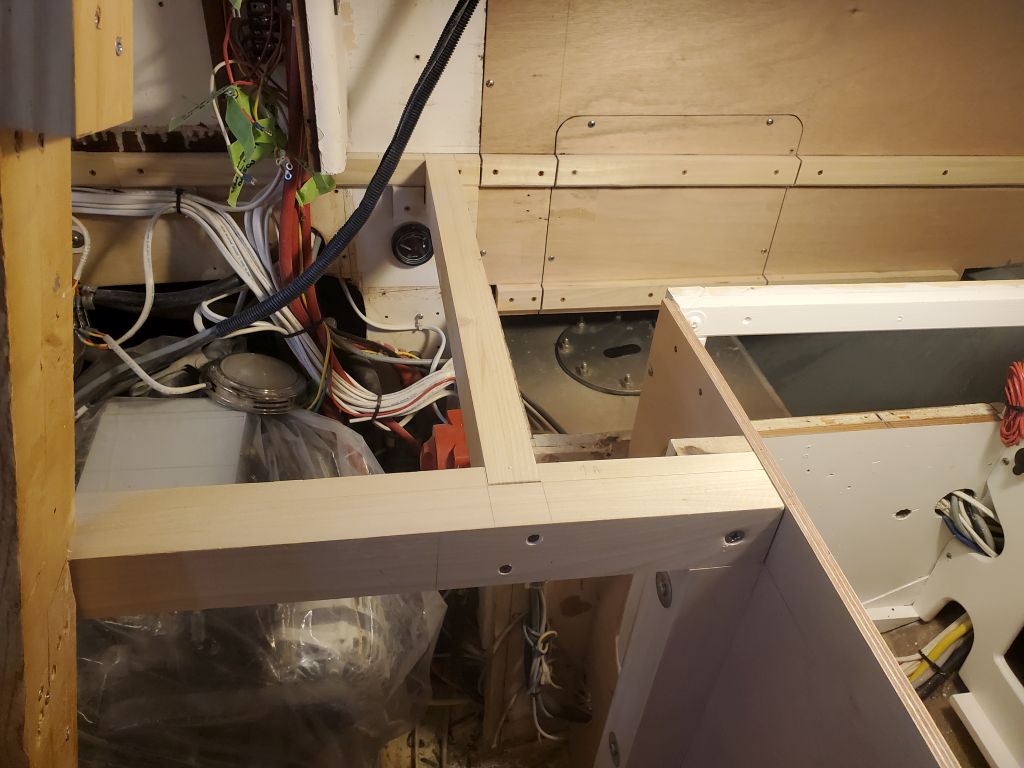
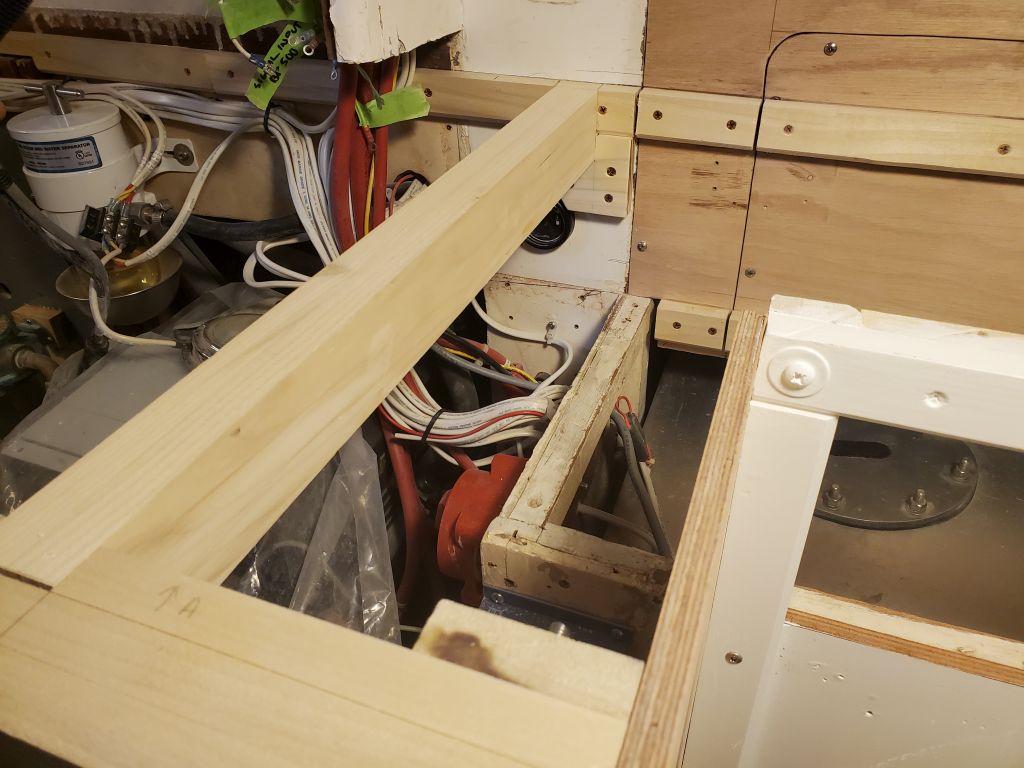

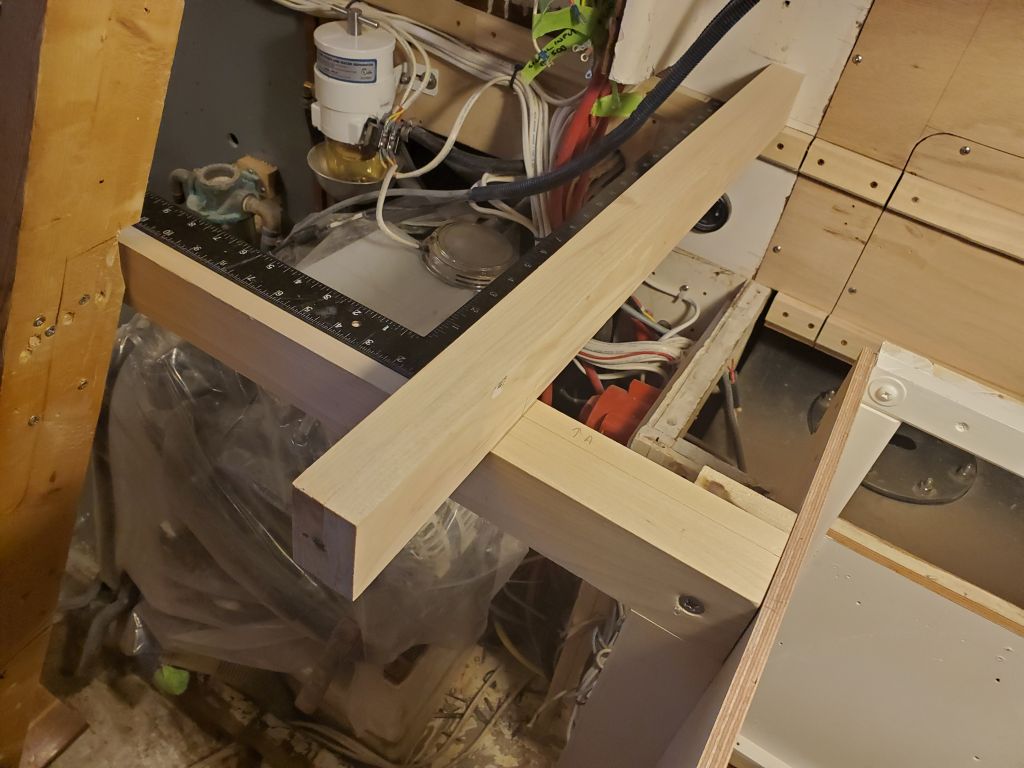
I repeated the process with the starboard beam.
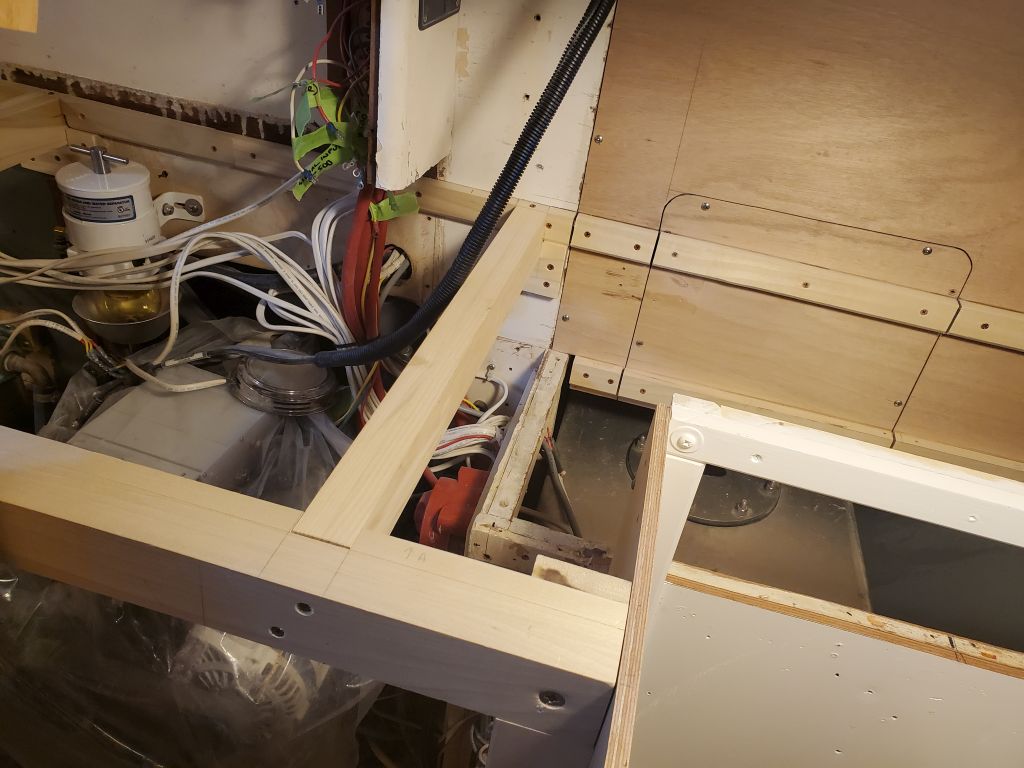

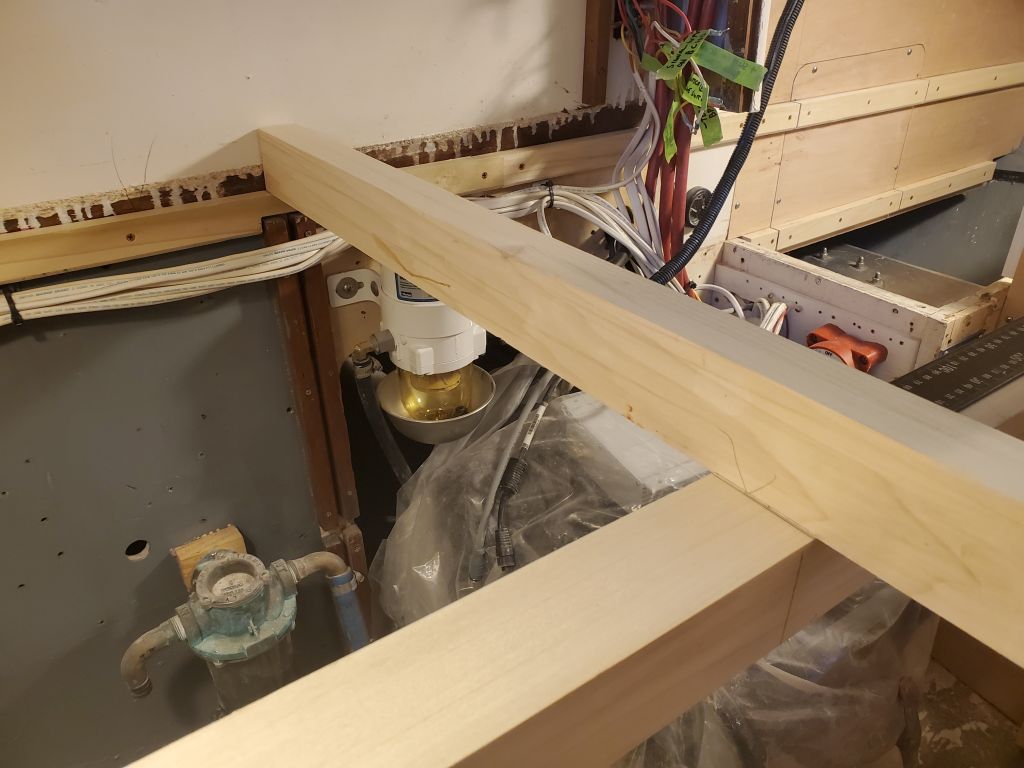
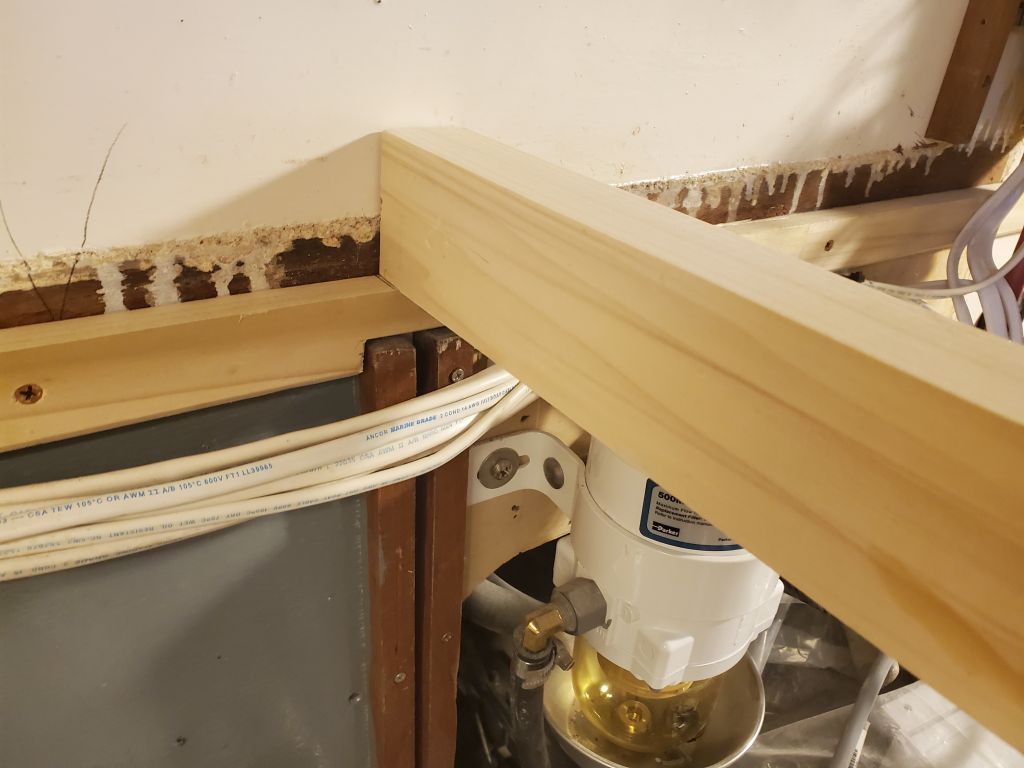
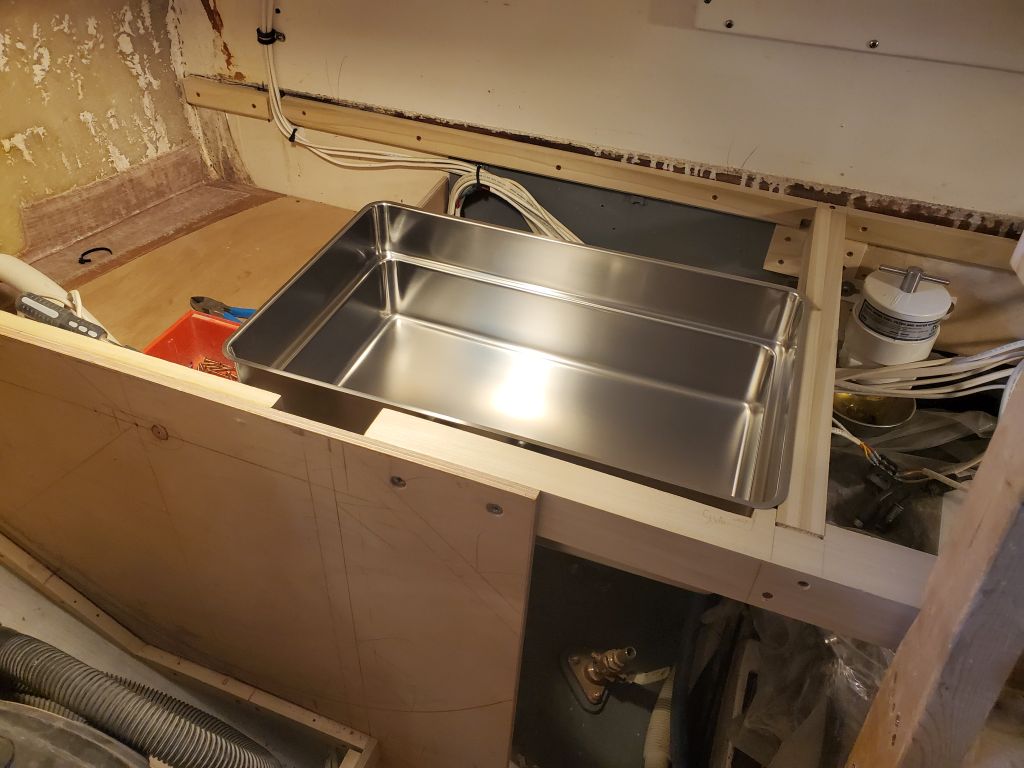
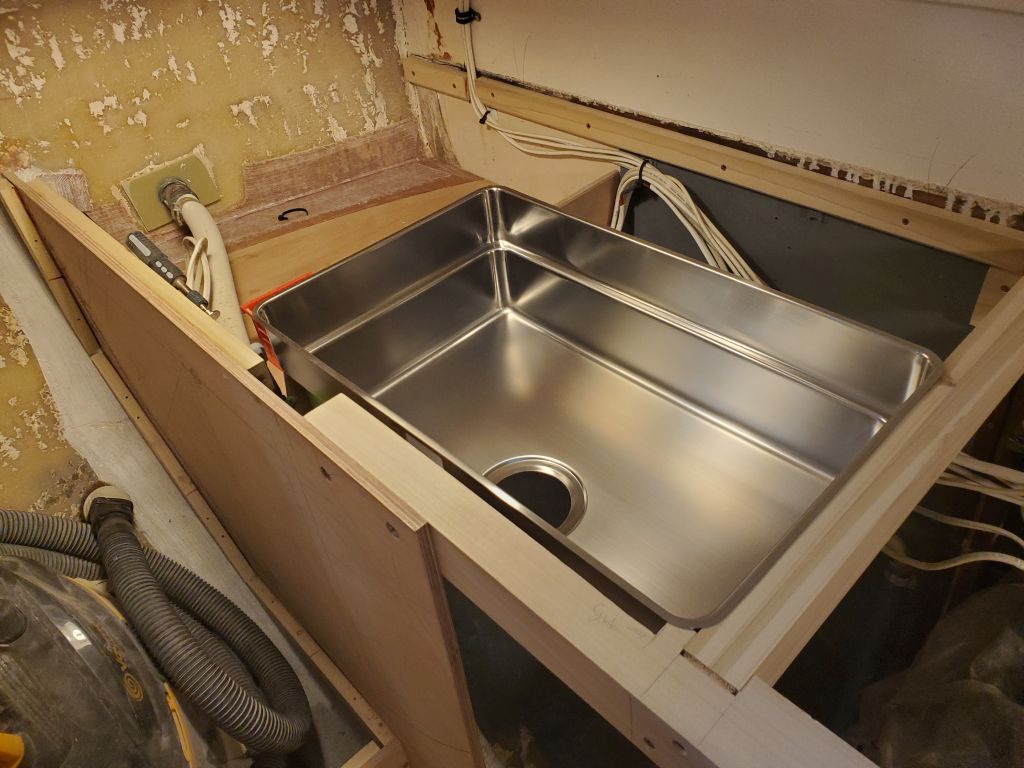
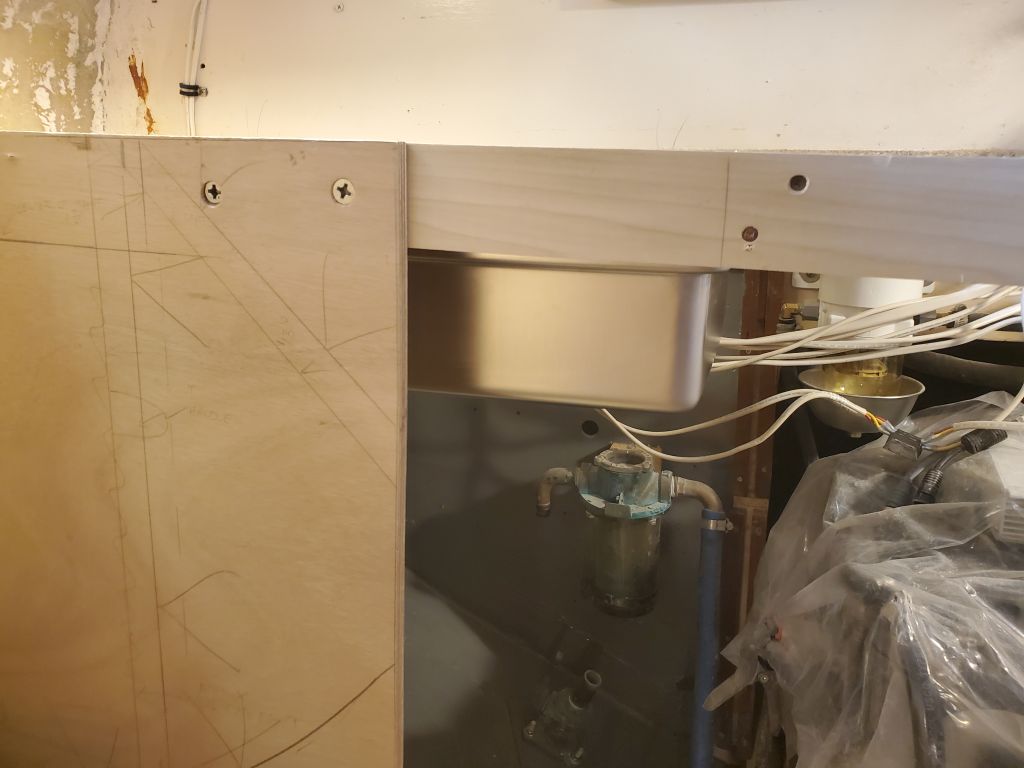
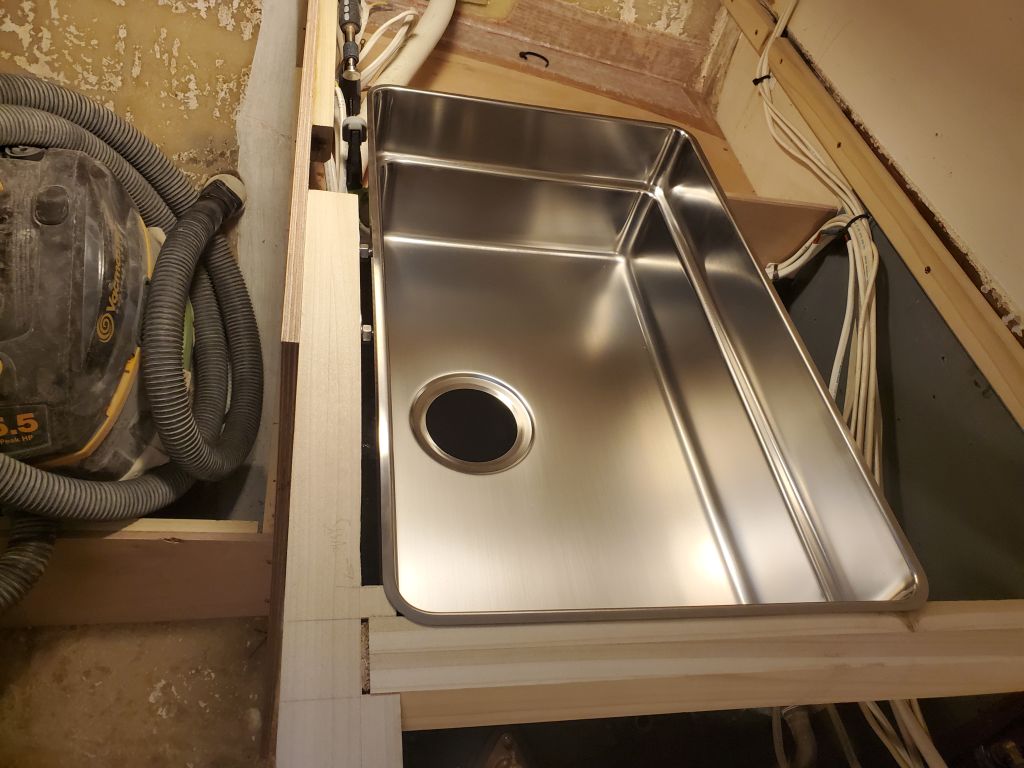
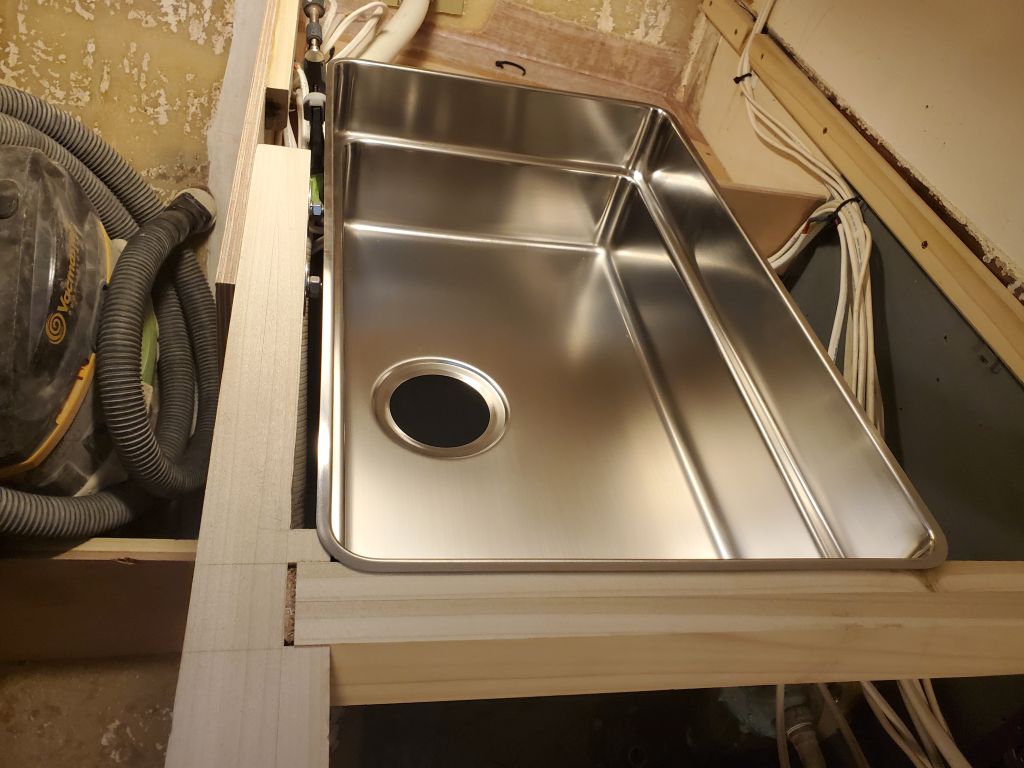
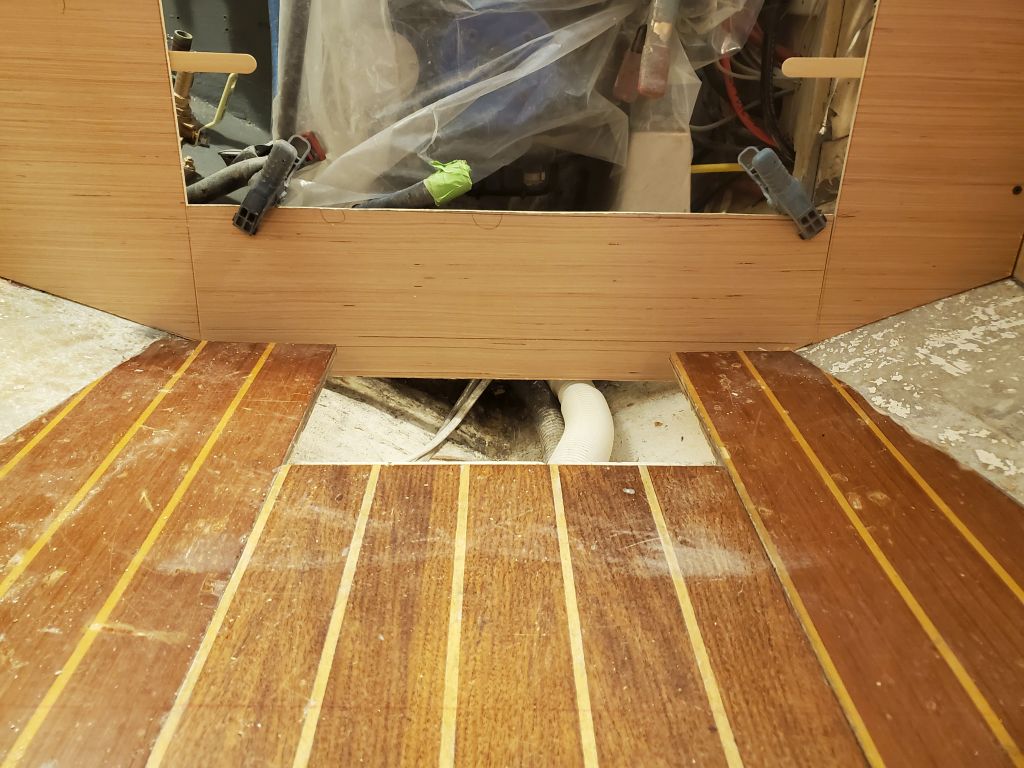
The sink fit nicely in the space aft of the stove, and with the slight modification to the cross beam nudged up fairly close to the edge of the countertop for ease of access. Final sink placement would eventually account for faucet and drain location, particularly since there was an overflow drain at the upper edge of the sink (against the forward edge in these photos), installation details of which I was as yet unsure, but might require a bit more clearance. This was a substantial sink bowl and would offer good access from all angles, with much of it inboard of the bridgedeck overhang (this is hard to show in photos but is most visible in the final photo below).

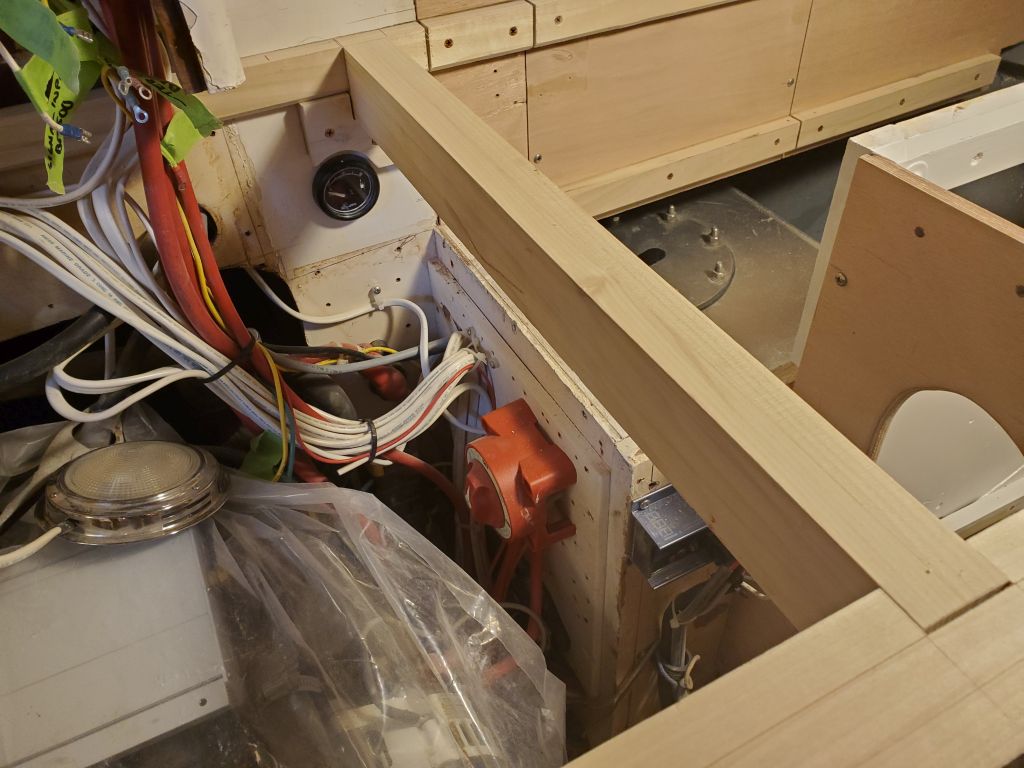
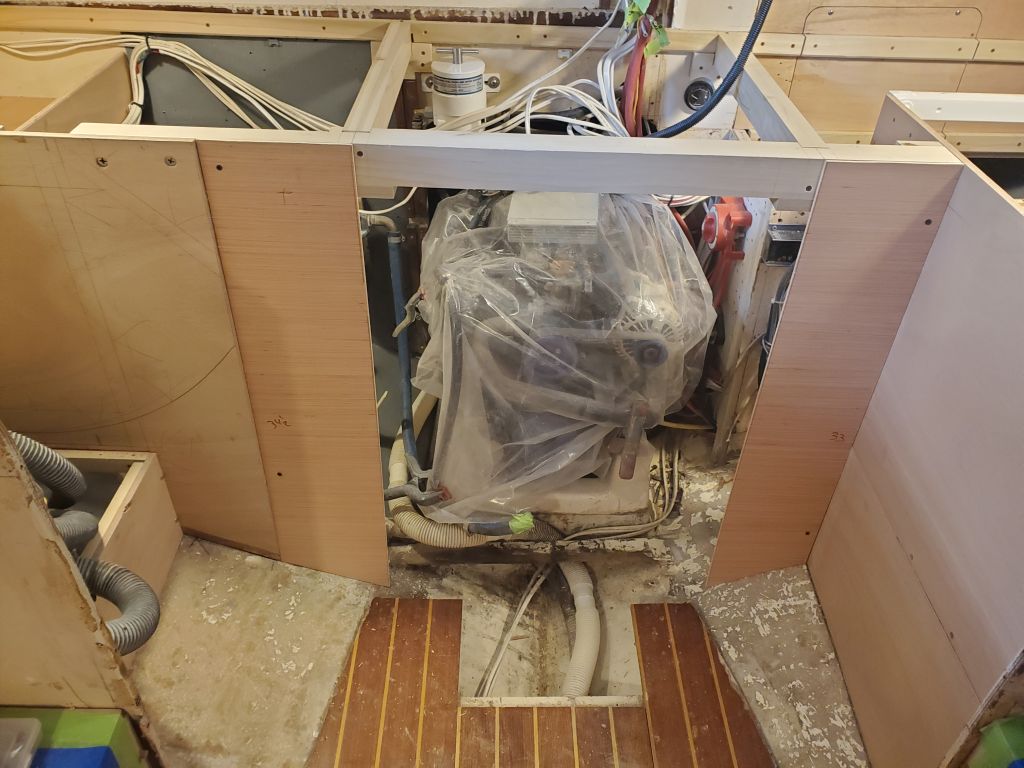
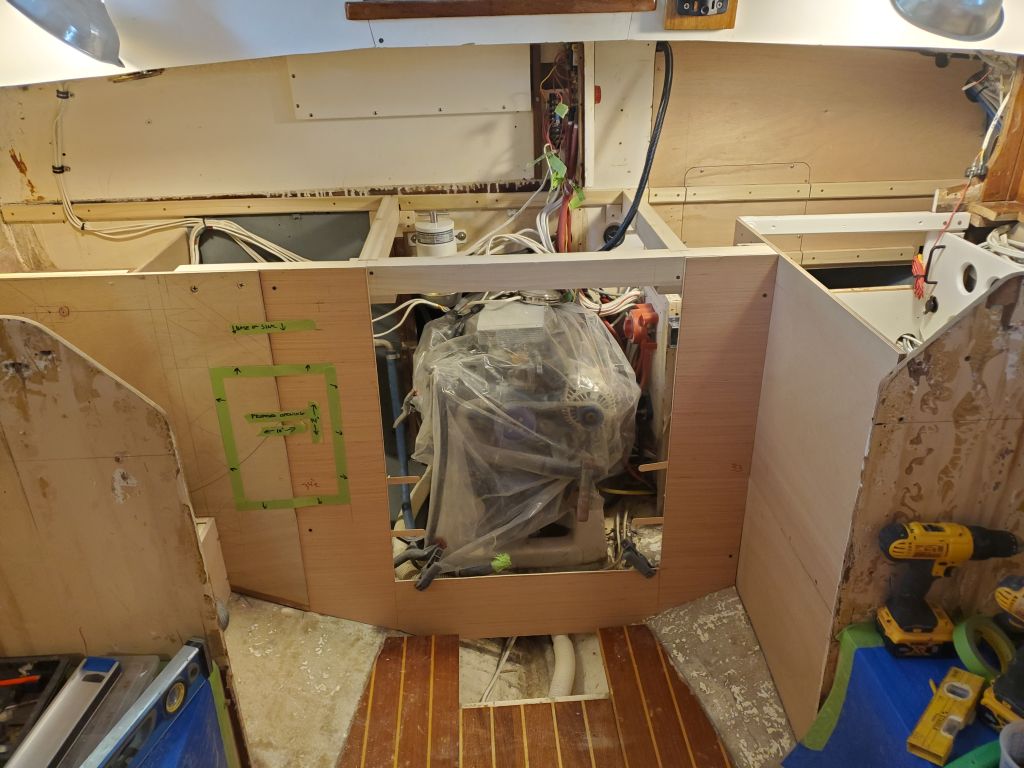
With the basic galley layout and construction now established and complete, I moved on to the vertical panels to enclose the space at the forward end.
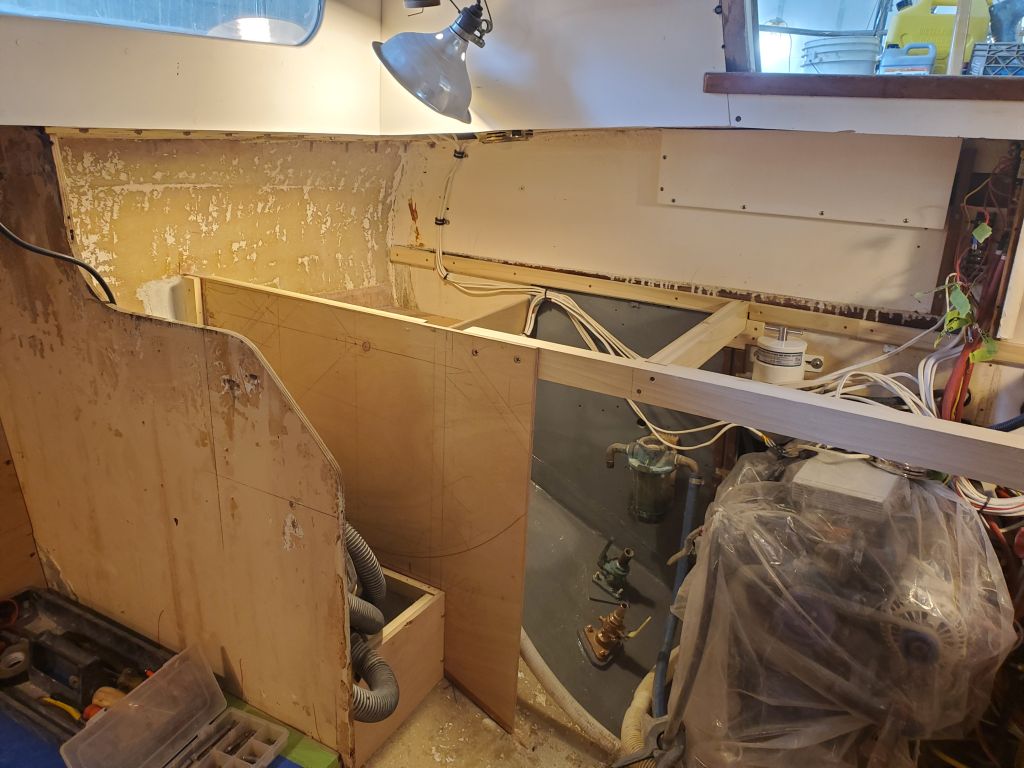
My general plan for this was fixed panels on each side of the engine room (the starboard side being a continuation of the stove bulkhead already in place), with a removable center section for engine room access. I’d initially (last time) thought of making a single pattern for the space, then dividing it up, but not only did this now seem unnecessary and undesirable, the large single template panel was too large to fit into the boat.
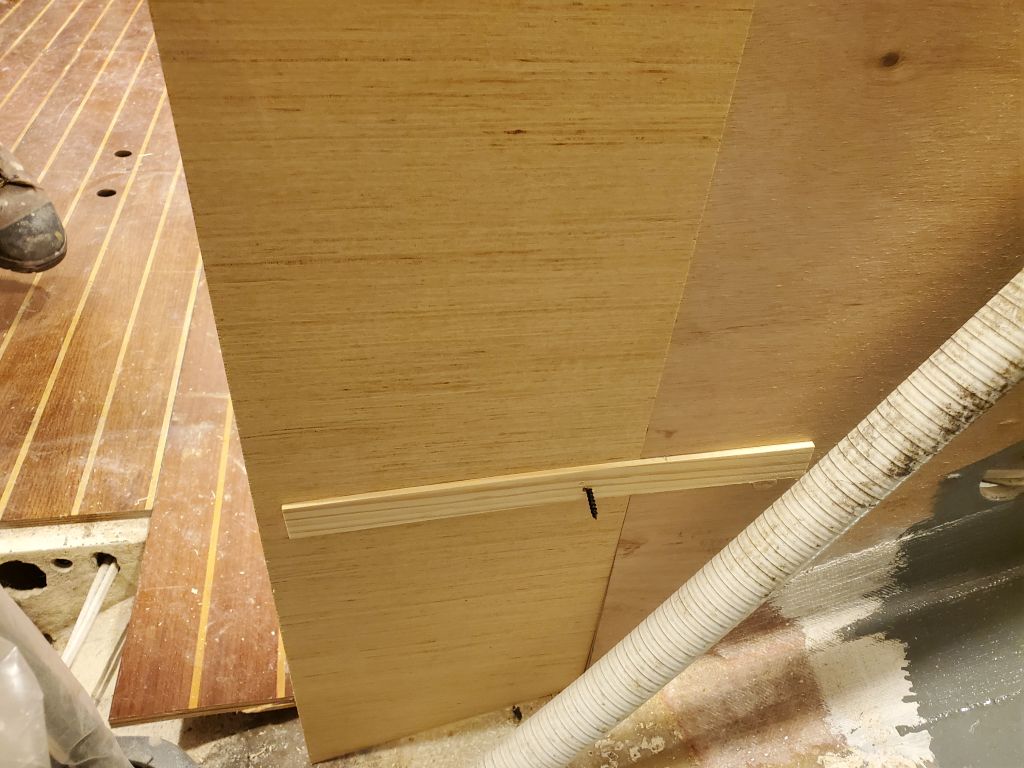
With the edges of the engine room now logically and conveniently divided by virtue of the longitudinal countertop beams above, which I’d just installed, it made much more sense to template the pieces separately. So I cut template pieces slightly oversized to use on each side of the engine room, then, through the usual means of scribing and recutting, trimmed them down to fit against the hull beneath, and tightly against the vertical bulkheads on either side. I dropped plumb lines aligned with the centers of the countertop beams above and cut the templates to this mark to define the edges of these panels and also the opening into the engine room. I temporarily secured these templates with a couple screws into the support members and, in one instance, to a temporary support stick I glued to the back of the adjacent bulkhead.
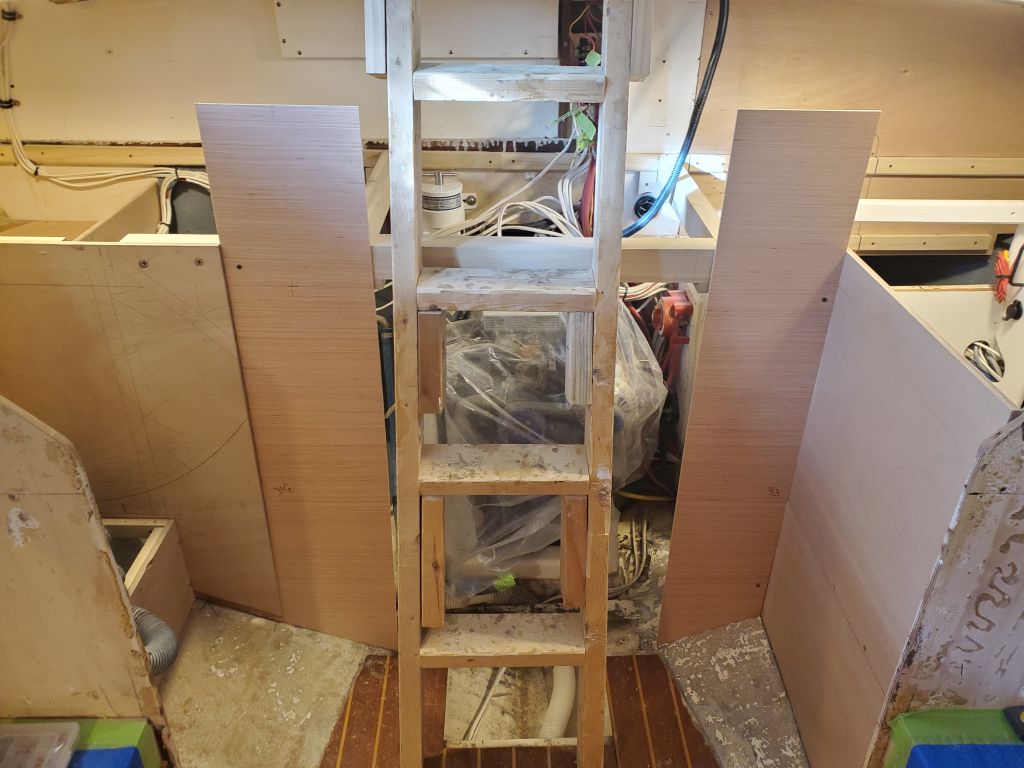
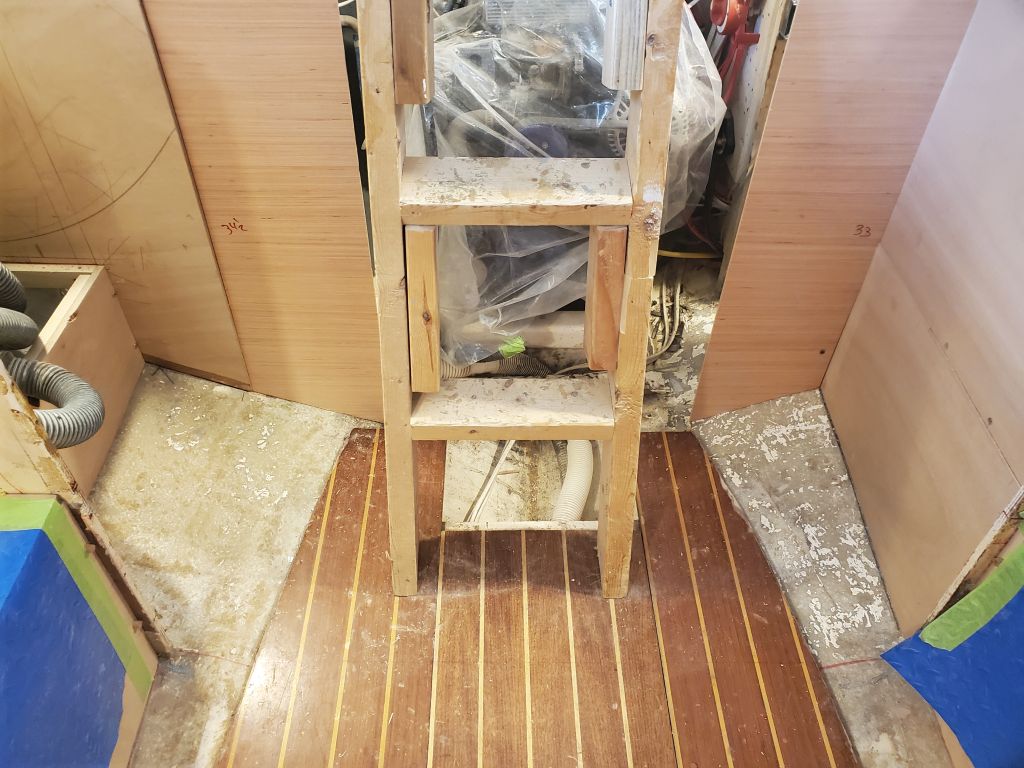
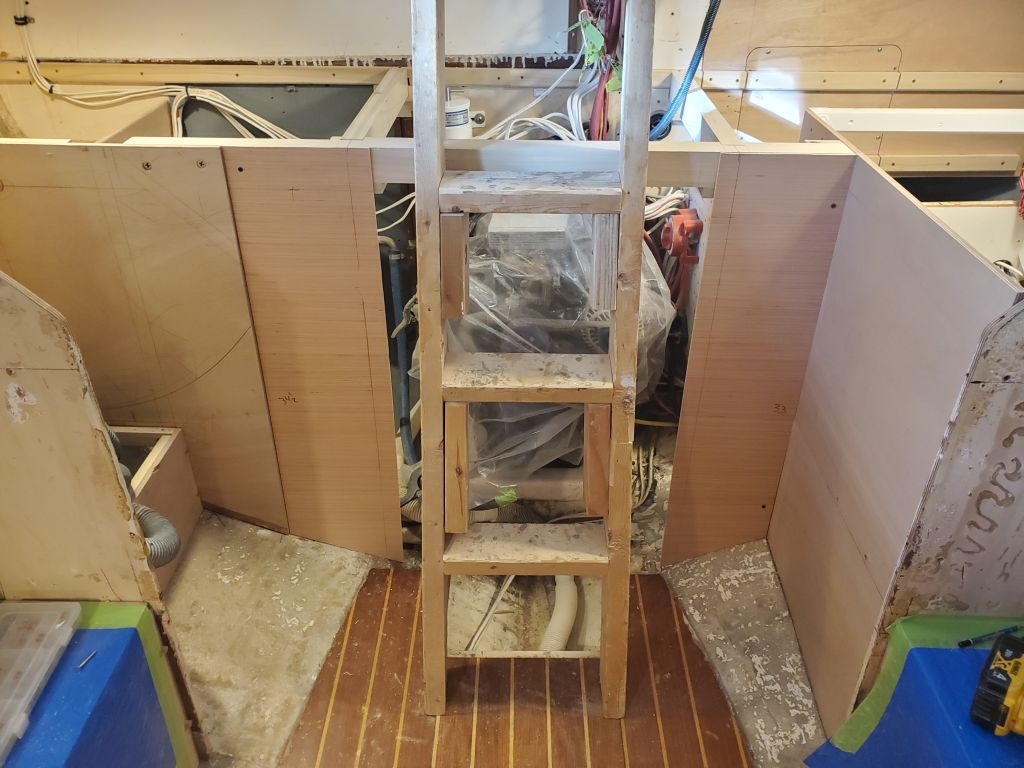
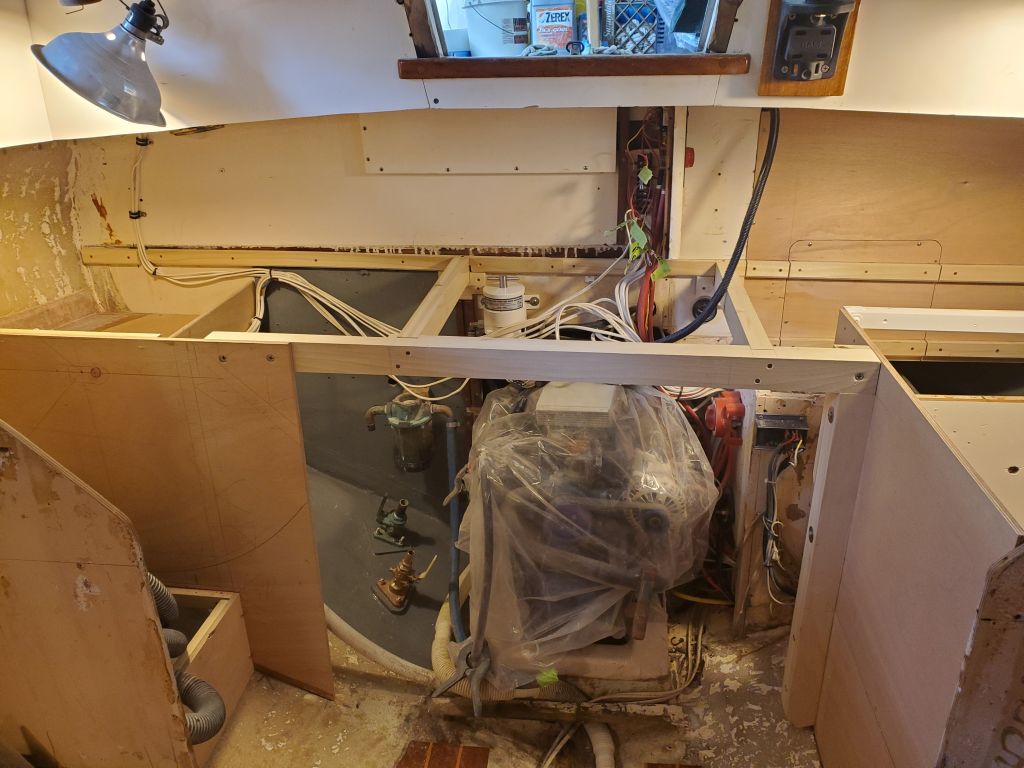
Next, I templated and then cut a “final” template to demark the lower edge of what would be the fixed portions of the bulkhead, running across the forward end of the engine room between the two vertical panels. This left a large opening for engine access, and a panel to which the companionway ladder could be secured (or the ladder could perhaps be a separate piece running past the countertop to the base of the companionway itself, conceptually like the construction ladder I was using now. In the final construction, I planned vertical supports on each side of the opening, largely to accept and support the removable panel.
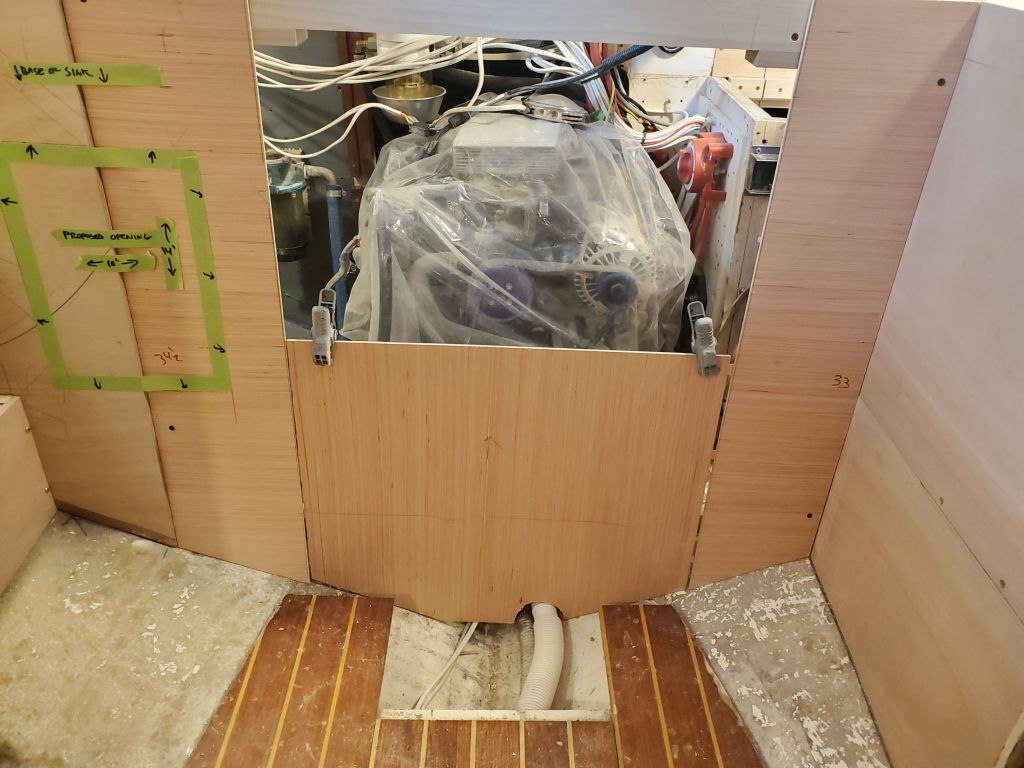
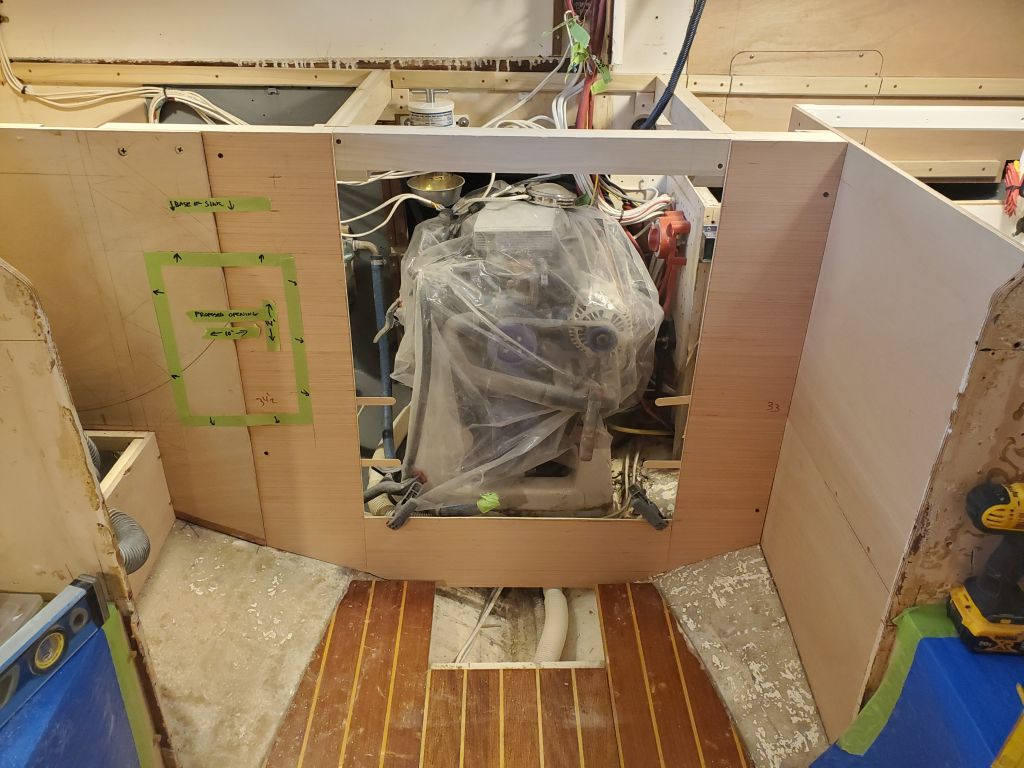
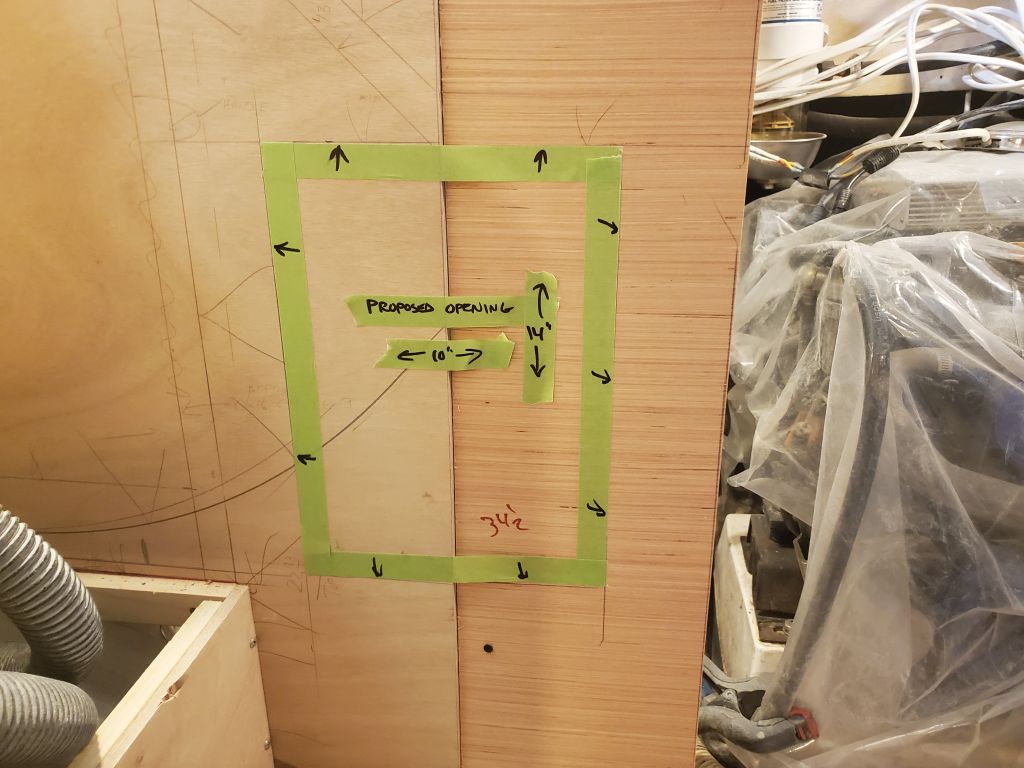
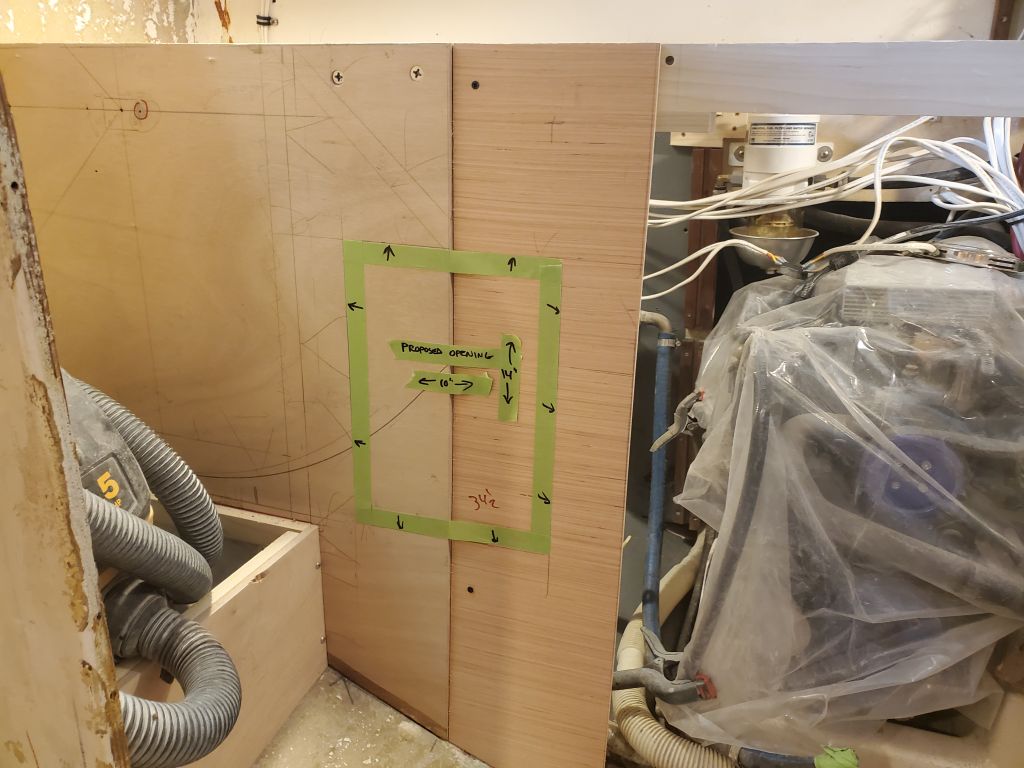
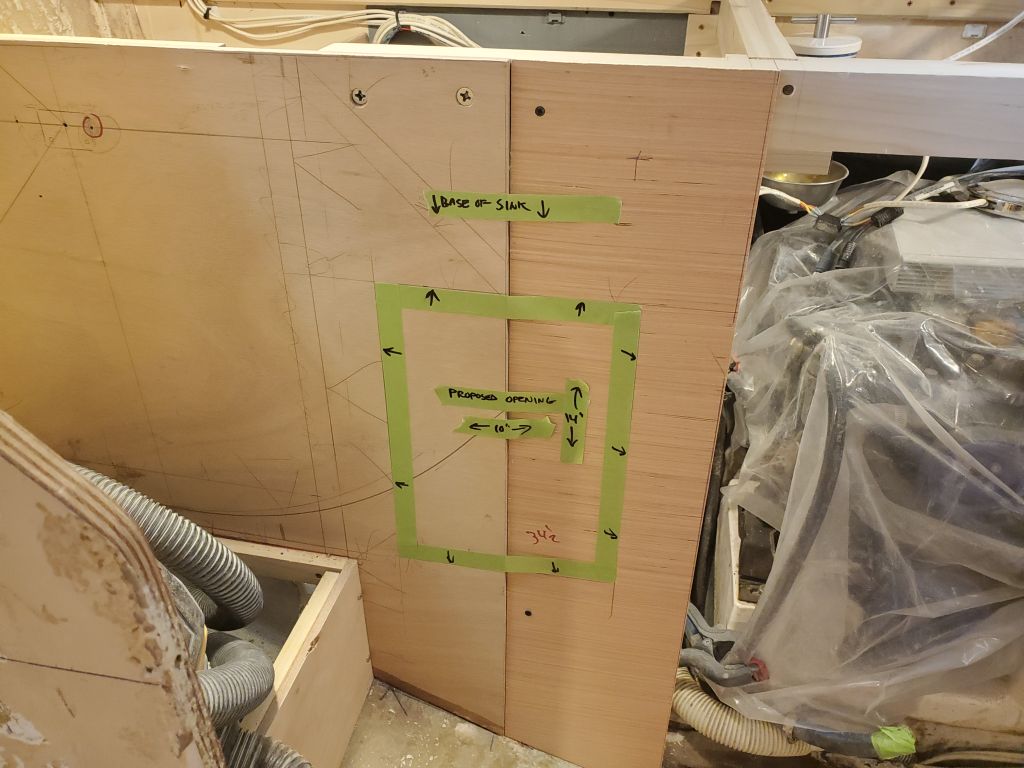
On the starboard side, I laid out for a locker opening, shown here as a 10″ x 14″ opening. In this iteration, I located the opening to account for the depth of the sink above, as well as potentially space for the propane controls and an AC outlet that had been mounted in the original galley, though these might also make sense to relocate to a new vertical locker panel above the countertop somewhere for better access depending on their space requirements behind the bulkhead, vis-à-vis the sink. The locker opening shown could be enlarged somewhat in the vertical direction, and somewhat less so in a horizontal direction.
Total time billed on this job today: 8 hours
0600 Weather Observation: 21°, clear. Forecast for the day: Sunny, 31°