


February 8, 2024
Calliope Girl 61
Thursday
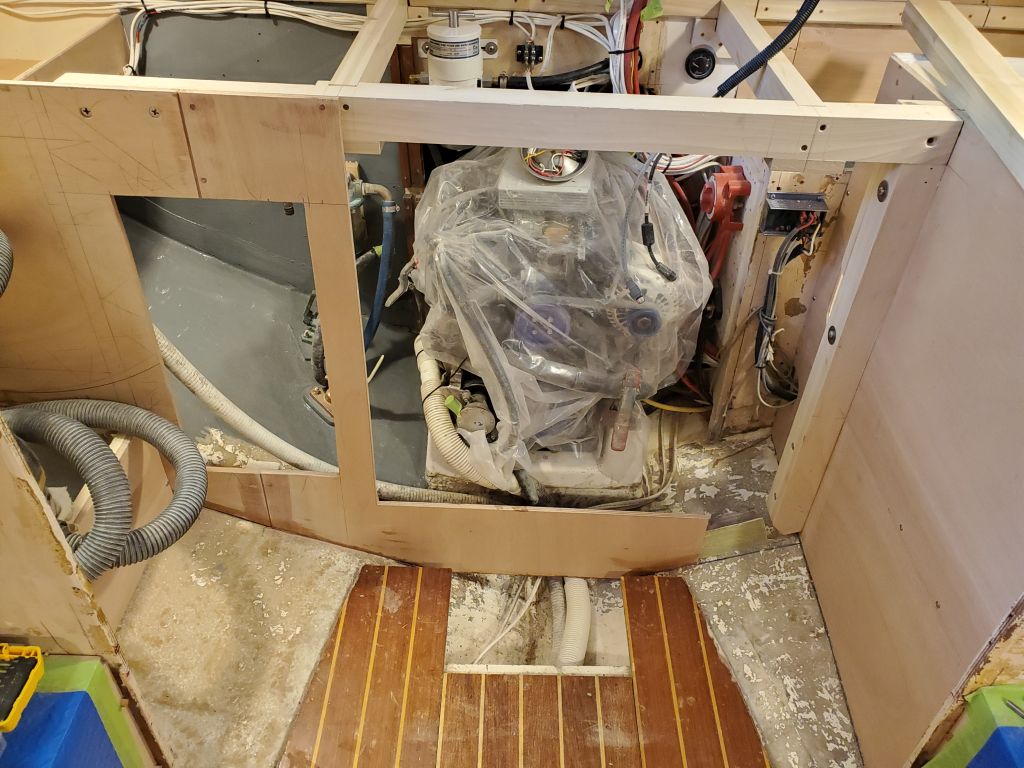
First thing, I removed the port engine room panel, releasing it from the tabbing on the aft side. The part came away cleanly, leaving only some tape residue on the fiberglass.
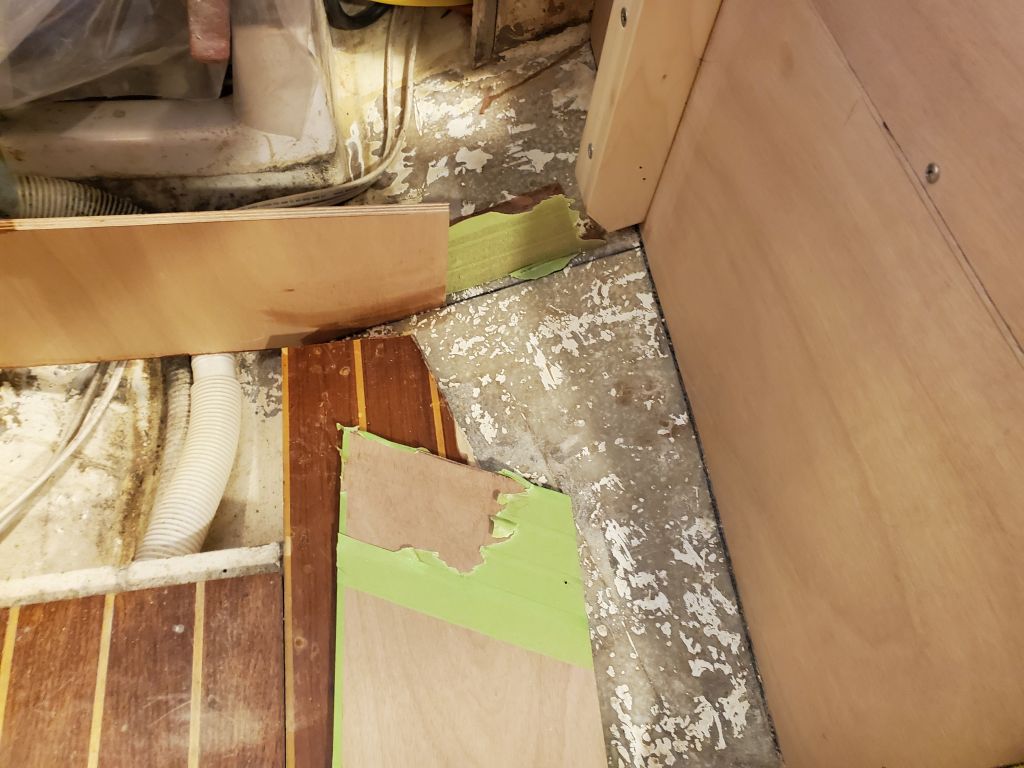
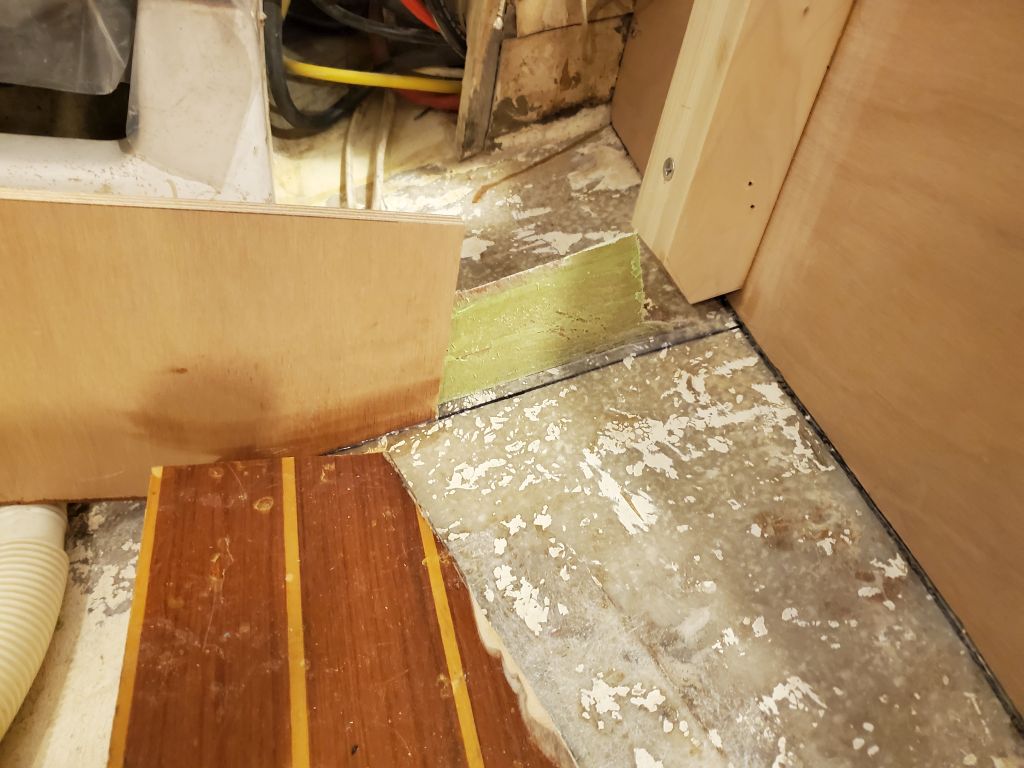
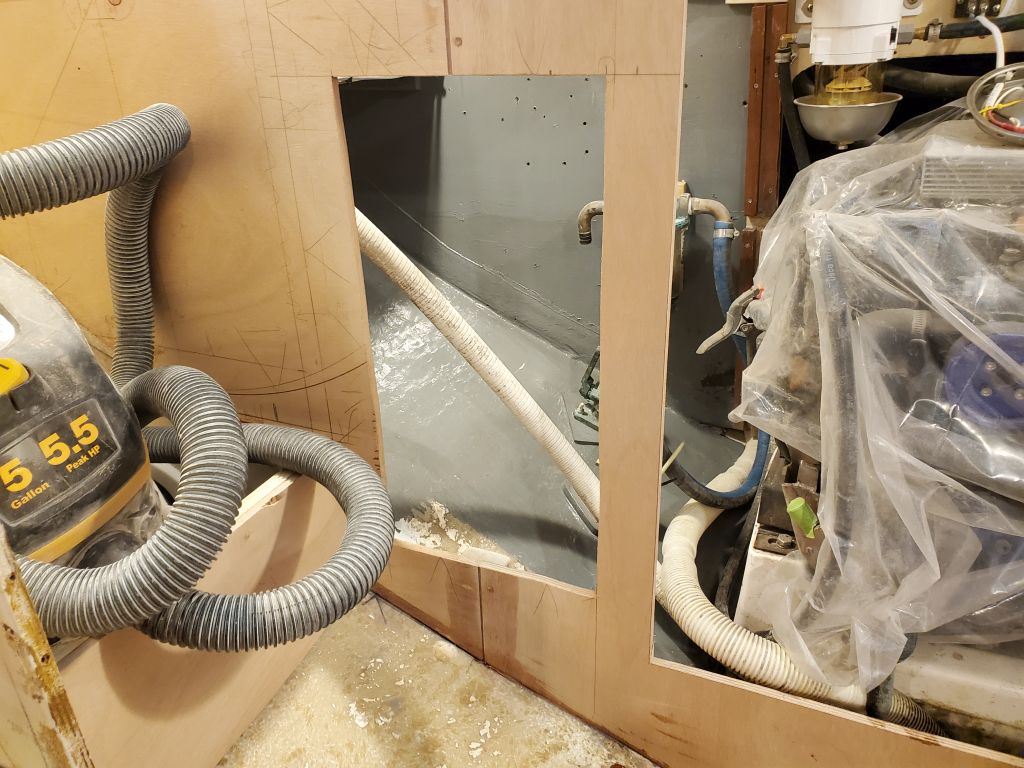
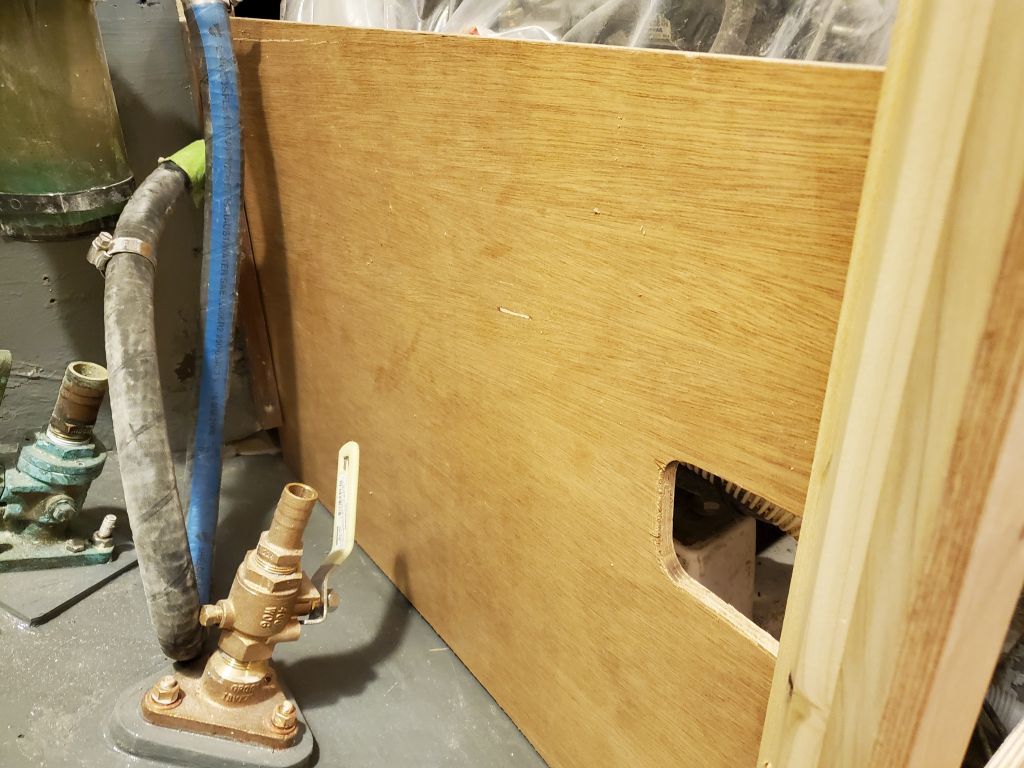
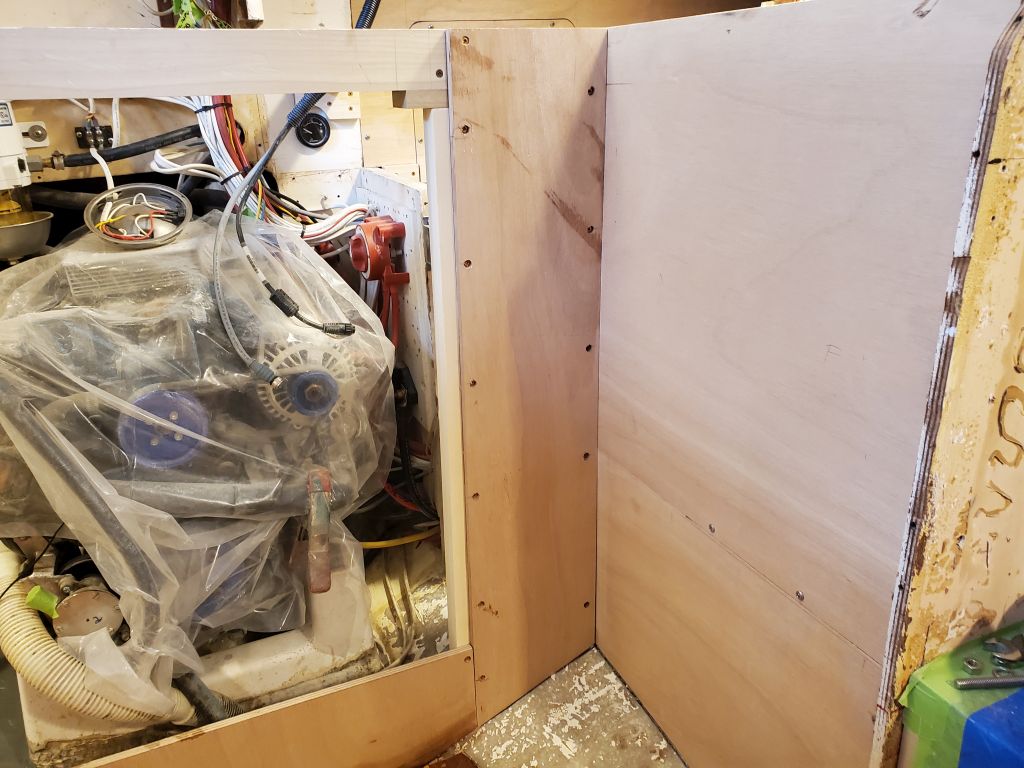
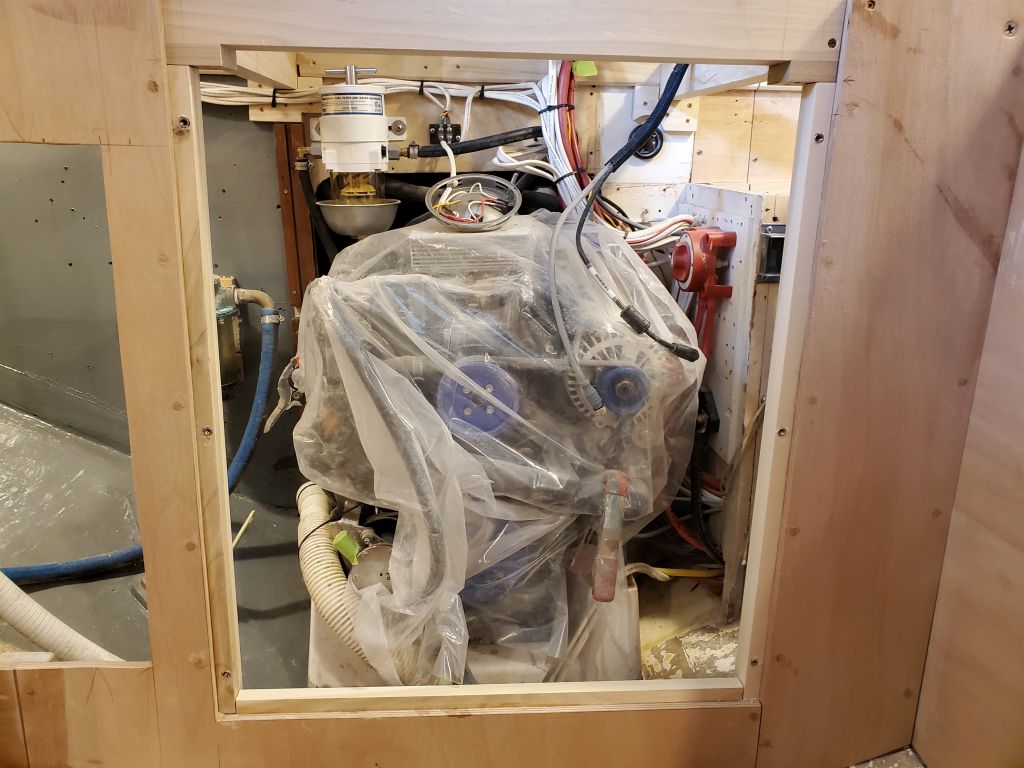
On the starboard side, I lightly sanded the epoxy-filled seams between the plywood, then laid out and cut a large 11″ x 22″ opening for the locker access, the largest I could fit in the space.
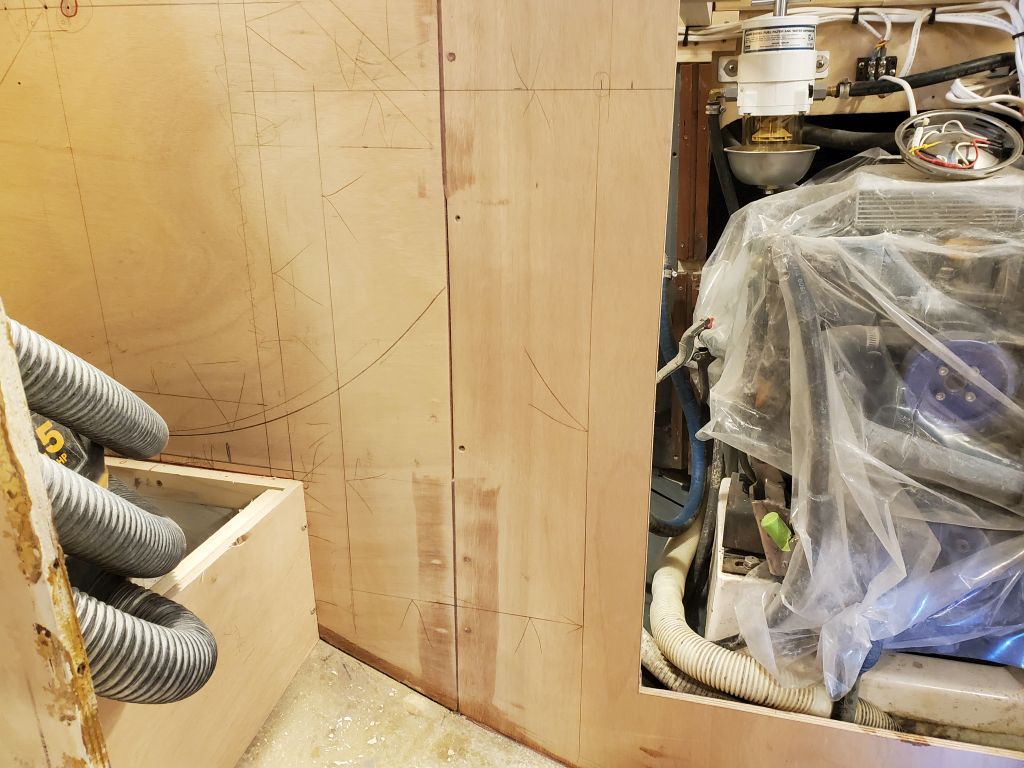
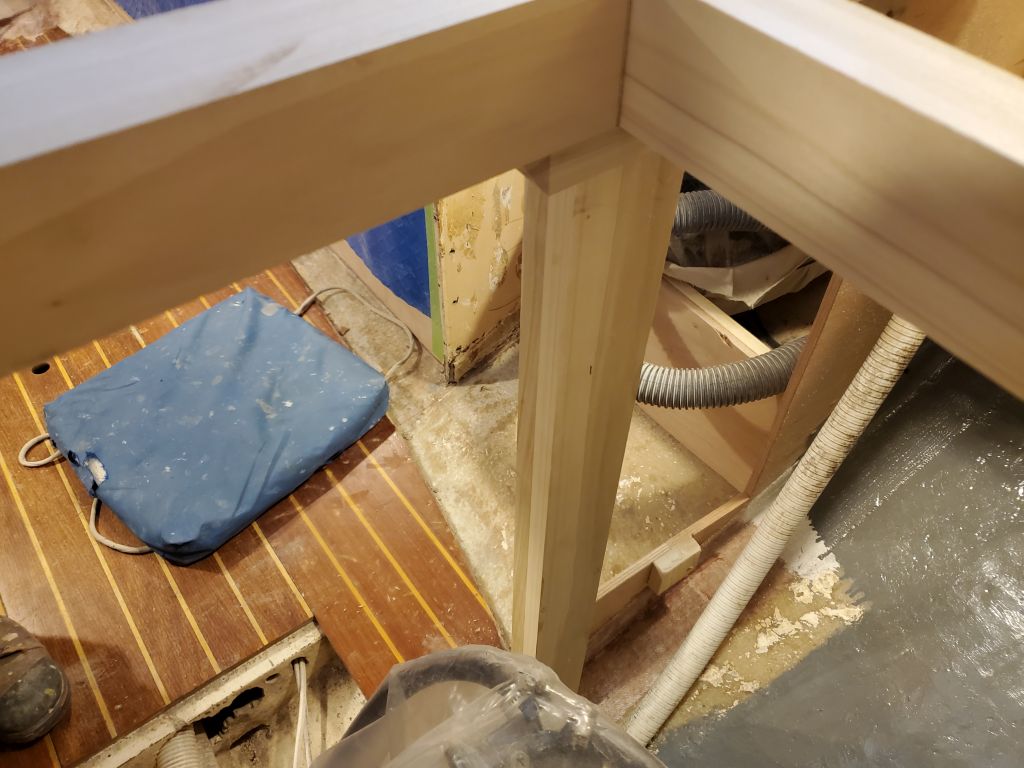
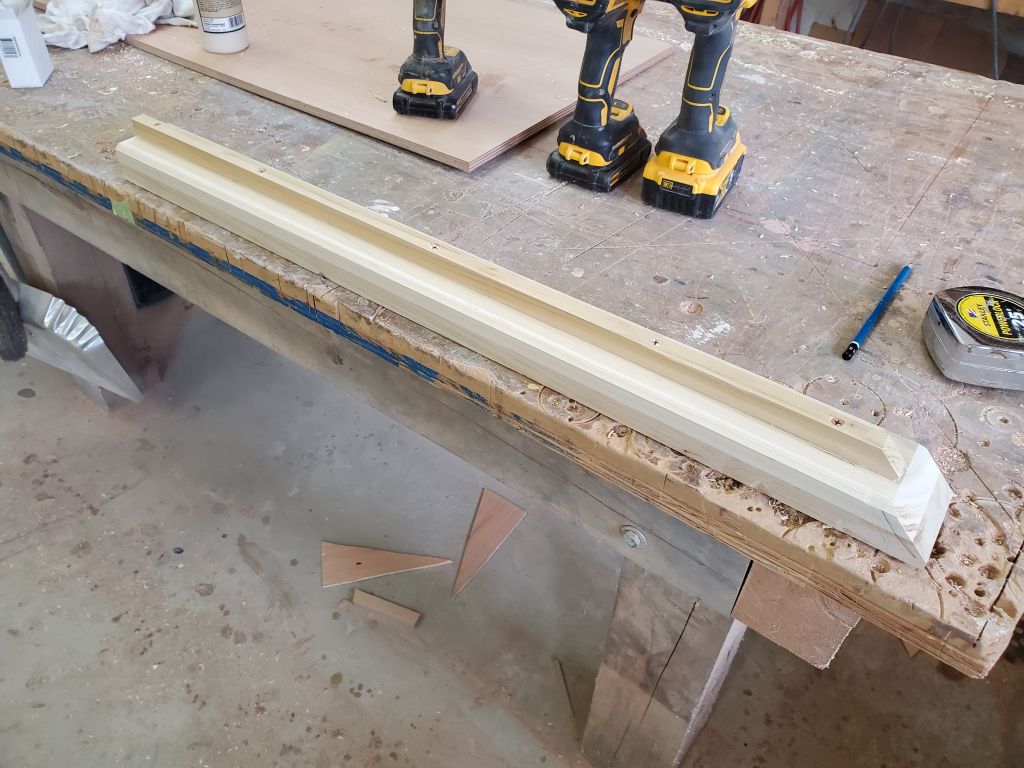
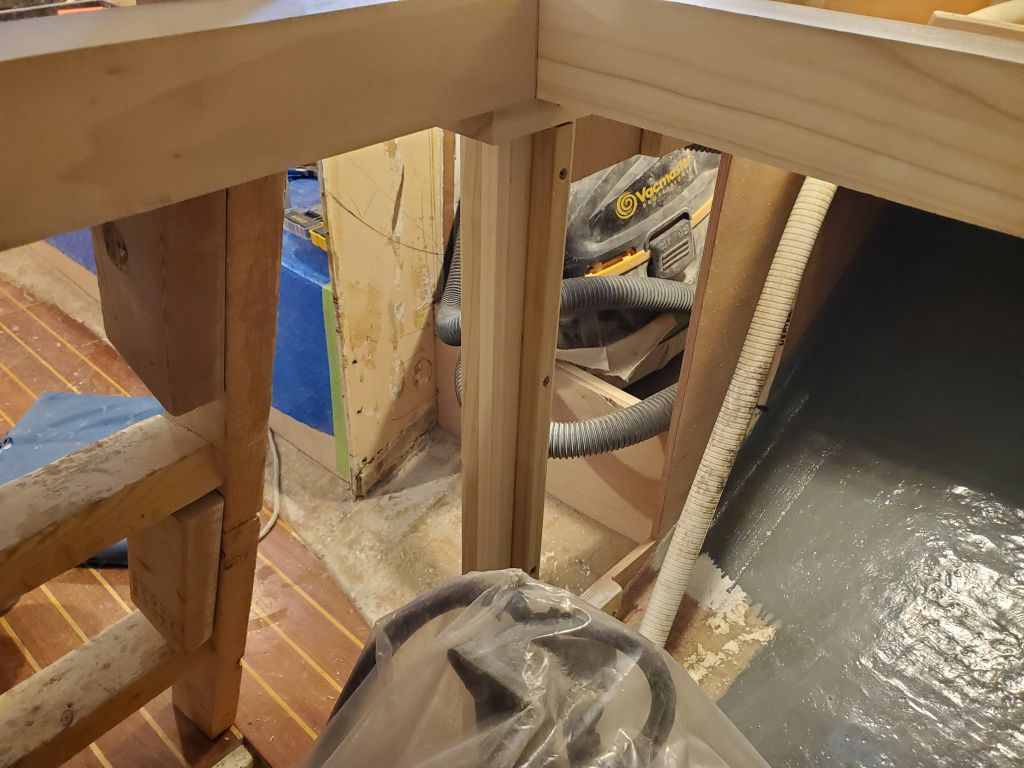
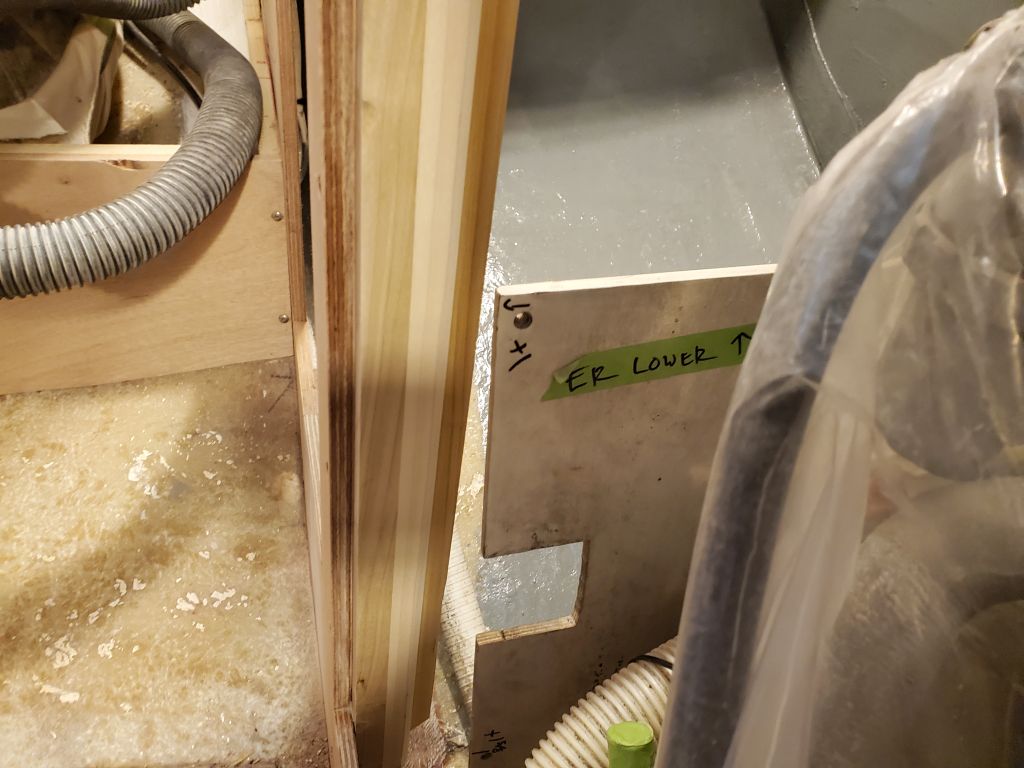
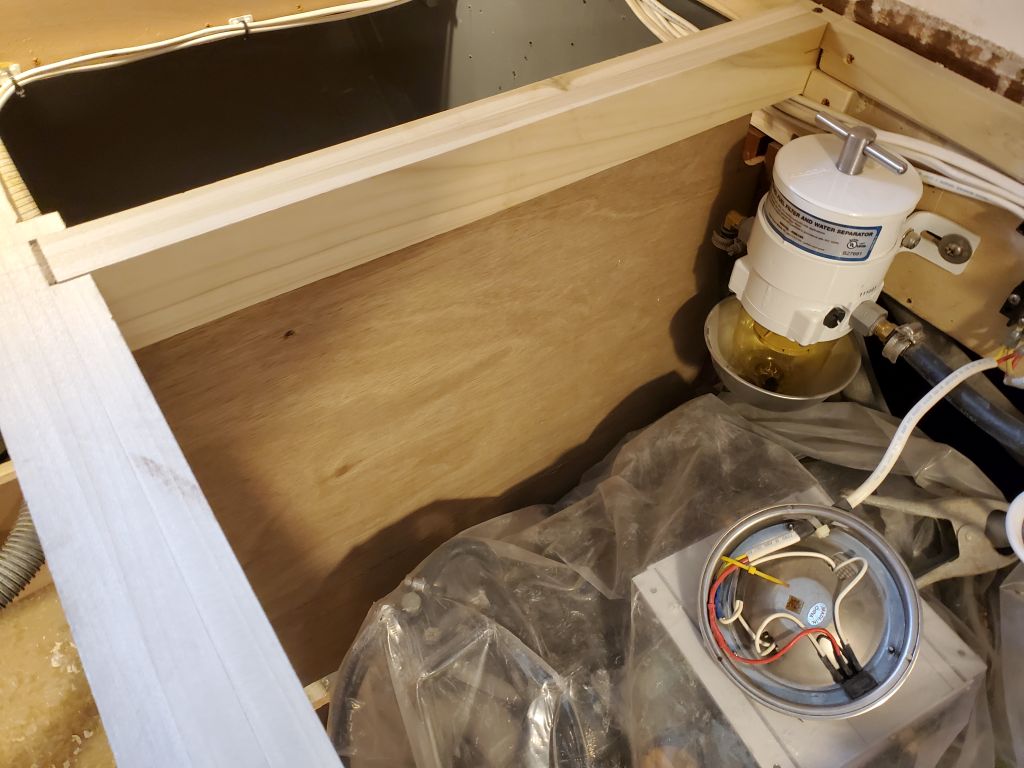
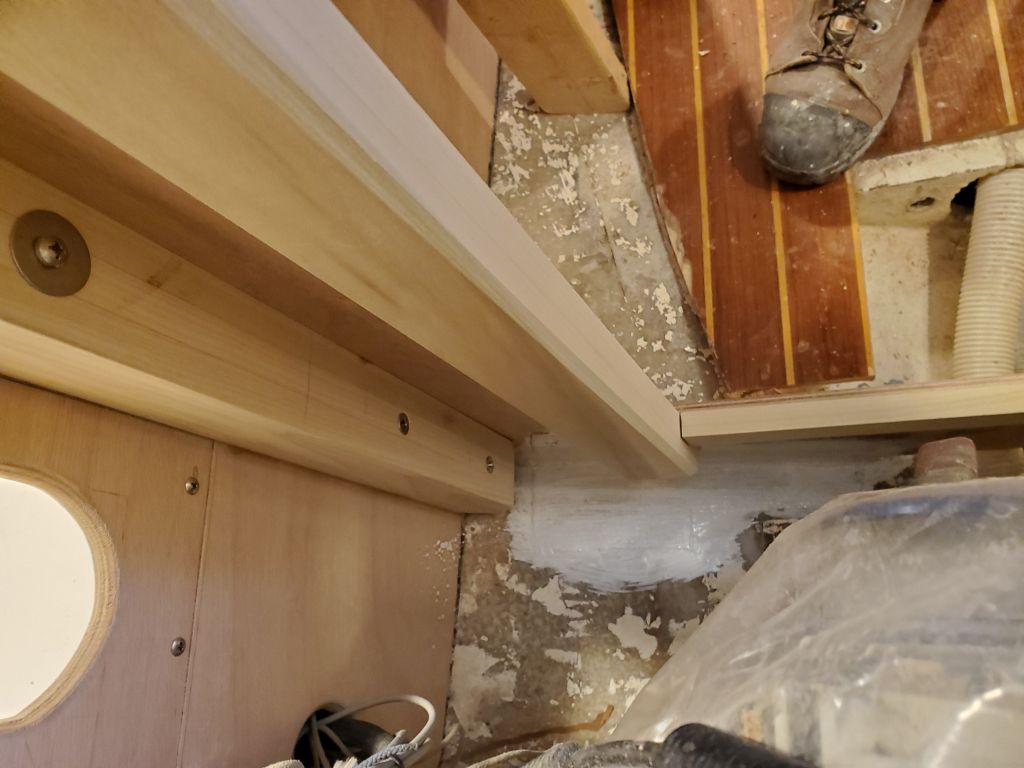
To support the final panel for the front of the galley/engine room, I planned two vertical posts, one on each side of the opening. Earlier, I’d glued up two blanks for the purpose, each from two pieces of 2-3/8″ wide stock. Starting with the starboard side, I cut the post to appropriate length, leaving it a bit above the bottom of the cabinet and cutting an angle for clearance and appearance. With a couple temporary screws, I tacked it in place, leaving 3/4″ exposed inside the engine room opening, and determined where the removable longitudinal engine room panels (running from the aft bulkhead forward to close the engine room off from the sink area) would land on the new post. Then, I removed it and, down on the bench, eased the two inside edges, then installed a support cleat for the removable panels before reinstalling the post permanently with glue and screws. The top of the post butted against the base of the countertop support beam above.
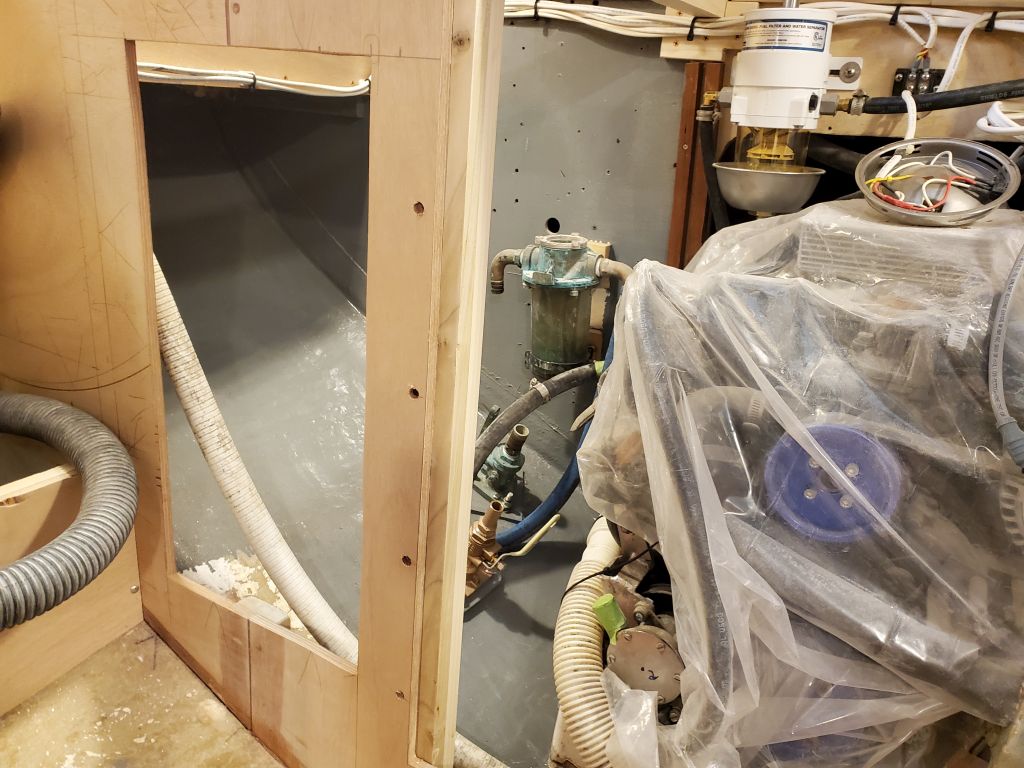
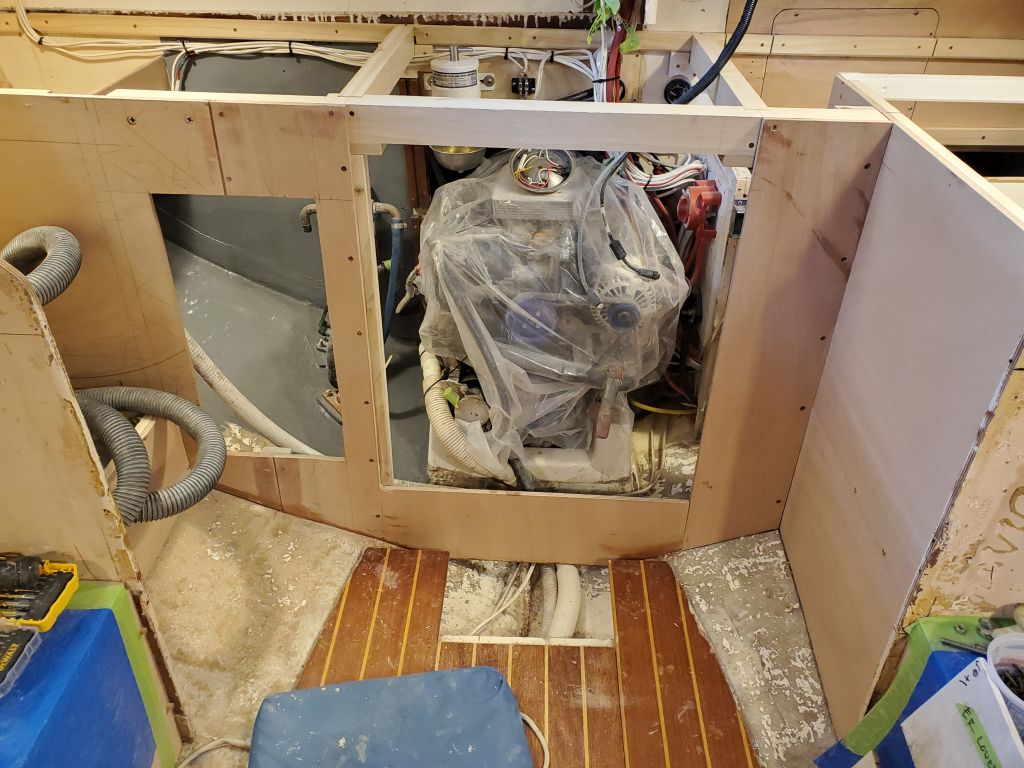
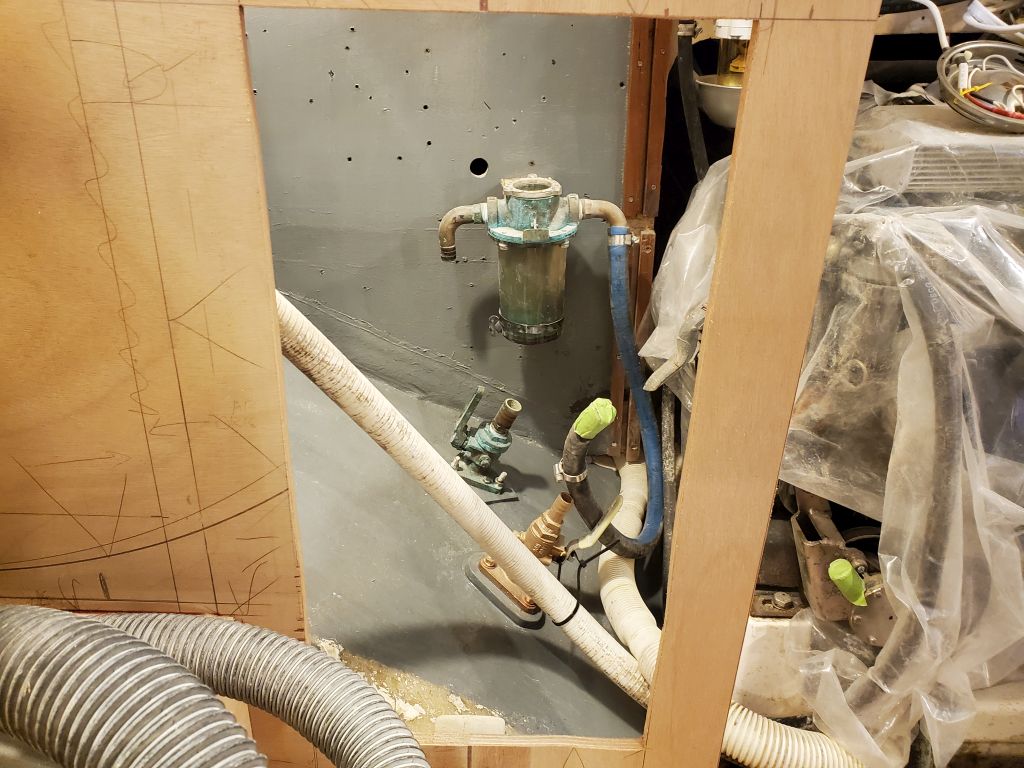
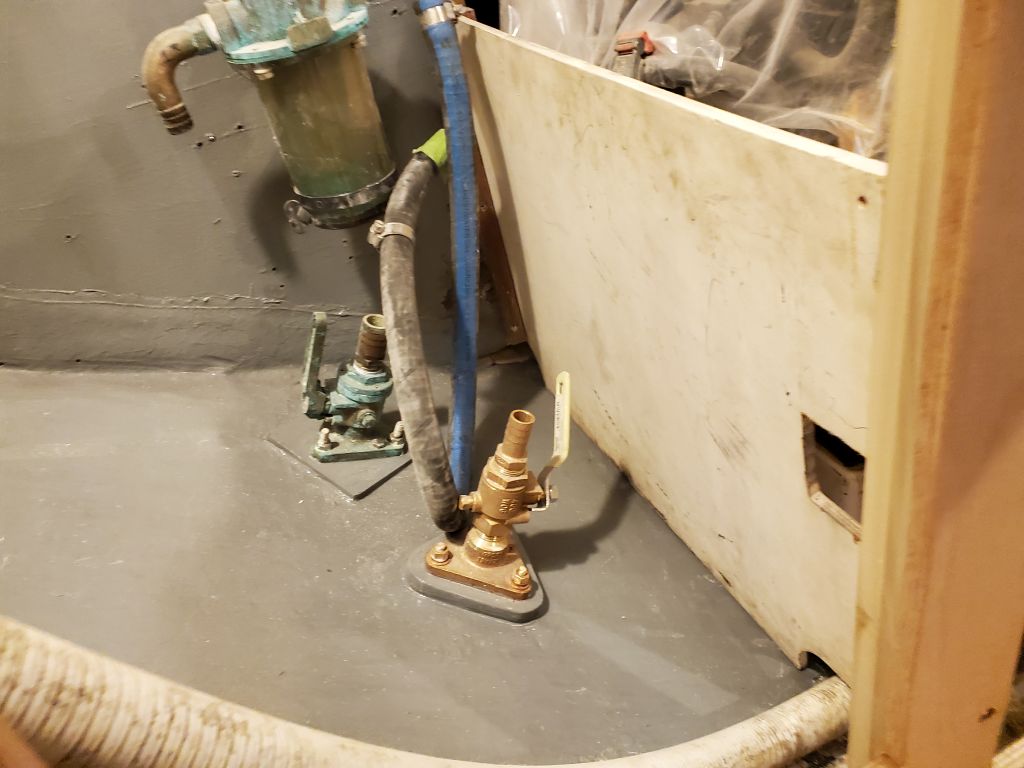
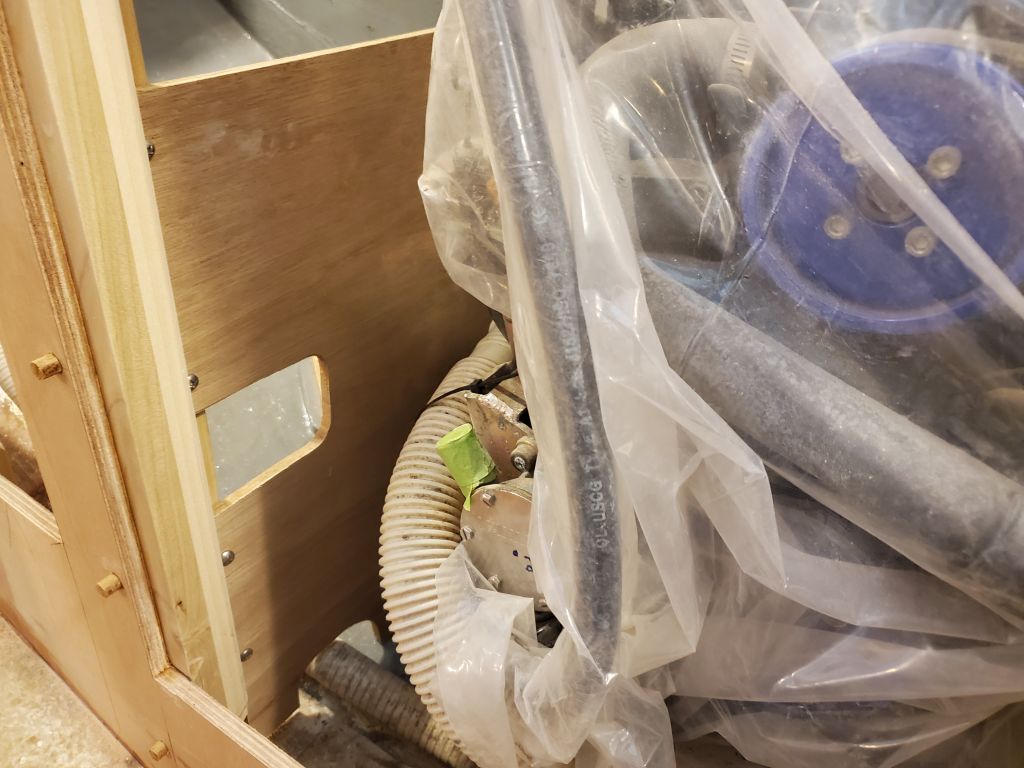
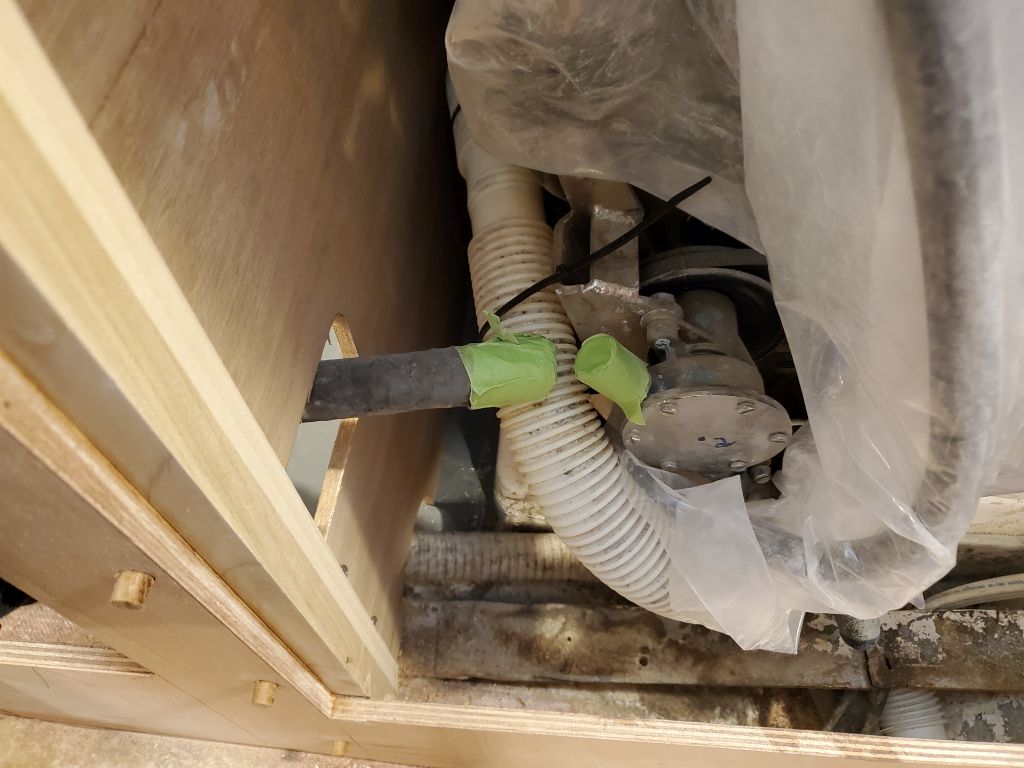
The original plywood panels that had formed the removable bulkhead were too short now, so I cut new ones from some 9mm plywood I had on hand. These panels slipped into the existing cleats on the aft end of the space, and rested against the new cleat at the aft end of the new post, secured with screws. As with the original, I left access at the forward end for the raw water intake hose to lead to the water pump. With the panels cut to fit satisfactorily, I removed them for safekeeping and for some paint.
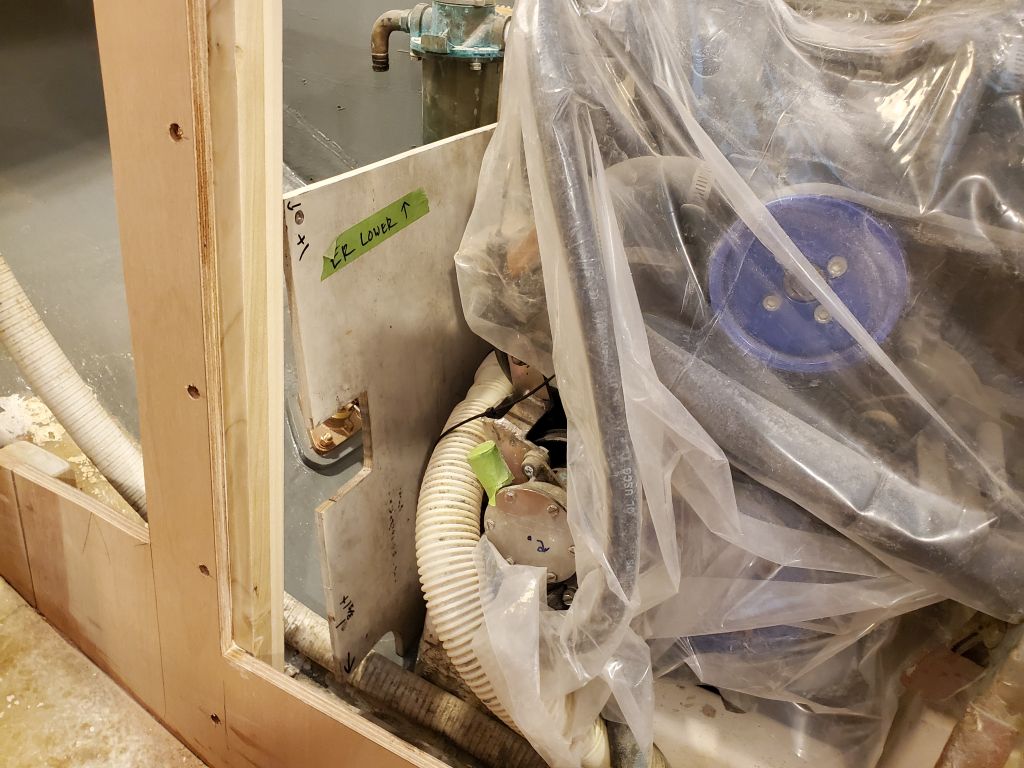

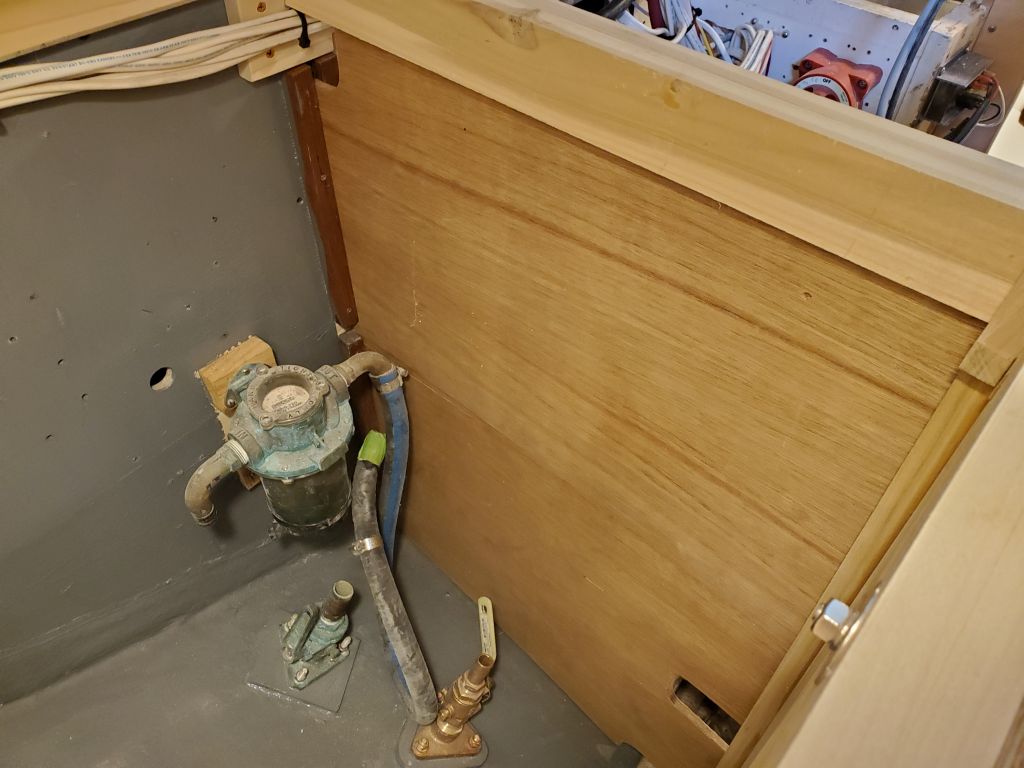
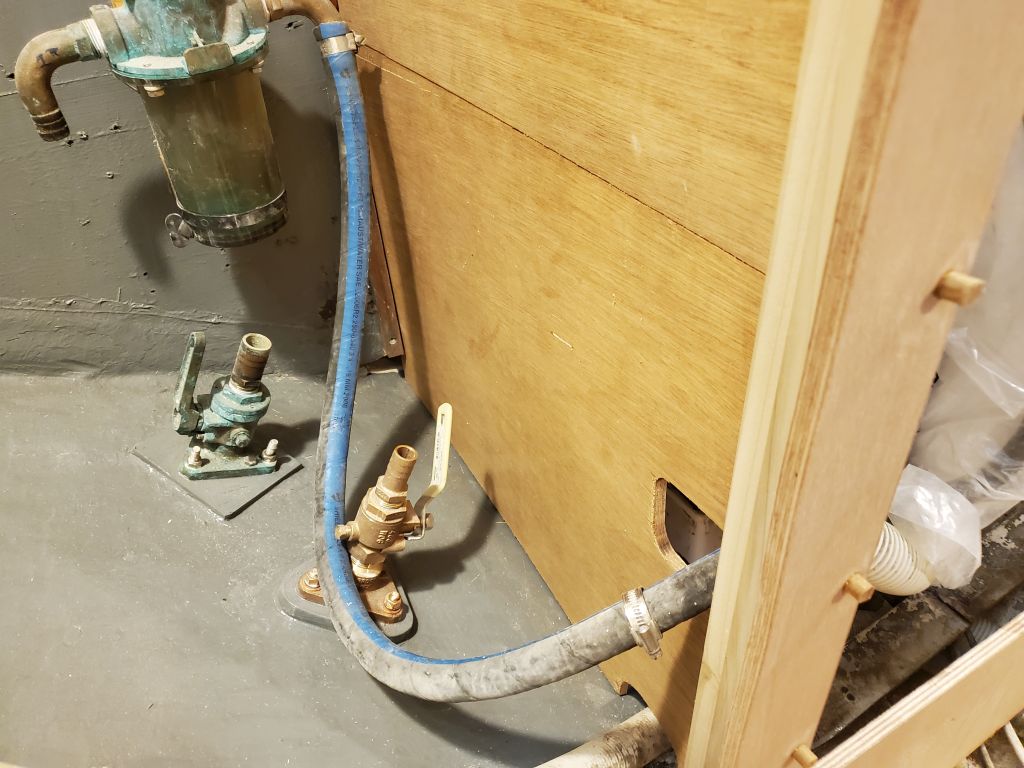
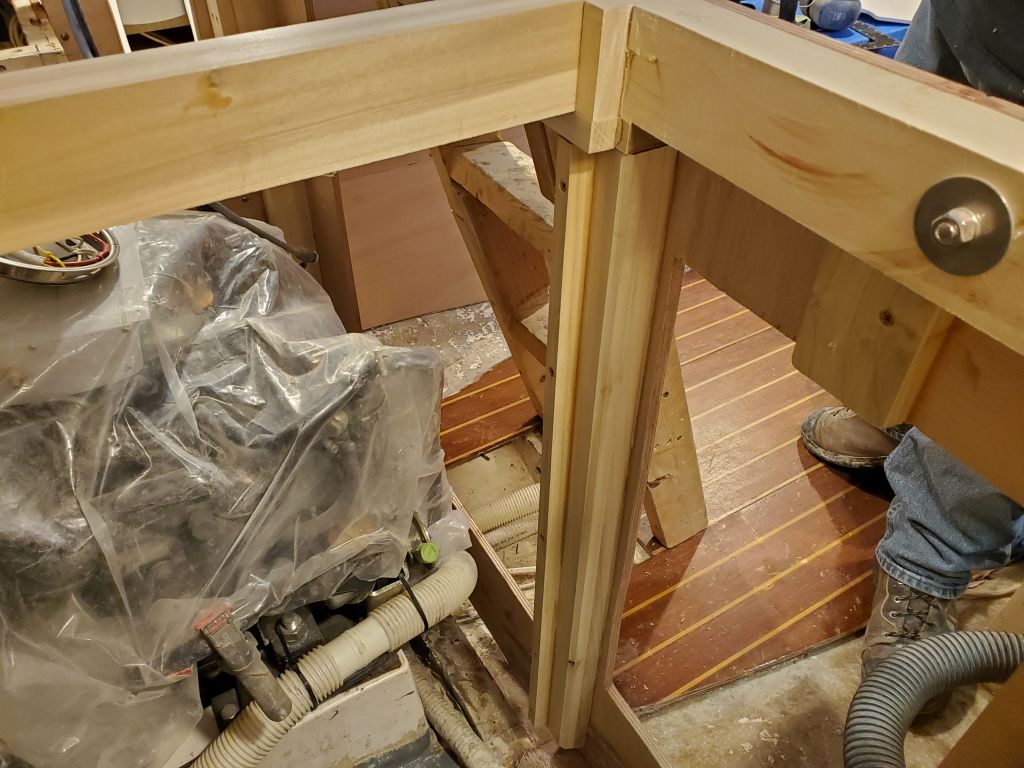
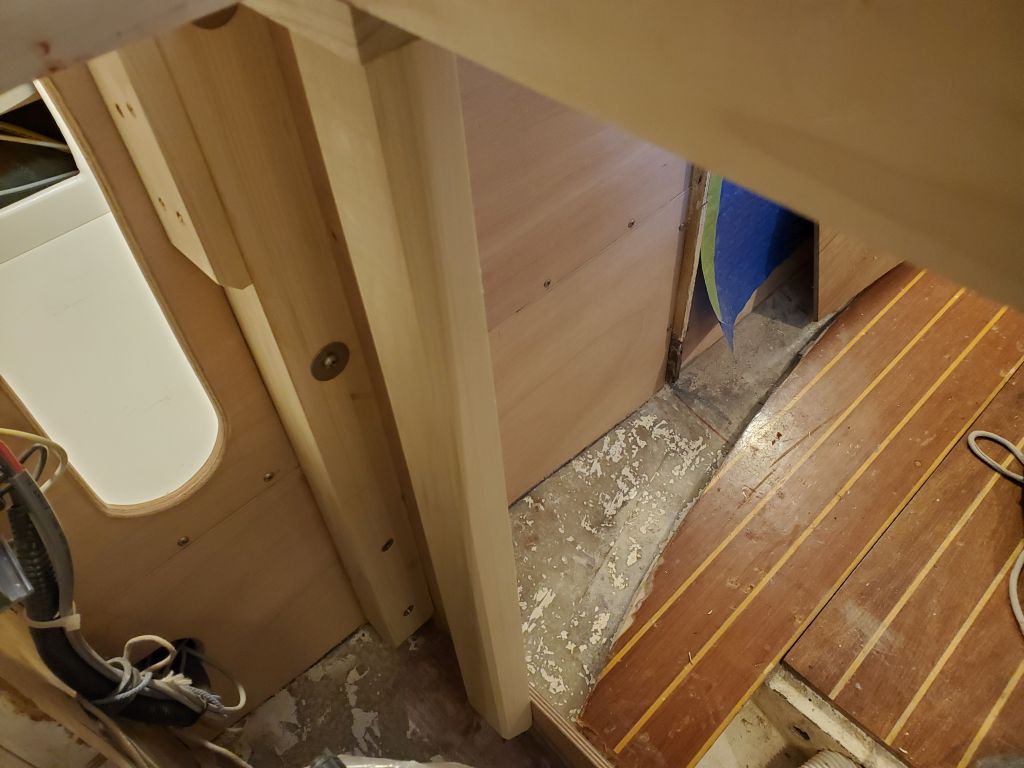
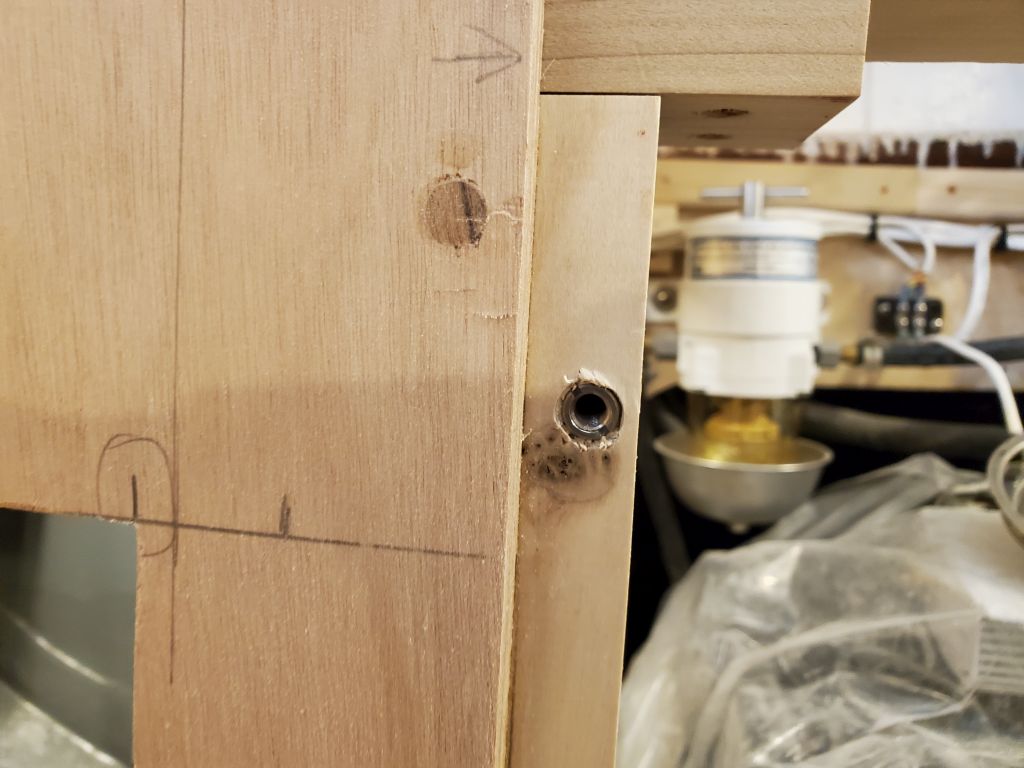
I repeated the post installation on the port side of the engine room, first installing the port panel with screws into the support post on the refer compartment, and a single removable screw through the tabbing at the base. On this side, I did not use any glue on the post, securing it only with screws so the port panel could remain removable. I did decide to hide the screws behind bungs, however, as I felt the circumstances requiring removal of the panel would be few and far between, if ever, and if necessary bungs could be removed with minimal impact. I ran the bolt securing the main galley cross beam to the port post through the plywood as well; this would be covered with trim later. I installed bungs in all the screw holes surrounding the engine room opening.
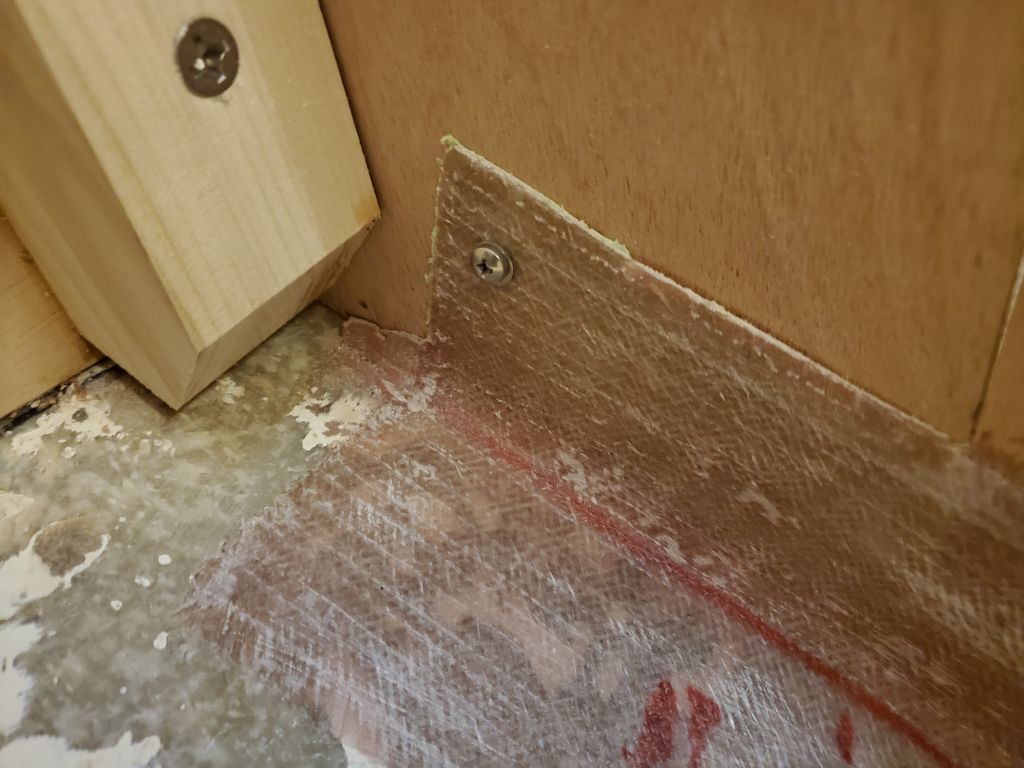
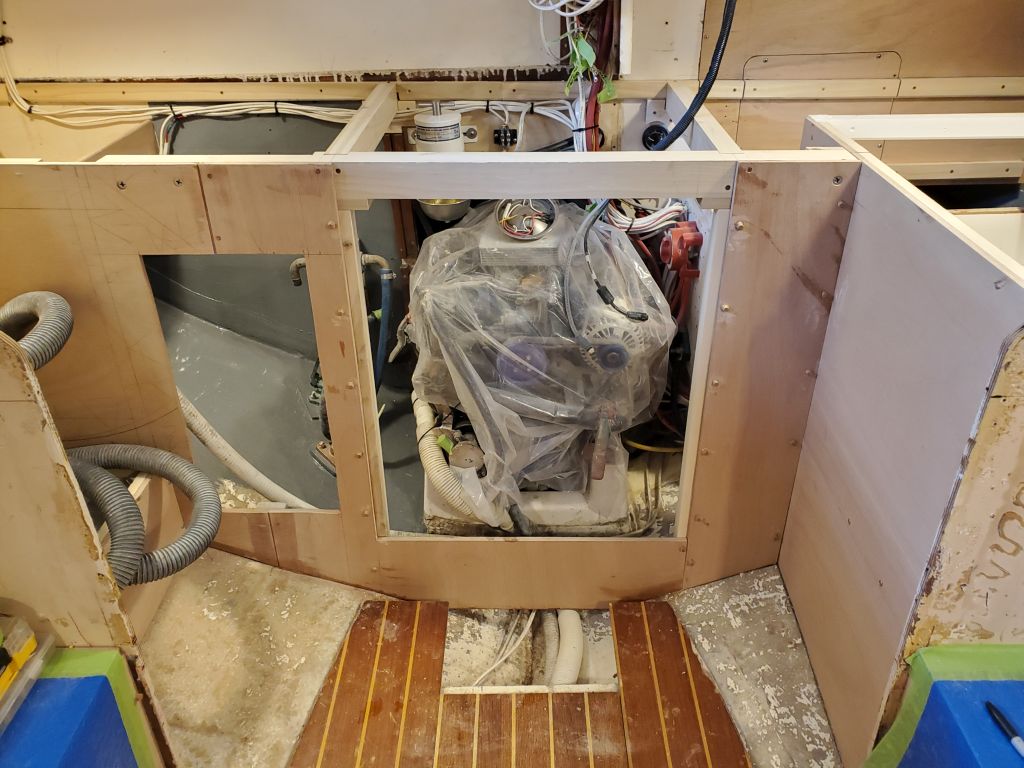
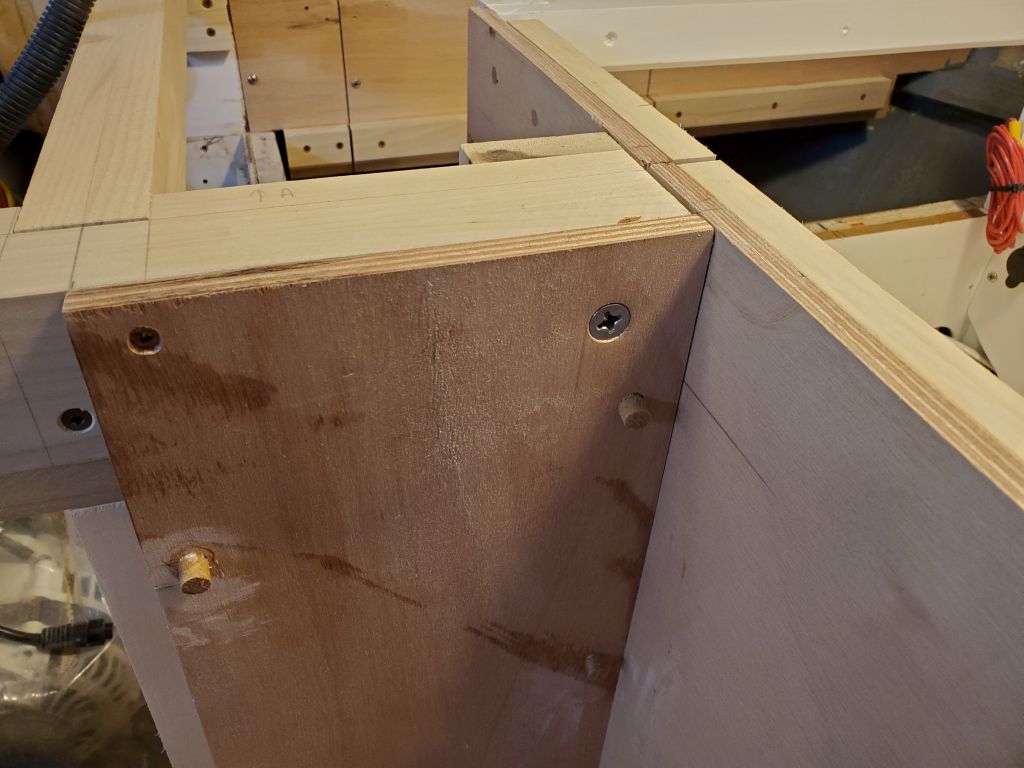
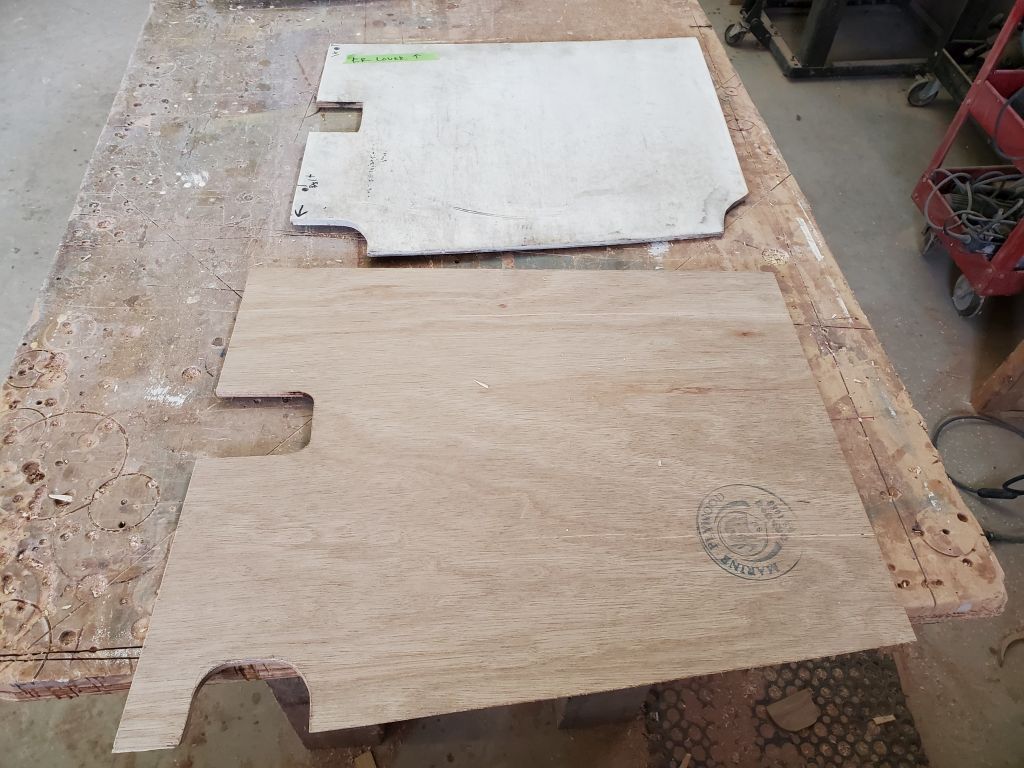
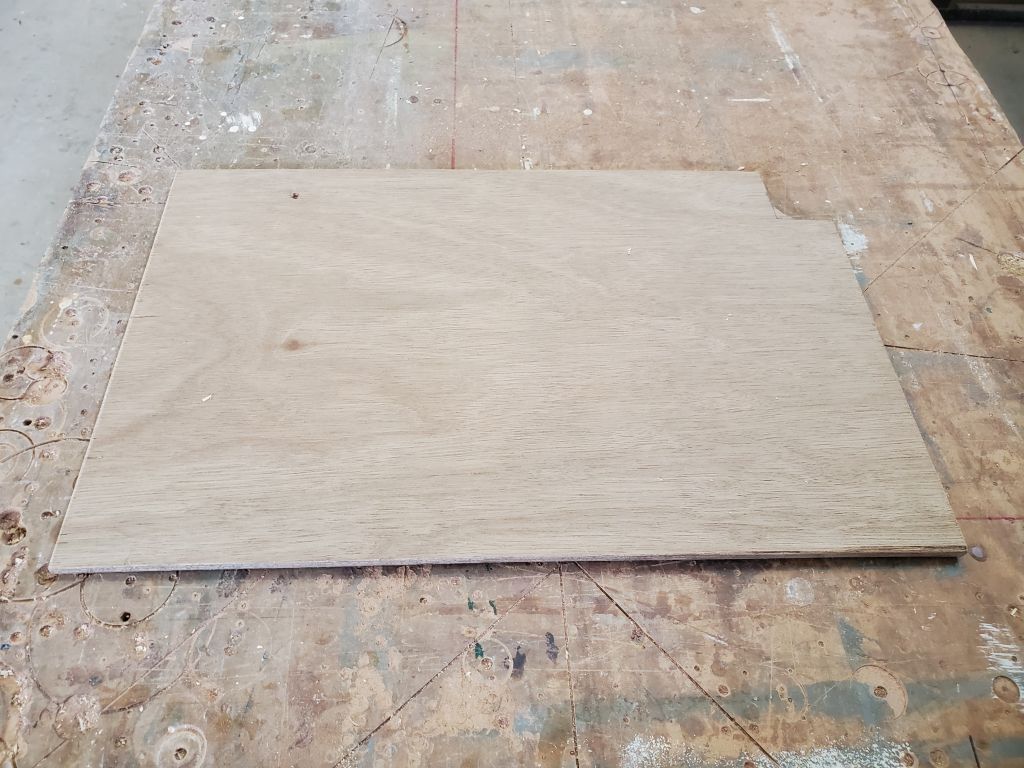
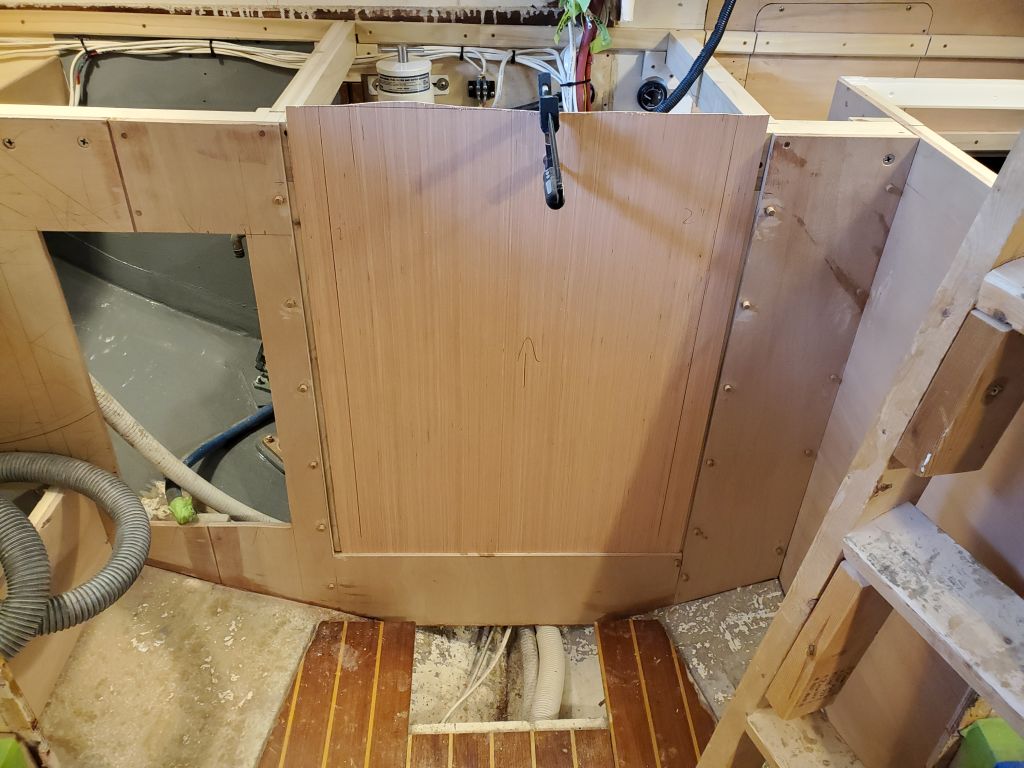
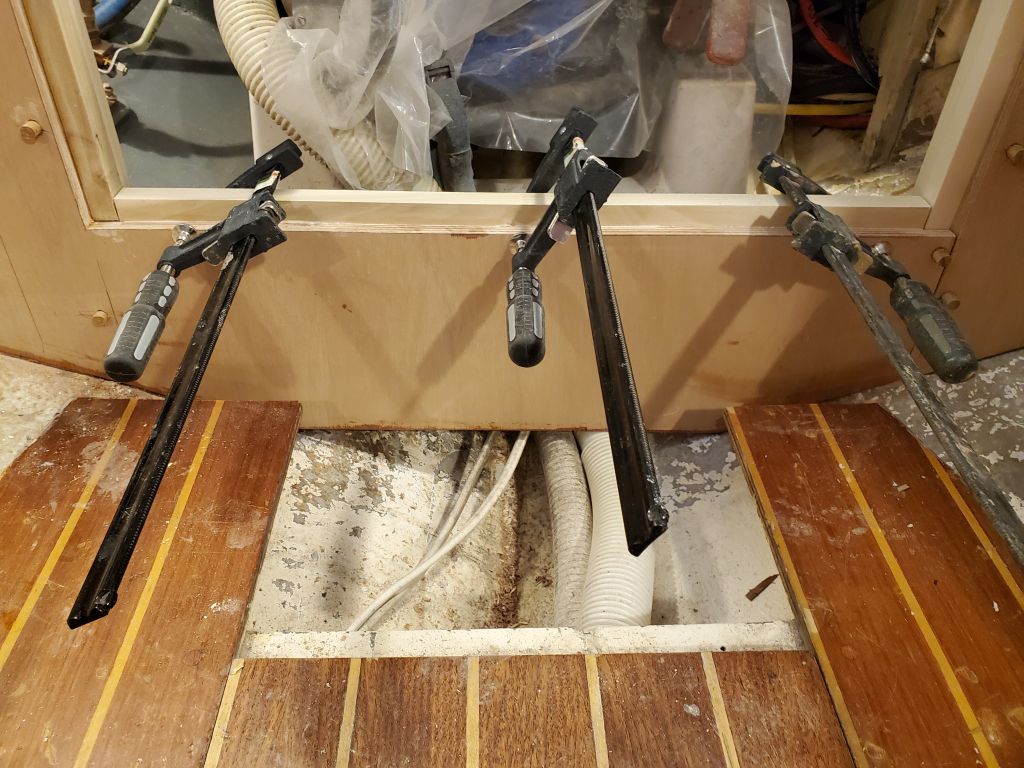
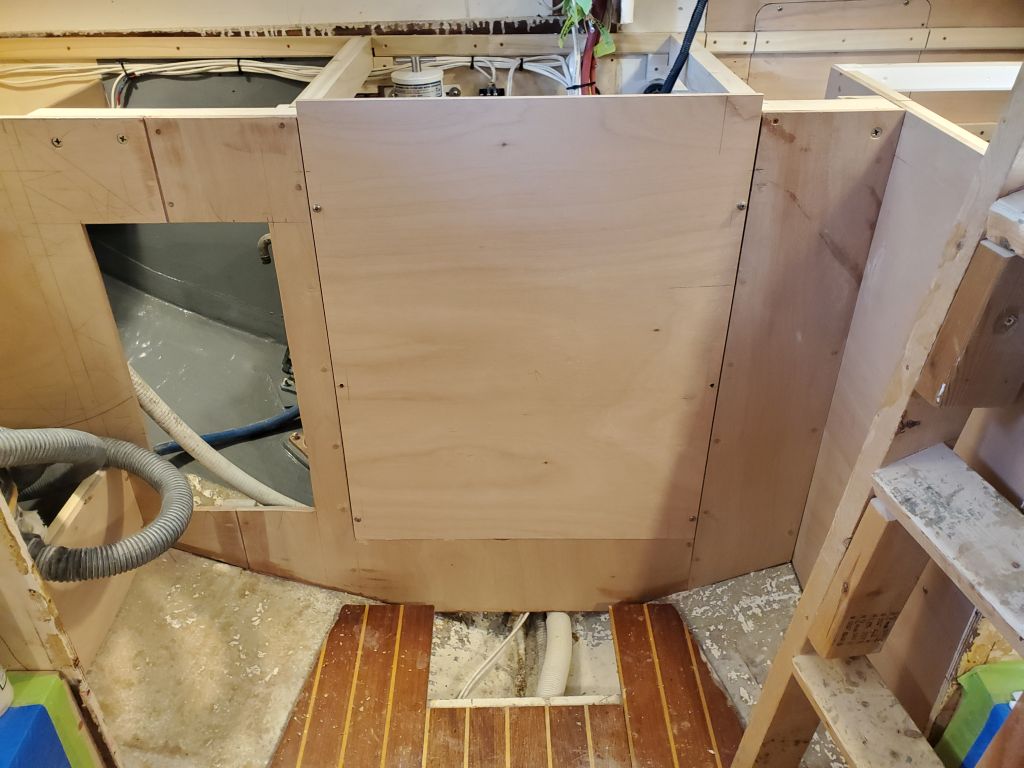
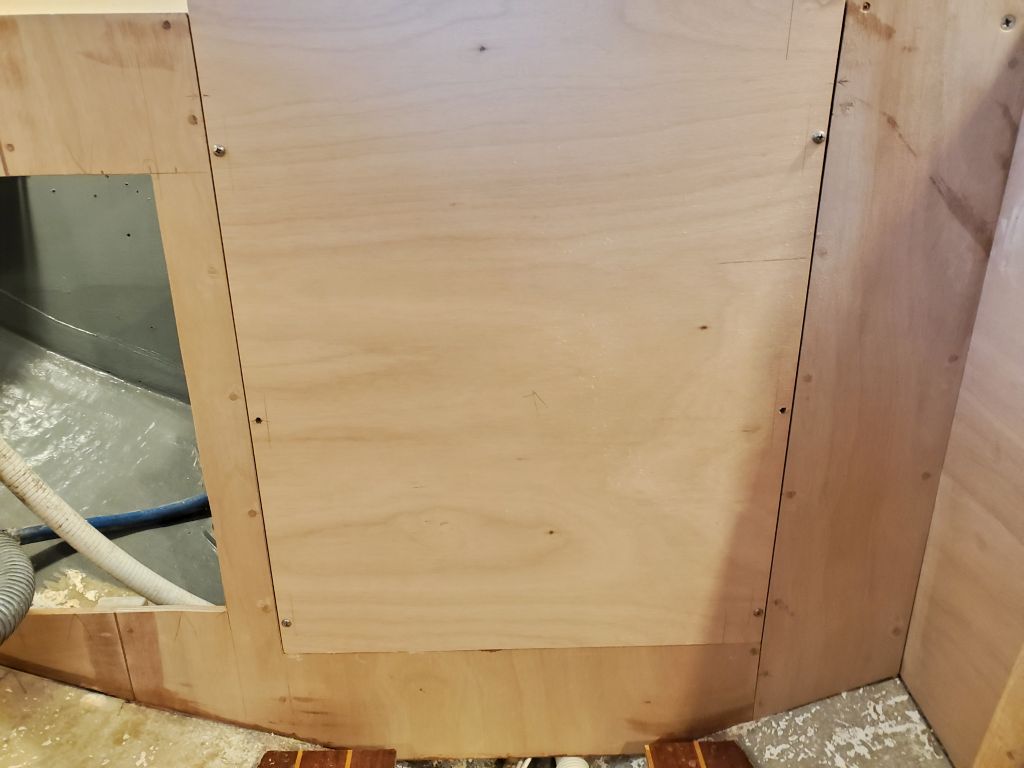
With a template panel cut just shy of the width of the opening, I scribed as needed so I could size the final panel. At the base of the opening, I installed a final cleat across the space to secure the base of the removable panel. While I gave the glue time to set up (I used no screws in this cleat), I chiseled flush all the bungs around the opening, then went down and, using the template, cut the final panel from 12mm plywood.
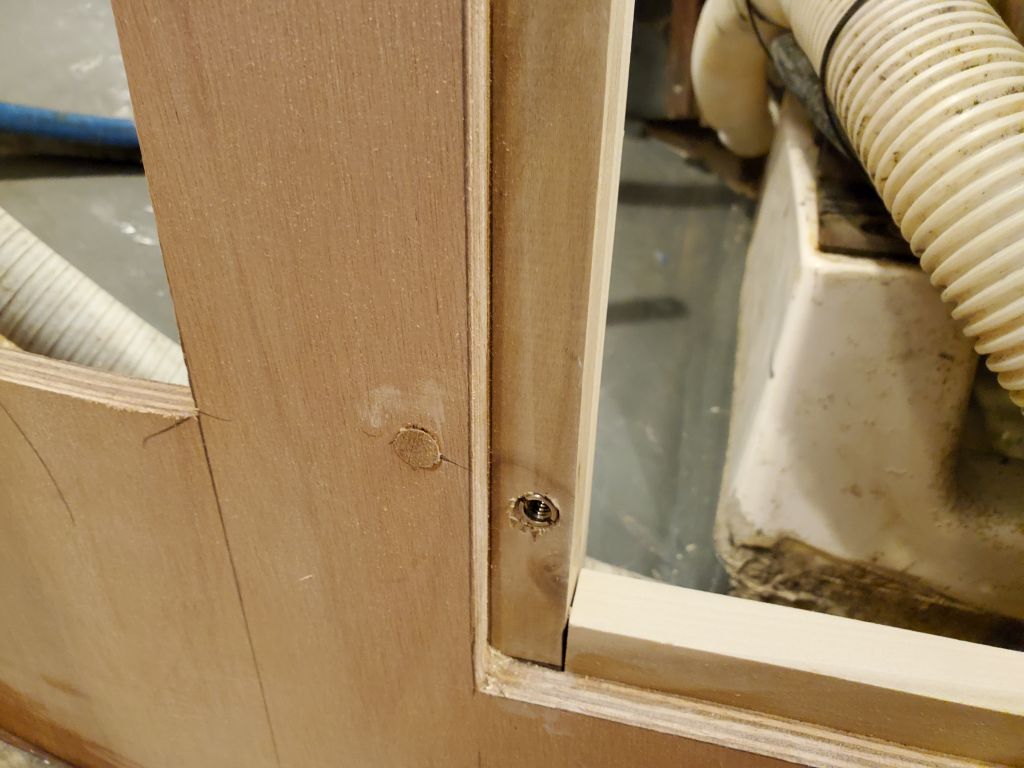
To secure this panel, I used six threaded inserts set into the vertical posts, eventually to receive thumbscrews for tool-less access to the space. For now, I used a few short machine screws to hold the panel while I marked the top edge for final trimming.


To finish up the day, I applied two-part epoxy primer to the new tabbing inside the engine room.
Total time billed on this job today: 7.5 hours
0600 Weather Observation: 23°, clear. Forecast for the day: Mostly sunny, 39°