


December 13, 2023
Calliope Girl 23
Wednesday
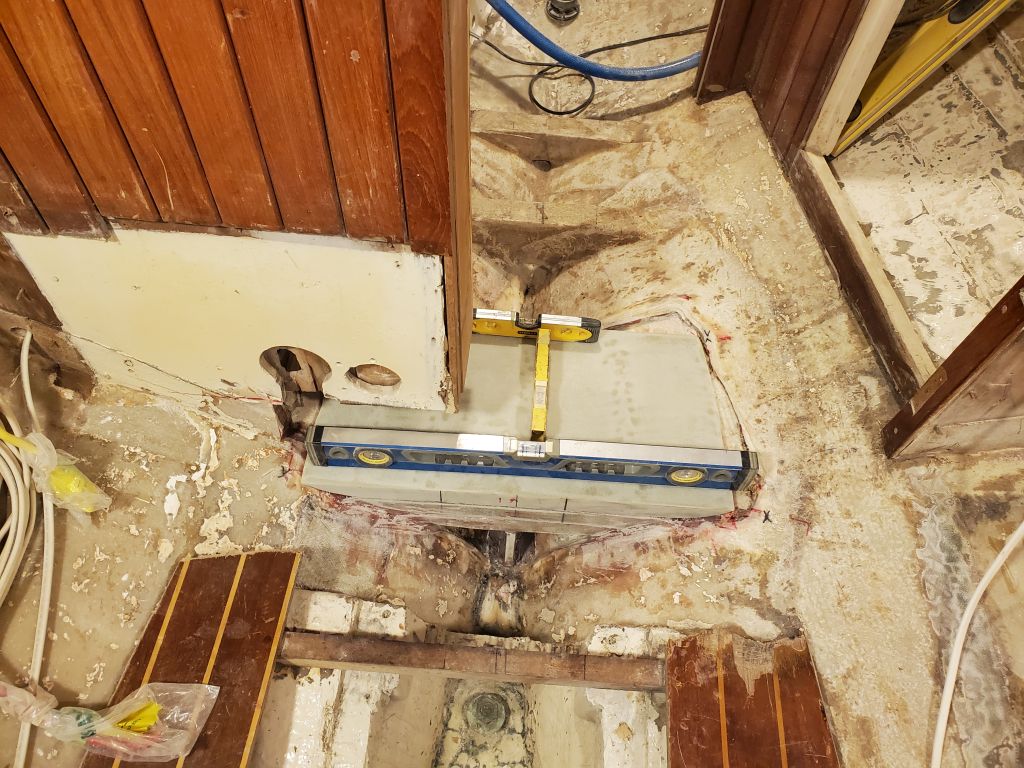
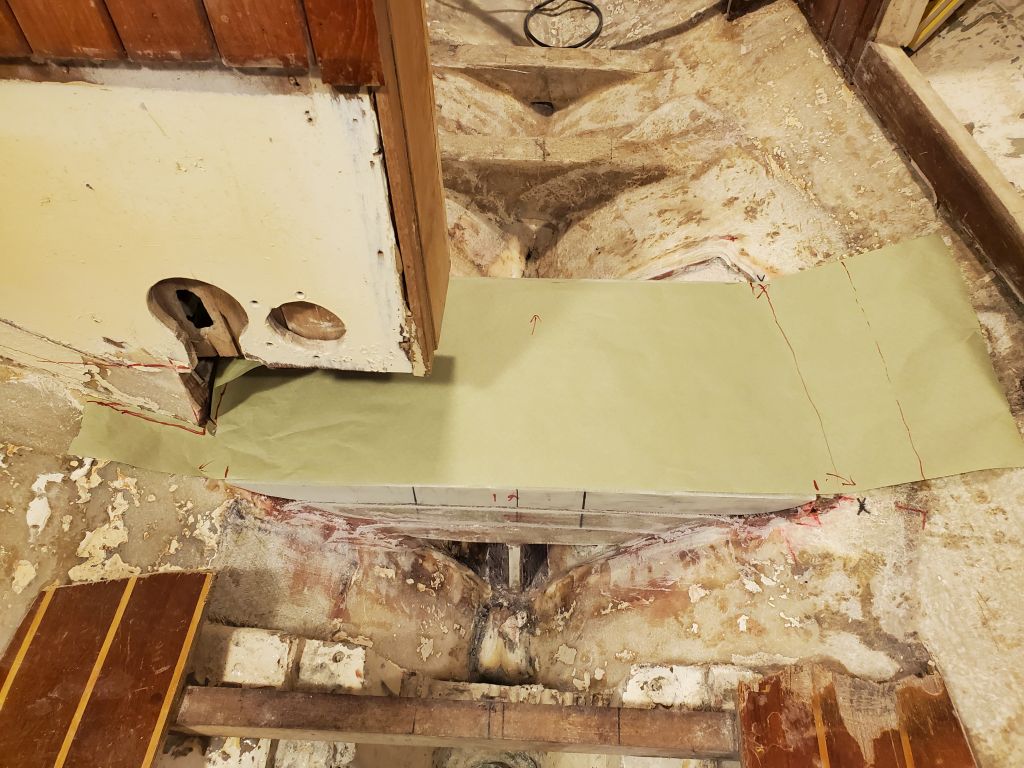
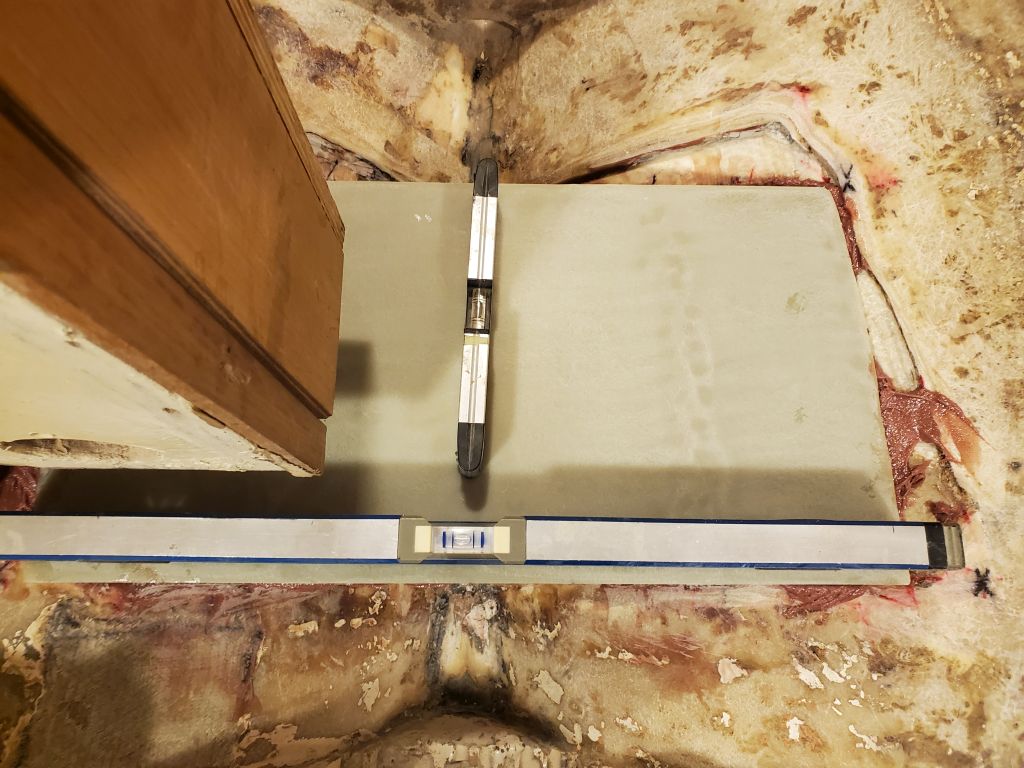
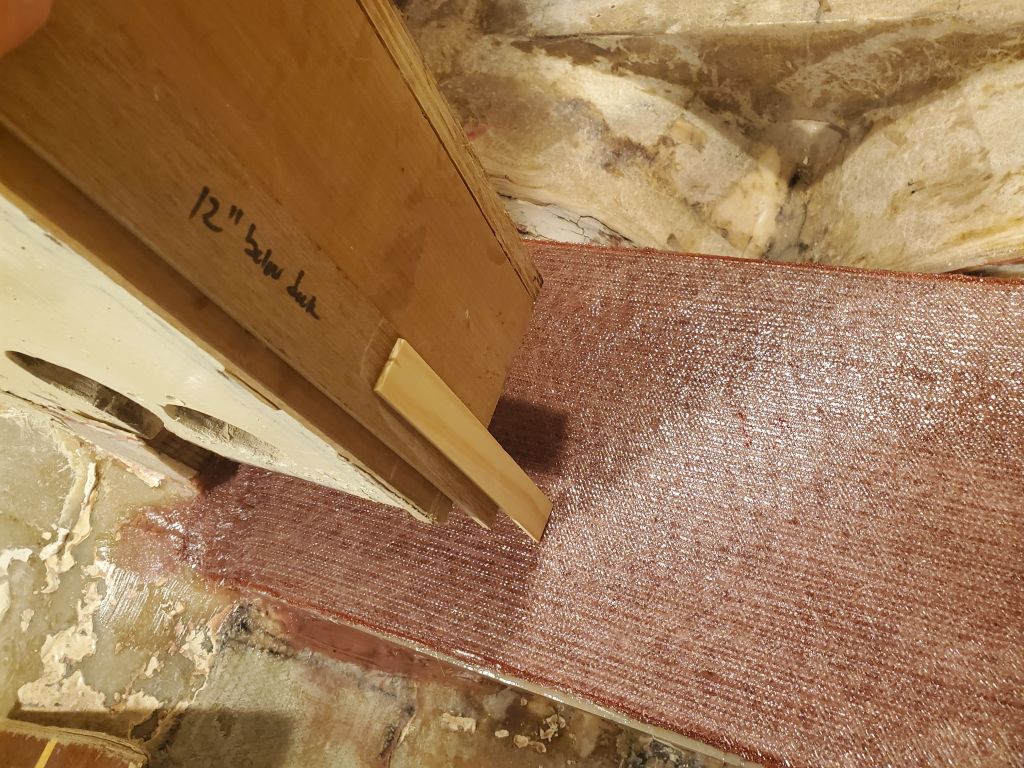
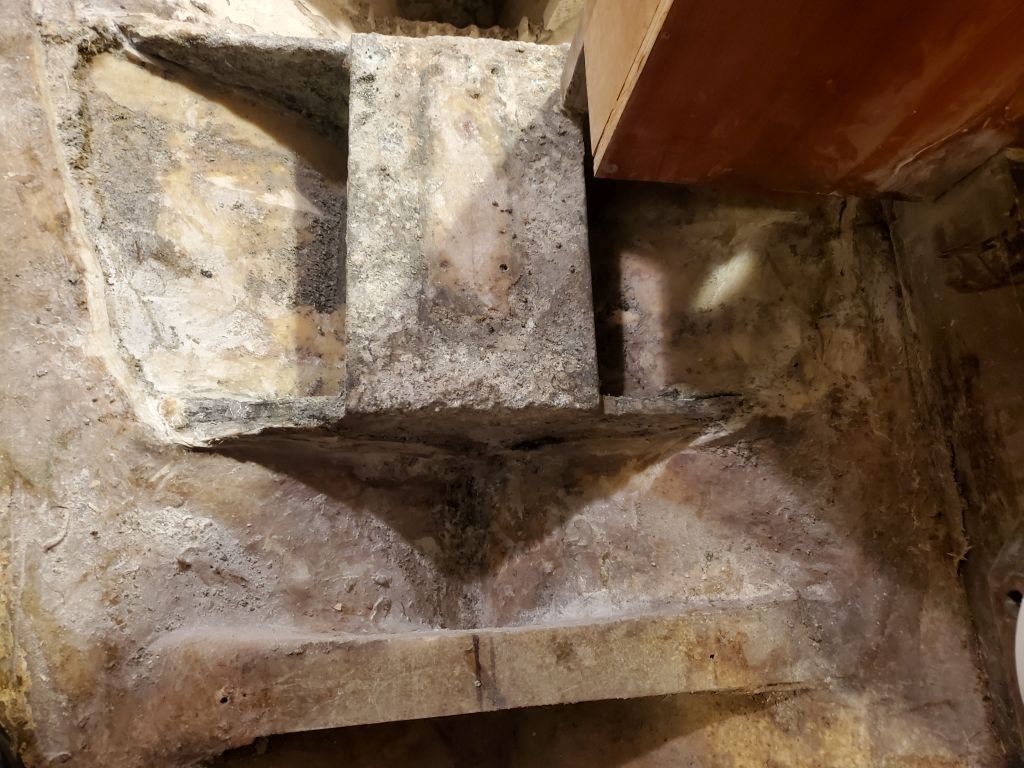
The new fiberglass from last time required a light water wash and sanding to prepare it for the final stage of new work. Afterwards, I dry-fit the third layer of G-10 to check its fit and check once more the measurement from the mast collar to the top of the step to ensure I had the correct clearance. With a measurement of 68-1/2″, the top plate was right where I wanted it at this stage, with approximately 1/4″ room to spare to allow for the layers of fiberglass over the top. I made a quick paper pattern of the area to use for cutting the new fiberglass, along with paper patterns of the forward and after faces. The top plate fit nicely on top of the layers beneath, with just a small gap appropriate for the epoxy adhesive–no need for additional fiberglass to fill the space.
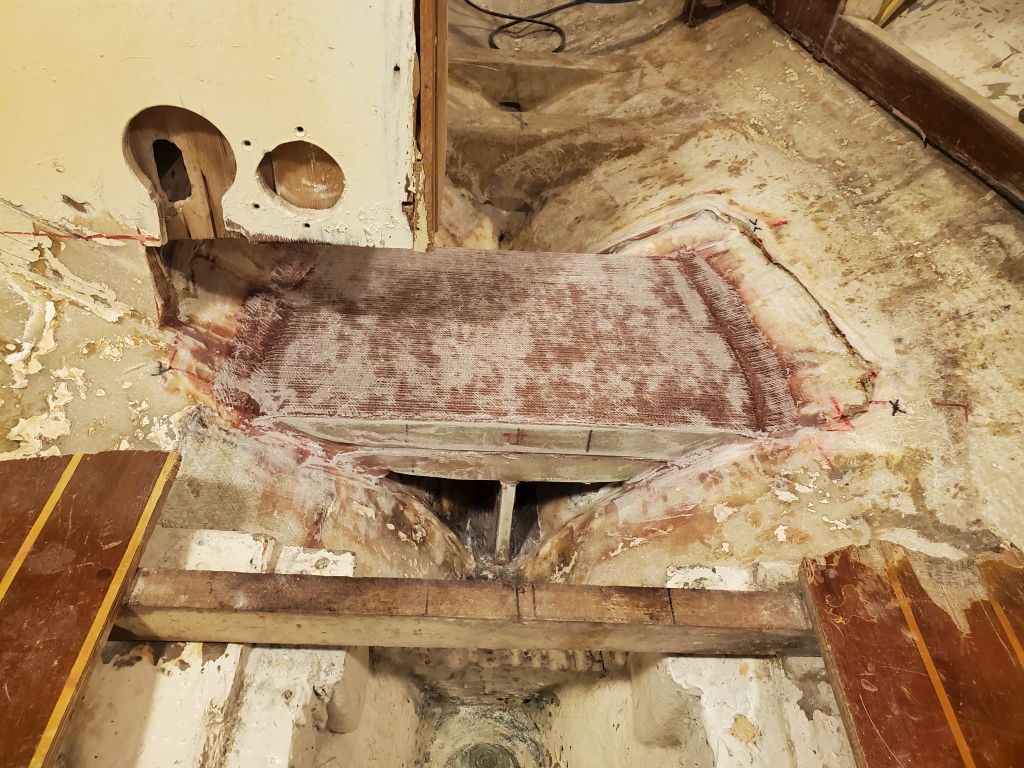
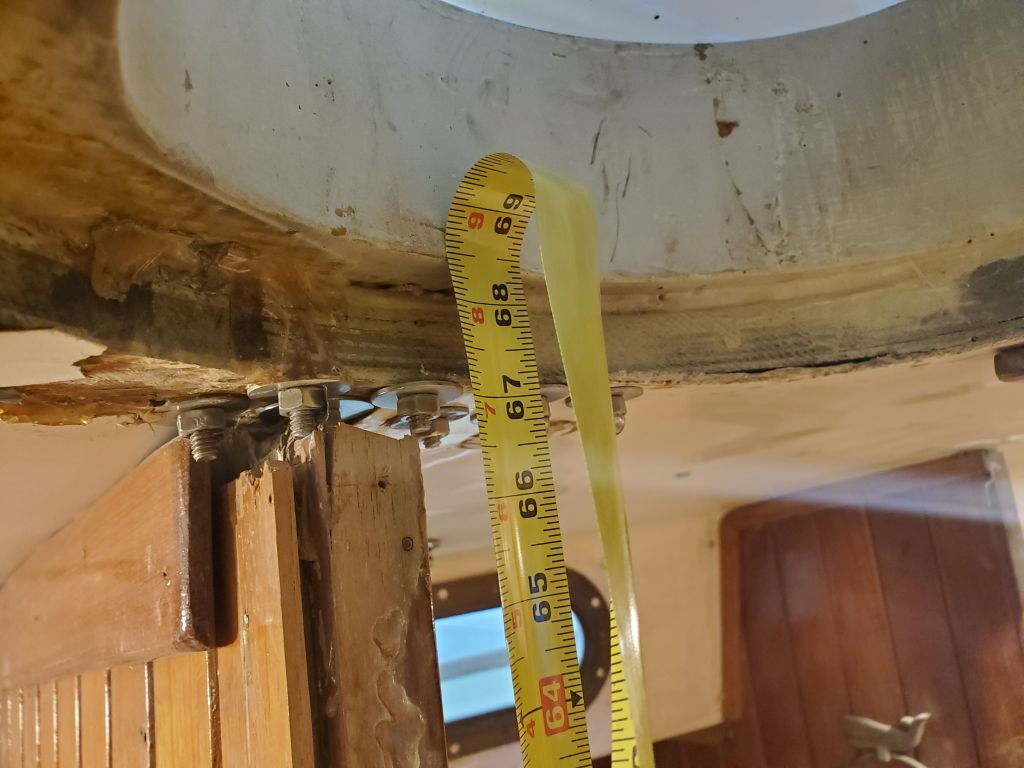
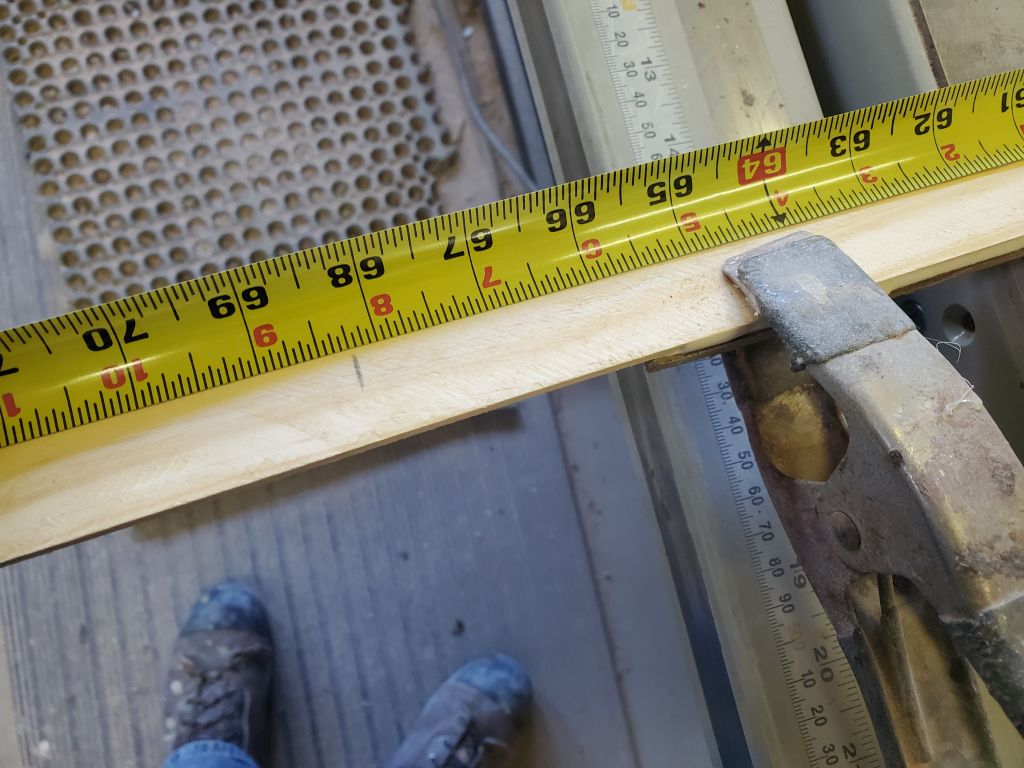
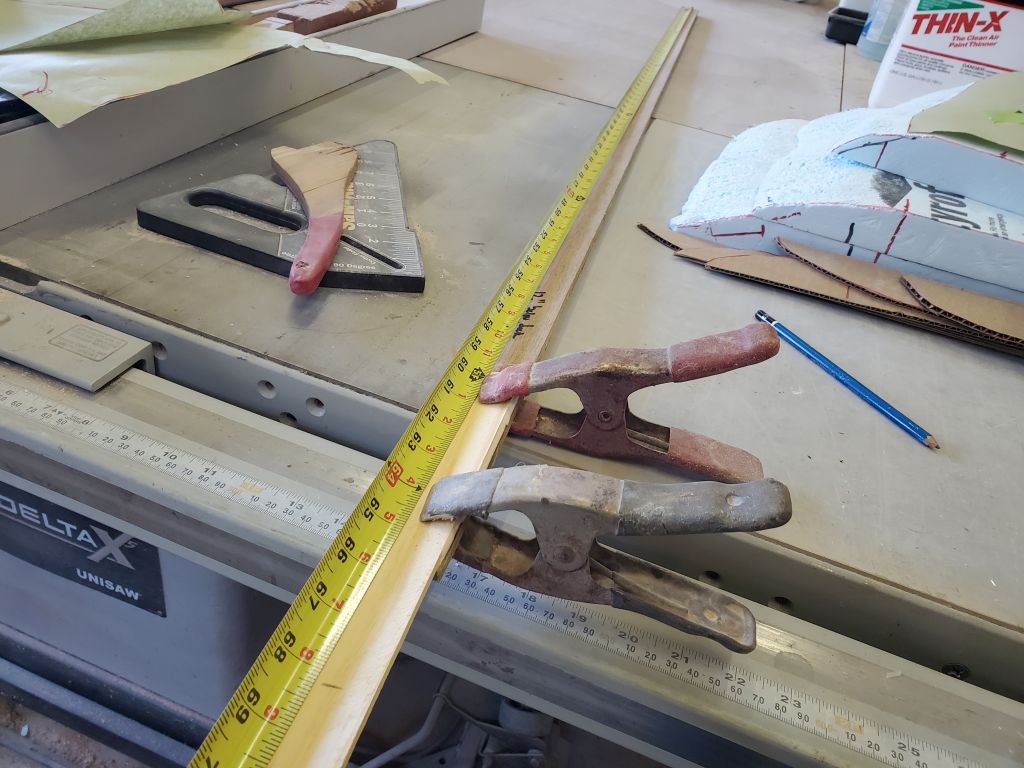
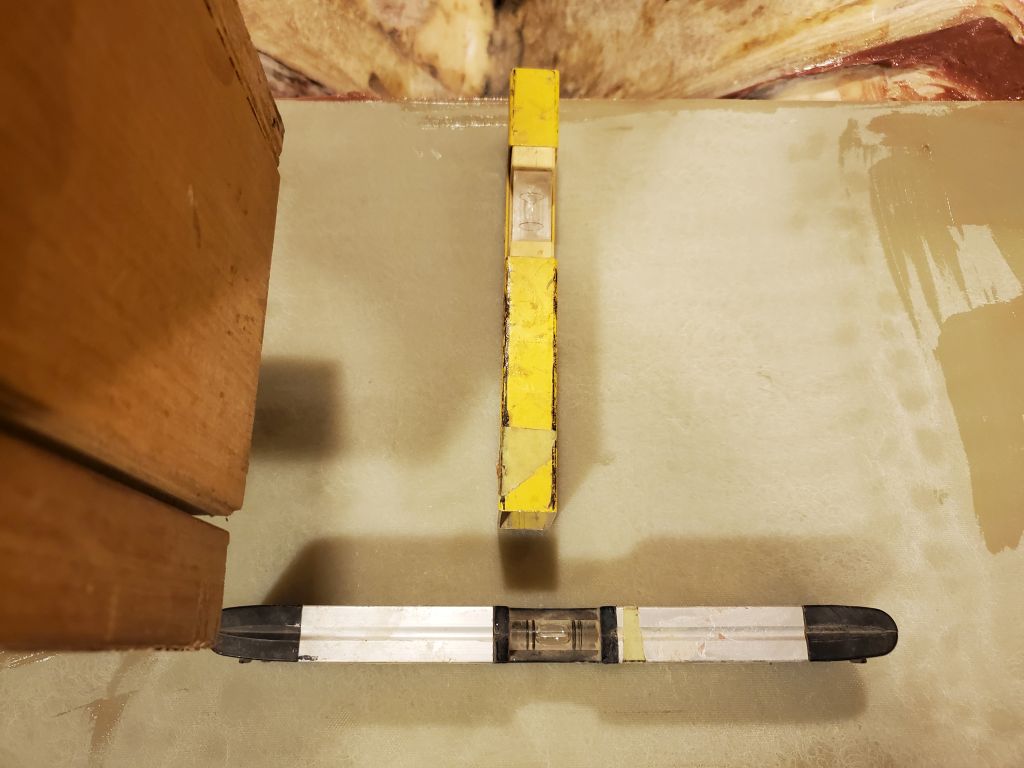
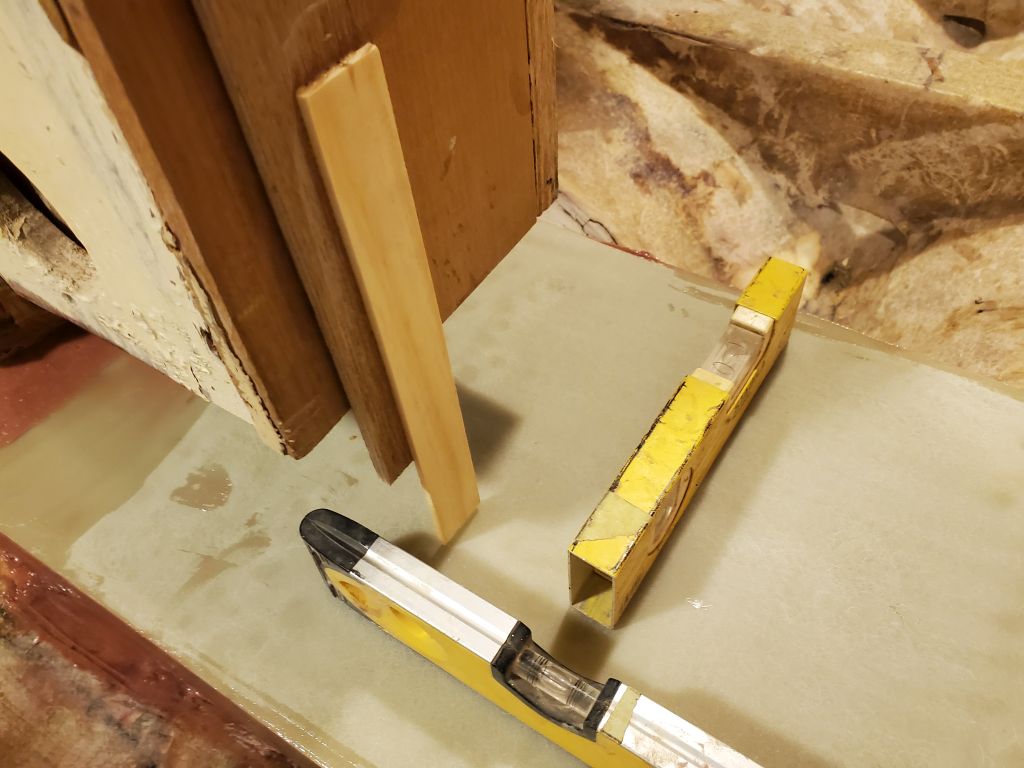
I help with the final installation stage, I prepared a “story stick” cut to 68-1/4″ long, which was the exact final measurement I wanted from the reference point on the mast collar above to the new mast step top; the stick I used during the early part of the layout had disappeared somewhere along the way. This stick would make it easier for me to di the final measurement when the fresh glasswork was in place, as I’d not need to rest a tape measure on the wet fiberglass. I double-checked that this worked as intended, then removed the top plate and cleaned up the whole area to prepare for final installation.
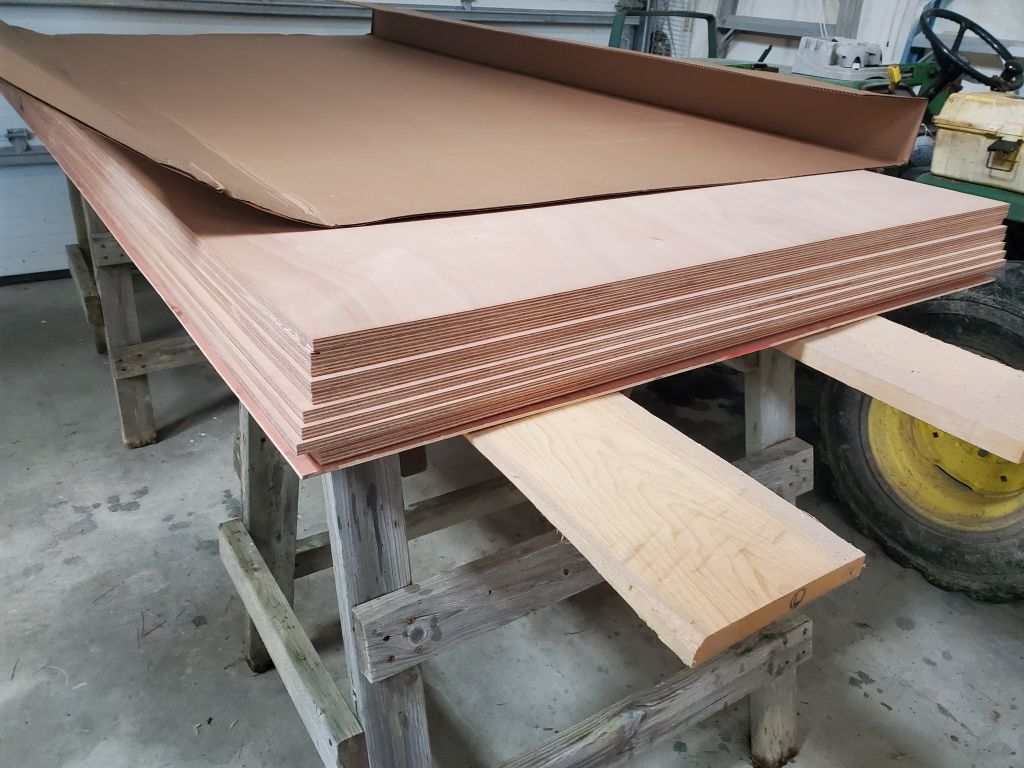
Just before final installation of the last layer of the step, I received delivery of a batch of plywood to be used for the new interior construction.
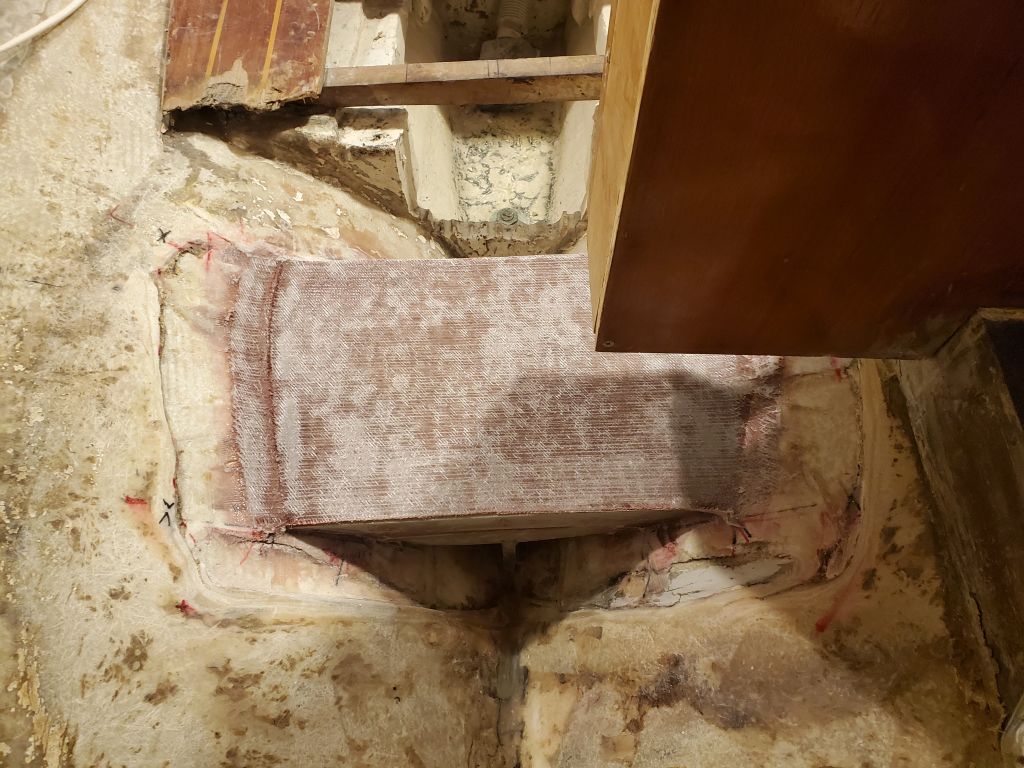
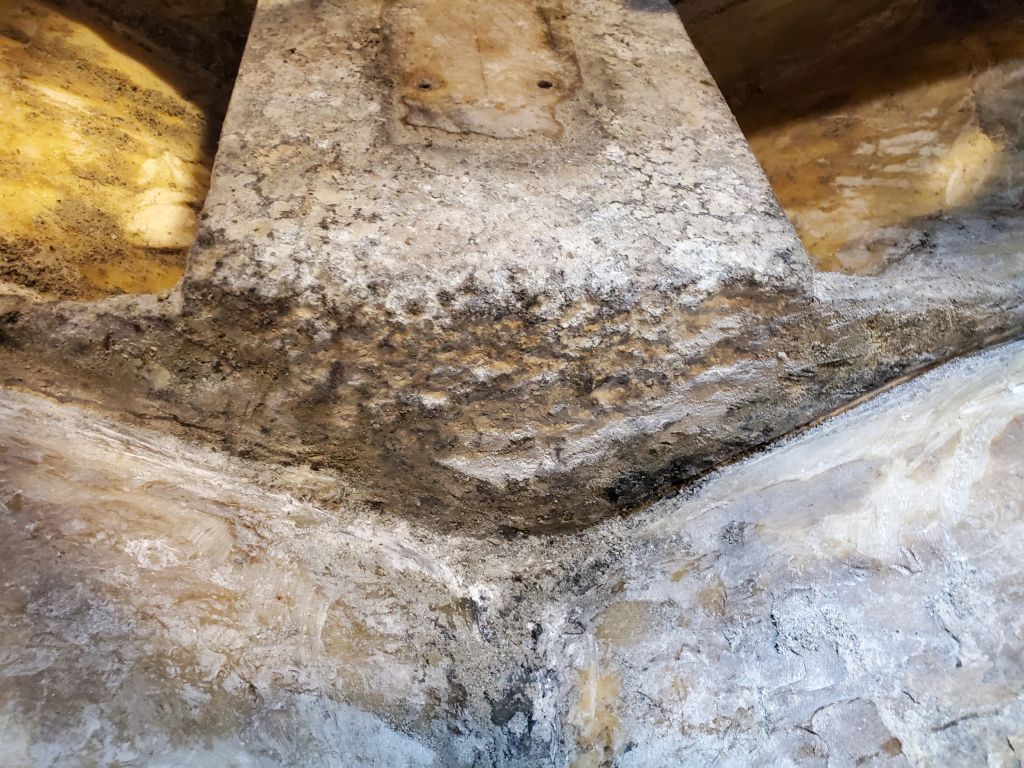
I installed the final layer of the mast step in a bed of thickened epoxy adhesive and leveled it in both directions before checking the height with my story stick. Then I used additional epoxy to fill in and smooth over the transitions to the hull on each side, and at the vertical ends of the step to fill and clean up the edges between the three layers and where they met the hull on each side, checking the level and height measurement throughout the process.
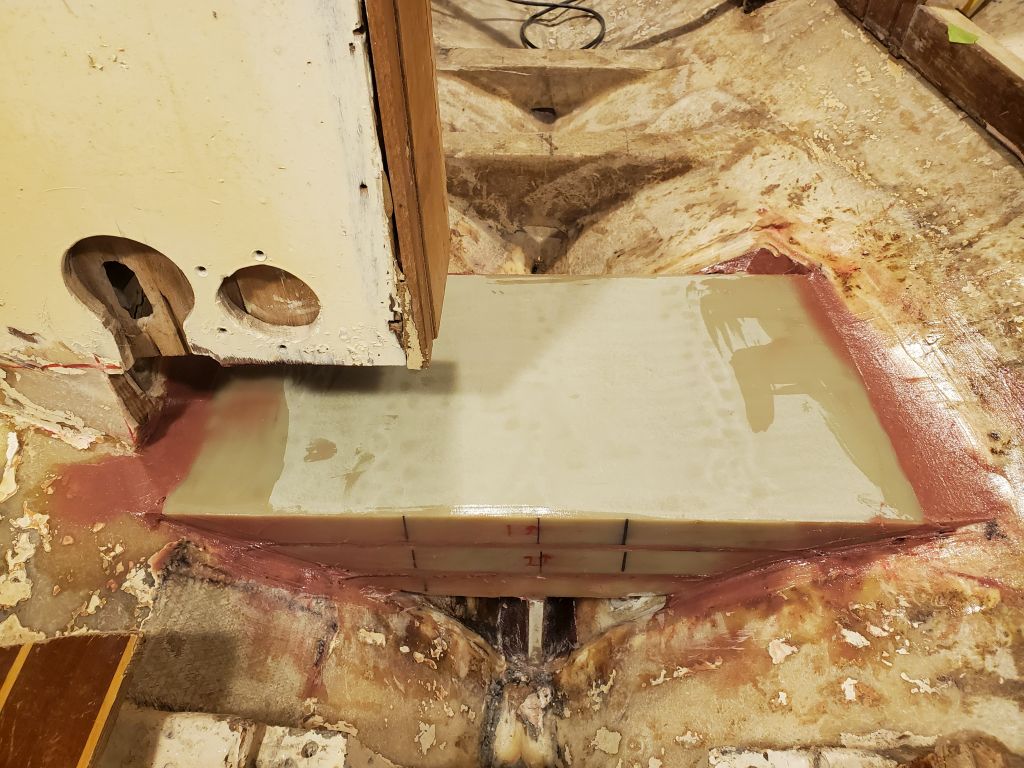
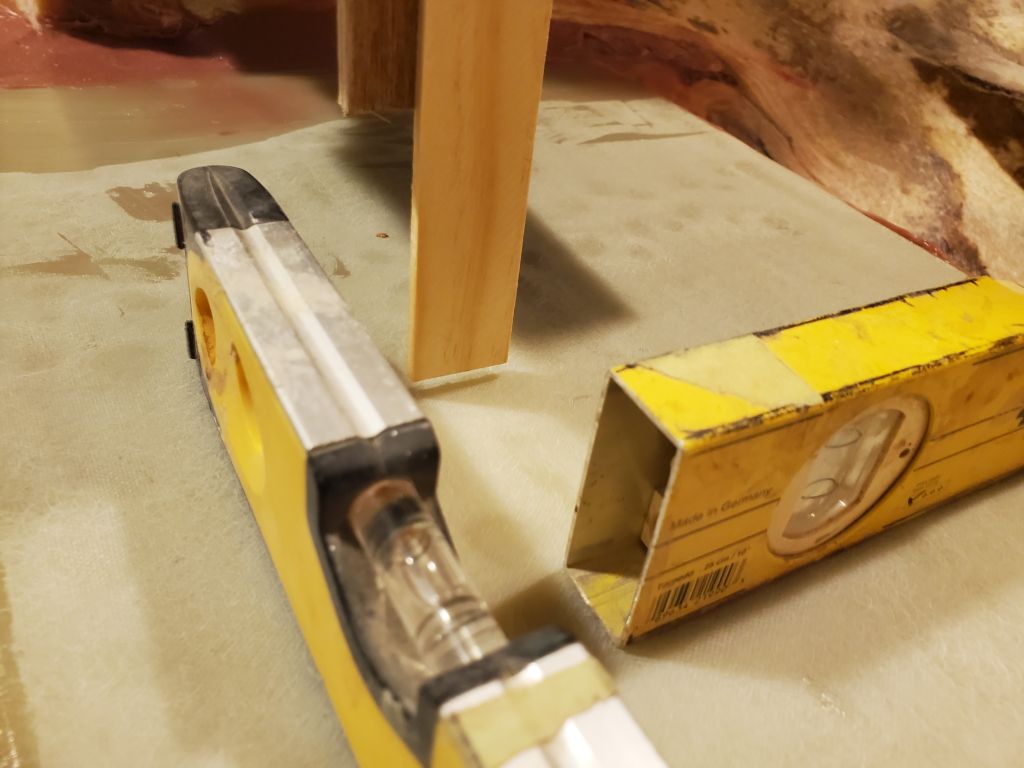
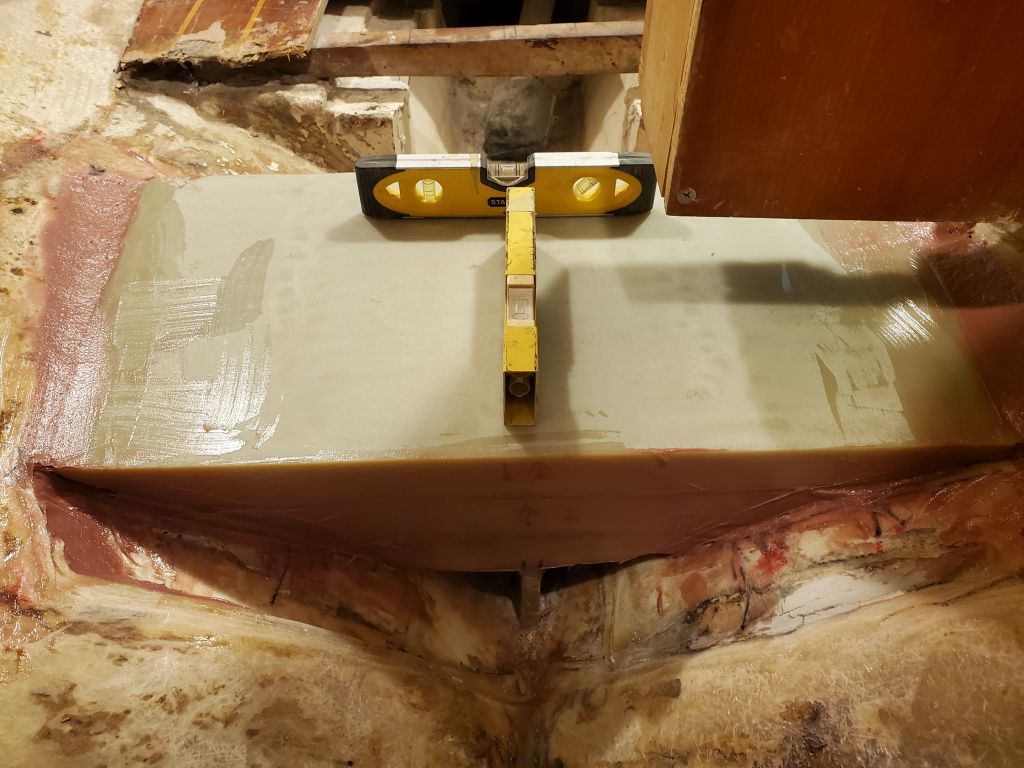
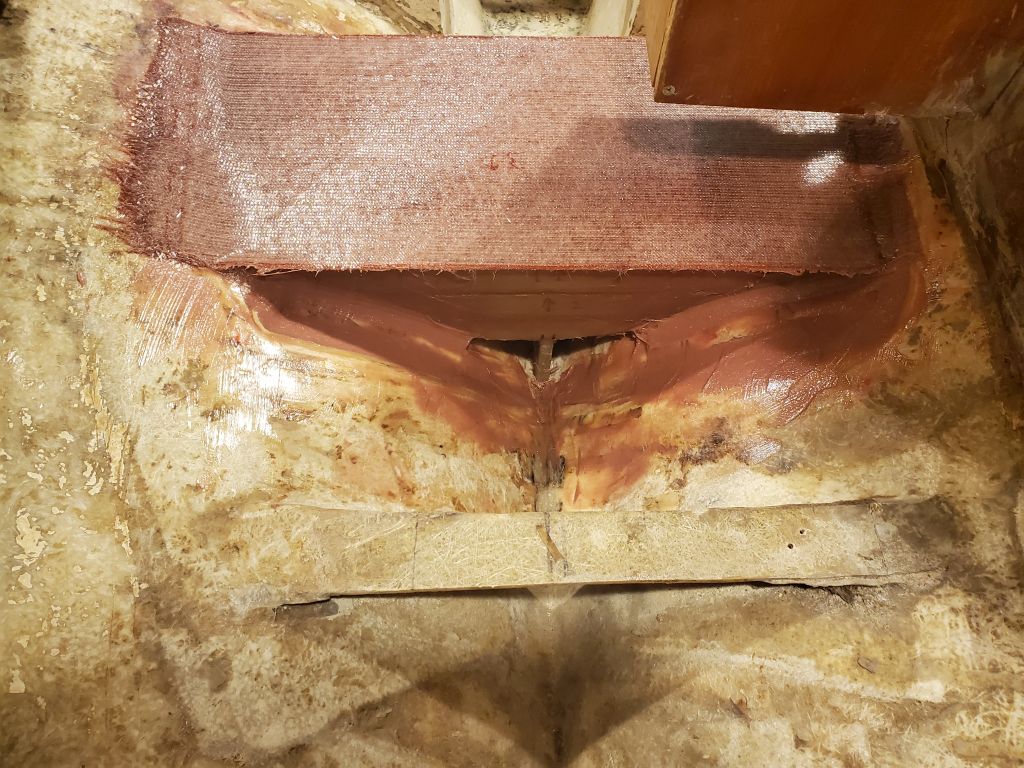
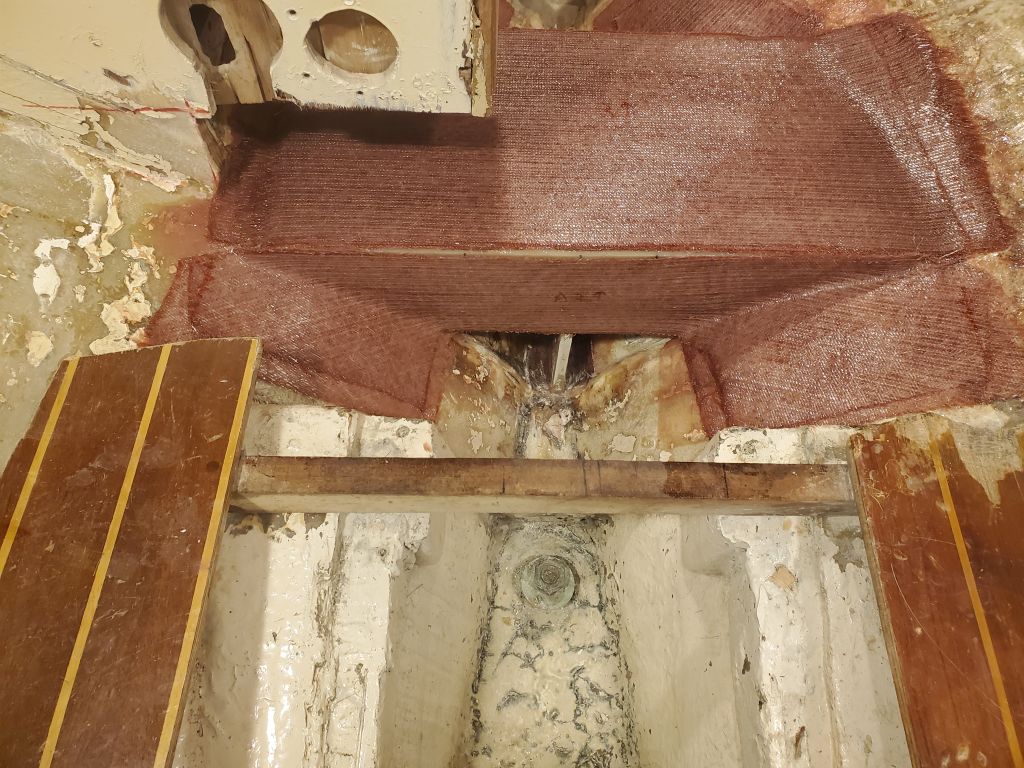
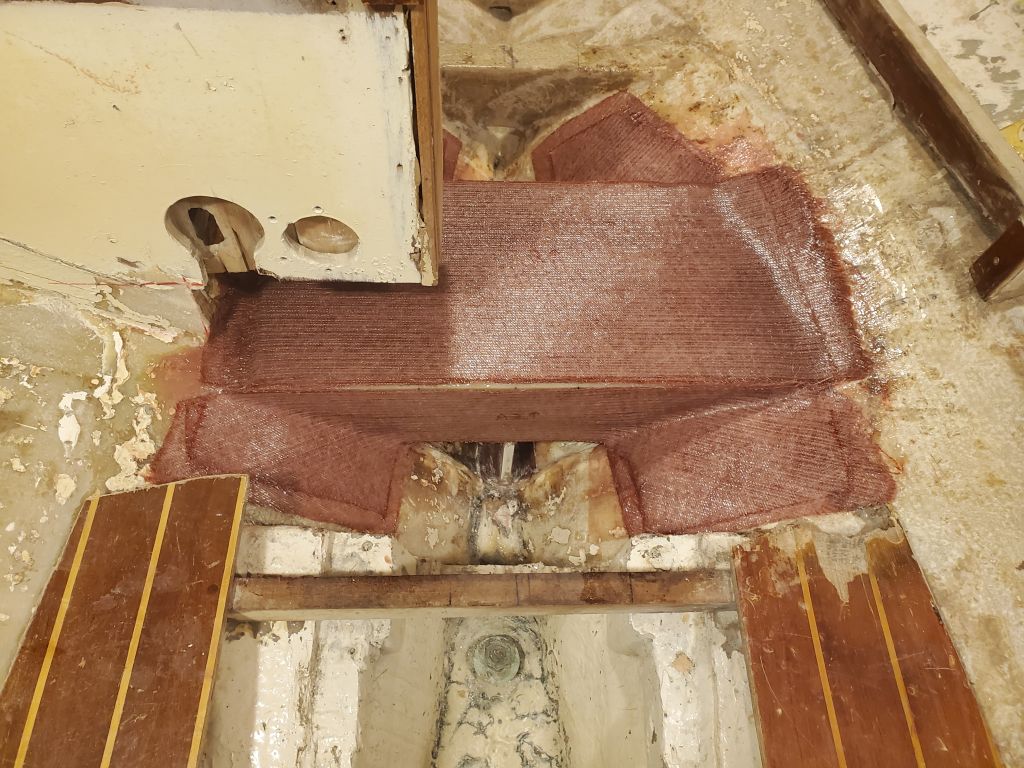
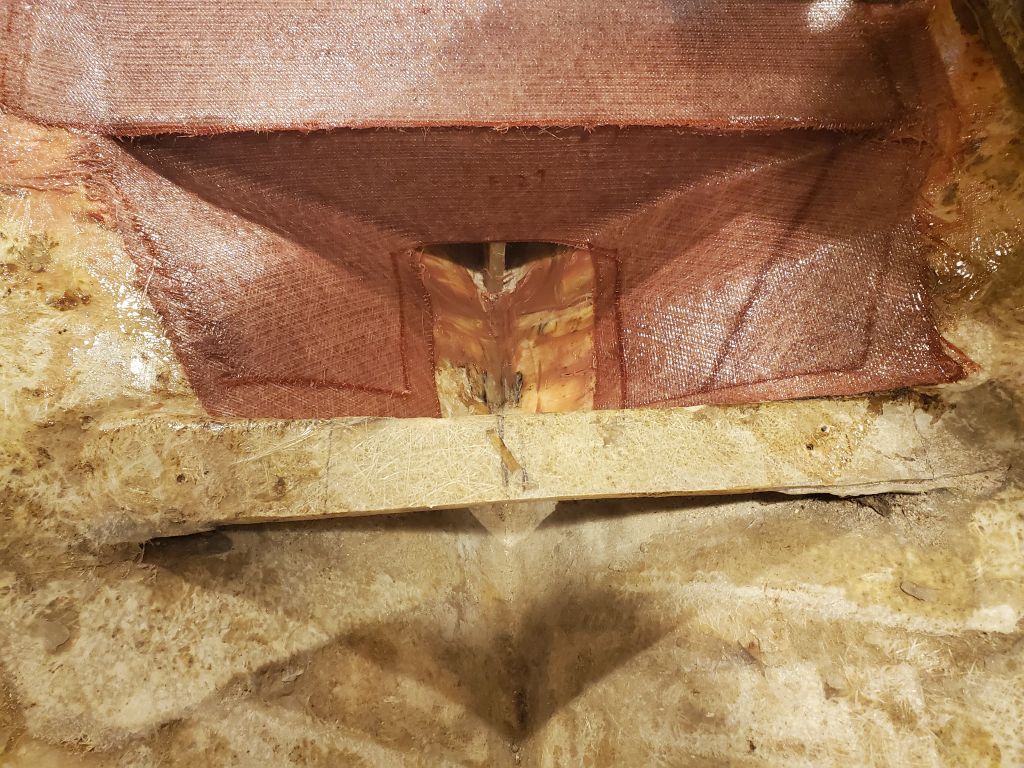
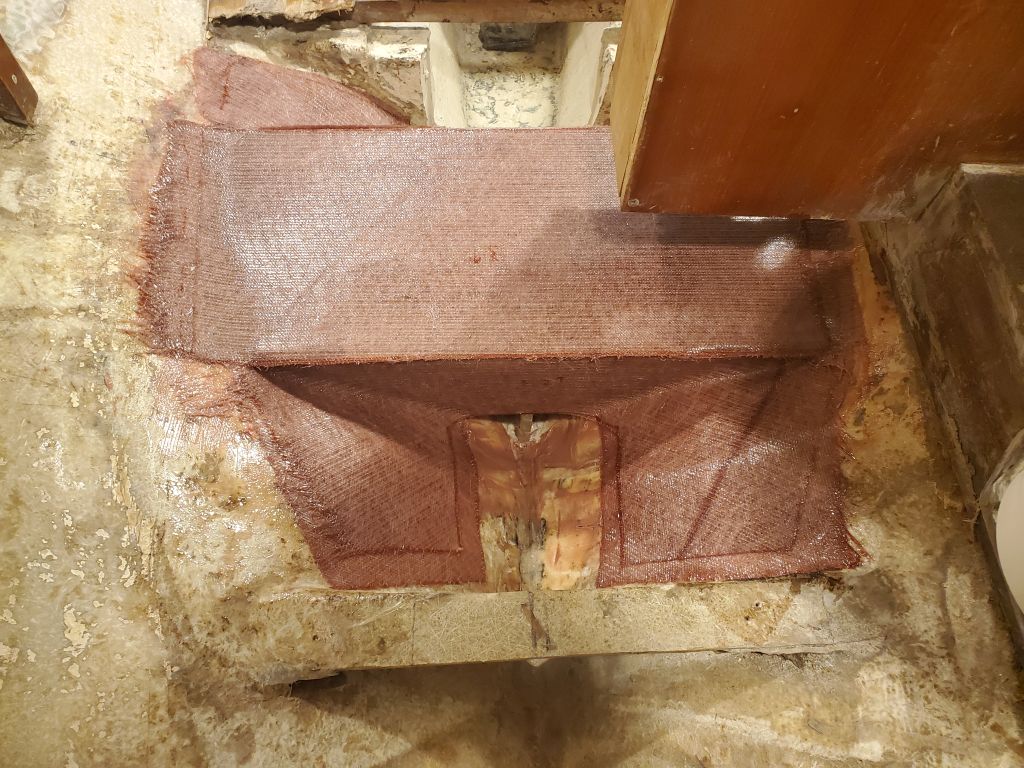
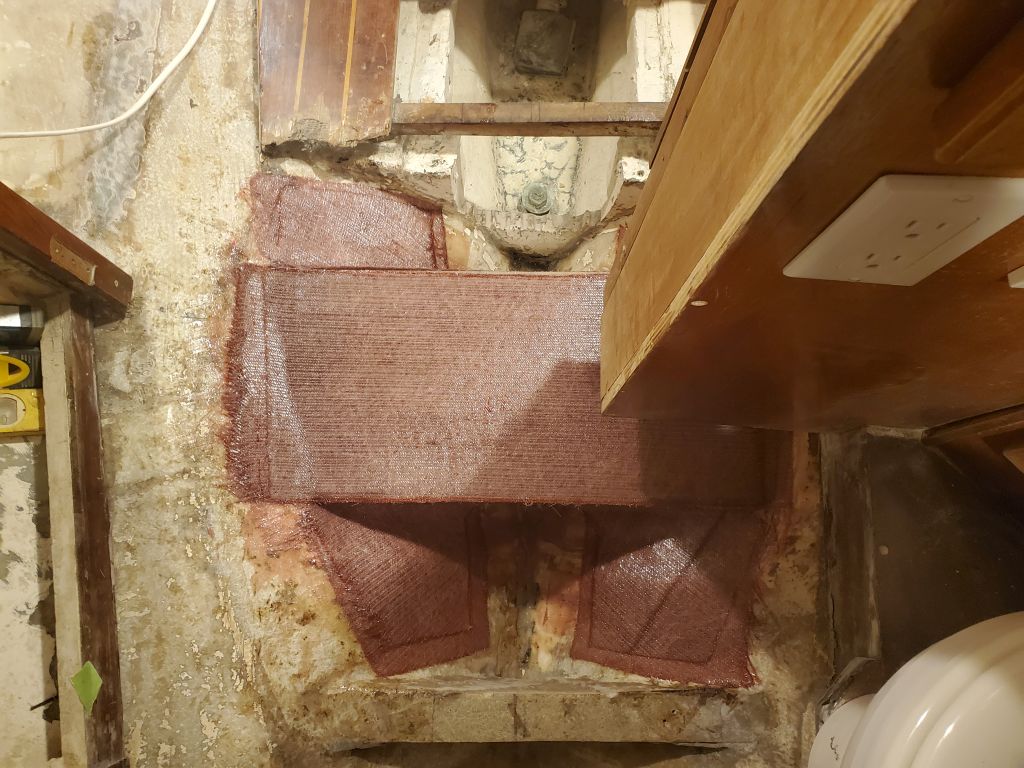
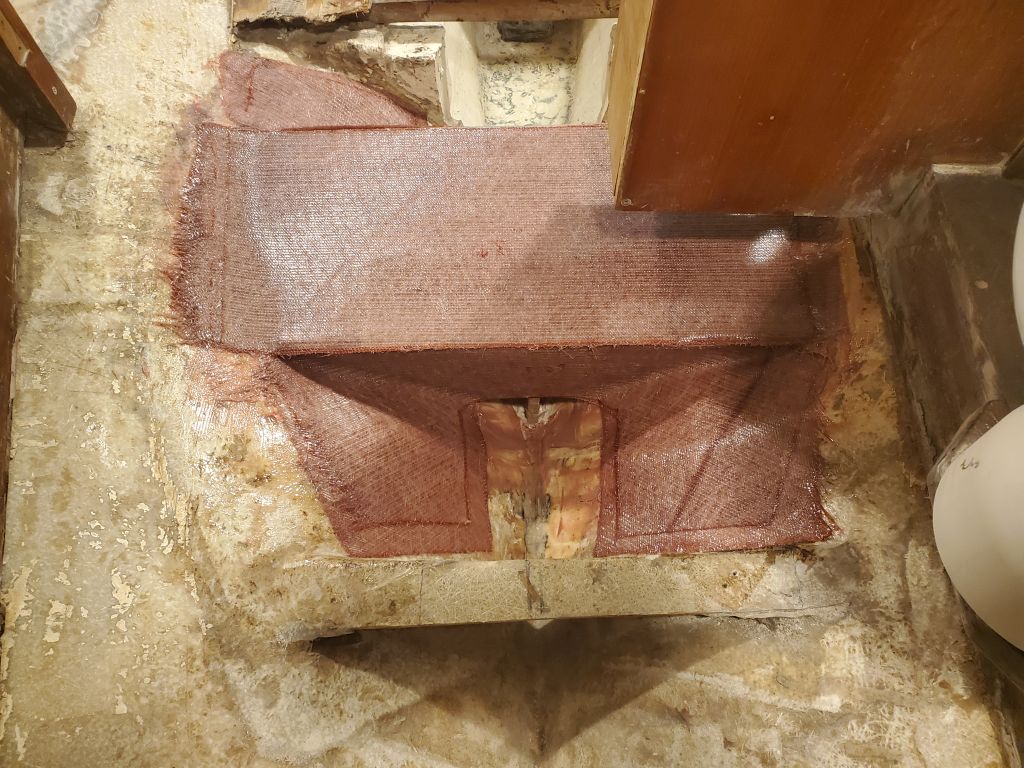
I left this to cure for a bit while I prepared three layers of fiberglass to cover the top and secure the platform to the hull on each side; then, right after lunch, I installed the final layers of fiberglass on the top, using my story stick to confirm that they had ended up at the correct final elevation (or just a tiny touch below, as hoped).
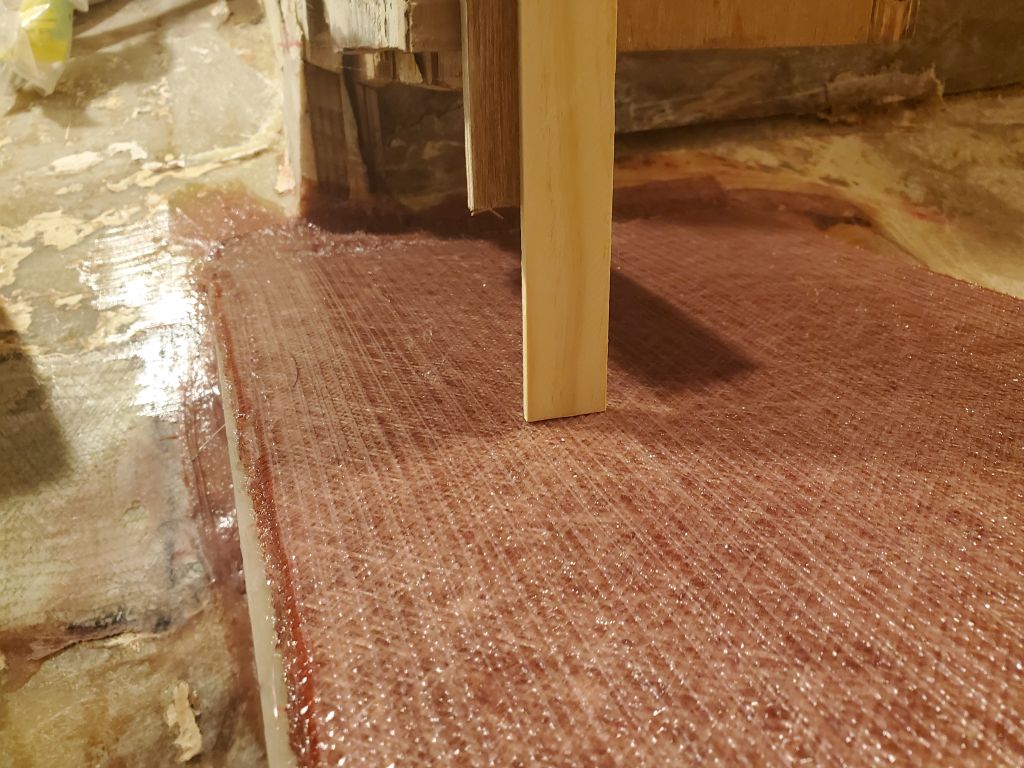
With additional thickened epoxy, I applied fillets between the forward and aft edges of the step, and cleaned up and smoothed out various adjacent areas to prepare for the tabbing at the forward and after ends, which I then went down and cut in the shop before wetting out and installing two layers, overlapping onto the hull as far as possible, on each end of the step platform.
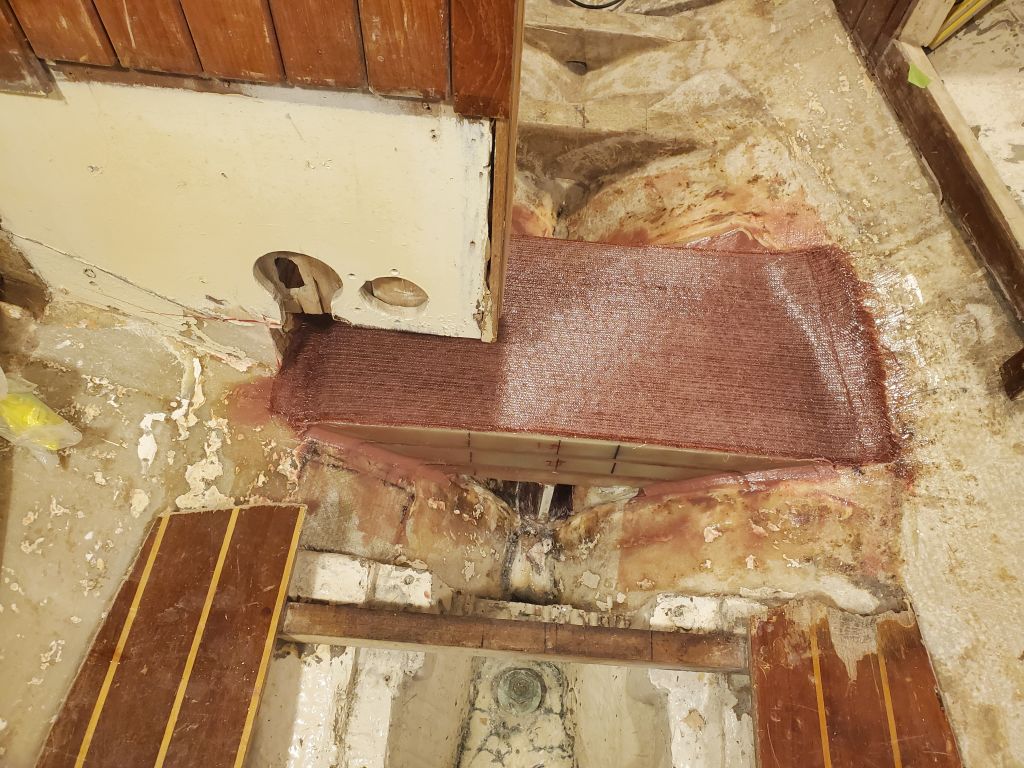
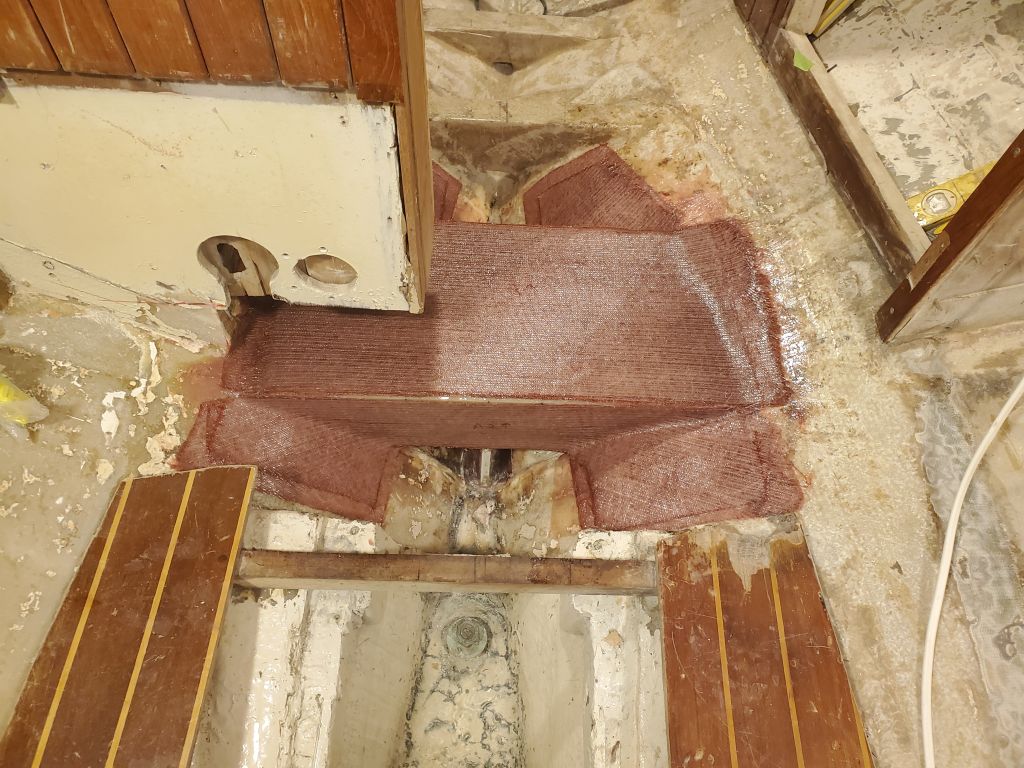
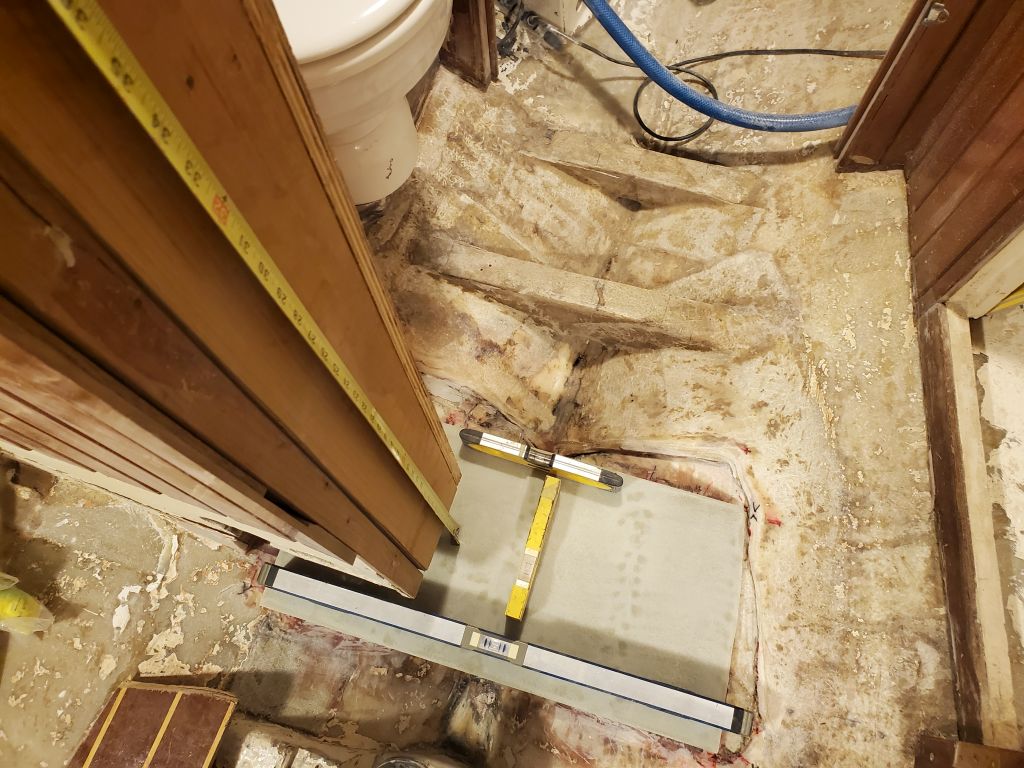
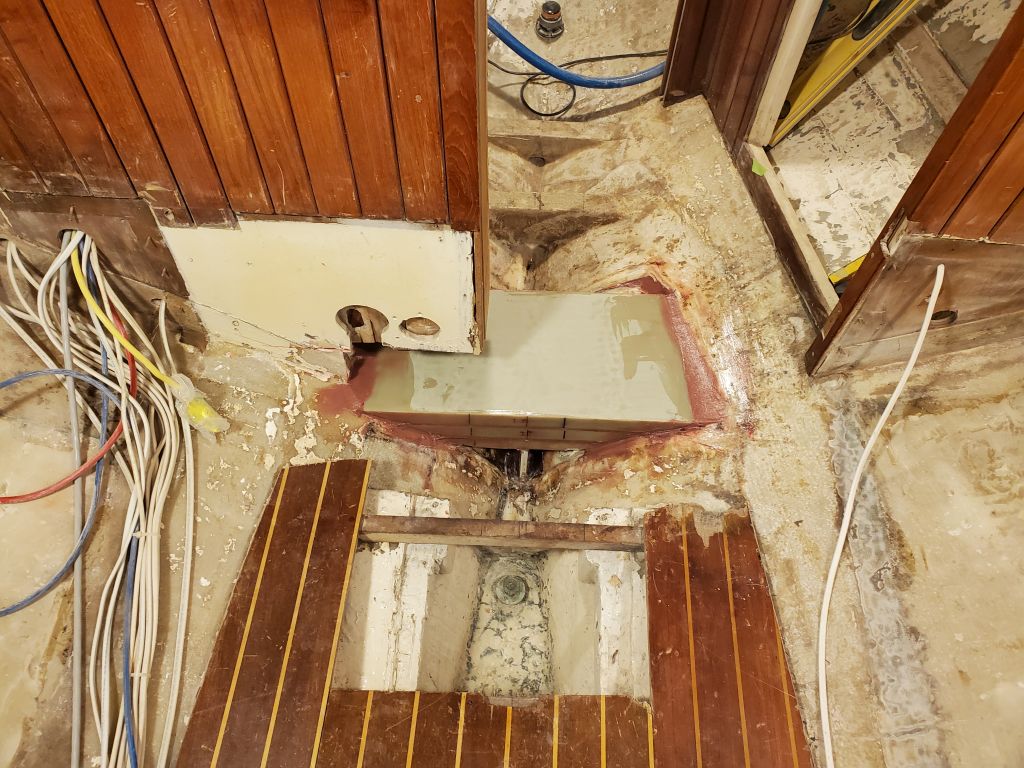
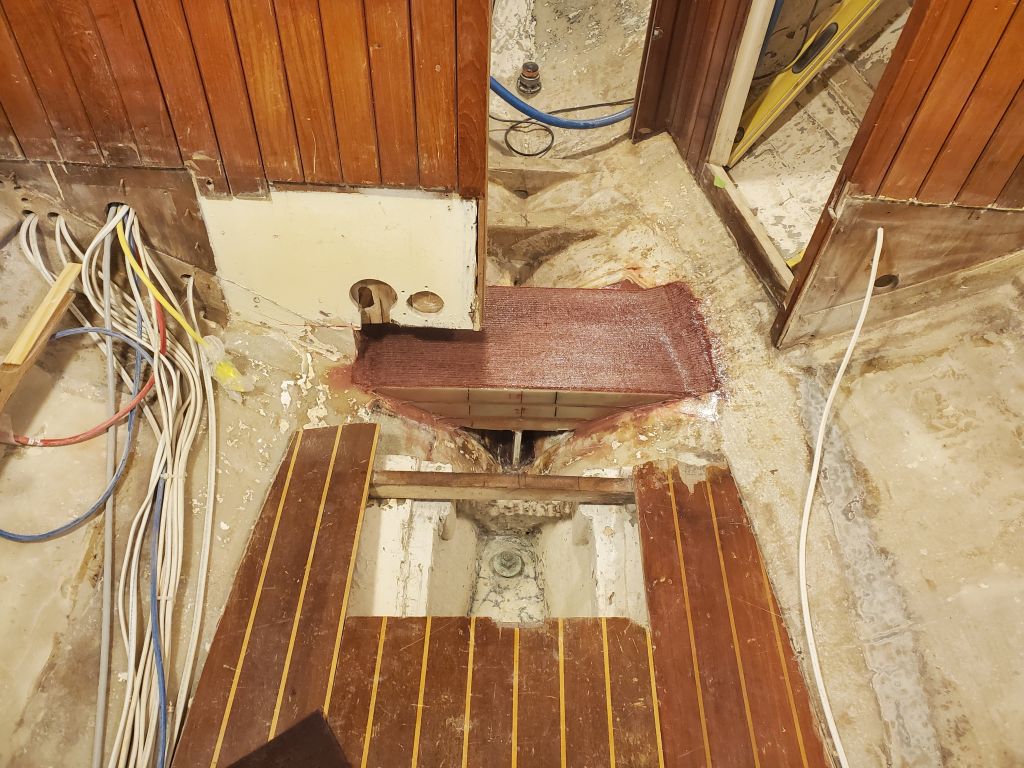
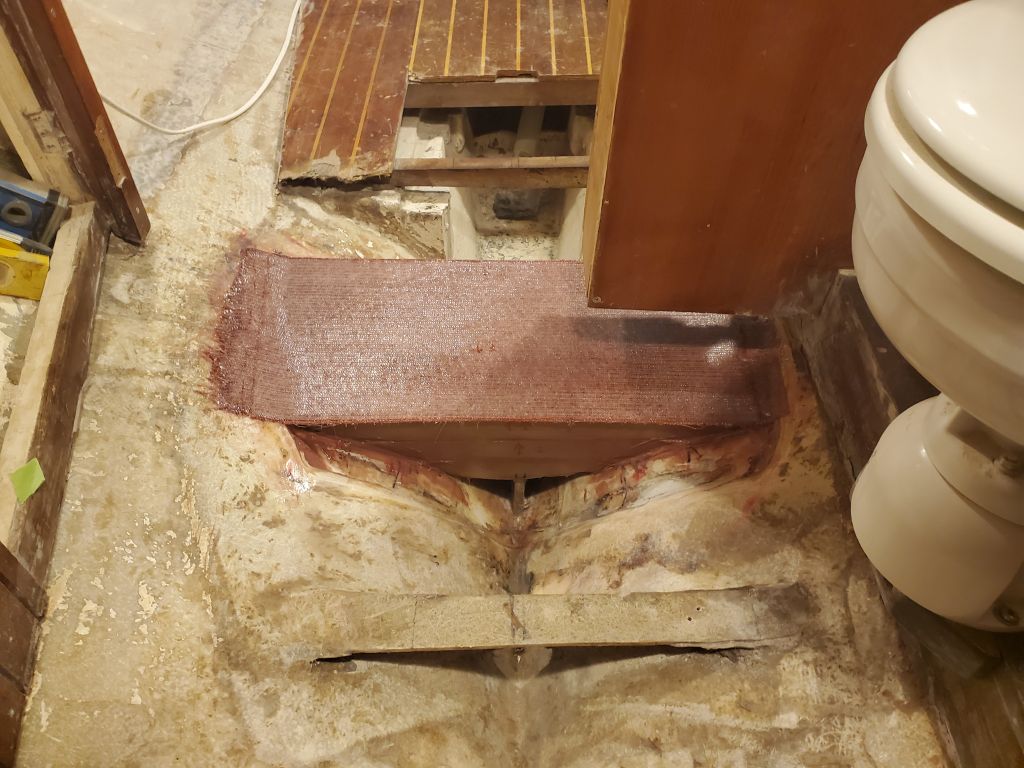
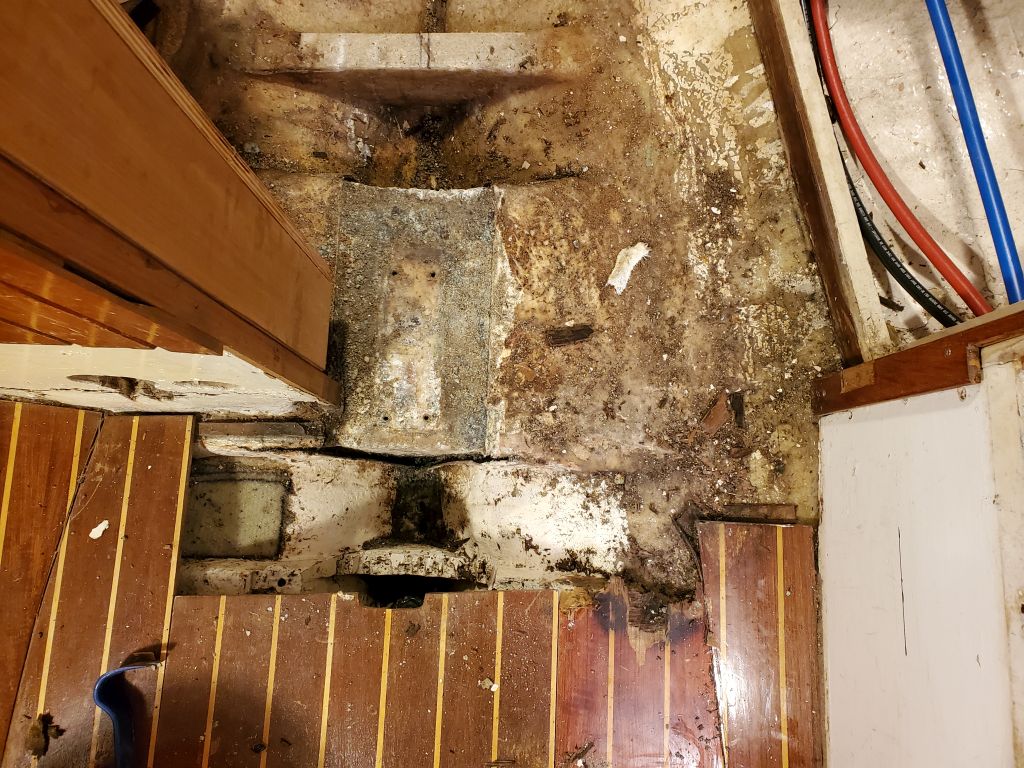
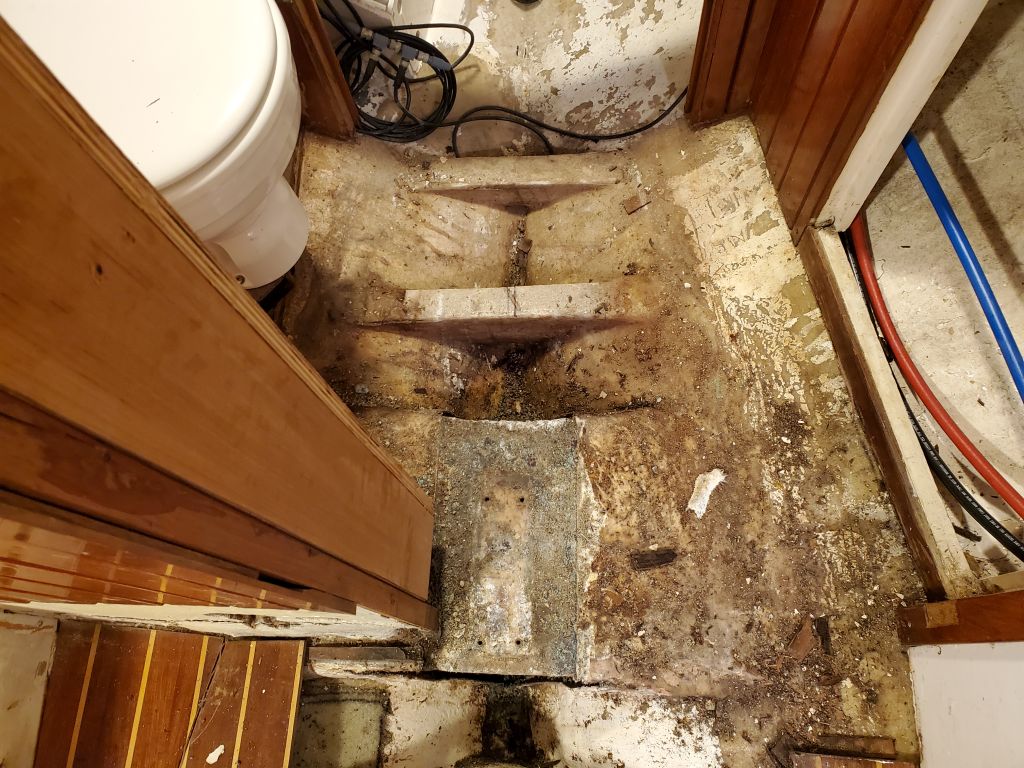
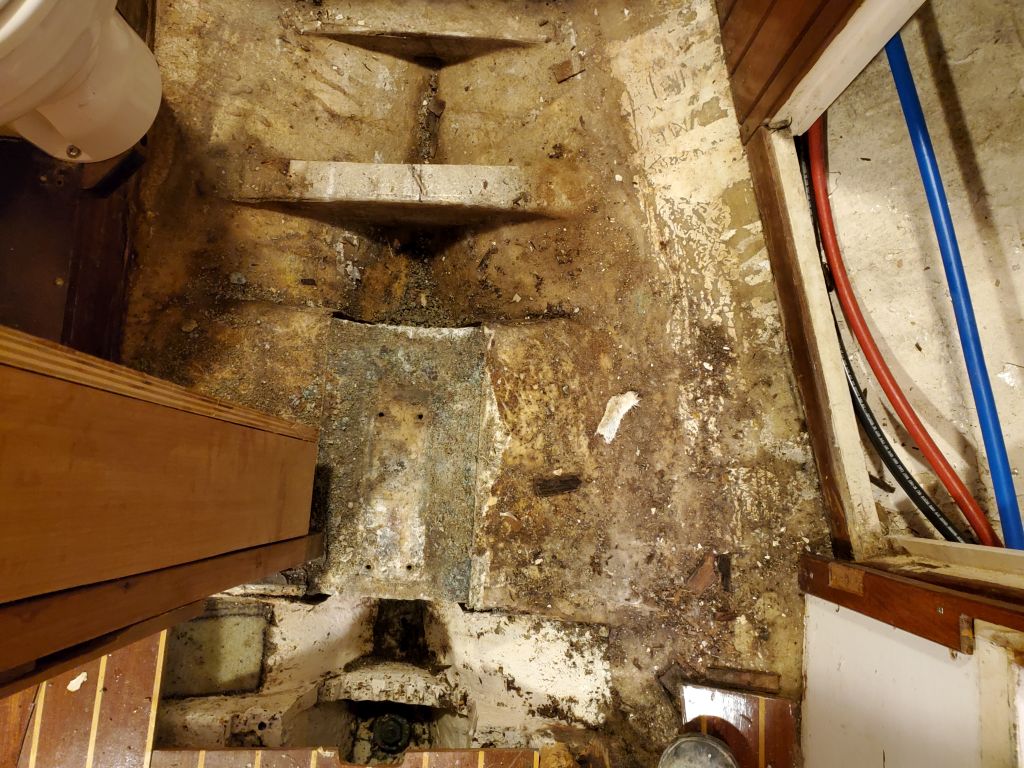
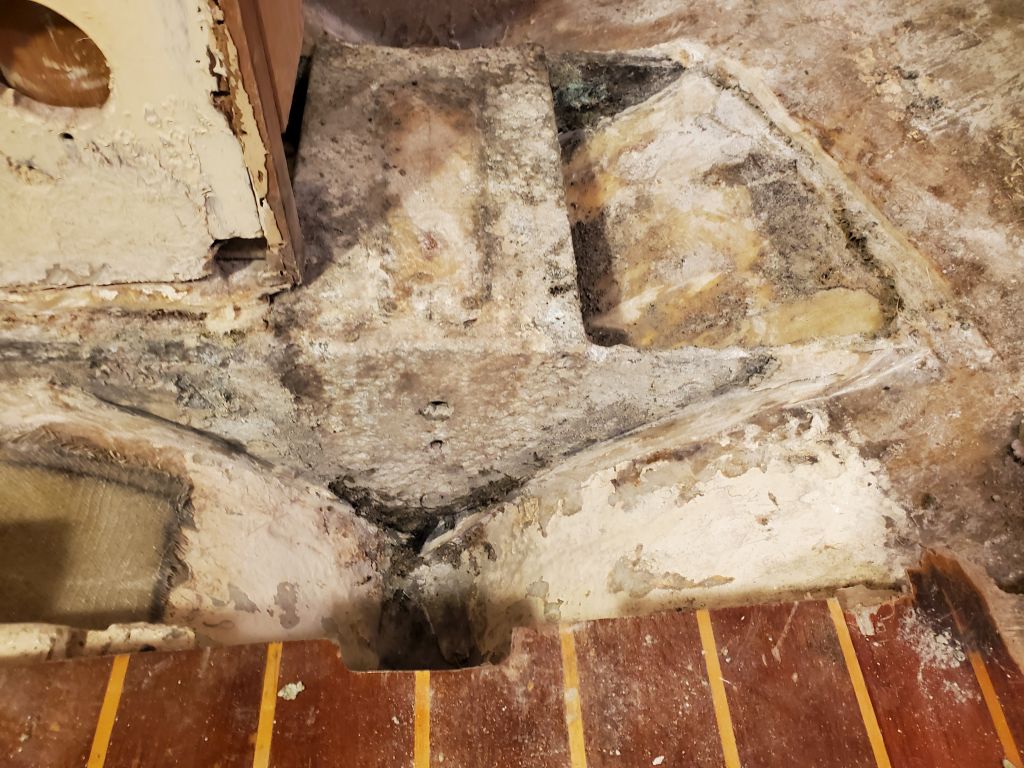
There’d be a bit of work to dress up the fully-glassed step in the immediate future, and some layout to prepare for reinstalling the metal step plate later, but the bulk of the work was done. Below are some photos from earlier in the project, showing the original mast step in a couple different stages.
Total time billed on this job today: 5.75 hours
0600 Weather Observation: 32°. clear. Forecast for the day: Mostly sunny, chance of snow showers, 37°