


May 16, 2024
Calliope Girl 124
Thursday
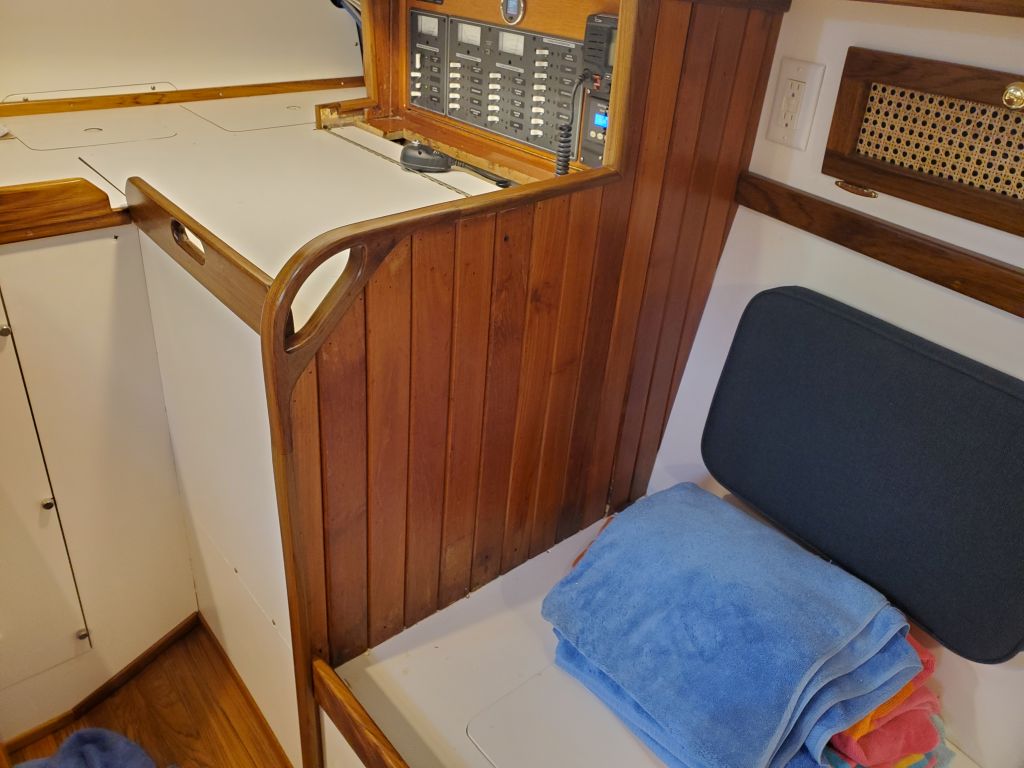
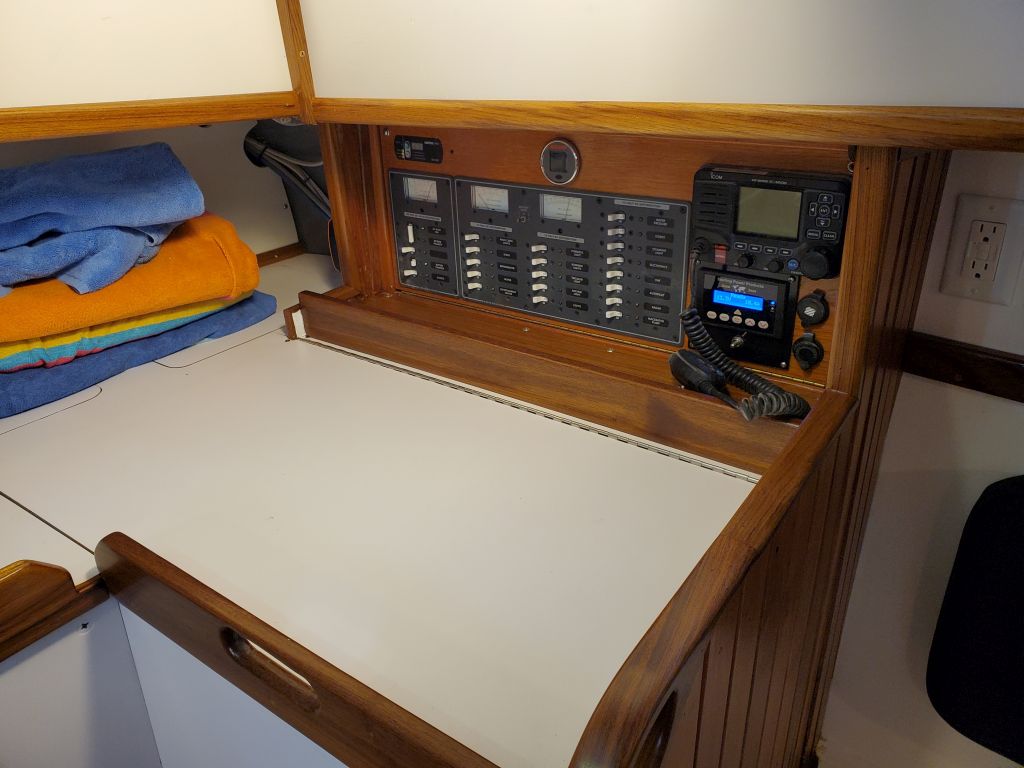
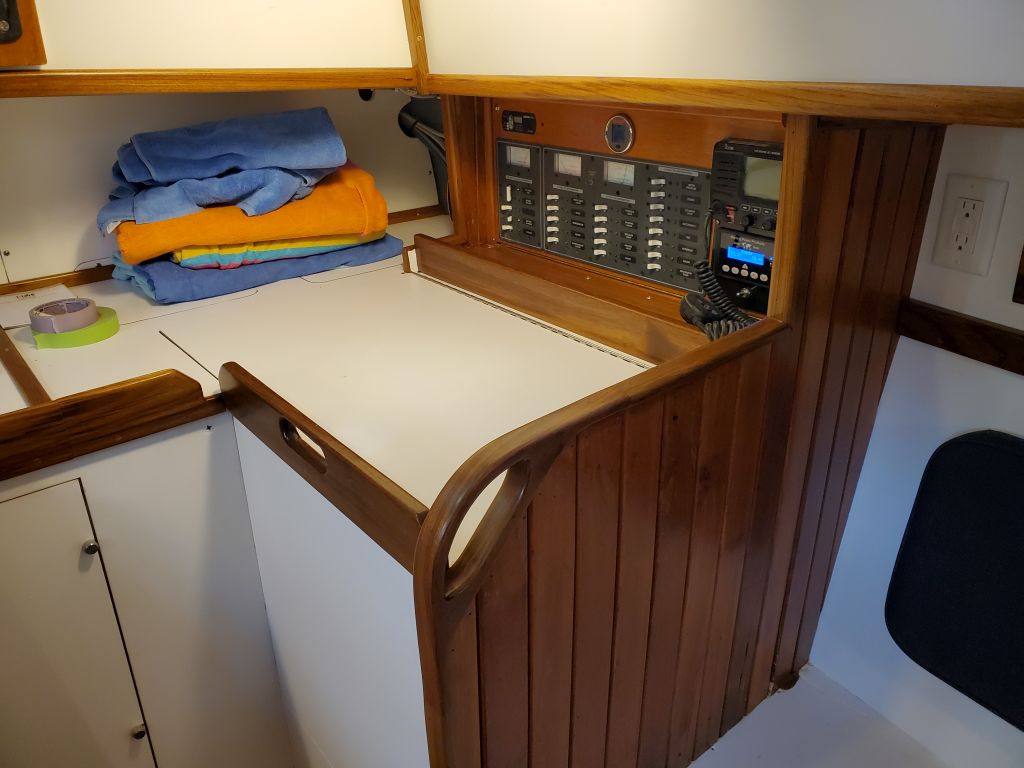
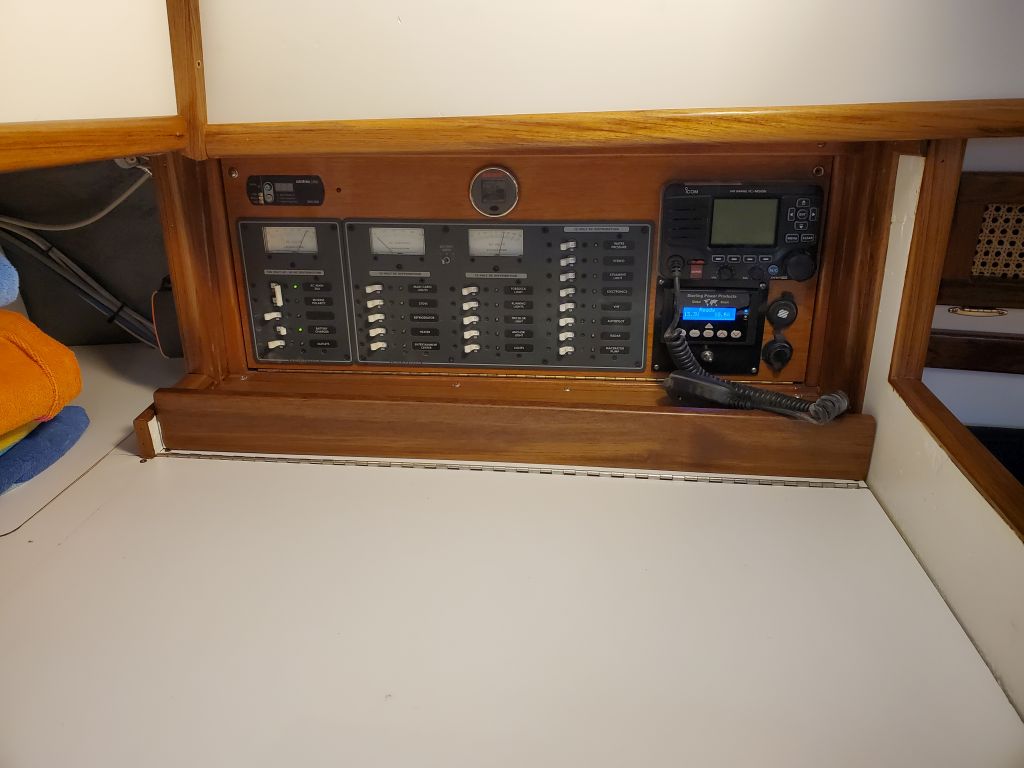
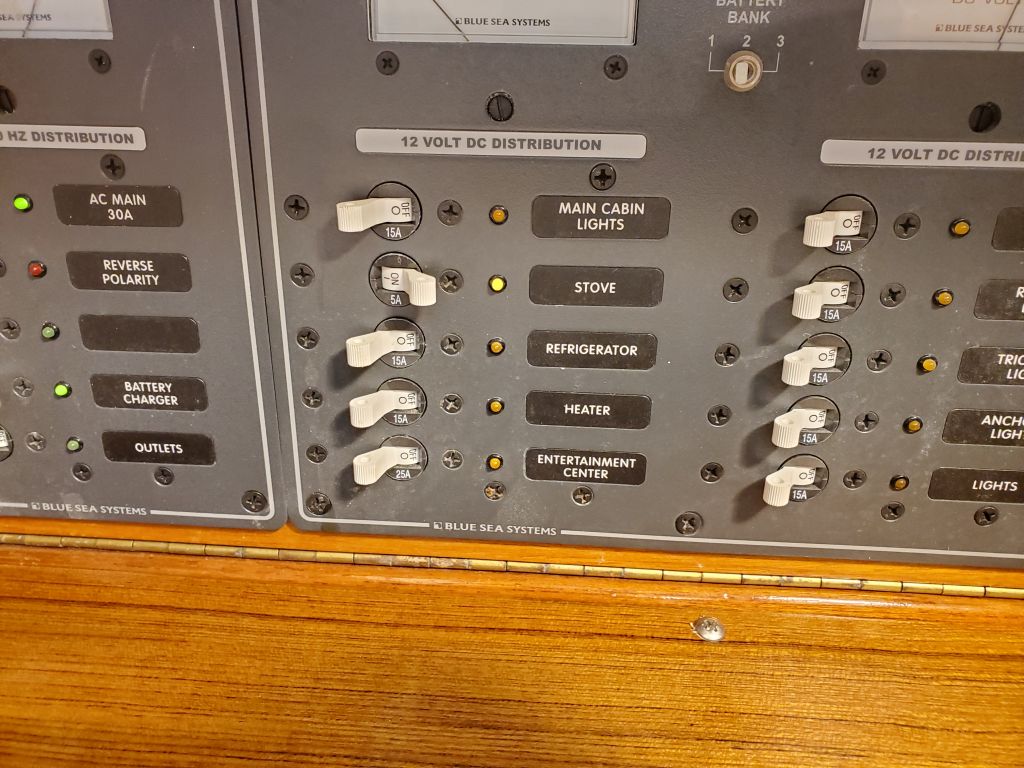
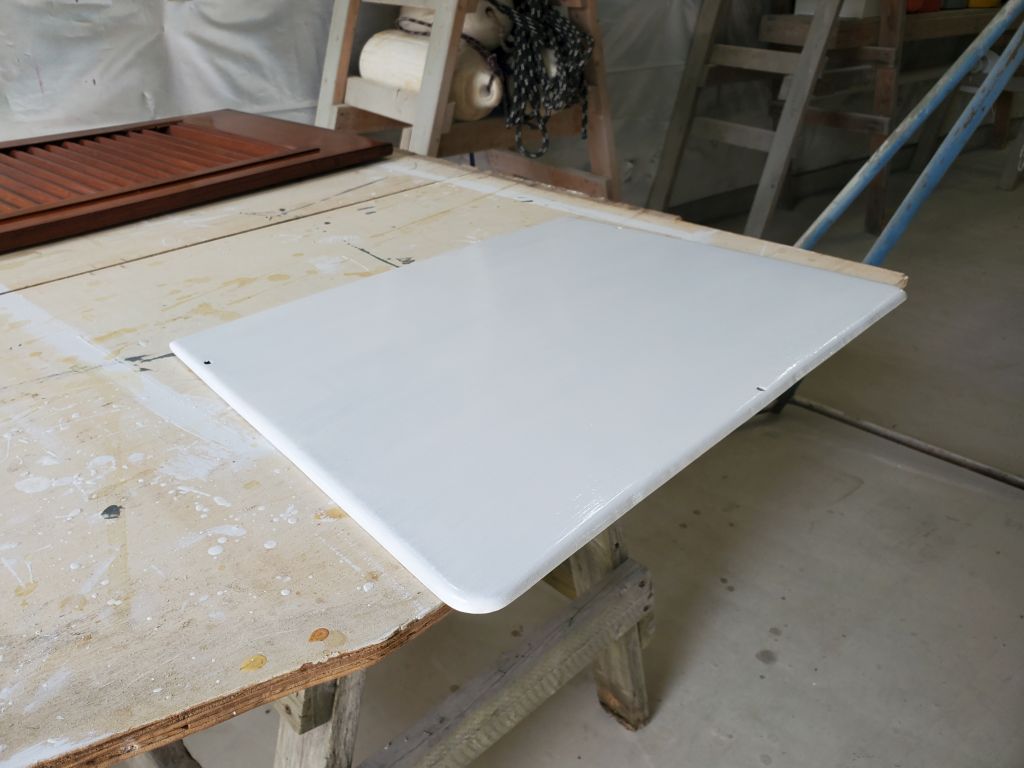
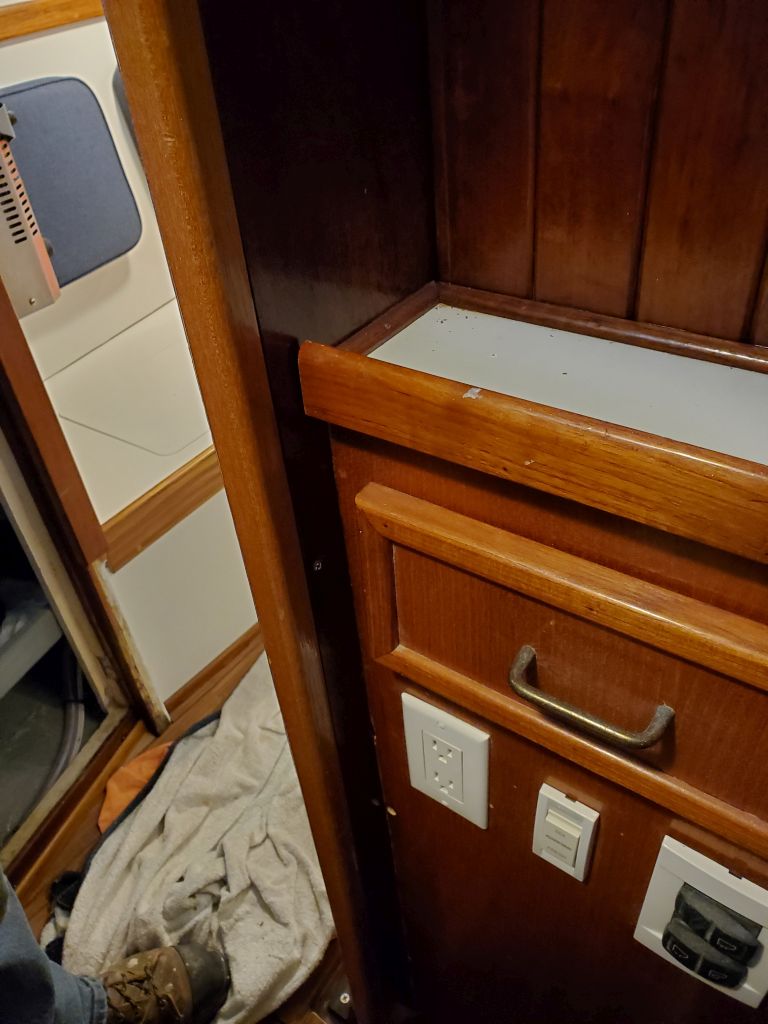
In the galley, I unmasked the various trim now that the varnishing was mostly complete. I installed the shelf on the port side to finish off the space beneath the electrical panel. I was still looking for the microphone clip for the VHF, which I’d removed earlier in the project but hadn’t put my hands on yet.
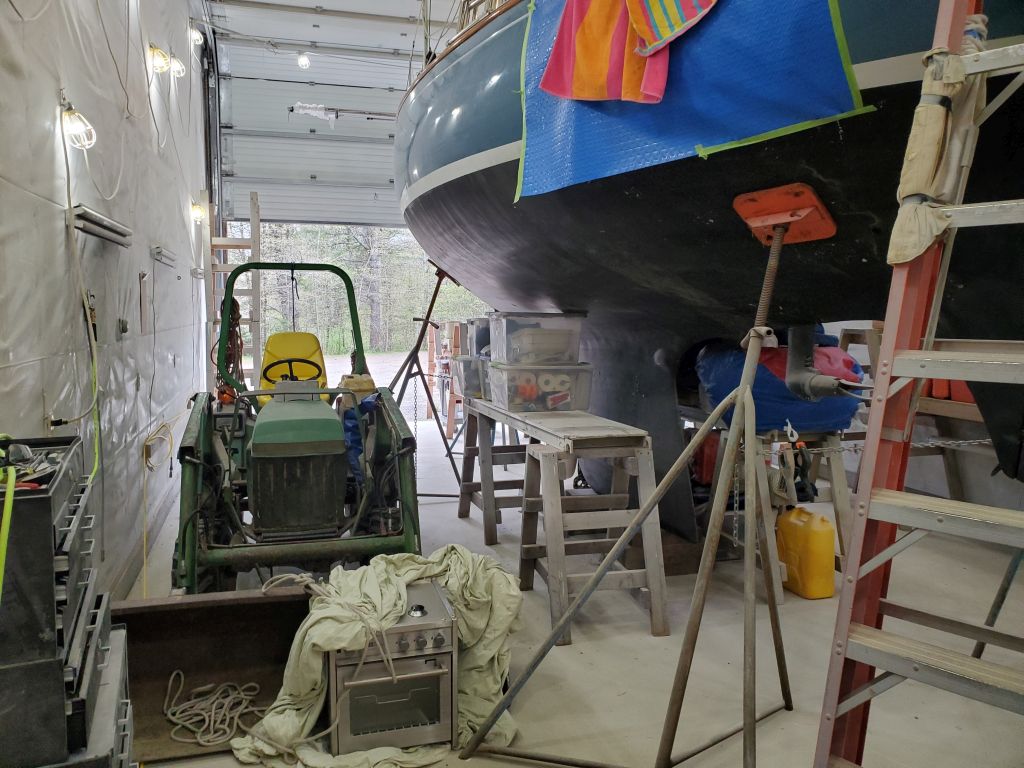
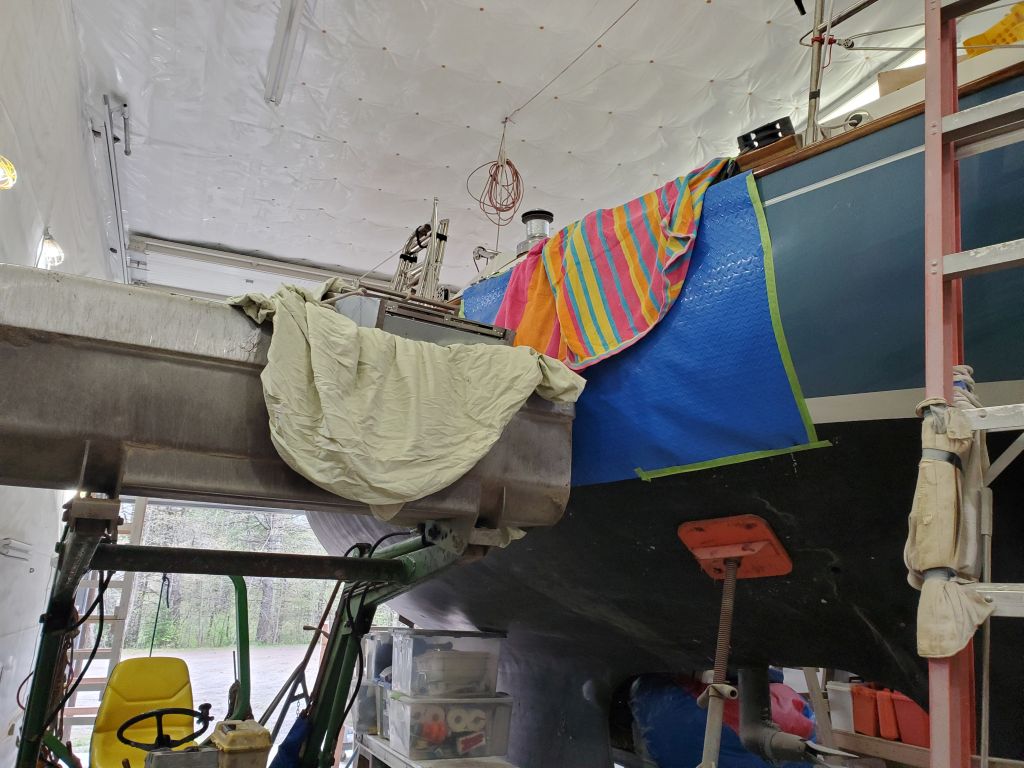
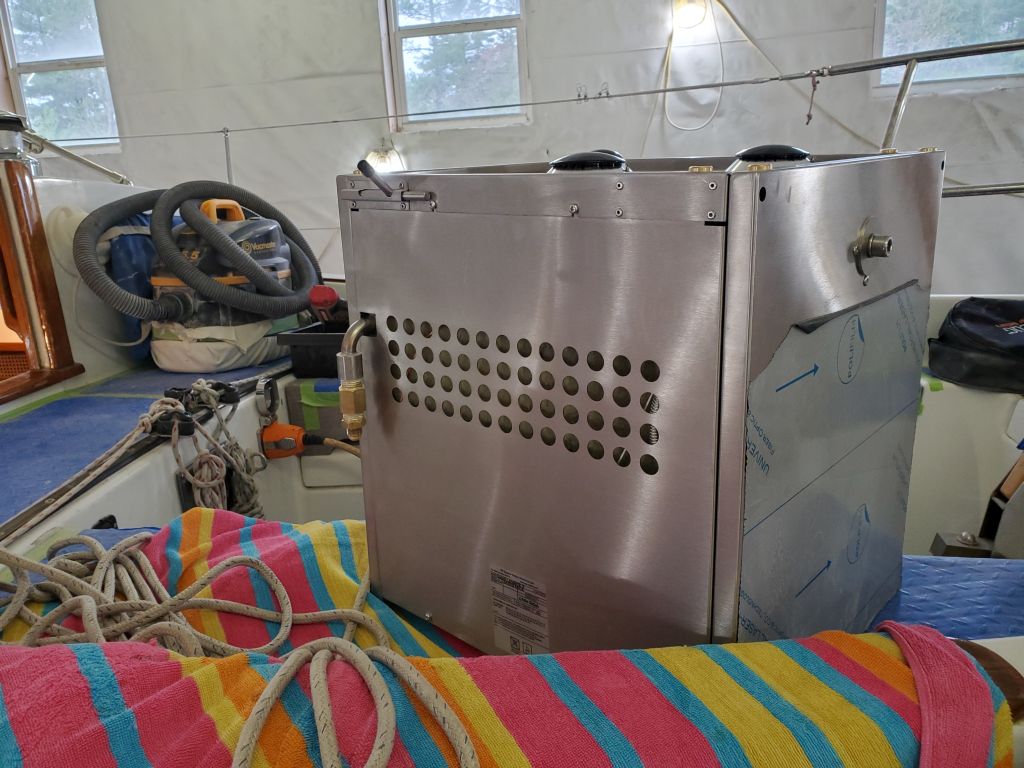
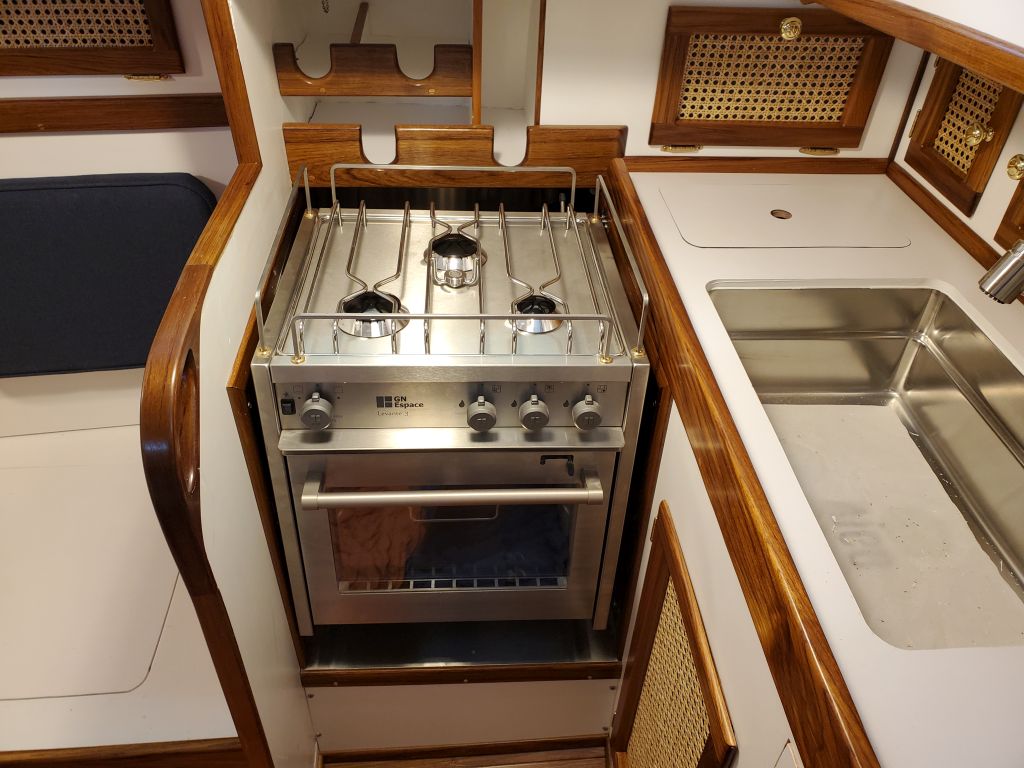
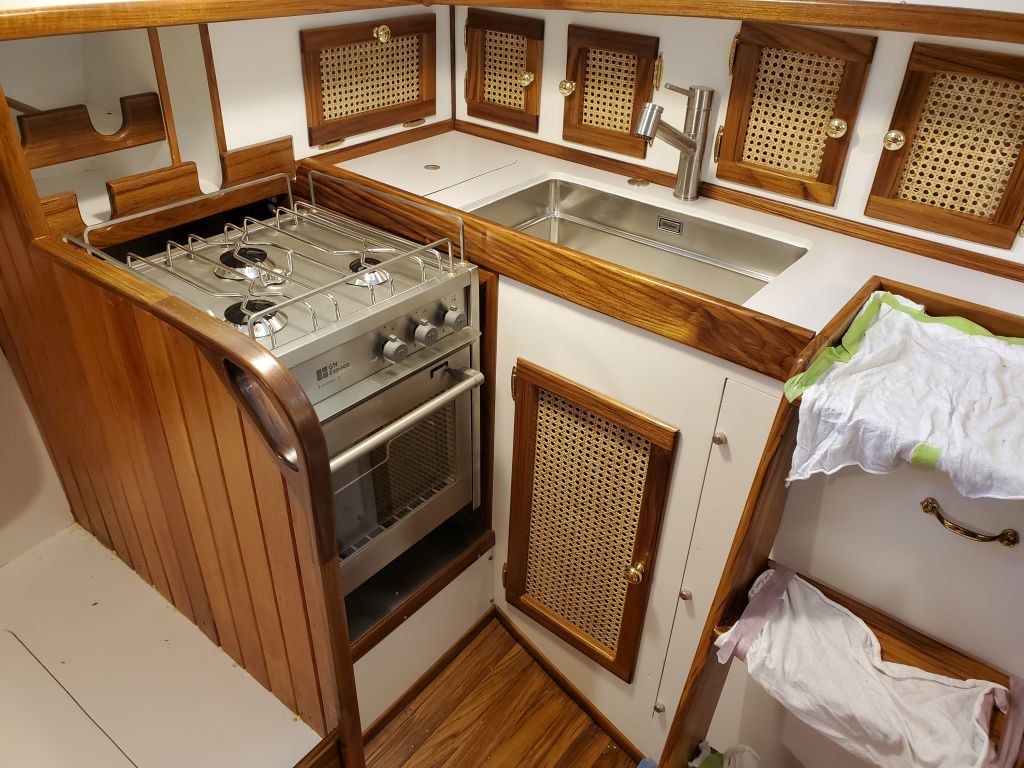
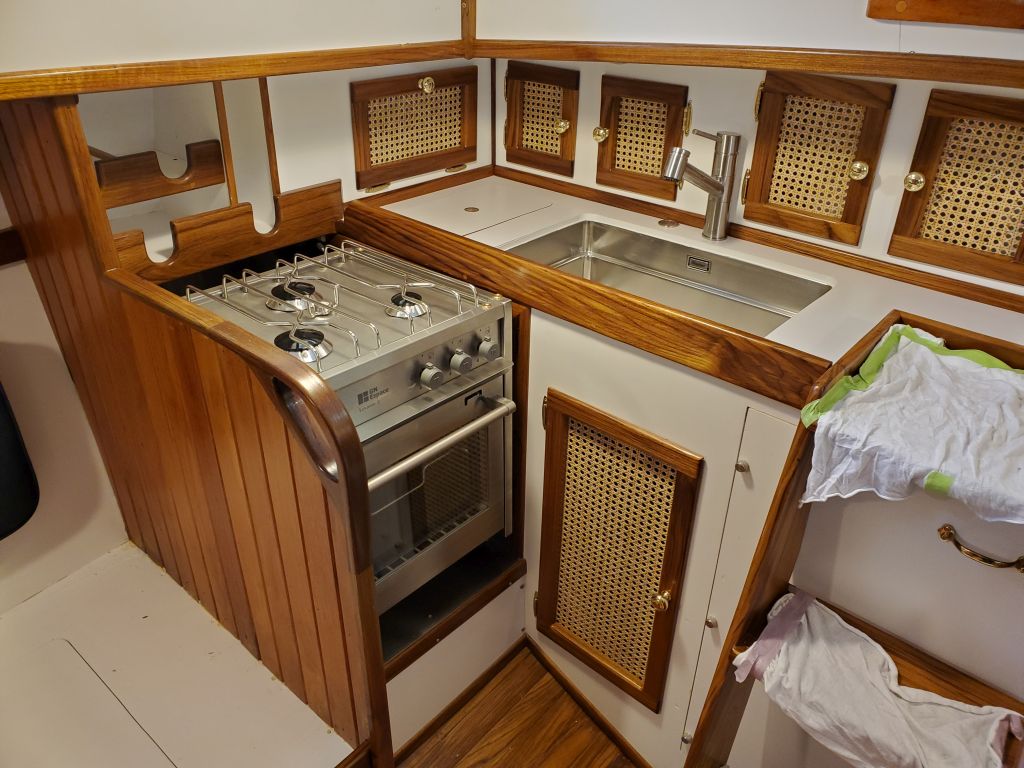
It was time to install the range, finally. To get the unit into the boat, I used my tractor bucket to lift it as high as possible next to the boat, from which point it was a pretty easy and short lift into the cockpit while standing on a ladder next to the bucket; then it was pretty straightforward to get it into the cabin.

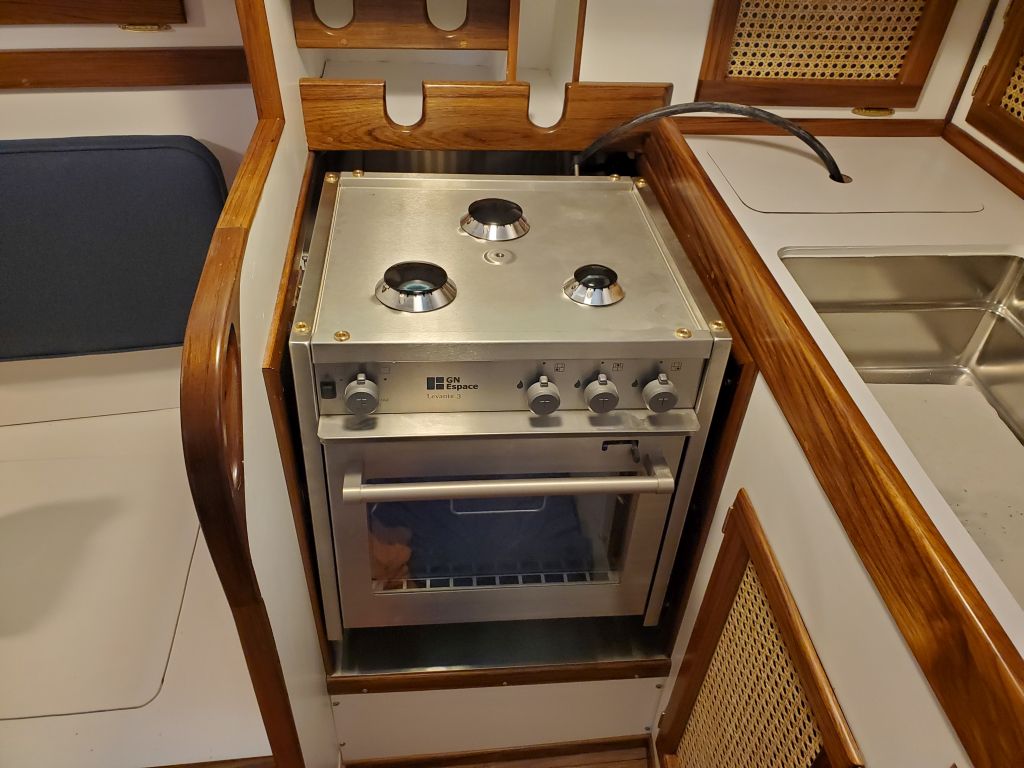
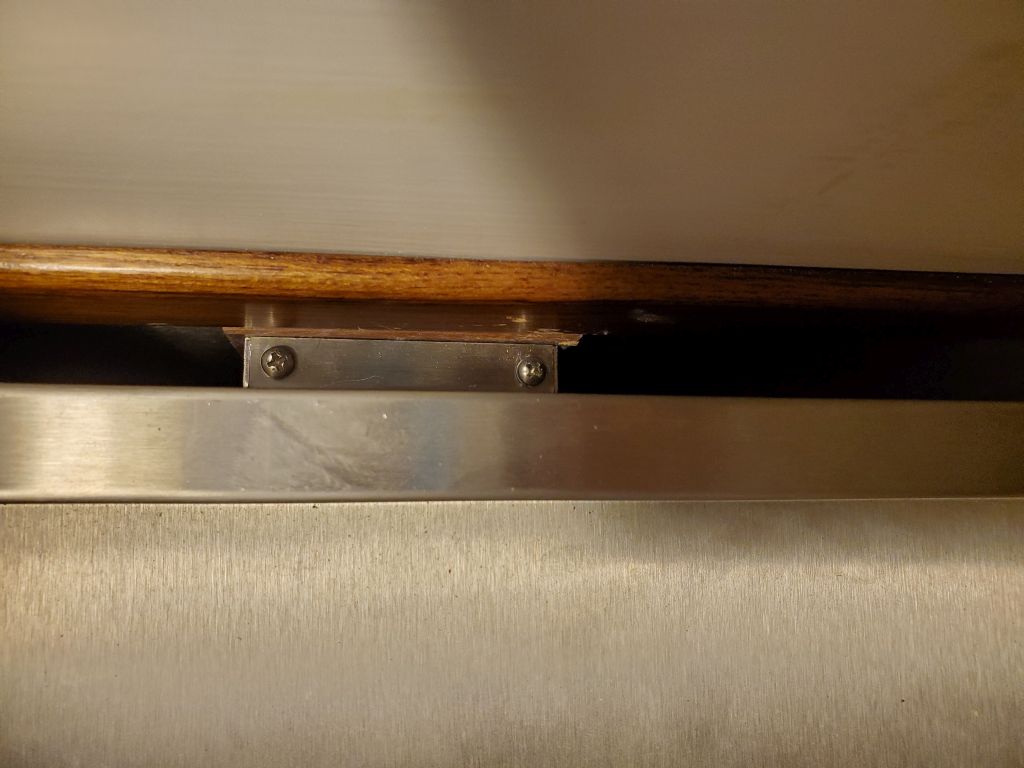
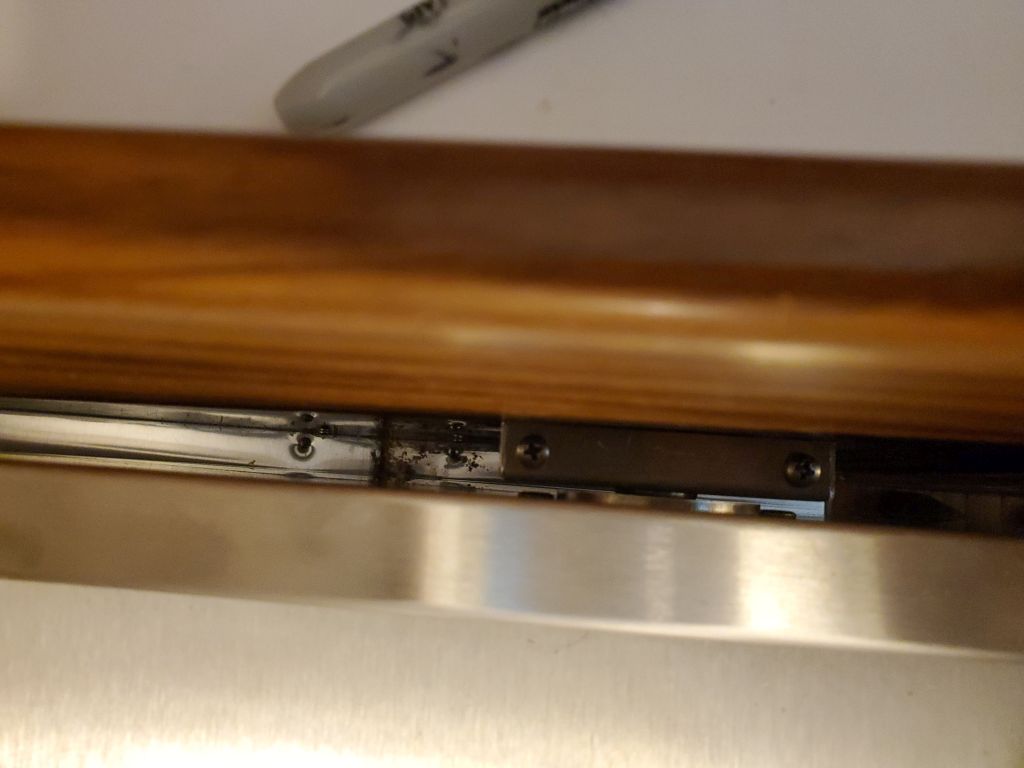
With the gimbal mounts already in place, I hoped installation would go smoothly, and it mostly did. From the getgo, I’d been wary of the screws used to secure the bracket covers in place: the manufacturer supplied extremely long screws (for which I could determine no need for the excess length), and during my test fits and assemblies earlier in the project I’d found that these long screws tended to bind and become difficult long before they were all the way in. So I’d purchased shorter screws with the same thread, and these new screws worked in 3 of the 4 mounting holes. One, however, started to gall before all the way in, and I unthreaded it so I could try with a fresh one, but then the screw wouldn’t unthread all the way. It was loose and spinning, but I couldn’t get “upforce” on it to pull it free. This silliness took far too much time to finally correct, given the tight working quarters and lack of access (as usual). I liked a lot about these gimbal mounts and how they worked, but these fixing screws for the cover plate were problematic of concept.
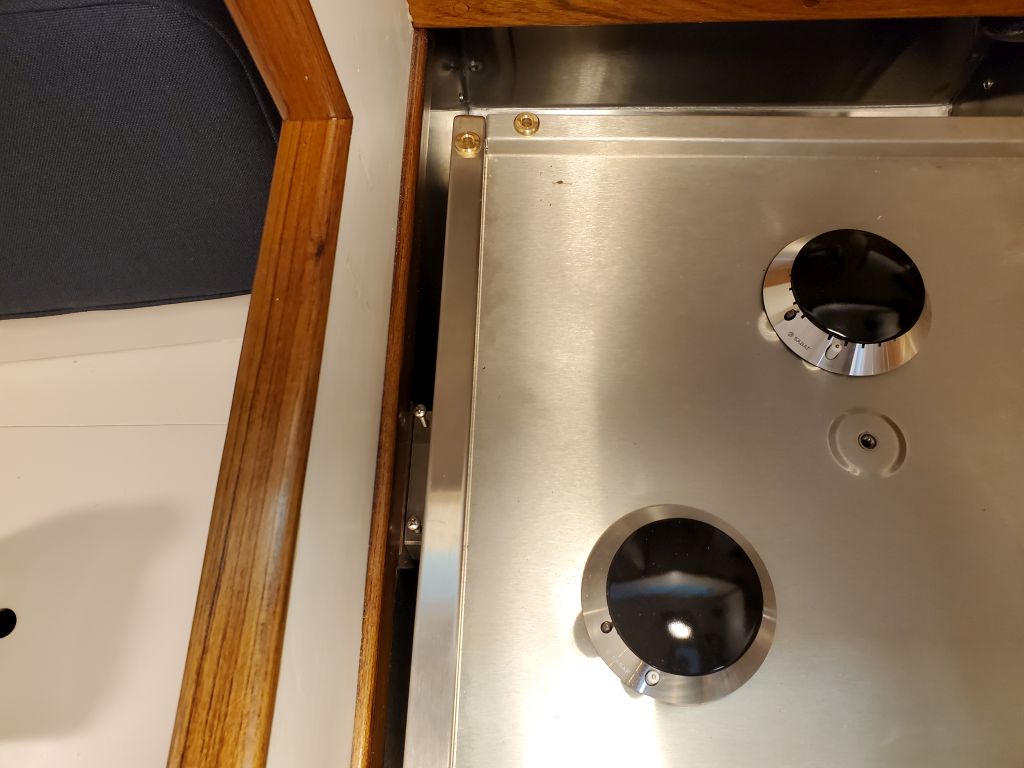
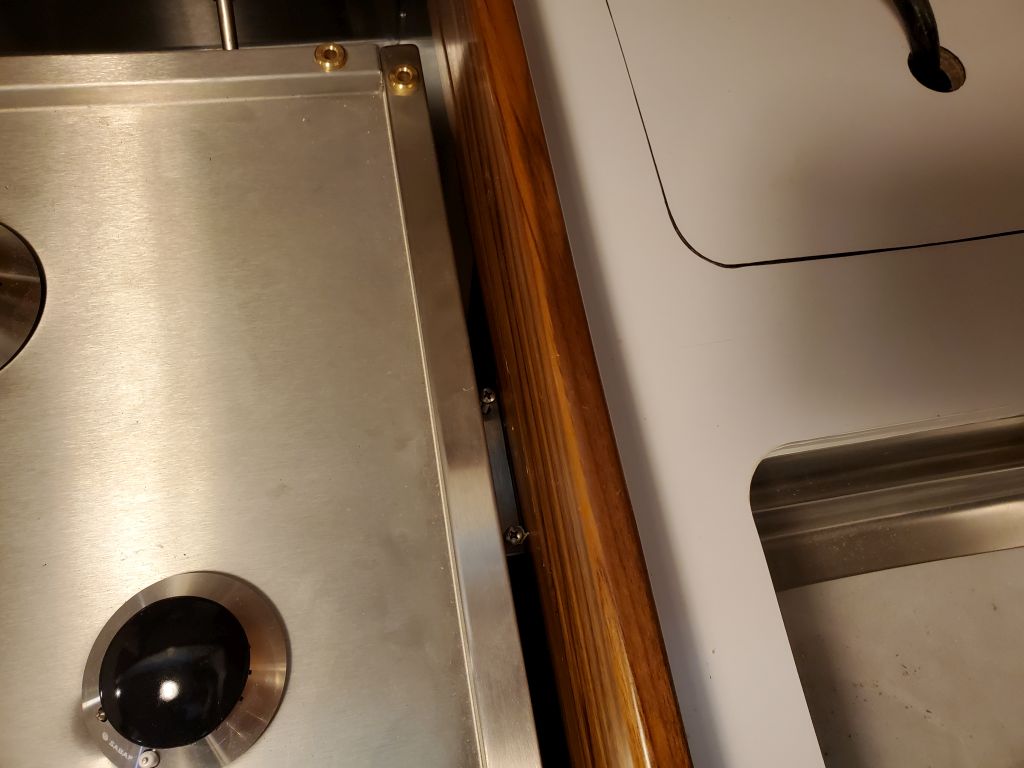
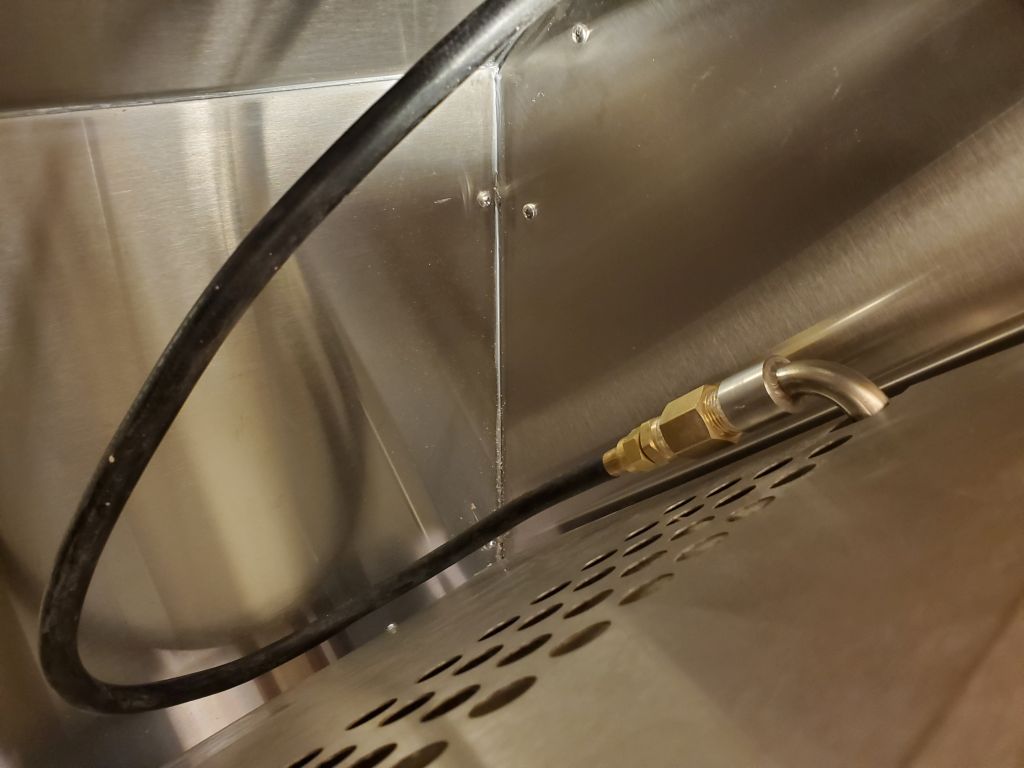
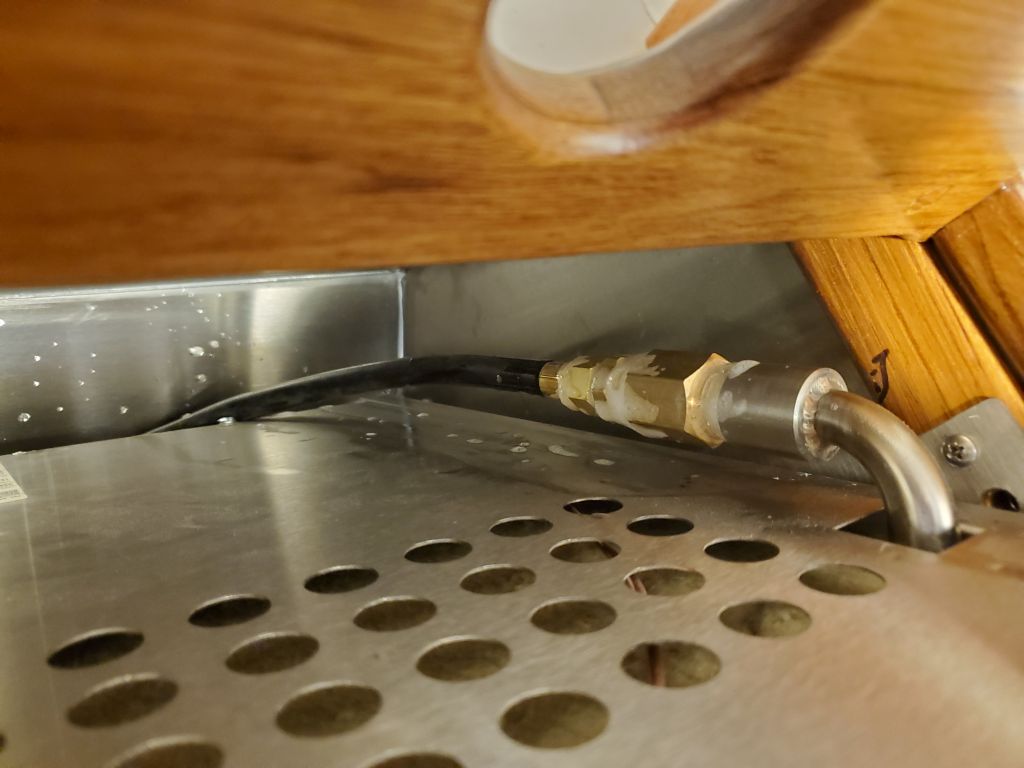
Once I had the mounting finally complete, I hooked up the propane hose behind the stove, and drilled for and installed the harbor lock at the back corner of the stovetop. The stove swung freely and completely through its gimbal swing in both directions, though the forward bulkhead (original to the boat and not changed during this project) was slightly out of plumb, causing closer but non-problematic clearance at the bottom corner on that side.

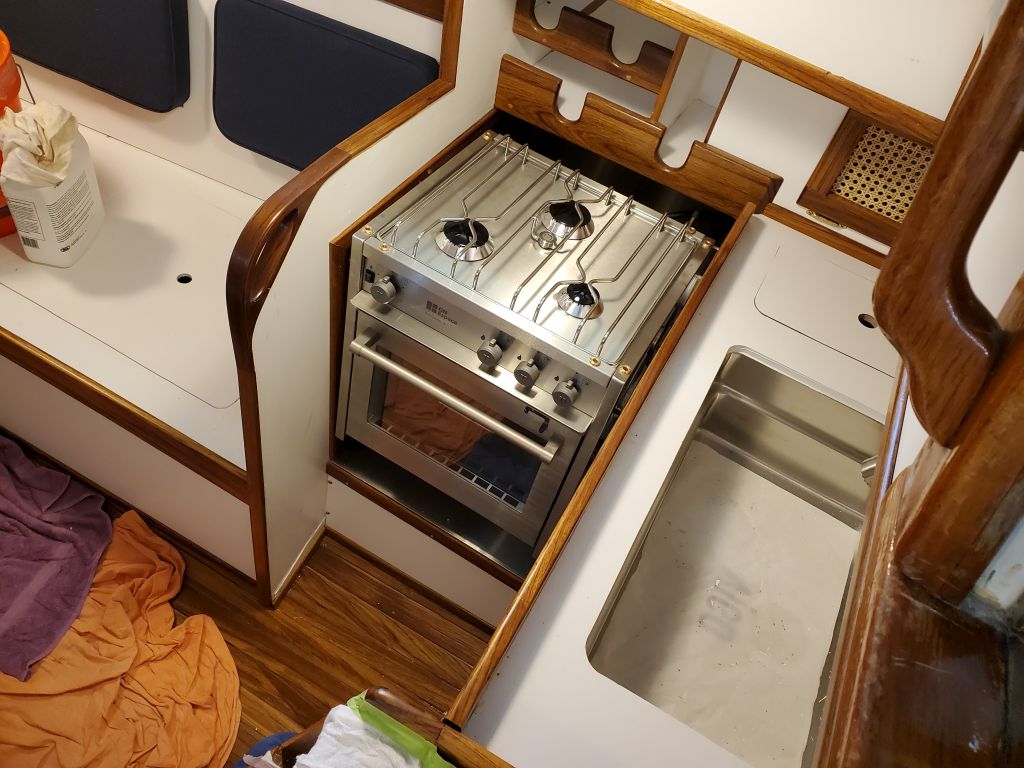
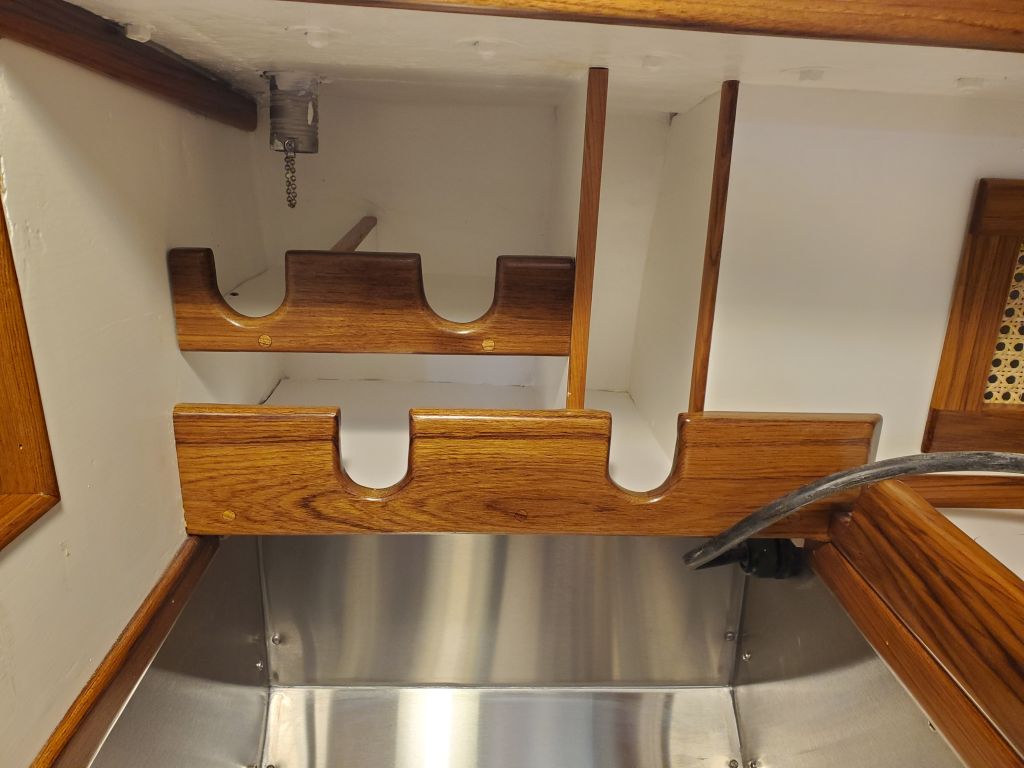
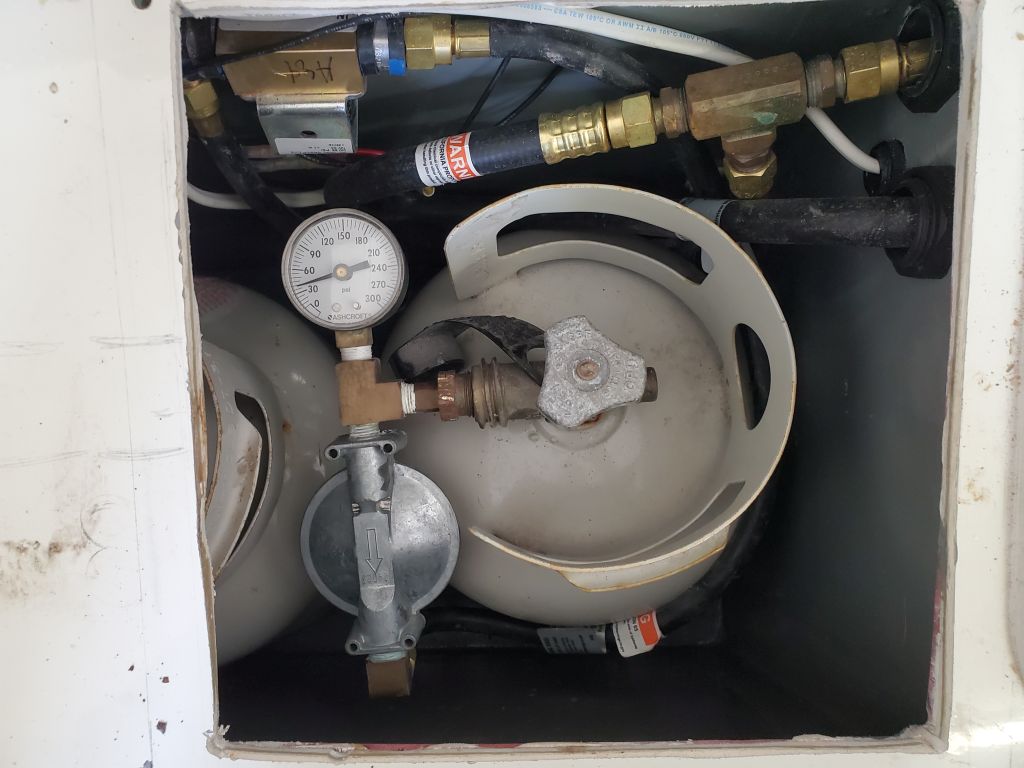
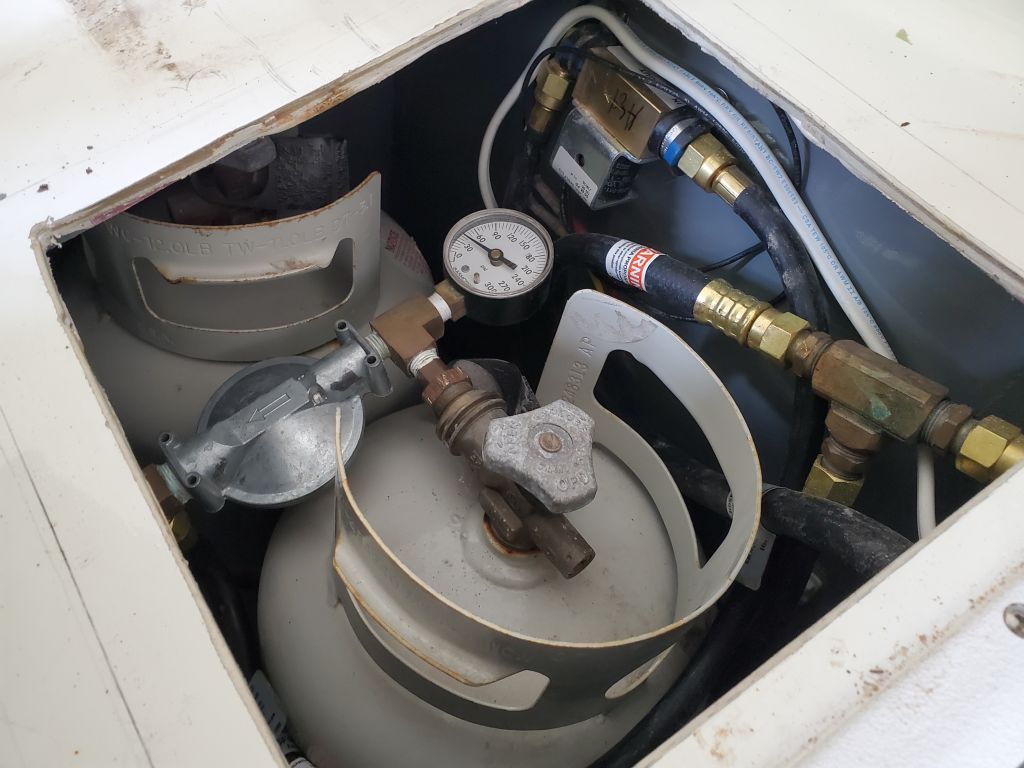
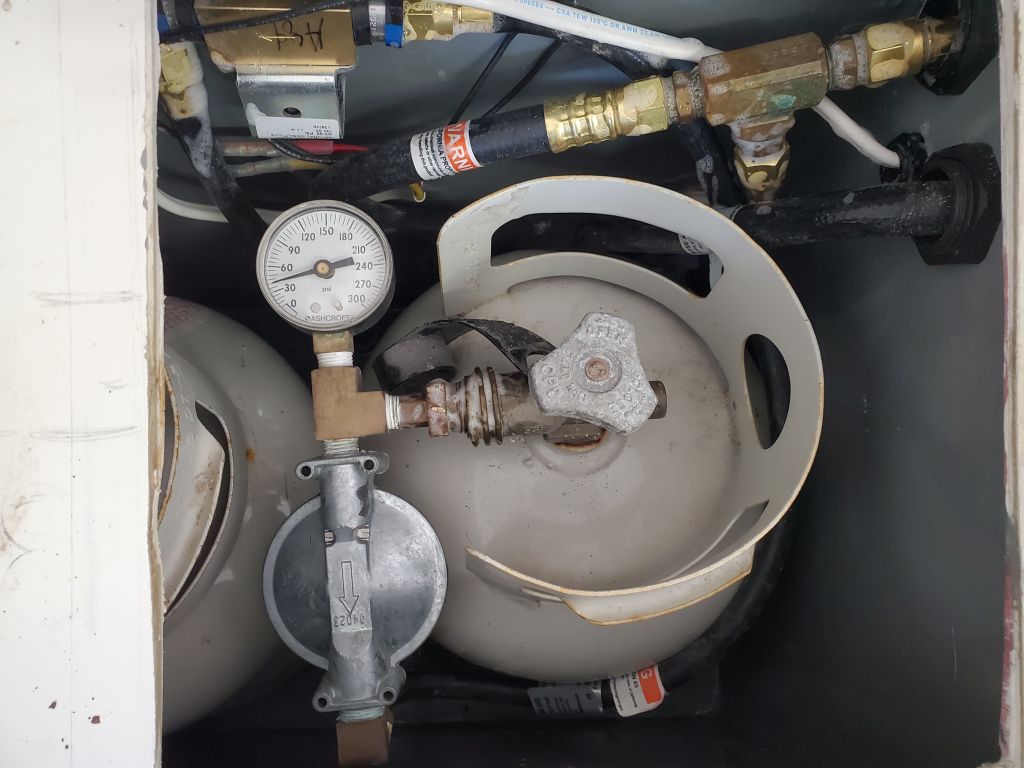
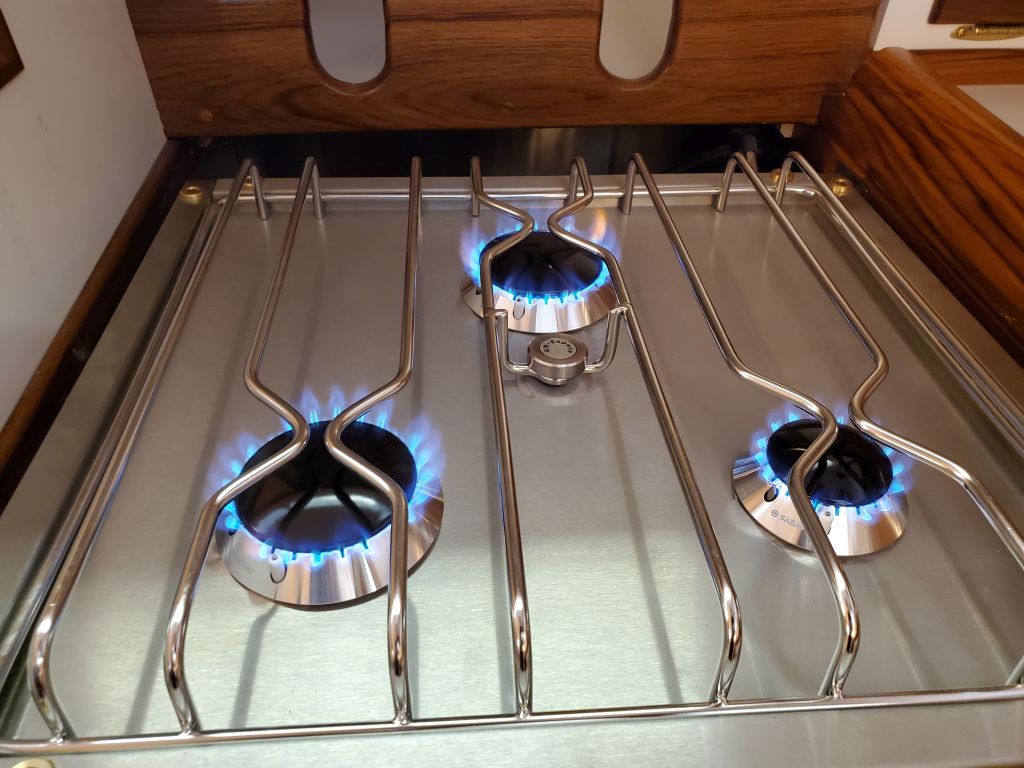
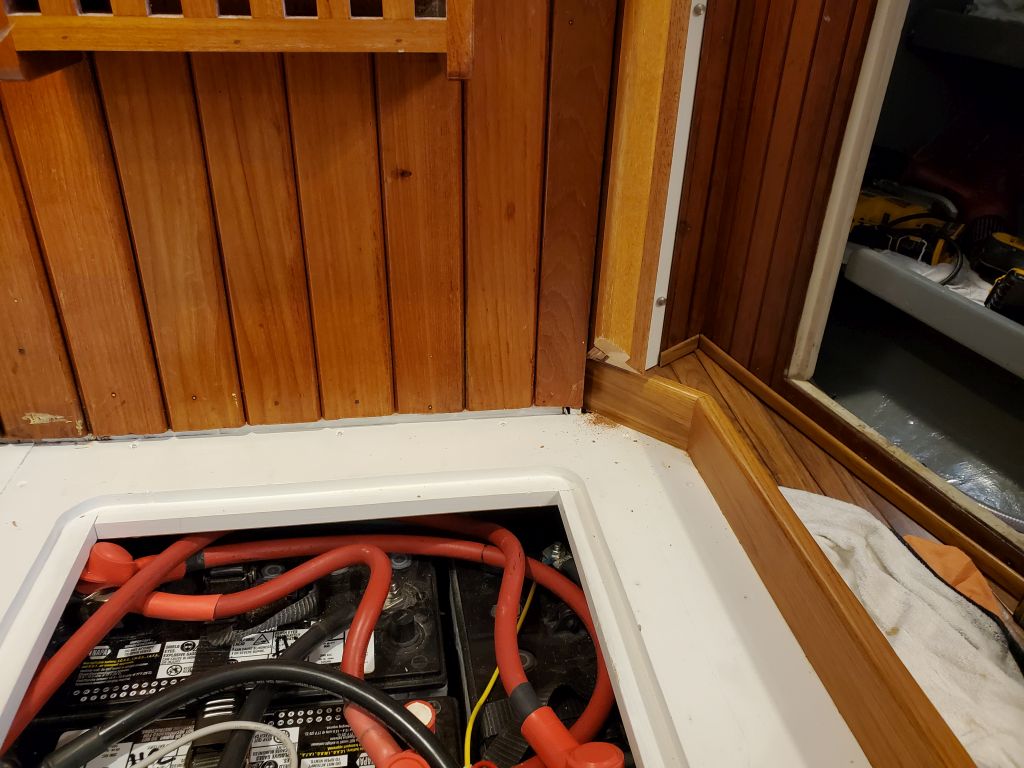
Next, I installed the two propane tanks in the locker and hooked one up. Clearance was tight for slipping the tanks through the hatch thanks to the mass of hoses and wiring, but roomy enough once inside. To start, I turned the valve, then turned it off, and waited to see if the pressure gauge dropped, which it didn’t. Then, I powered up the stove breaker and turned on the solenoid through its new control panel, and soap-tested all the hose and threaded connections to check again for leaks. With none found, I prepared to test the stove. First I had to install the battery for the self-ignitor, and this was very oddly located in the back underneath corner of the stove–I had to swing the stove way out to reach it. I never would have found it without the instructions, and even then it took a while. But the clicker worked well, and before long I had the burners lit.

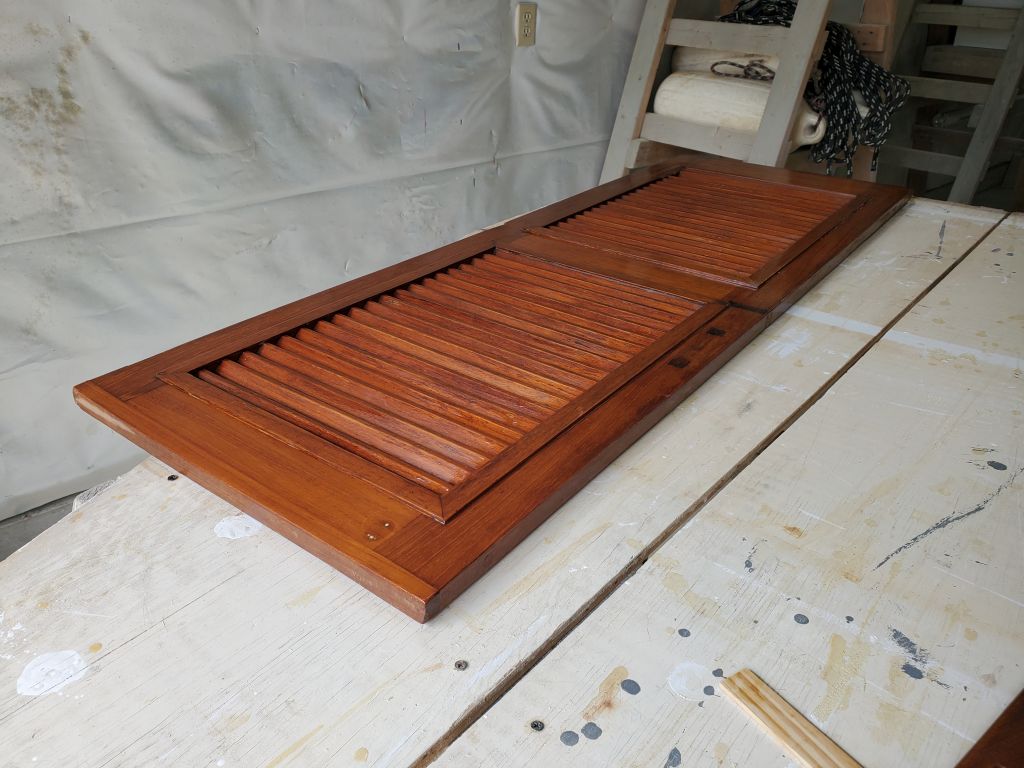
With the stove and propane work complete, I turned off the tank, closed the locker, and continued with prepwork, then finishing work, on the chainlocker hatch, head bulkhead, and the hanging locker door.
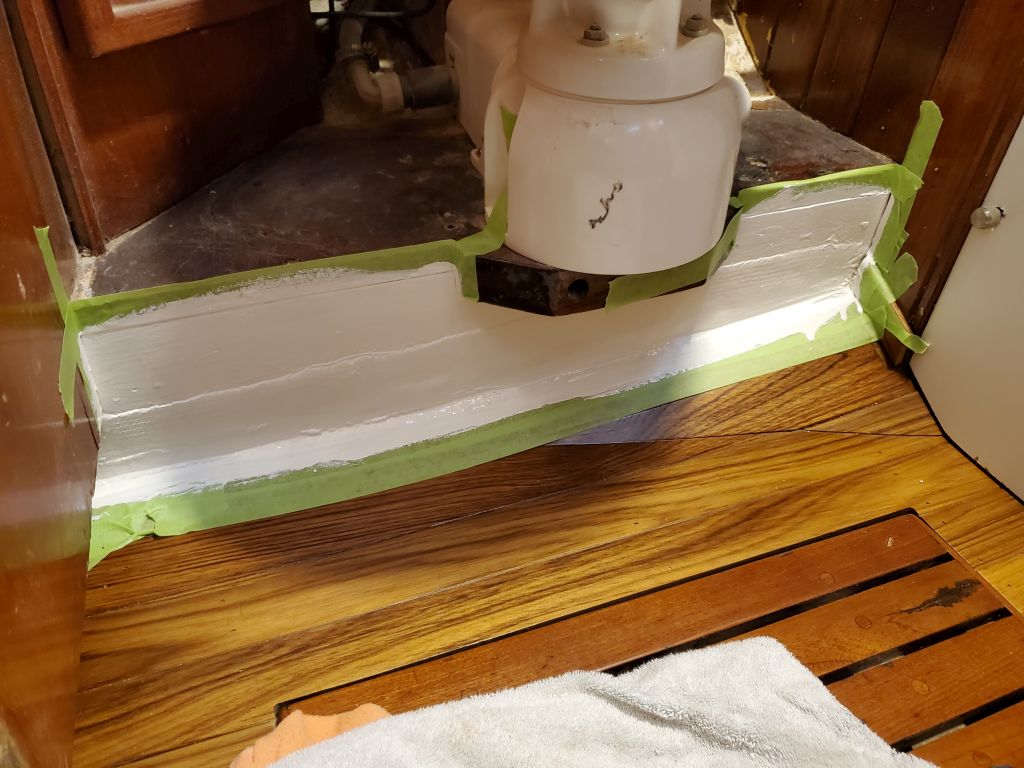
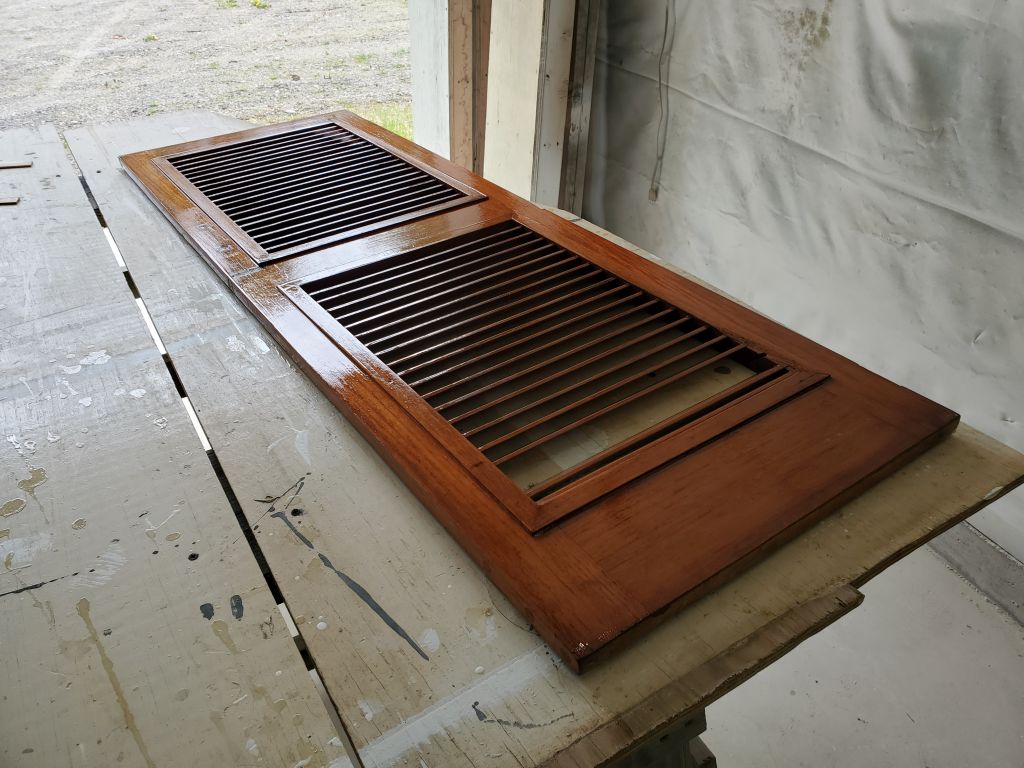
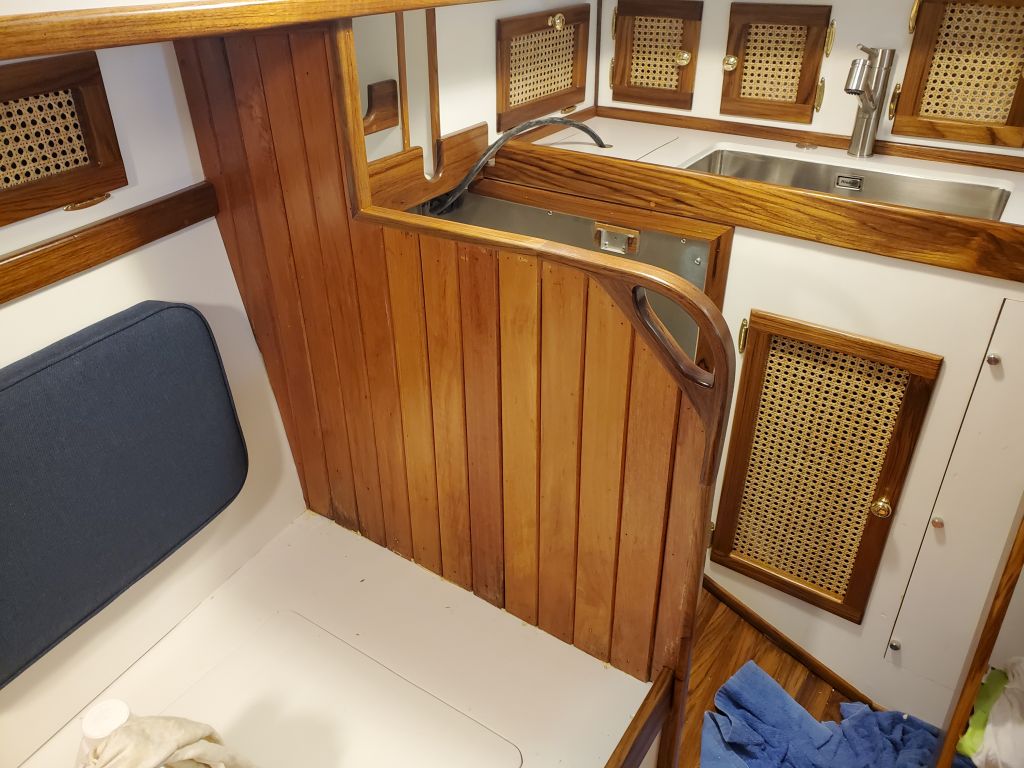
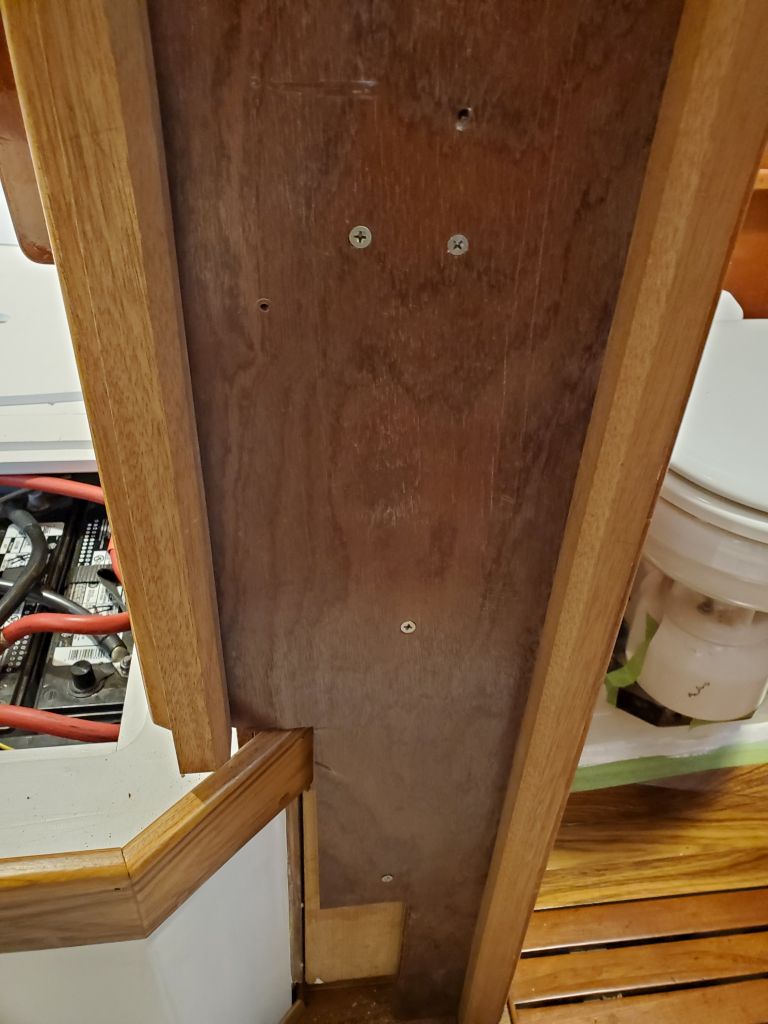
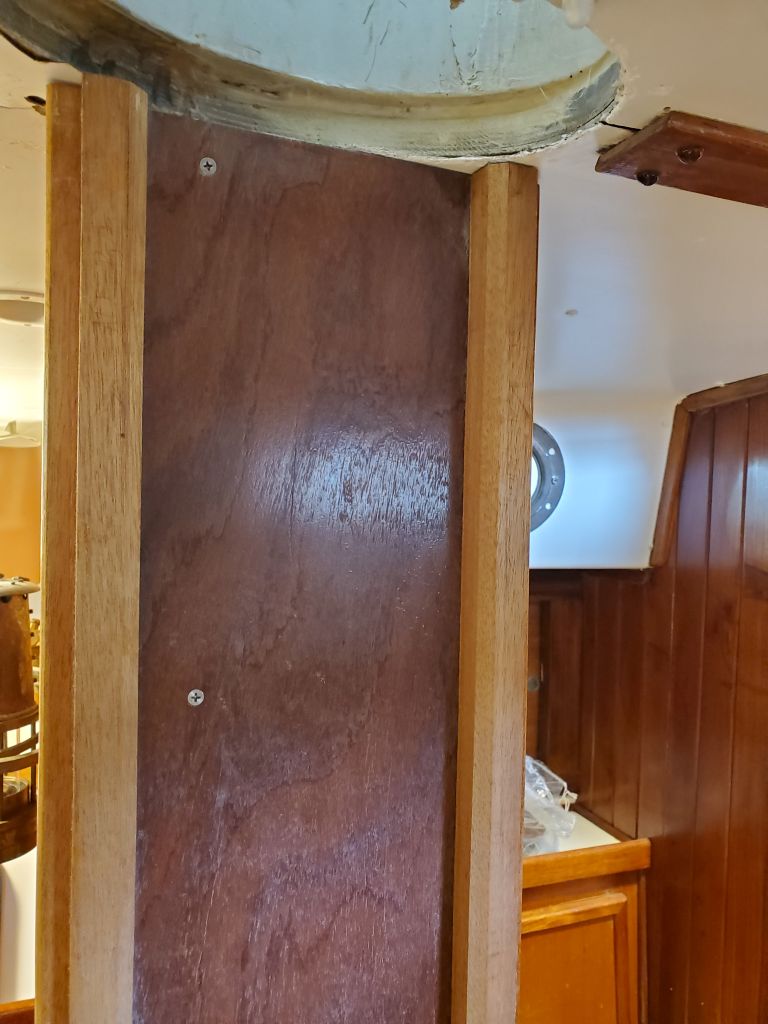
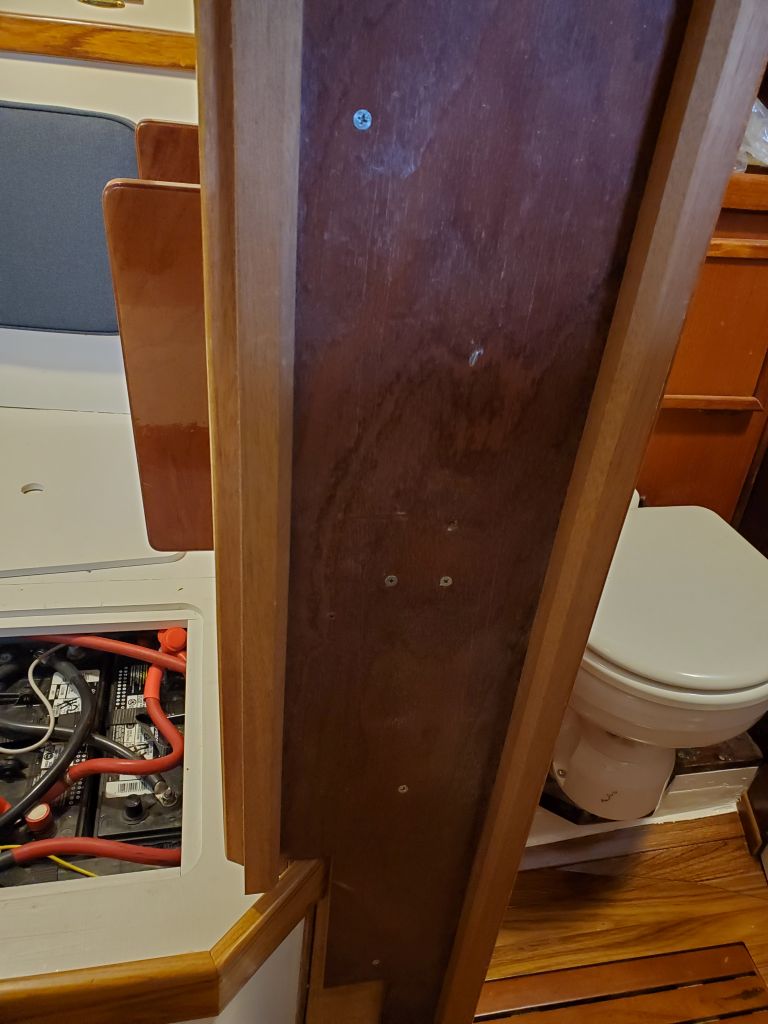
One of the last untouched items on my list was the mast surround, which was a plywood structure built by others to enclose the mast once stepped. This had never been a priority item, and unfortunately there wasn’t an opportunity now to rethink the whole area (which also incorporated a doorway to close off the head), so my goal was to see if I could reinstall the existing enclosure with minimal modification. Though I’d removed the pieces early in the project, I was not familiar with how they worked in particular so at the onset wasn’t sure what this might entail.
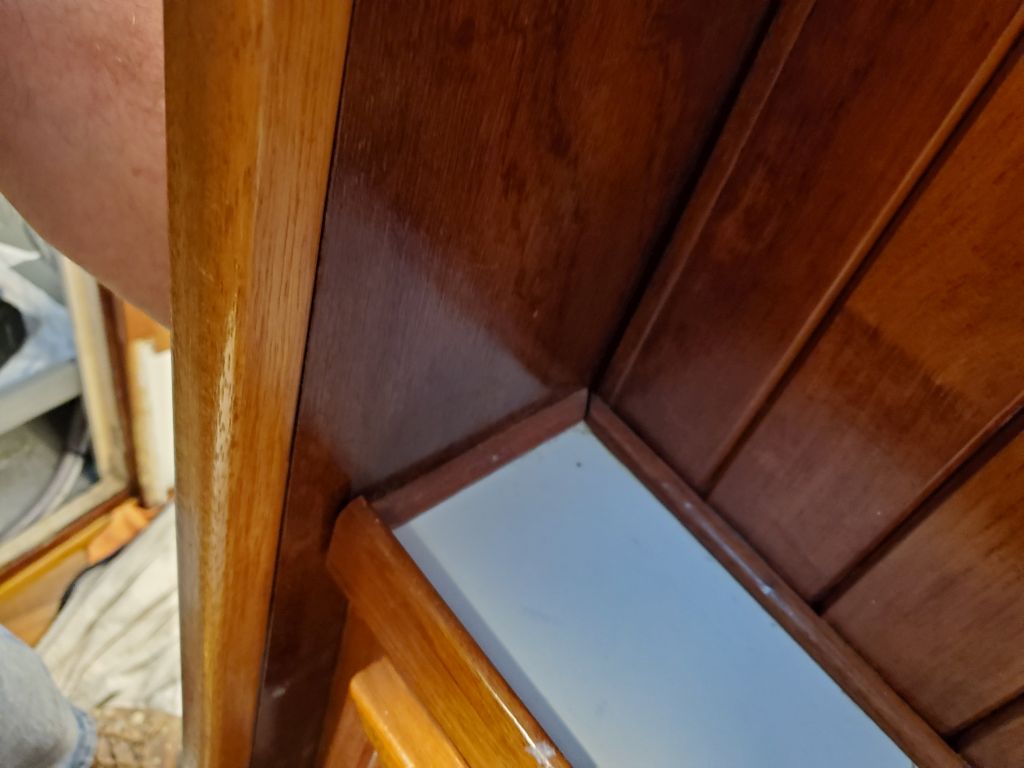
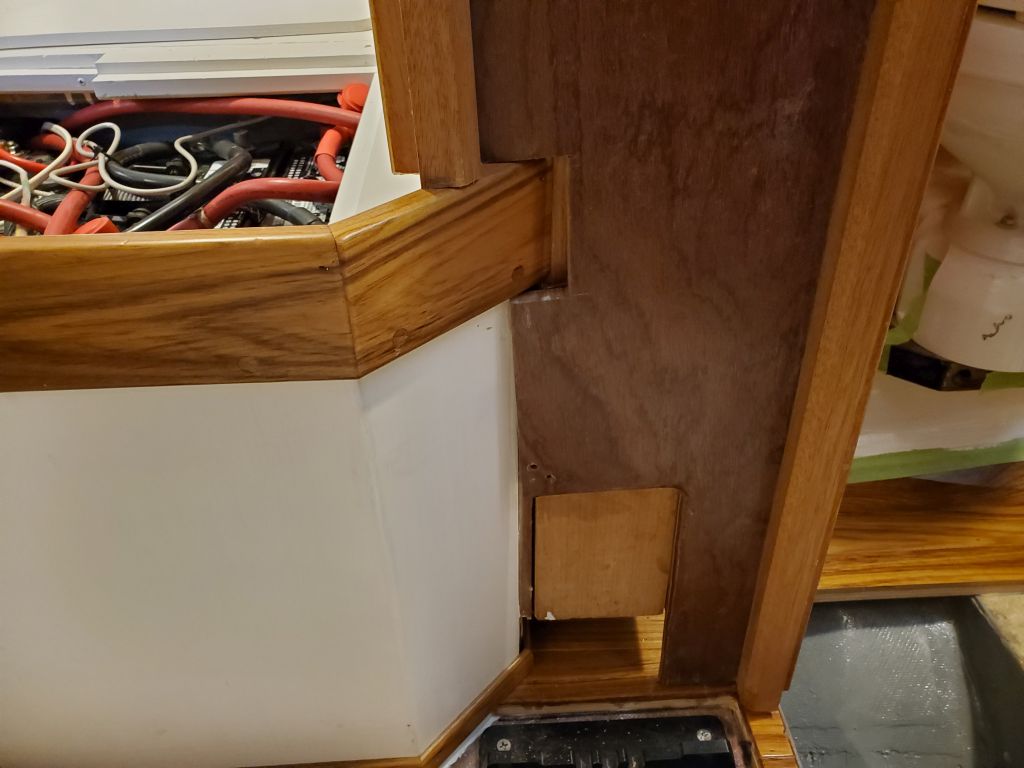
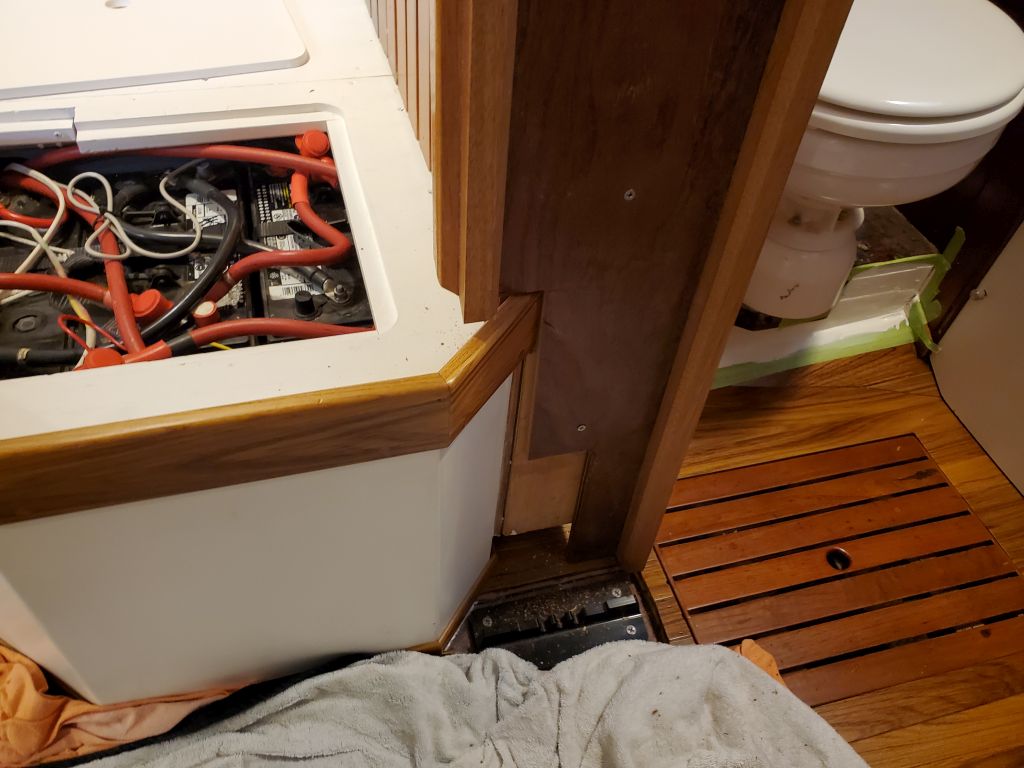
After reviewing photos of the enclosure in situ at the beginning of the project, and taking some measurements, I started with a simple cut on the aft side of the first panel, which was to fit against the head cabinet on centerline. I based this cut, which would start to allow the panel to fit around the battery box, on some assumptions, and the basic measurements I took from the space. When I test-fit the panel, I found the cut wouldn’t allow it to move far enough aft–the alignment was sort of preordained by a small piece of quarter-round trim on the inside of the panel, which fit over the head countertop–so over a series of additional and increasing cuts, I eventually got the panel to fit in its intended position. notched around the battery box and with a bit of the corner post nipped off to provide cushion clearance. Once the fit was as intended, I secured the panel with several screws.


The starter panel required the most potential modification, and the three remaining panels would likely continue more quickly. But that was for next time, as for now the day was done.
Total time billed on this job today: 7 hours
0600 Weather Observation: 55°, partly cloudy. Forecast for the day: Cloudy, 73°