


April 15, 2024
Calliope Girl 101
Monday
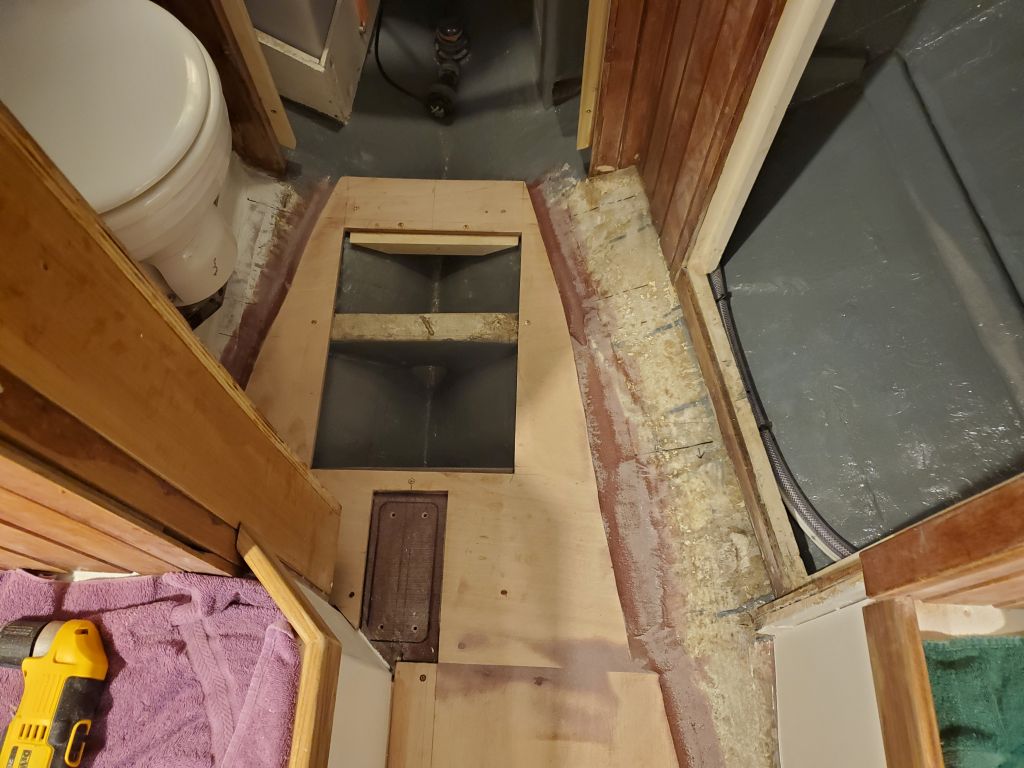
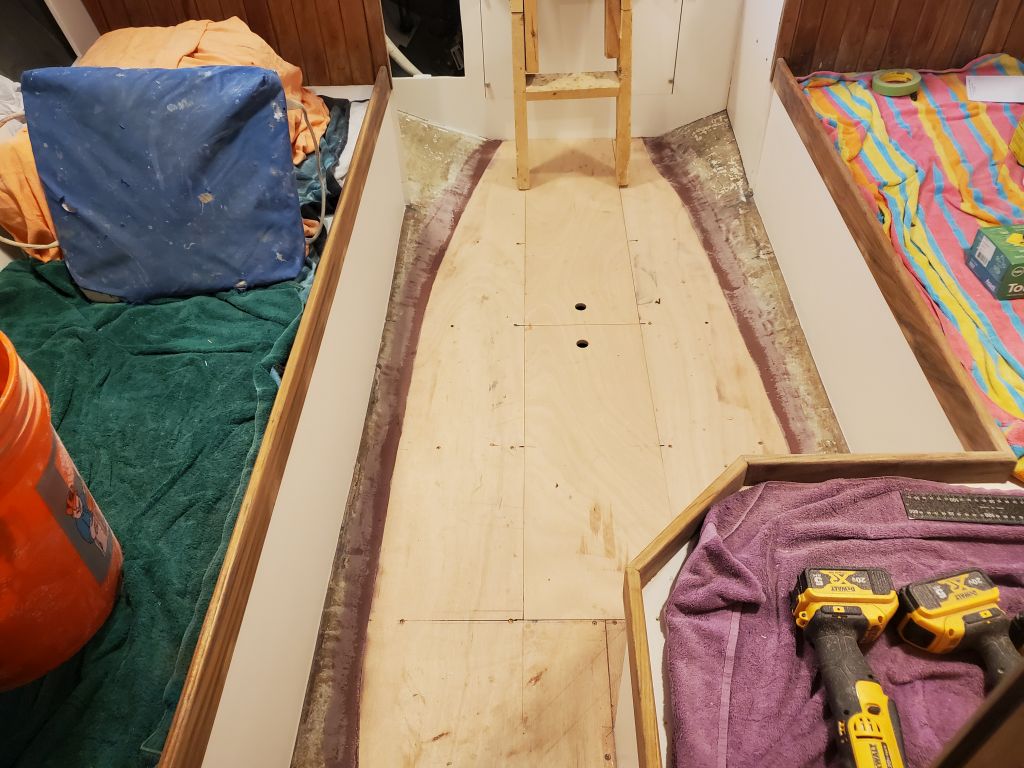
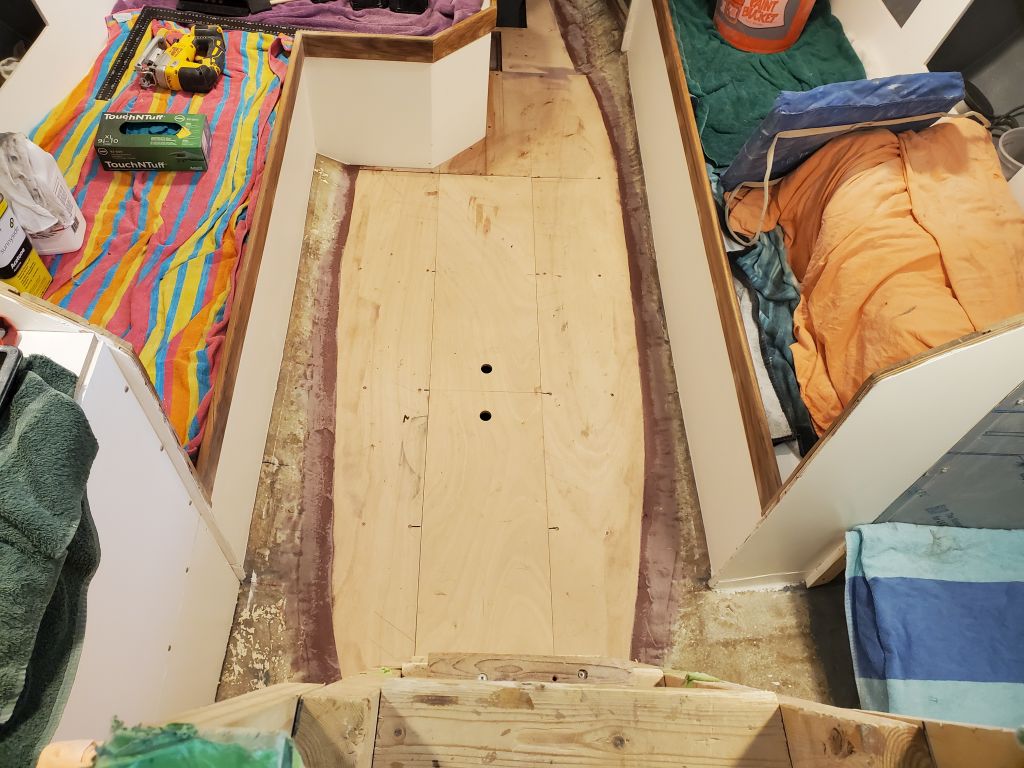
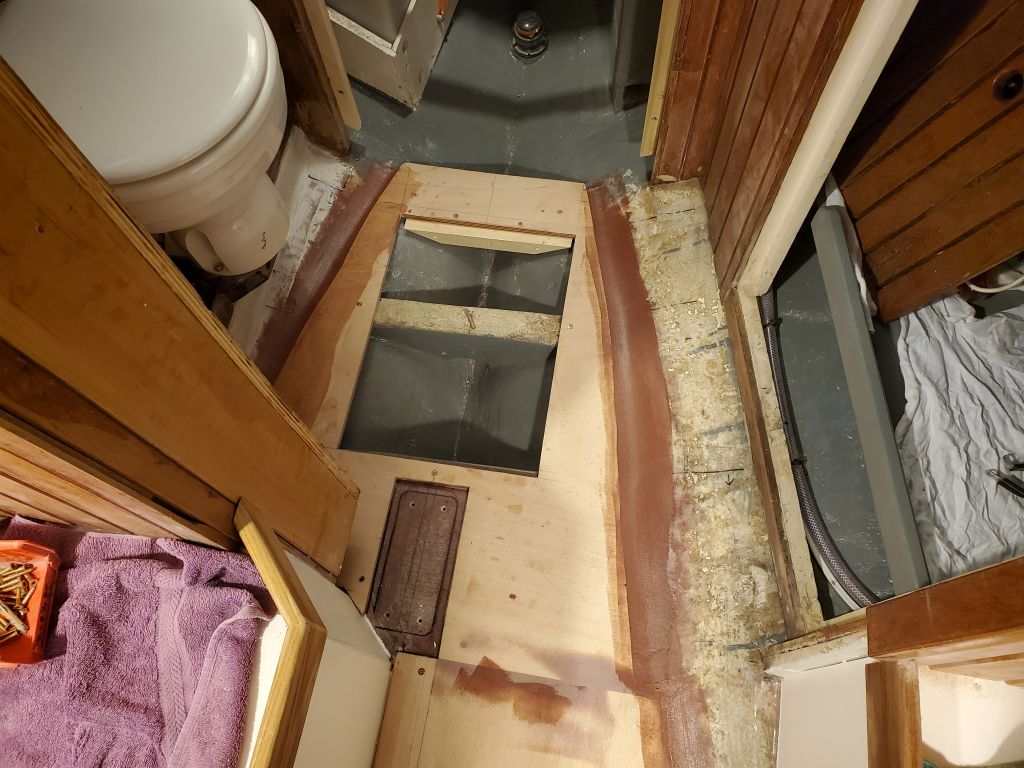
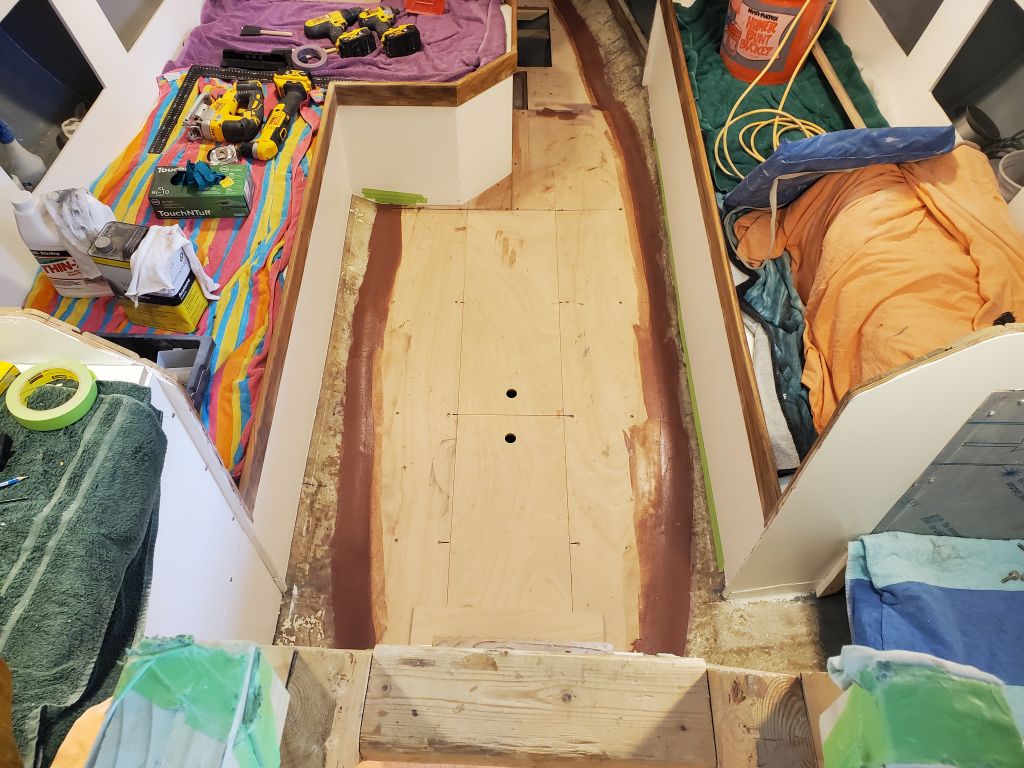
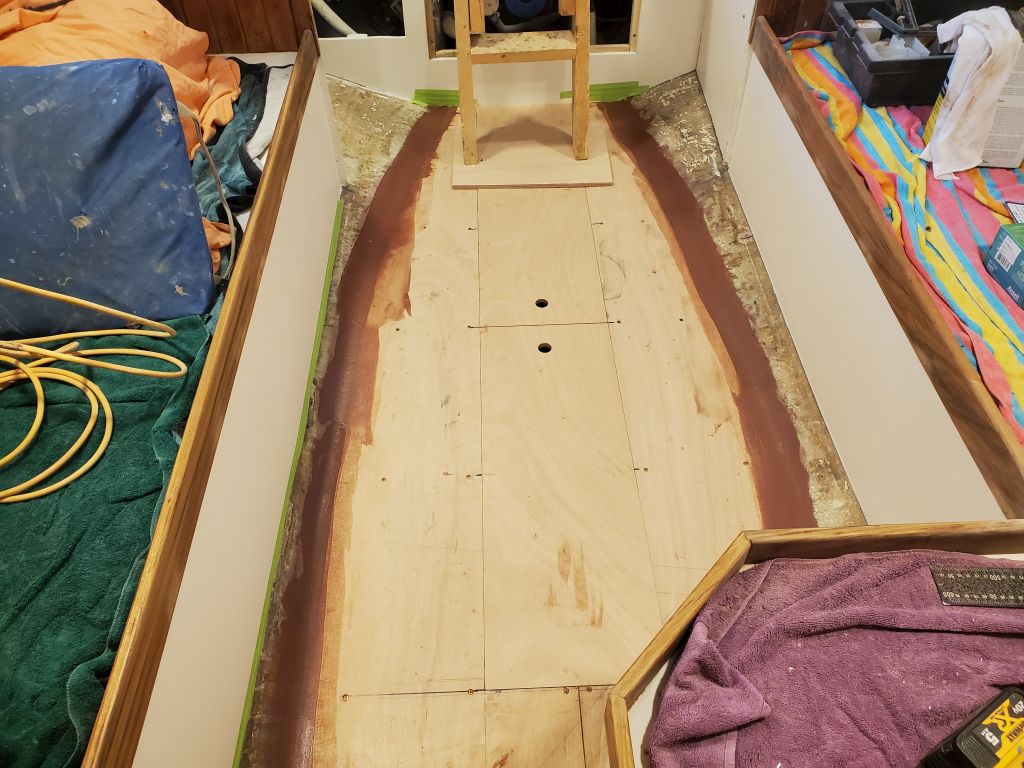
The epoxy lining the cabin sole required a light sanding. This left some low areas that I planned to fill again late in the day.
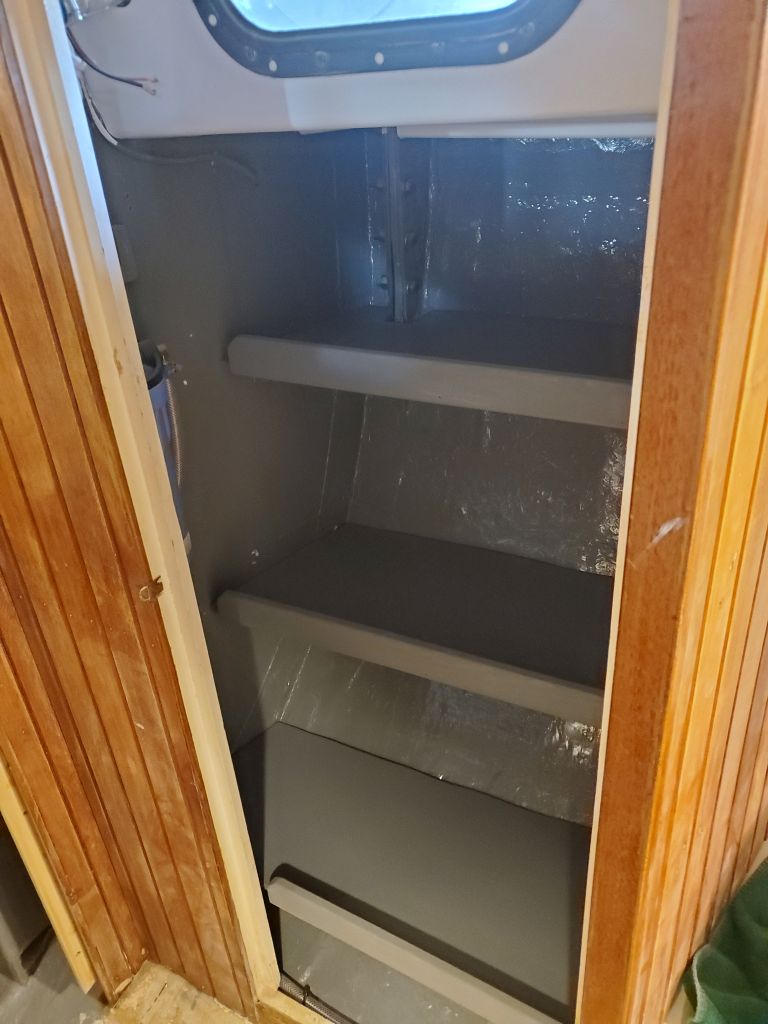
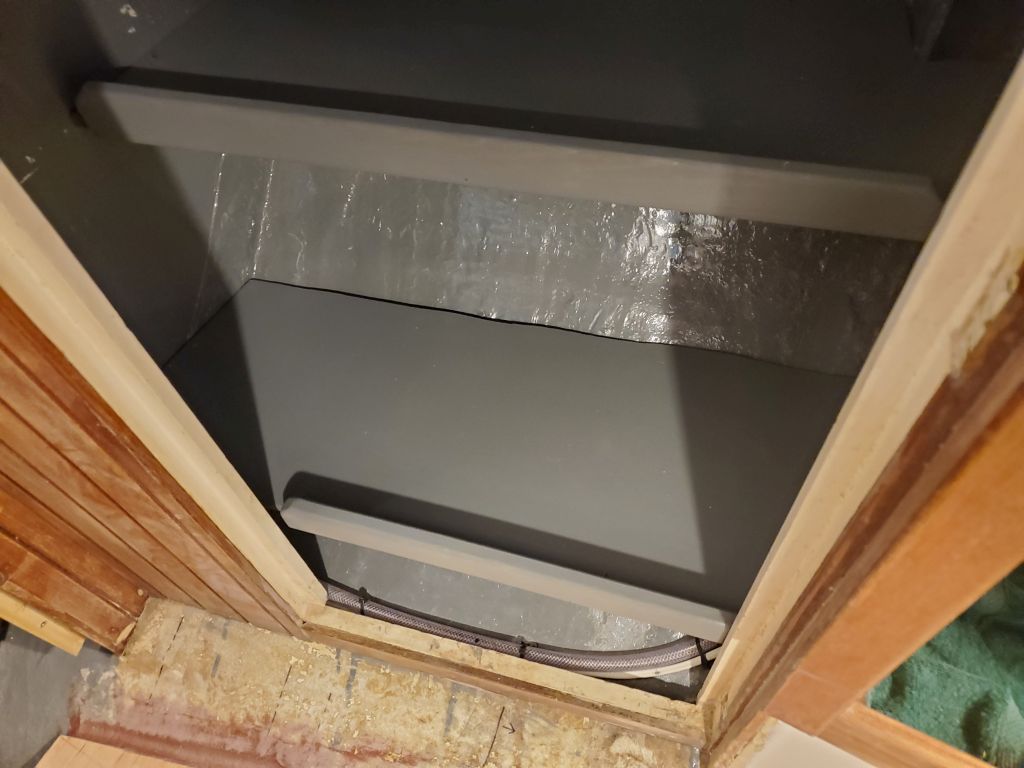
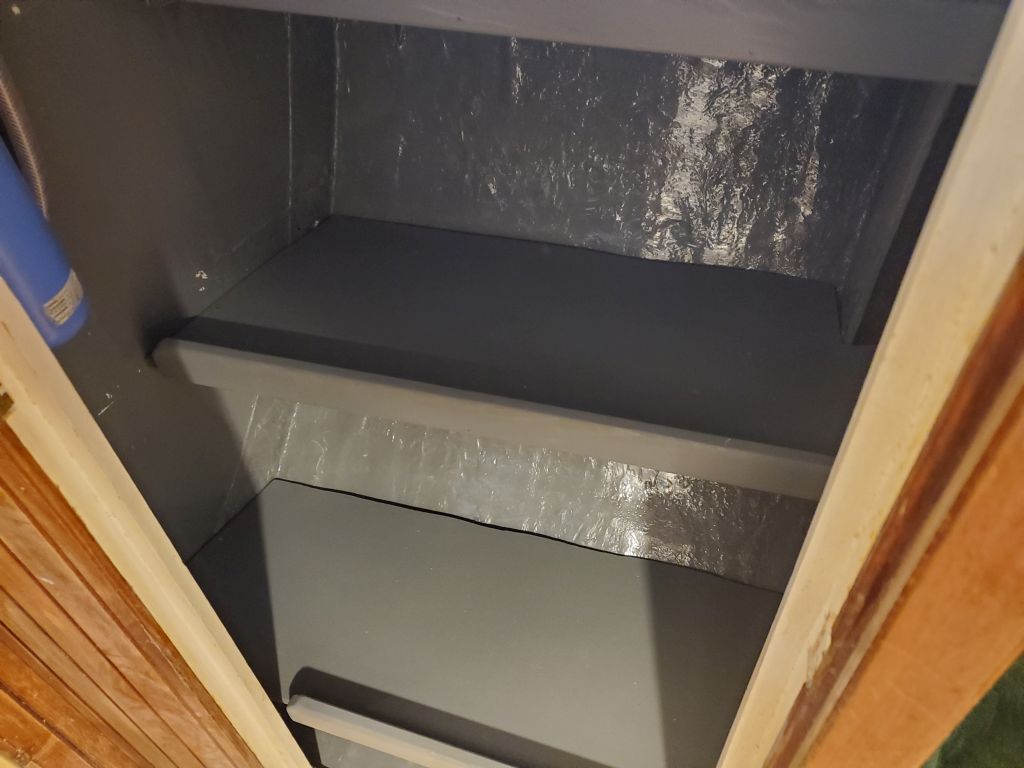
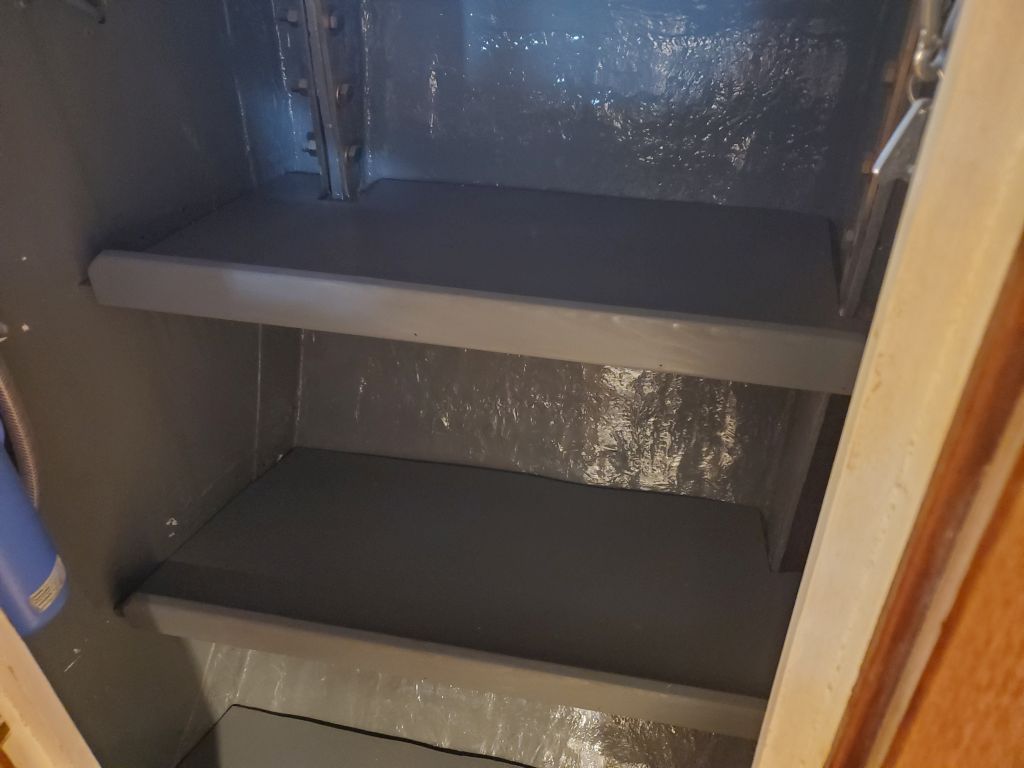
Next, I installed the three shelves in the hanging locker, a small task that had been pending for several days just awaiting the right moment. I immediately put the shelves to use to store tools and supplies that were otherwise cluttering up the settees or galley.
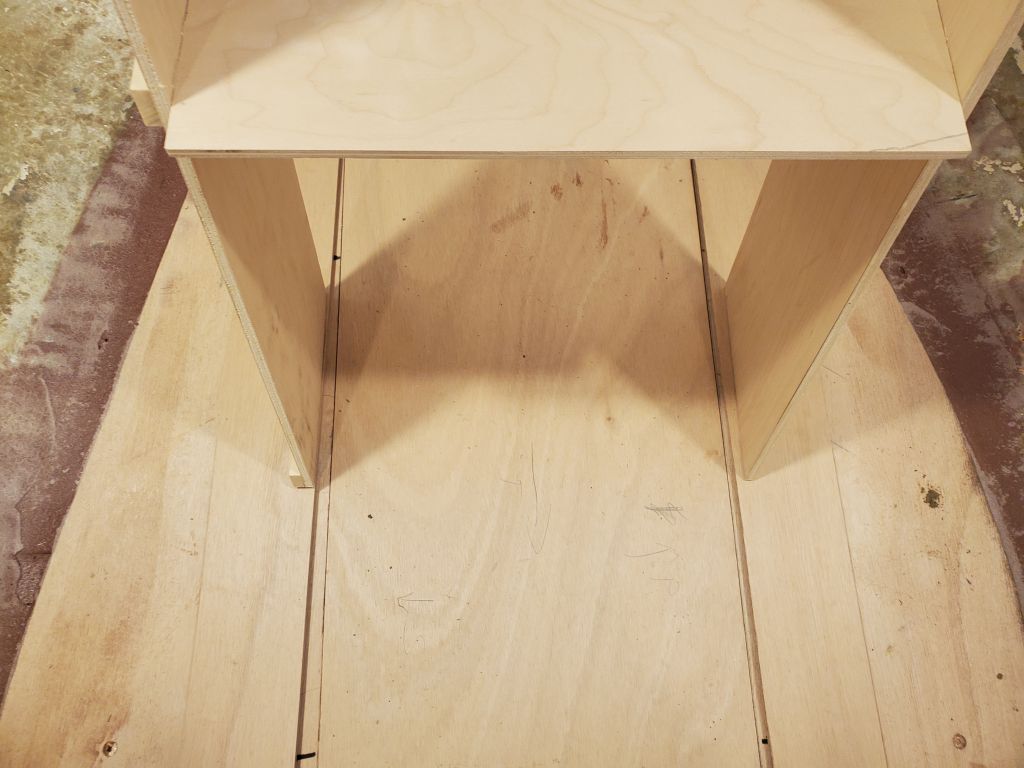
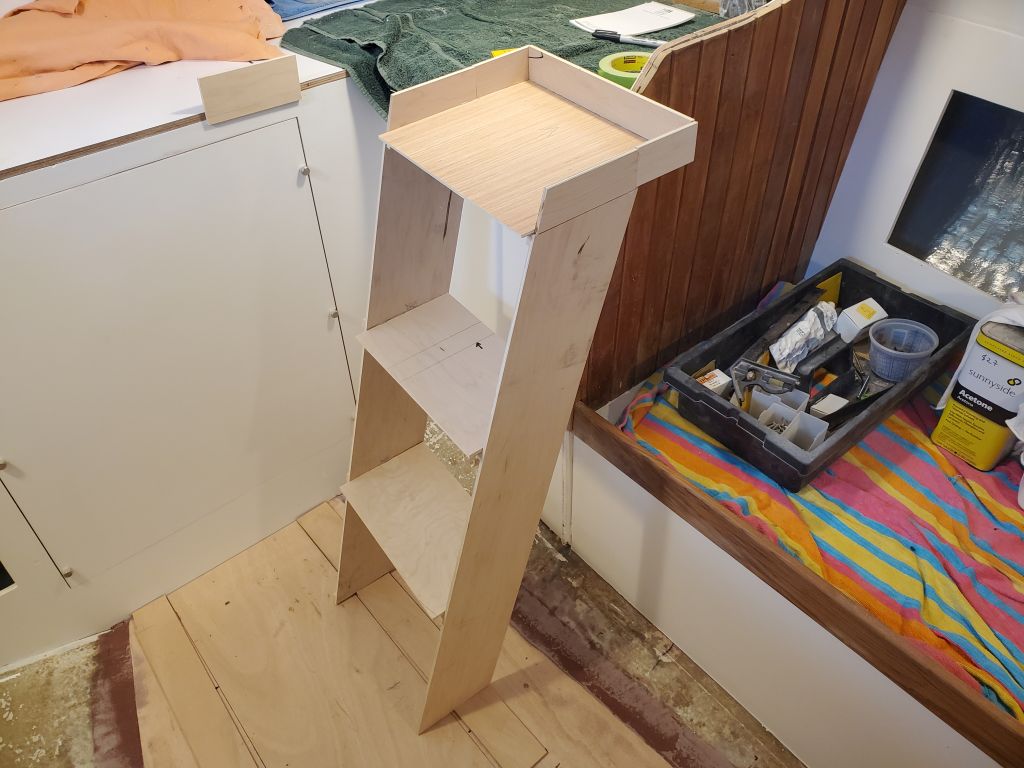
With the new cabin sole now in place, I turned my focus on the companionway ladder. The owner had in mind a ladder that rested upon the galley countertop, where the top step was the main support and was surrounded by its own fiddles so that the step remained separate from its surrounds. Working just from this description and the confines of the space at hand, I built a plywood and hot glue mockup of the steps, choosing a 13″ wide step (and inside dimension) that would still allow access to the sole bilge panel beneath. I milled some scrap plywood to 1/4″ thickness to stand in for the final layer of the sole, which would eventually be 1/4″ thick teak strips, and divided the height equally to provide for two steps below the countertop step.
I made the side rails 6″ wide, and at a 17° angle off vertical (or perhaps it’s 73° off the sole), which angle I took from my terrible-but-at-a-good-angle construction ladder, and the steps I cut for the mockup were 7″ deep, which seemed to project a bit further from the face of the ladder than I thought they should in the final analysis. I mistakenly glued my support cleats on the wrong side of one of the panels but left them in place as it was too much trouble to remove them, and they didn’t affect the purpose of the mockup anyway.
Around the top step, which was 10″ deep by 13″ wide, I installed a 2″ high fiddle to correspond with the height of the galley fiddles that would surround the ladder eventually, which would be 3″ high in profile with 1″ below the countertop. I included some short sections of plywood to simulate these as well.
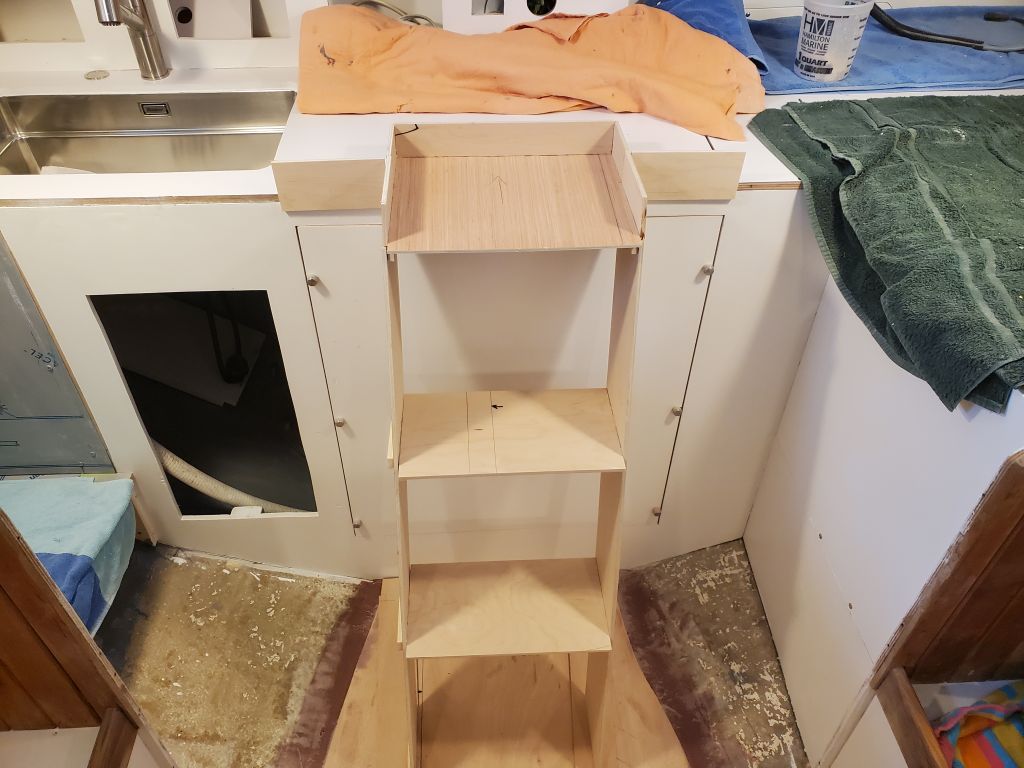
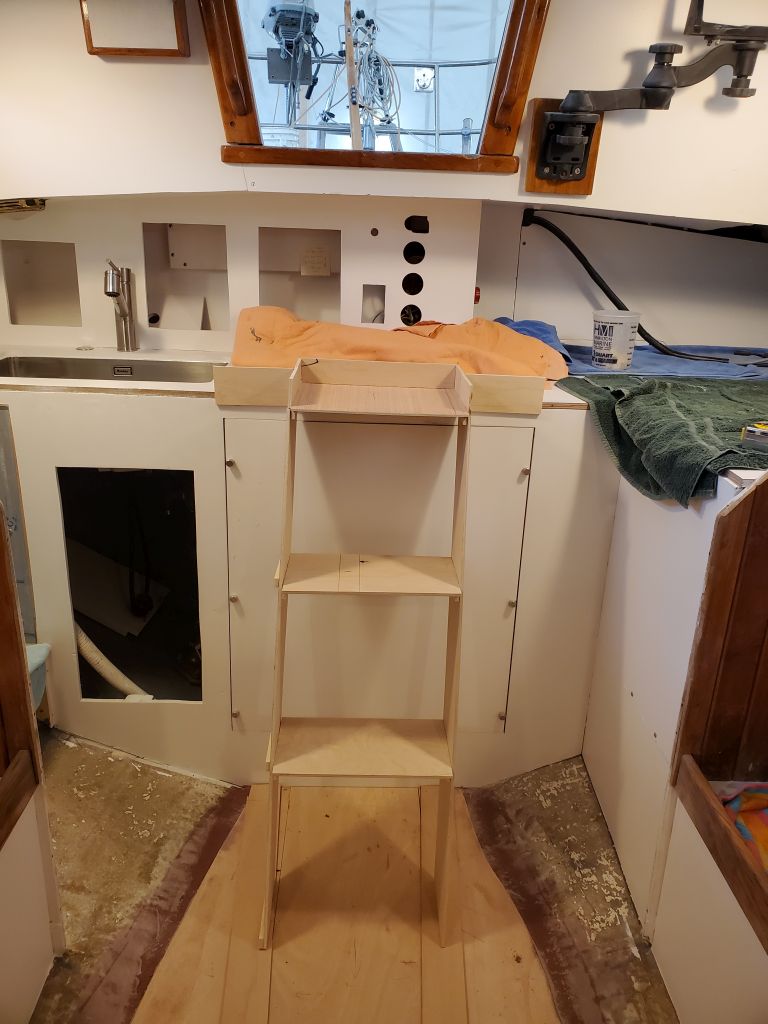
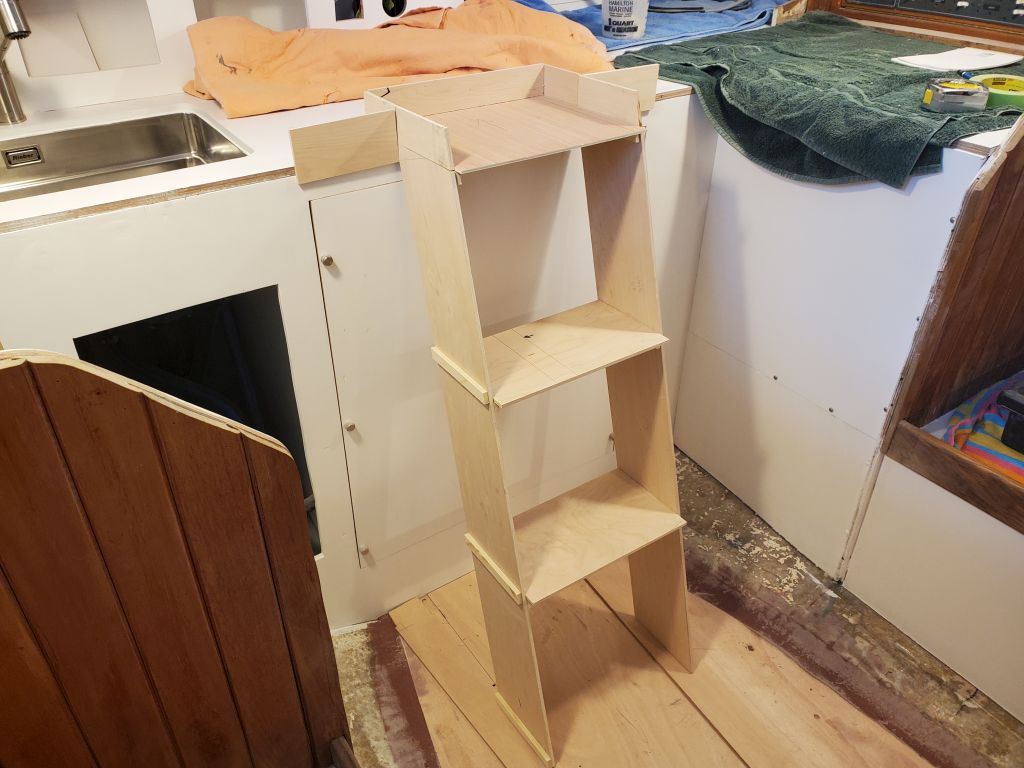
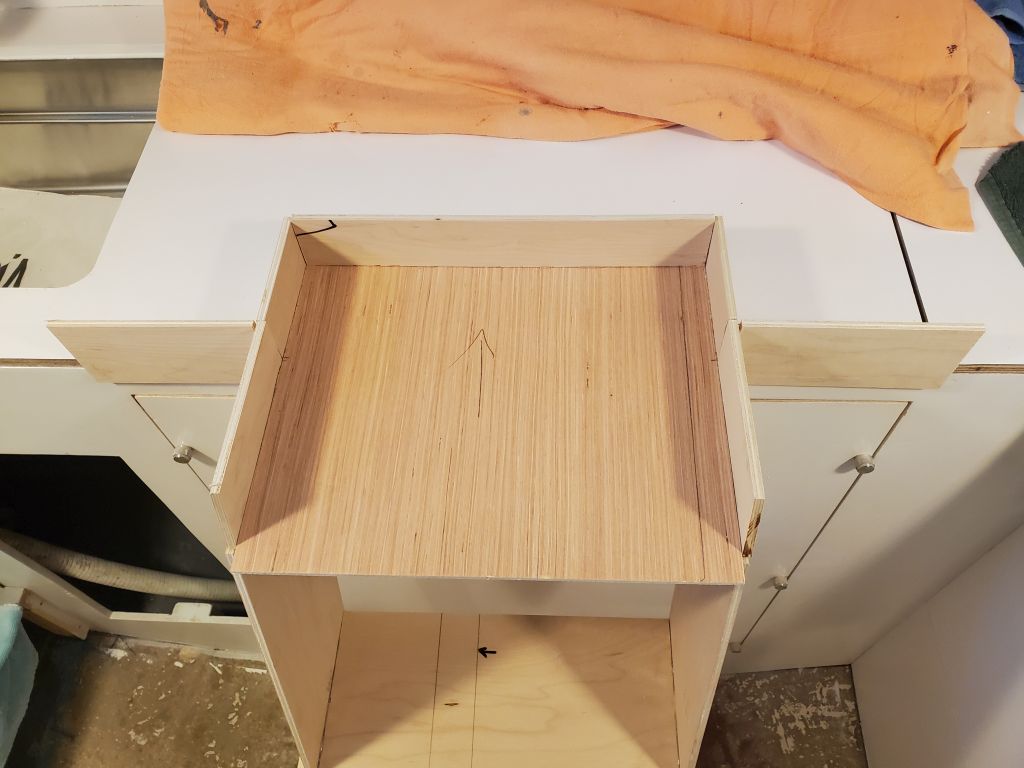
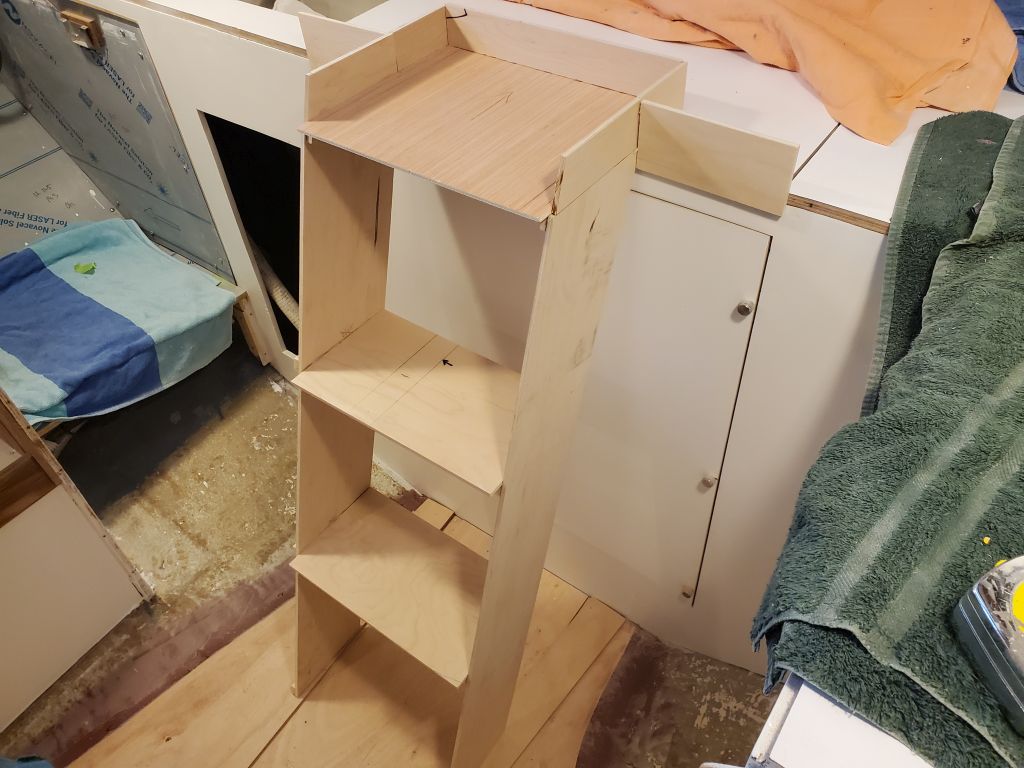
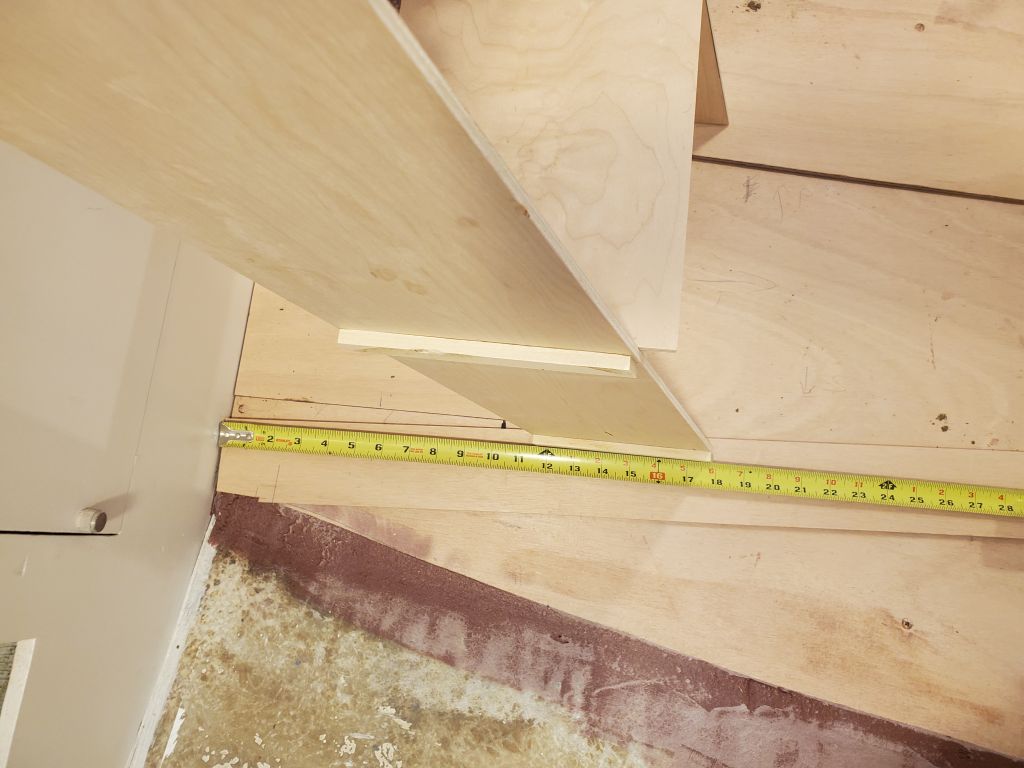
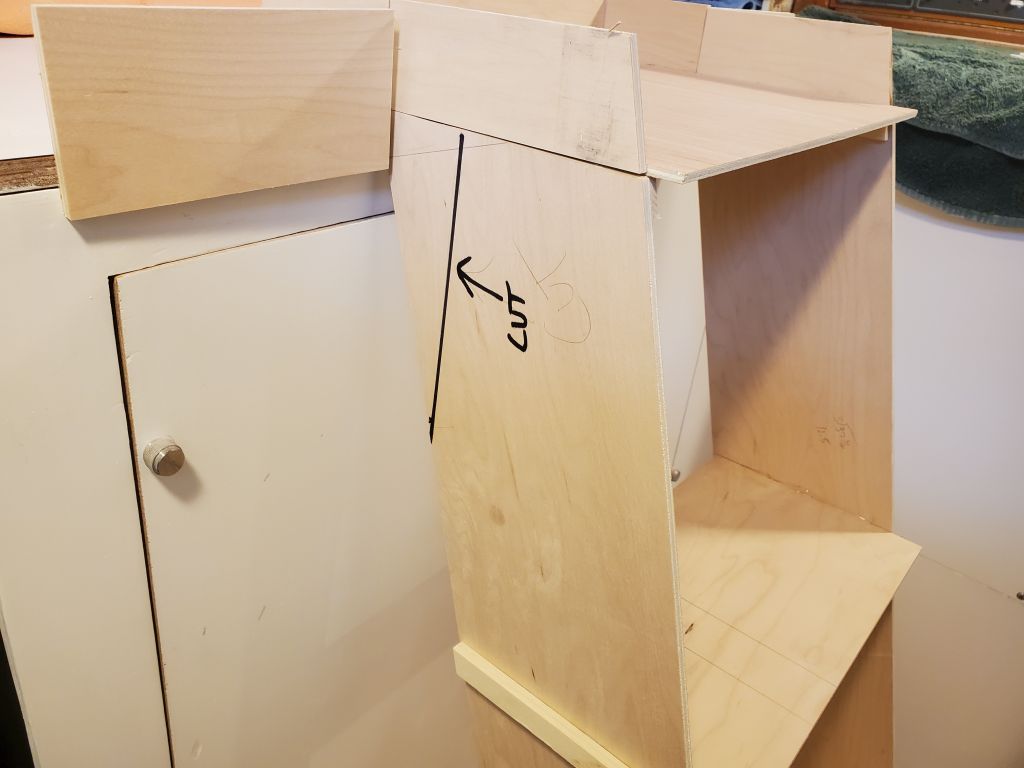
Immediately upon installation, I saw that I could improve the ladder by making a plumb cut along the back edges, which would bring the whole assembly correspondingly closer to the bulkhead to save cabin sole space and make the whole arrangement more compact. As built, the steps projected 18″ forward into the cabin, which wasn’t as bad as it seemed in terms of galley access, but could clearly be improved. In the photos, I marked a plumb line 2″ in, but in reality I thought I could nearly double that, leaving plenty of strength in the sides of the ladder (terminating the plumb cut anywhere above the first step would still provide full strength for the step installation) and pulling the ladder that much closer to the bulkhead, as well as providing support where the ladder rested against the vertical panel.
After discussing these and other aspects of the mockup with the owner, we agreed that the basic concept was sound enough to proceed with actual construction that incorporated the changes, so I looked forward to getting that underway soon.
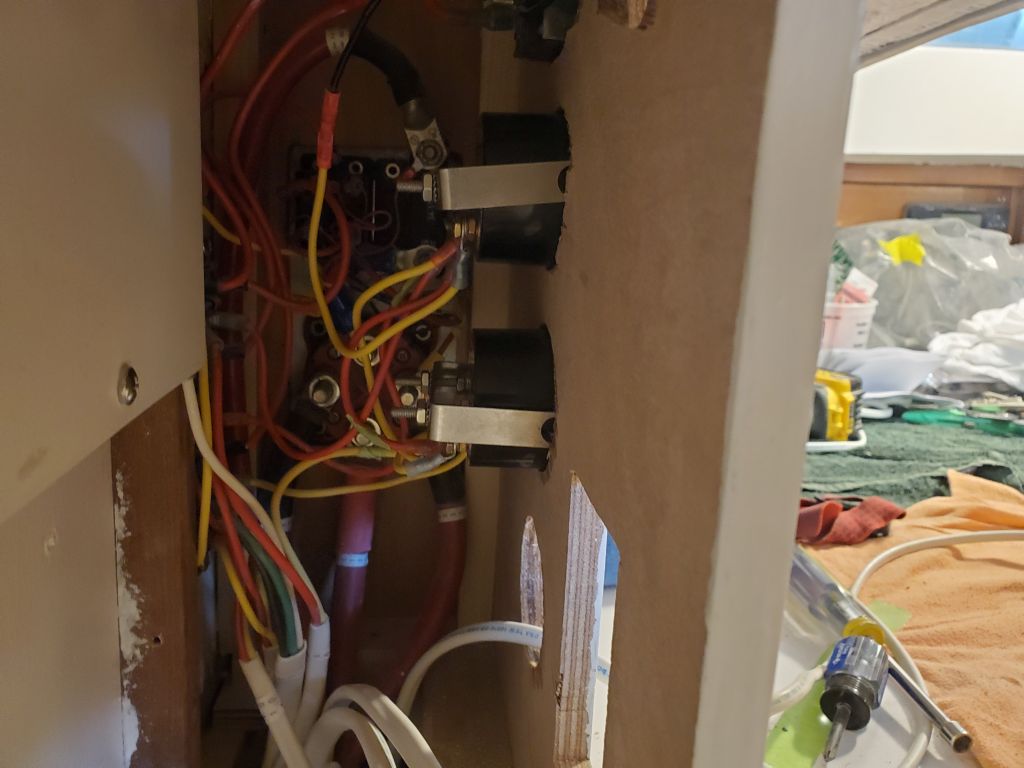
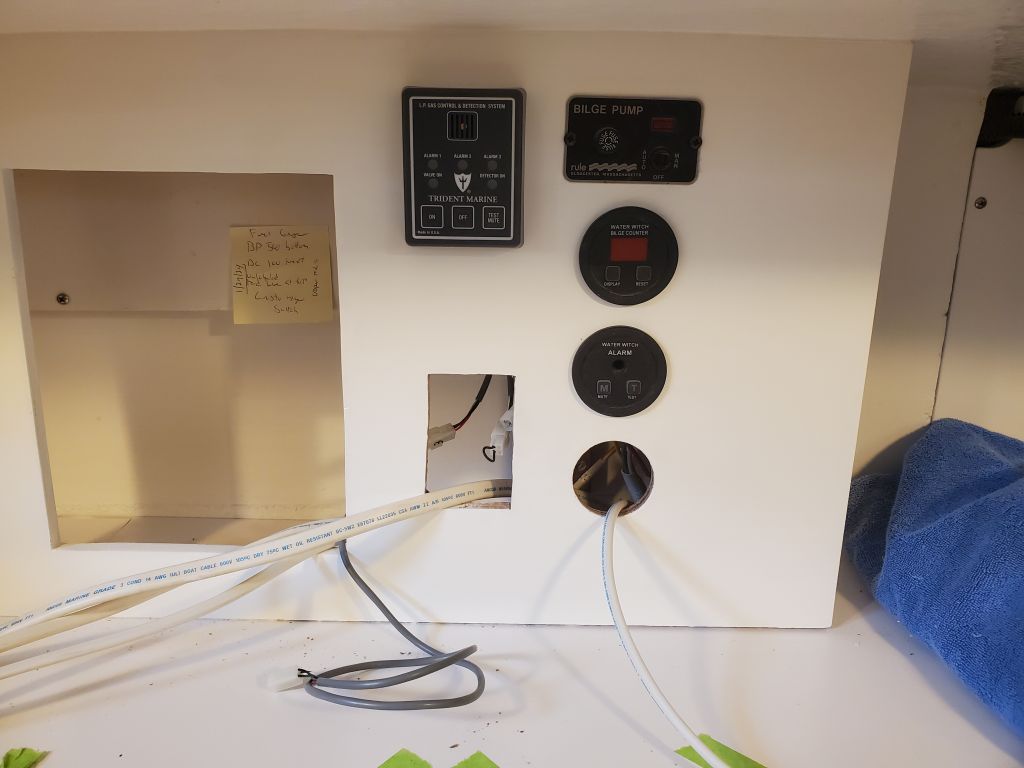
In the meantime, I turned to the galley, where I was anxious to install the various electrical components in the upper panel and finish up the related wiring as needed. I made progress, eventually reconnecting and reinstalling the bilge pump switch, pump counter, and high water alarm as well as the basic panel installation for the propane system, but this all took longer than I’d hoped, first sorting out the wiring itself, then some frustrations with wires that were slightly too short–possibly because of how I’d run and secured the bundles below in the engine room–and the resulting collection of required tools and parts and fasteners to lengthen the wires in question and finalize the installations. I also had to figure out the home of one mystery wire, which didn’t go to any o the gauges and was unlabeled. Eventually, after reviewing older photos closely, I found it belonged on a bare terminal on the battery switch panel. In any event, after a couple hours, I’d hopefully gotten past the worst of it, and would finish up the remaining wiring (including the AC outlet, propane system connections, and the fuel gauge) next time.
For now, though, I needed to get back to the cabin sole where, after final preparations, I applied a quick second coat of thickened epoxy to the edges, just to clean up and make a smoother transition between the sole and the adjacent hull so that installing the teak planks would go more easily.
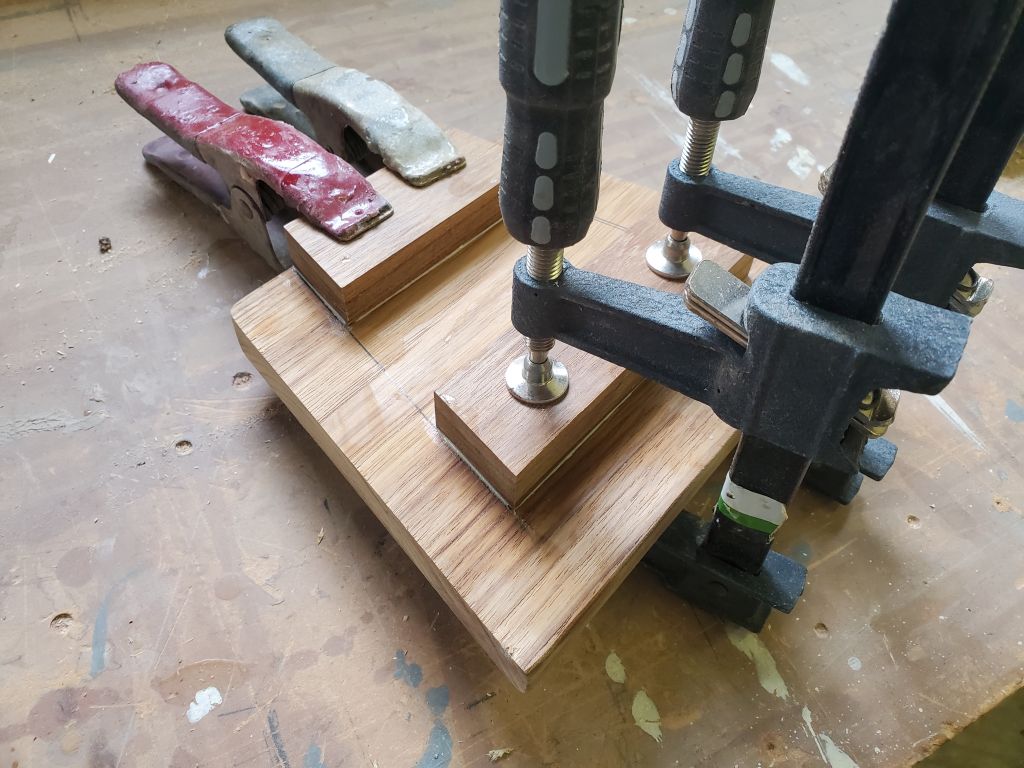
This didn’t take as long as I’d allowed for, so with the bit of time remaining in the day I cut and installed some cleats beneath the teak step for the v-berth. These cleats would slot in securely between the support cleats in the step opening, and help hold the step securely while maintaining ease of removal.
Total time billed on this job today: 7.5 hours
0600 Weather Observation: 41°, clear. Forecast for the day: Sunny, isolated showers, 60°