


February 21, 2024
Calliope Girl 70
Wednesday
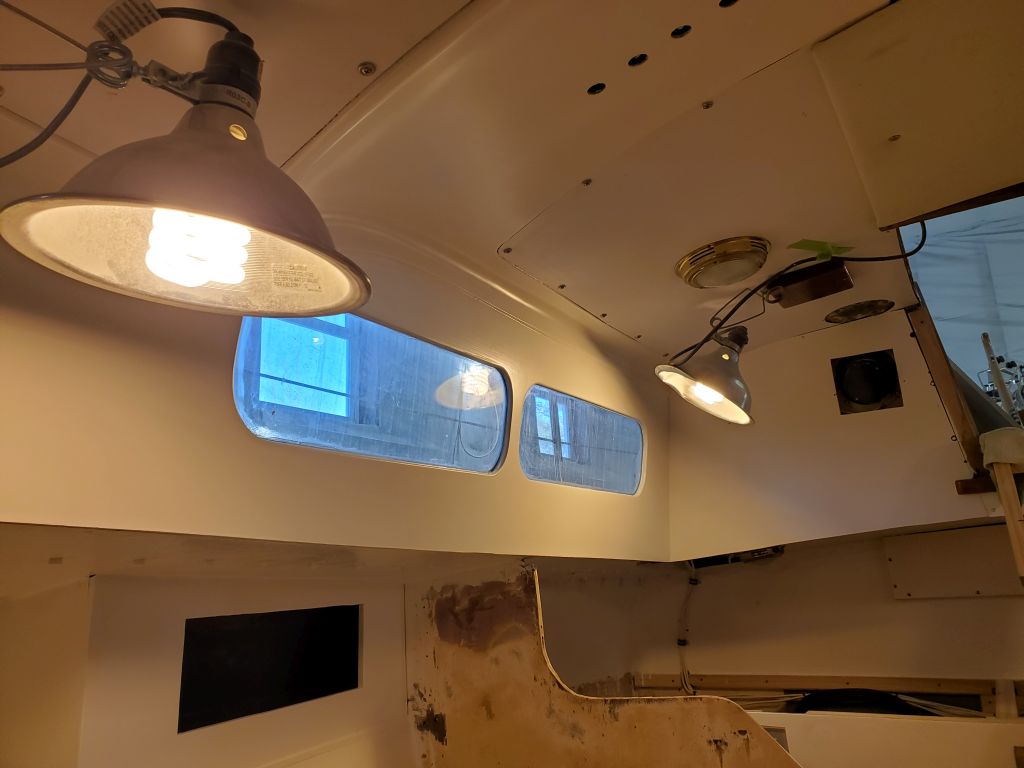
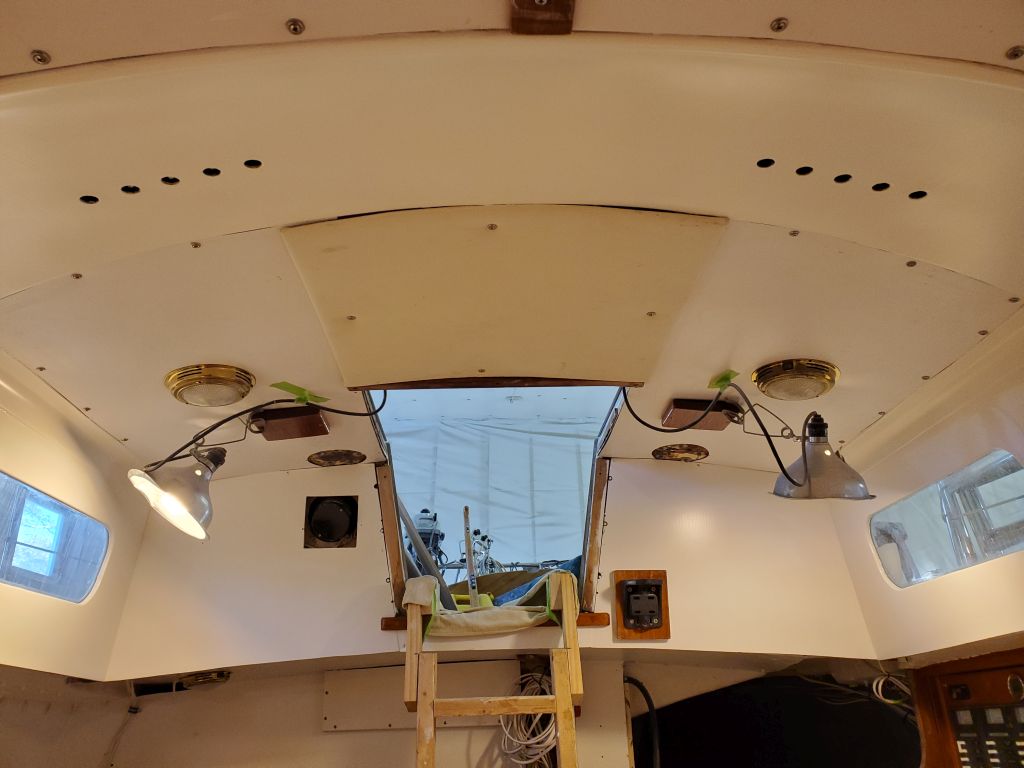
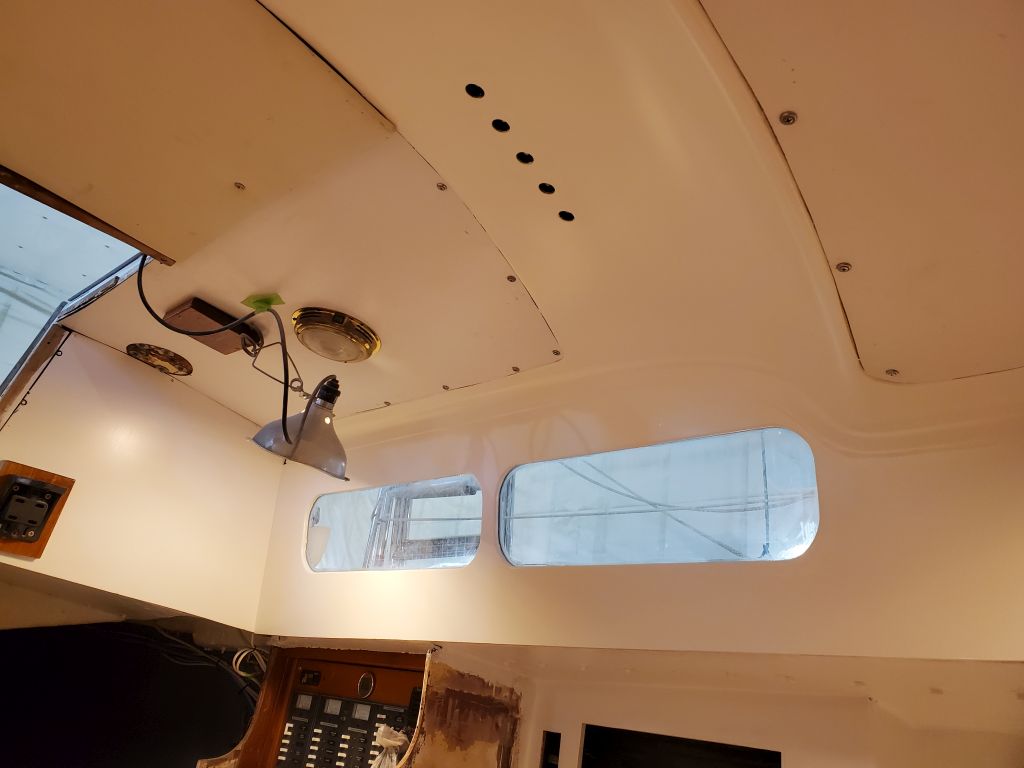
With the painting complete in the main cabin for now, I removed the masking tape. I planned to avoid masking or covering the fresh paint, and avoid any significant work around it, for a few days to allow a full cure.
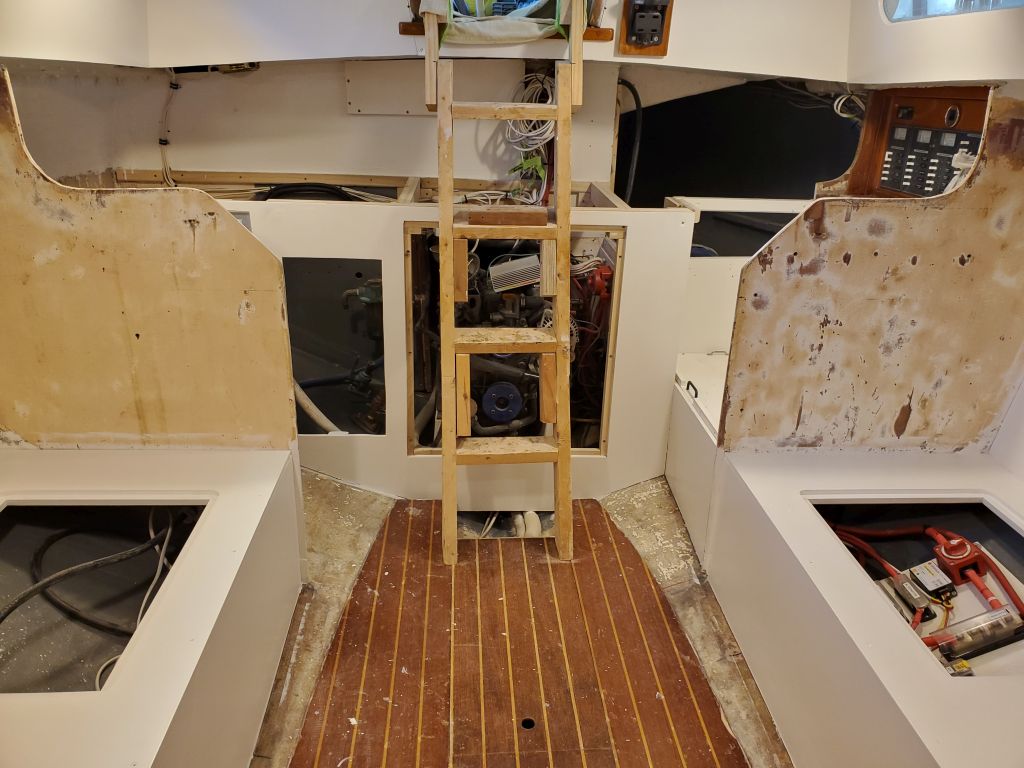
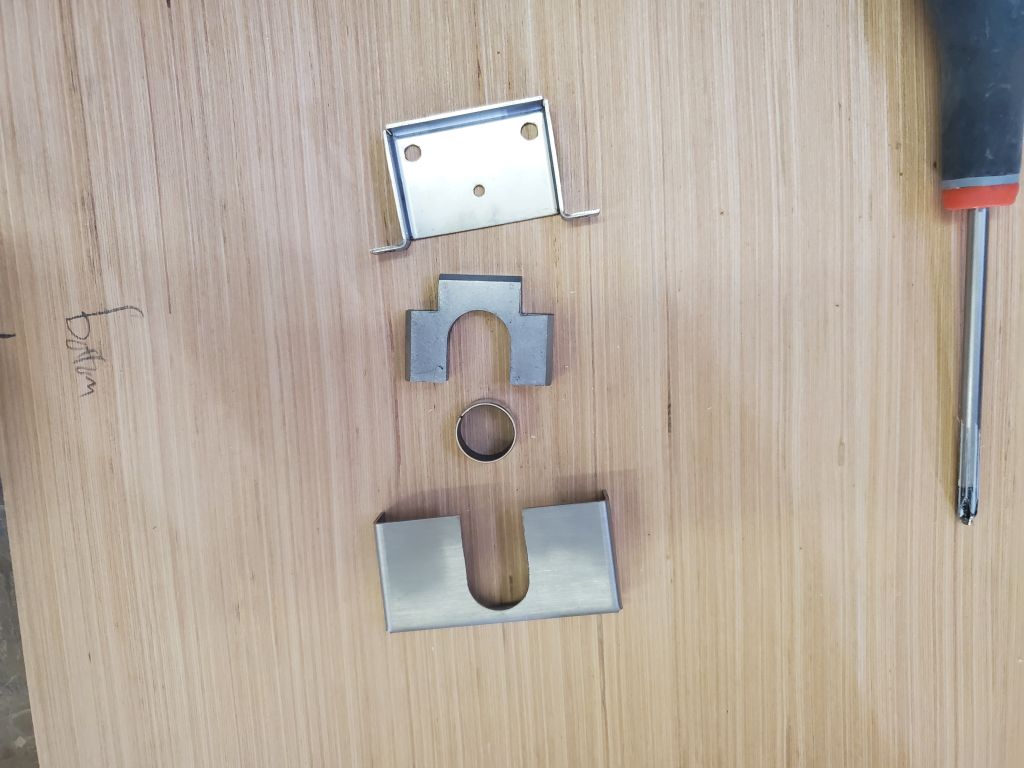
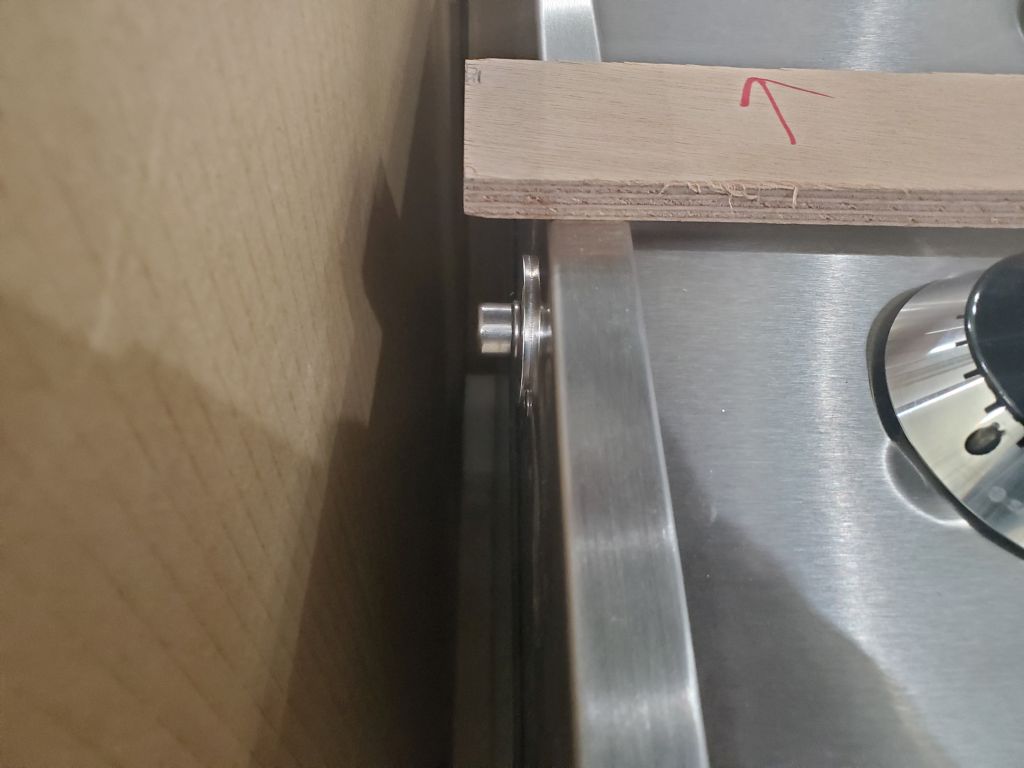
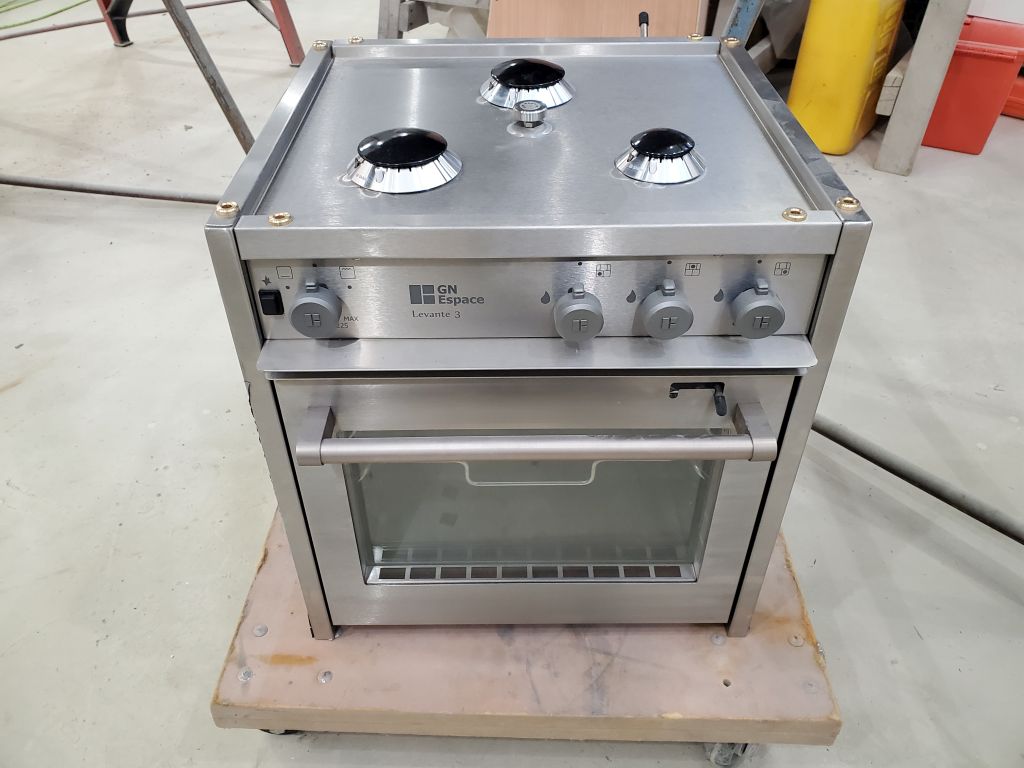
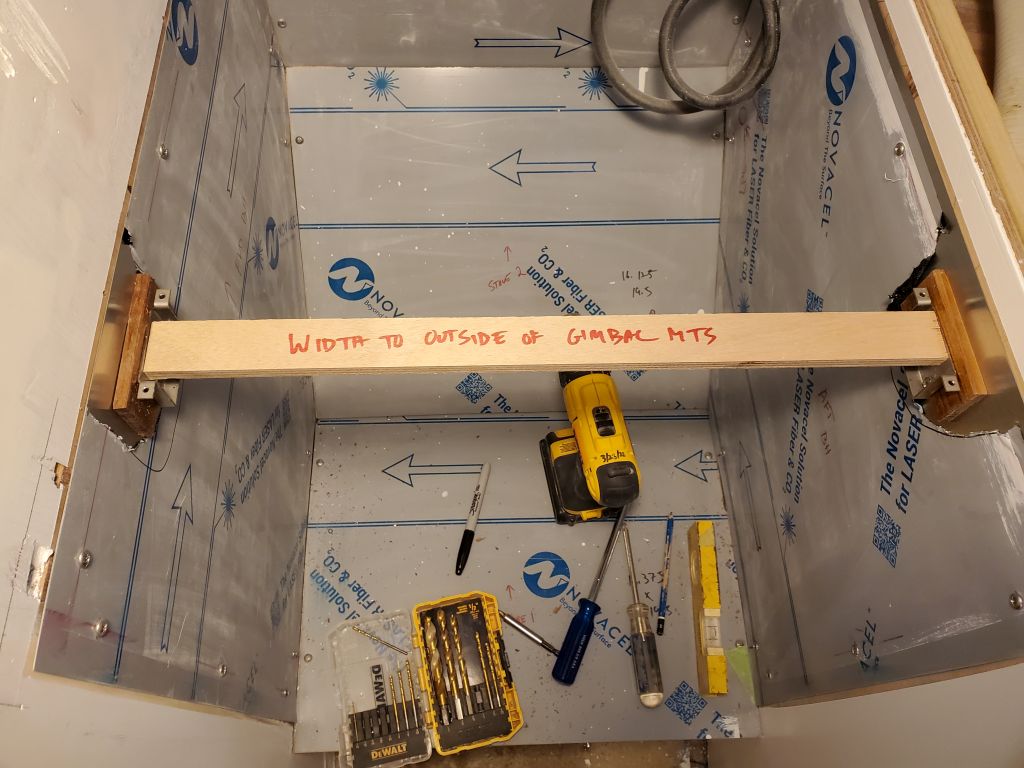
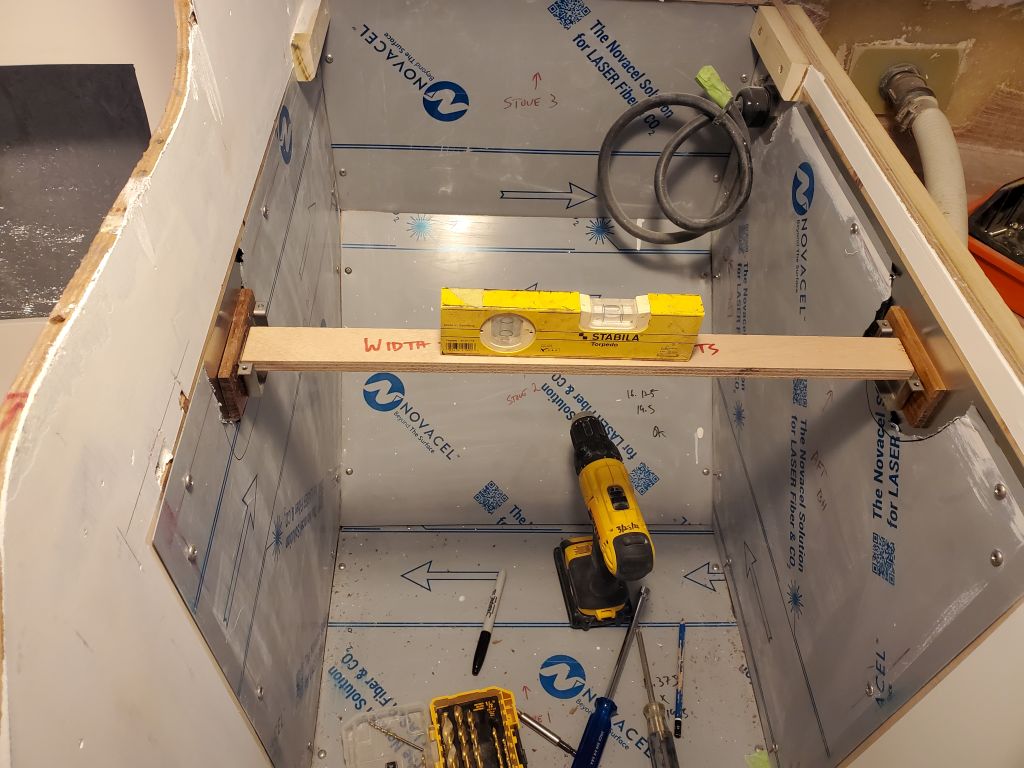
For access, it’d be easier to install the stove gimbal mounts before the galley countertop was permanently installed, and there was nothing else standing in the way of this task. I didn’t plan to install the stove just yet, but the mounts would be ready to go. When I built the stove surround, I intentionally made it a touch wider than the minimum to ensure there’d be no fitment problems, as it’d be easier and better to build some backing blocks rather than be faced with a space that was too narrow. So to begin I made an accurate measurement stick from 12mm plywood representing the actual width of the stove gimbal points, working off the stove itself. The stove mounting points on this stove are just large cheesehead screws attached to the side of the unit; these fit into bearings and machined mounts in the brackets that attach to the bulkheads.
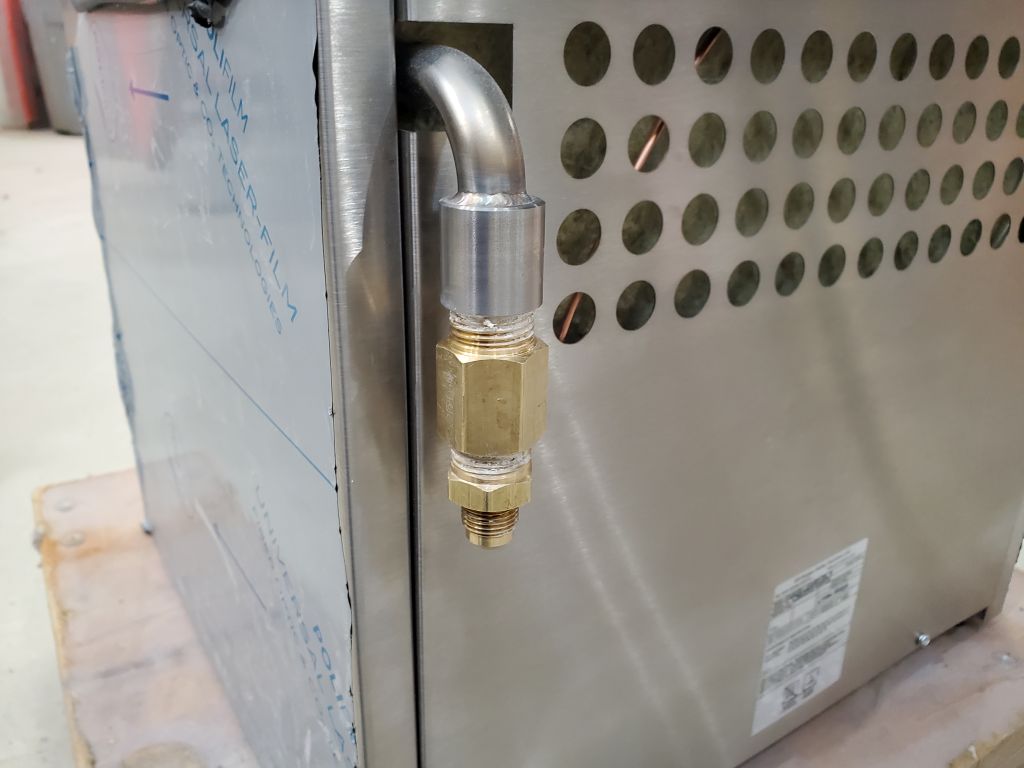
While I had the stove unpackaged and fully available, I took a moment to install the two fittings on the gas supply required to adapt to the standard US hose fitting. (I’d also been working piecemeal on rebuilding the regulator/solenoid/tank attachment setup with new hoses and new fittings as required–more on this once complete.)
I determined the width between the bulkheads was about 1/2″ wider than it needed to be, so from some scrap teak I built two backing blocks 1/4″ thick and sized slightly larger than the footprint of the full gimbal bracket. I applied a few coats of satin finish from a spray can, letting this cure through the morning while I worked on the countertops (described below).
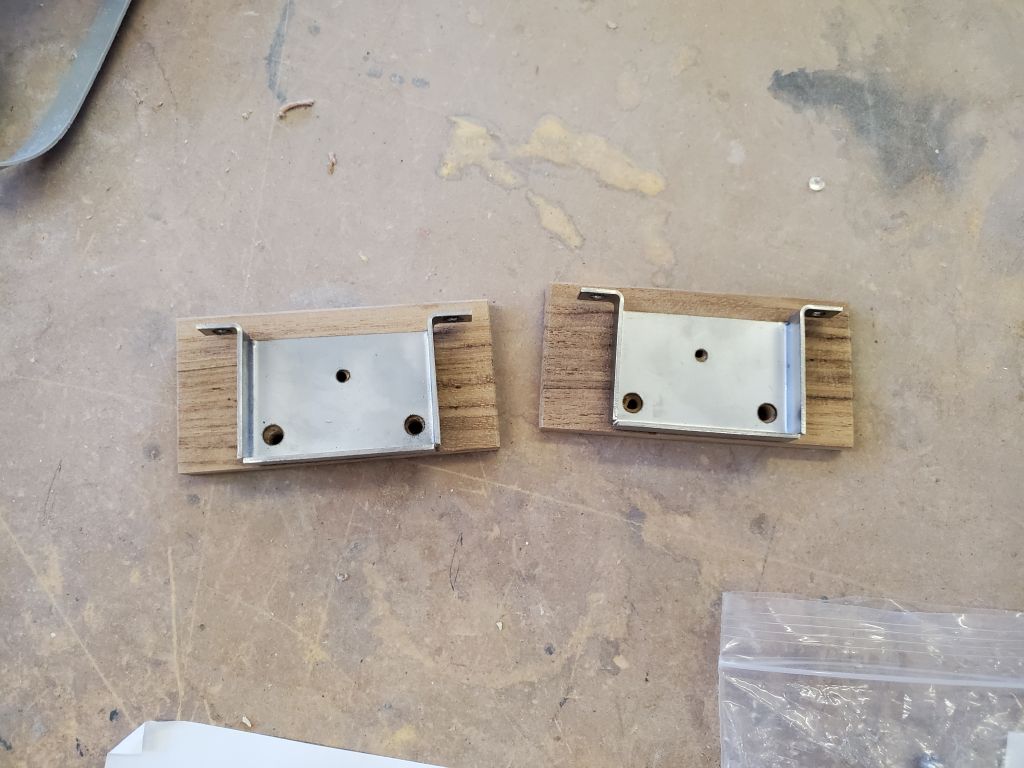
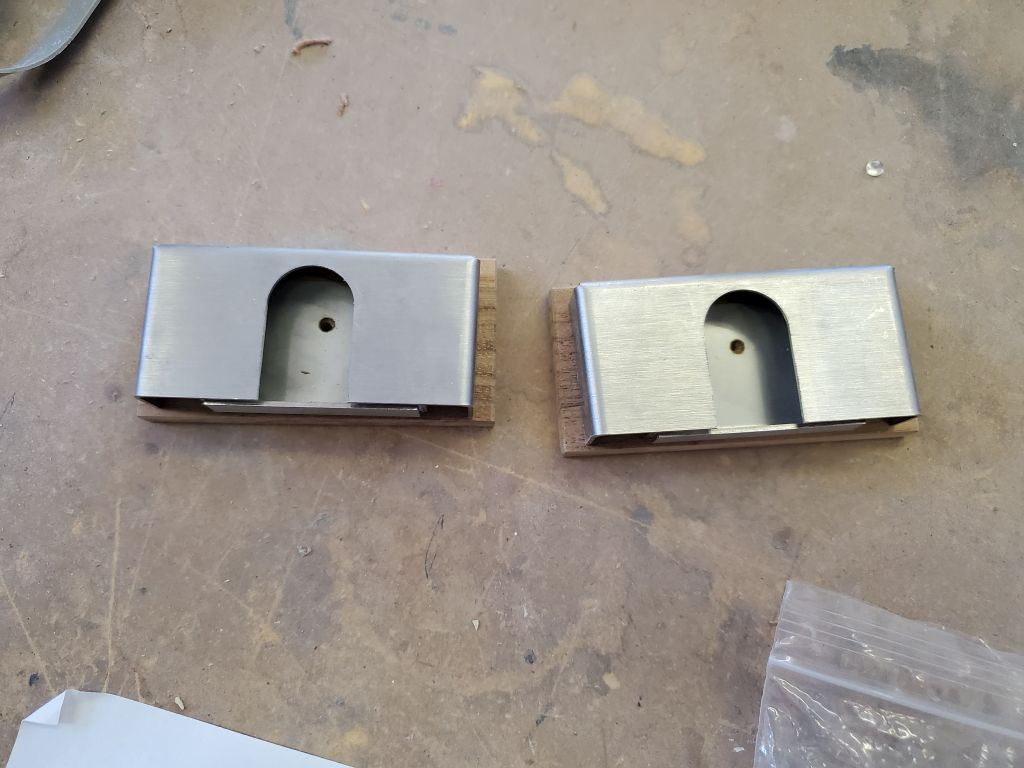

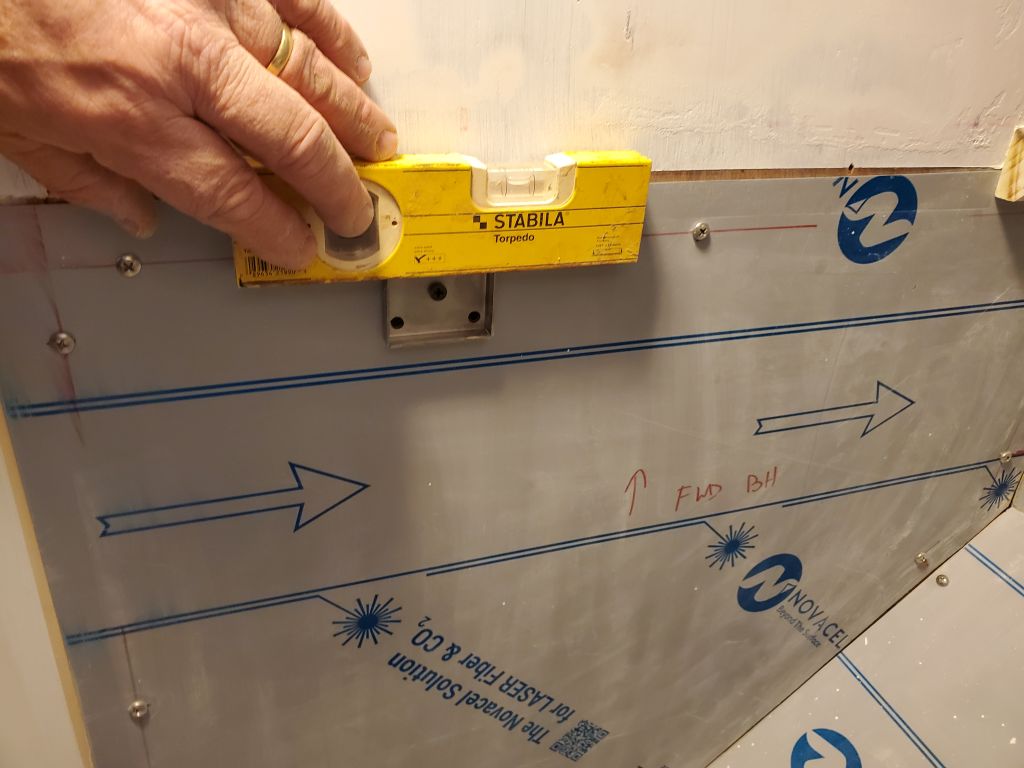
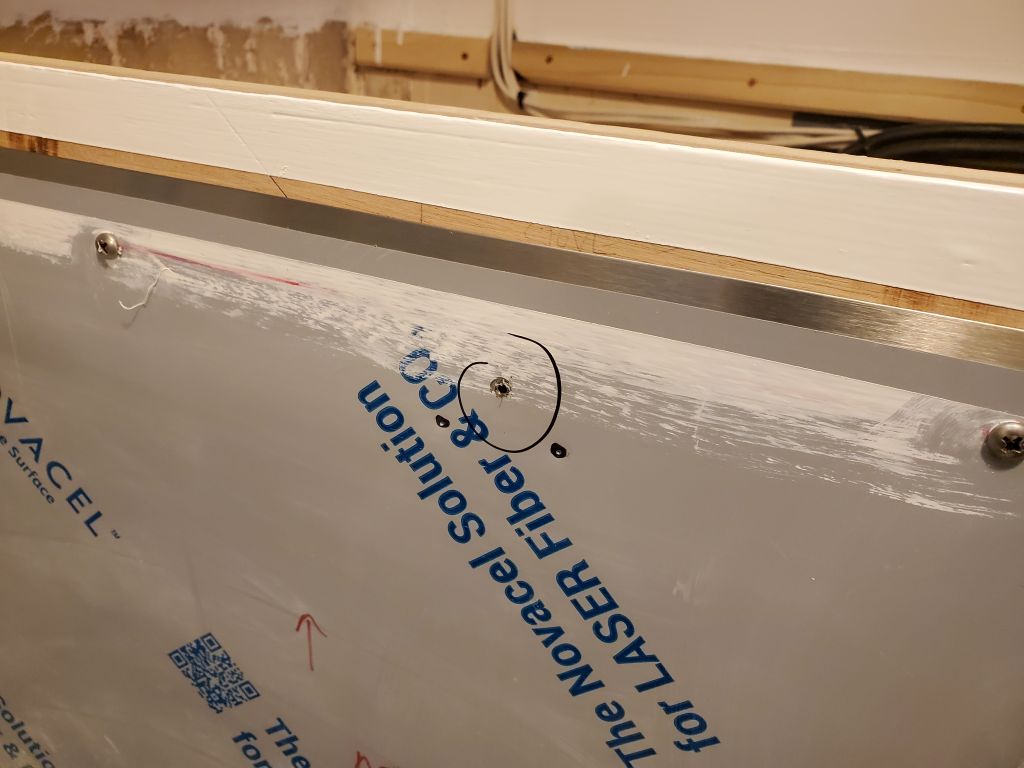
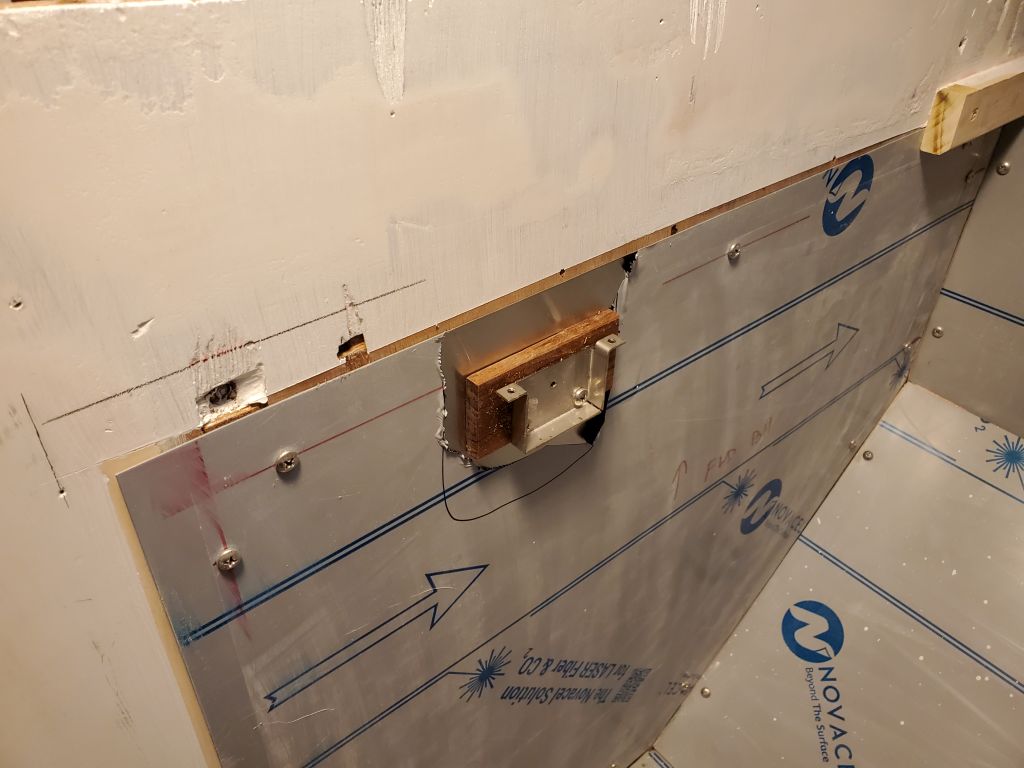
Once the backing blocks were ready, I used my plywood stove template and some marks I’d made at the top edges of the bulkheads to relocate the critical center point of the gimbal, helpfully reprsented in the actual brackets with a small hole that made positioning the brackets straightforward with just a single reference point. I center-punched the sheet metal, then secured each bracket with a temporary screw so I could level the brackets and mark the two bolt holes for drilling.
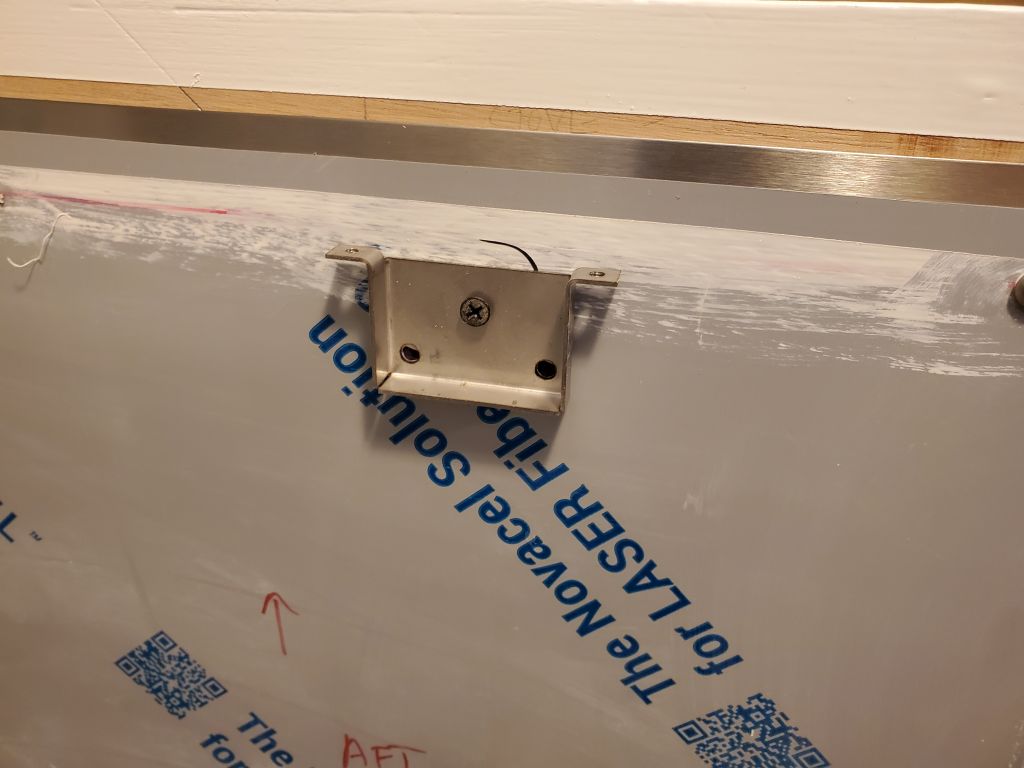

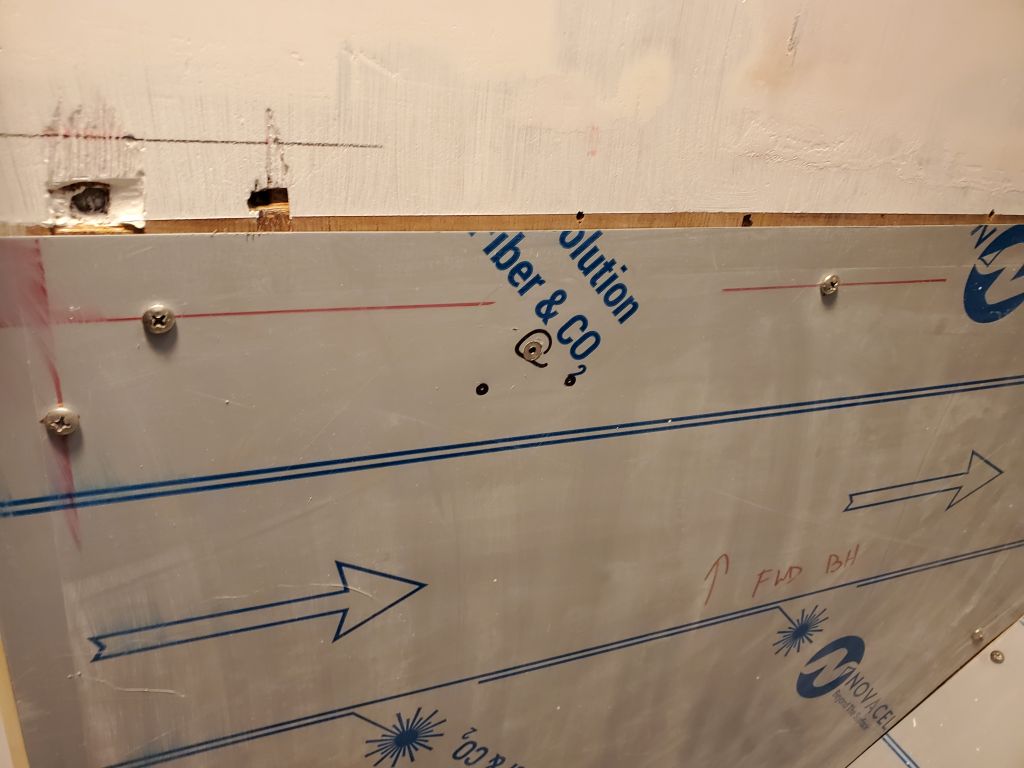
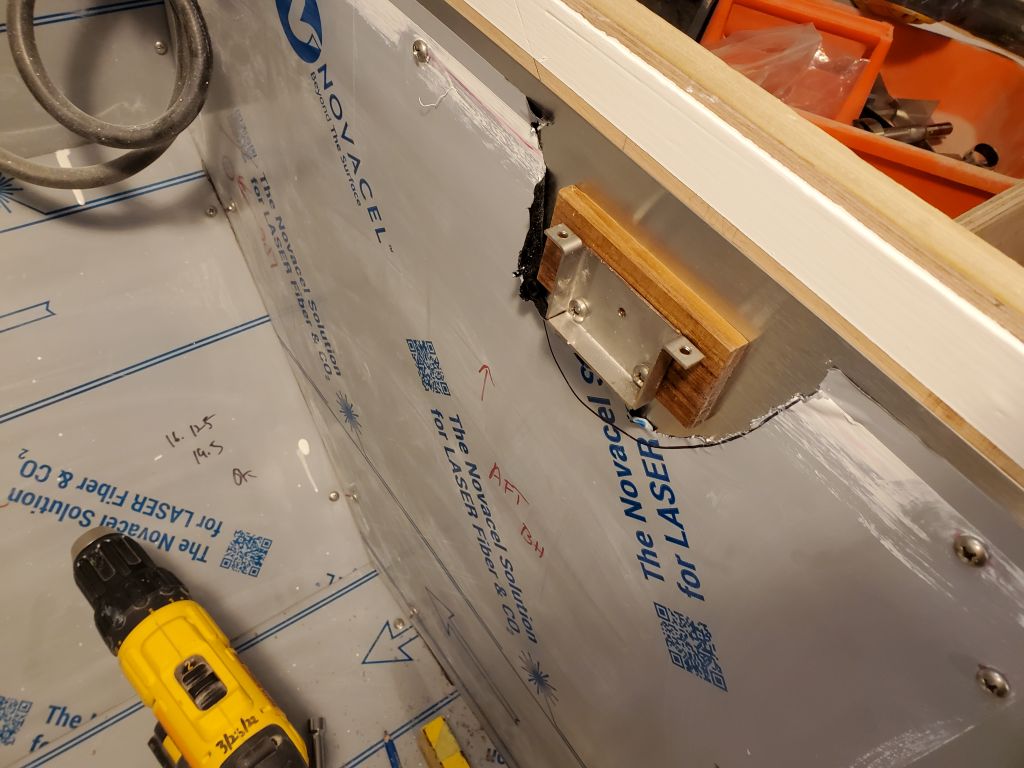
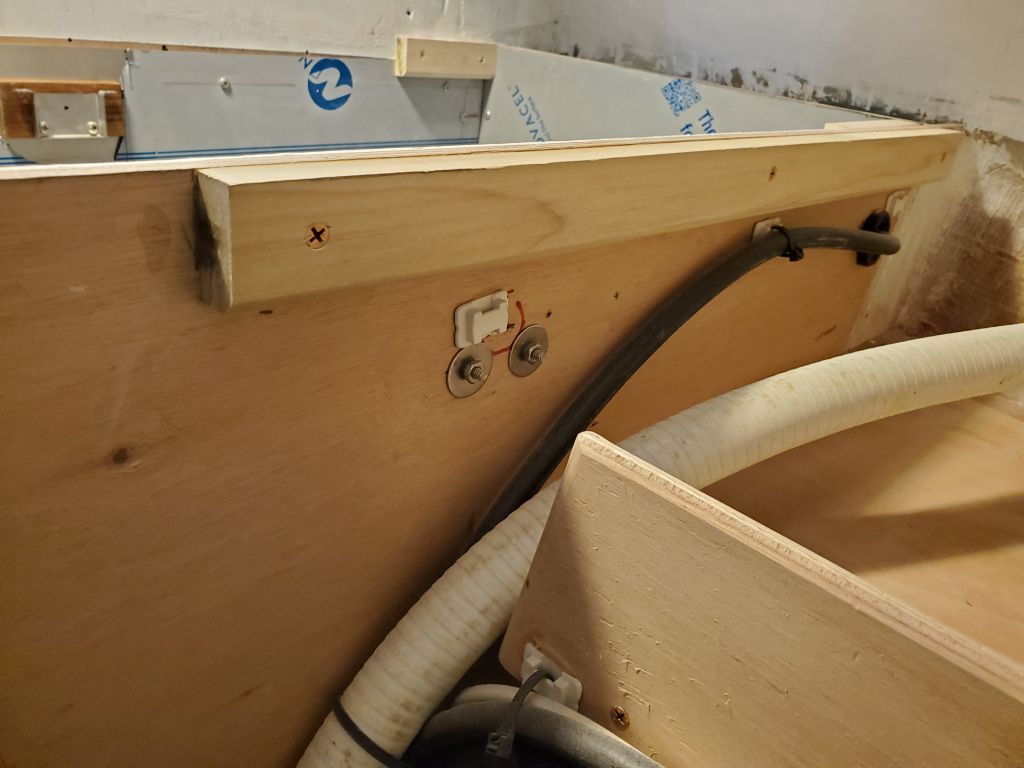
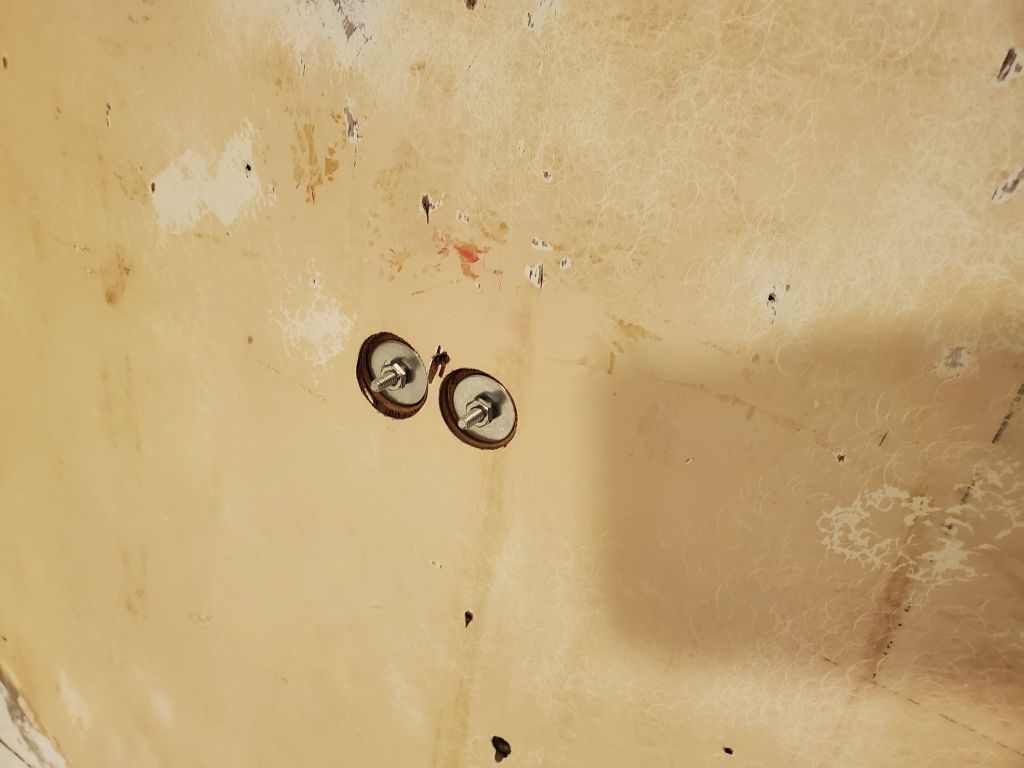
I punched and drilled the two fixing holes on each bracket, through the sheet metal and bulkheads as needed, then secured the brackets with their teak backing plates with bolts and large washers for support. On the forward bulkhead, I recessed the washers and nuts so the cosmetic staving would pass over the top without issue; later I’d cut off the protruding length of the threaded bolt. Now the mounts were ready for final installation of the stove whenever the moment was right.
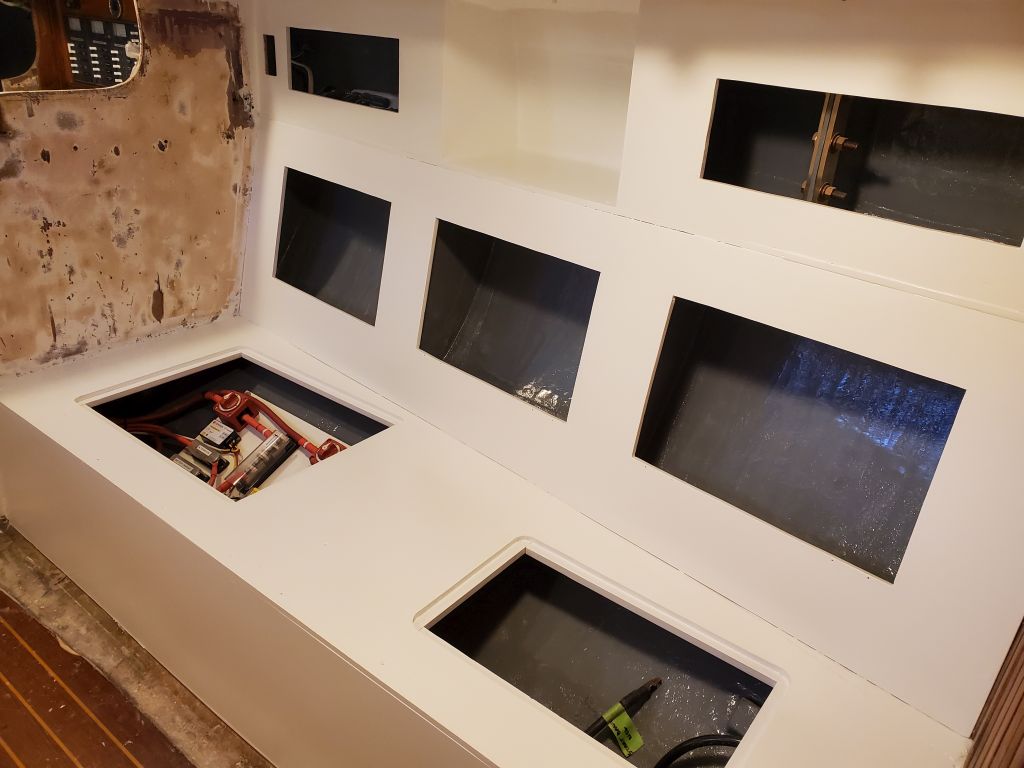
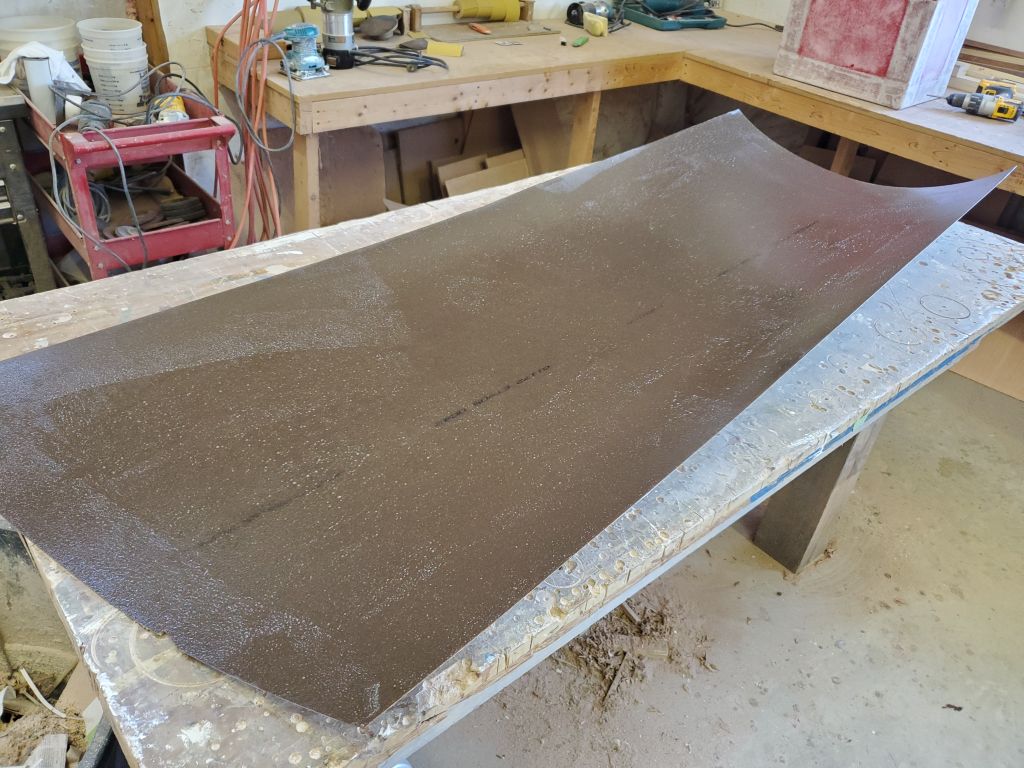
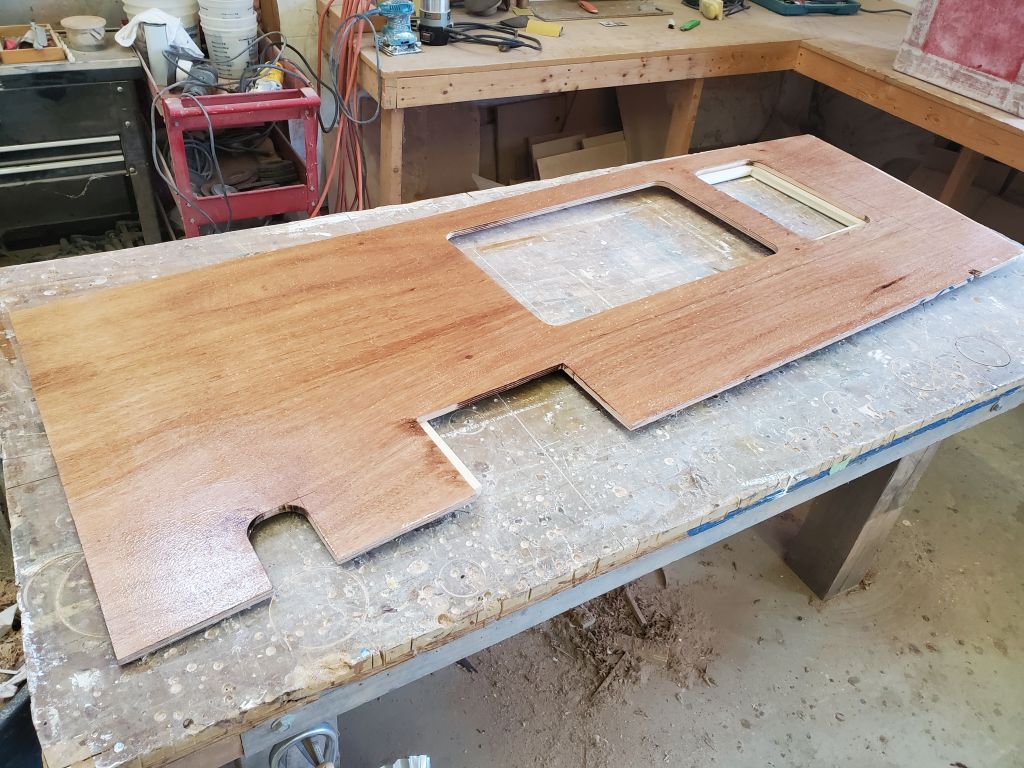
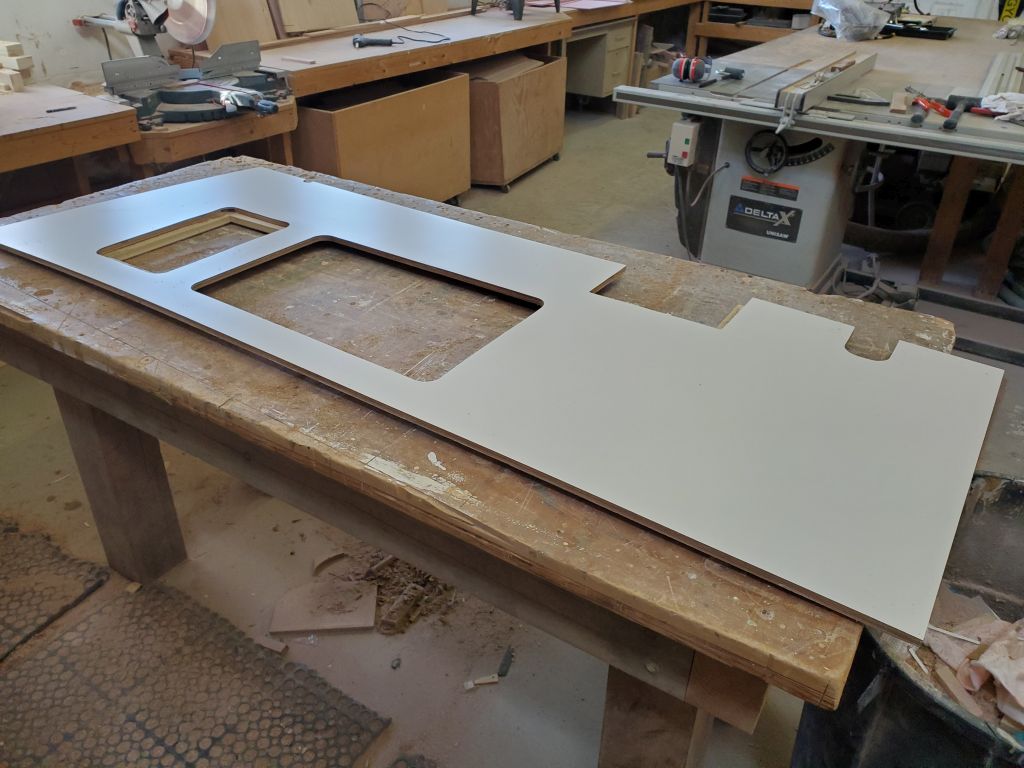
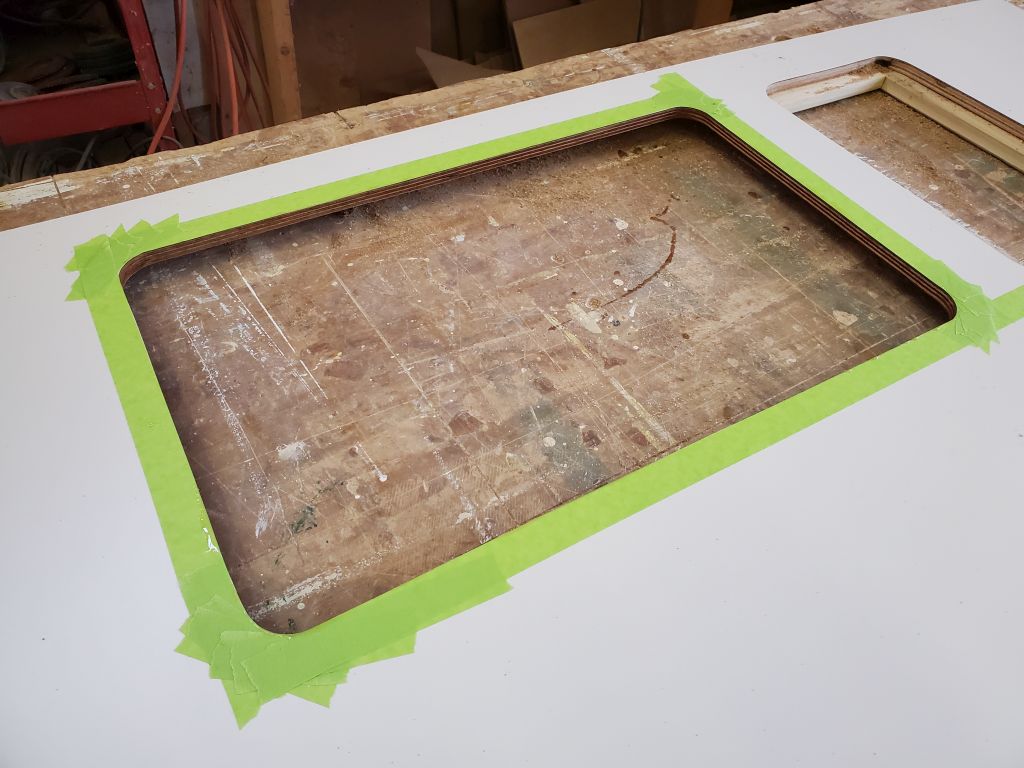
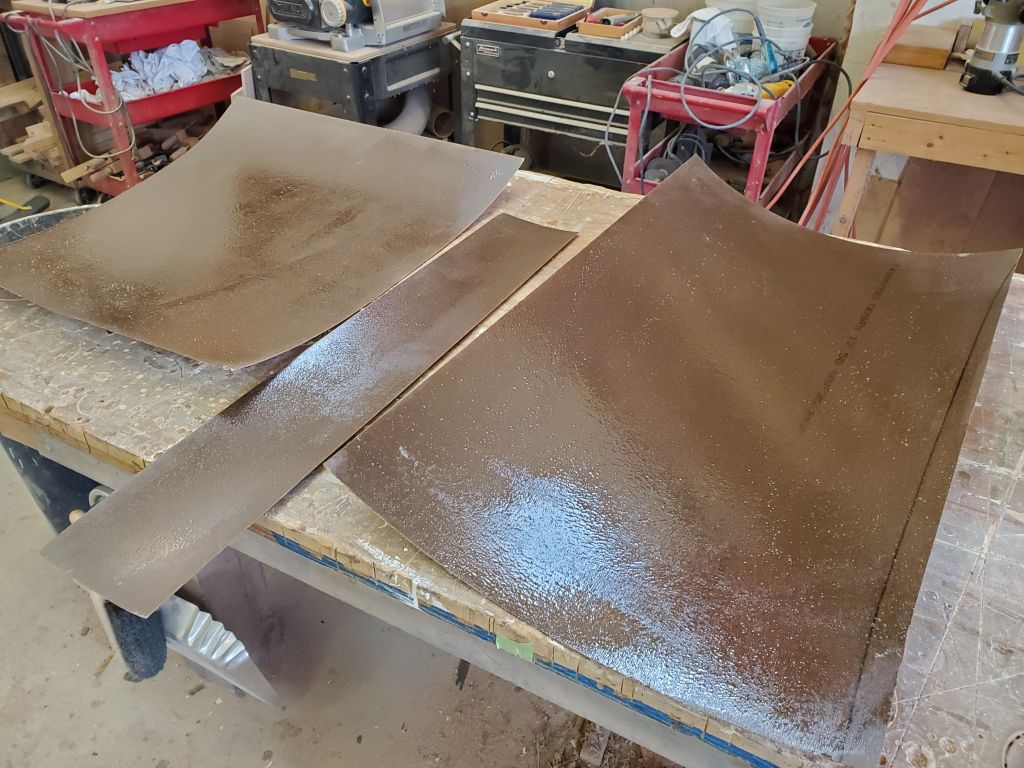
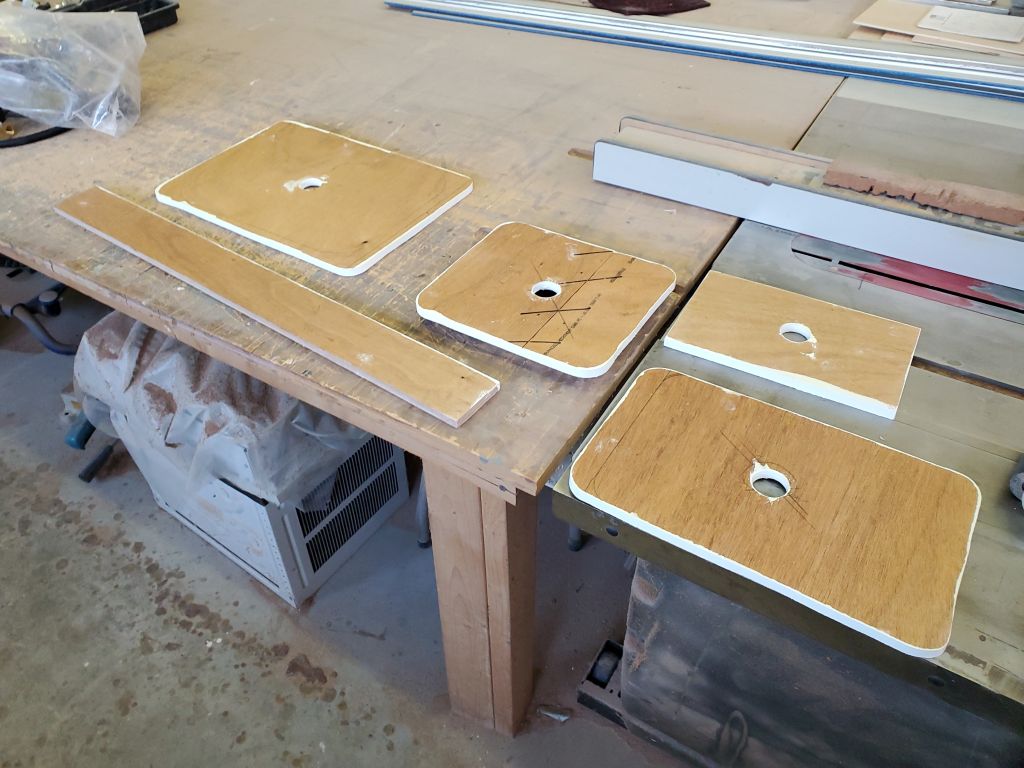
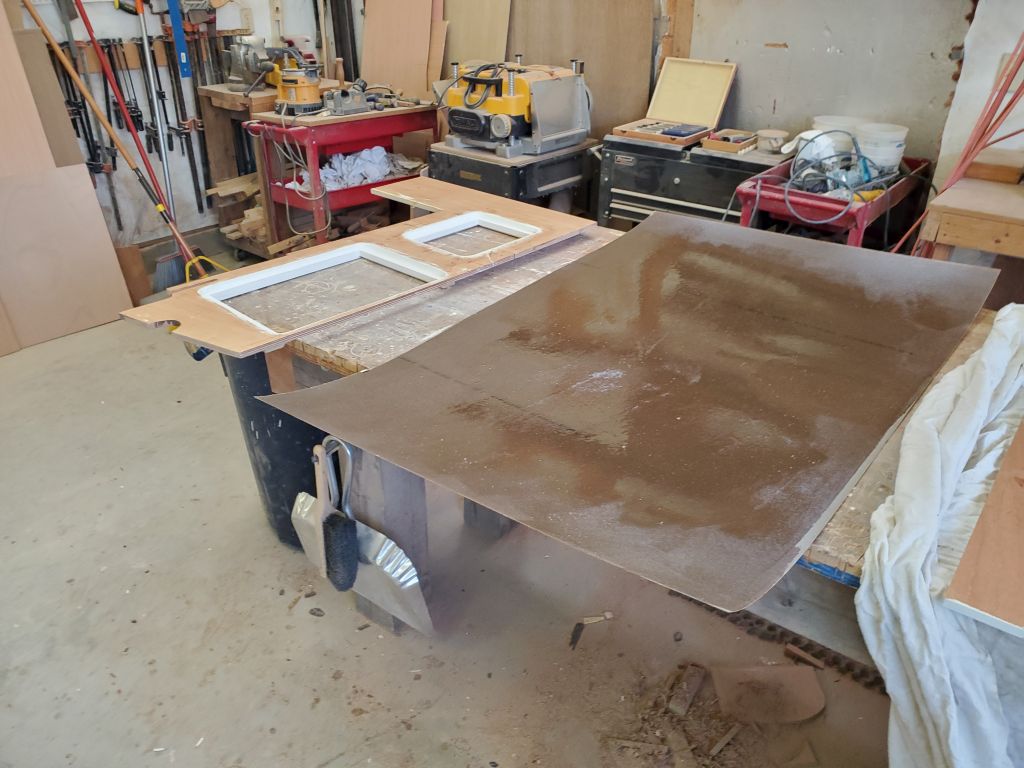
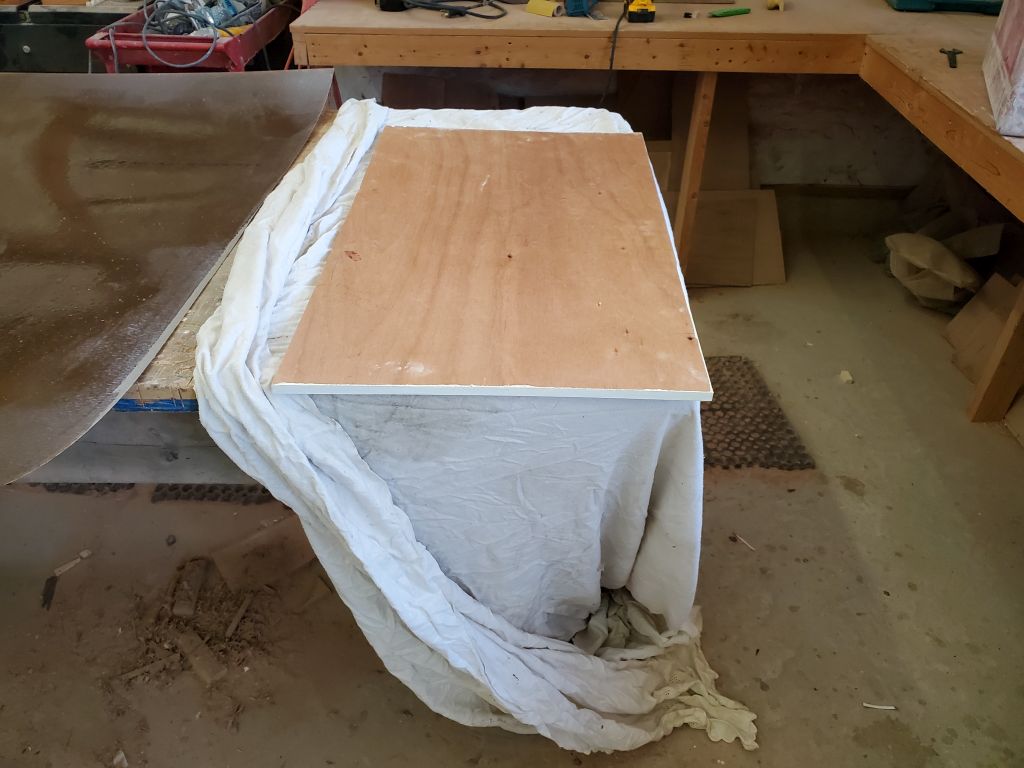
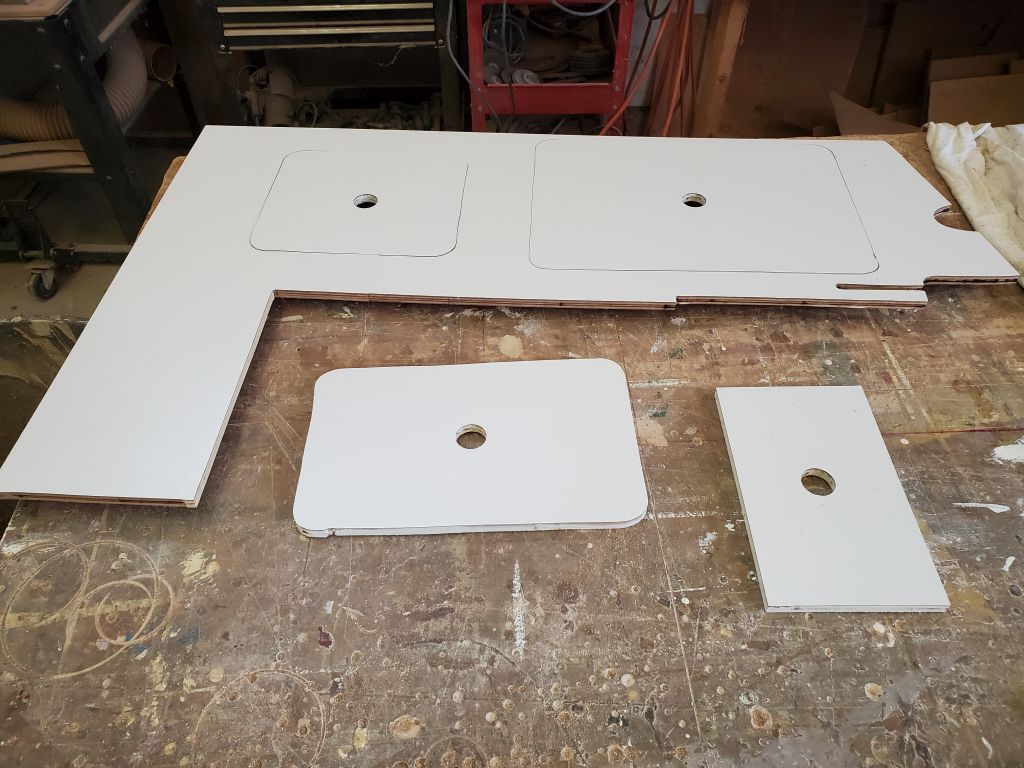
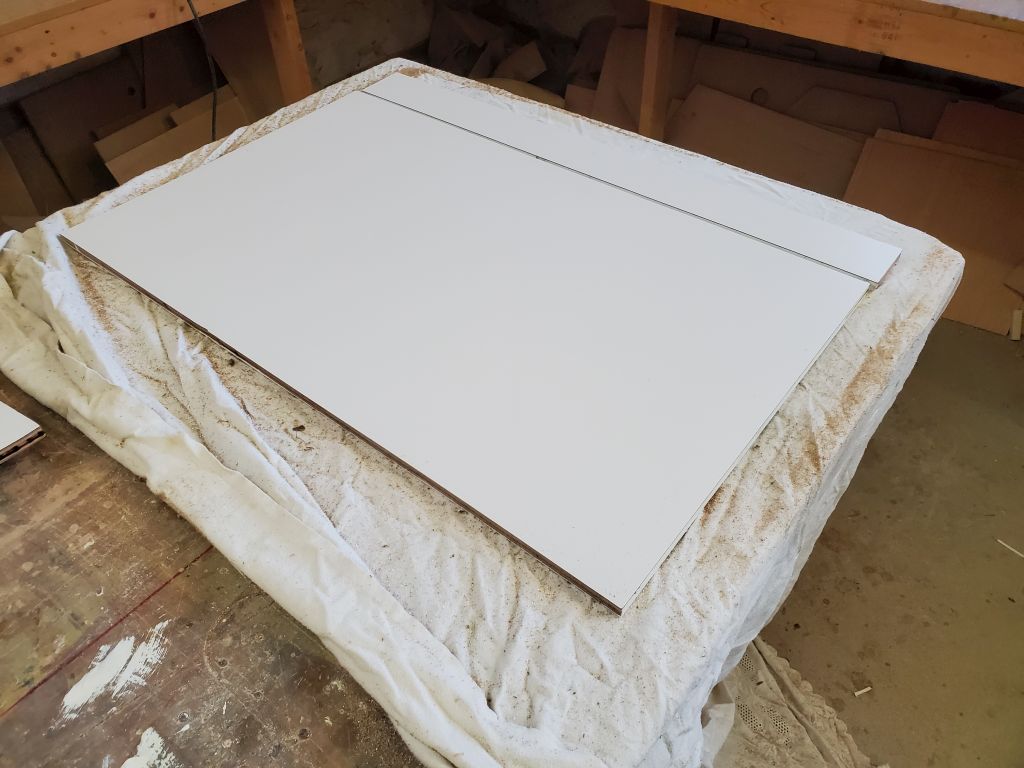
Throughout the day, and starting in between some of the steps above, I worked to prepare and install plastic laminate on all the galley countertop pieces. (I call this Formication.) I cut larger sheets of product to manageable pieces slightly oversized with laminate shears, then coated the mating surfaces with contact cement. Once the first coat had tacked up, I applied a second coat on the plywood parts to ensure good coverage, since the plywood is more porous than the bottom side of the laminate itself. Then I assembled the parts, rolling down the laminate securely, and trimmed the edges and openings with a router.
Once the laminate was in place on the main countertop, I masked off the sink opening and coated the exposed plywood grain with epoxy for waterproofing. Later, I planned to paint this area white to match.

And somehow, that was the day.
Total time billed on this job today: 7.5 hours
0600 Weather Observation: 9°, clear. Forecast for the day: Sunny, 36°