


December 12, 2023
Calliope Girl 22
Tuesday
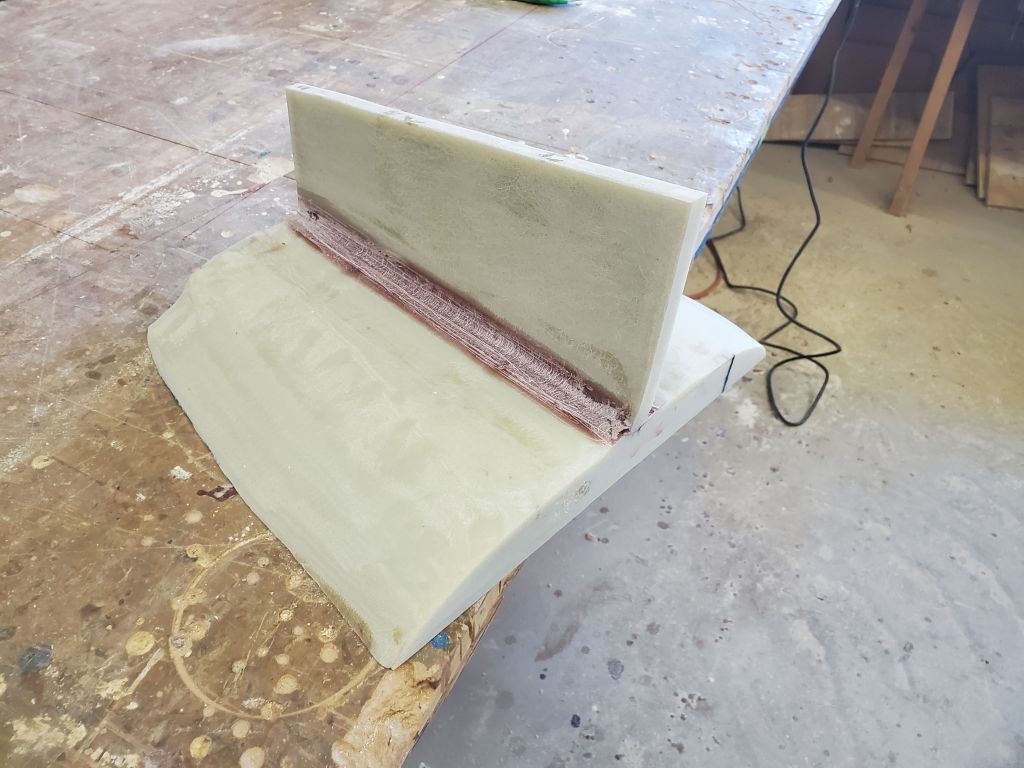
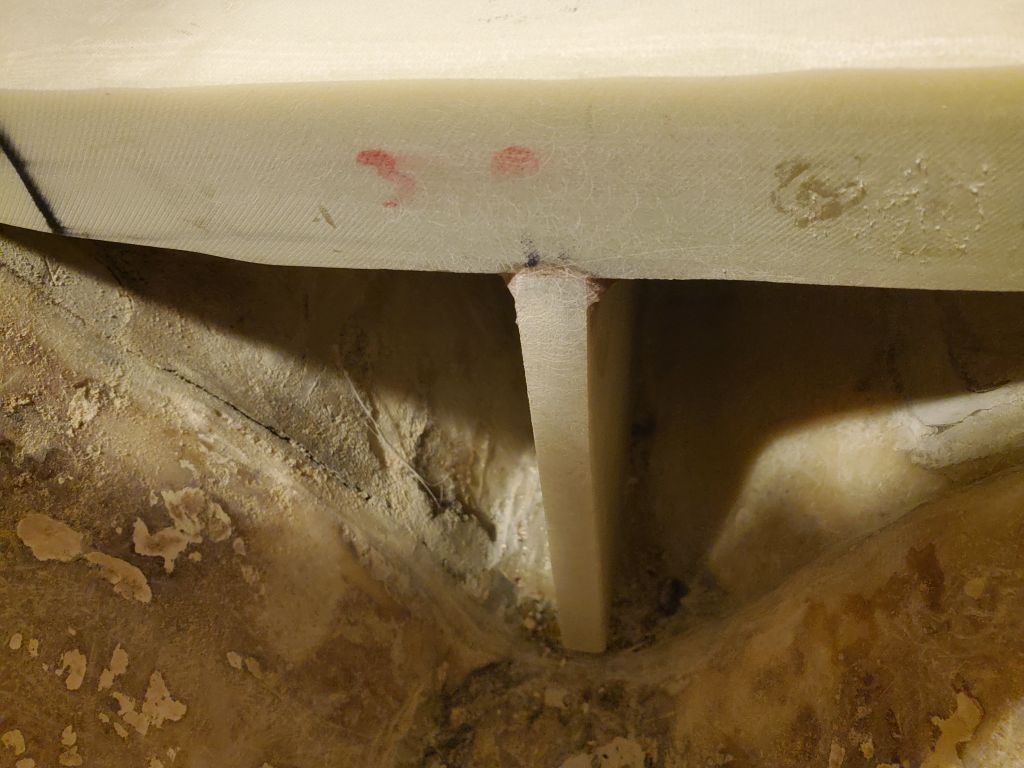
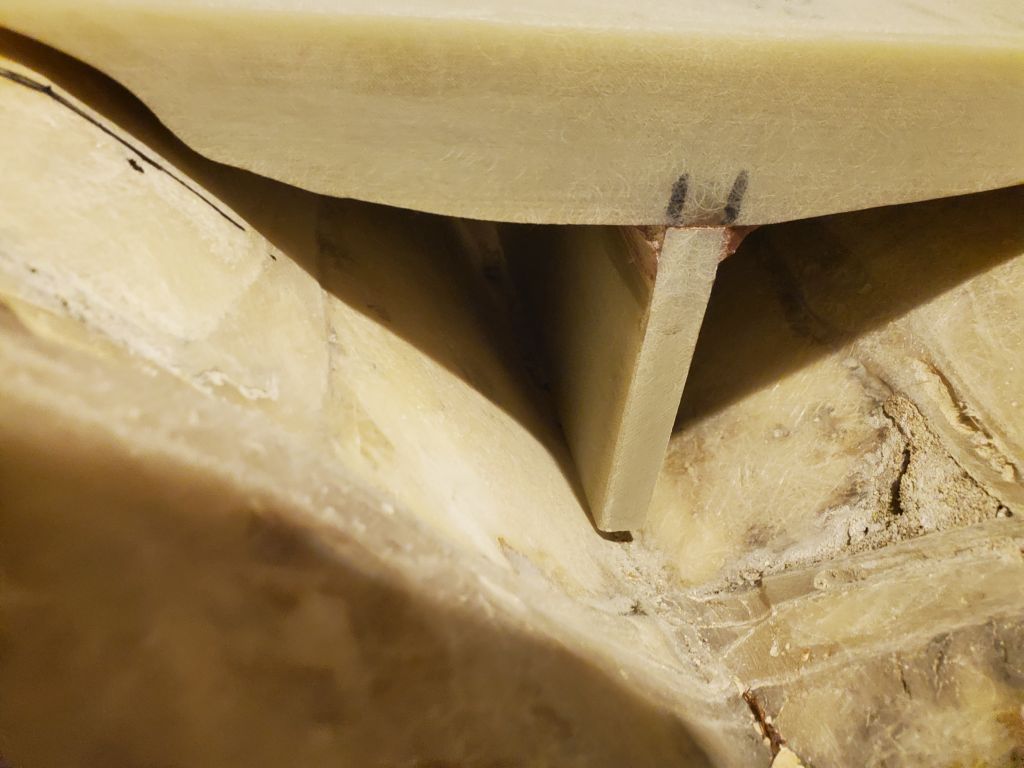
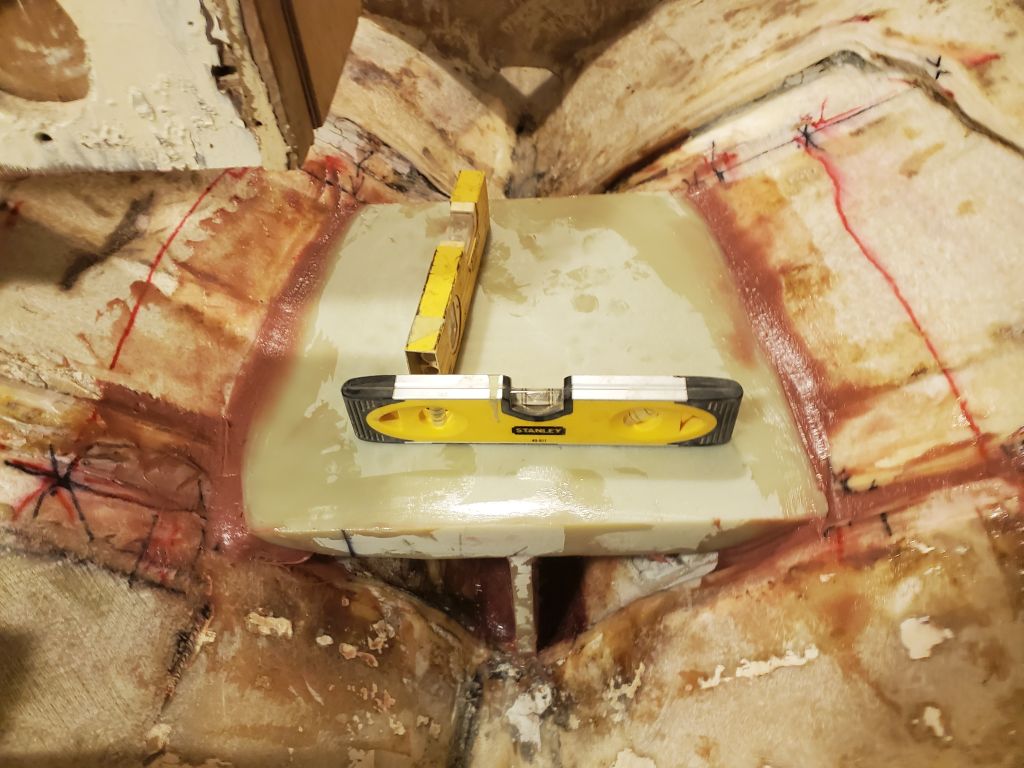
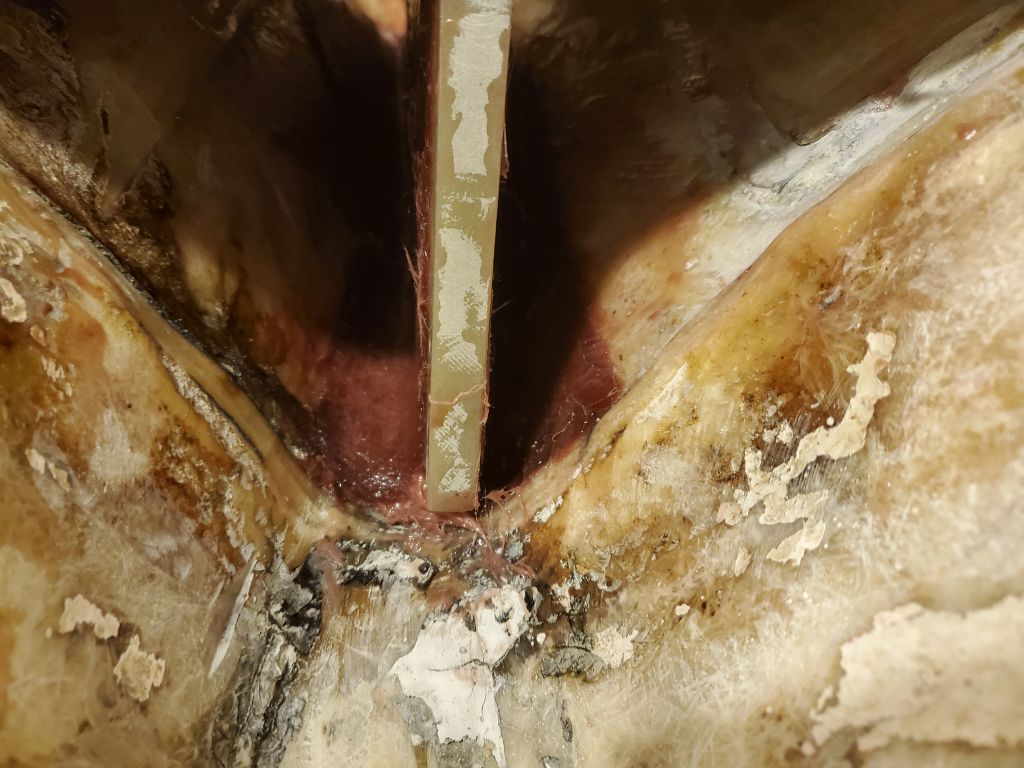
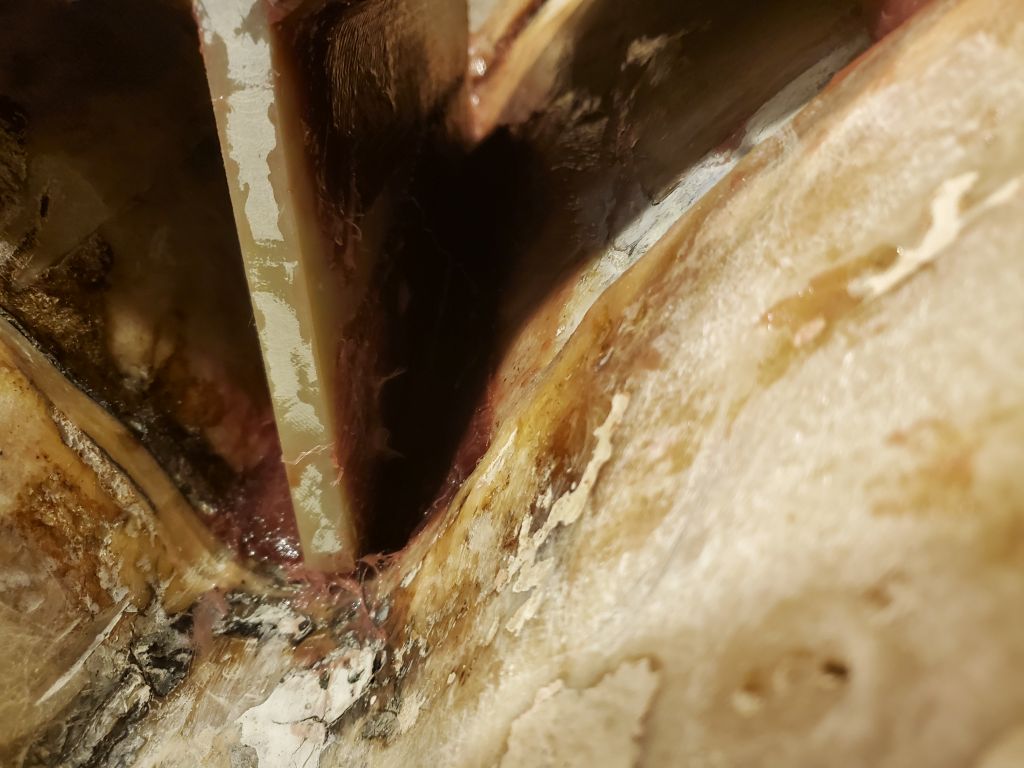
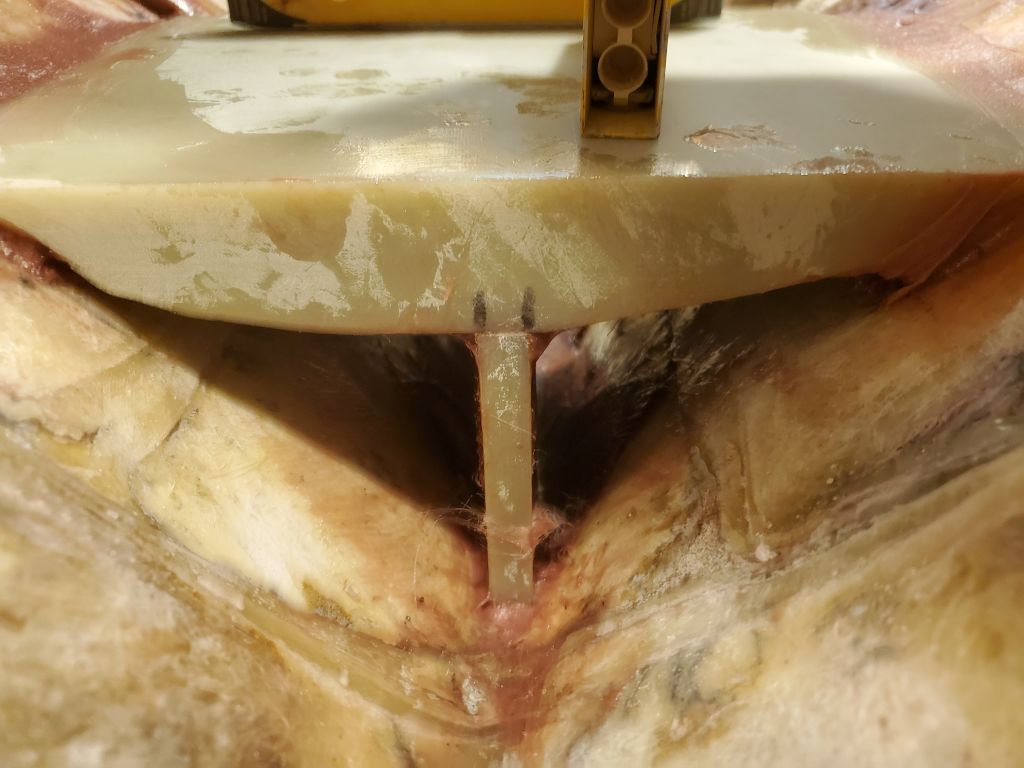
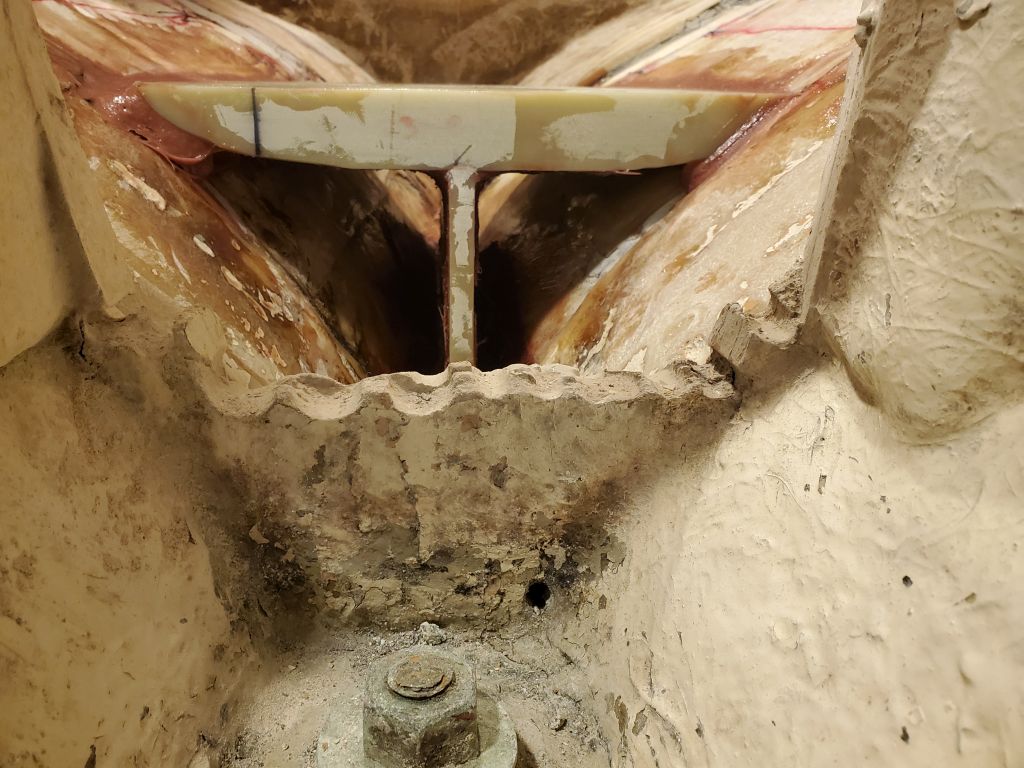
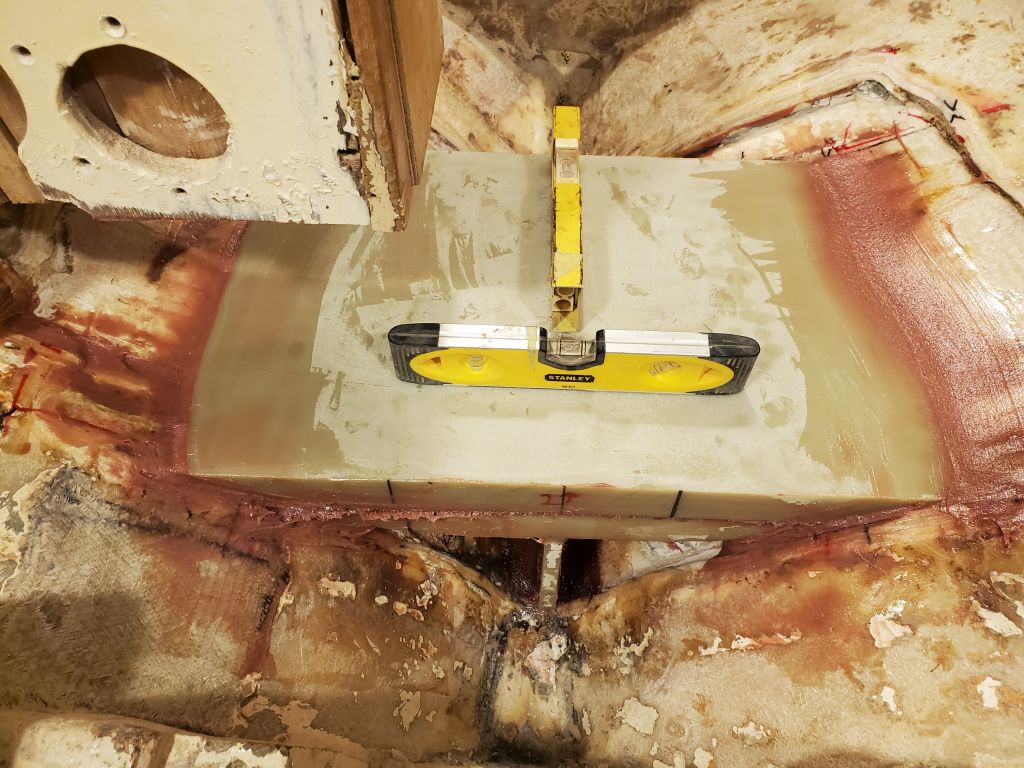
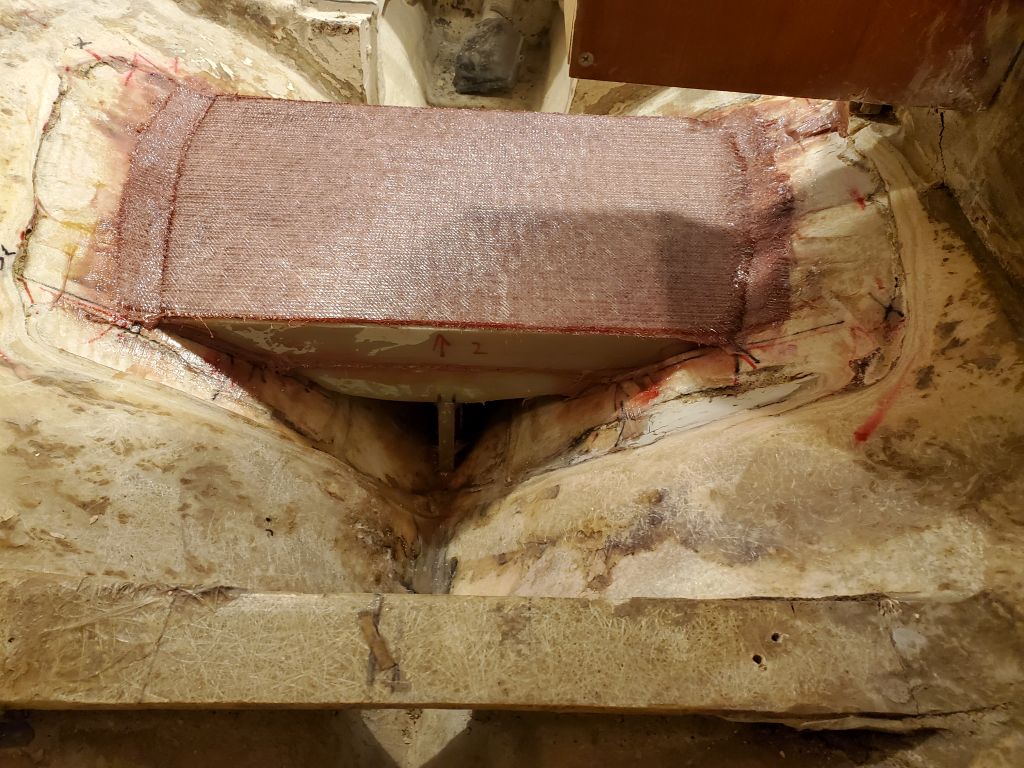
After a light sanding of the fillets and a final dry fit, along with a quick paper pattern to help me lay out the full fiberglass layers that would cover the top of this section and further tie it into the hull. the first section of the mast step was ready for installation. With all surfaces appropriately prepared, I installed two layers of tabbing in epoxy resin between the vertical support and the bottom of the first section (the filleted joint), then installed the piece in the boat with epoxy adhesive on all faying surfaces, and additional tabbing (two layers) between the bottom edge of the vertical support and the hull, tying the whole structure together. The space beneath was quite tight from the forward end in particular, but with aforethought and some careful work I got the tabbing secured as well as possible. I couldn’t stop to take any photos of the various installation steps, but the end result had the first layer and its vertical support well-secured with epoxy and tabbing (where appropriate), and level in both directions at the intended height.

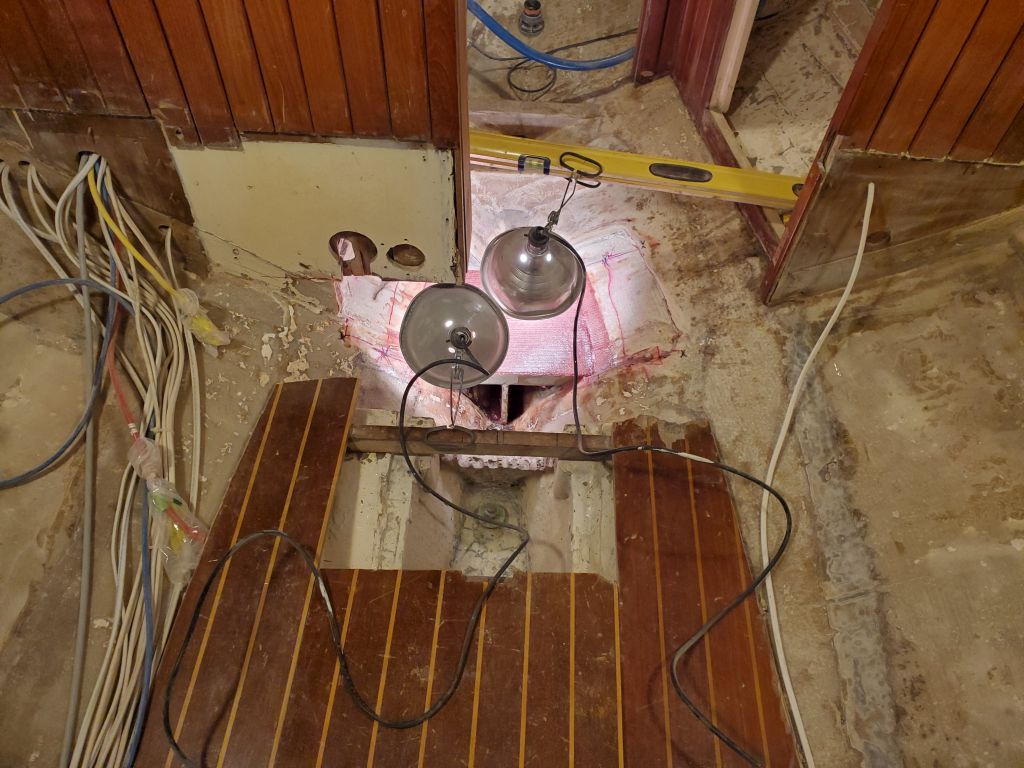
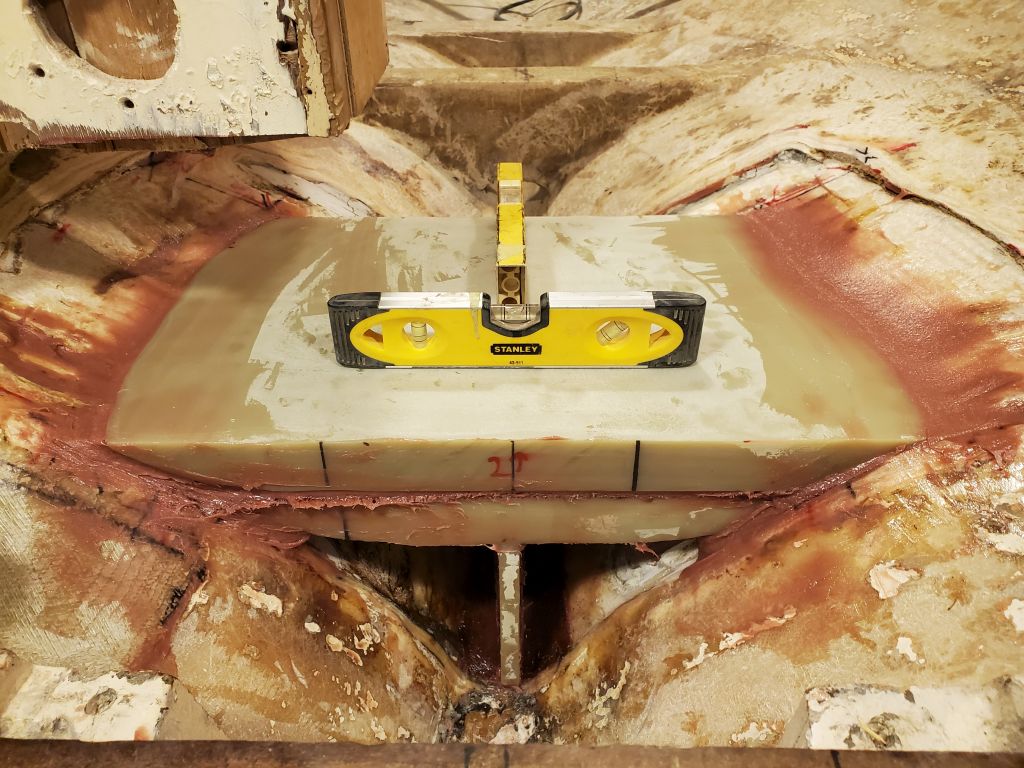
While I let the assembly cure for a bit, I prepared three layers of fiberglass to cover the top. I’d left space for this in the design and orientation of the three layers. Once the epoxy had set enough to continue, I wet out and installed two of the three layers, tying the top of the first piece into the hull on both sides. To speed up curing to the green stage, I set up a couple heat lamps while I took lunch break. This would help me get additional work done in the afternoon.

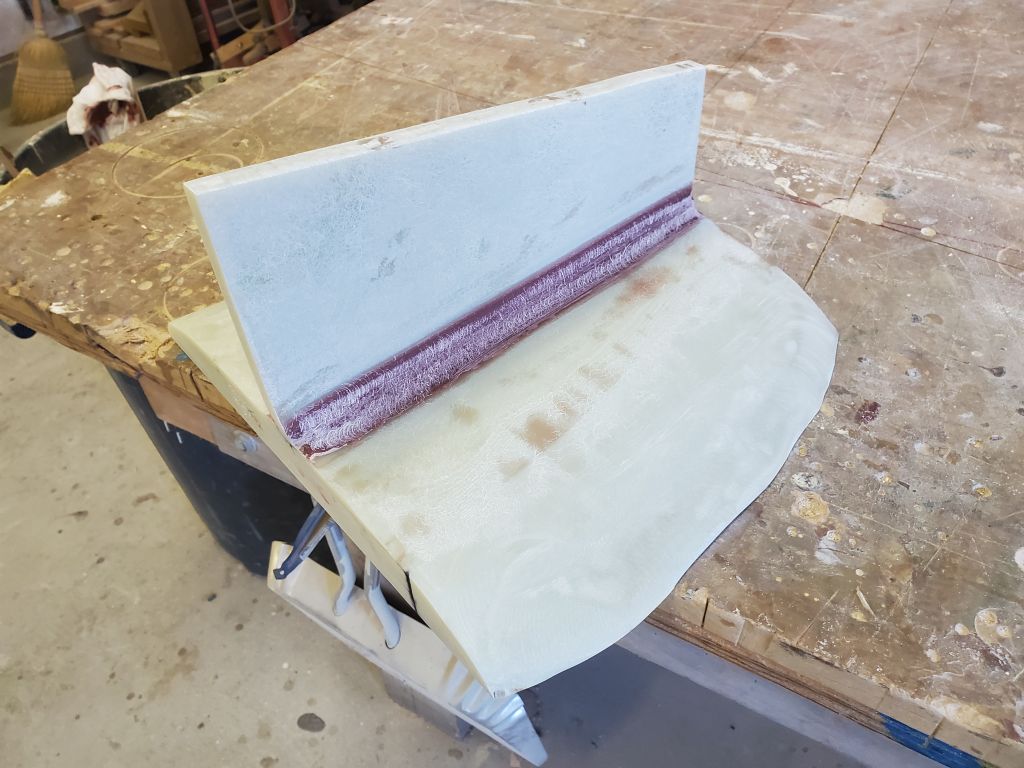
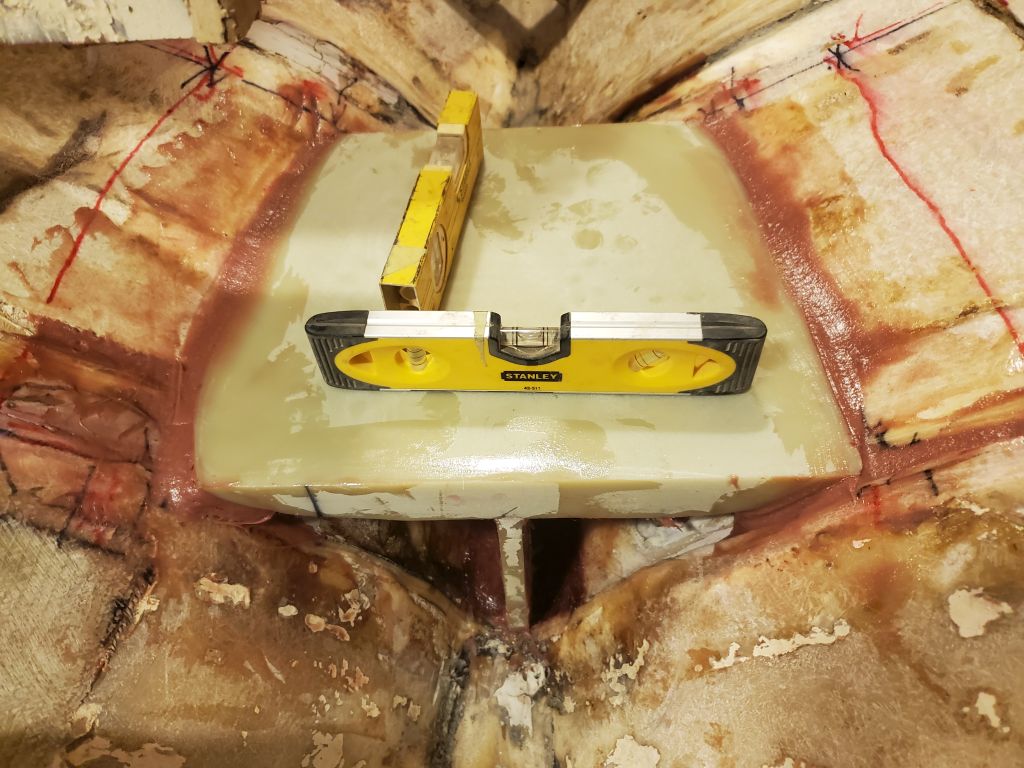
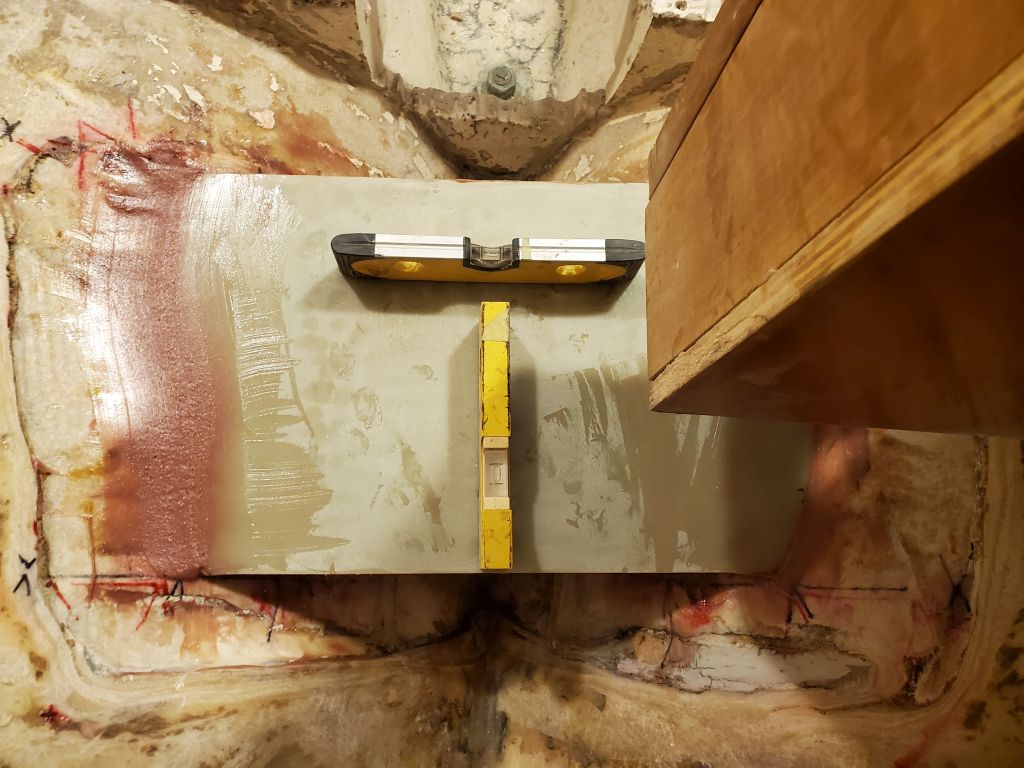
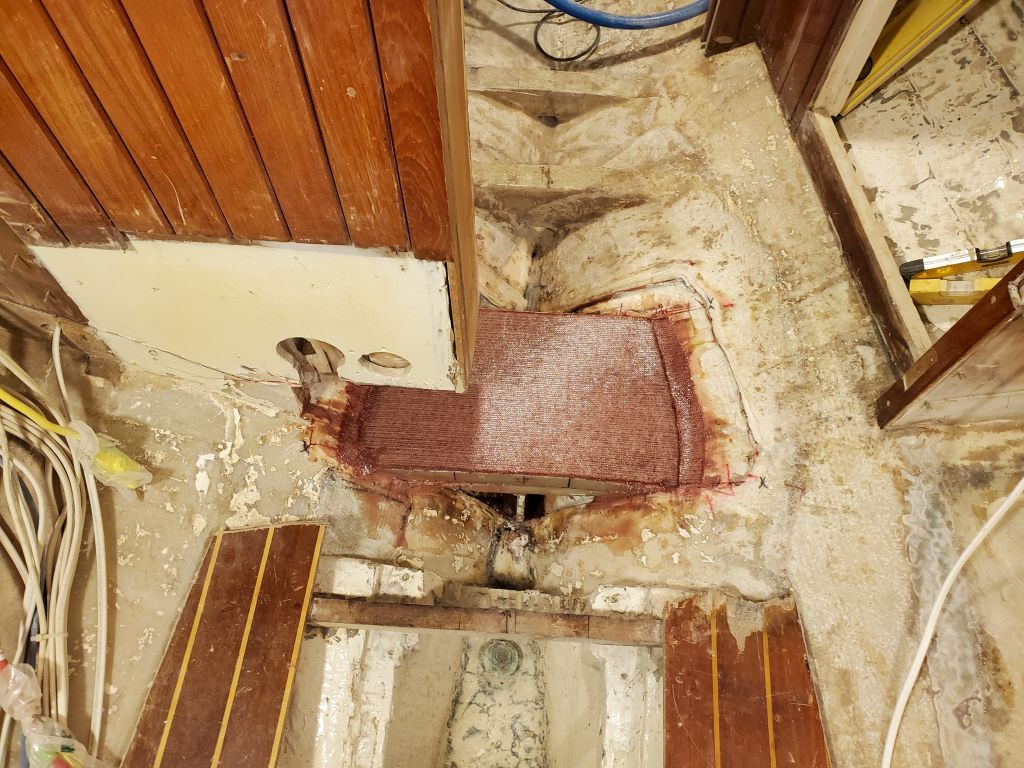
By my return, and after a visit from the canvas contractor to have a look at the cockpit and some dodger details, the fiberglass had cured enough for me to delicately continue. First, I set the second layer lightly in place to check its fit and see how the space beneath was looking. There was still a bit of space, so I went ahead and added the third layer of fiberglass that I’d cut with this in mind. While that set up slightly, I prepared three new layers of full tabbing to fit the second layer, then installed the second piece in a heavy bed of epoxy adhesive (on the flat and along the hull on each side), pressing it tightly into its proper position and level in both directions.
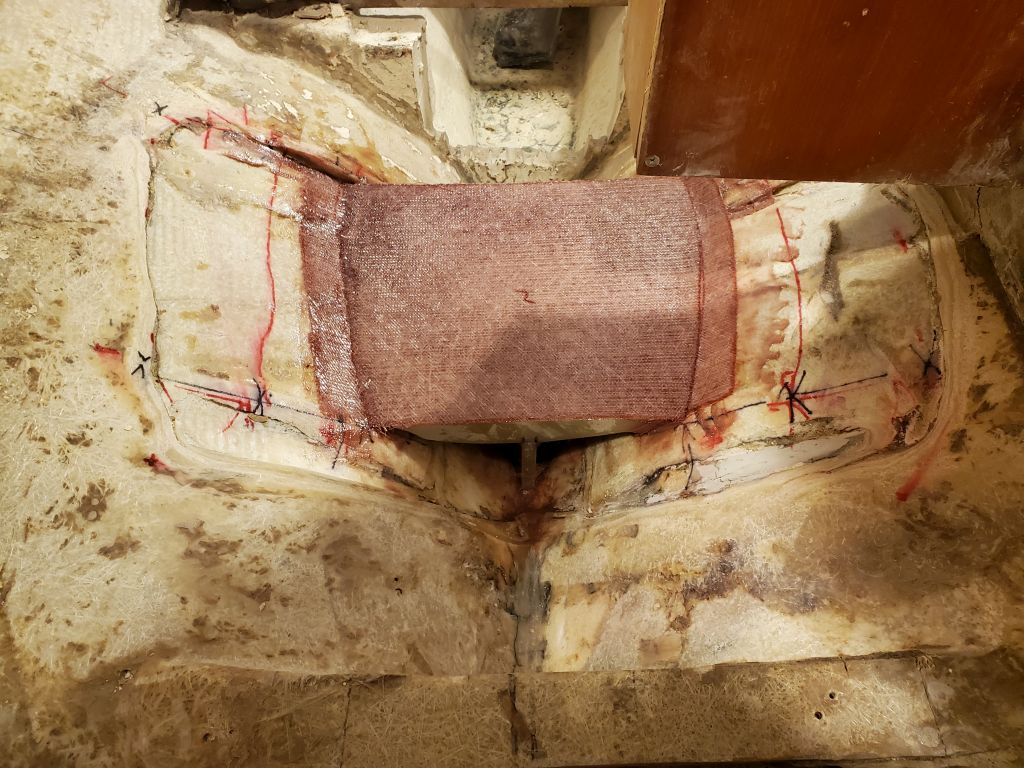
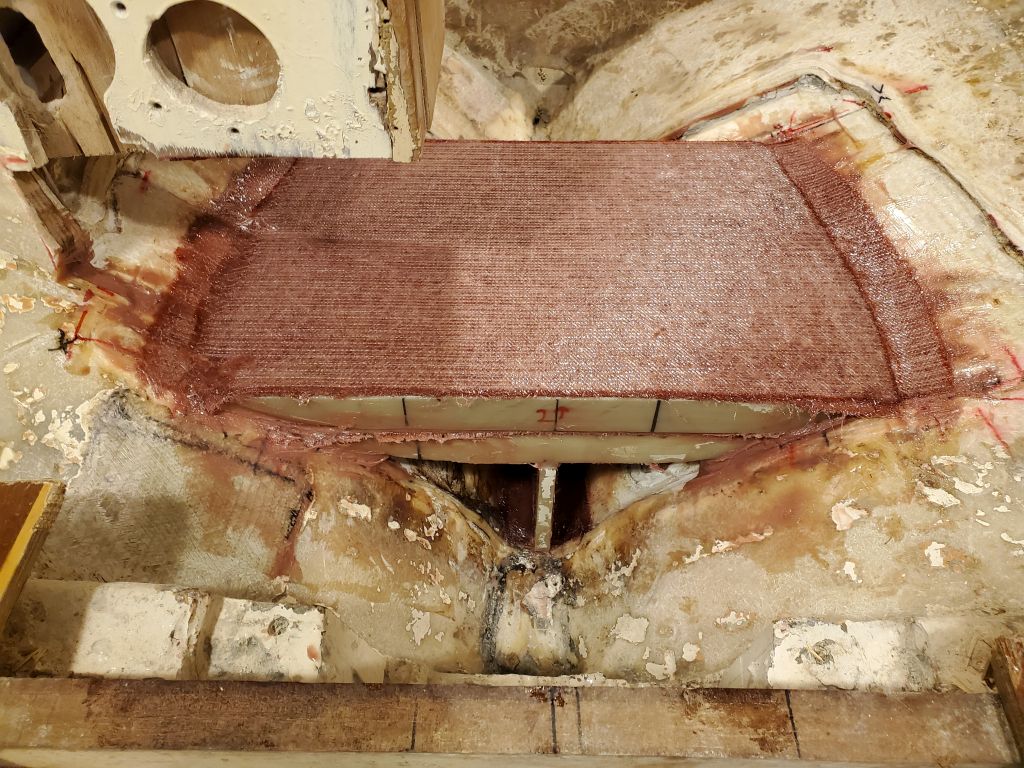
To wrap up the work for the day, I wet out and installed the three layers of tabbing to cover the top of the second layer and secure it independently to the hull. I left this to cure overnight, and next time I’d be able to finish up the mast step construction with the final layer and other details.
Total time billed on this job today: 7.5 hours
0600 Weather Observation: 28°. clear. Forecast for the day: Sunny, 37°