May 7, 2024
Calliope Girl 117
Tuesday
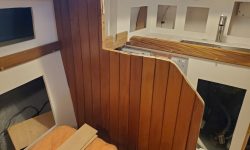
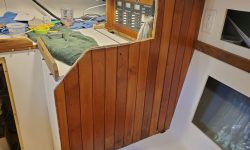
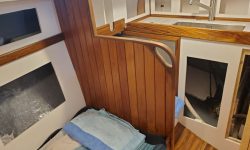
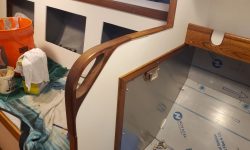
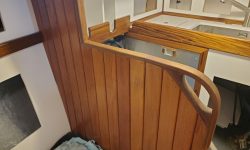
After starting the day by sanding the cabin sole and cleaning up thereafter, I turned to the trim on the galley bulkhead edges. The shape and dimensions of this trim were dictated by the profile of the pre-manufactured teak bulkhead handles to fit and form the outside corners, which the owner had requested and with which I’d done some preliminary shaping work earlier. Normally, this sort of trim would feature a recess and would slip over the bulkhead to cover both sides, but in this case the width of the recessed area of the handles was less than the thickness of the bulkheads, so I’d had to modify the handles–and the new trim I milled to match–accordingly, leaving the aft end flush with the bulkhead while the forward end overhung to better trim out the edge.
The point of all this is to explain why the trim was installed the way it was, and now, with these decisions and adaptations well in the past, it was time to do the final installation. To prepare for the trim installation, a week or two earlier I cut a square corner into the bulkheads where they had previously curved to reach up towards the sidedecks, which curve had originally been matched by a similar curve where the handles would now be attached. The square inner corner would make it easier to install the trim, versus trying to come up with a curved piece, and in any event the curve was now out of place in the cabin in its new format and aesthetic.
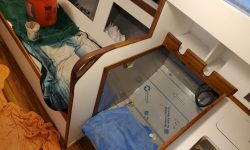
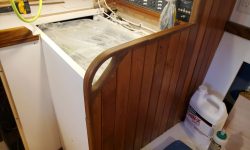
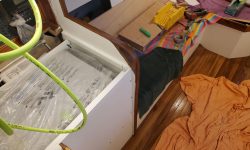
One side at a time, I cut the new trim to fit around the fixed position of the handles at the outer corners, then installed the trim in epoxy adhesive for strength, since one might tend to use the handles as handles. To hold the trim while the adhesive cured, I used brads driven as needed. Any minor misalignment at the seams between the handles and the adjacent trim would be cleaned up and faired in once the wood was firmly affixed next time. The forward end, with its overhang, extended over the varnished faces of the bulkheads, while I kept the aft end flush, as there was no overhang here; later I’d mask and paint right up to the edge of the teak to hide the now epoxy-filled gaps along that edge. I temporarily removed the refrigerator lid to improve access to the port side for installation.
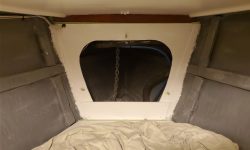
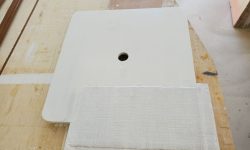
There were a few additional pieces of trim required to finish up in this area, but I held off on these till the epoxy cured fully on the edge trim so as not to disturb it. Meanwhile, I took care of several smaller tasks, including another coat of white paint on the chainlocker bulkhead, and, after sanding and cleaning up from the epoxy work, a coat of primer on both sides of the battery locker hatch.
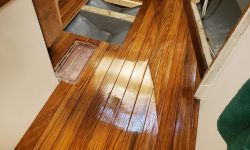
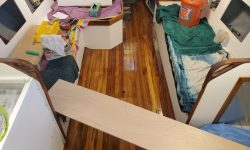
With no more trimwork planned for the day, and enough to keep me busy outside of the boat, I did a final cleanup inside and applied another base coat of gloss varnish to the cabin sole, and then to the long pieces of cabin side trim.
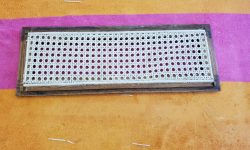
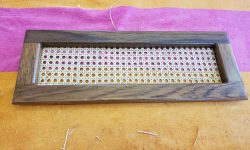
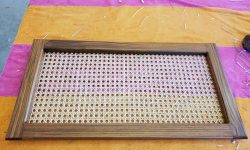
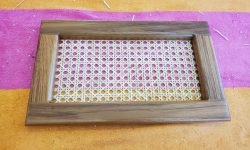
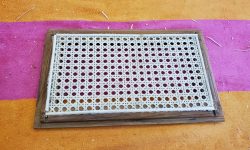
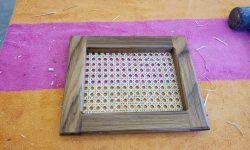
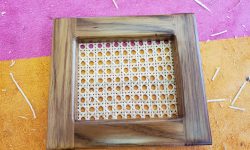
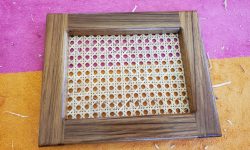
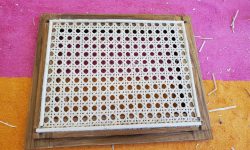
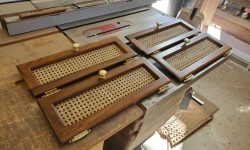
The caning had dried overnight, and now I trimmed all the excess from the nine doors.
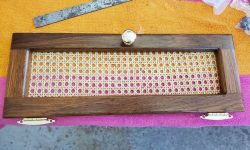
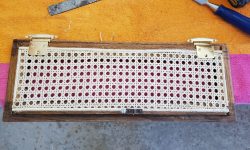
Next, I started working on the door hardware: hinges, brass pull, and door catch. I had enough time to finish four of the doors before the end of the day.
Total time billed on this job today: 7 hours
0600 Weather Observation: 48°, clear. Forecast for the day: Sunny, 71°


