


November 14, 2023
Calliope Girl 13
Tuesday
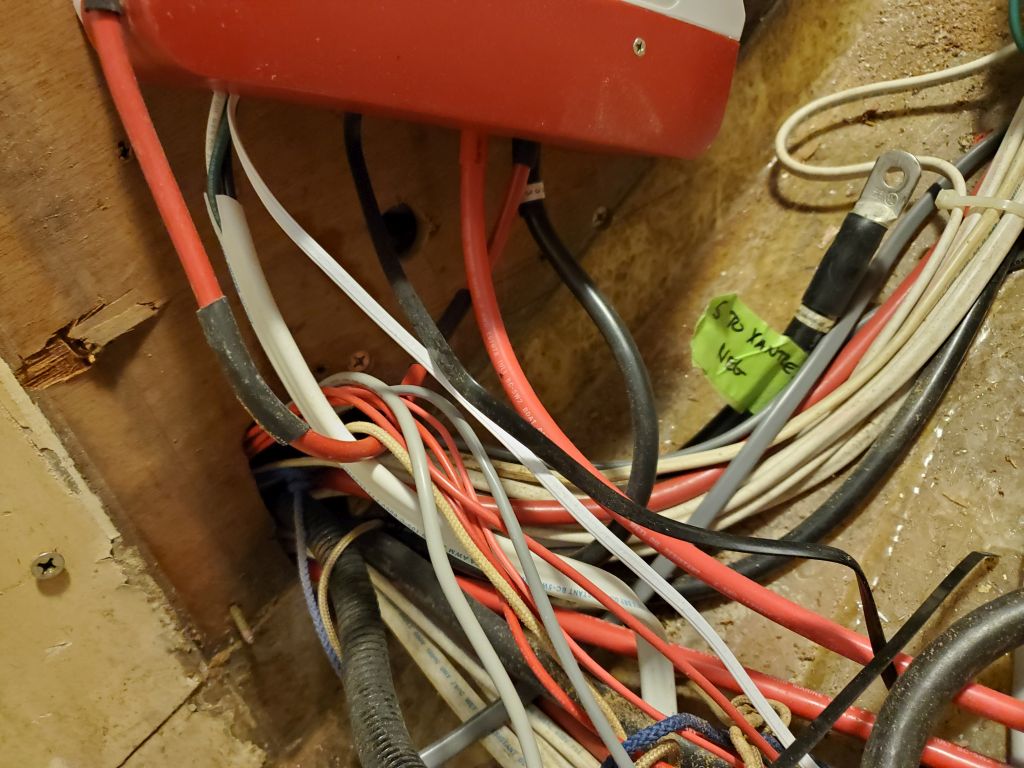
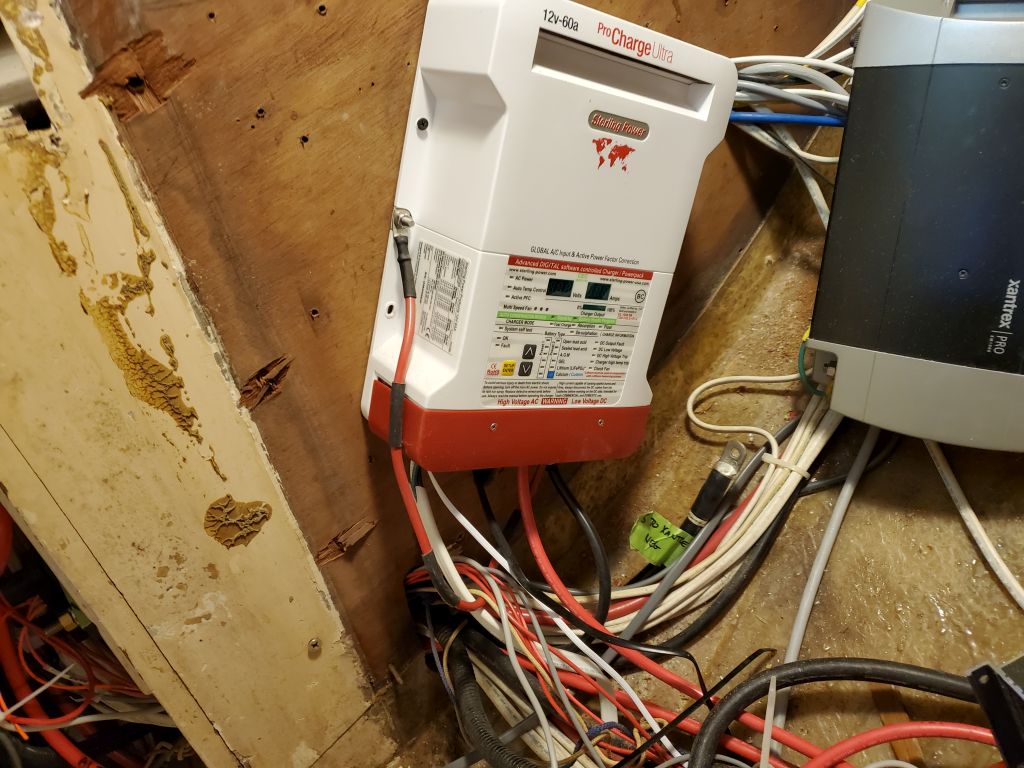
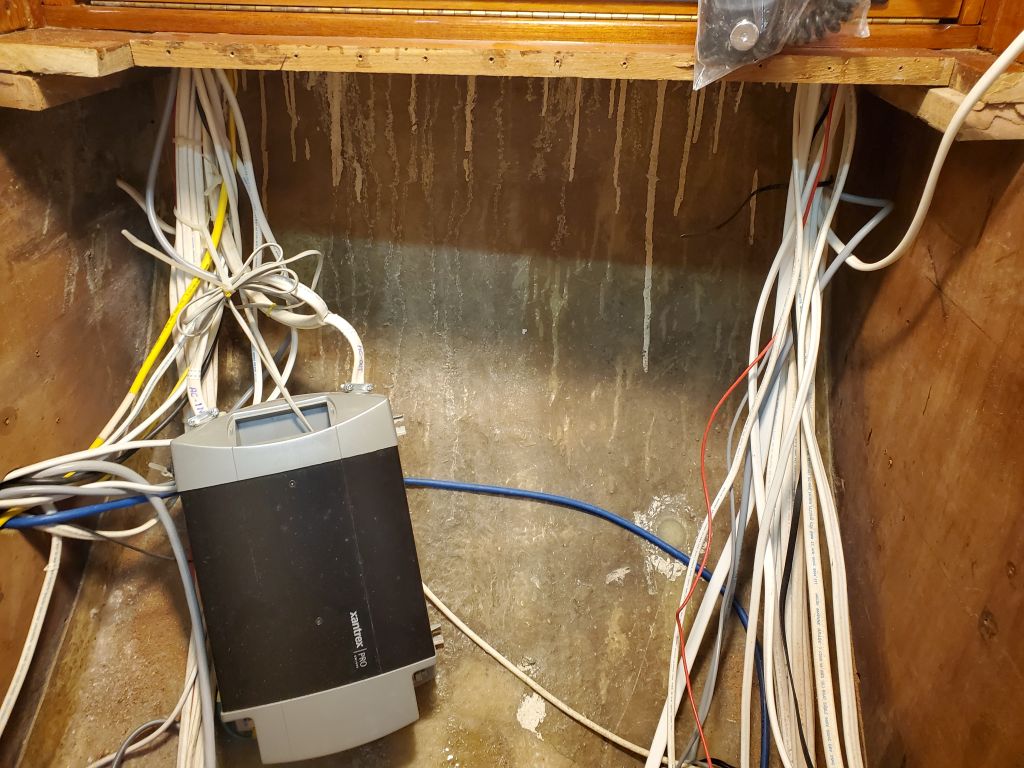
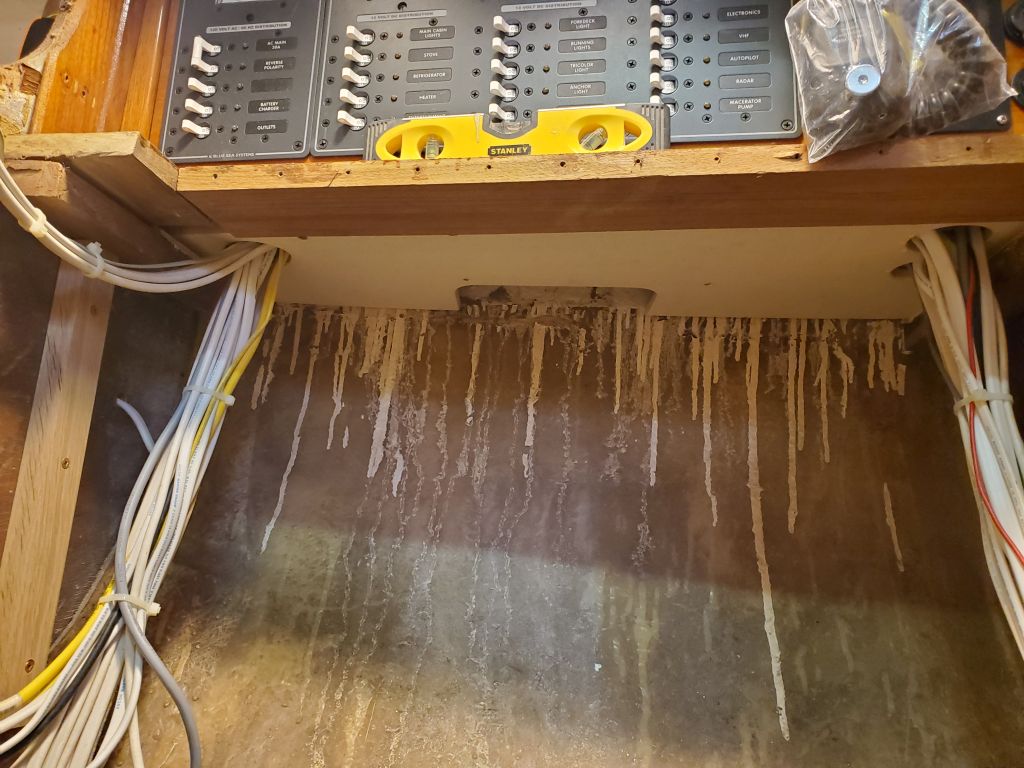
My next step was to make some order out of the wiring runs beneath the former nav station, to clean up and untangle some of the wiring so it would make for cleaner runs later. I also wanted to move and re-mount the inverter and battery charger on a new panel beneath the electrical panel, at the outboard side of the space. I’d not initially planned to build the new panel, but once I started working on organizing these wires it only made sense to do so, given that the space was perfectly suited to re-mount these appliances.
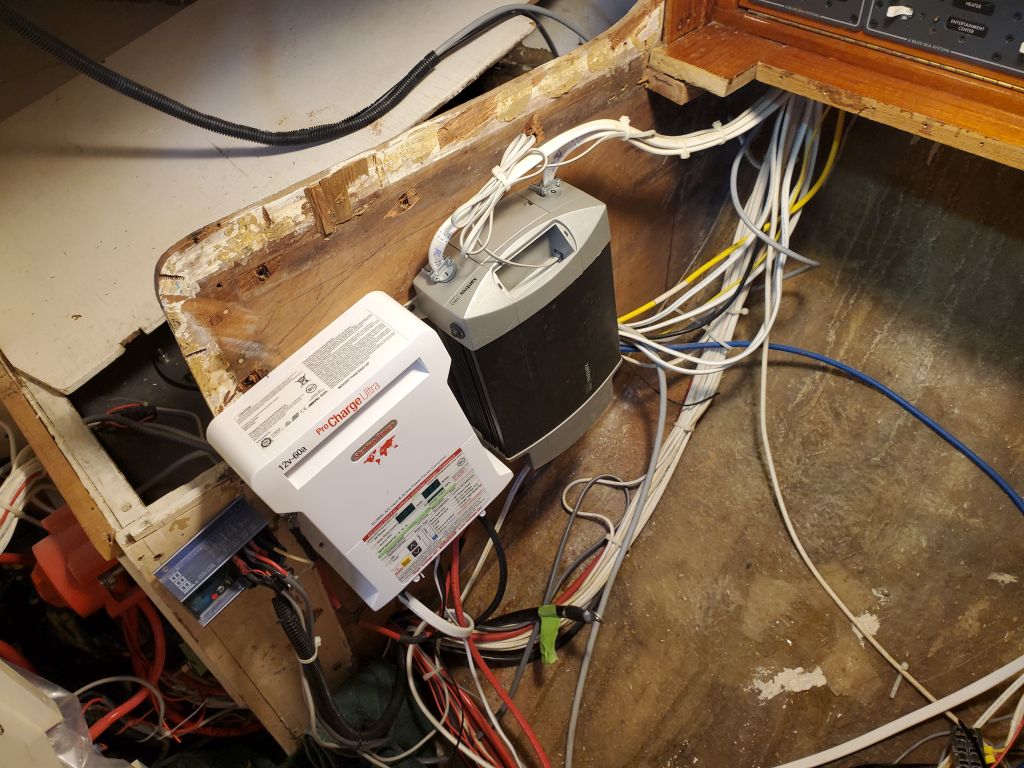
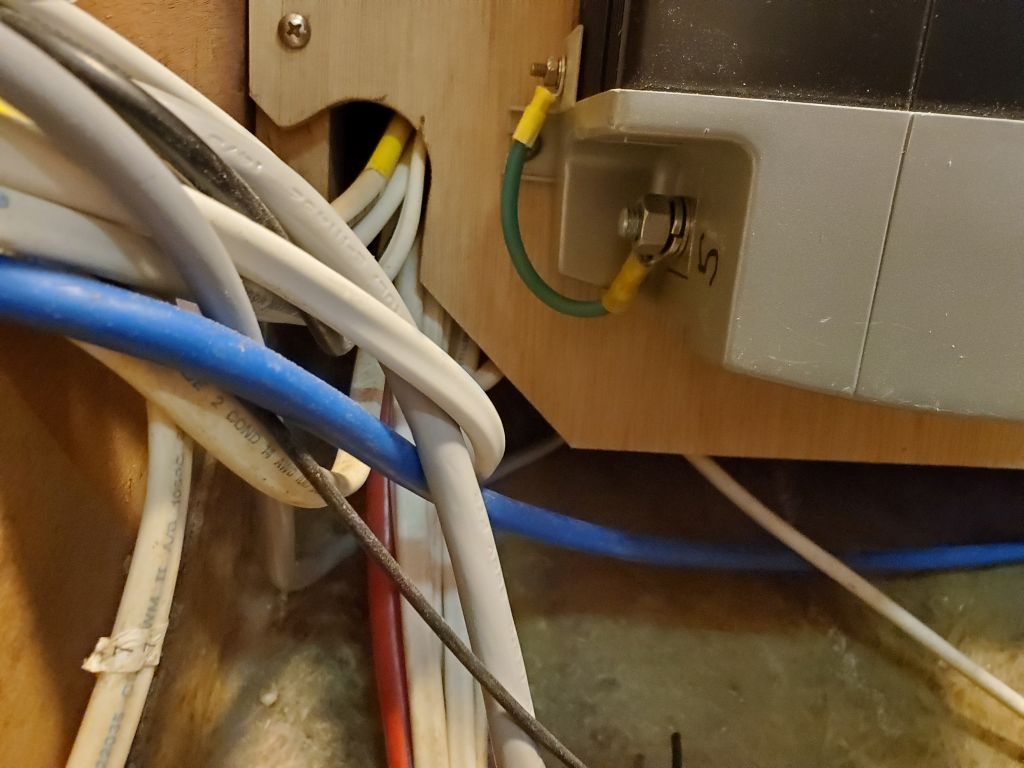
Basically the cleanup work involved re-leading several wires so they were no longer trapped in some loop or another, which involved some temporary disconnection of various wires from the battery charger and inverter to allow these and other wires to be run more cleanly. This all took time, but was not photogenic. When all was said and done, however, I had three cleaner wiring bundles (two from the electrical panel, one across the bottom between the engine room and the port settee), and I temporarily hung the charger and inverter on the aft bulkhead to keep them out of the way while I constructed the new bulkhead on the outboard side.
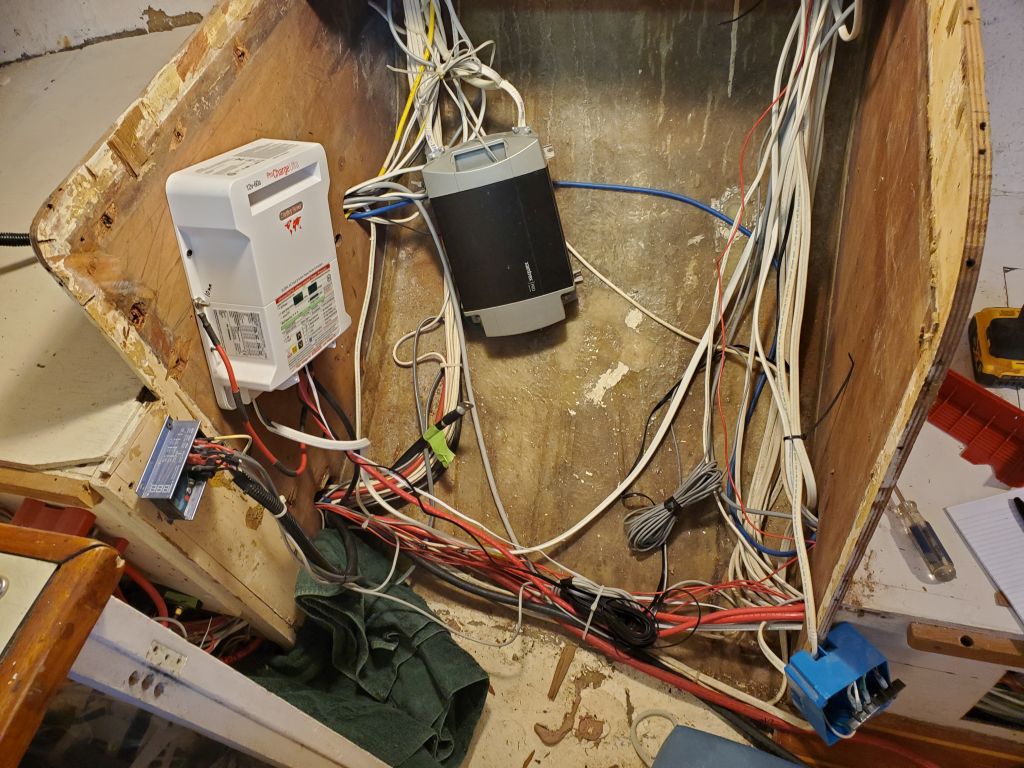
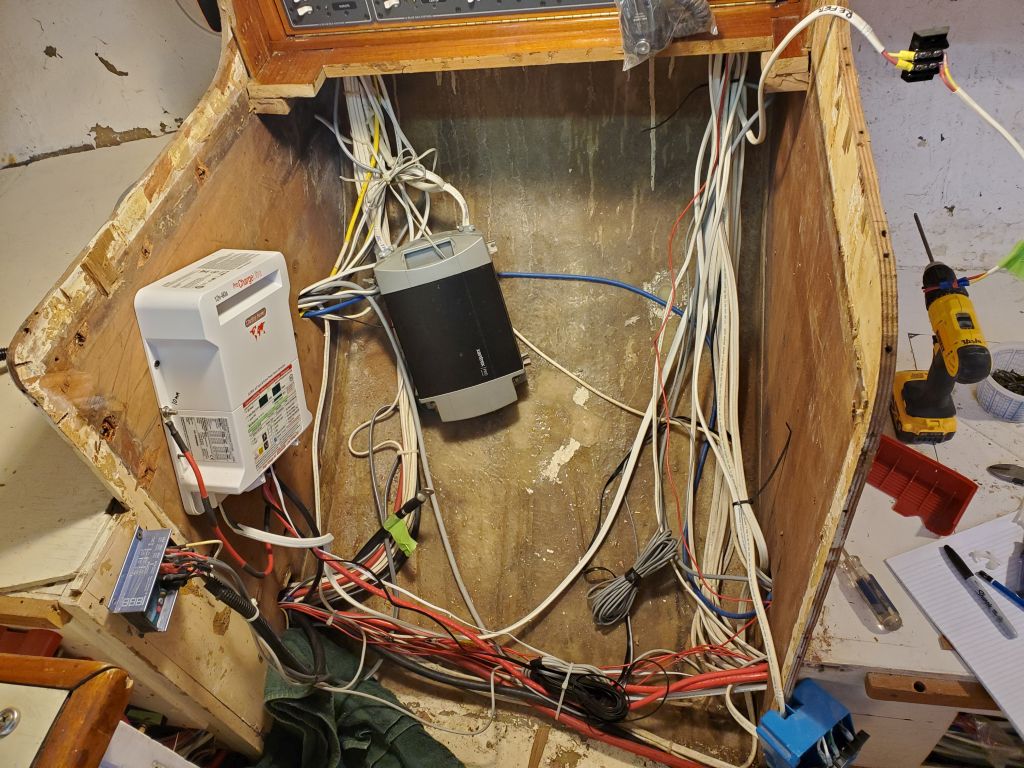
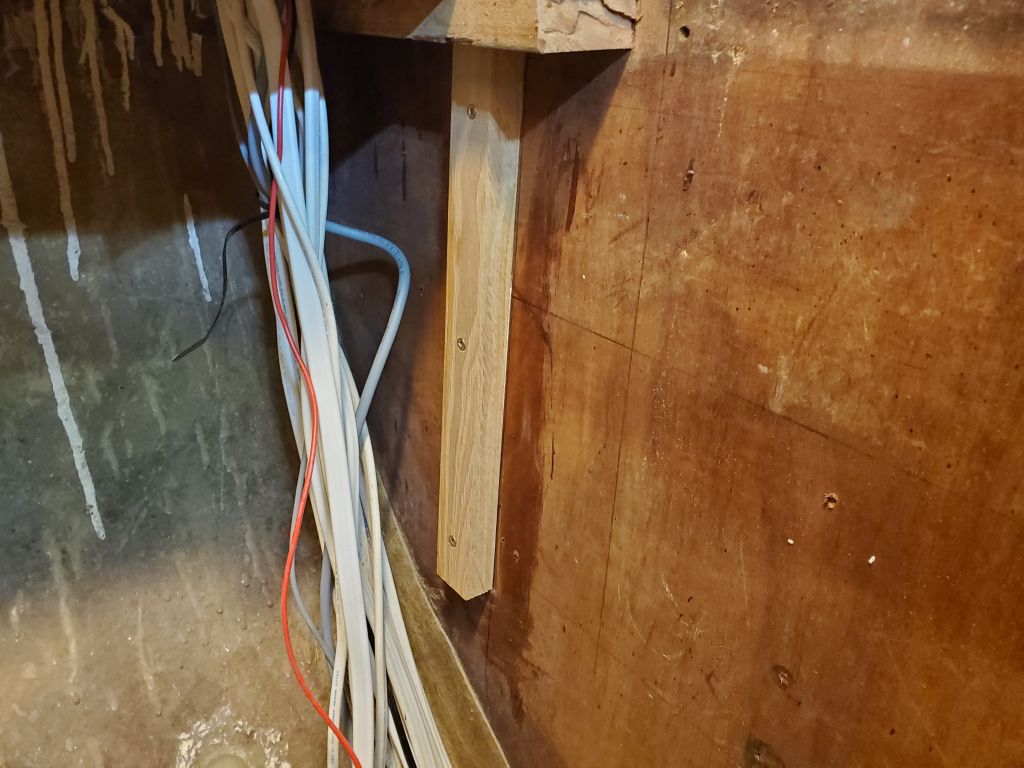
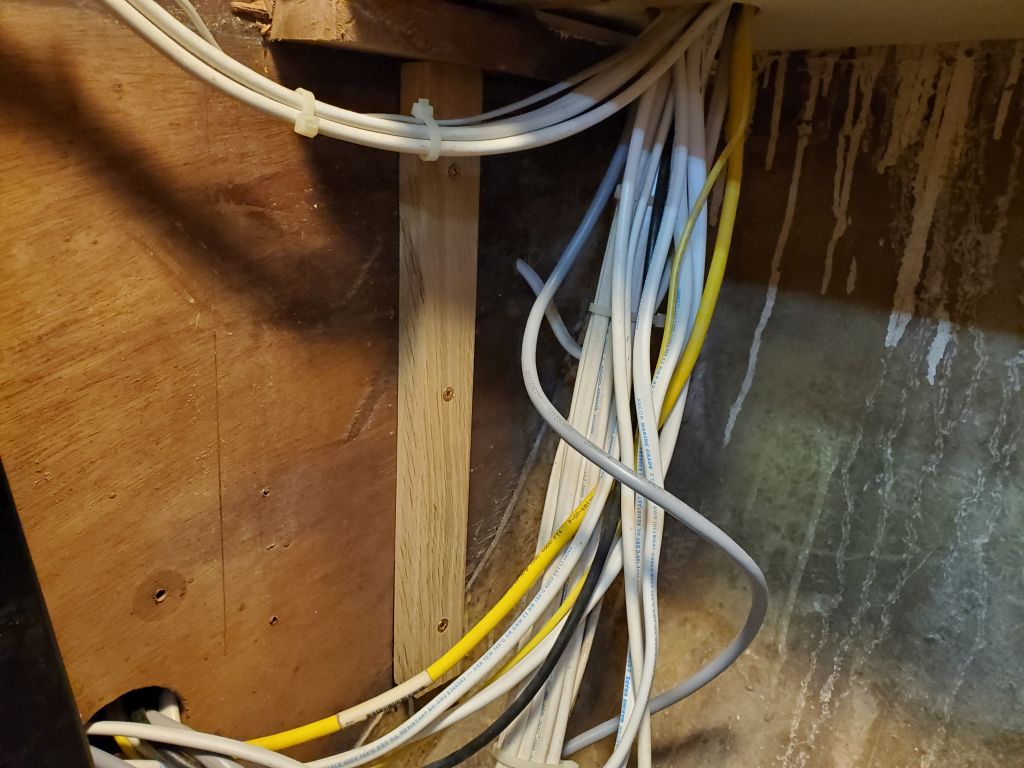
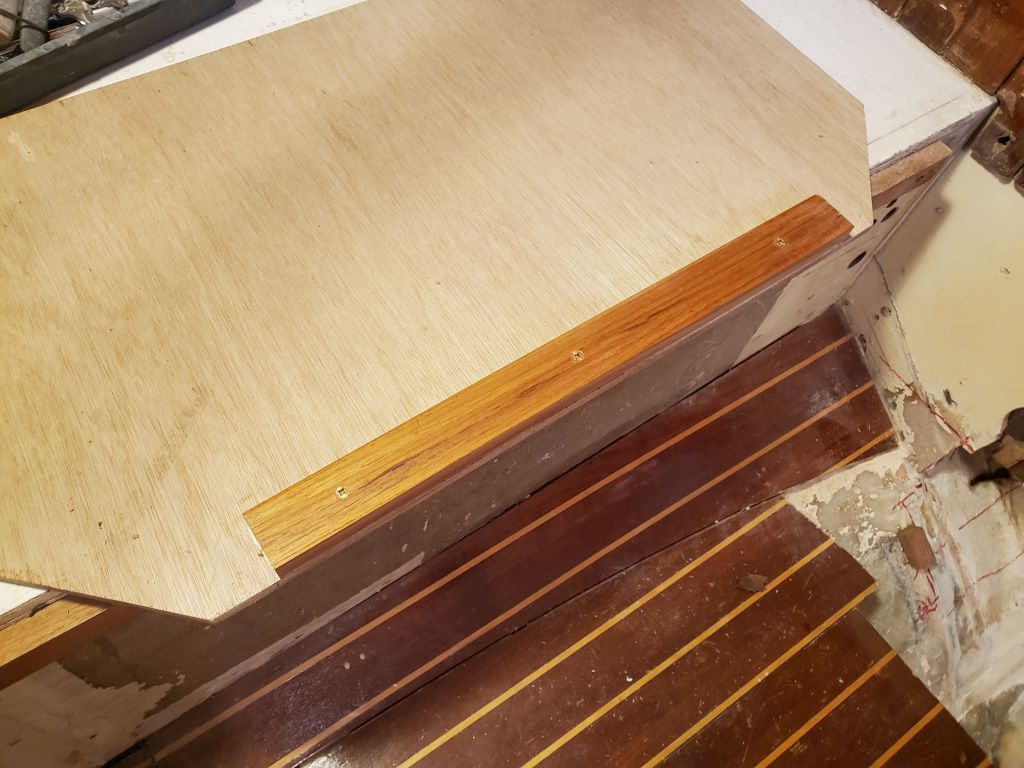
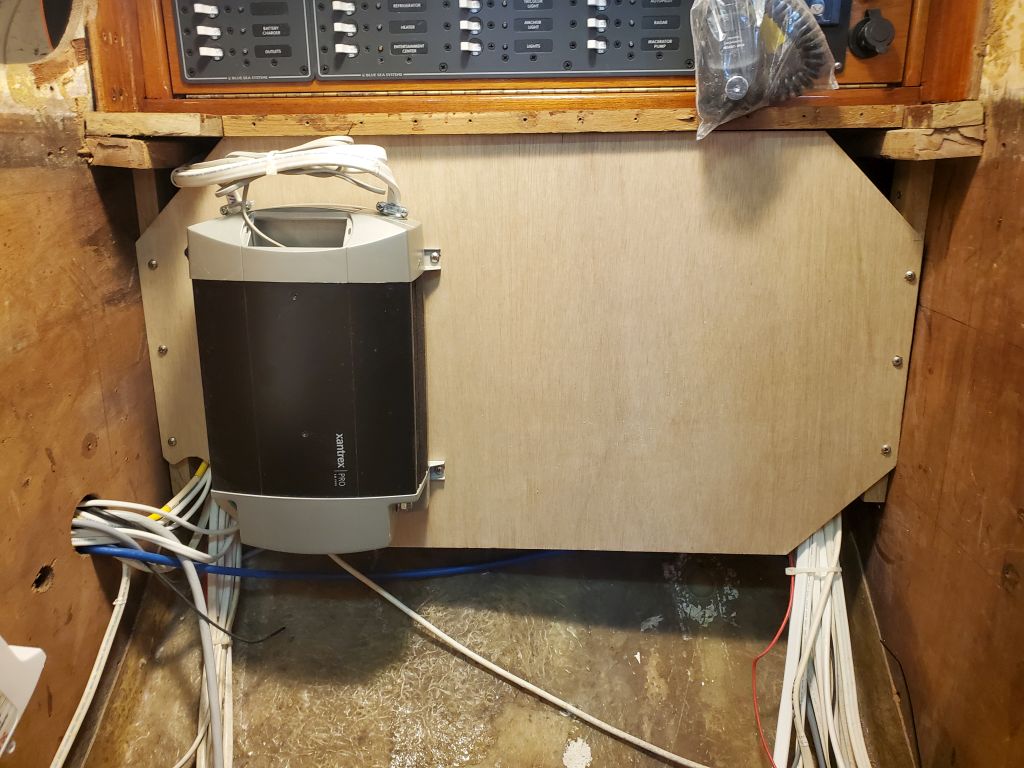
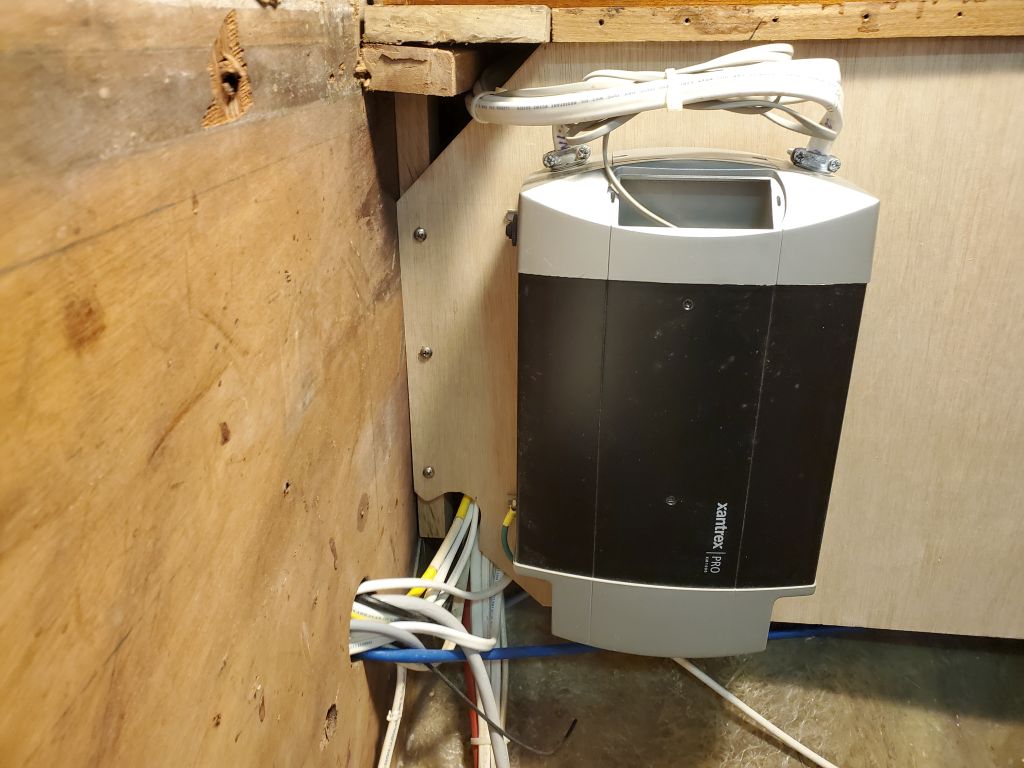
For the bulkhead, first I determined where I could place it while retaining ample room inboard for the new refrigerator and other installations. I also had to ensure that the new panel was large enough to support the two large boxes. The right spot ended up being just inset beneath the last bit of nav station countertop trim I’d saved near the electrical panel, and once I had some plumb reference marks on each side, I cut and installed hardwood cleats with glue and screws; these cleats would support the panel across the space. I prepared a 12mm marine plywood panel to fit, clipping the corners to allow clearance around the cleats supporting the electrical panel above, and to allow the existing wiring to run as needed. There was only so much slack in these wiring runs, particularly the after one, so I had to make an additional cut in the bottom aft corner to ensure free passage. By lunchtime, I had the panel mounted, and had mounted the inverter. At the top edge of the new panel, I added a hardwood cleat to help provide additional support for the base of the electrical locker above. I installed the new panel with screws to make it removable should access be required behind in the future.
I’d intended to install the battery charger forward of the inverter, and continue with the related work, during the afternoon, but I was called away unexpectedly for an emergency, so this ended up being where I left things for the day.
Total time billed on this job today: 4.25 hours
0600 Weather Observation: 28°. clear. Forecast for the day: Becoming sunny, 40°