February 14, 2024
Calliope Girl 65
Wednesday
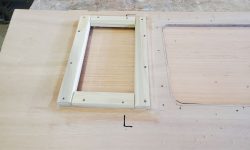
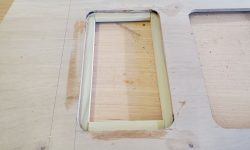
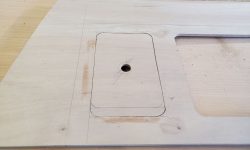
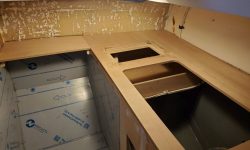
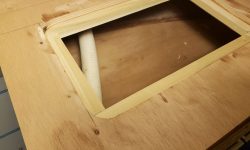
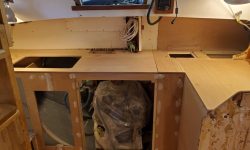
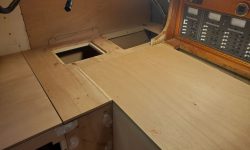
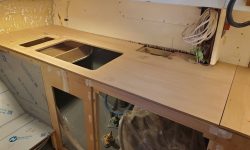
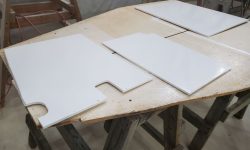
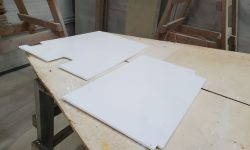
I got started with the final countertop hatch opening, located outboard of the sink on the main countertop. Afterwards, I test-fit all the countertop pieces one more time to ensure everything fit correctly and as intended at this time.
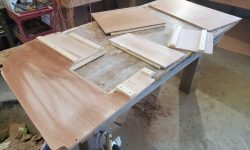
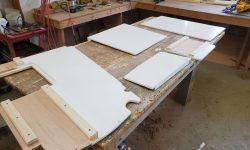
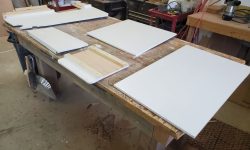
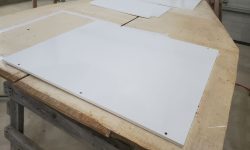
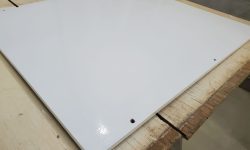
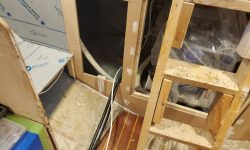
Next, I removed portions of the port galley so I could prep and paint them down on the bench. I applied primer to these panels, and the second/final finish coat on the three panels I’d been working on earlier.
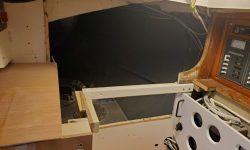
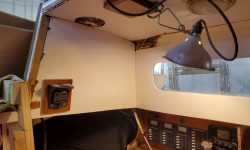
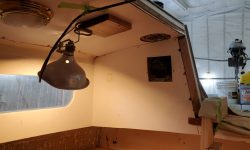
In the main cabin, I removed a few things that were still installed on or in the way of the nearby cabin sides, specifically an oil lantern from the starboard side, and a couple wooden blocks covering the winch installations on the coachroof above, as well as the swing arm mount for the electronics. Removing these items would allow proper preparation and painting of these areas, which was coming right up. I also started to move out some of the tools and supplies from the main cabin to the cockpit or even off the boat entirely, again to make way for the upcoming surface prep and finishing in the main cabin.
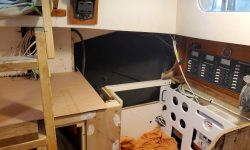
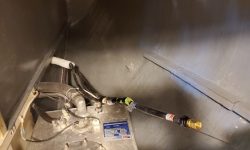
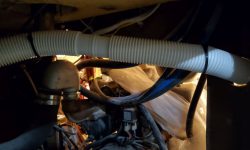
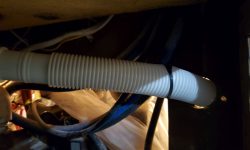
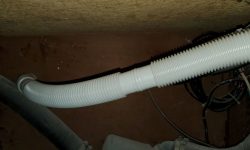
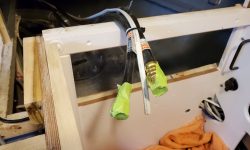
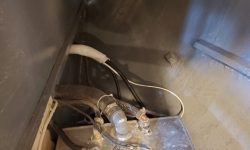
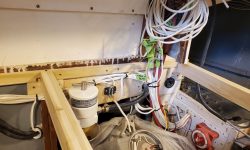
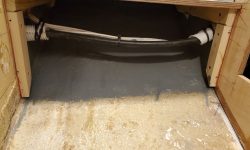
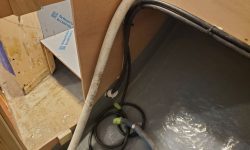
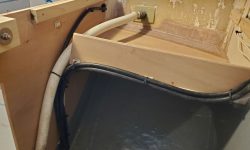
Removing the port galley also gave me access once more to the locker space beyond, which was the right opportunity for me to lead in the new propane lines (two–one for the stove and one for the cabin heater) and a wire pair for the propane solenoid. During an earlier phase, I’d cut an access hole in the bulkhead beneath the cockpit, and now I snaked in the hoses and wiring from beneath the cockpit, leading them though a length of flexible conduit mainly to keep them neat and out of the way on their relatively short run between the port cockpit locker and the galley on the starboard side.
I pulled in ample lengths of the hose for later connection to the new propane locker and tanks within, and left them in the after portion of the former quarterberth for retrieval later on. In the galley, I secured the hoses and wires as needed to run them where they had to go: the wires up to the clustered wiring area above the countertop, and the two hoses forward to the stove enclosure and, for the longer heater hose, through the utility space beneath and into the starboard settee, where I’d later continue its run forward to the heater.
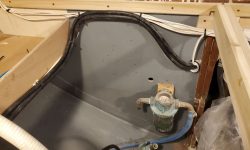
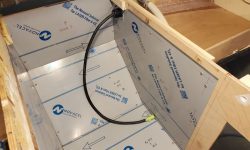
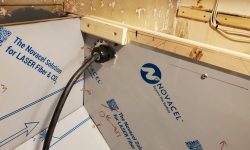
I’d first thought of running the stove supply through a spot near the base of the enclosure, but soon decided to move it to the upper outboard aft corner, where I could be assured that there would be no interference issues with the swing of the stove, since I didn’t really know how much space there’d be once the stove was installed. I used a gas-tight through-bulkhead fitting to run and secure the hose through the panel since it offered a convenient and clean way to install and protect the hose. I left a good bit of extra hose to allow connection to the stove and enough slack for the motion of the stove when gimballed. On the back side, I kept the hose clear of the area (which happened to be right where that unused wire mount is located in the final photo) where the gimbal mount would eventually (actually soon) be throughbolted.
Total time billed on this job today: 7.5 hours
0600 Weather Observation: 25°, clear, breezy. Forecast for the day: Mostly sunny, windy, 25°


