January 5, 2024
Calliope Girl 36
Friday
To begin, I moved the wire bundle in the port settee so I could access and paint the remainder of the locker, mostly the inside face of the plywood front face. I forgot to take pictures of this.
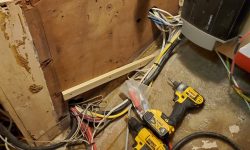
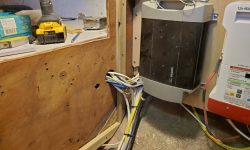
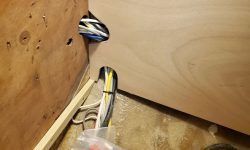
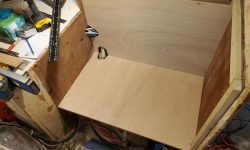
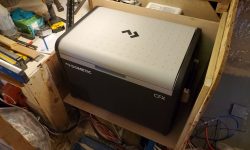
I spent most of the day continuing work on the refer compartment in the galley. I started with determining the position of the forward cleat at the back (outboard) edge of the space, using a square to figure out where the plywood panel needed to pass before the battery charger and inverter, then marking and installing a hardwood cleat on this line. Then, I installed the horizontal cleats to support the “floor” of the locker, starting with the aft end and placing this cleat as low as it could go on the bulkhead to give the required width (i.e the same as previously determined on the forward bulkhead between the two vertical support cleats) before running into the curvature of the hull.
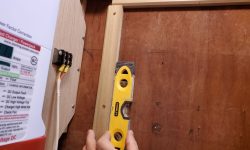
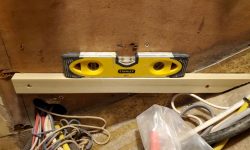
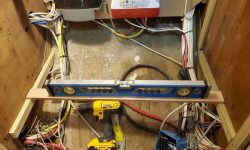
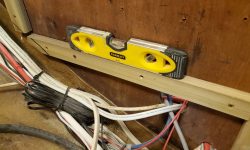
I transferred this height to the forward bulkhead with a level and a flat board cut to just shy of the overall width of the space, then installed a horizontal cleat there. I finished up with the vertical support cleat on the aft side, tucked beneath the wire bundles exiting the after bulkhead. All these cleats were just dry-fit at this point, till I was satisfied with how the whole space turned out when all was said and done.
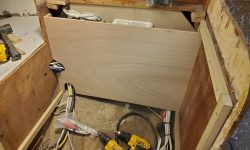
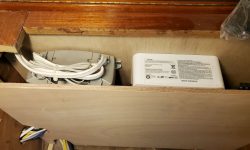
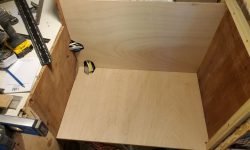
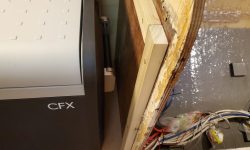
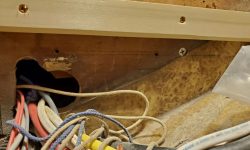
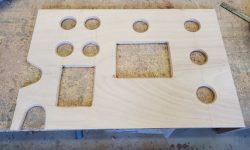
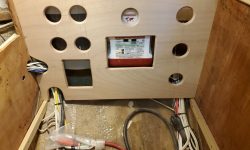
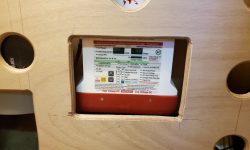
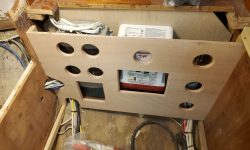
Now I measured for and cut out a 12mm plywood panel for the back side (outboard) of the space, allowing cutouts for the existing wire bundles at the aft end as needed. The panel passed closely by the charger and inverter, but I planned to provide ventilation holes in the panel. I also left the top edge a inch or so lower than the eventual countertop height, also to help promote ventilation. This panel would be removable for future access to these components when needed.
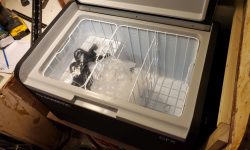
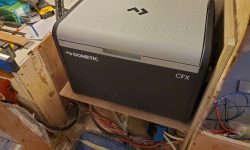
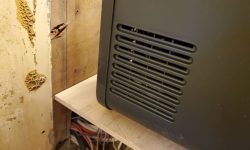
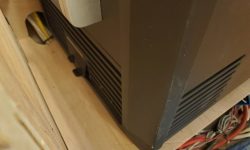
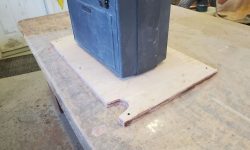
Next, I prepared a plywood panel for the floor, after which I could test-fit the actual refer in place to ensure it fit as intended. The aft (business) end of the unit featured ventilation grilles for the compressor, and I planned to accommodate these as needed with ventilation into adjacent compartments, including through the back (outboard) panel of the locker itself.
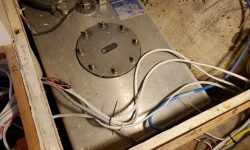
The owner reminded me that the fuel tank was located beneath the quarterberth, in the space just aft of the galley, and that he wanted to maintain access for tank removal should it be necessary. Though the details had yet to work themselves out, there’d be adequate space for the tank removal through this part of the galley, especially if I continued making these immediate components removable, which was my intent. There also remained access to some screws though the bulkhead (beneath the aft platform cleat) that secured the forward end of the tank in place. It would also behoove the refer (and the engine room) to perhaps leave the top part of the aft bulkhead at or near its current lowered height for better ventilation and access. Answers to these issues would work themselves out as the other parts of the galley and engine room came into being in the coming days and weeks.
I made some reference marks and notations on the vertical back panel of the refer locker, and cut various access and ventilation openings in the panel as needed to accommodate the refrigerator venting and the electrical components. There’d also be ventilation possible over the top of the panel, as well as beneath through the wiring space located under the floor of the compartment.
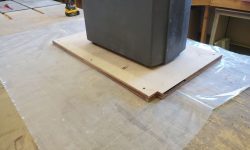
For the floor of the compartment, for extra strength and stiffness to better support the refer unit, I chose to laminate with epoxy a second, identical, layer of 12mm plywood to the first. I secured the two panels together with a few temporary screws and some weight atop while the epoxy cured.
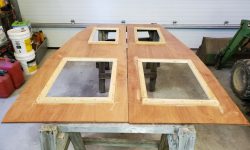
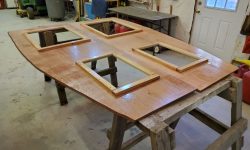
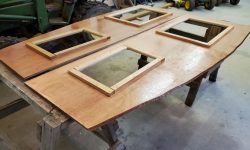
Finally, I coated the undersides of the settee berth panels with epoxy to prepare them for installation and provide some moisture resistance once installed.
Total time billed on this job today: 7.5 hours
0600 Weather Observation: 16°, clear. Forecast for the day: Sunny, 27°


