December 22, 2023
Calliope Girl 27
Friday
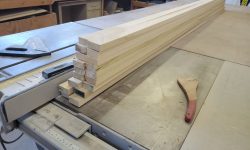
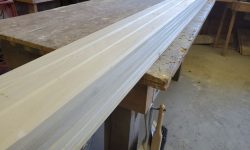
We got power back at the shop last evening around 1745, so I was happy to have a full day ahead. To get started, I milled some support cleat stock from 4/4 poplar boards. I like my cleats to be 1-1/2″ wide for ample screw space, split avoidance, and extra bonding area. The 1-1/2″ width also works well when using the cleats to support a panel cutout. Once I’d cut a number of cleats to width, I used a router and a chamfer bit to ease one edge on all the cleats, which helps avoid sharp edges in hidden spaces where one might reach into the dark someday.
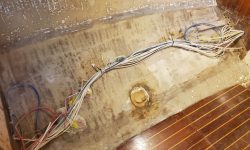
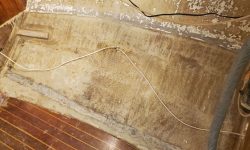
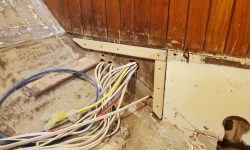
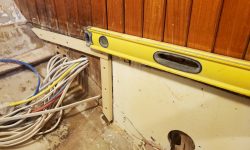
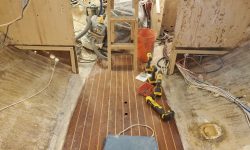
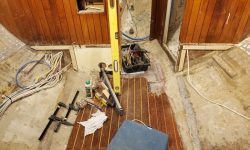
Up in the boat, I installed a few temporary wire mounts so I could temporarily secure the wire bundles on each side out of the way while I worked on the settee cleats and settee fronts. These wires would eventually be permanently secured down at the inside edge of the settee bases.
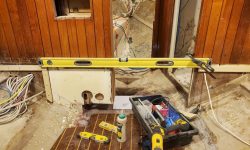
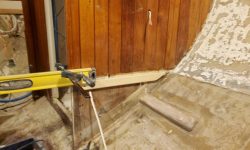
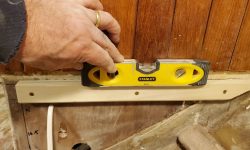
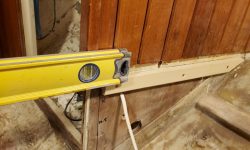
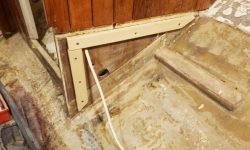
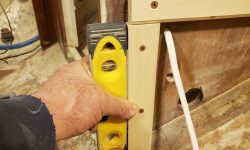
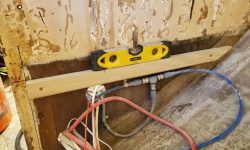
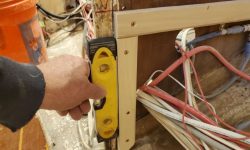
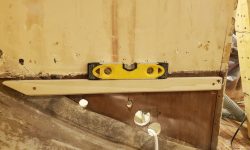
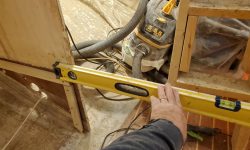
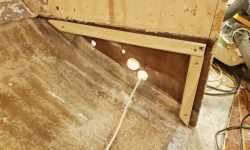
After getting set up with the layout and installation tools I’d need for the process, I started laying out the cleats to support the new settees. I chose the settees to work on first because I was anxious to have some flat places for tool storage and to work from. There were no significant changes planned to the basic settee height and position, but I started with fresh layout at the forward bulkhead, ensuring the cleats were level and plumb on both sides and level across the boat between each side as well. This relatively simple process was complicated a bit by the existing bulkhead staving which, at 3/8″ thick, hung over the cleats and made it more difficult to place the level. I secured the cleats with glue and bronze screws. The two sections of the bulkhead were not perfectly aligned from side to side, so these factors later conspired to call some of the cleat placement into question, though ultimately the original layout turned out to be correct.
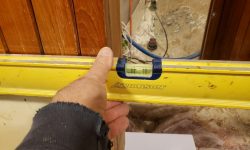
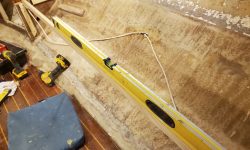
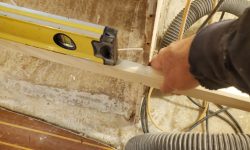
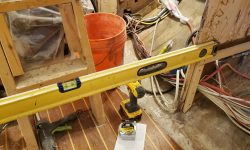
Because the old settees had not necessarily been level to begin with, and because the boat was now leveled according to some new layout marks (originally placed by the owner on the old settees, and from which I’d leveled the boat earlier in the project), and since the settee bases did not land on any flat or level surface, I had to transfer the heights of the forward cleats to the after bulkheads before I could install the cleats there. Simple enough to do, using a long straightedge with the level atop.
But was it that simple? I repeated this process on both sides, but the marks I was getting on the after bulkheads didn’t make sense. This caused quite a period of frustration and double-and-triple checking everything, from the level of the boat overall to the forward cleat placement to the plumb-ness of the various bulkheads. I’d make new marks after carefully ensuring the level was doing what it should, only to find that leveling across the boat from the after bulkheads didn’t work out with the first marks. None of this seemed possible. Was my level out of whack? Was I out of whack?
By the end of the afternoon, after basically repeating my layout at the forward end to check the existing horizontal cleats and then starting with a fresh approach, I got some layout marks on the aft bulkheads that made more sense and properly aligned with each other. The fact that the layout didn’t really match the old installation was of little worry. However, at this point I decided to only dry-fit the cleats, without glue, so I could double check things next time with fresh eyes, and perhaps a new level (just to be sure).
Total time billed on this job today: 7 hours
0600 Weather Observation: 19°. clear. Forecast for the day: Sunny, 29°


