December 14, 2023
Calliope Girl 24
Thursday
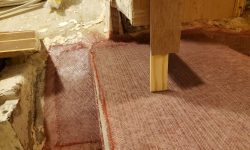
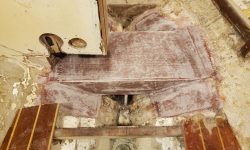
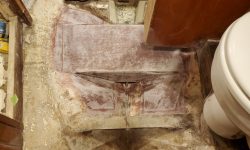
I made a final confirmation of the finished elevation of the new mast step before lightly sanding the new fiberglass to scuff it slightly and remove any hard edges.
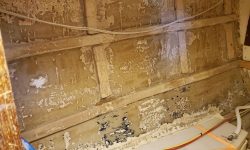
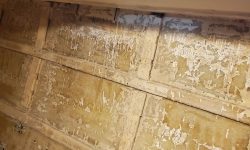
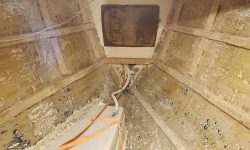
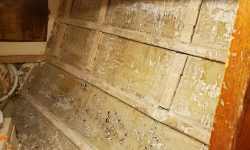
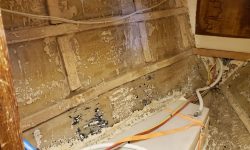
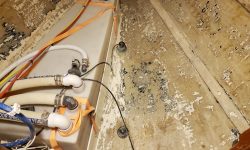
There was no better time than now to go ahead and sand the upper portions of the v-berth, where I’d recently removed the ceiling planks to reveal and attend to the failing coatings beneath.
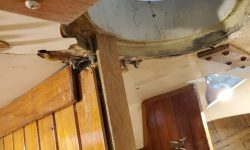
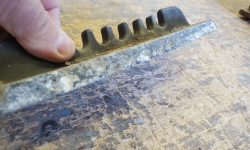
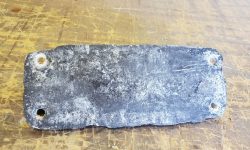
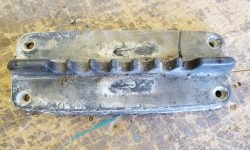
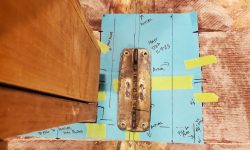
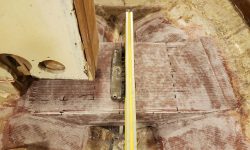
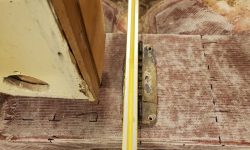
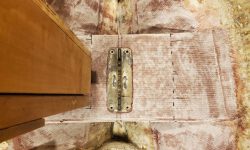
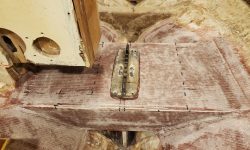
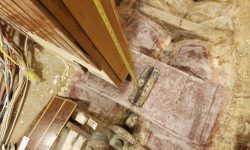
After cleaning up from the day’s sanding, I decided to lay out the mast step base fitting now while my original layout marks were still visible on the nearby structural members and before new work started possibly getting in the way. Unwrapping the original aluminum fitting from its storage bag, I found that it was in worse condition than I’d remembered, at least after I scraped away the loose material left over from its corrosive environment. There was also a bit of rocker in the bottom of the piece, i.e. it wouldn’t sit flat and rocked fore and aft. While it would still be usable as is if needed, I decided to see if there was an easy replacement available and found a part number to work with, but the part seemed obsolete. I contacted the machine shop that would be doing the new chainplates to see if they could build a replacement (yes), and as of this writing was awaiting a quote.
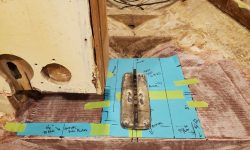
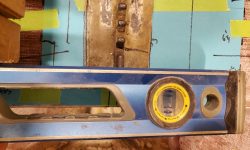
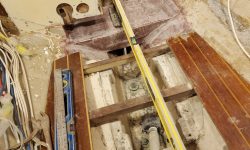
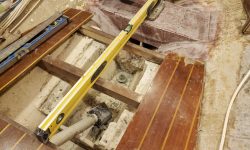
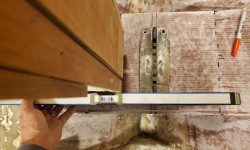
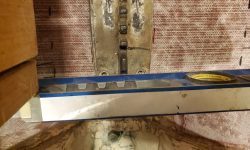
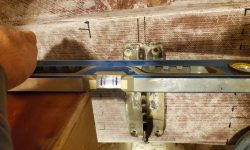
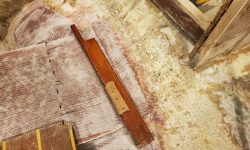
I started with my paper template of the original step and manipulated it this way and that according to the various measurements and layout marks. I’d made this template directly off the old aluminum structure and had intended it to document the original, and a few things had changed. Still, the template got me close to where I needed the step to be, but when I reviewed photos from the removal of the step in the first place, I found I’d actually used different reference points to document the base fitting itself, so I changed tactics and realigned the step according to those criteria. This included aligning a 4′ straightedge with marks on three of the cross members beneath the cabin sole aft of the step, and also using a straightedge off the main bulkhead and head cabinetry to align the part fore and aft. With all this, I eventually made some marks on the new structure to reposition the step, but held off permanently marking any fastener hole locations for now.
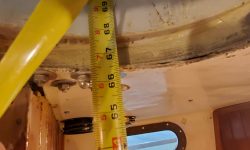
I checked the measurement between the top of the step base plate and my reference point on the mast collar above, and found it within tolerance of the original measurement, depending on where exactly I held the tape (as the mast base rocked fore and aft and affected the measurement accordingly). The original measurement was between 67-3/4″ and 67-7/8″; now it was just over 67-3/4″.
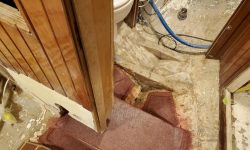
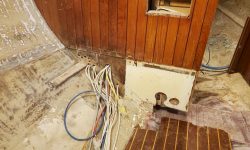
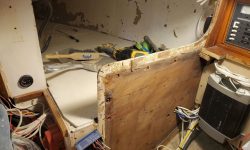
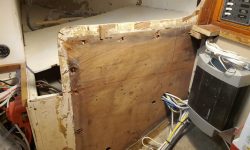
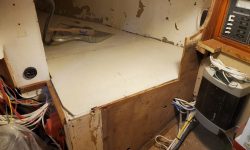
With that complete, I moved on to some preparations in the main cabin for the new construction just ahead. There were several small details to be dealt with before I could begin, including removing a number of old screws that still stuck out from when I’d removed old support cleats. I removed a bit of the trim from the lower end of the starboard side of the passageway opening, as this trim had been cut to fit around the old berth fiddle, and would likely be in the way of the new work; it would be easier to replace the trim later.
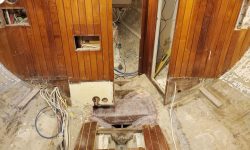
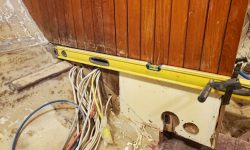
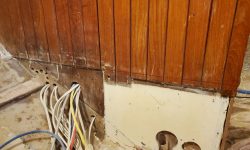
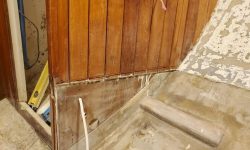
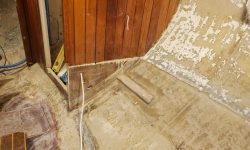
The bottom edges of the staving on the main bulkhead also needed trimming, as some of the pieces on the port side extended down into a space that would, in the new construction, be part of the battery box and berth top.
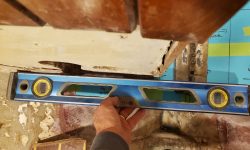
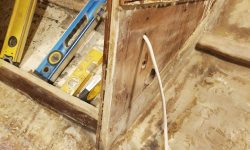
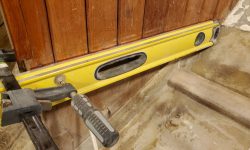
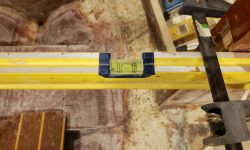
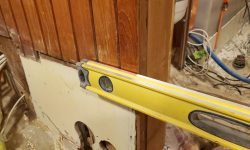
I also wanted to slightly raise the bottom edge of the staving to give me a touch more room for building new. In preparing for this cut, I found that the original ends (which had been tight against the berth tops) were far from level, especially to starboard, so I leveled both sides and across the opening as needed and made the cuts required to straighten and clean up the bottom edge of the staving.
I made some layout marks on the after bulkhead at the old nav station, leading to the quarterberth, and cut out the upper portion of the bulkhead for better access in the immediate term, and to accommodate the new galley layout in the longer term.
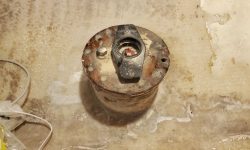
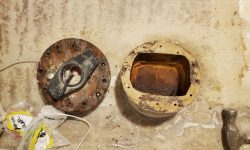
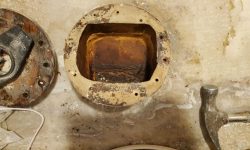
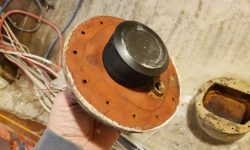
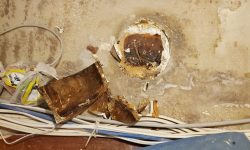
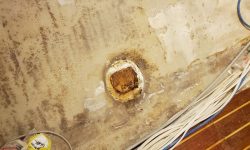
Finally, I removed an obsolete transducer tank from the hull in way of the port settee. Unsure what was inside–it should have originally been filled with mineral oil or some such–I removed the top to expose within, and happily found there was nothing inside, saving me the need to pump out whatever might have been there and avoiding a mess. A little light percussive maintenance persuaded the remnants of the tank to part ways with the hull, leaving only a slight bit of material that I’d remove next time I had a sander going.
Total time billed on this job today: 6 hours
0600 Weather Observation: 20°. clear. Forecast for the day: Mostly sunny, 30°


