January 30, 2024
Calliope Girl 54
Tuesday
I had several jobs underway that couldn’t be “finished” just yet, whether because I was awaiting parts (additional fasteners for the chainplates), or inability to complete one thing was holding up completion of the next thing (i.e. the forward upper settee locker panels awaiting the chainplates’ completion, and the pending galley construction awaiting the paint completion in the refer compartment), but that hardly meant there was nothing to do.
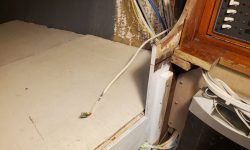
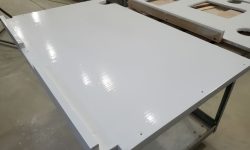
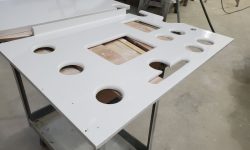
I started with a couple small items, first lightly sanding the last coat of white paint on the galley parts to prepare for another coat later in the day, always my first task when in a finishing mode. Then, I re-routed a wire (for the CO detector) I’d recently led into the port upper compartment, where it had been led in the original interior, to the aft end above the galley, as the owner told me he didn’t think it needed to be where it had originally. No time like the present.
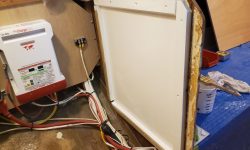
I also used my plywood template to cut the actual upper panel for the refer compartment in the galley, and test-fit it (it fit well, though the after vertical cleat was out of the boat for painting, and the top edge would later be trimmed to the correct height in situ). I set the panel aside for now to await its next step.
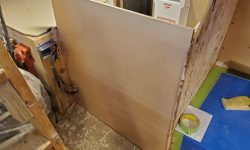
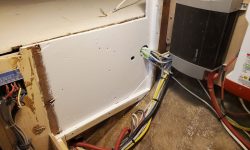
The clearance between the starboard mid chainplate and the new locker panel was a bit tight at the top, so I trimmed back the panel a bit as needed; this area, including the chainplate, would later be covered with trim work.
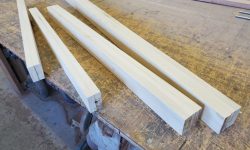
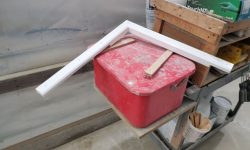
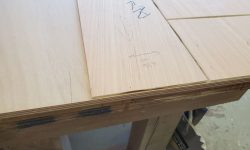
Down at the table saw, I trimmed the laminated posts and beams I’d glued up earlier to square and clean up the edges and prepare the pieces for use in the project.
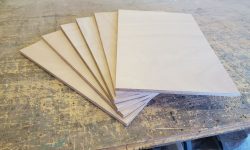
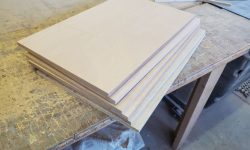
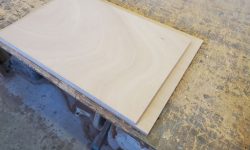
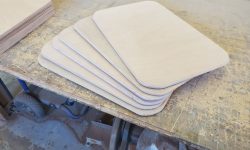
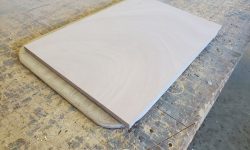
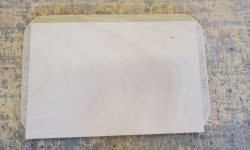
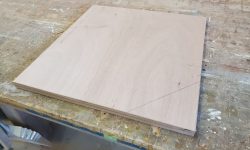
Continuing at the table saw for a while, I prepared six plywood blanks, all from plywood offcuts, to fit the locker openings in the settee backrests. I sized these so they’d fit inside the openings; these were the bases of the locker doors, which would also be cushioned backrests, and would eventually be hinged at the bottom. Next, I cut six additional panels 1″ larger than the opening on three sides (the bottom side remained flush), which panels would later be cushioned and upholstered and attached to the hinged base panels. This project did a good job using up most of the leftover plywood pieces left from cutting some of the larger interior components.
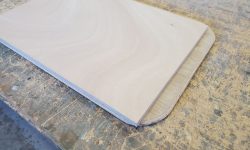
To complete the upholstery panels, I cut a 2-1/2″ radius into the four corners, then rounded both sides of the panel and sanded smooth. I ordered hardware to secure the two pieces together and set things aside for now. Note that the small exposed corner of the inset (hinged) panels, where the upholstered panel curves into the base, would be hidden in the final analysis by the bulk of the cushioning and upholstery wrapping the corner.
That all took quite a bit of time, so once complete, and since I had to leave the shop early for an appointment, it was time to apply the next (final) coat of semi-gloss white paint on the galley parts.
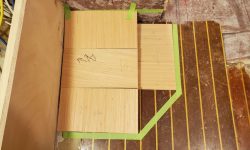
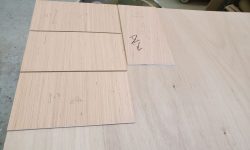
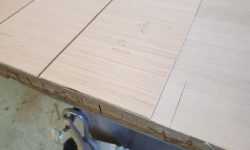
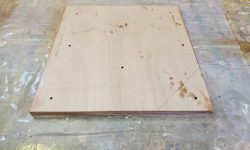
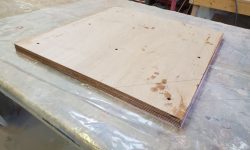
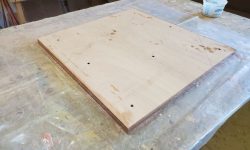
I used the time left in the day to start work on the battery locker, which would be built inboard of the forward end of the port settee. I’d done some preparatory and layout work earlier, and now, with that basis in mind, I laid out the four battery mockups on a new sheet of plywood and, leaving a bit of additional room around them (using some thin plywood as a spacer between each “battery: and along the edges), as well as enough room around the inboard/aft edges for some support cleats for the sides, I cut two identical rectangles from the plywood, which I laminated together with epoxy to form a strong 1” thick base to support the batteries’ weight. I planned to cut the inboard/aft corner at an angle, as I’d done in the mockup earlier, but would cut that only once the laminated panel was cured.
Total time billed on this job today: 6.5 hours
0600 Weather Observation: 15°, clear. Forecast for the day: Sunny, 22°


