January 2, 2024
Calliope Girl 34
Tuesday
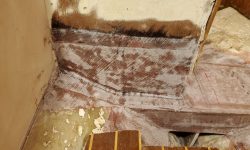
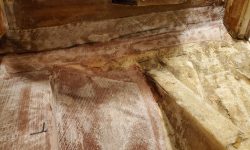
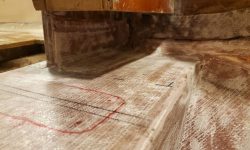
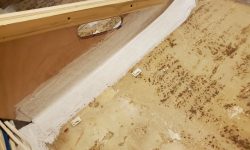
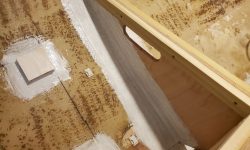
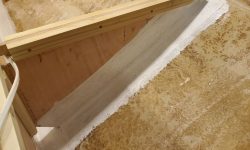
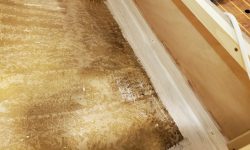
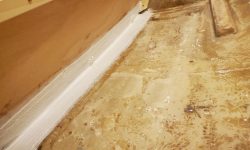
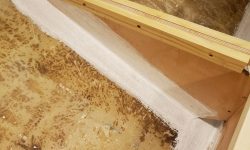
In my habitual way, I started the day with a water wash and light sanding of the new tabbing around the main bulkhead and head.
While I was thinking of it, I installed hardwood bungs in the screw holes securing the settee fronts to their cleats.
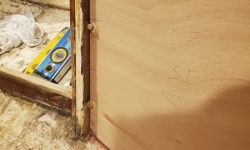
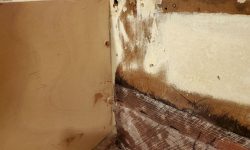
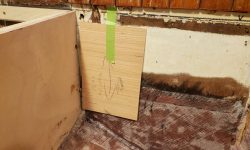
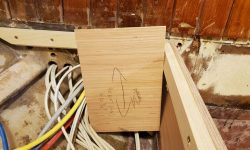
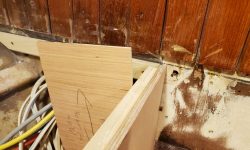
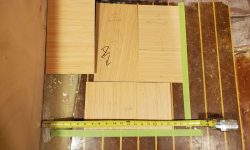
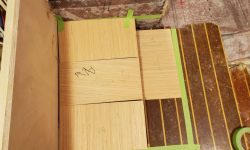
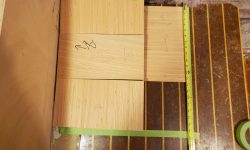
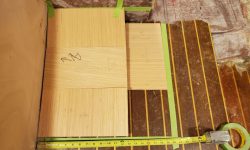
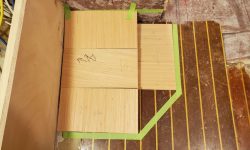
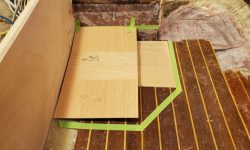
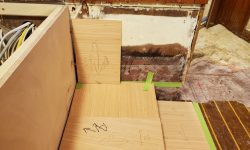
Before finalizing the settees, I wanted to mock up the battery location so we could decide how best to proceed with that. The owner wanted the batteries moved to a new location just aft of the main bulkhead to improve weight distribution, so I’d build a new locker to accommodate. With a plywood template representing the battery width and overall height (including terminals and attached fuses), I first checked the available space in the intended area, against the main bulkhead outboard of the settee. There was ample height in this location even with the “battery” held up above where a finished floor would be, plus some extra room for wiring and adjustments. I planned to keep the bottom of the locker as low as possible, which, because of the curvature of the hull, would start right where the settee front met the hull and the main bulkhead, just below the edge of the template.
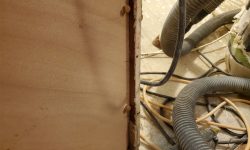
During construction to date, I’d held out a bit of hope that one battery might fit inside the settee, to save space in the main cabin. To this end, I checked the battery height inside the port settee, just outboard of the location above. With the curvature of the hull, however, there was nowhere near enough clearance for the battery and terminals in this location, unless the battery was tipped on its side (or somewhere off-vertical). With all the existing wiring running through this space, this was not an ideal location unless the battery might fit easily.
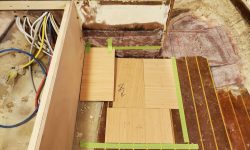
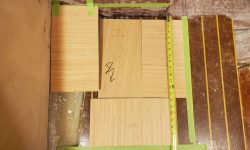
The four batteries could fit in two different orientations in the space in the main cabin. In one option, I aligned the batteries in a longitudinal orientation, side by side across the beam of the boat, with the fourth turned 90 degrees at the aft end. This configuration pushed the potential battery box out to about centerline, and the eventual box around the mast would tie in fairly well with this when all was said and done.
For the second possible orientation, I placed three batteries in a transverse direction, with their long sides parallel to the bulkhead, and the fourth battery closer to centerline along the short edges of the other three. This used less space across the width of the cabin than the first option, and the batteries were less intrusive into the cabin. In a last-minute eureka moment, I thought it might be nice to clip the aft corner at an angle, reducing the footprint, assisting in securing the batteries in the space, and making a cleaner overall look.
In either option, the battery box would become an additional cushioned seat at the same height as the adjacent settee. After discussions with the owner, he chose the second option, which I also thought was the far better alternative, with the angled corner as shown in a few of the photos just above. I’d work on building this box in the near future.
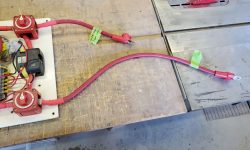
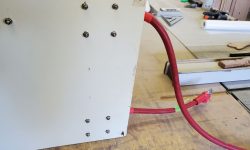
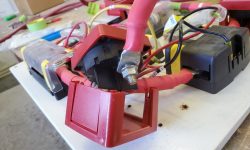
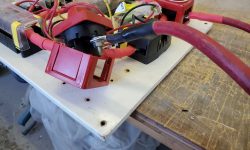
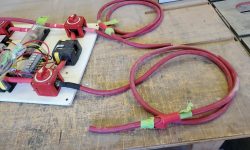
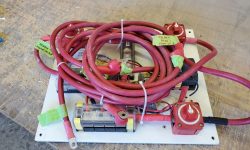
The new battery location meant that two of the existing cables connected to switches on the under-settee switch panel needed to be lengthened, as these cables had originally run just to the old battery bank located beneath the port settee. Because the switches were bolted through the panel and needed to be removed to access the terminals, now was the time to make a change, while I could easily work with the panel out and on the bench. Using a long length of battery cable recycled from the original installation (a jumper that had led from the port bank to the starboard bank by way of the forward cabin), I prepared two new sections, leaving one end raw for now but long enough to reach the new battery locker, and installed these in place of the two short originals. Now this panel was ready to be reinstalled whenever the locker paint was completed, so I could reconnect all the wires while access was at its best.
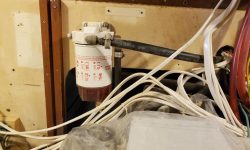
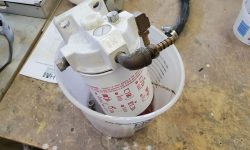
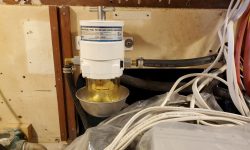
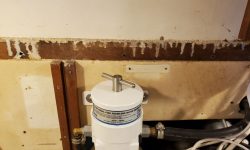
The owner asked me to replace the existing spin-on type fuel filter with a new turbine/cartridge filter. With galley construction coming up soon on the list, there was no better time than now, with access as good as it would ever be, to make the switch. The existing location seemed like it would work fine for the new filter as well, with ample room for the filter, bowl drainage, and no better nor more accessible location likely to make itself known with time. The swap was straightforward, and the existing hoses reached the new filter nicely. I secured the filter through the bulkhead with machine screws and nuts. I planned to build an overhead access hatch in the galley counter/lockers when the time came to provide access for removing the filter element when needed, since overhead clearance was otherwise tight.
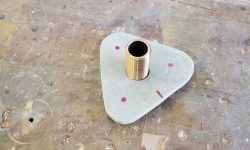
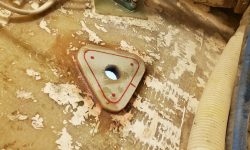
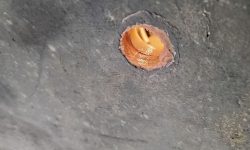
Continuing with the engine intake replumbing, now was also the time to install the new intake through hull. I cut a backing plate to fit from 1/2″ G-10, then determined the mounting location in the engine room, a bit forward of the existing sink drain, and drilled through the hull. Then, I installed the backing plate in epoxy adhesive, leaving it to cure overnight.
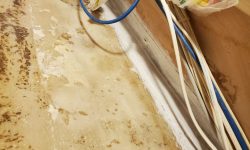
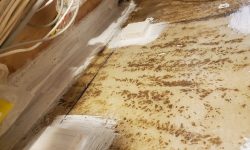
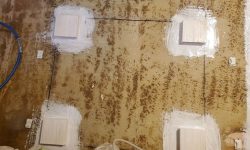
Finally, I made final preparations in the settee lockers, temporarily securing wire bundles out of the way and cleaning the surfaces as needed, then applied a coat of epoxy-based primer to all the fresh tabbing throughout both lockers, something I do as a matter of course to avoid curing problems with one-part paints over fresh epoxy and the final step before I could paint the lockers with their final coats.
Total time billed on this job today: 7.5 hours
0600 Weather Observation: 17°, clear. Forecast for the day: Sunny, 36°


