


February 3, 2021
Lyra 9
Wednesday
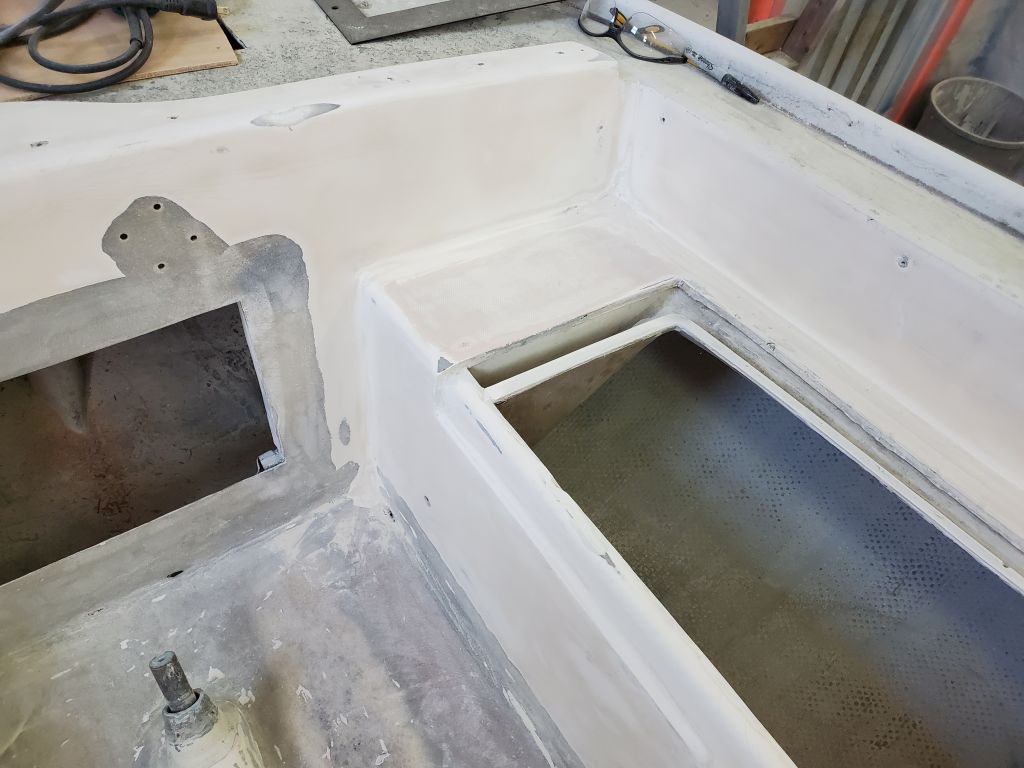
Thinking ahead to the day, I decided it was time to do the next steps in the transducer installation: That is, to create the fiberglass housing that would eventually secure and bed the transducer itself. To prepare, I wrapped the transducer in a couple layers of masking tape for protection, then, at the top–following the line of the stainless steel part of the transducer (versus the transducer-y part below)–covered the top in black tape to aid in mold release. I applied some paste wax as well. The transducer itself would provide the mold for the new housing.
A test fit showed a need to slightly open up the hole through the hull at the bottom edge, since the transducer bound a bit when nearly all the way in. After pulling out all the transducer cable again, and enlarged the hole as needed with a drum sander, I fed through the cable once more and propped the transducer tightly into position against the fiberglass plate I’d installed in the keel cutout.
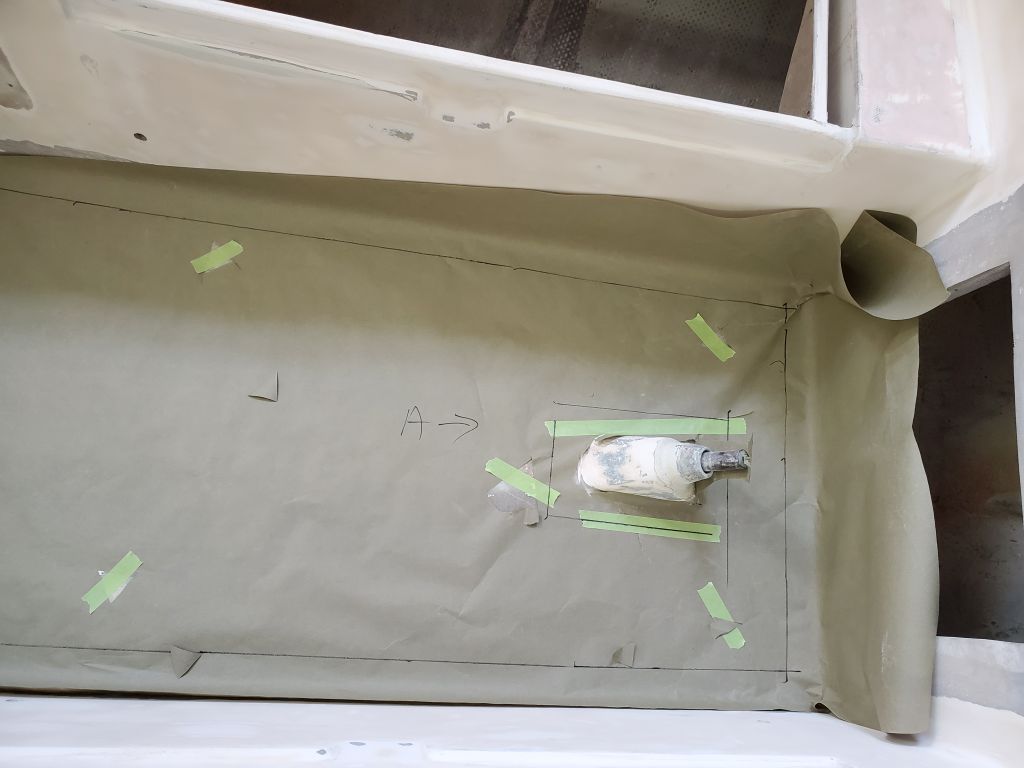
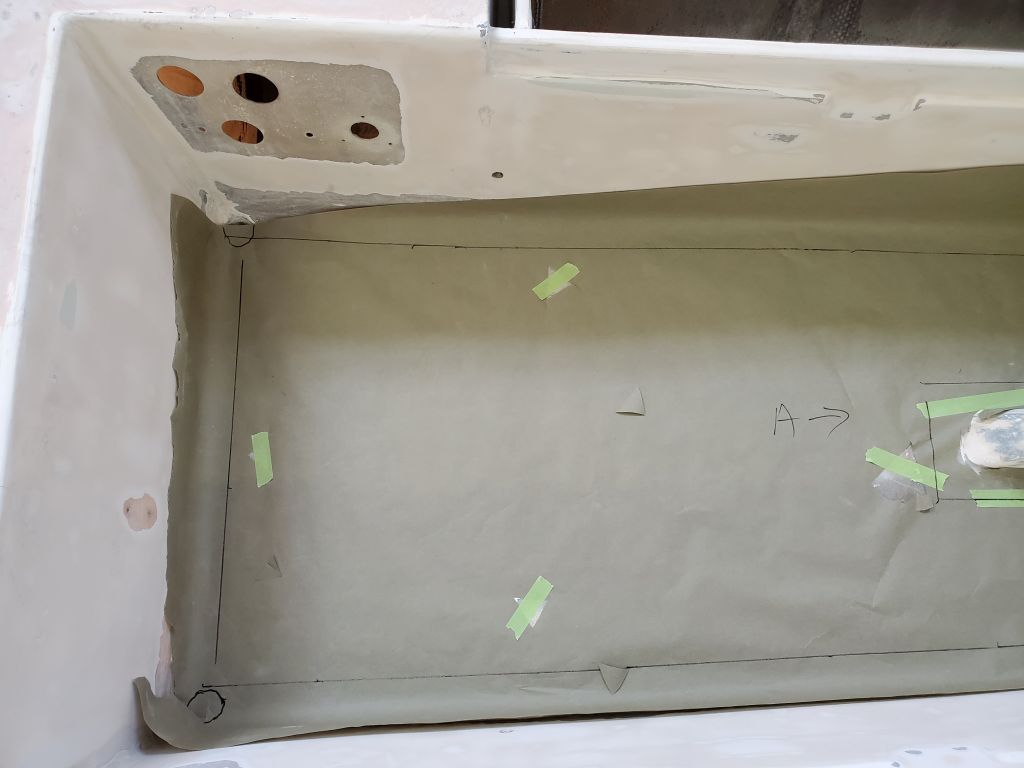
I cut lightweight fiberglass cloth strips to appropriate sizes and prepared to go to work. Bringing the bottom edge of the fiberglass down to the bottom of the black line on the taped-up transducer, I applied two staggered layers of the cloth on each side, focusing on keeping the bottom edge as straight as possible and sticking the fiberglass closely to the transducer and immediately adjacent hull. I wrapped more around the base of the keel just aft of the transducer, where there was a small space; this would give me a pocket that I could fill with epoxy afterwards. This fiberglass exercise was to provide the final shape of the internal housing, into which the transducer would fit during final installation later, but there’d be additional shaping, fairing, and finally structural fiberglass to tie the whole new assembly into the rest of the keel before all was said and done. I installed heat lamps on each side to speed up the curing process, since I wanted to remove the transducer from the new housing as soon as the fiberglass had cured sufficiently to hold its shape. I moved the heat lamps around to aim at different parts of the assembly over the next couple hours.
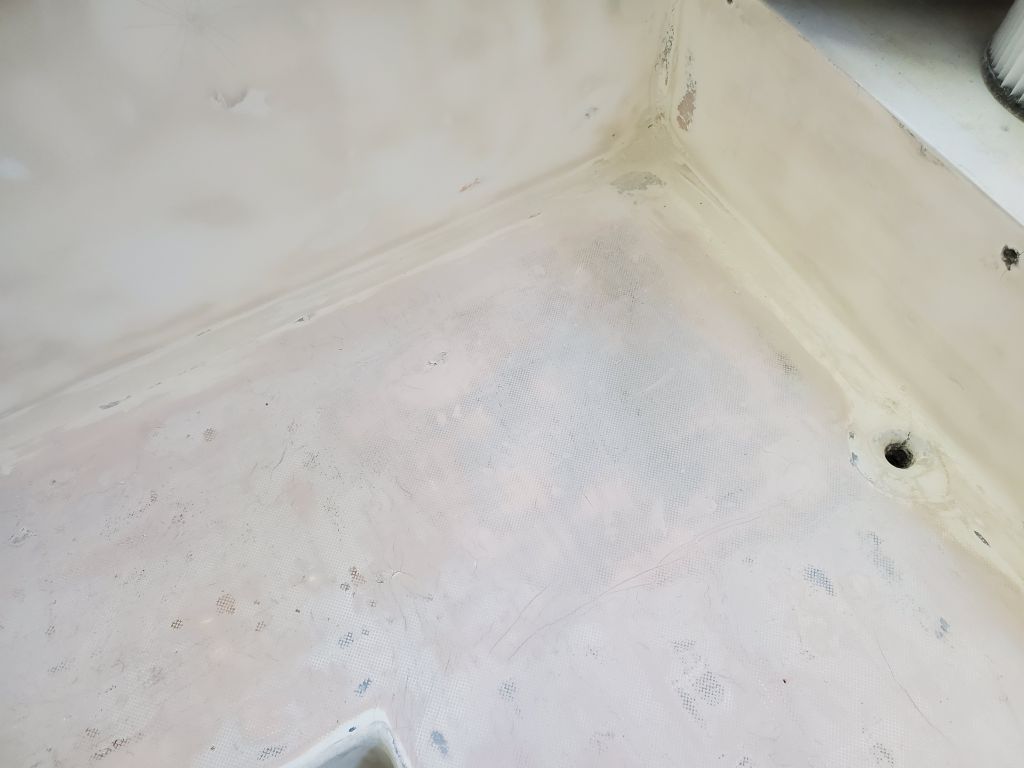
While I waited for the fiberglass to cure, I worked in the cockpit to sand the paint out of all the corners and tight spots, by machine and hand as necessary.


Right after lunch, the transducer housing was ready to remove. Though during the dry fit I’d tried to ensure that the transducer itself would be easy to remove–that is, not bind anywhere in the through-hull hole or elsewhere–I had a moment’s panic consternation when I couldn’t get it to budge; I’d hope that I could simply pull it straight down from below. Eventually, I threaded the fixing nut onto the top of the shaft within, and with light tapping got the transducer to move, after which I finished from outside once more. The little curved fiberglass pocket at the aft end protruded just a little and prevented the aft end of the transducer from passing, so I trimmed it with a knife. I left the new housing to fully cure before proceeding further. I unmasked the transducer and set it aside; I wouldn’t need it again till final installation.
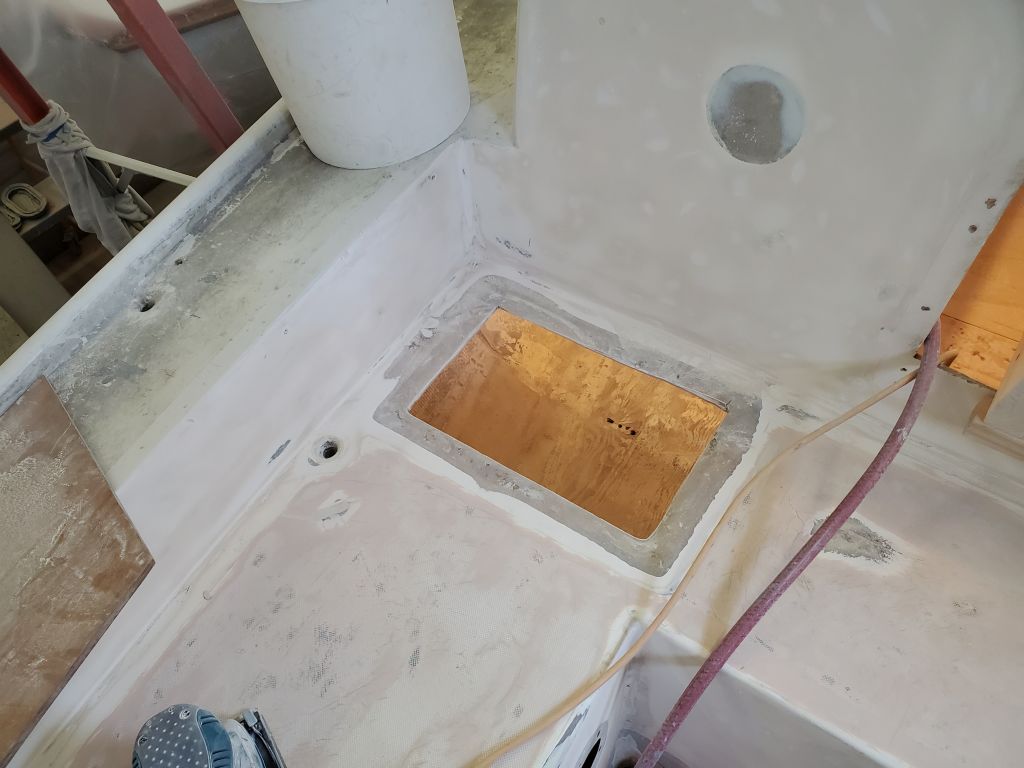
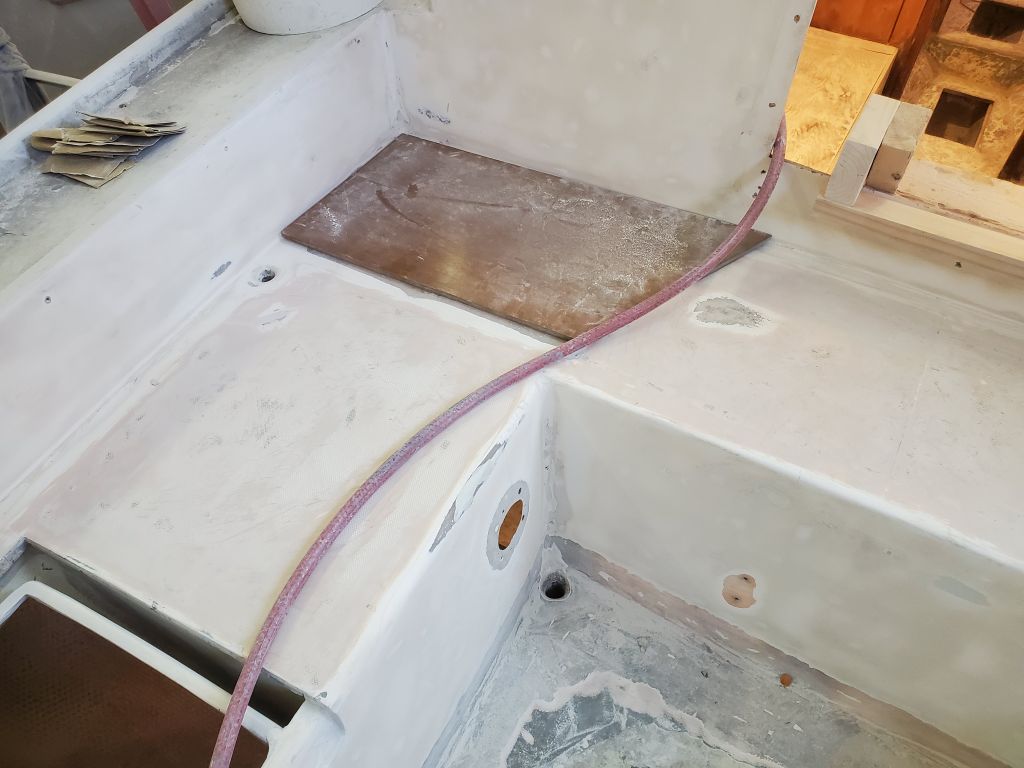
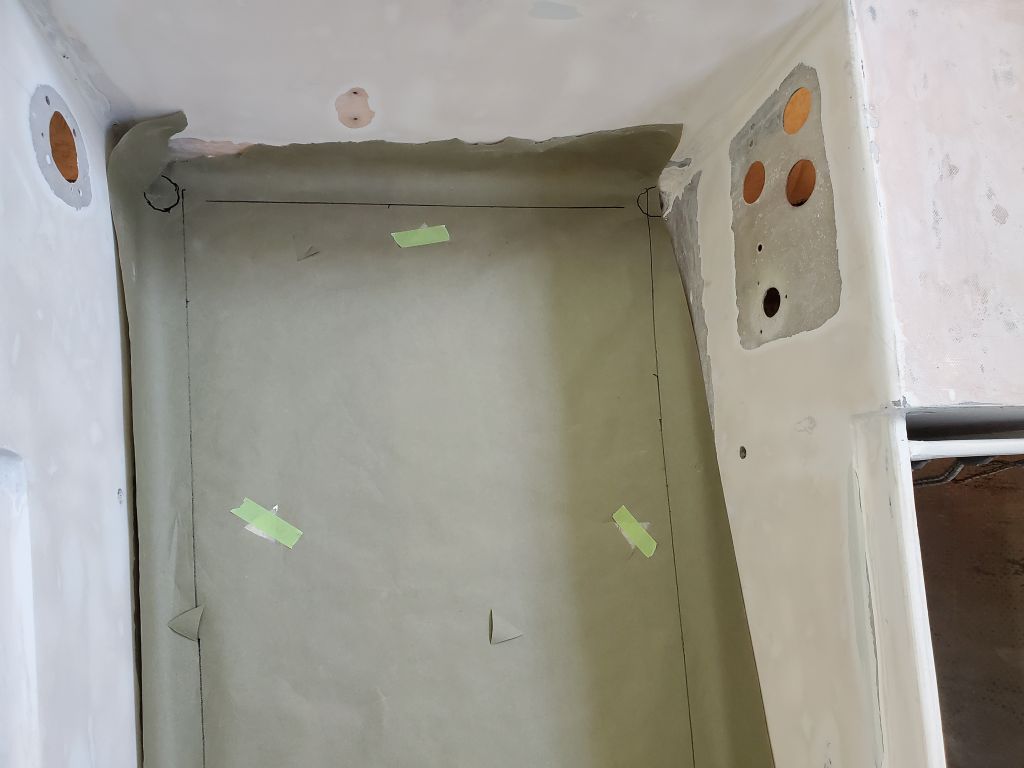
With new core material and hatches due with the courier’s usual arrival in the afternoon, I prepared the cockpit for the structural work by vacuuming and solvent-washing so I could make a pattern of the sole. The original cockpit sole, which was relatively thin solid fiberglass “reinforced” with a trio of plywood stringers beneath, was flimsy and weak underfoot, and shuddered and creaked alarmingly when trod upon.
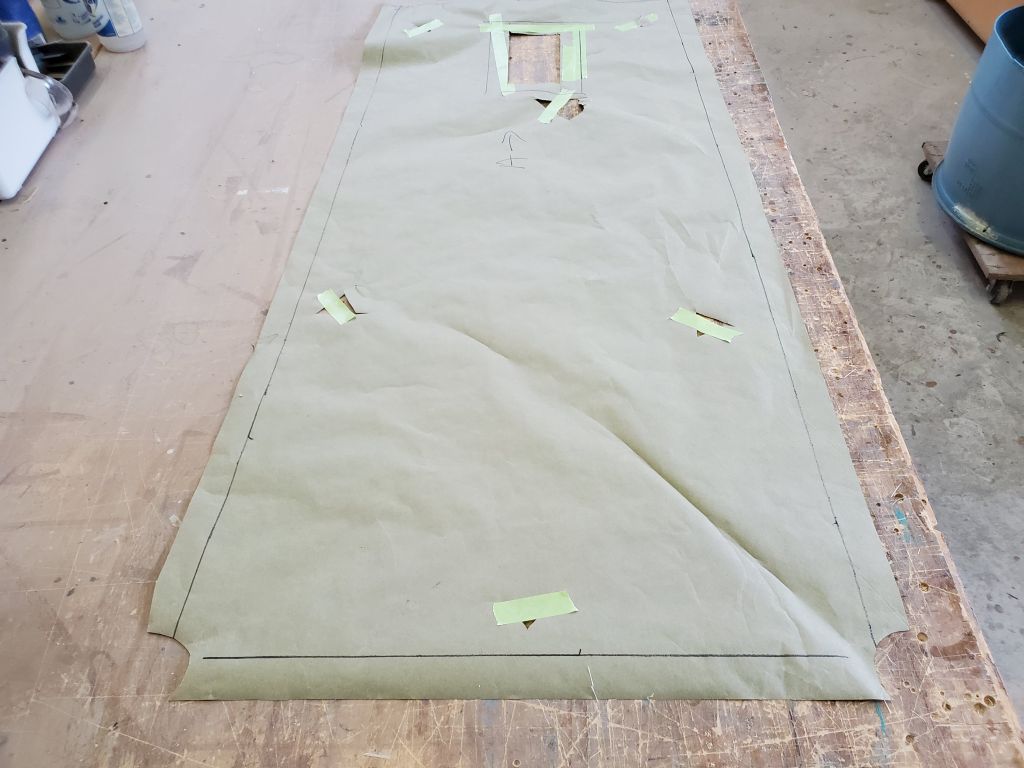
I made a pattern of the sole in the usual way, with a sheet of paper and a straightedge to mark 1-1/2″ (or one straightedge width) from the edges. Down on the bench, I trimmed the pattern to the correct size.


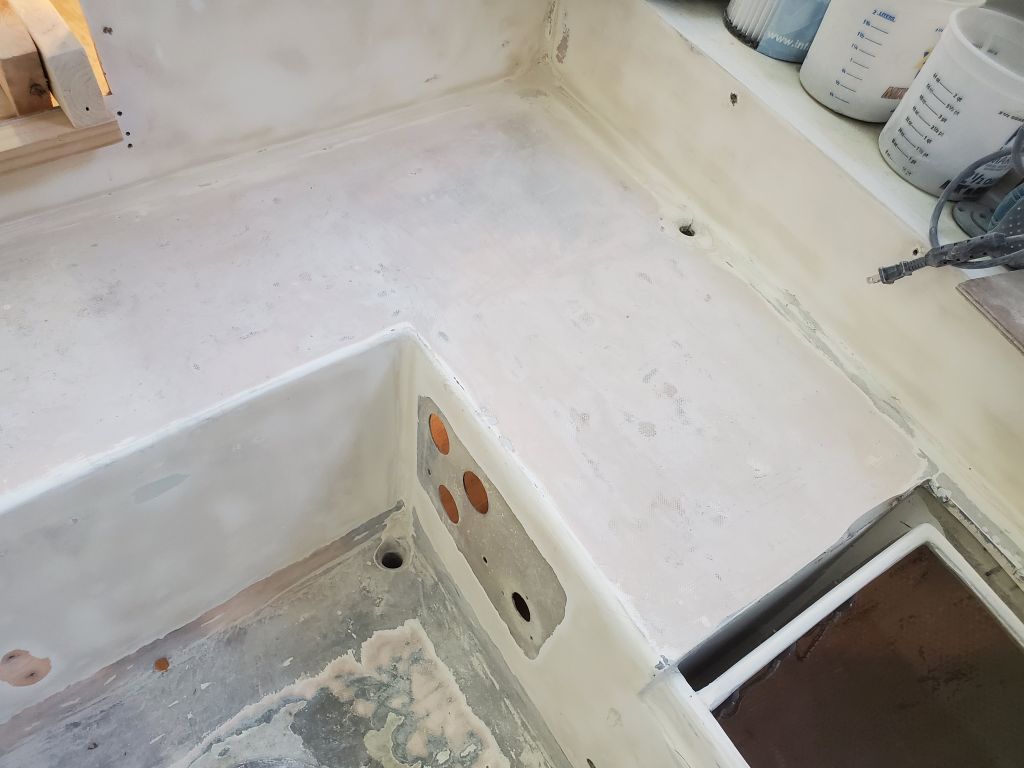
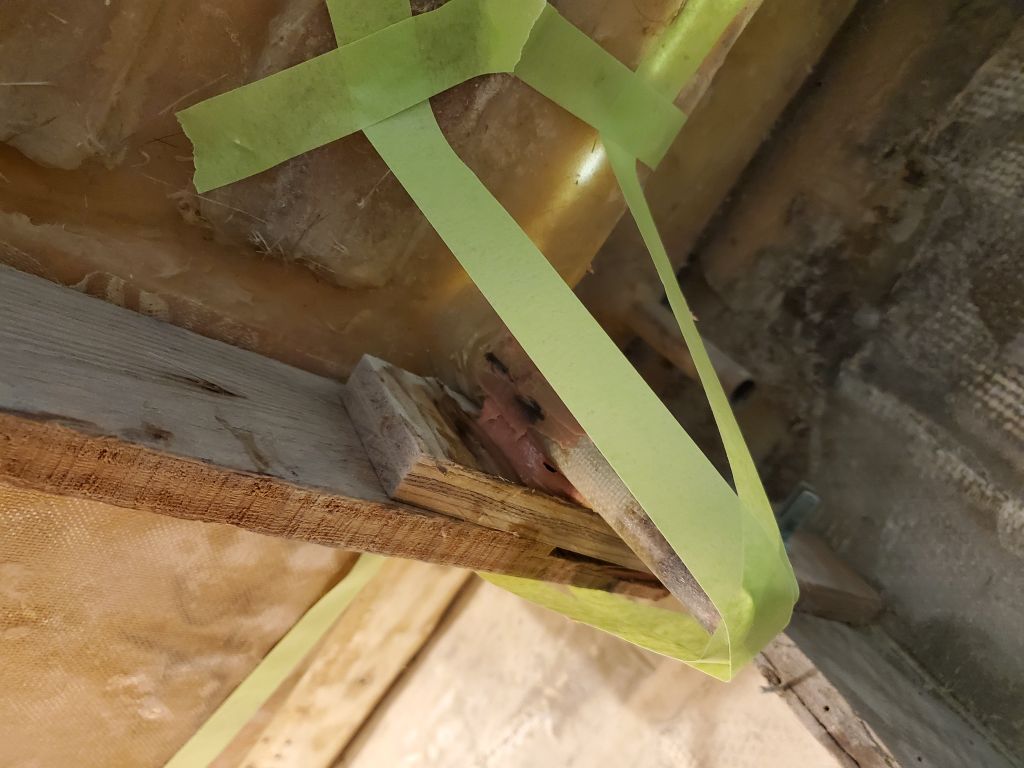
I was awaiting arrival of a new, larger hatch for the cockpit sole, to replace and enhance the old round one, and planned to eliminate the core from around the new opening, but since the delivery hadn’t yet arrived, and I didn’t have a stock pattern on hand for the hatch, I spent a few minutes starting the repair on the starboard cockpit seat scupper, the fiberglass tube for which had broken off when I removed the old hose earlier. After determining correct alignment to fit the ragged edges back together, I secured the tube section back in place with thickened epoxy, both at the break and along a nearby structural member to help stiffen the whole thing. I used some tape to hold the tube in place. This repair alone would not be sufficient, and I planned to add some fiberglass once the adhesive had cured and I could actually work on the piece.
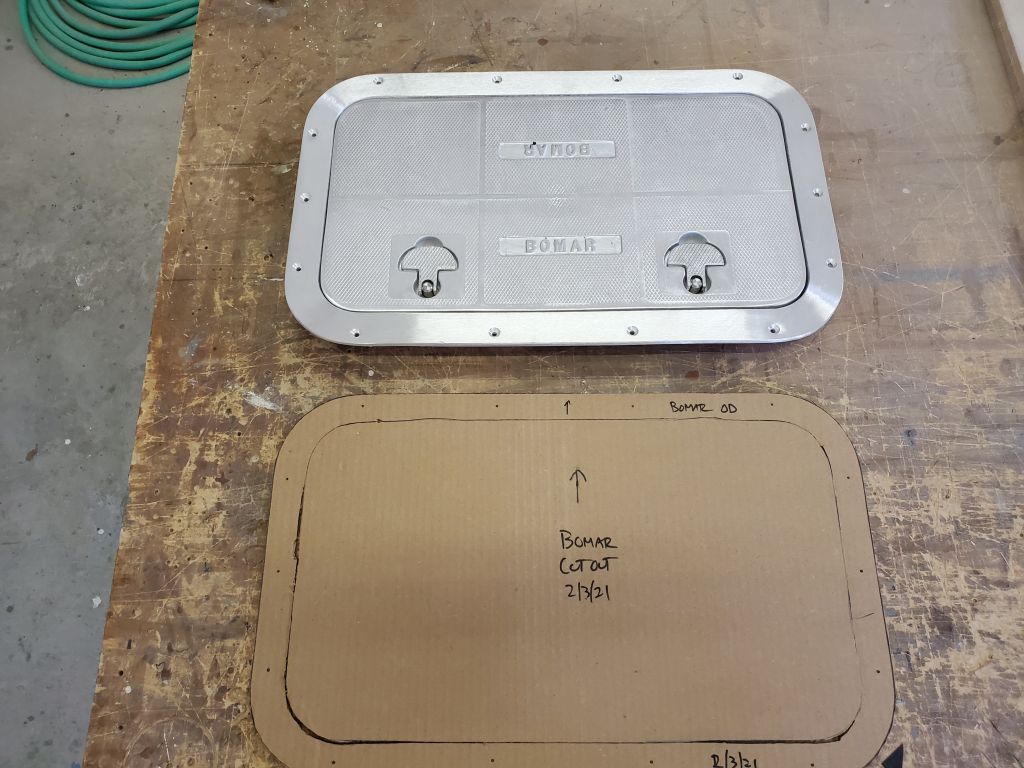
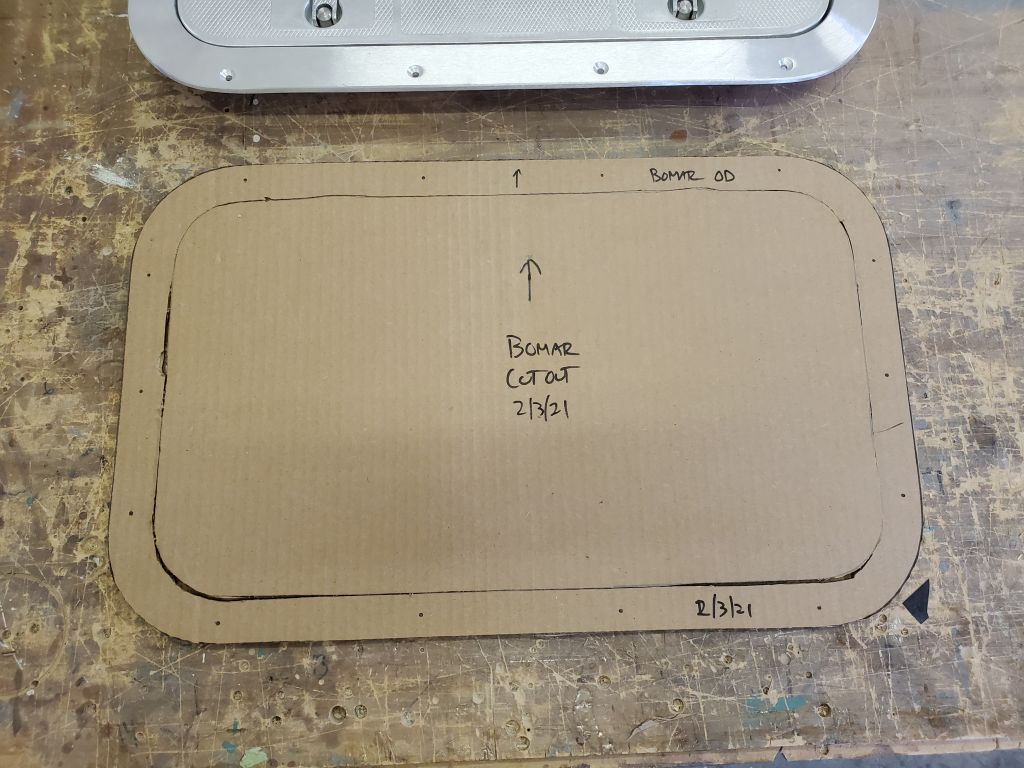
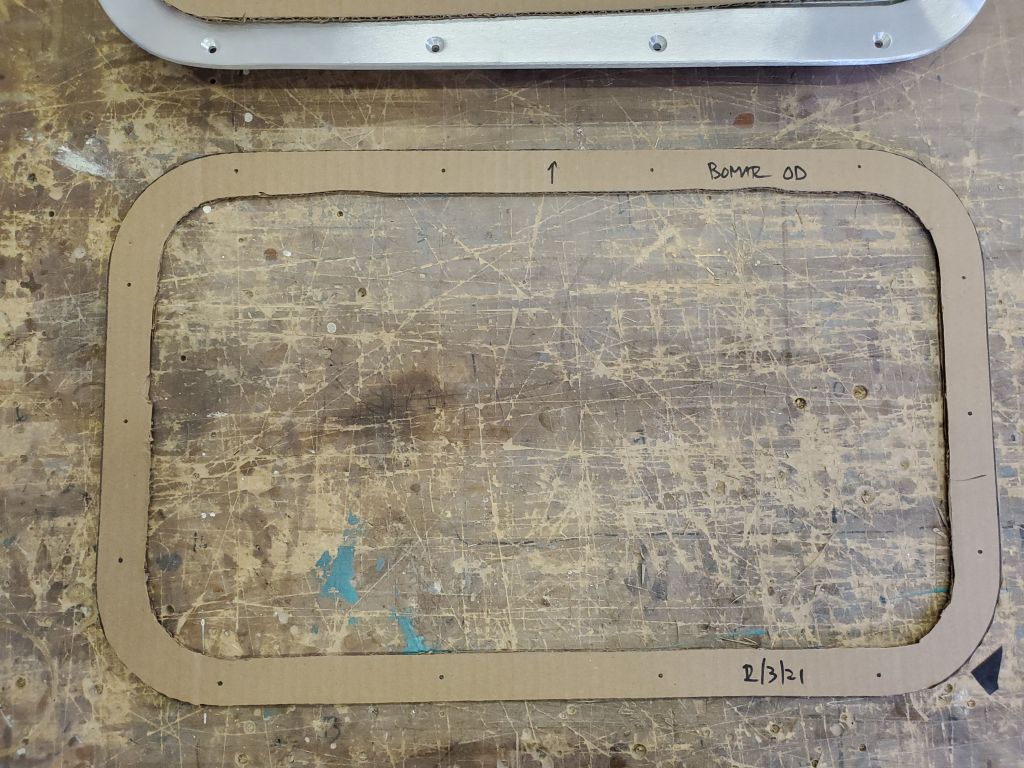
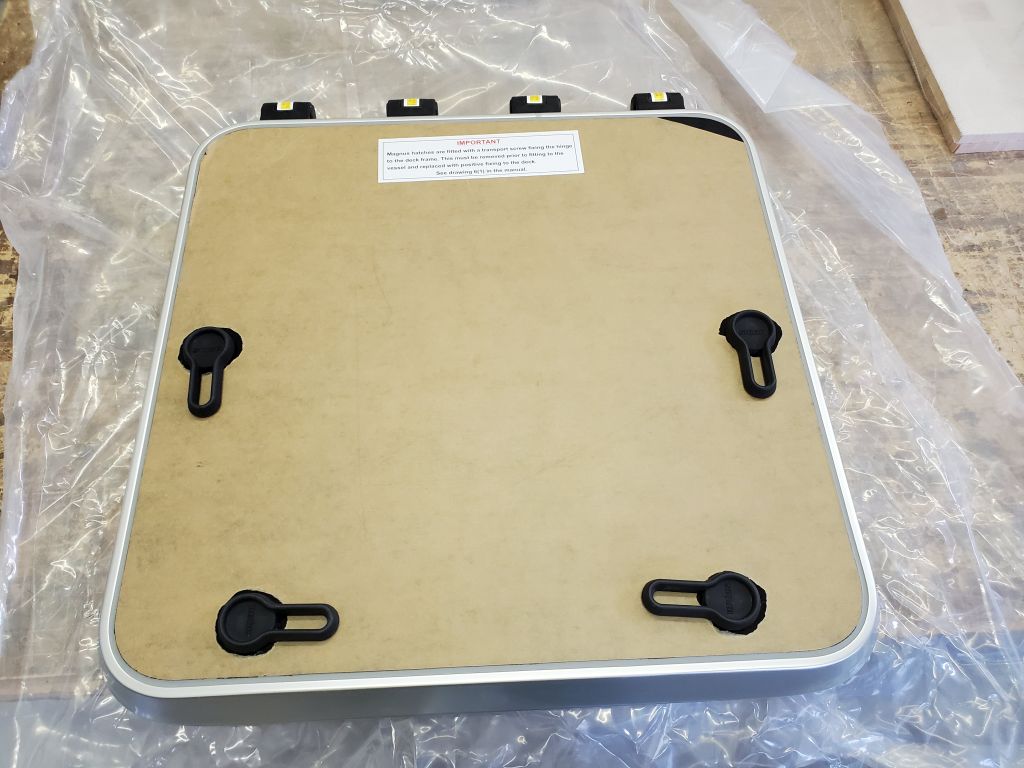
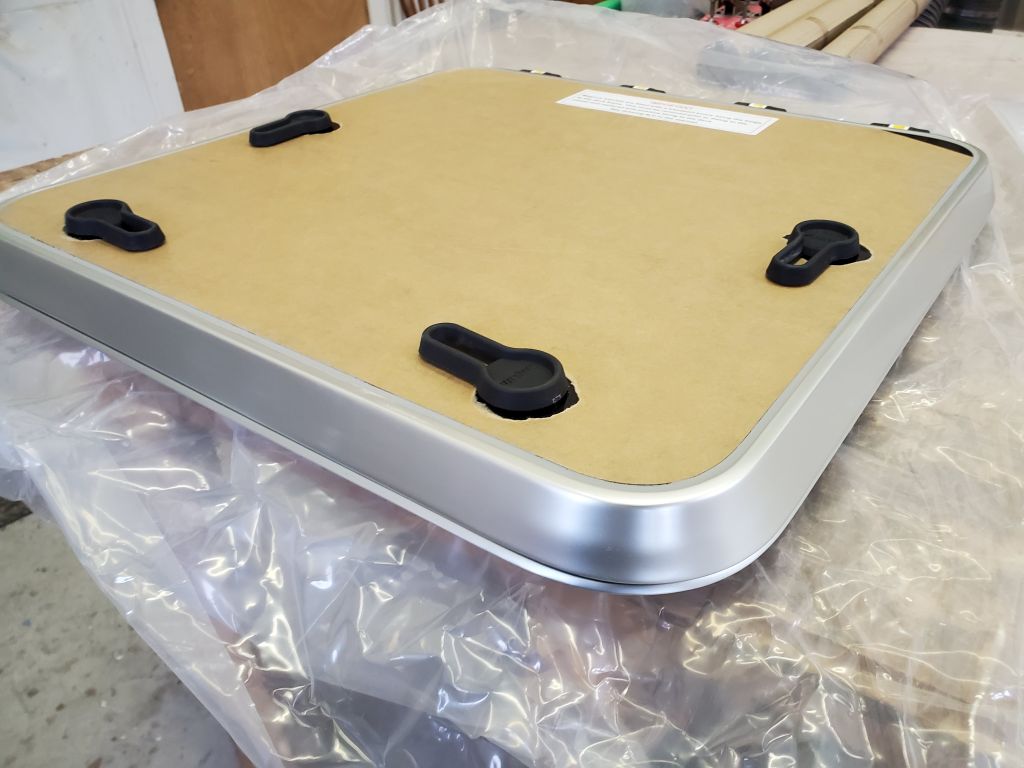
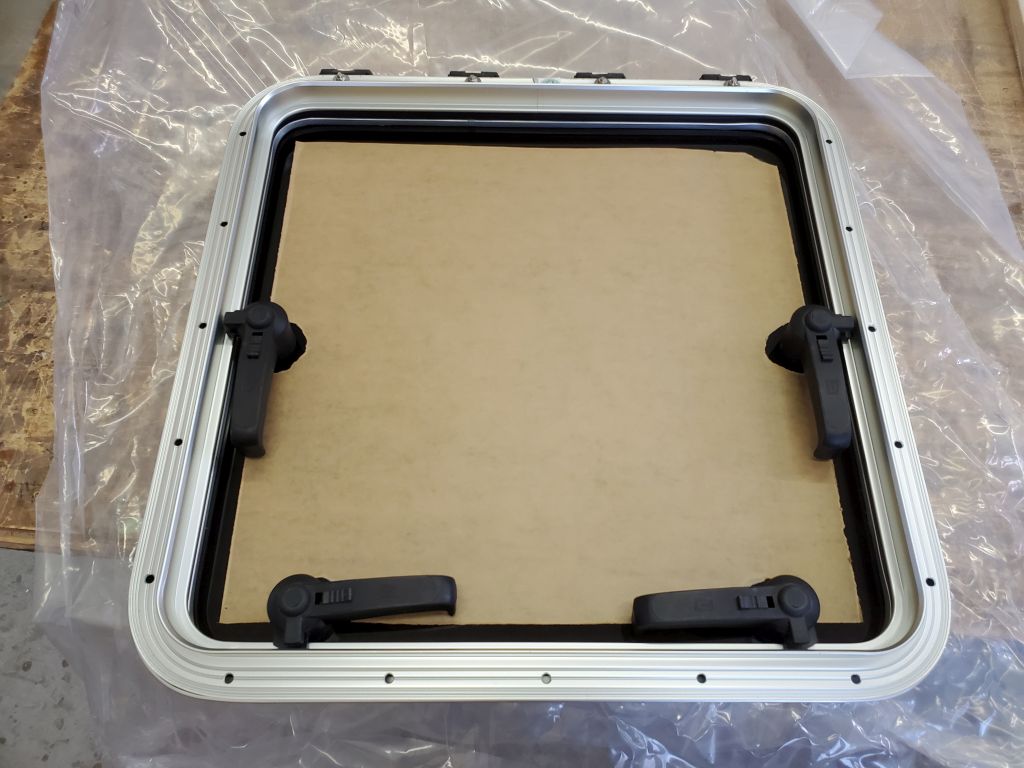
My delivery finally arrived, a bit later than usual, but not to late to prevent me from making a cardboard template of the new aluminum cockpit hatch that I could use now (and in the future) to lay out the new cutout.

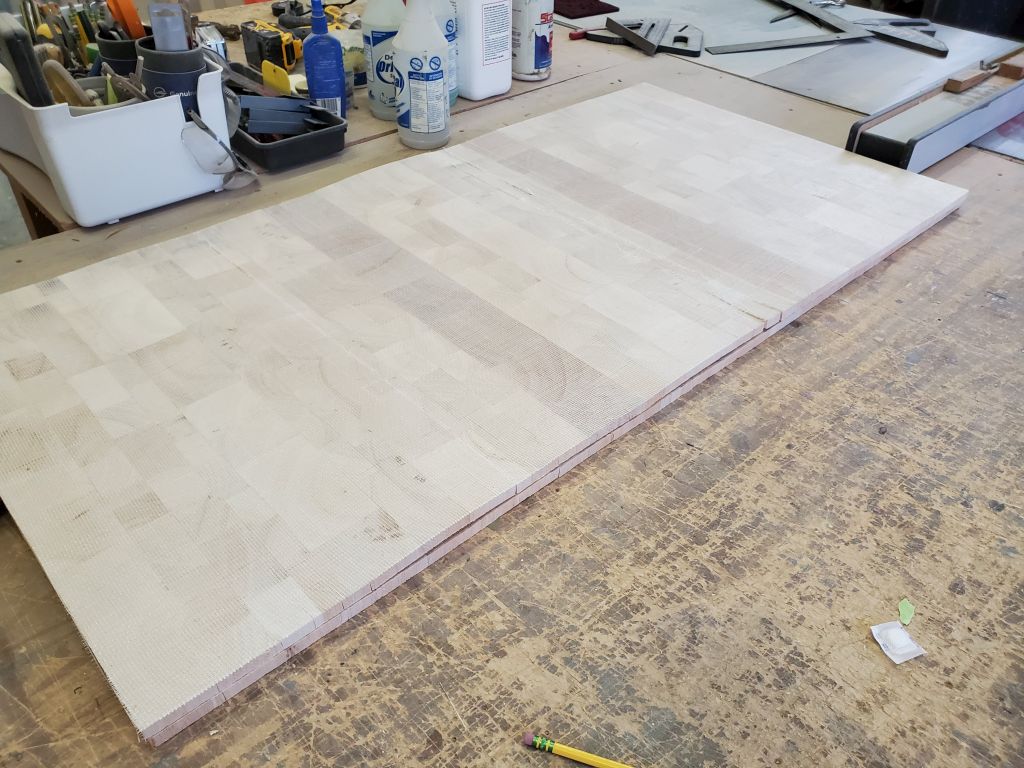
Also now on hand was new 1/2″ core for the cockpit, and the new forward hatch. I had a wood delivery coming on the morrow, so I looked forward to getting the hatch project underway soon.
Total time billed on this job today: 7 hours
0600 Weather Observation: 28°, mainly cloudy, 6″ or so of snow and plenty of sleet from yesterday. Forecast for the day: Cloudy, possible show or sleet or freezing showers, 36°.