


April 5, 2021
Lyra 50
Monday
After a few days away from the project, I got back to work on the latest edition of a continually-revised work list, which started with a focus on making the boat watertight (i.e. hatches and ports) and deck hardware, these being deemed the most critical items as the project moved forward.
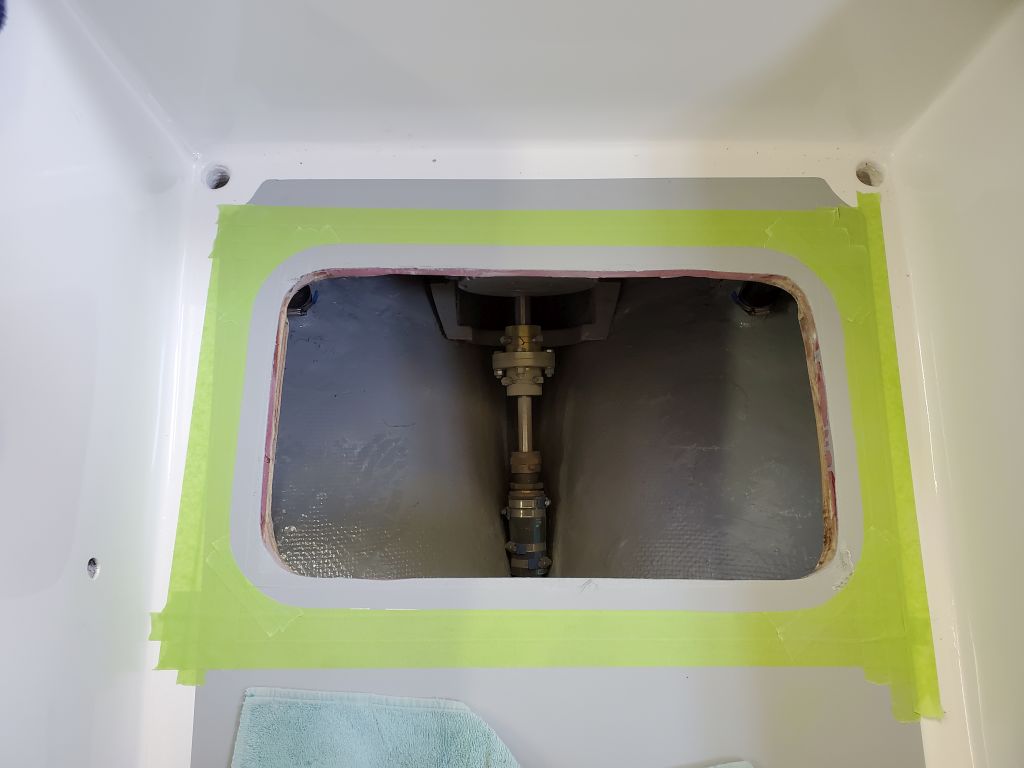
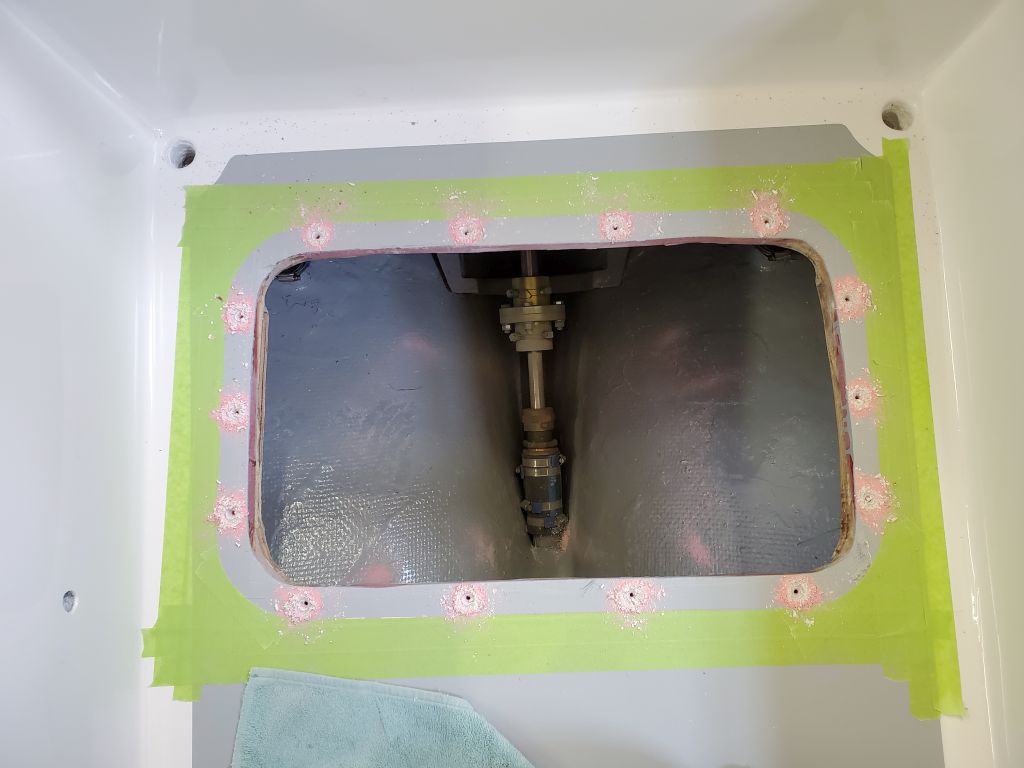
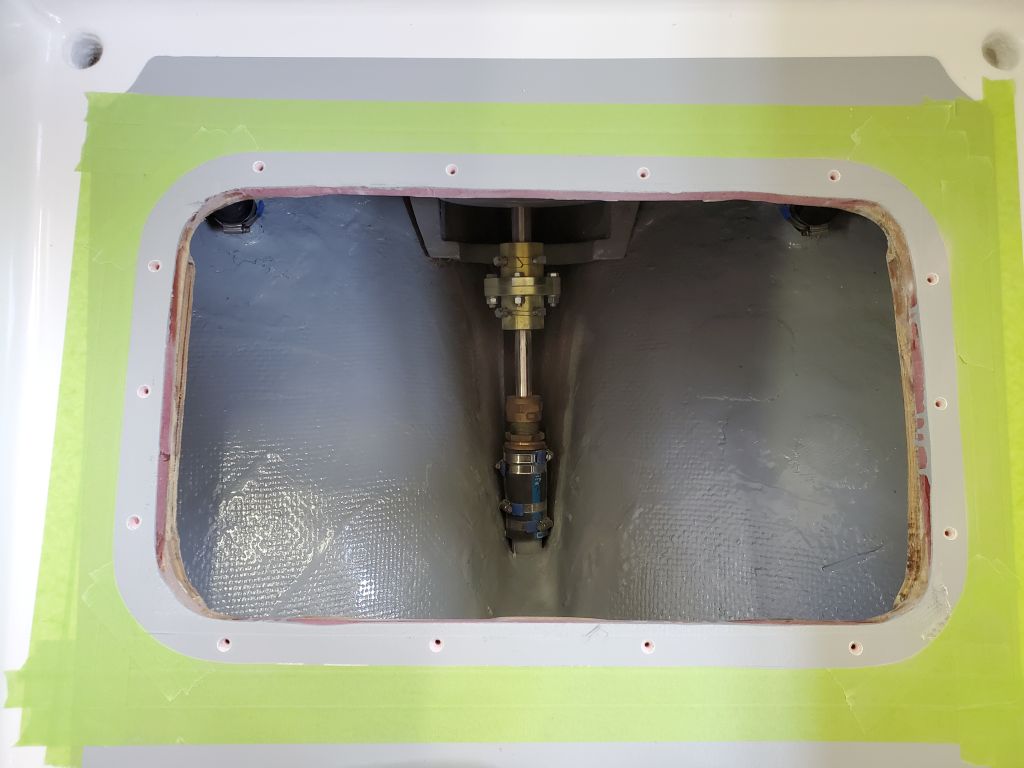
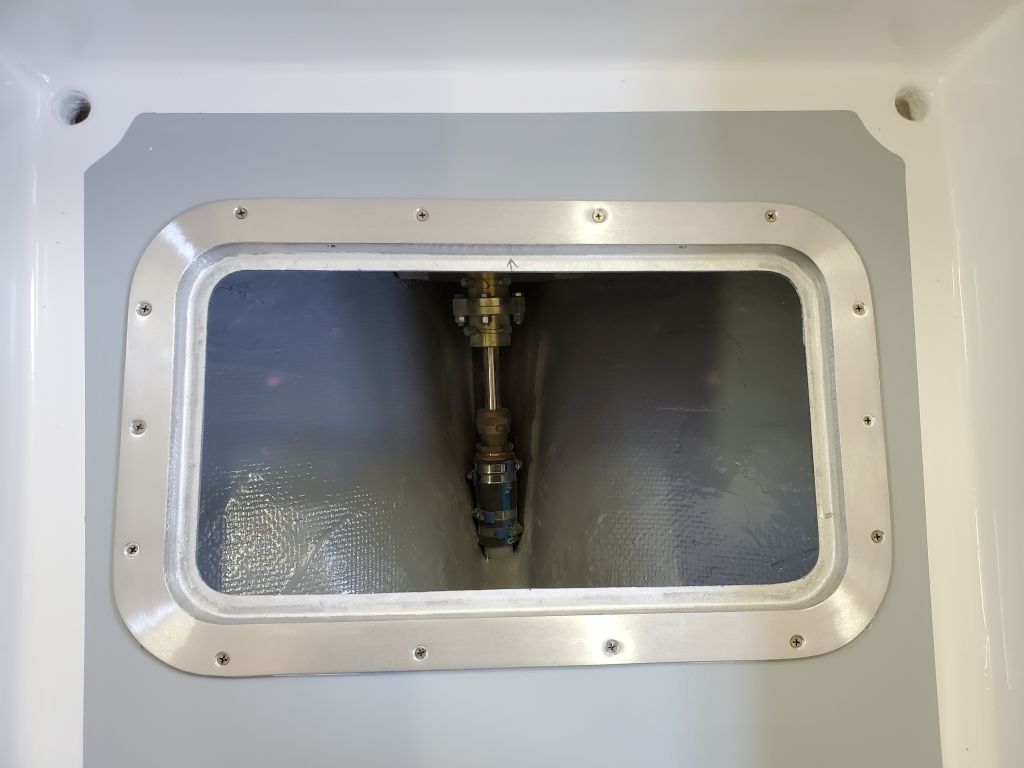
First on my list was the new cockpit hatch over shaft alley, which, now that the cockpit was fully painted, I wanted to install forthwith so I didn’t kill myself falling through the hole. Masking around the hatch opening and over the adjacent deck, I put the hatch in place–the opening was already the proper size and otherwise fully prepared–and cut around the perimeter of the flange before removing the tape within. This would protect the deck from sealant. Next, I drilled and tapped the 14 fastener locations for #10-24 machine screws, and milled small countersinks at the top of each hole in my habitual way. When I recored the cockpit sole, I’d installed solid fiberglass all around this opening, so the core was already isolated from the fastener holes.
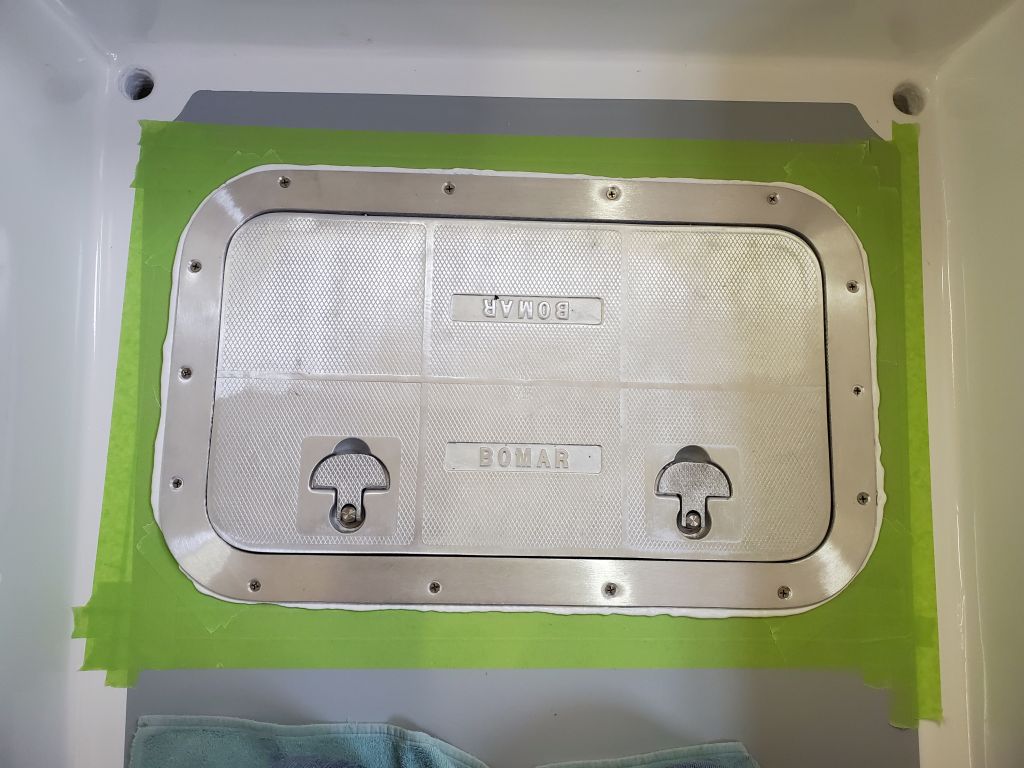
Preparations complete, and after cleaning up the spoils, I applied abundant sealant and secured the hatch in place, cleaning up the excess and removing the tape thereafter.


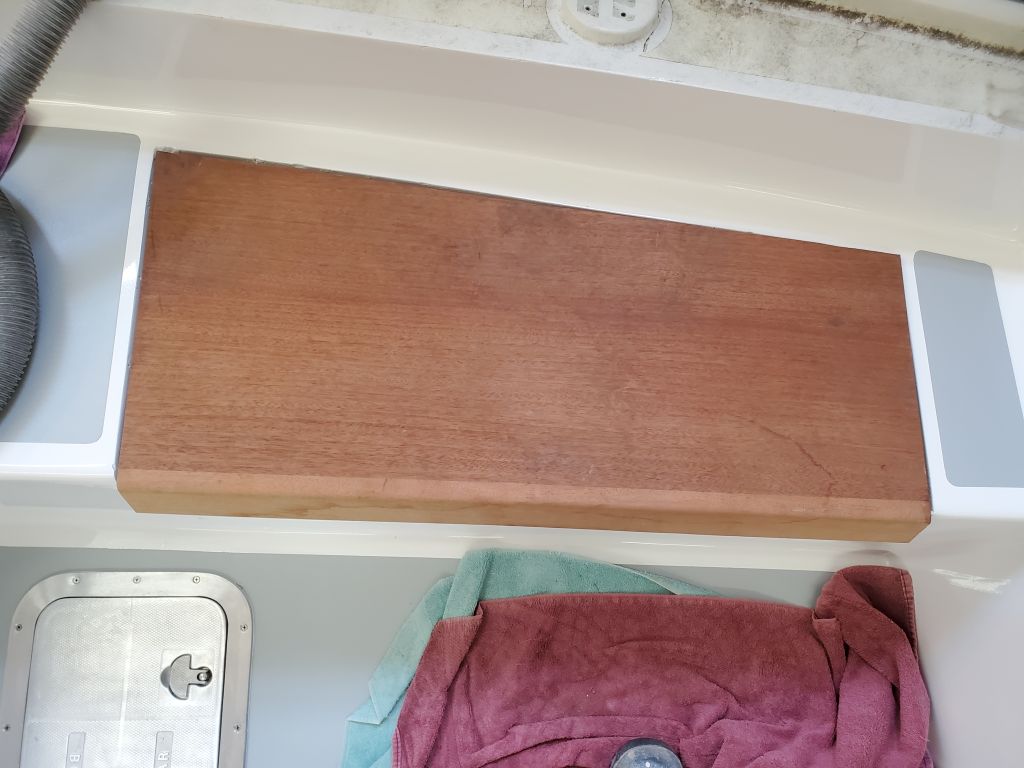
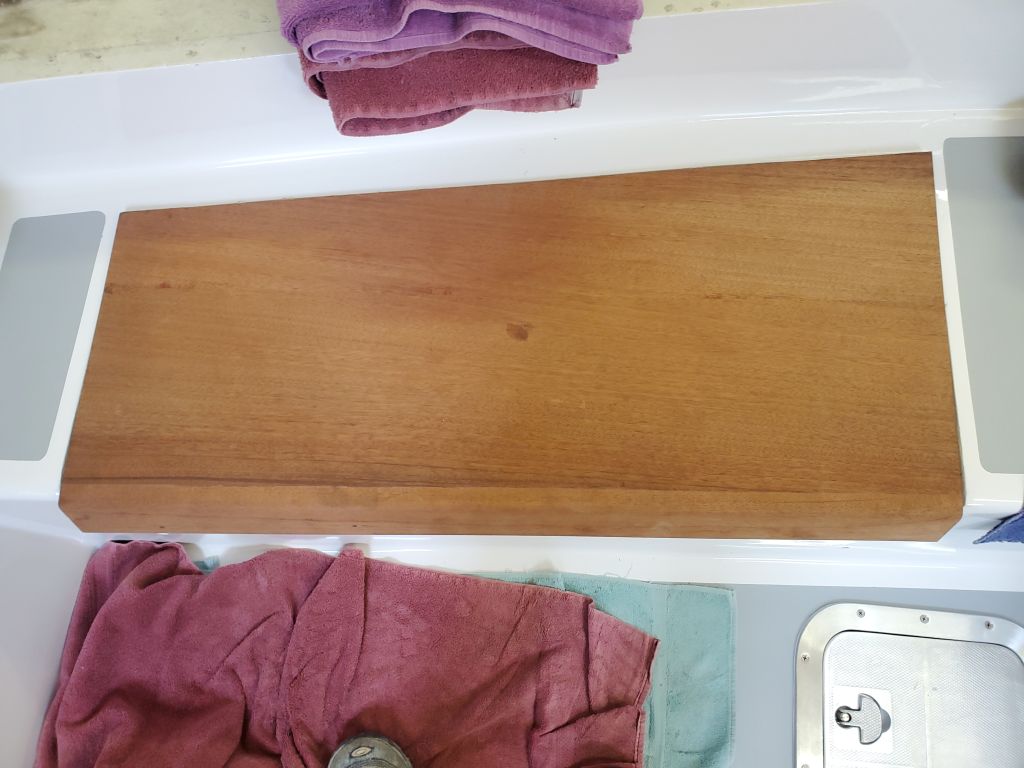
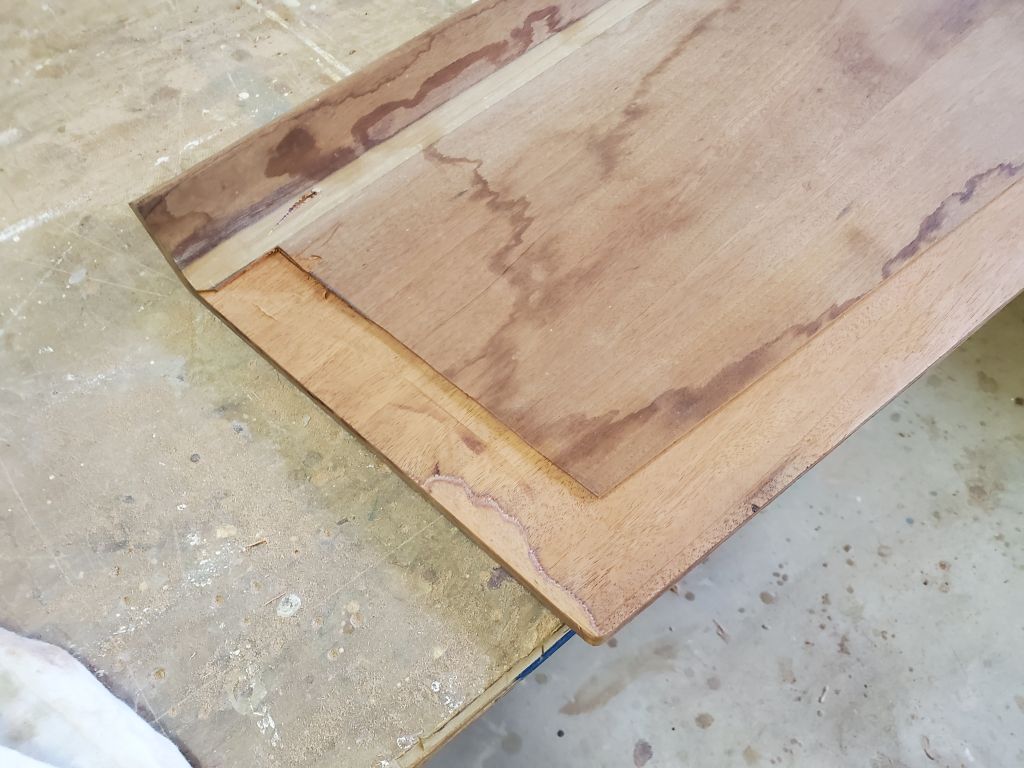
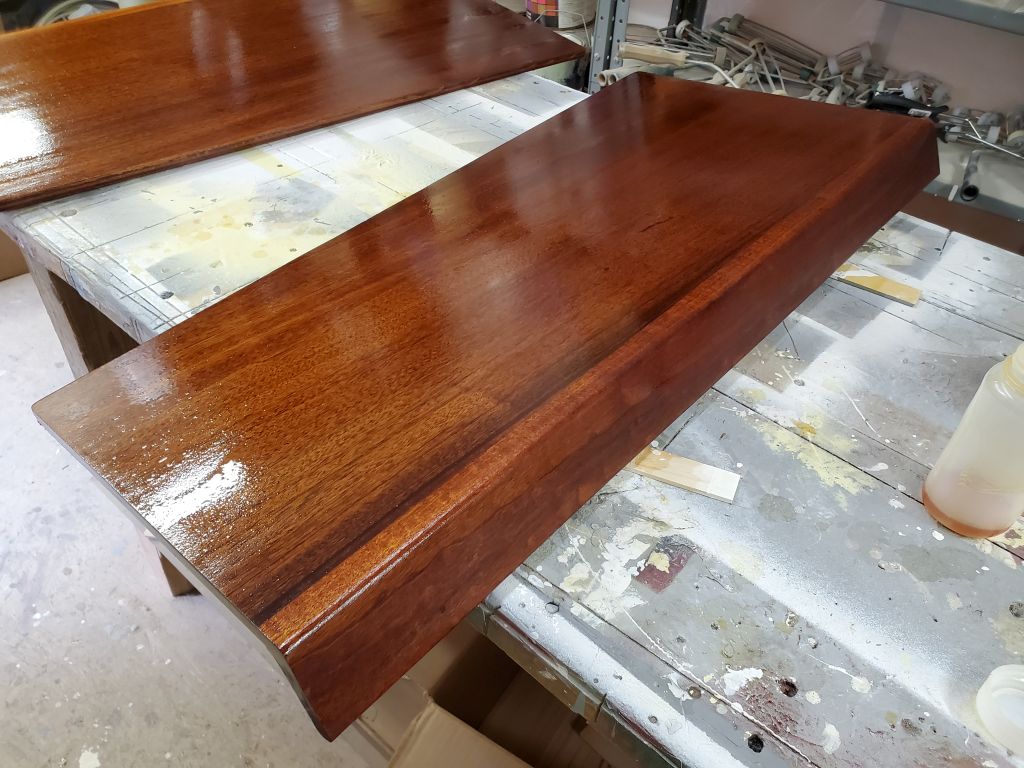
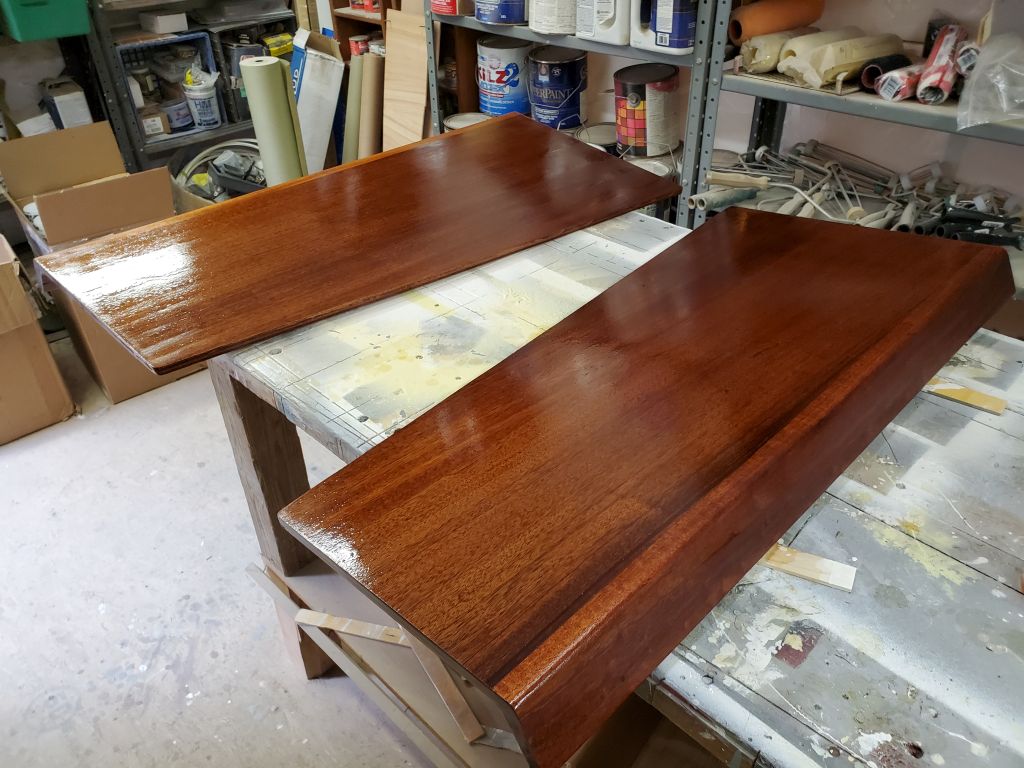
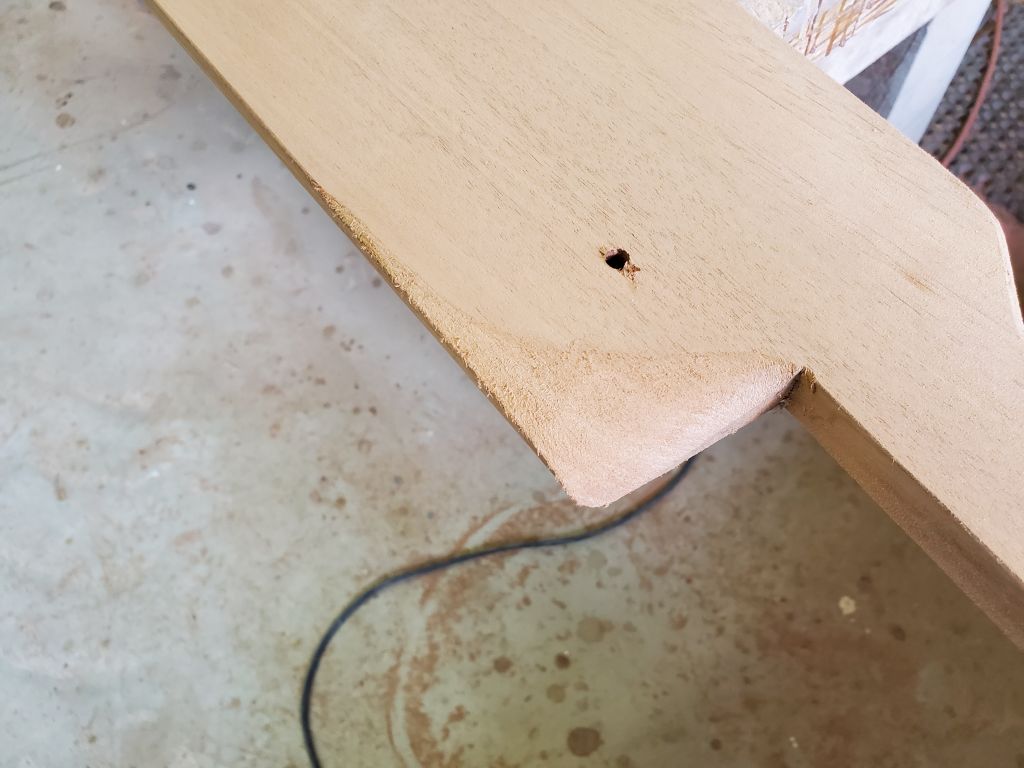
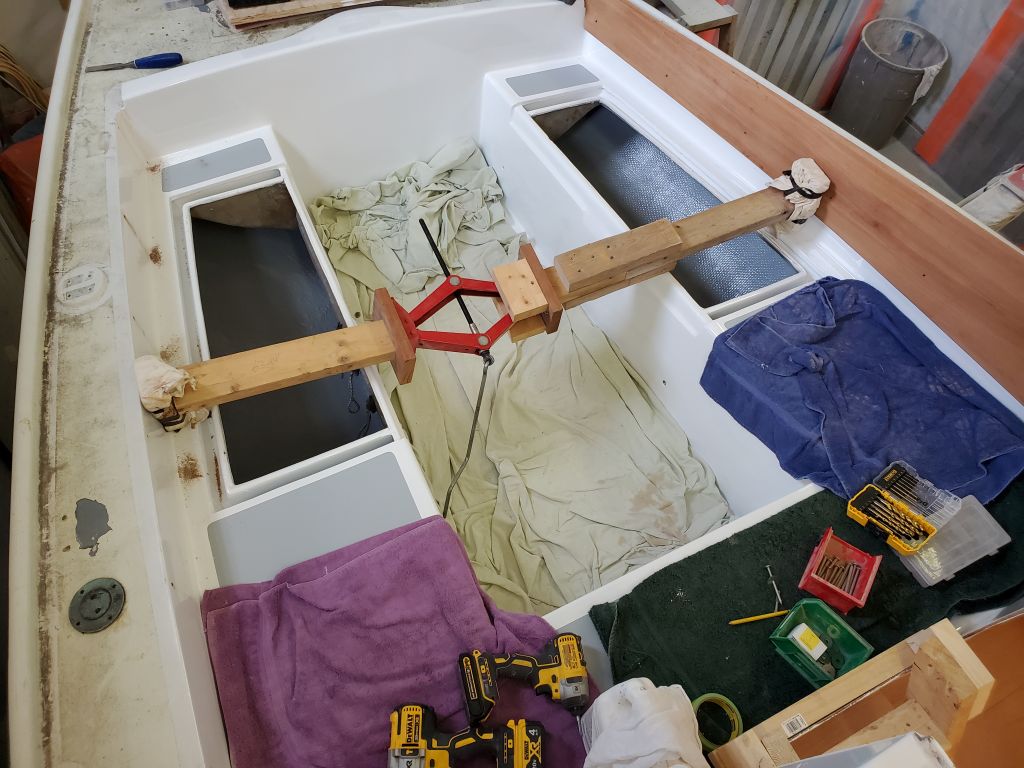
Next on my agenda was the cockpit locker lid hatches. Many years ago, under different ownership and before the boat was abandoned, someone had made up plywood hatch covers (the boat had, before that point, older plywood lids that had clearly been used as raw templates for the new), and my job now was to prepare these for final installation. The plywood hatches–sapele plywood with solid mahogany trim–had been in safe storage all this time and, other than some water staining, were in good condition.
My initial test fit showed that the inside corners required a radius to better fit in the hatch openings, and, the outboard edges of the hatches stood proud of the adjacent decks by a bit and would require some modification to better fit over the gutter structure beneath. The inboard edges, trimmed with mahogany, angled out and stood proud of the cockpit well, but that was the design and was what it was. The owner and I had discussed tentatively the idea of, in the future, building proper fiberglass hatches here, but for now these would do with a modicum of work.
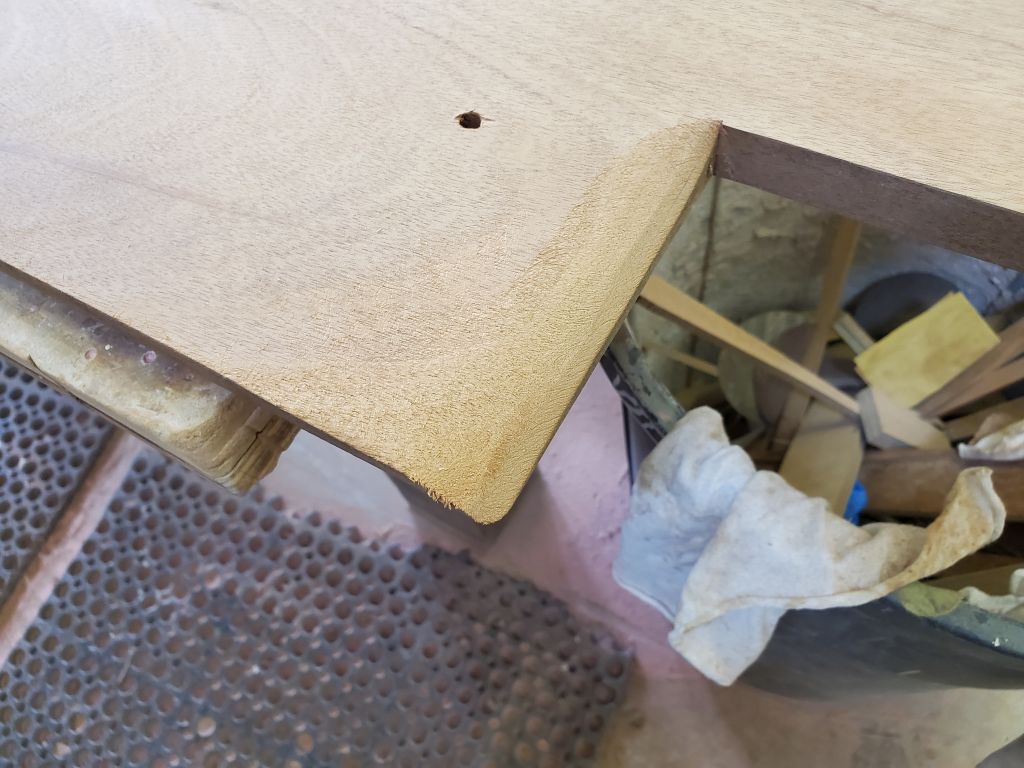
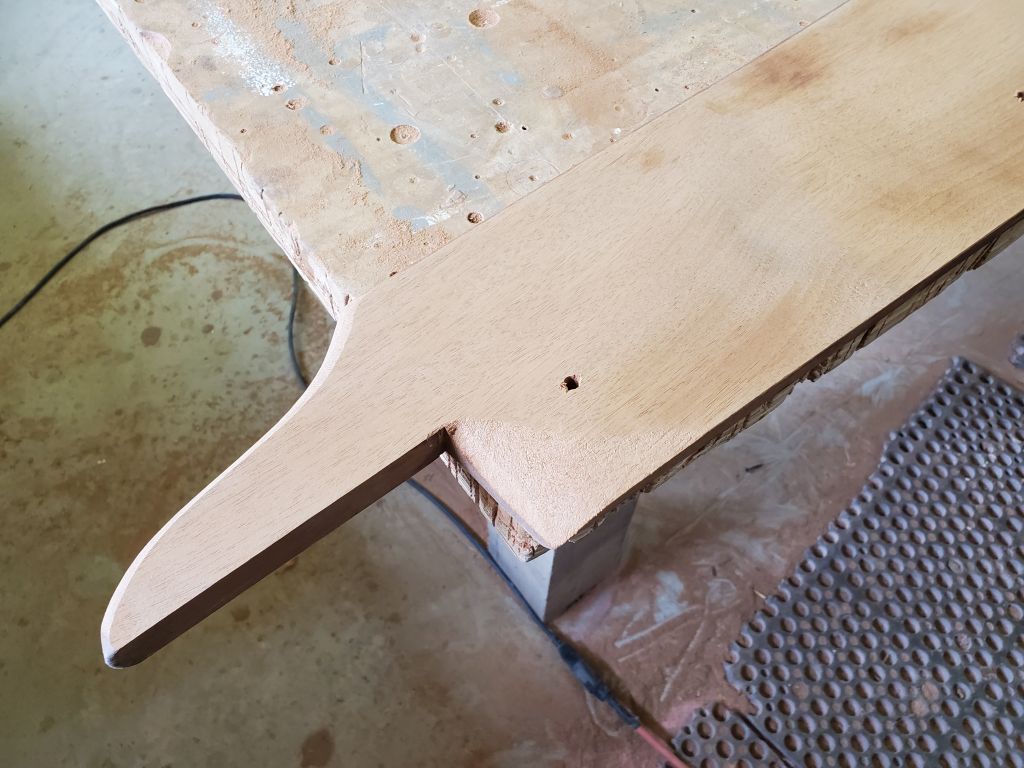
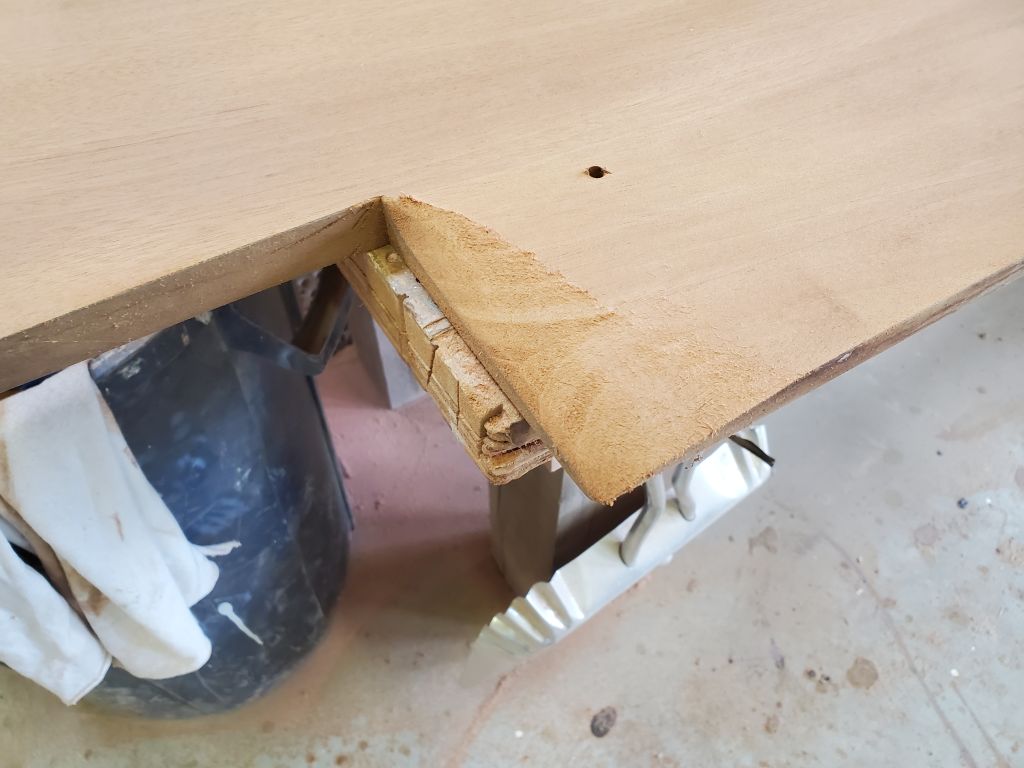
To remove 3/32″ or so from the underside of the outboard edges, and allow the plywood to sit lower over the gutter beneath, I used the table saw to trim down the plywood, the quickest and easiest way to remove the material cleanly as needed.
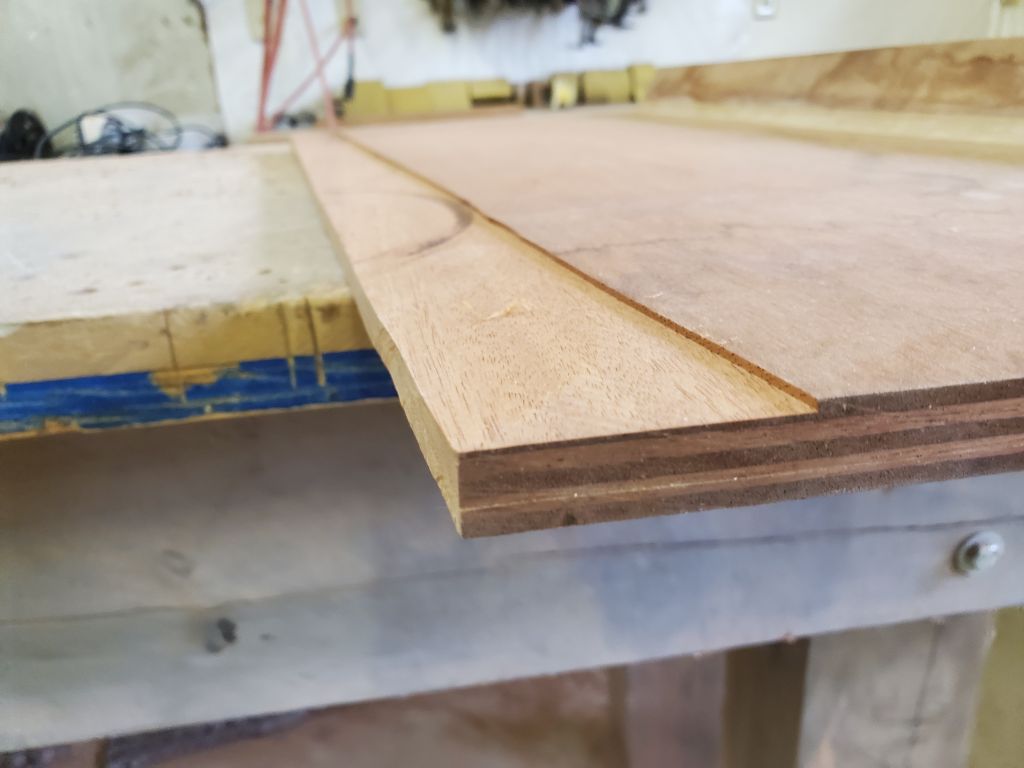


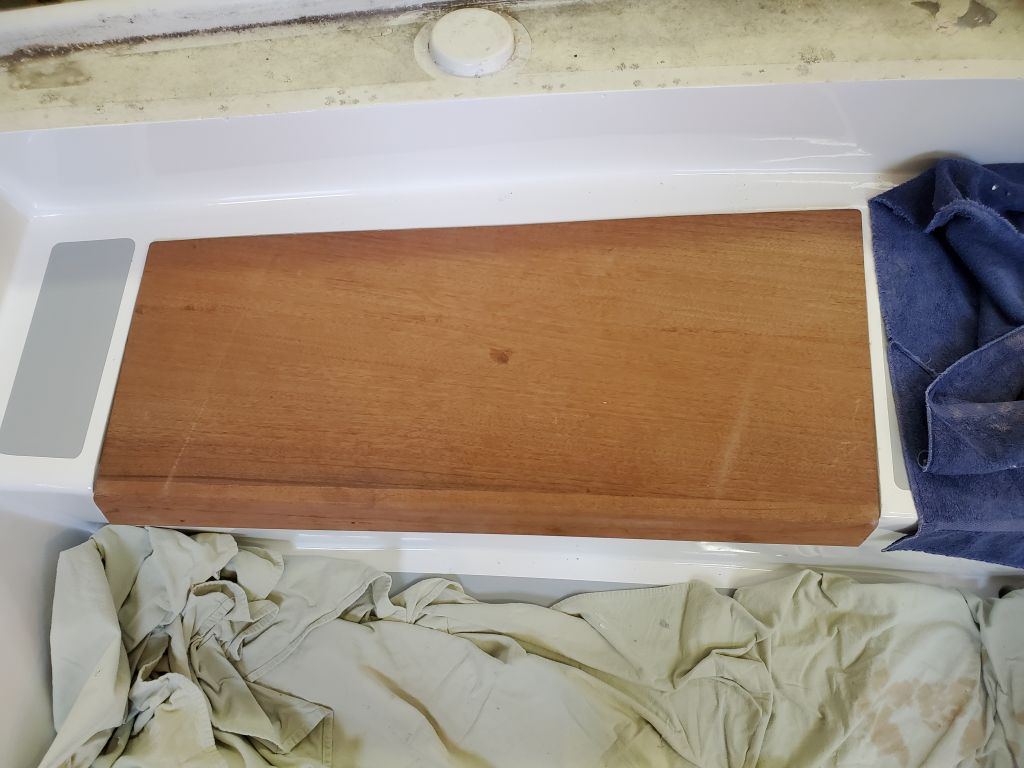
This worked well enough for the starboard side, which had sat fairly cleanly in its opening except for the outboard edge, but the port side still stood proud all around, so after the second test-fit I removed plywood from the underside along the two sides as well, using again the table saw and, to finish the cuts near the inboard trim, a chisel. After this, the lid lay more properly on its supporting gutters and more or less flush enough with the adjacent seats, like its counterpart to starboard.


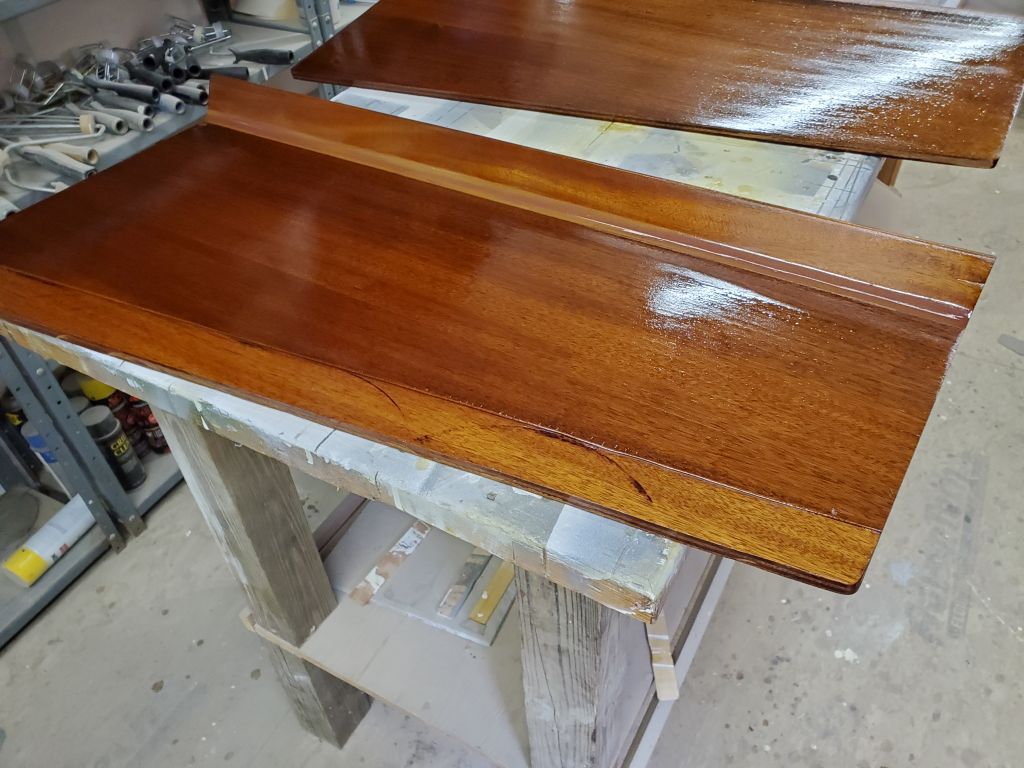
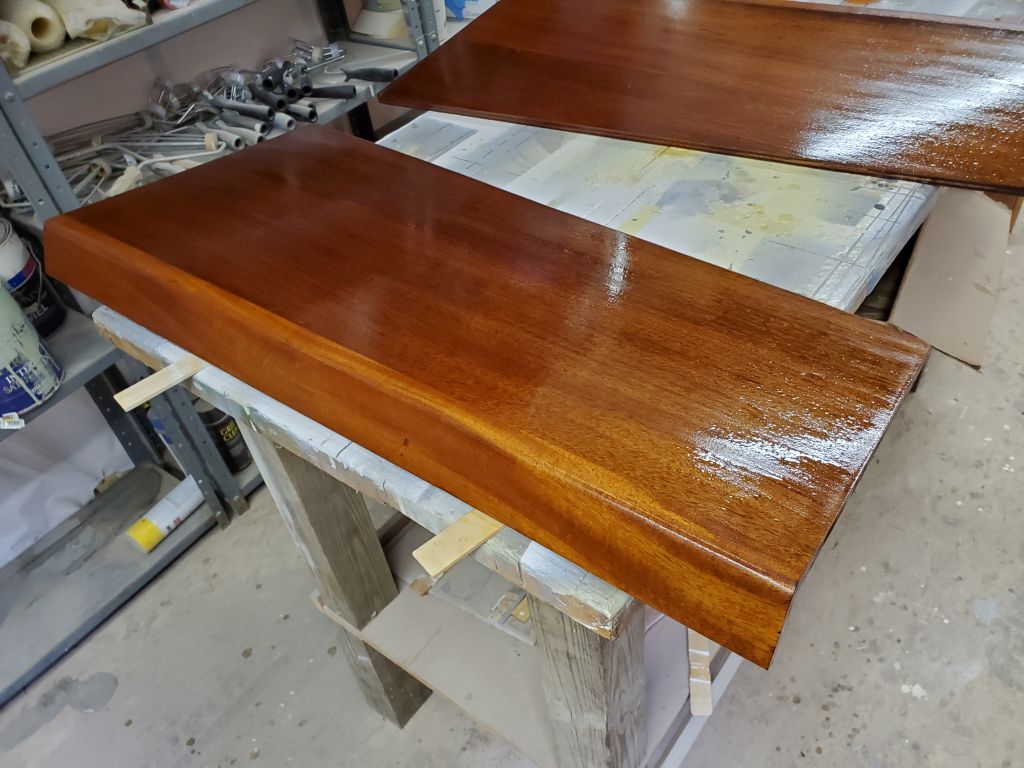
I ordered piano hinges to secure these hatches in place, then sanded and cleaned up both sides of the lids before applying a sealer coat of varnish to all surfaces, the first of several I’d apply before installing these permanently.
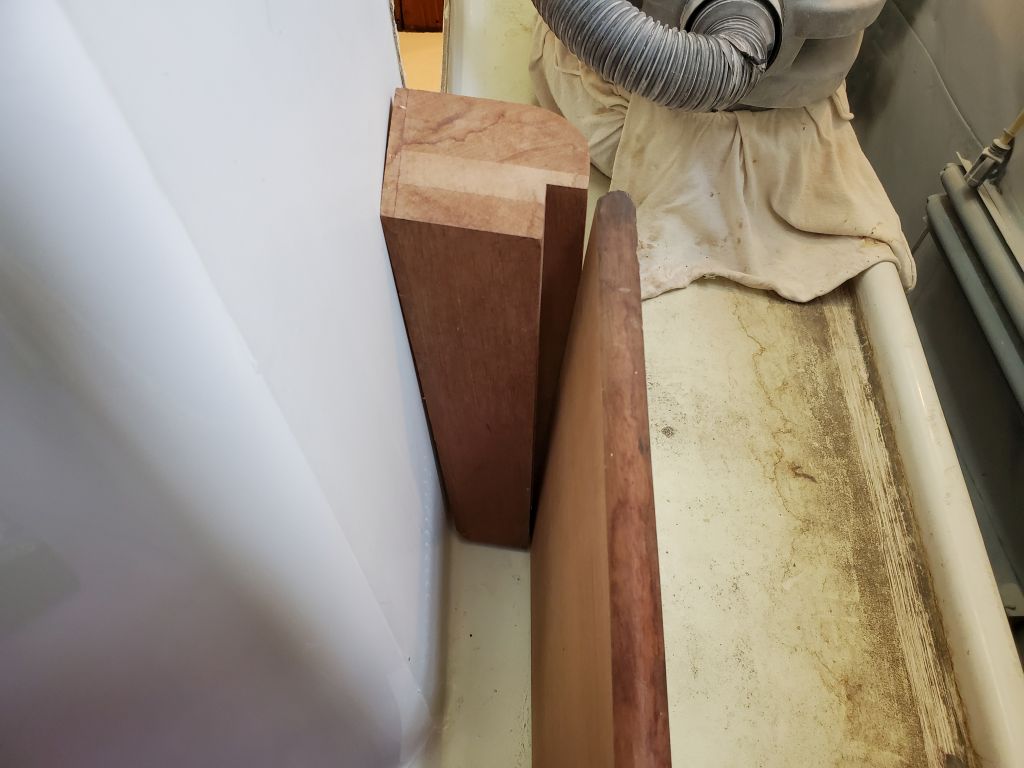
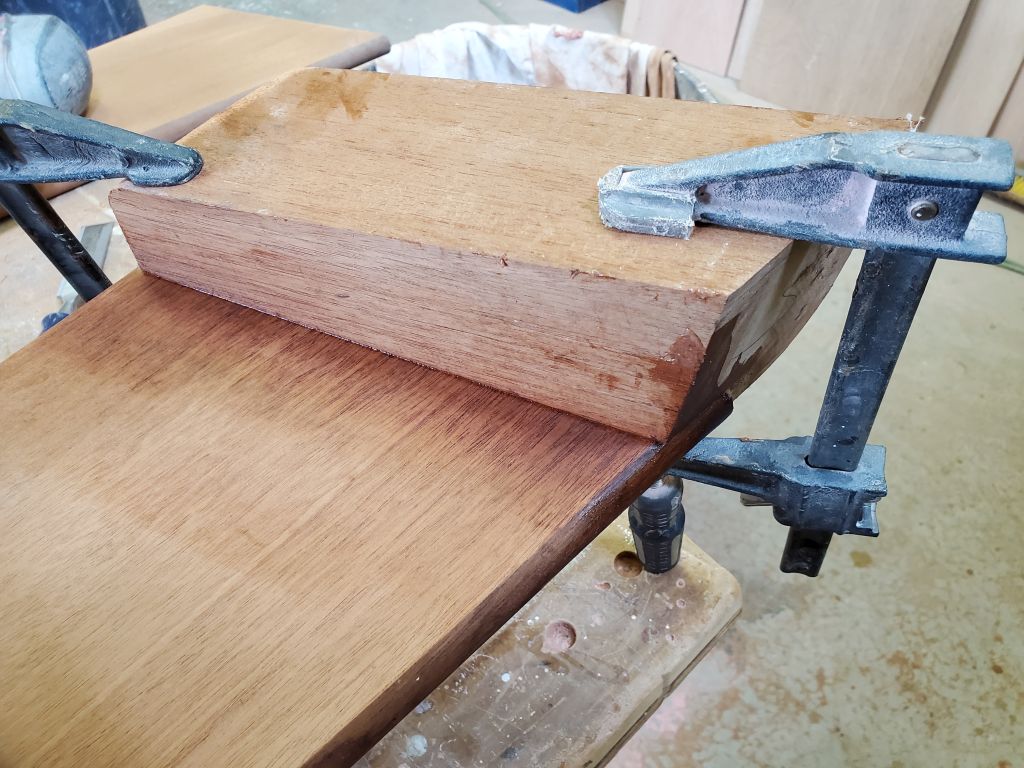
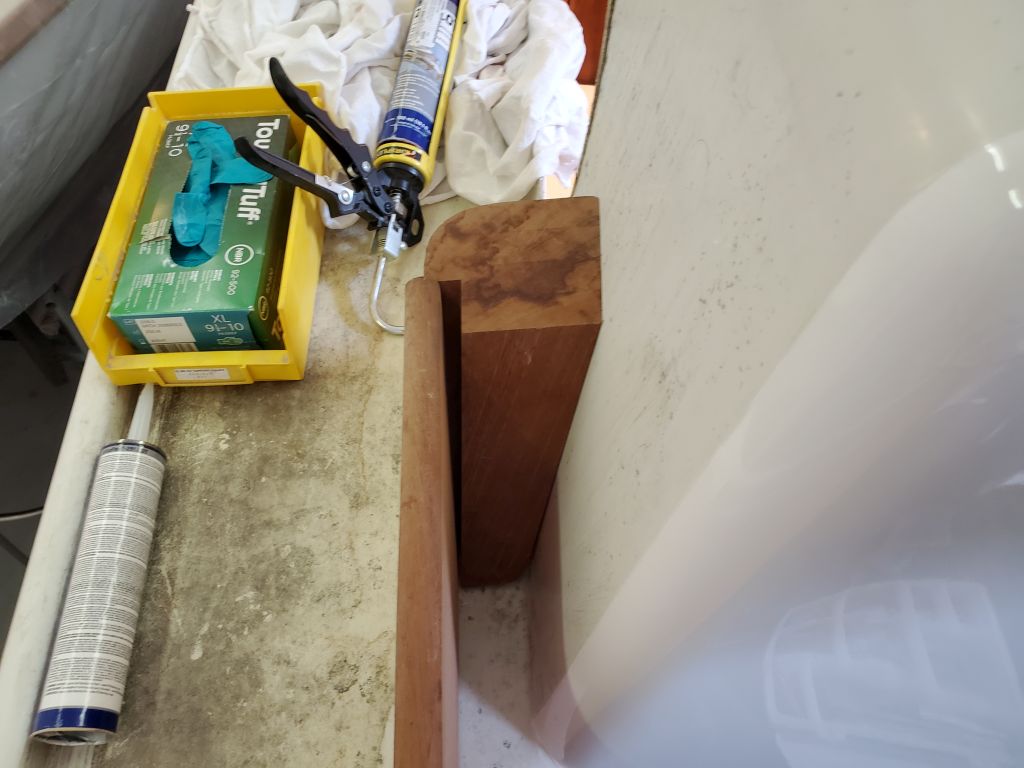
Next, I turned to the cockpit coamings. Like the hatches, a new set of raw mahogany coamings had been milled up sometime in the distant past, exact copies of the originals, then set aside when the boat was abandoned. Now I needed to test-fit the coamings and the included–but separate–coaming blocks at the forward ends before I could proceed with final finishing and ultimately installation.
Having installed a few sets of new coamings on sisterships over the years, I knew the back sides of the coamings would require some relief in order to fit in the corners of the cockpit at each end, so I started by removing material from these areas on both coamings. This would never be seen once the coamings were installed.
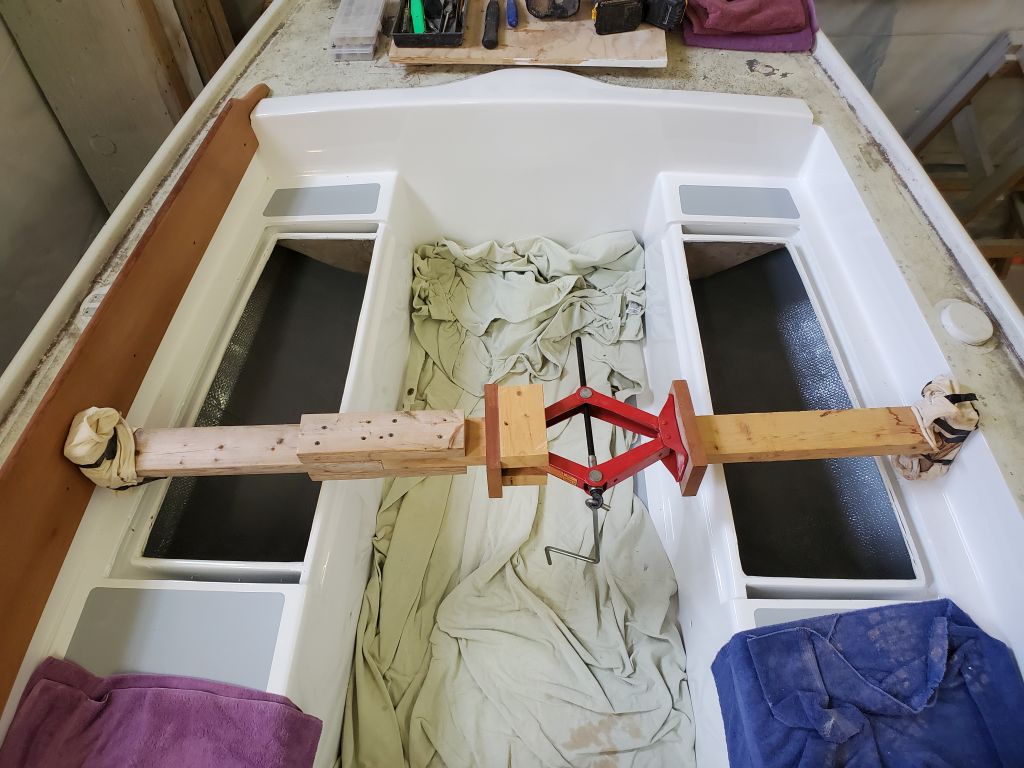
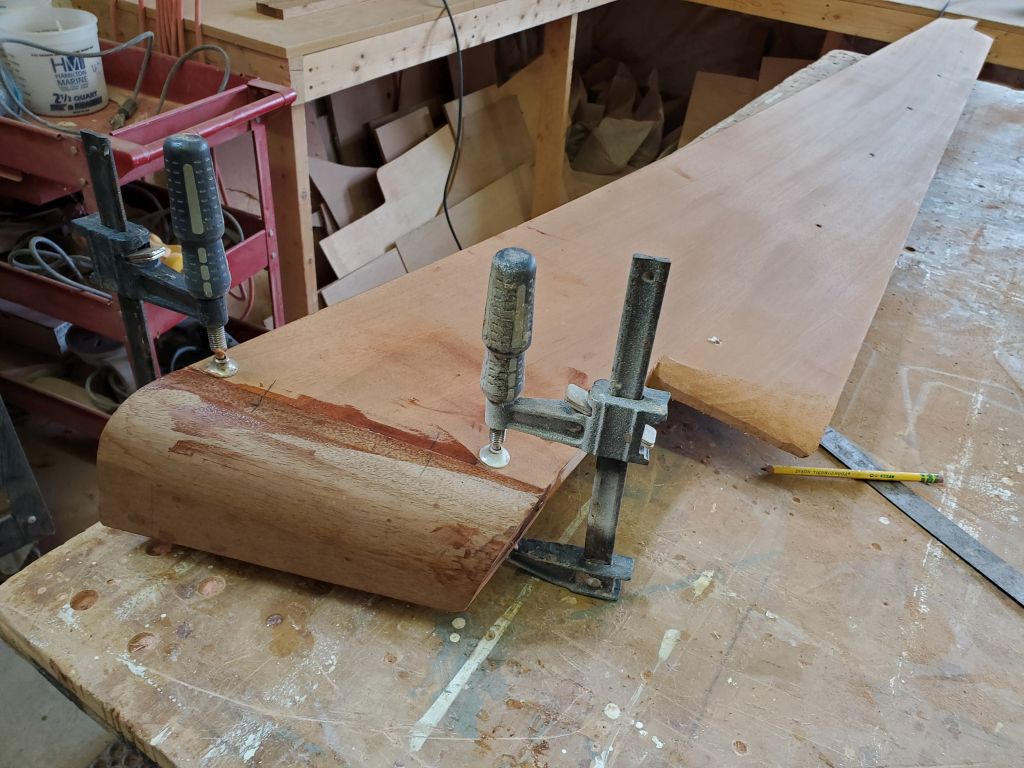
Starting with the starboard side, I test-fit the coaming, using my hastily-built-long-ago-and-still-functional-though-imperfect coaming installation press. I found the fit was a bit tight on this side, so I cut back the overhangs at each end a bit to allow the coaming to fit as needed. At the forward end, the coaming block–or return, if you like–was actually (and fortunately) a good fit, and though in this state the coaming board didn’t conjoin the block fully, it clearly would once the two were attached and in the final installation.


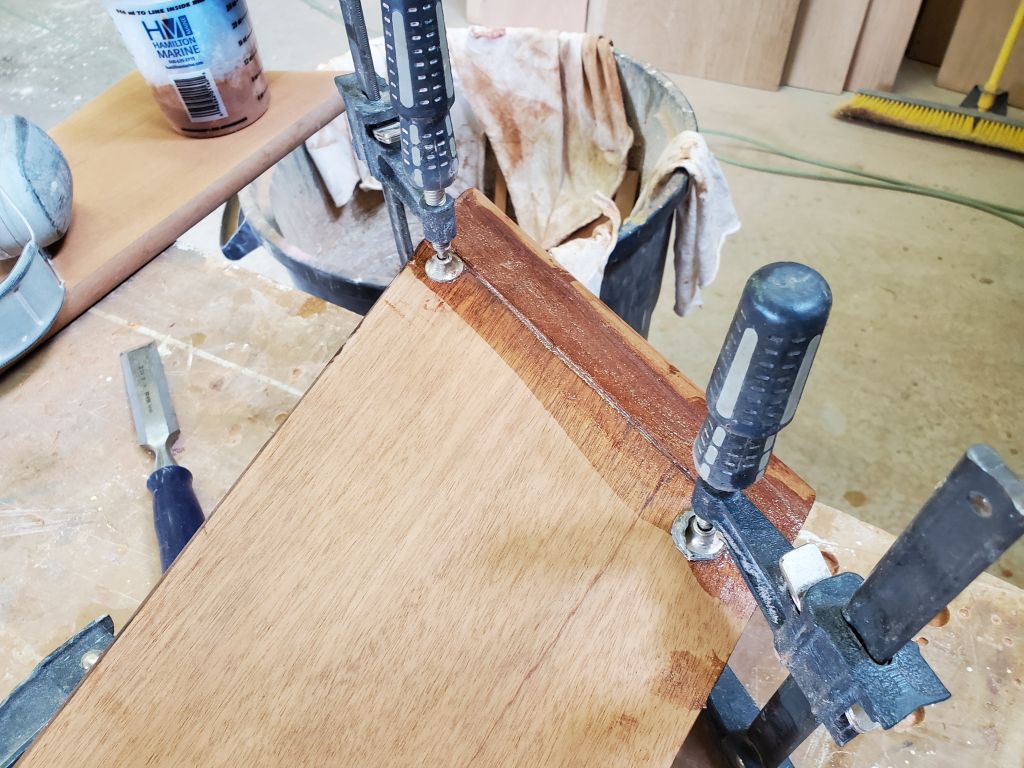
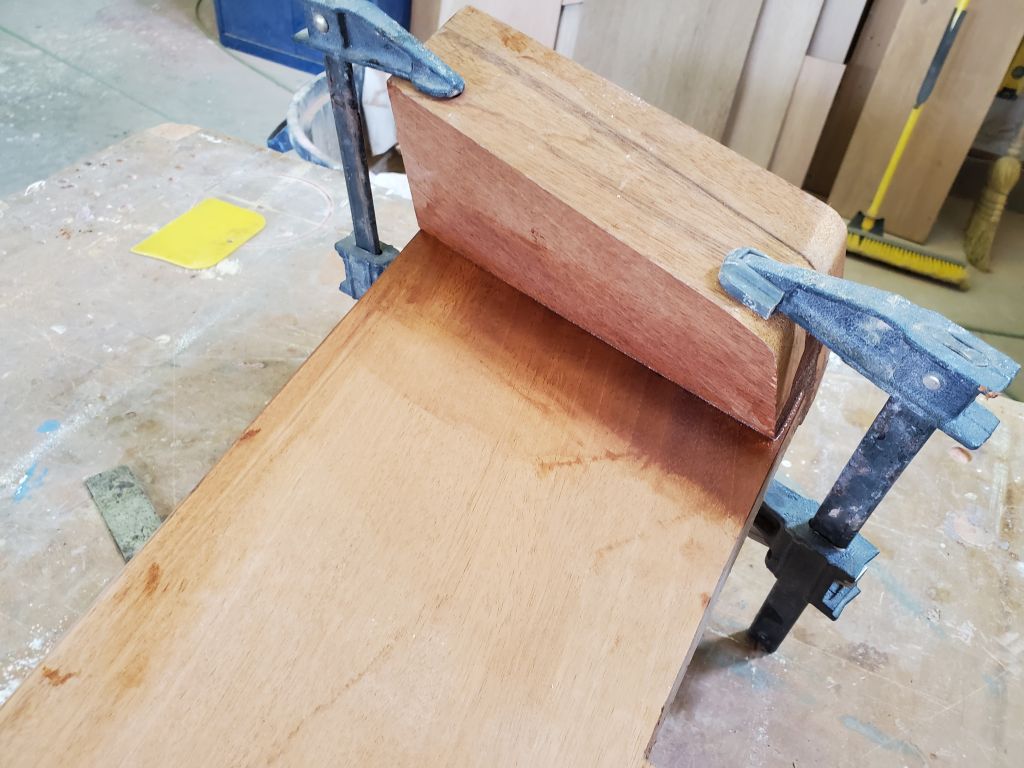
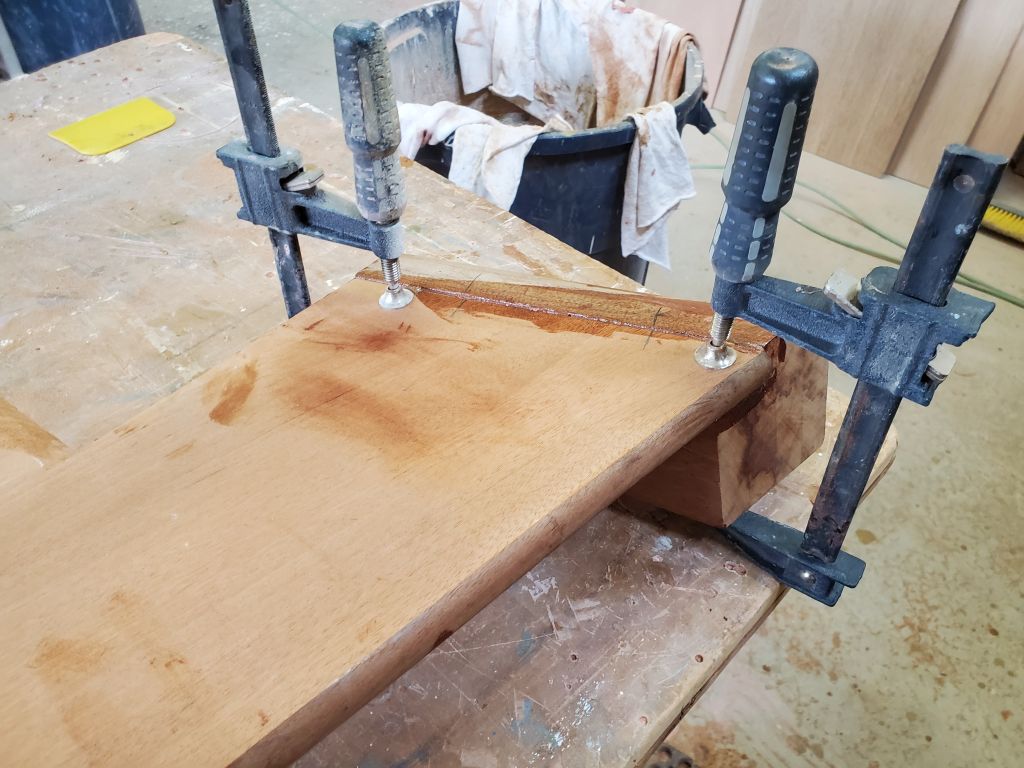
Satisfied with the test fit, I drilled all the screw holes into the fiberglass behind, then removed the coaming to the workbench, where I installed the coaming block to the coaming board with an epoxy mixture, clamping it in place securely. I added some wood dust for color, and because the coaming block was a bit proud of the coaming itself, there’d be some sanding and cleanup later, but that was expected and OK.

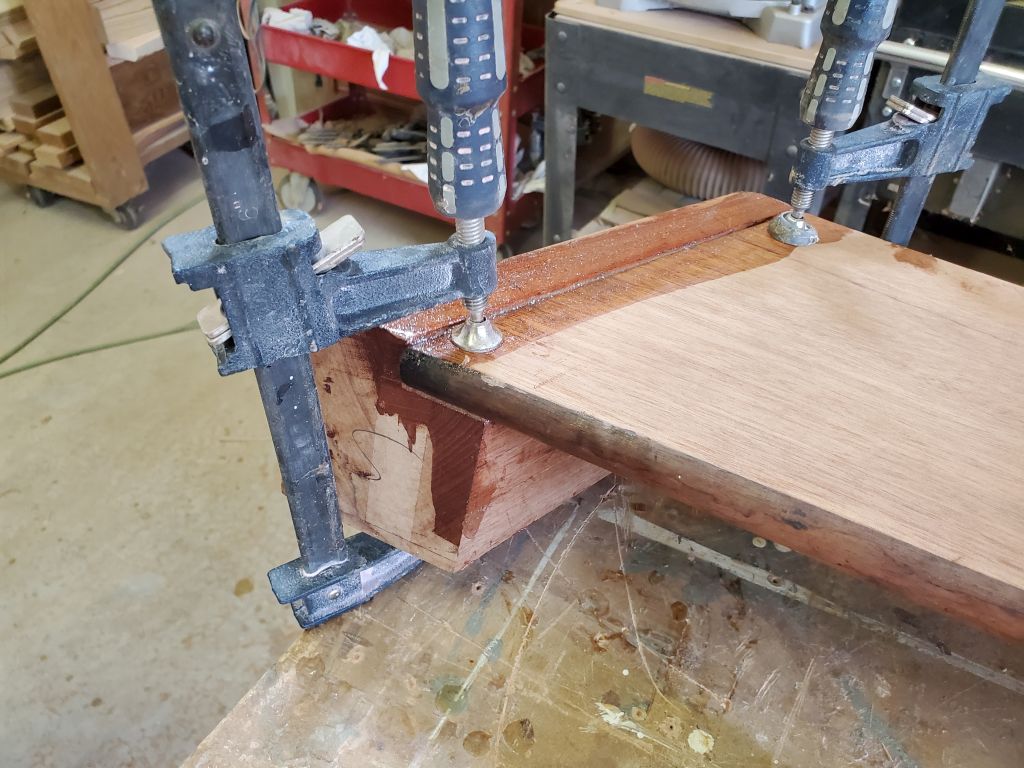
Next, I repeated the dry-fit process to port, finding that this board fit more easily than its counterpart.

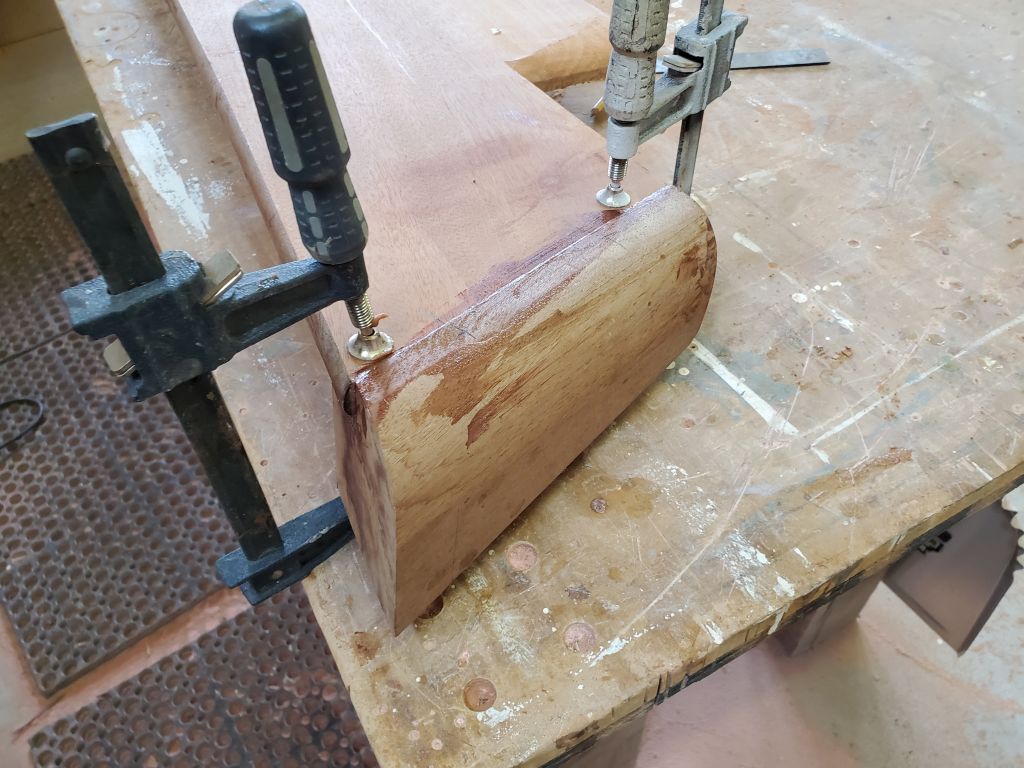
Down on the bench once more, I glued the port coaming block in place like I’d done with the starboard side, finishing just before I had to leave the shop for an appointment.
Total time billed on this job today: 4.75 hours
0600 Weather Observation: Cloudy, rain and snow showers, 35°. Forecast for the day: Rain and snow showers likely, 47°