


March 9, 2021
Lyra 34
Tuesday
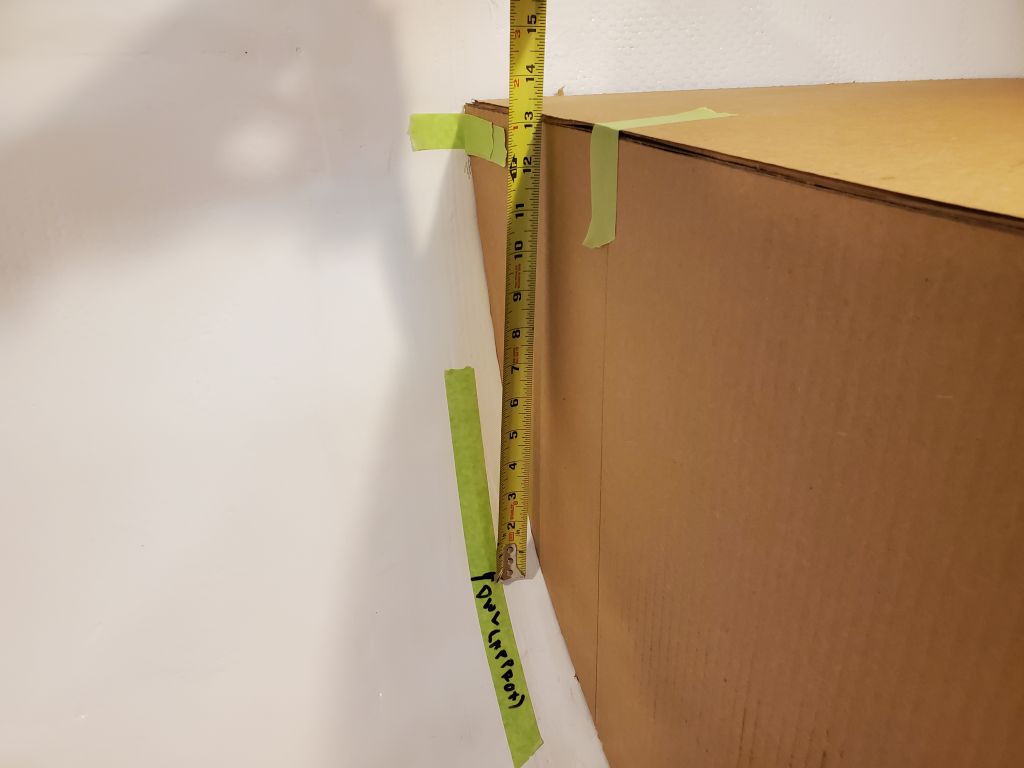
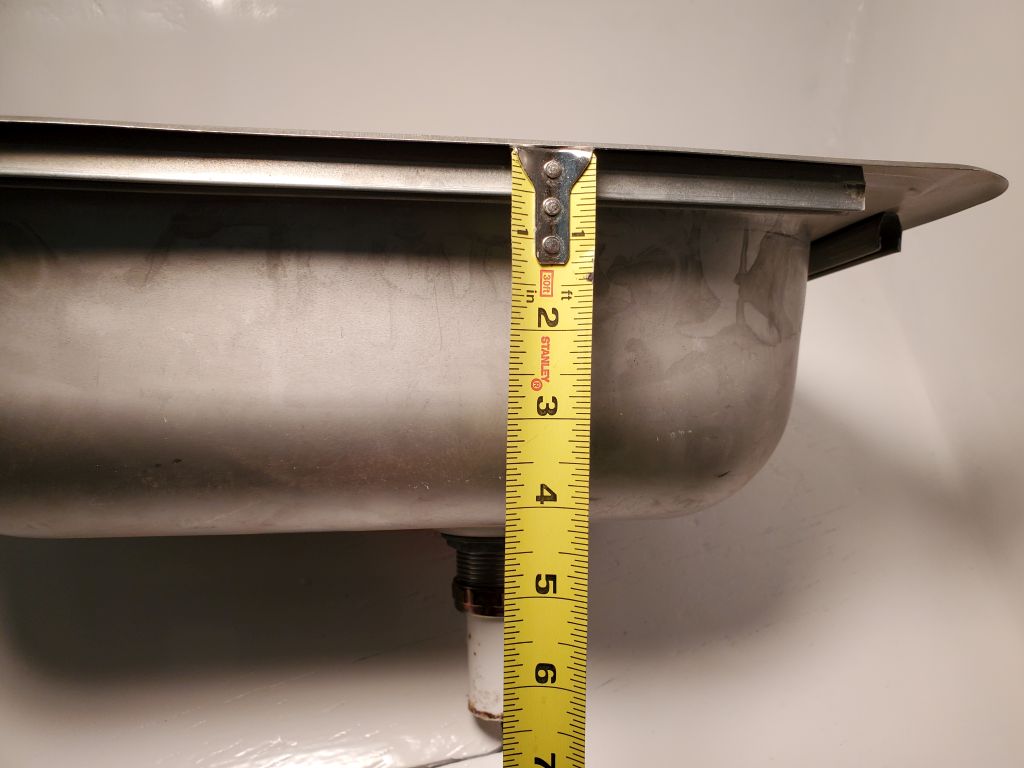
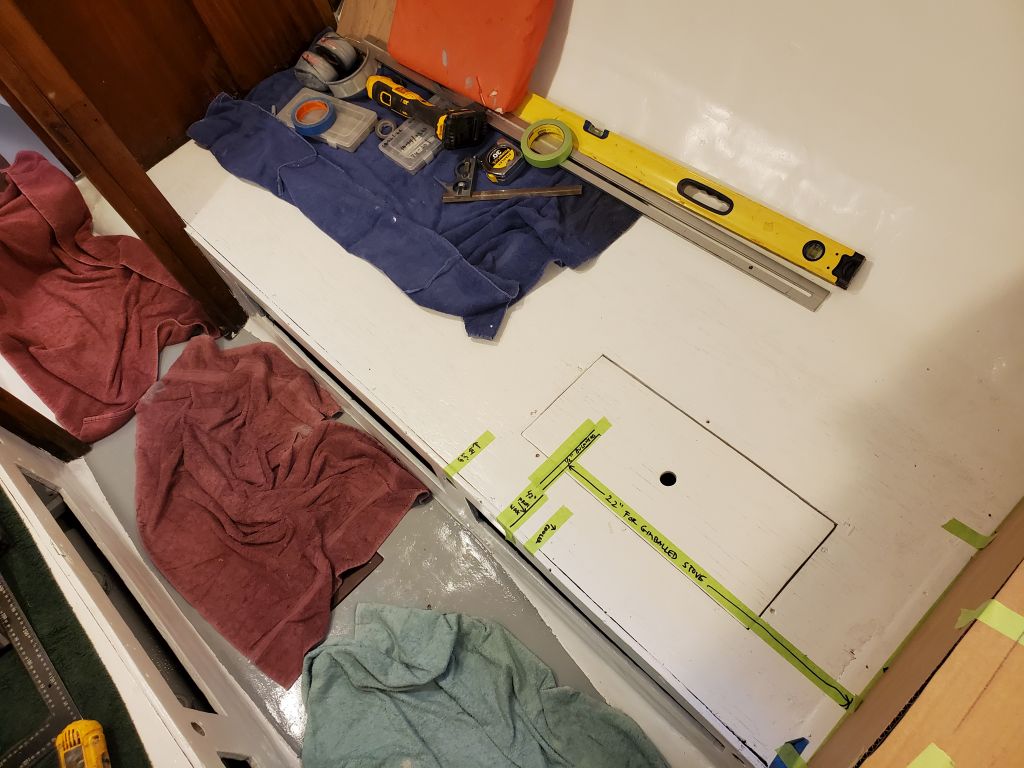
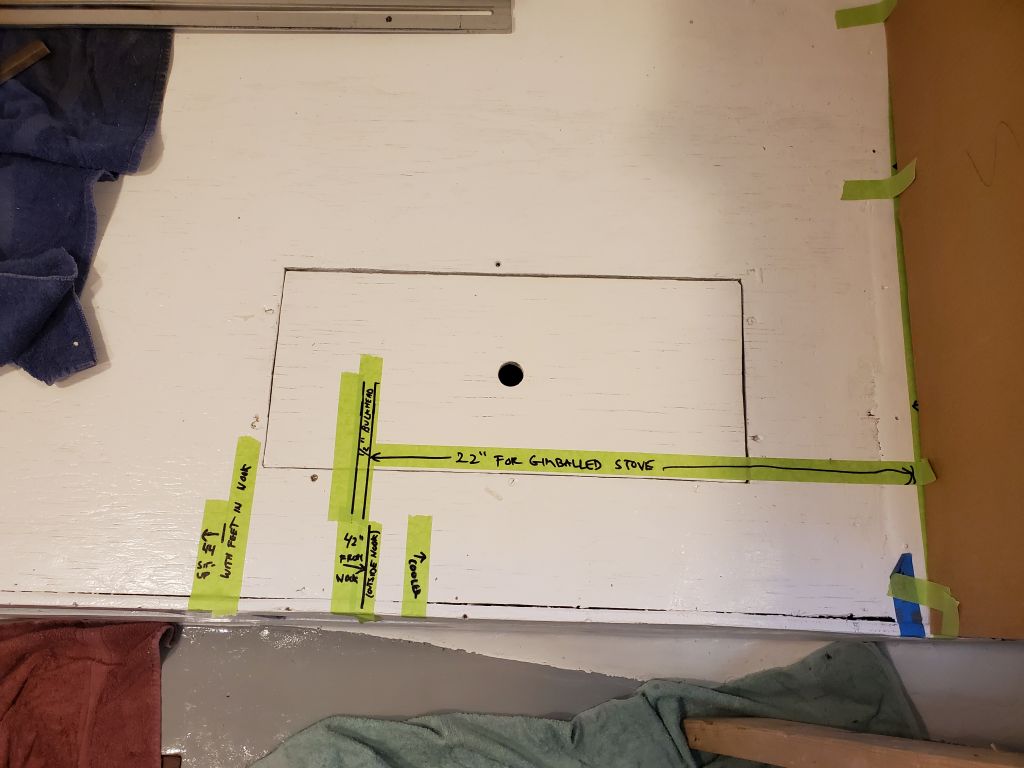
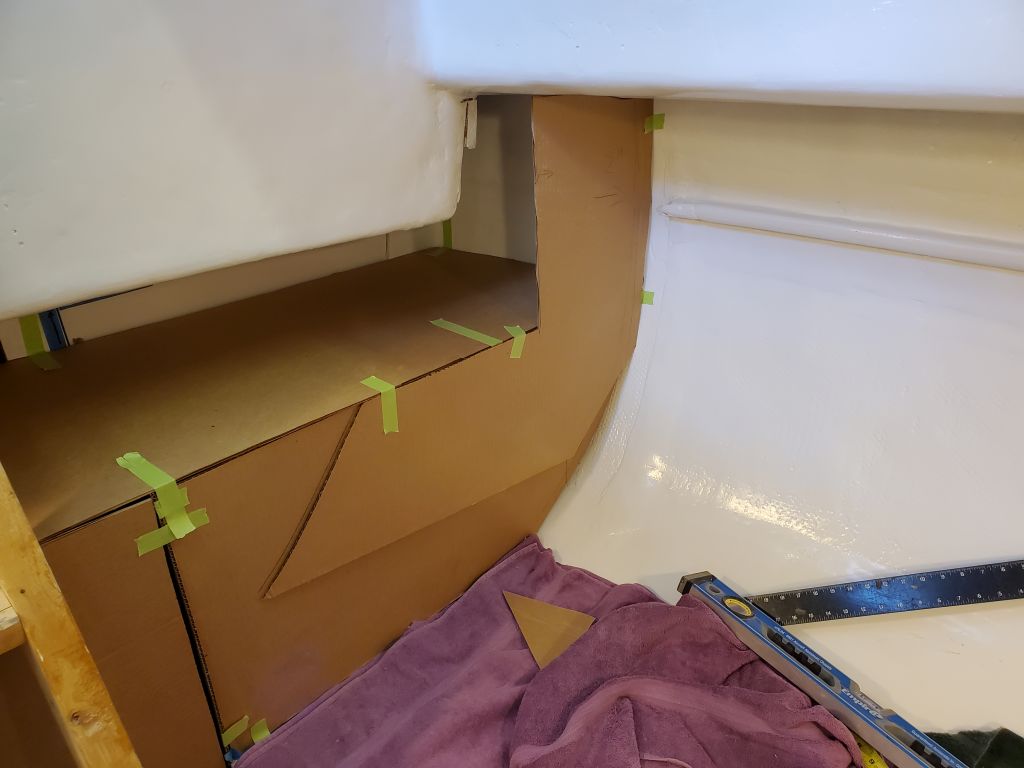
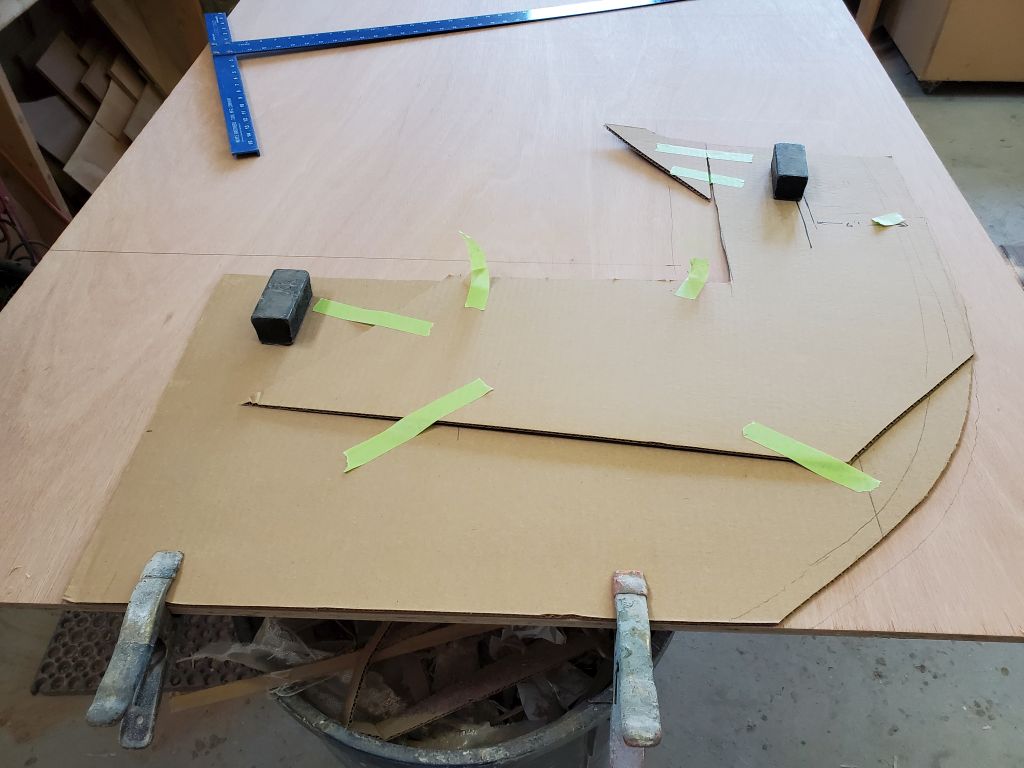
After some discussions and back-and-forths with the owner about the initial cardboard layout of the new galley, I started the morning with a few additional measurements and confirmations, including a reality check on the static waterline position to ensure that the countertop and sink were to be as expected. I took a rough measurement from the rubrail outside the boat, then transferred this measurement to the galley, where I made some reference marks, along with a mark for the 5″ depth of the supplied sink. No surprises here.
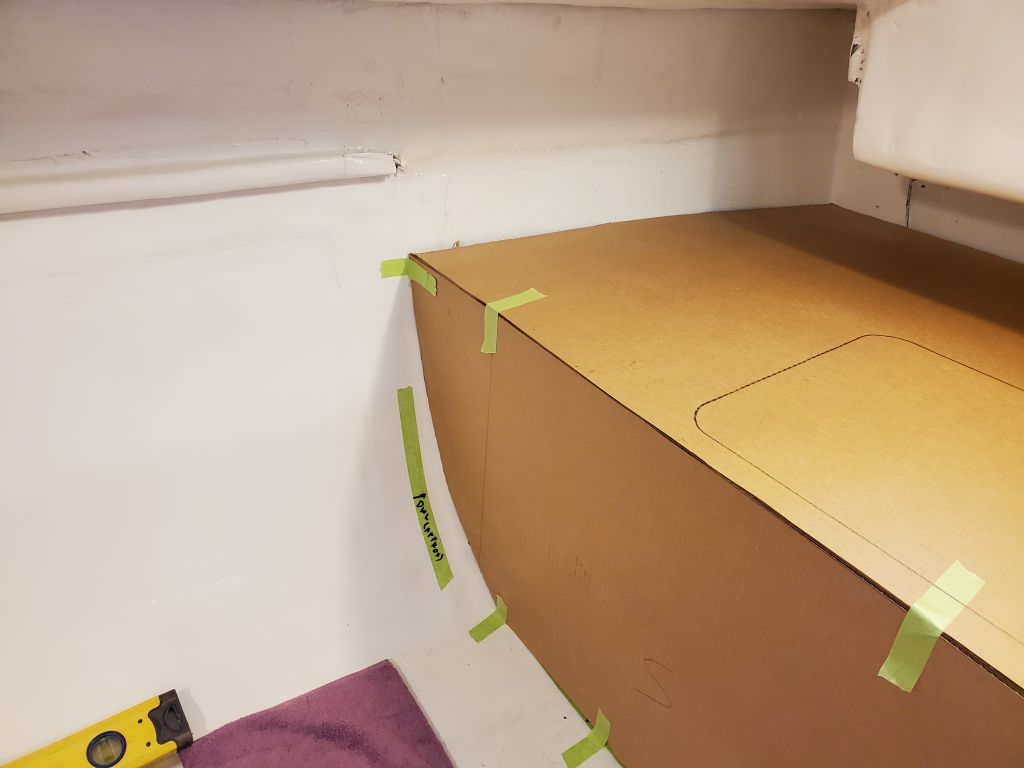
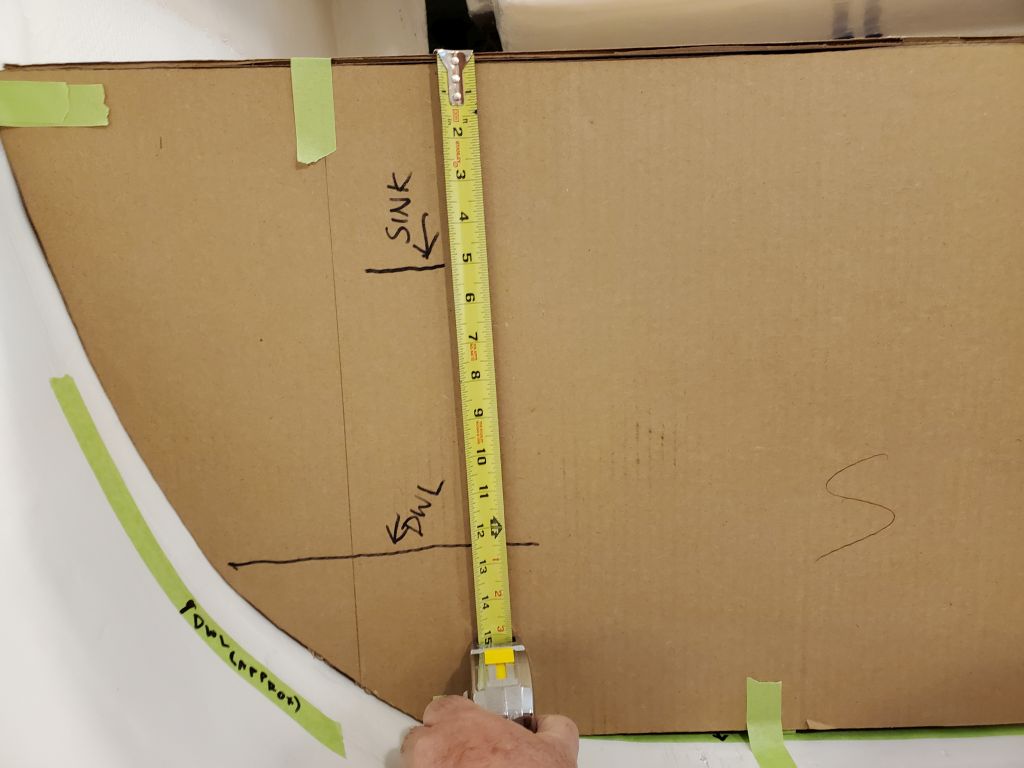
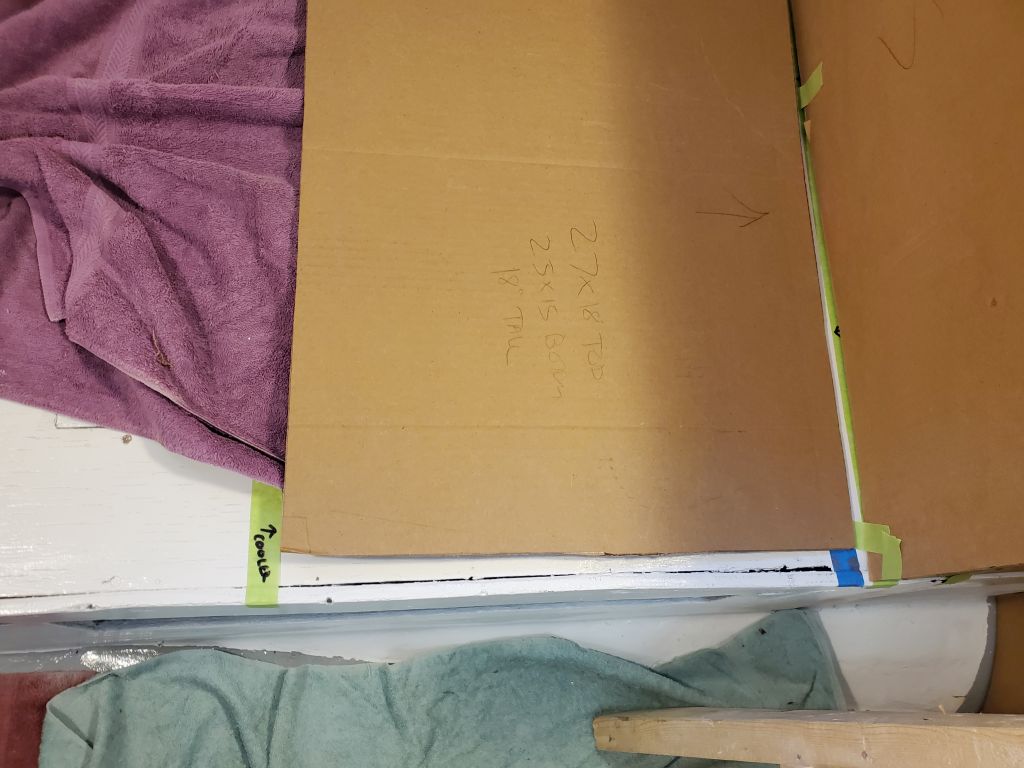
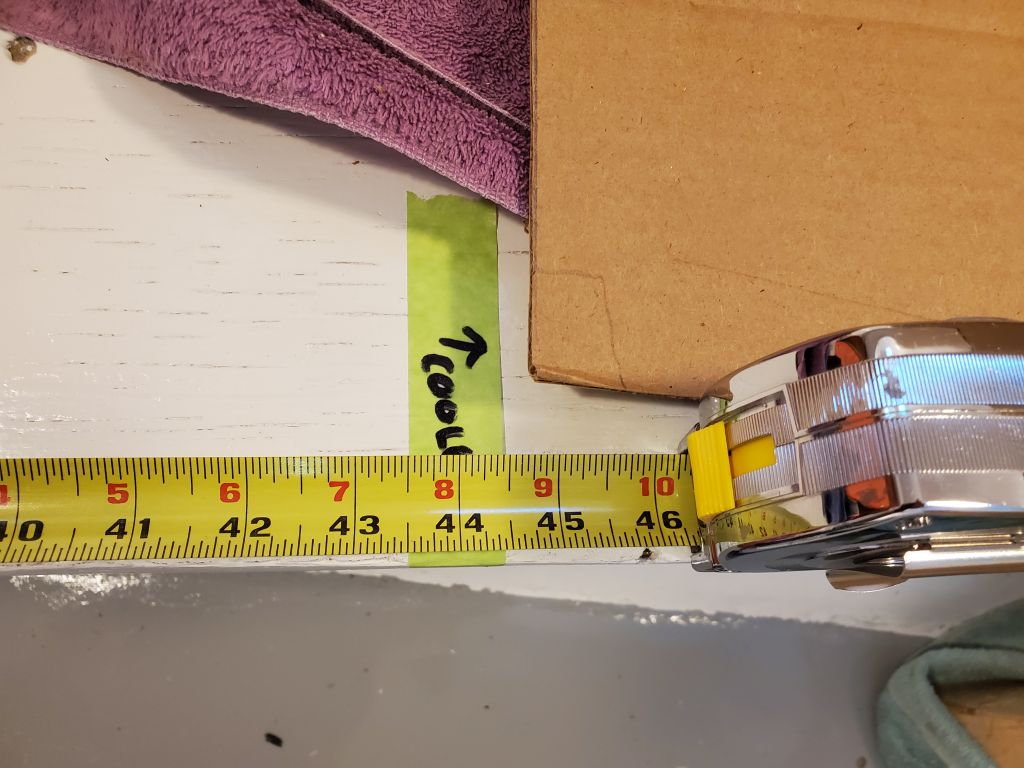
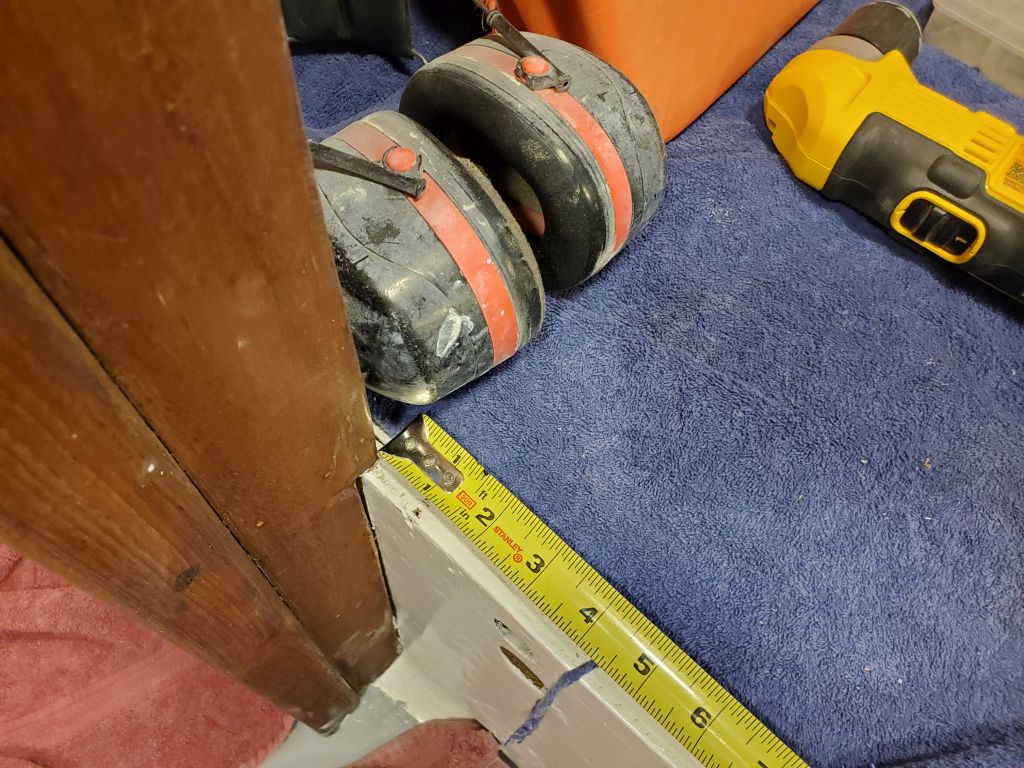
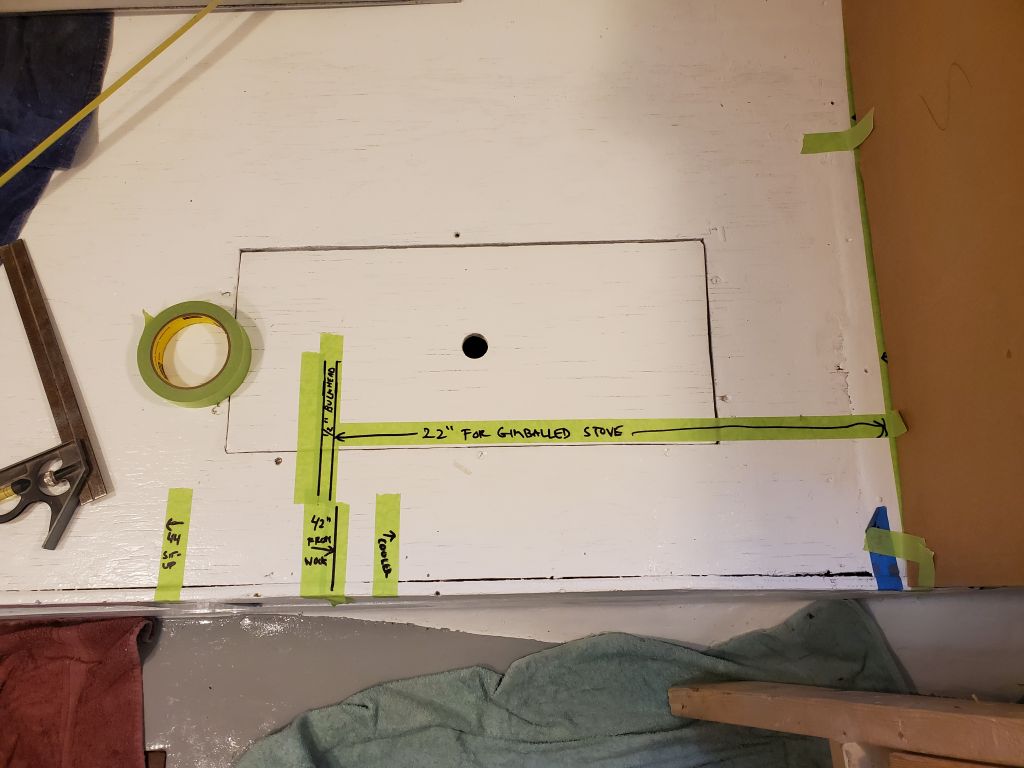
I also confirmed some measurements from the starboard bulkhead (inside and outside the nook) to the forward edge of the cooler, as well as some early layout to determine measurements and positioning possibilities for a future stove forward of the main galley countertop. This wouldn’t happen now, but the exercise confirmed the possibilities and, eventually, confirmed that the current position of the forward galley bulkhead, as represented by the cardboard, was where it should be.
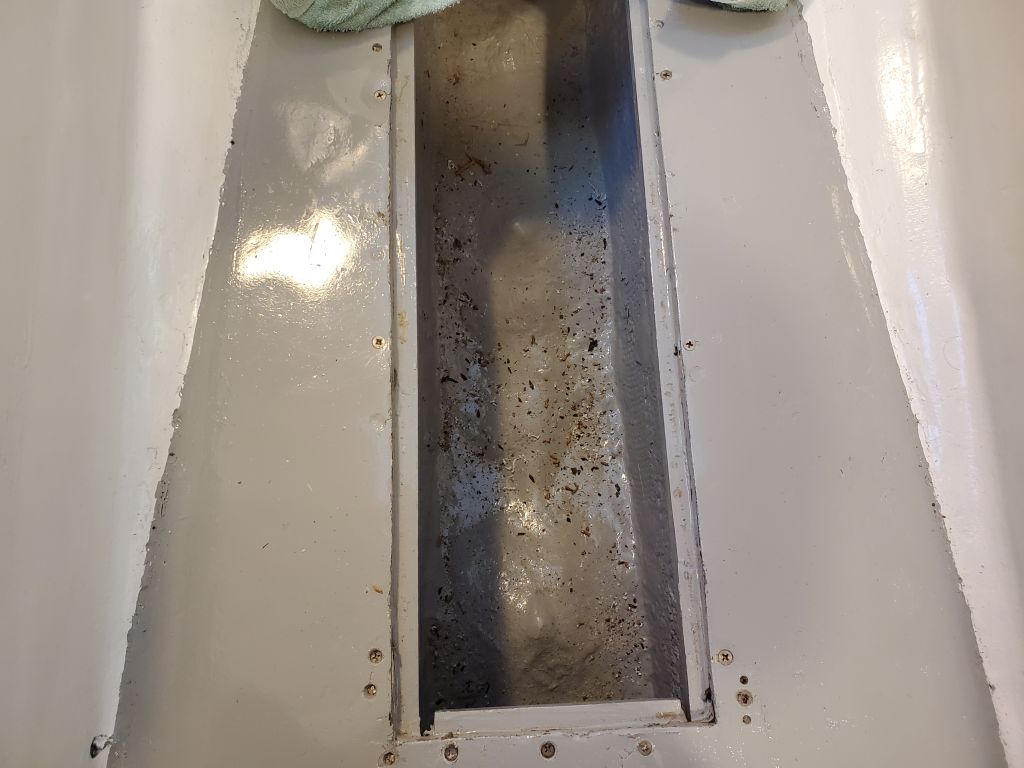
It came as no real surprise when one of the cleats holding up the bilge hatches broke free. I’d been hearing ominous cracks underfoot for a while, and from the getgo had worried whether the new cleats would be able to work with just epoxy, since the old plywood cabin sole was in marginal condition. Indeed, the wood failed, not the adhesive, when the forward cleat on the aftermost hatch gave way.
This was disappointing, but I took a few minutes to reinforce the cleats in this opening with some through bolts, supported by large washers and nuts beneath. This felt a little like shuffling deck chairs on the Titanic, as the sole was just soft would need further real attention in the future, but hopefully it would serve the purpose for the immediate future, as we just couldn’t do it all now. I’d probably go back later and add preventive bolts to some of the other cleats at the other locations, just to be sure, but that could wait for now.


On the port galley bulkhead, I added an extension to bring the outboard edge of the bulkhead up to sidedeck level, creating an oversized panel for now so we could determine its final width later. This extension would serve as the starting point for the cabinetry forward of the galley on this side, which would include (most significantly for now) an electrical locker to house panels and wiring. Something might happen aft of the extension as well, in that tough-to-reach corner of the galley and the little nook above, between the cockpit and the side of the boat.


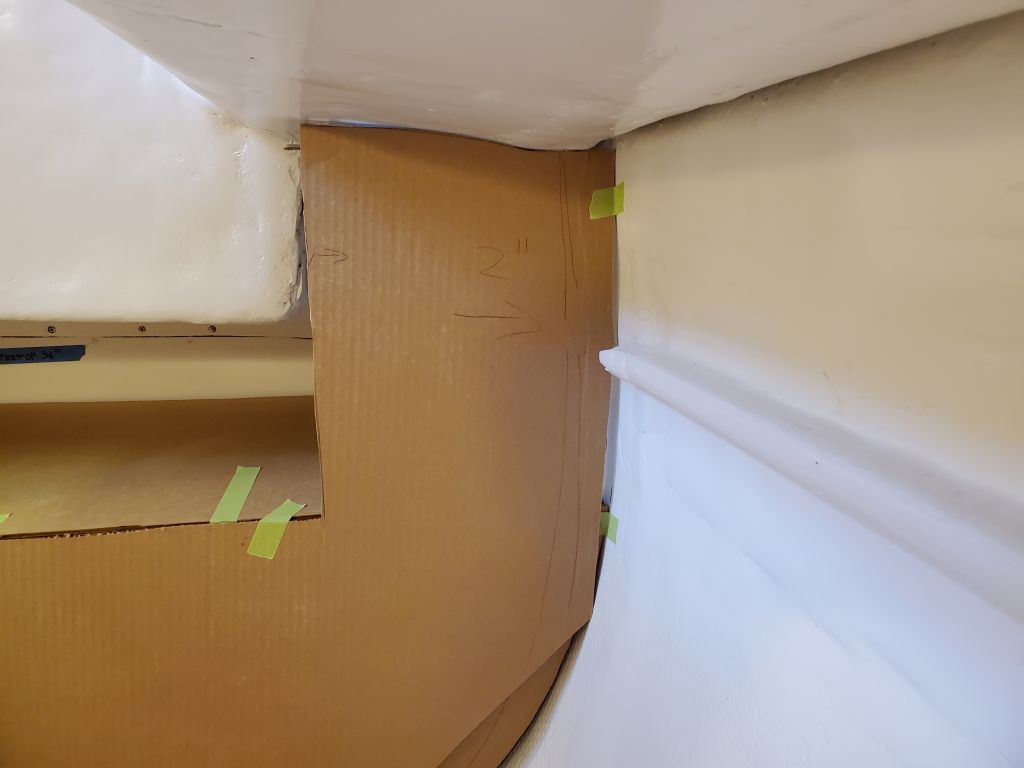
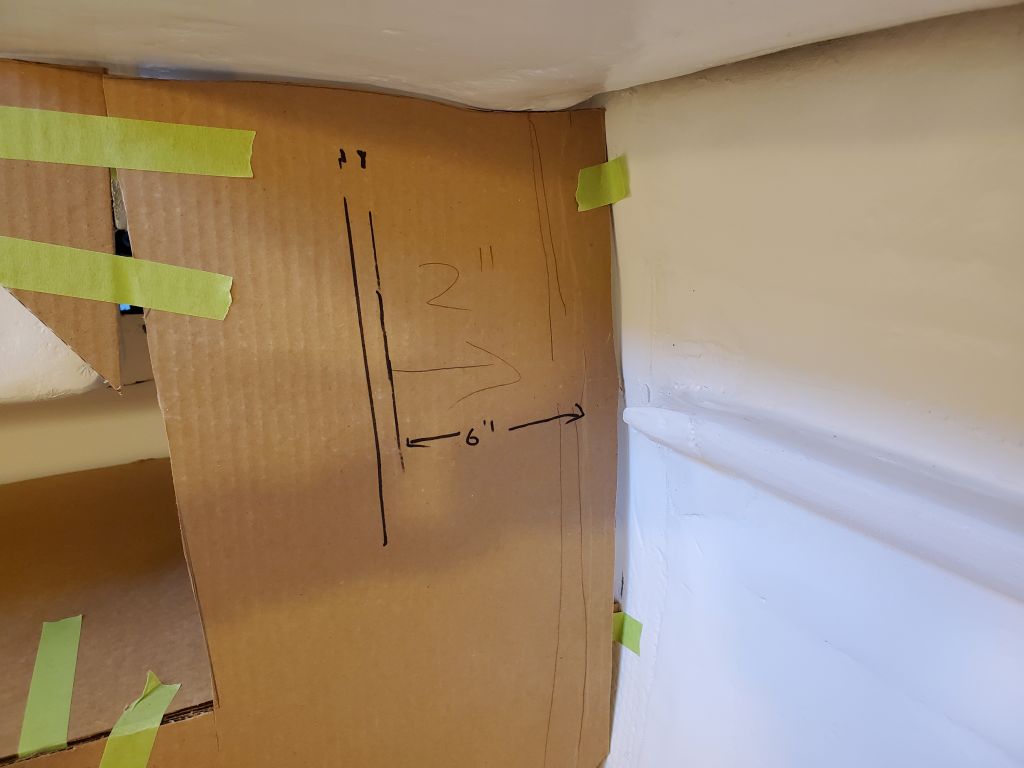
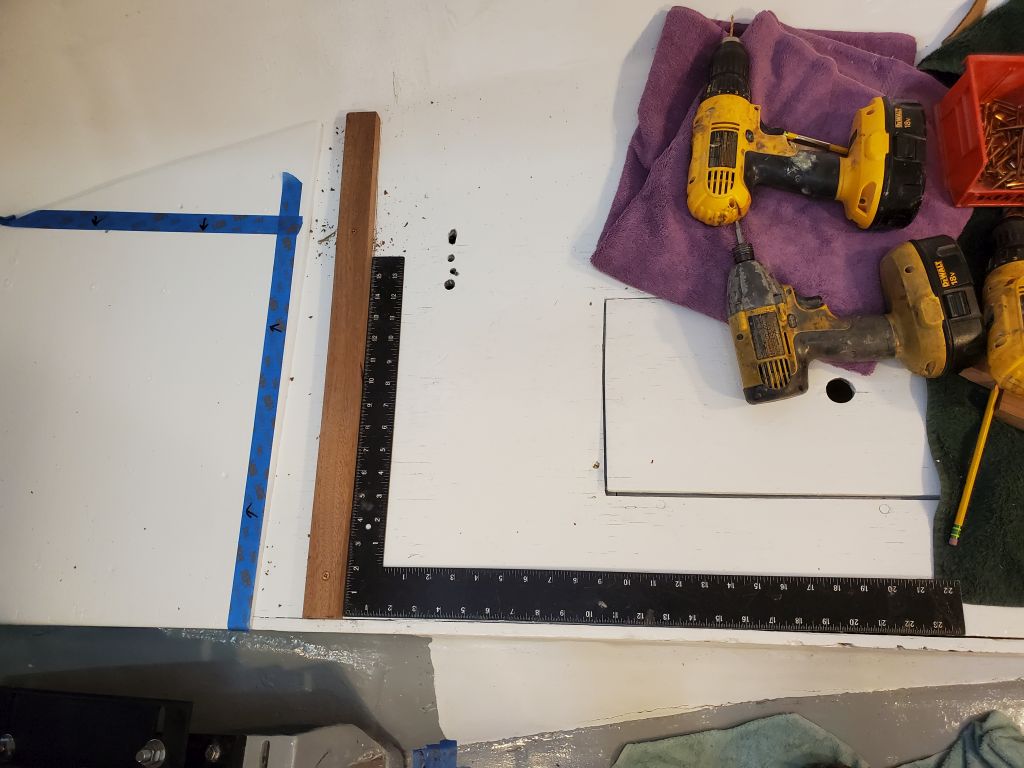
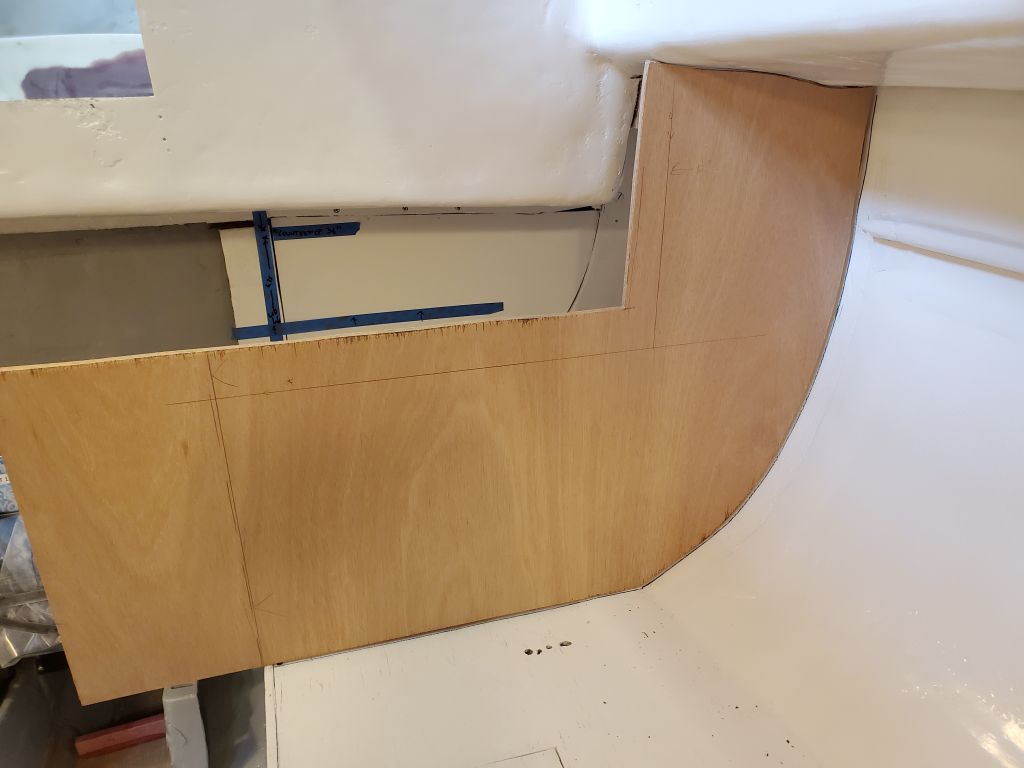
With the port template complete, I disassembled the entire “Whitefield mahogany” galley so I could start building the real thing. I chose to begin with the port bulkhead, and used the cardboard template to transfer the shape to a new sheet of 12mm meranti plywood. I left the upper extension much wider than its final size to allow for options and trimming, and left the bulkhead a couple inches too tall, and let the inboard end hang out over the engine room, all to allow accurate final marking and later trimming. The first fitting was close, but I rescribed the hull edge and made an additional cut to bring the whole thing to where it needed to be. To support the lower edge, I aligned and installed a hardwood cleat on the settee, choosing as my reference the inboard edge of the settee. This location, as earlier determined, was 6′-4″ aft of the forward bulkhead.
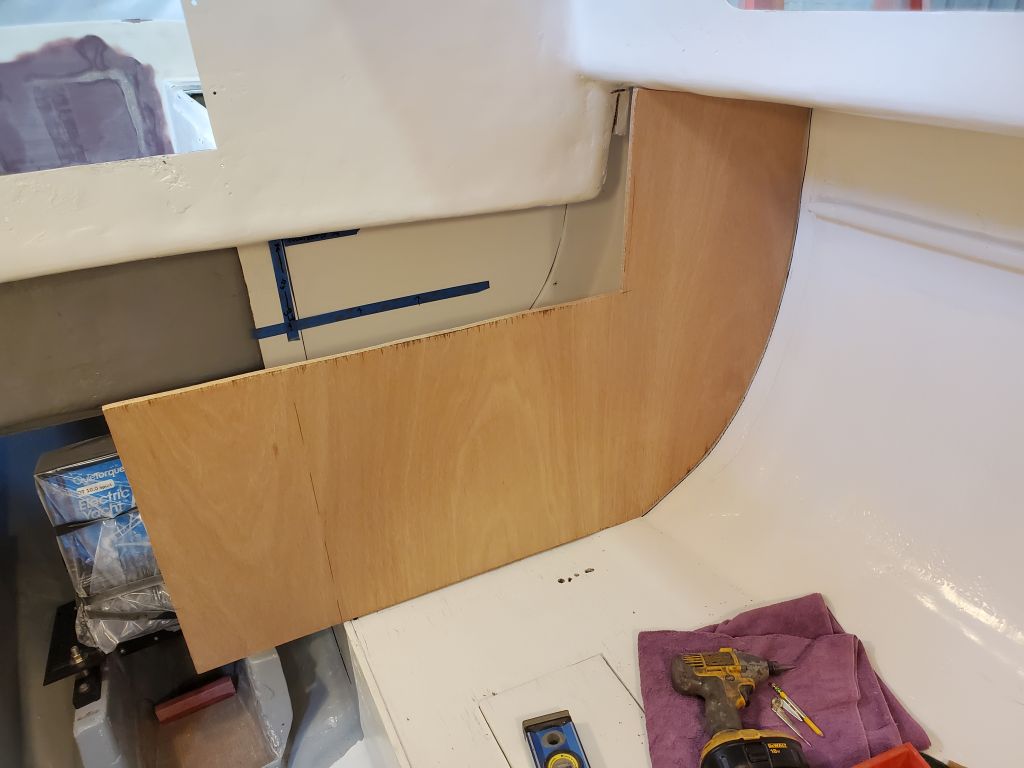
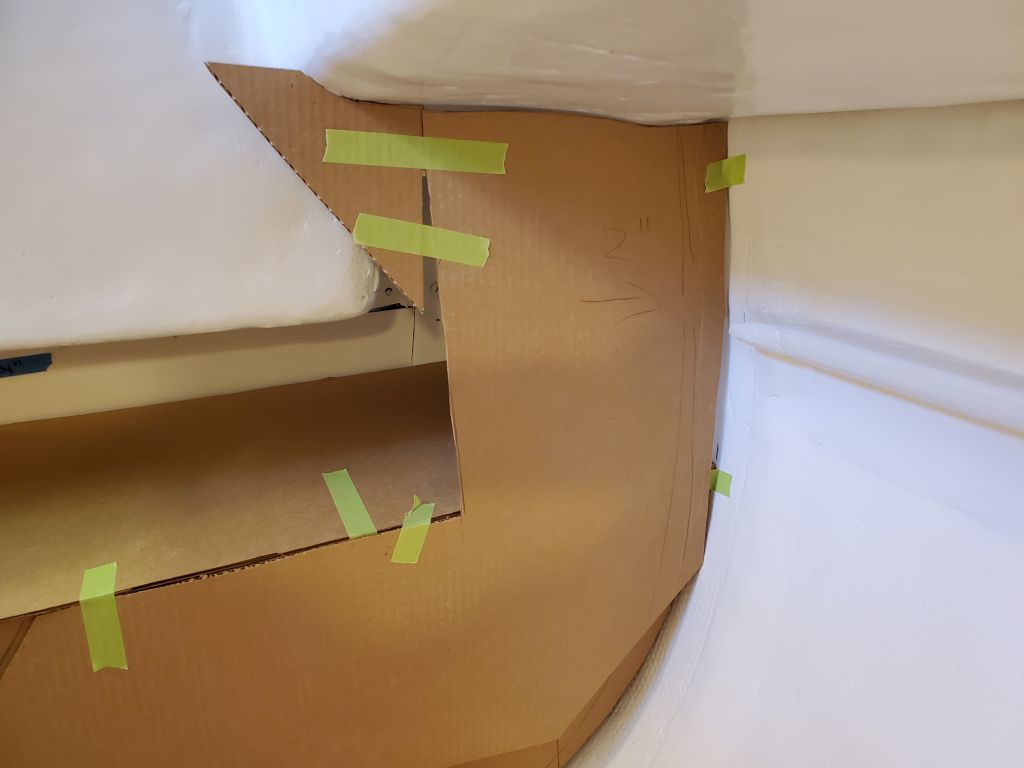
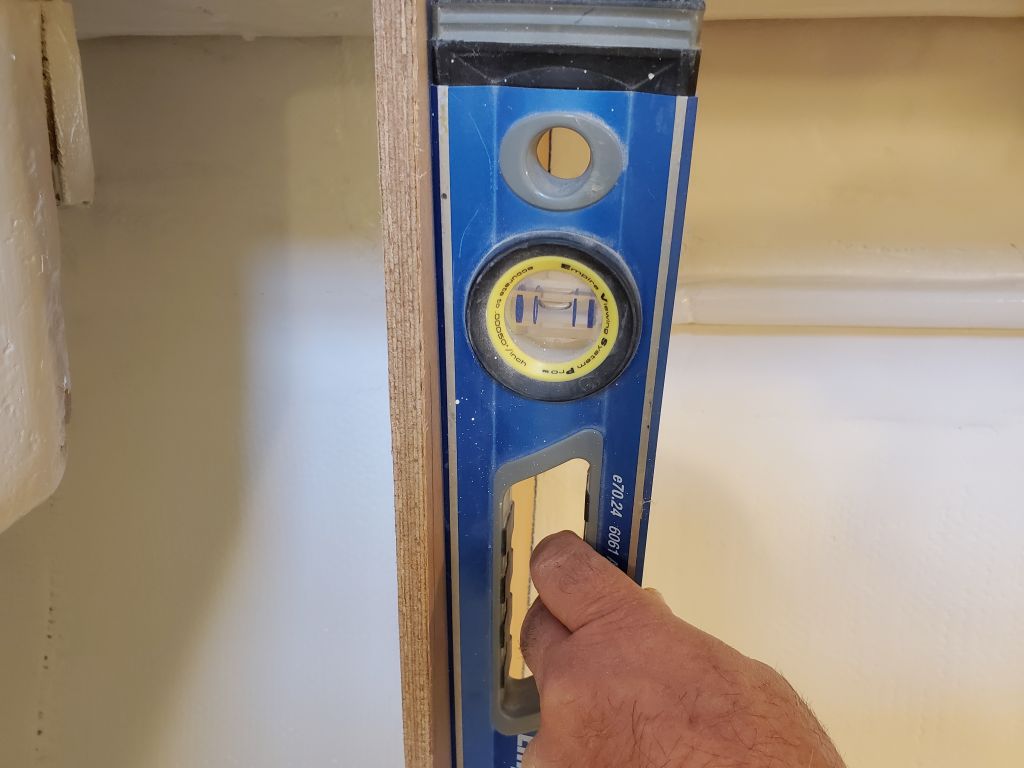
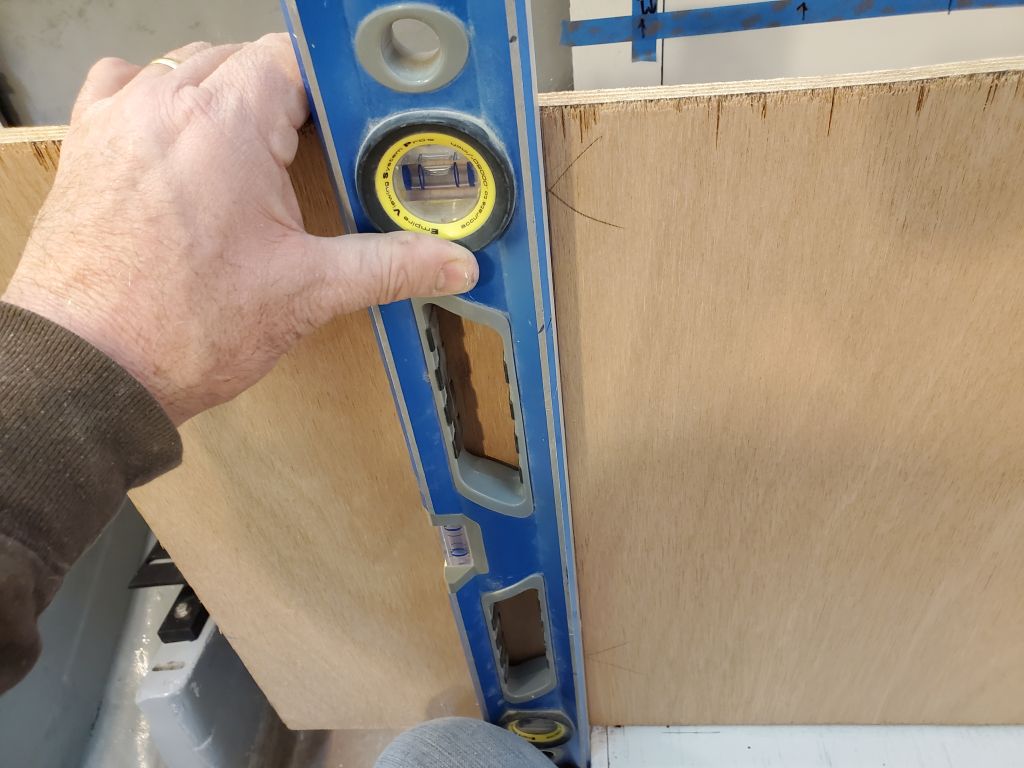
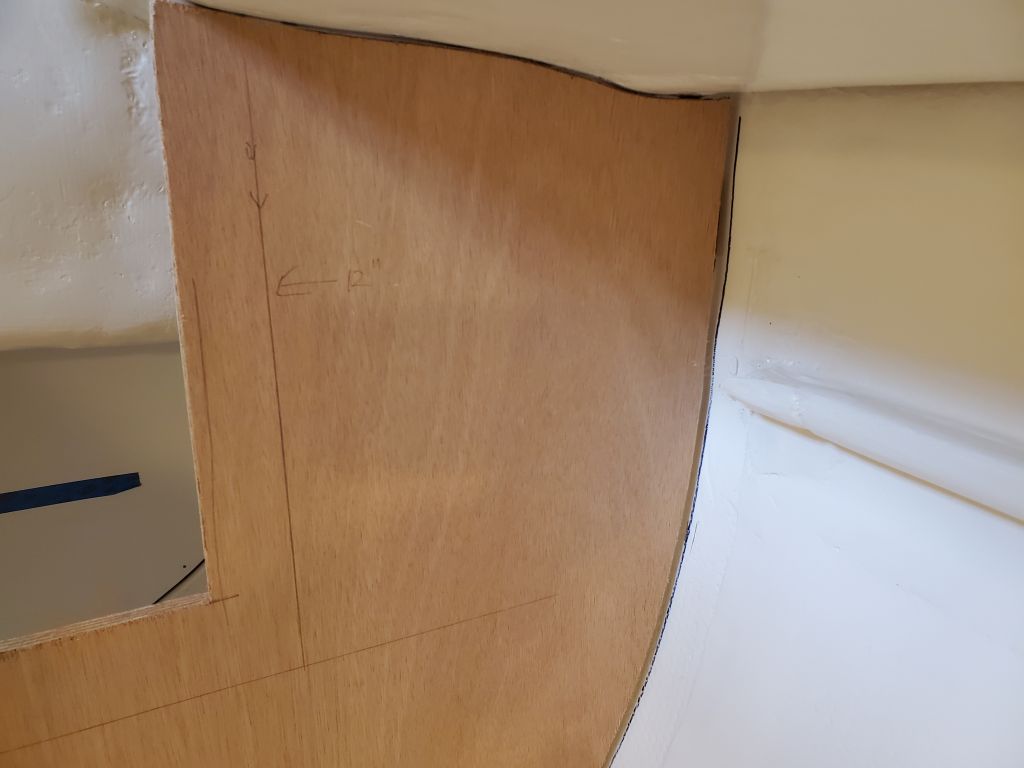
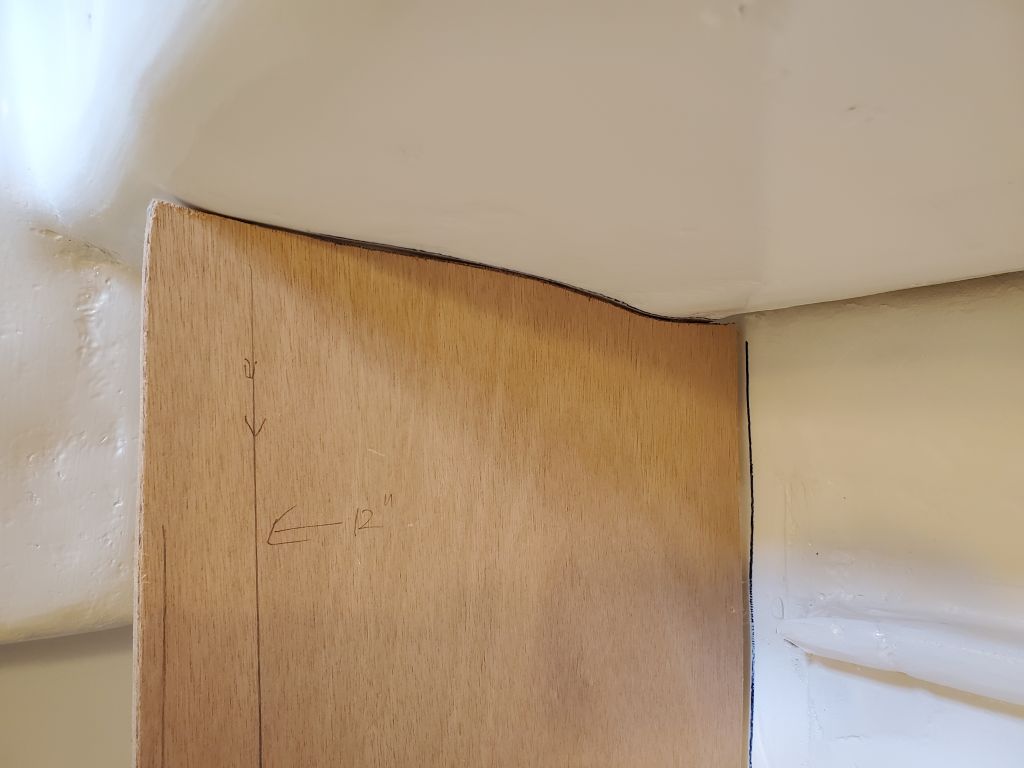
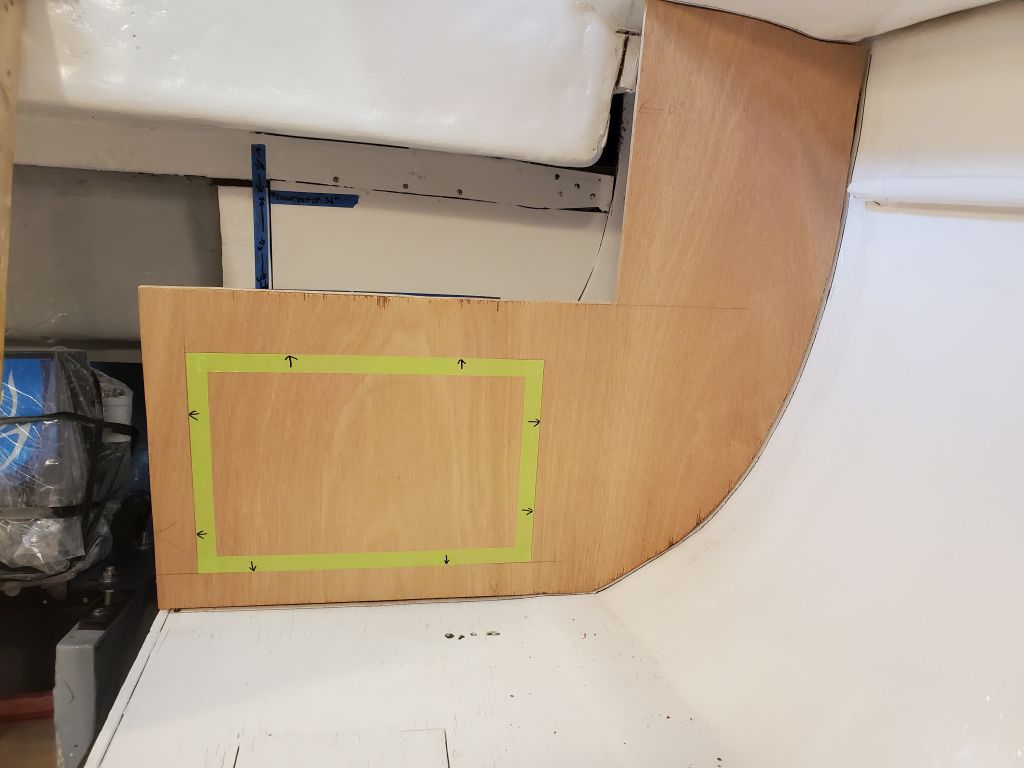
Satisfied with the basic fit, I plumbed the bulkhead and made various reference marks with a level, including a vertical line to trim the bulkhead at the engine room side; a horizontal (level) line to cut the bulkhead at its final height (17.5″ above the settee, allowing for the 1/2″ countertop to bring it to the final 18″ height), and another vertical line 12″ from the hull on the outboard side, where I could cut the upper extension plumb.

After making these cuts, I laid out a proposed hatch or door opening into the bulkhead. This large opening, defined by the outside edge of the green tape, was designed to allow battery installation or removal to the battery box behind, as well as ancillary access to the storage areas remaining in the space. I might have extended it further outboard, but to do so would probably impact the port settee back cabinetry, specifics of which were still unknown at this point.
I planned to cut back the vertical extension fairly substantially later, once we had determined how deep the electrical locker–to be located just forward of this–needed to be, as well as after resolving various related questions about what might be behind the bulkhead too. These questions would soon be resolved once the owner and I chatted about them.


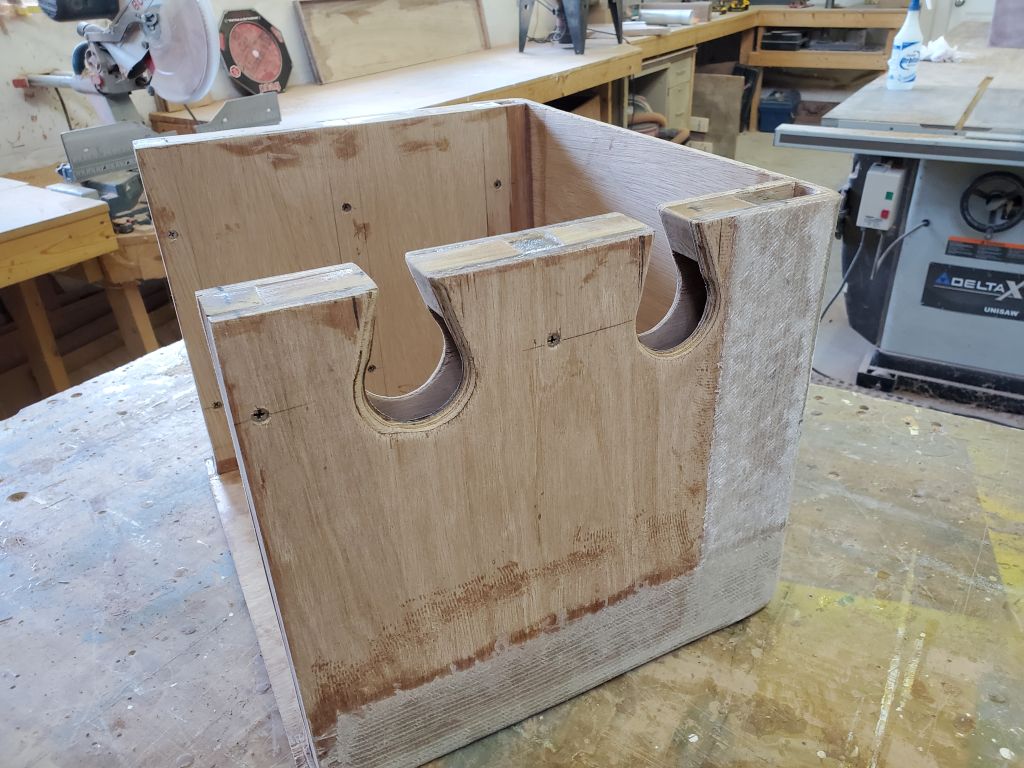
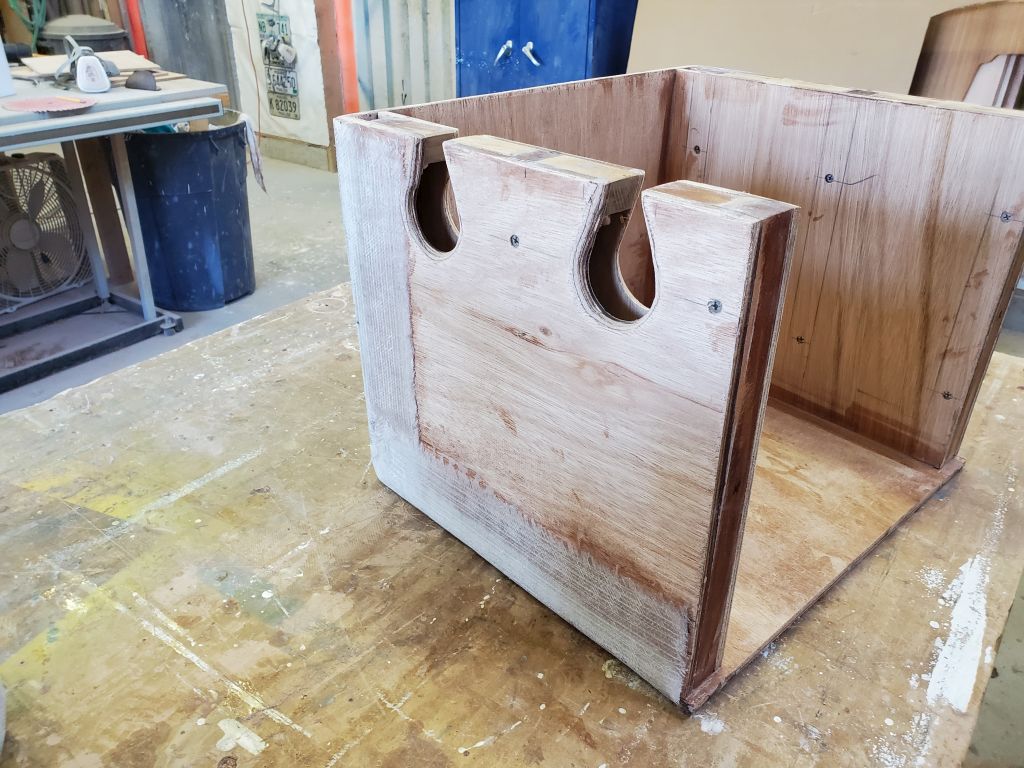
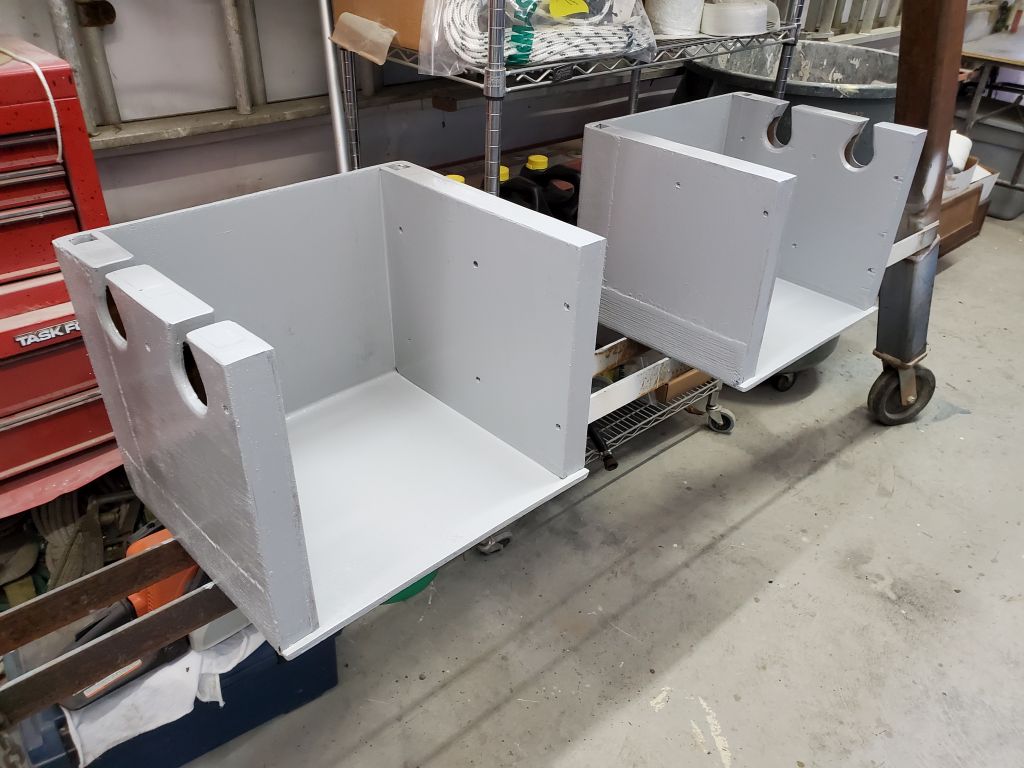
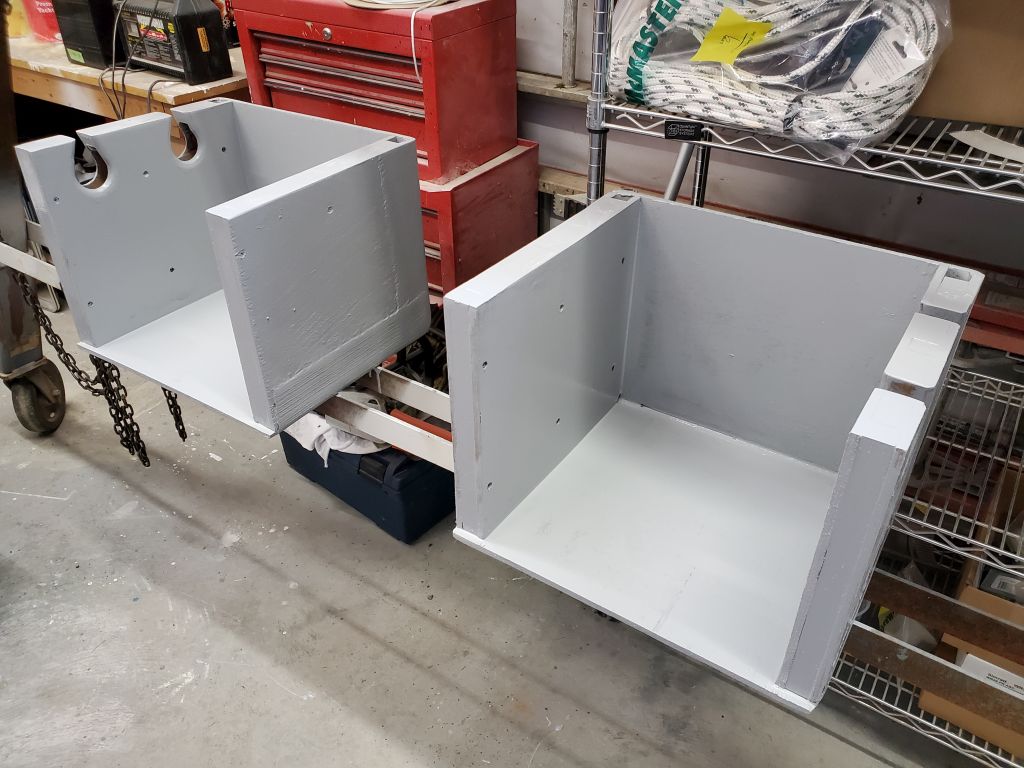
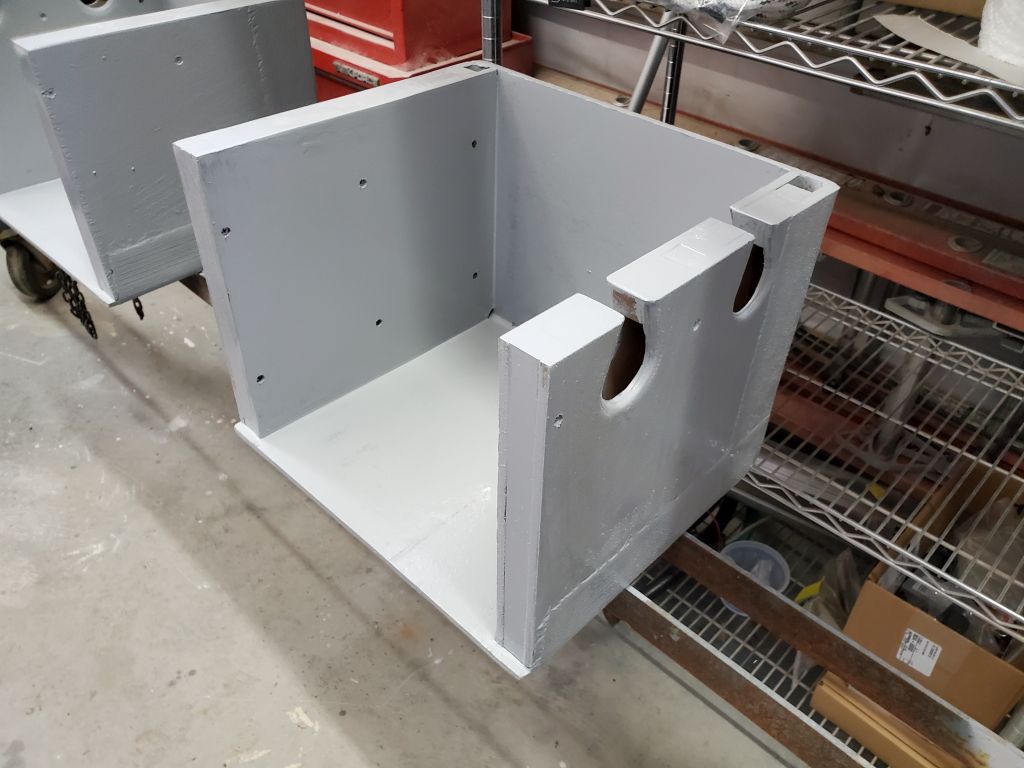
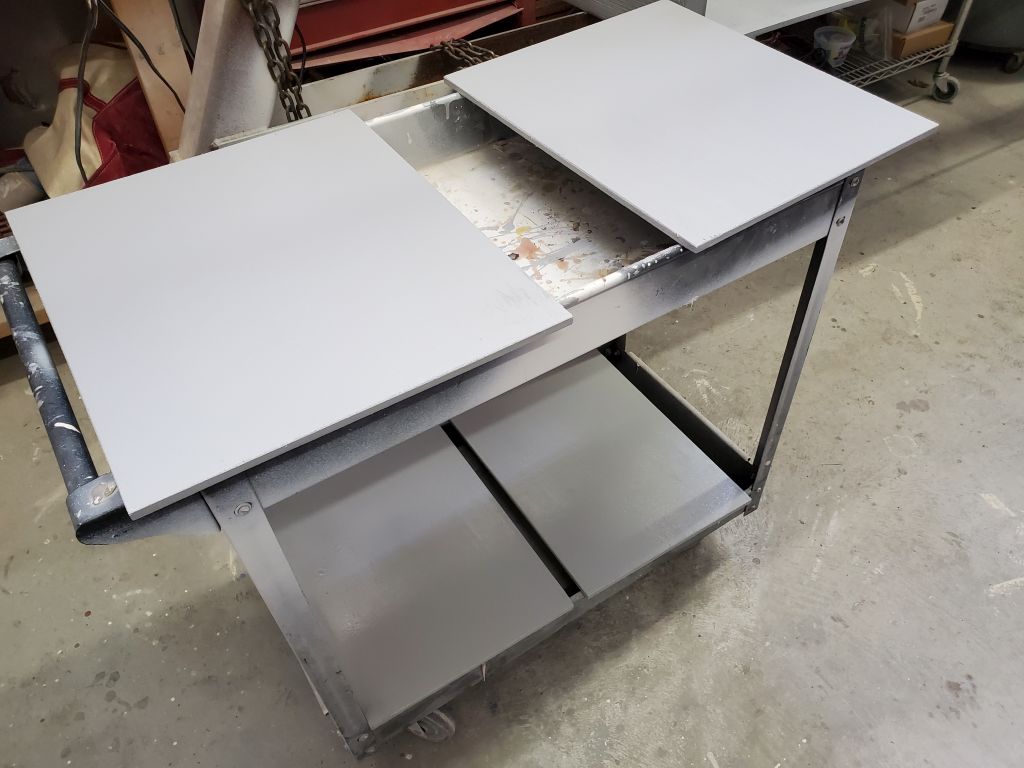
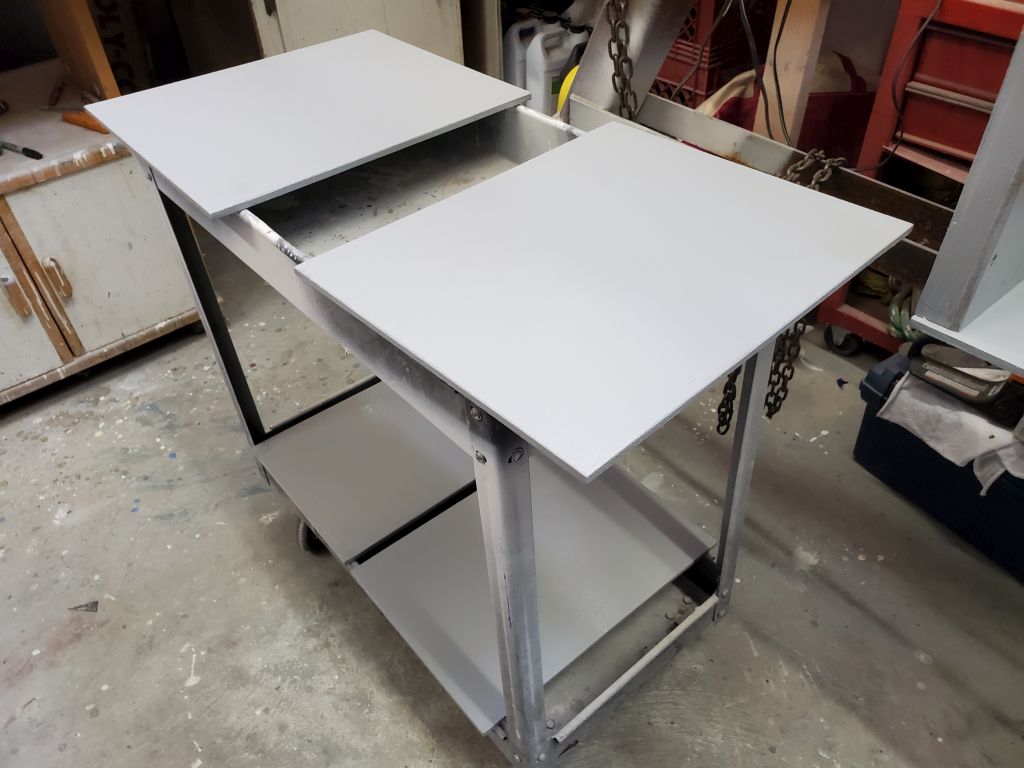
Speaking of the battery boxes, I was required to take care of one final task before I could call them complete and send them to the paint room (as it were): The boxes needed openings in the sides to allow passage of wiring, and which would also serve as vent holes. With large cables to be run in and out, I made the openings large (2″ holes), but narrowed the openings at the top to retain plenty of the solid wood banding there for the screws securing the top. I rounded over the openings on both sides and sanded things smooth before cleaning up the boxes and applying gray paint to all surfaces, including the front and top panels. (I’d already done a successful paint-curing test on some of the fresh epoxy.)


Total time billed on this job today: 6.25 hours
0600 Weather Observation: 30°, cloudy. Forecast for the day: Becoming mostly sunny, 46°