


May 5, 2021
Lyra 70
Wednesday
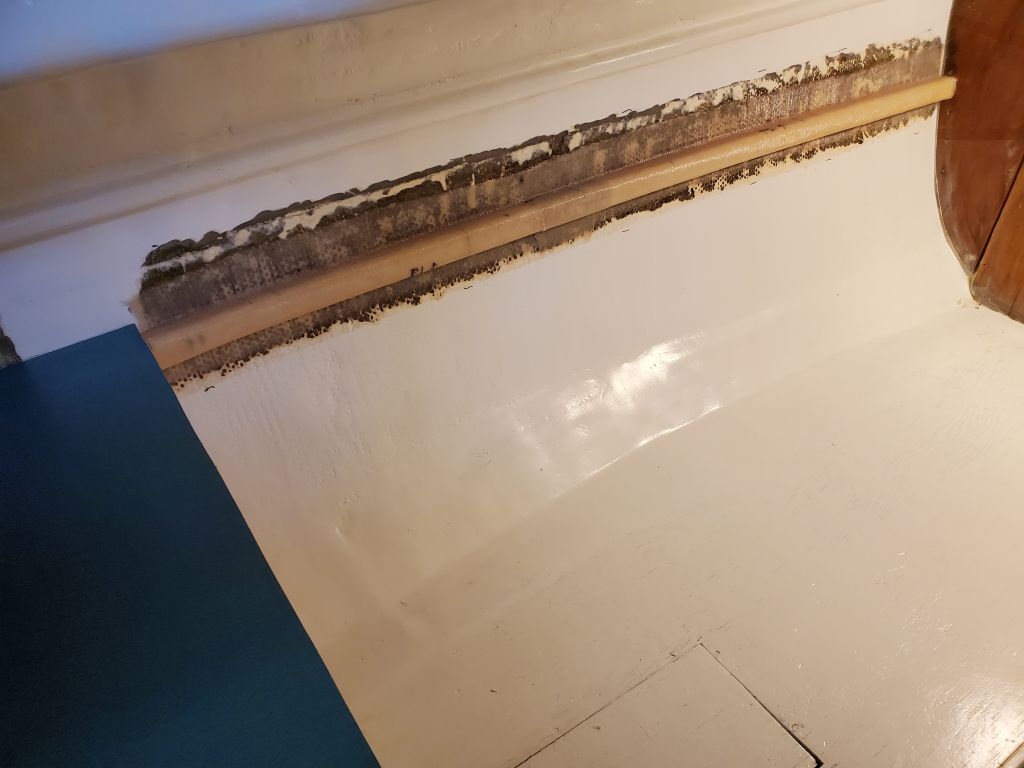
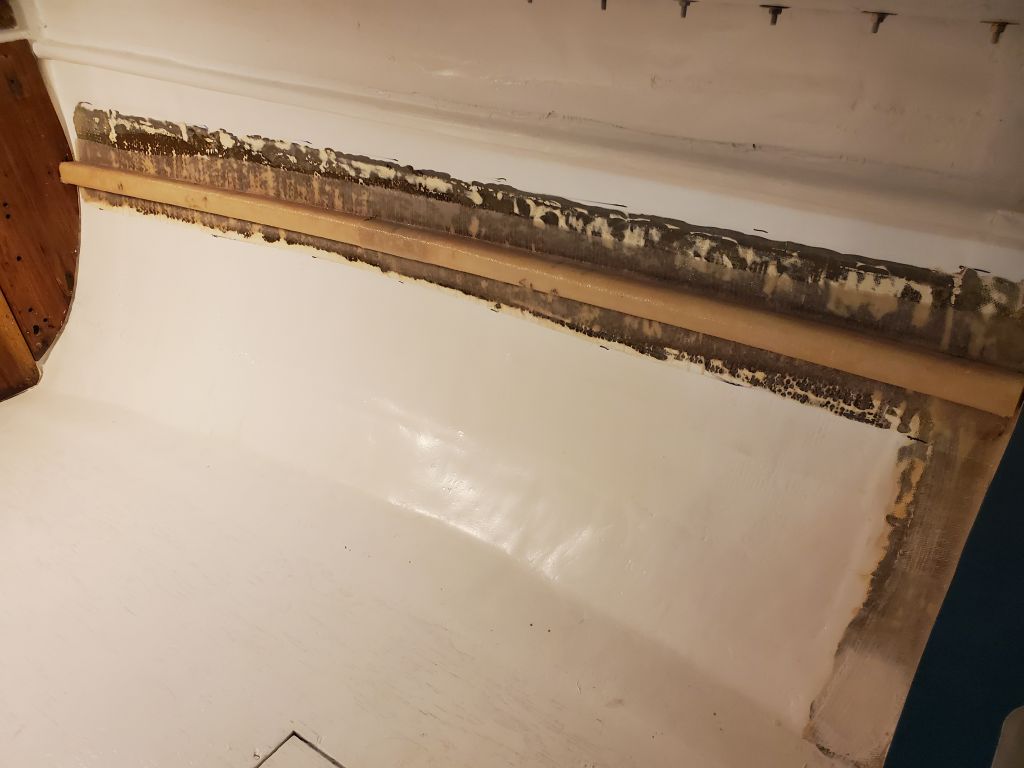
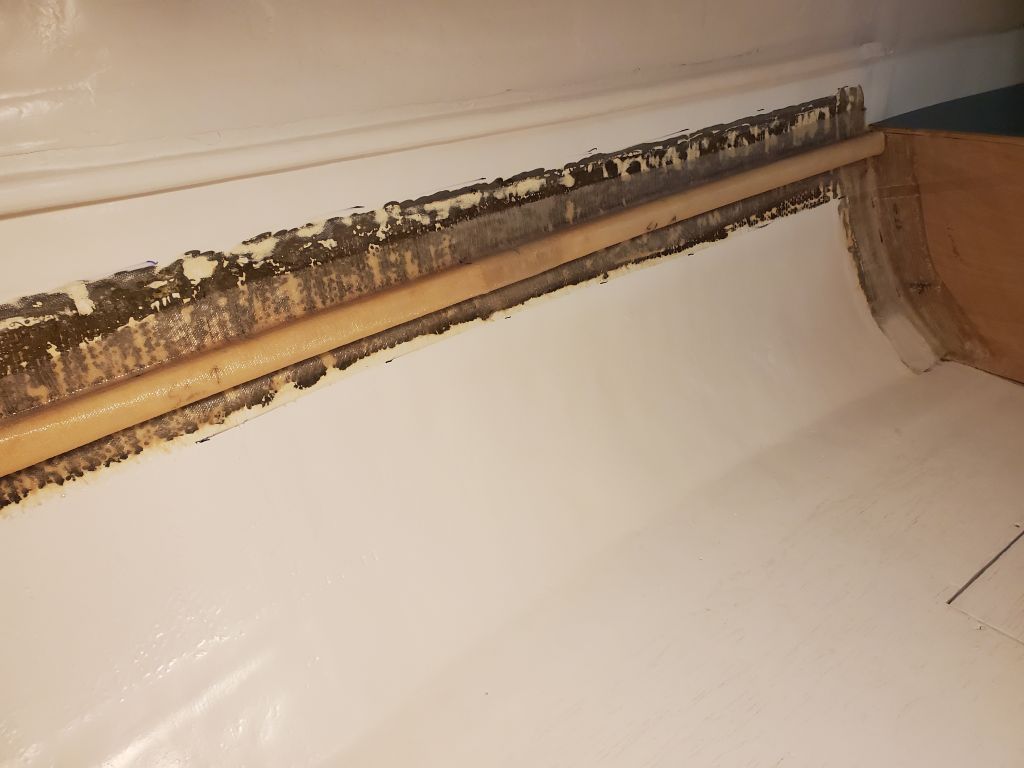
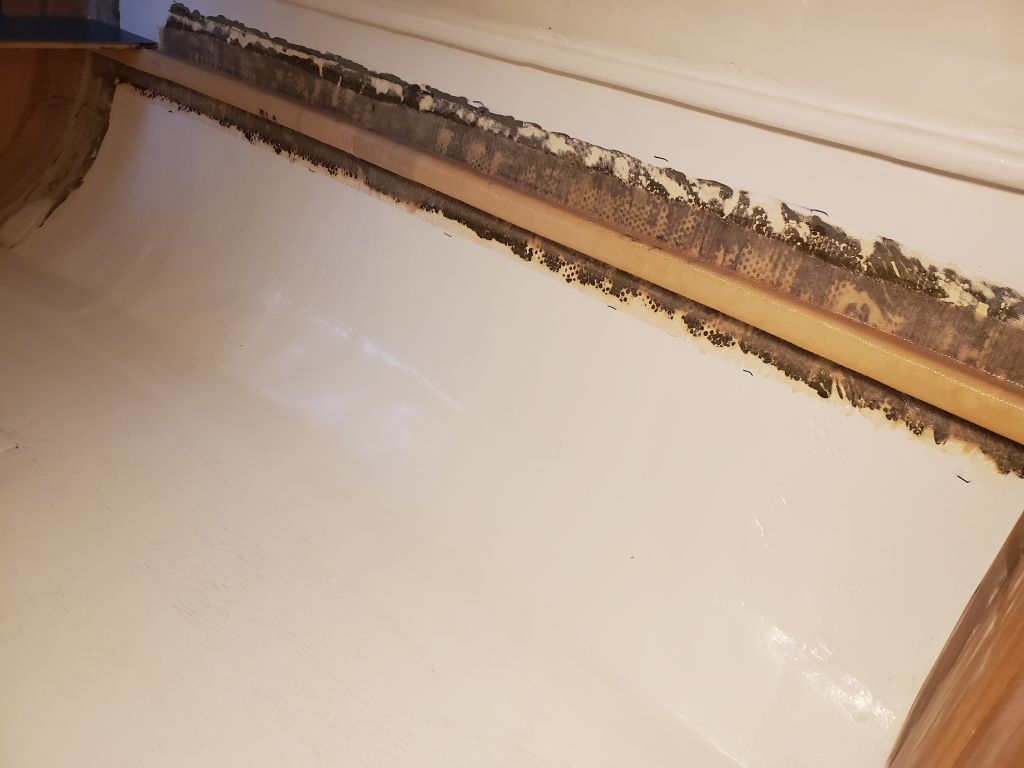
After prep and a light sanding, I epoxy-coated the new foam shelf supports and the hull on either side, both to prime the surfaces for fiberglass and, by allowing the epoxy to tack up slightly, to help the tabbing adhere to the surfaces and corners.
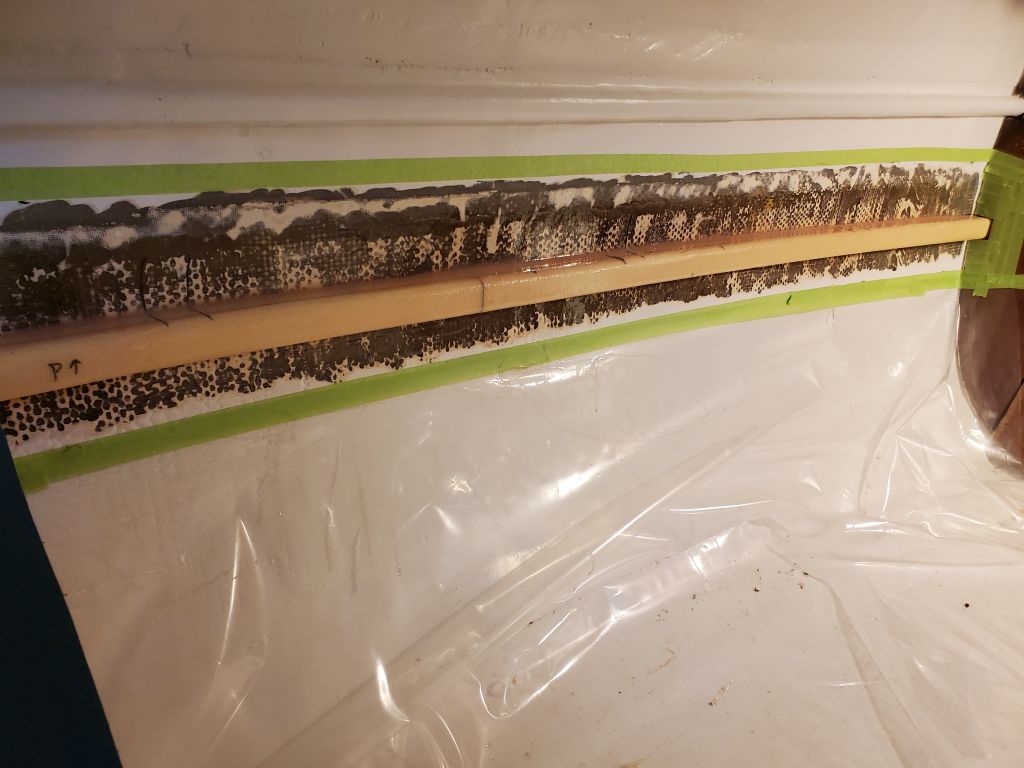
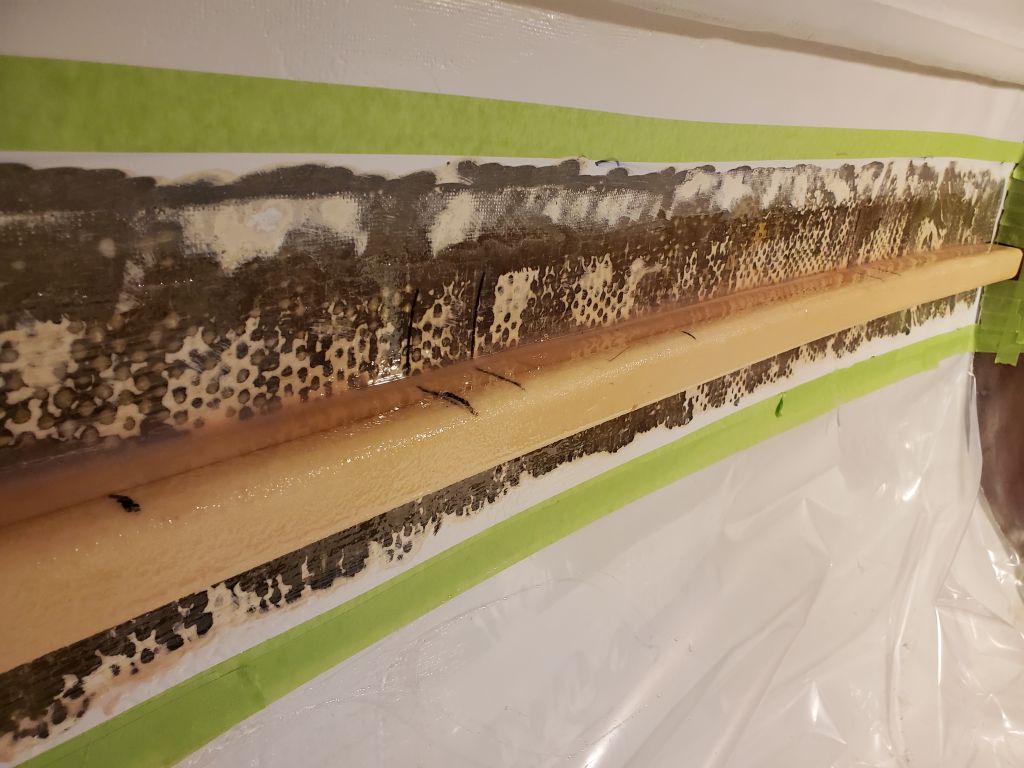

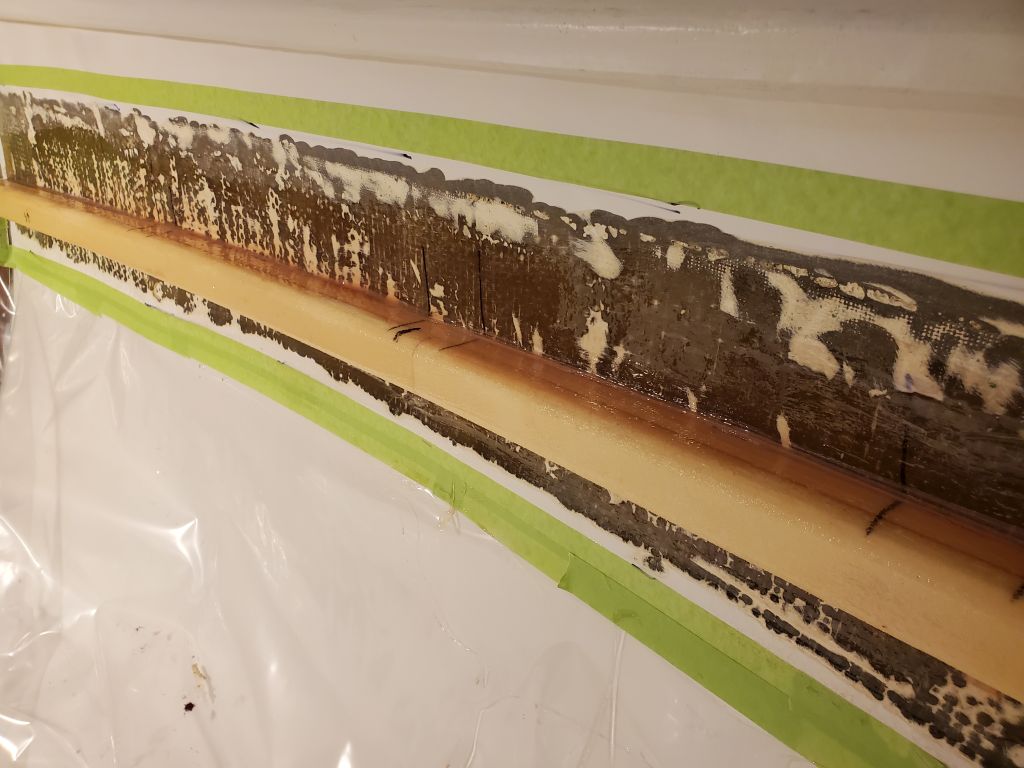
While I let that tack up for a little while, I cut lengths of 8″ wide biaxial tabbing to fit as needed. Then, after other final preparations, I wet out and installed the tabbing on both supports.


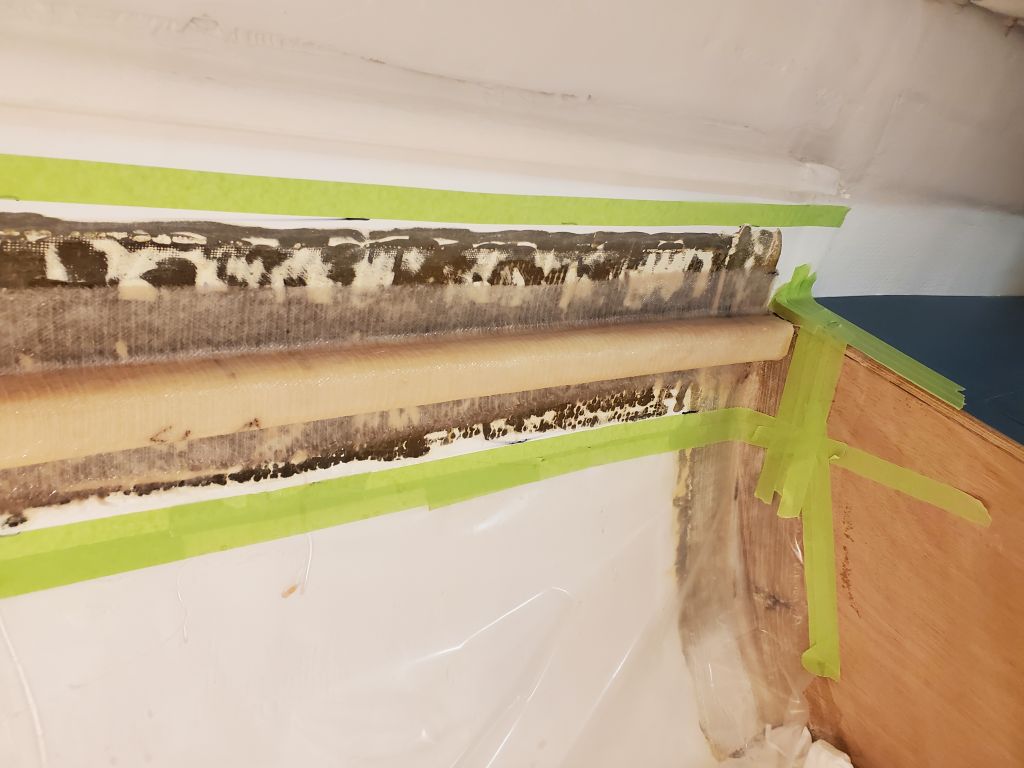
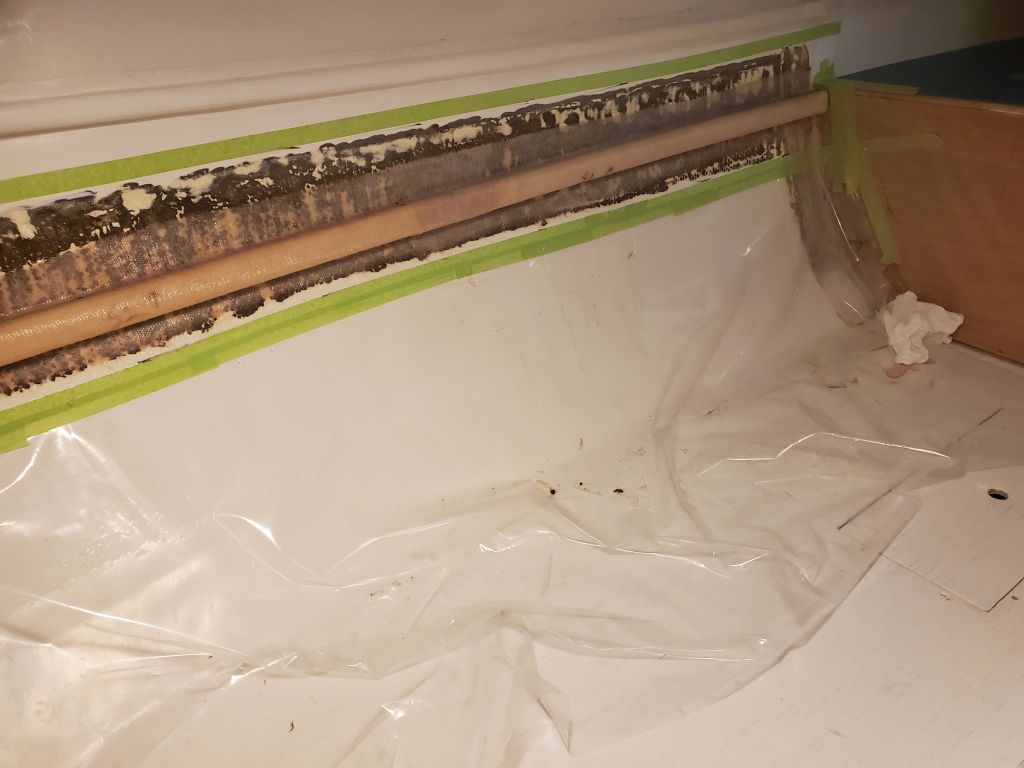
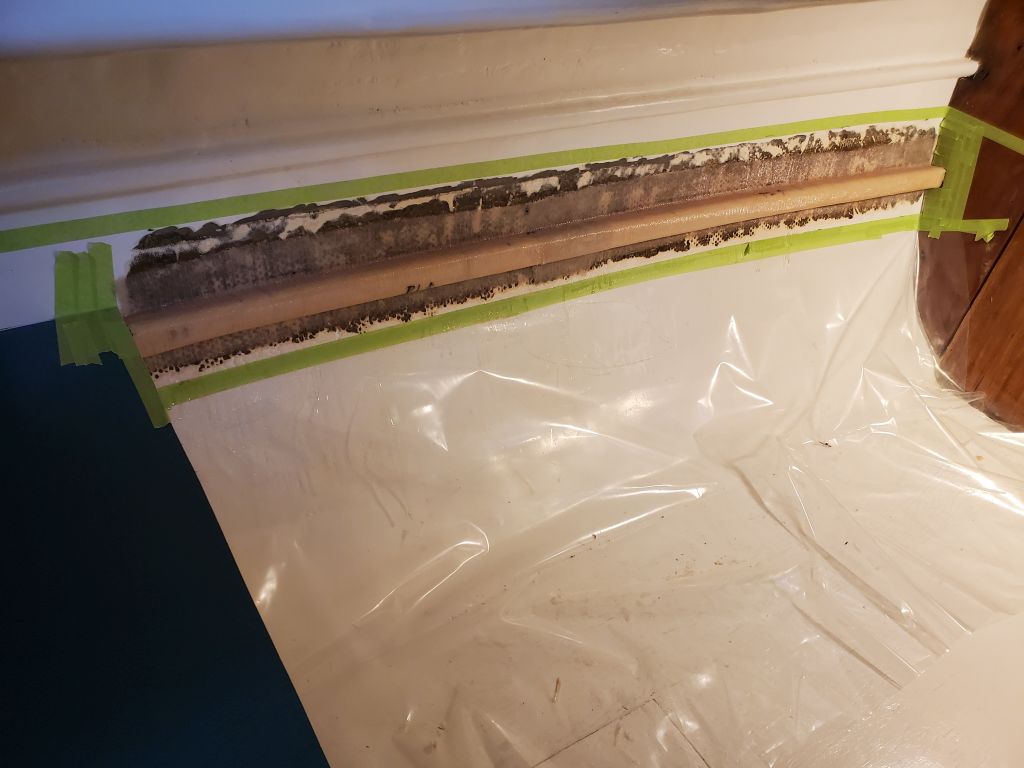

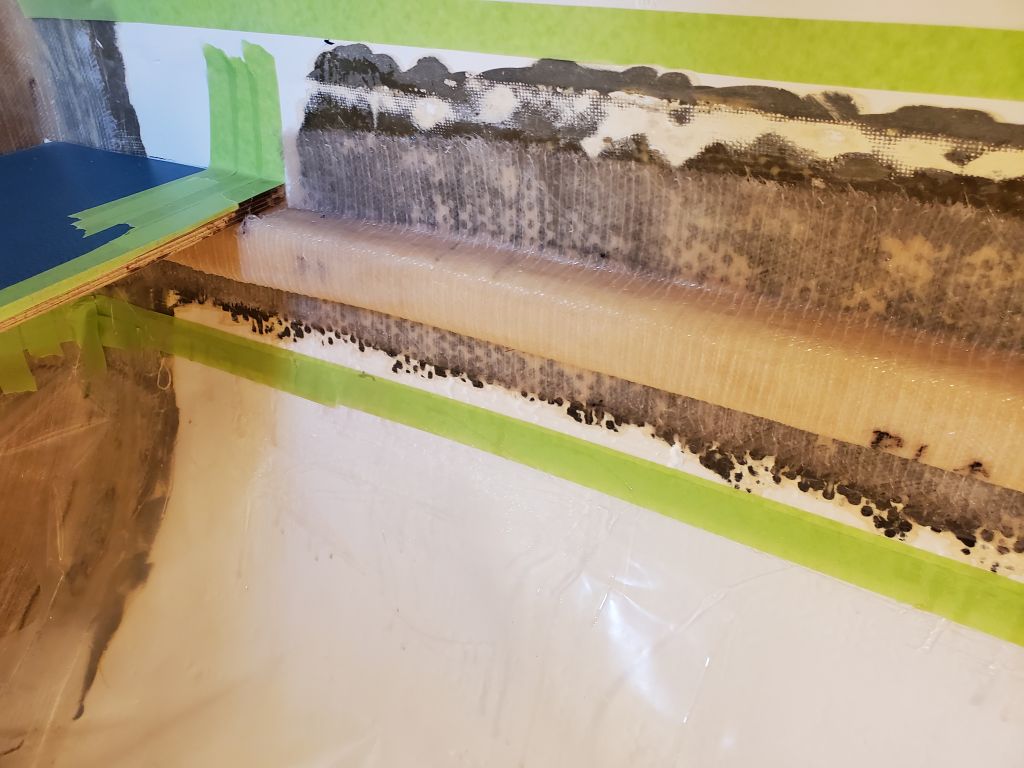
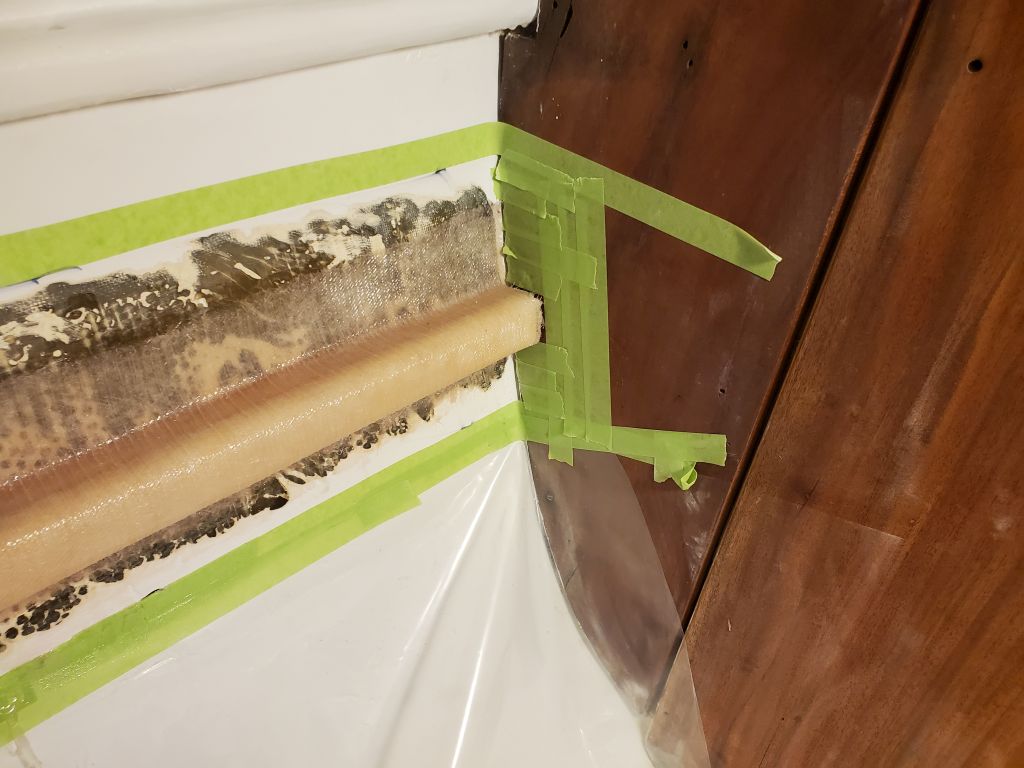

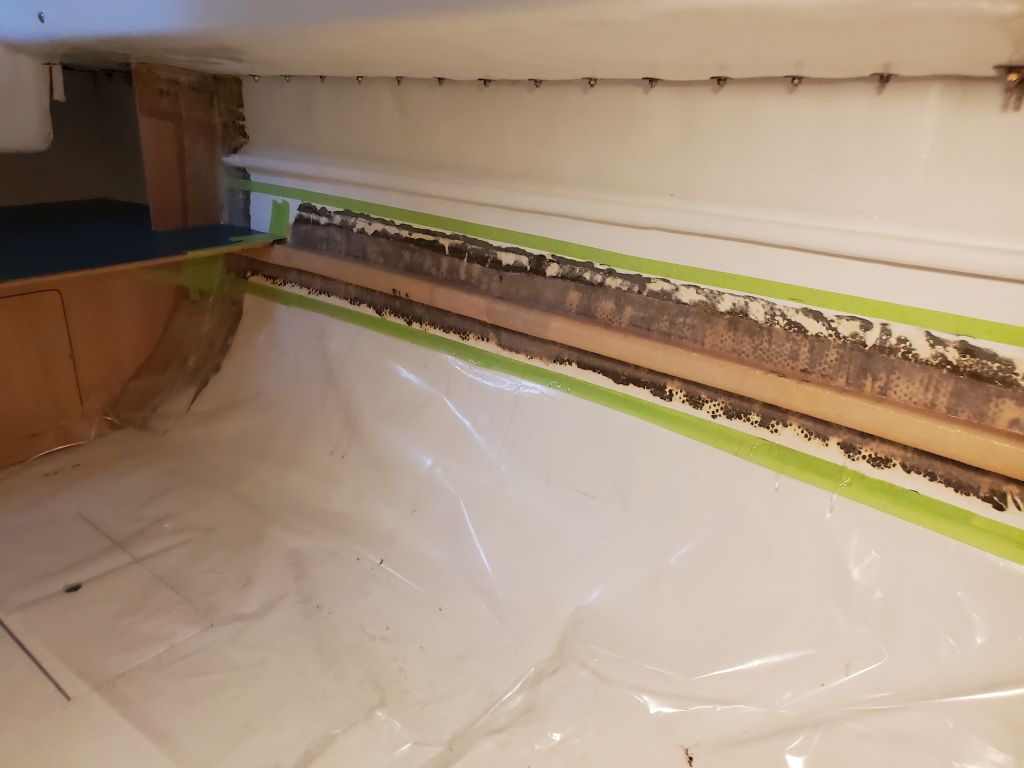

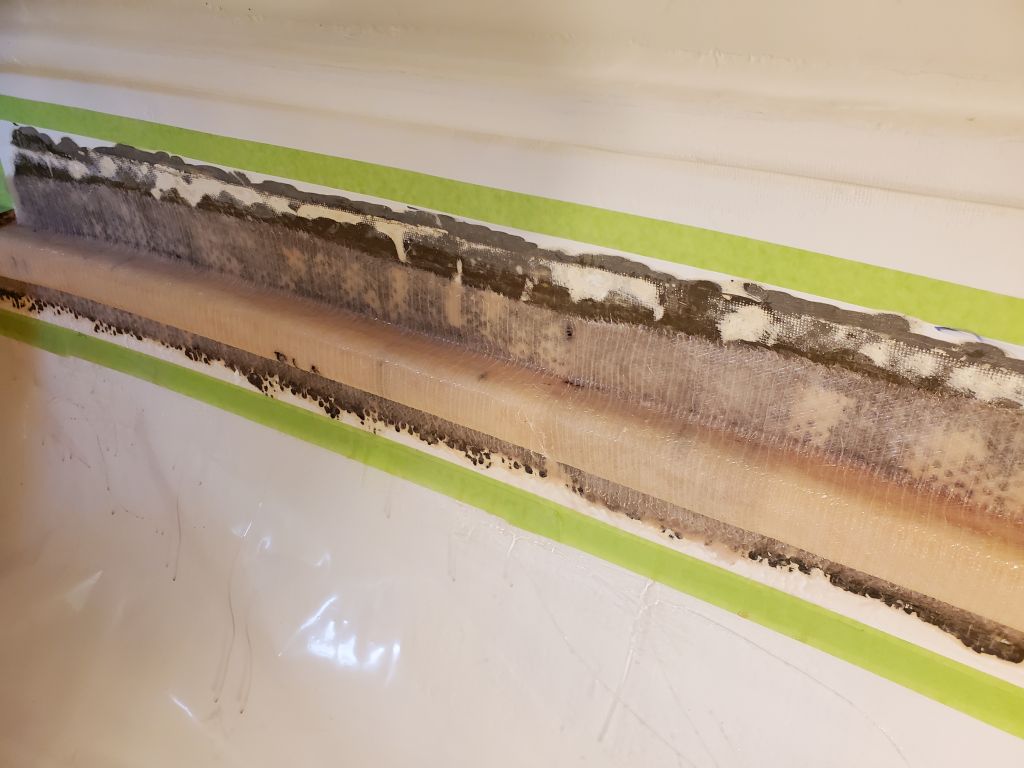
Later in the day, once the fiberglass had tacked up enough that I could be sure there’d be no resin drips or runs to come, I removed the masking tape and plastic–easier while the epoxy was still green than when fully cured.
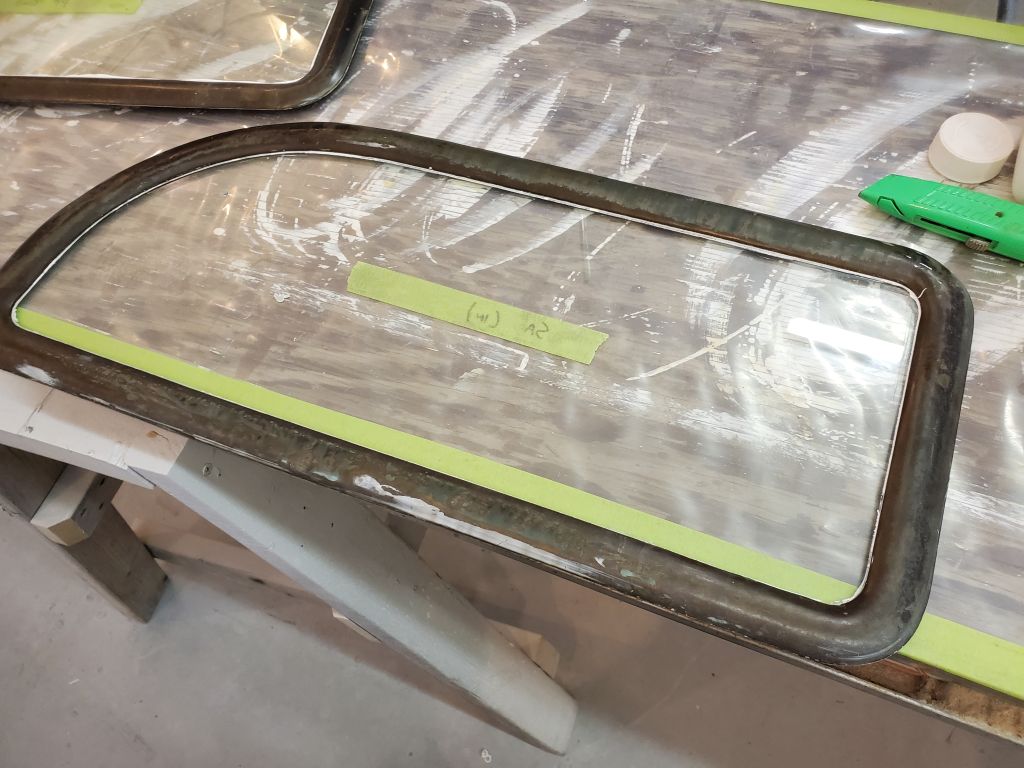
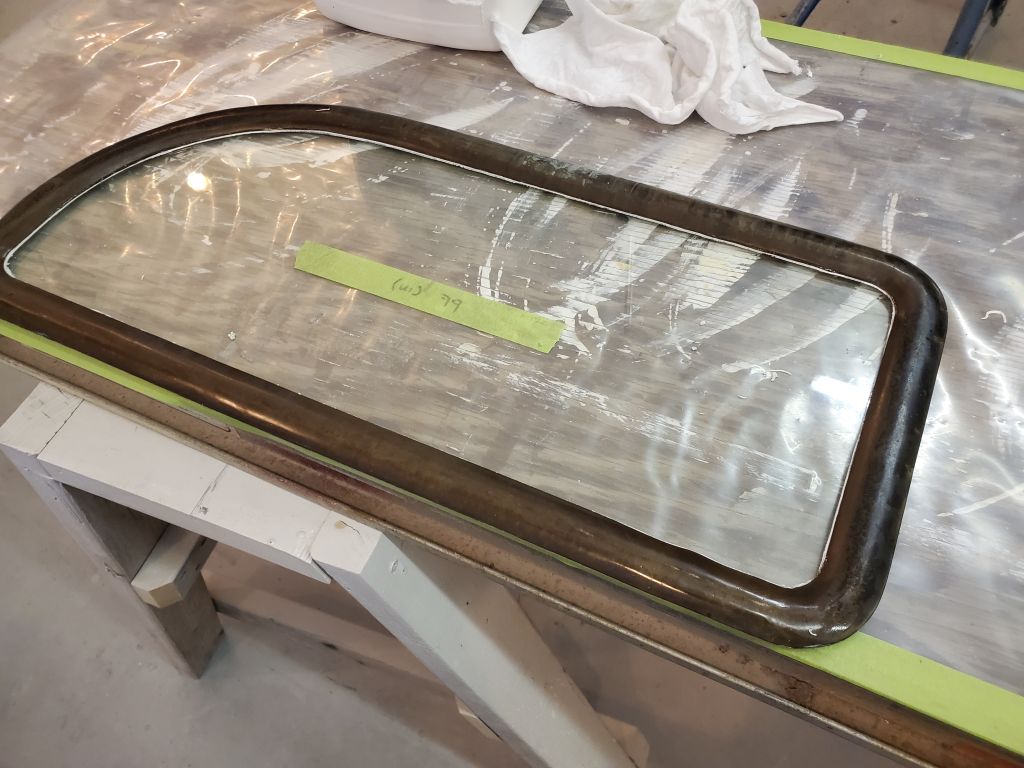
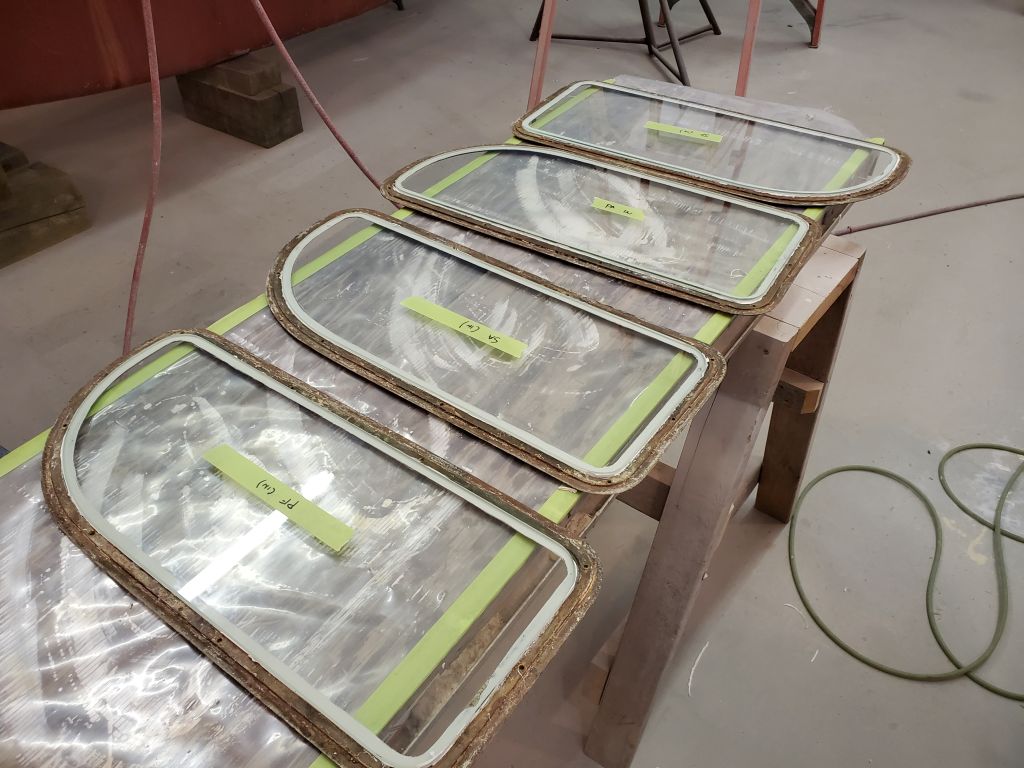
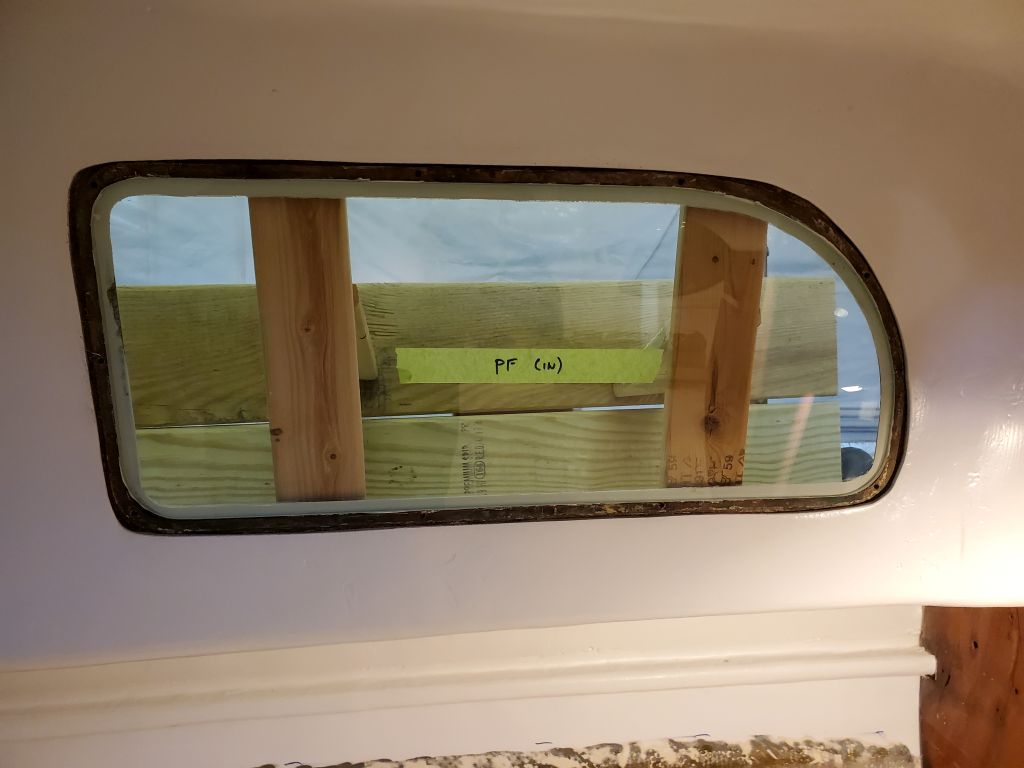
The sealant securing the lenses in the deadlight frames was cured enough now that during the afternoon, I could trim the excess from both sides, the first step towards final installation.

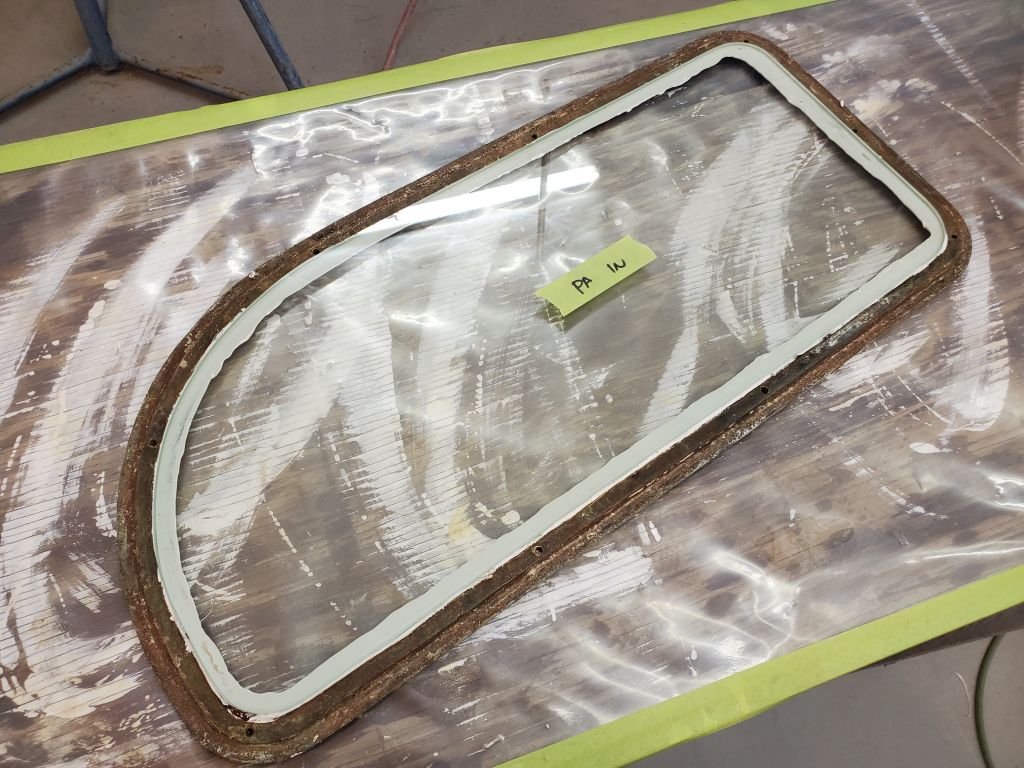


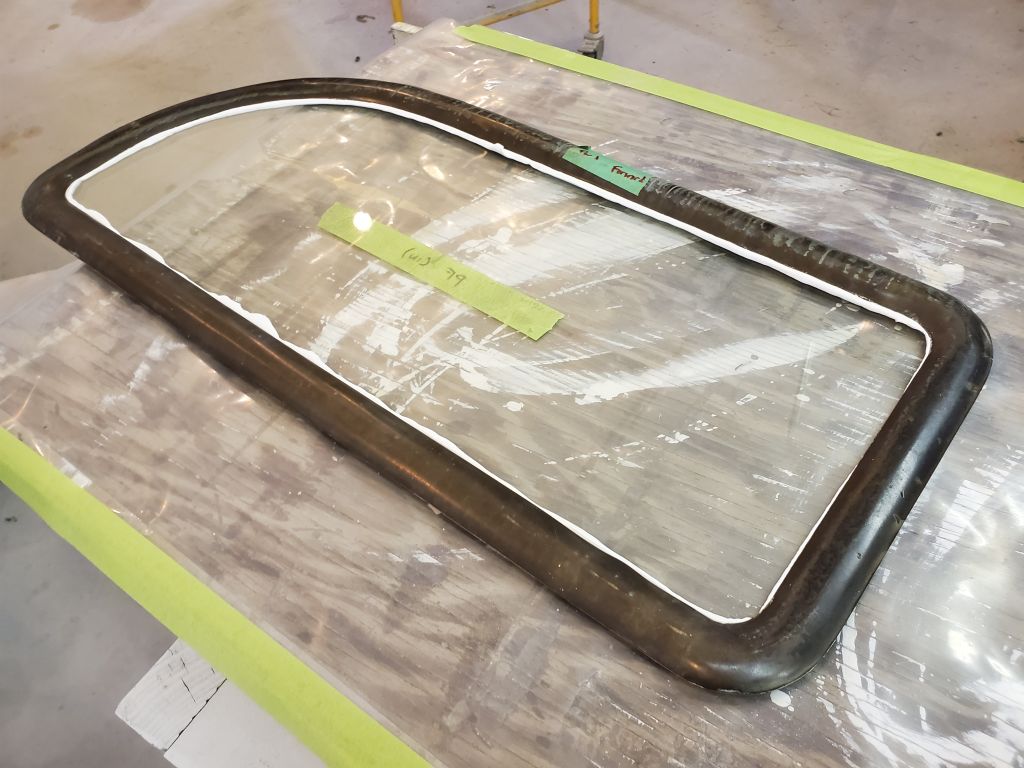
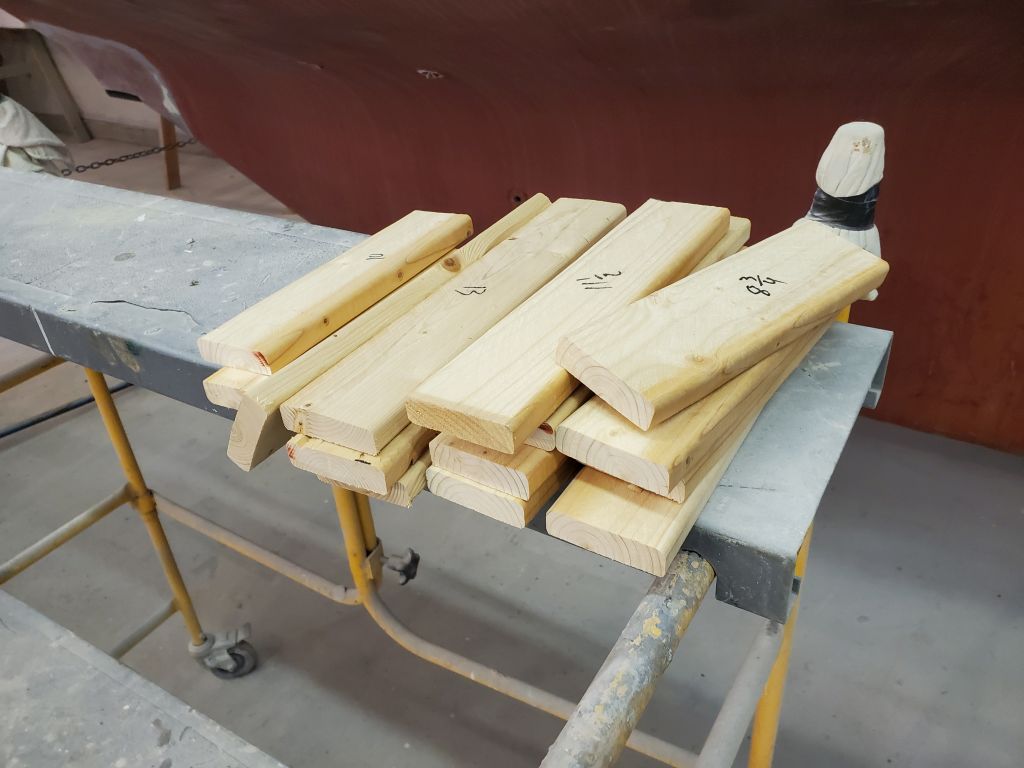
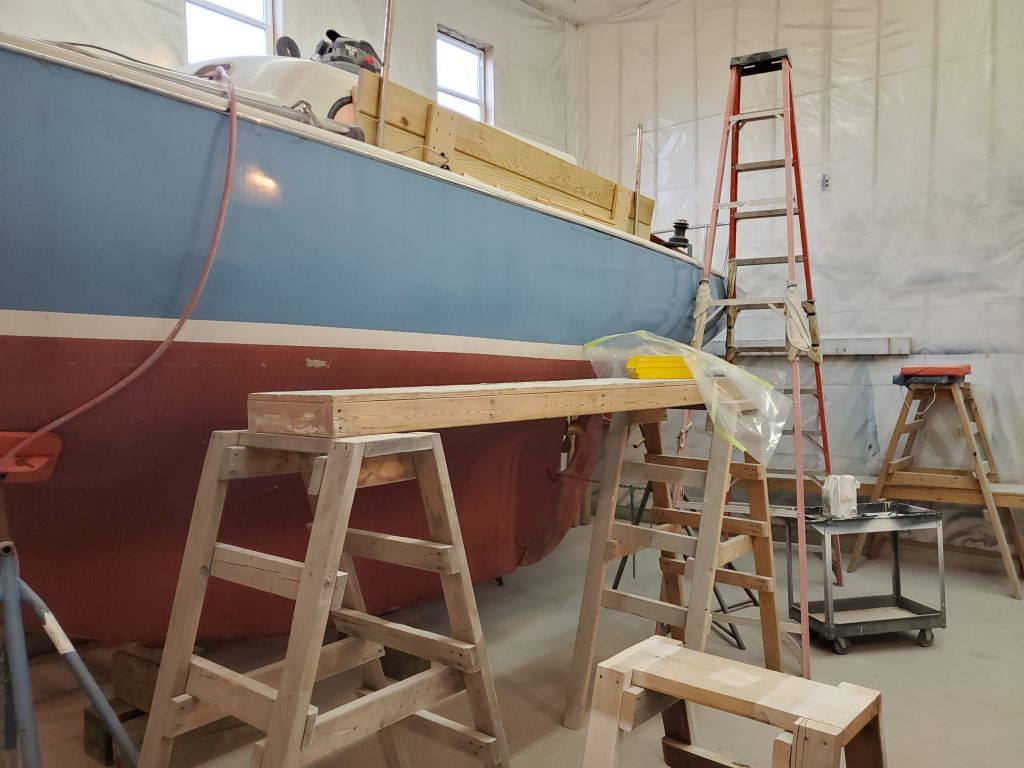
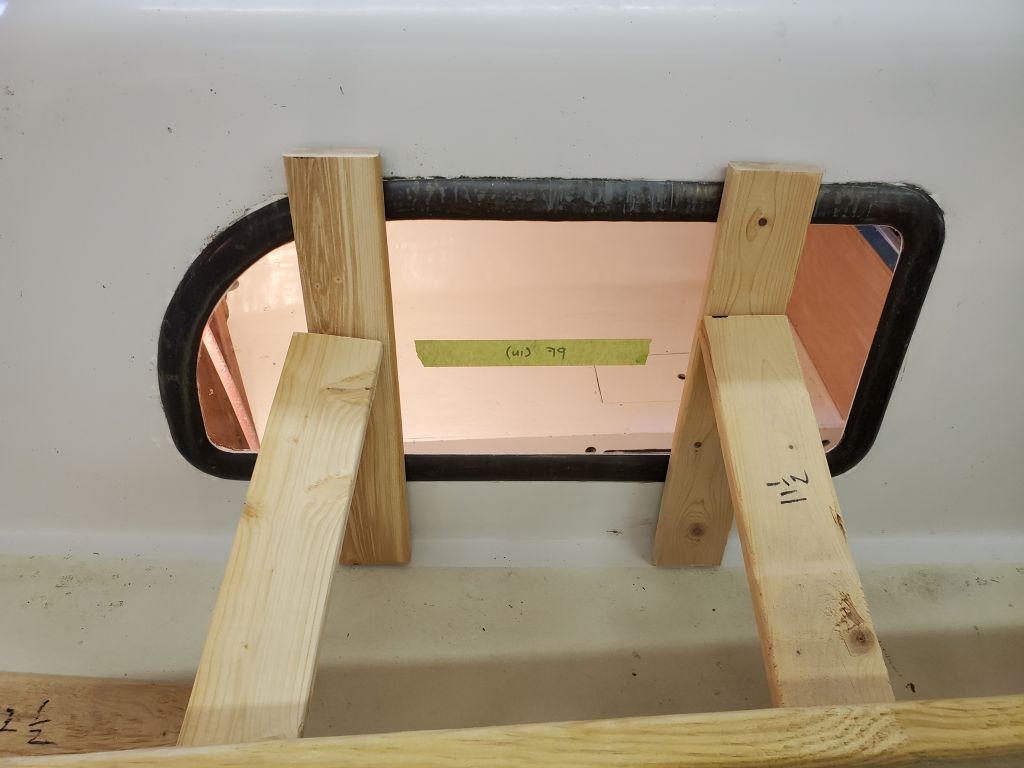
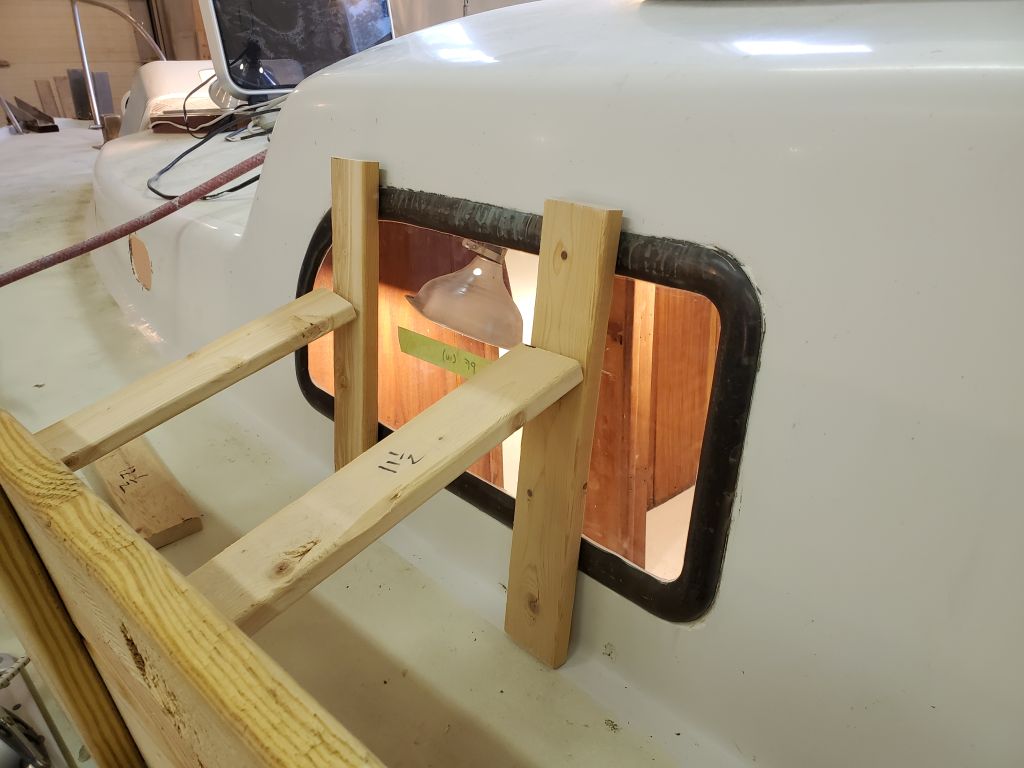
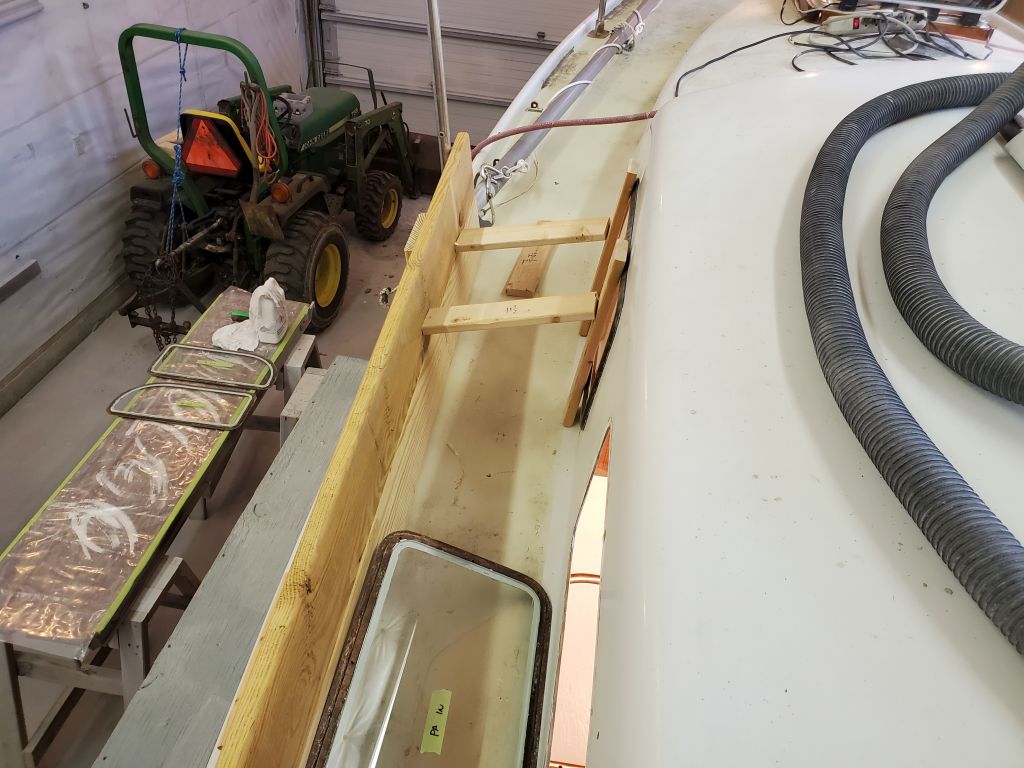
To install these alone, I needed to work out a way to hold and brace the frames from outside, so I could go inside and fight with the fixing screws. To this end, I used scrap lumber to build a bracing wall that rested against the stanchions on either side of the deadlight area. This panel would allow me to use short strips of strapping to press the frames tightly into position as needed. I mocked up the two port frames so I could measure for some rough lengths for the braces, but ultimately ended up cutting two of each size from 13″ to about 10″, in half-inch increments, which would give me ready options at hand for each specific frame. To allow me space to work, I set up staging on each side; it was a tight fit against the wall to starboard, but it would do the job. There was no way I could do this from on deck, particularly with the bracing situation.

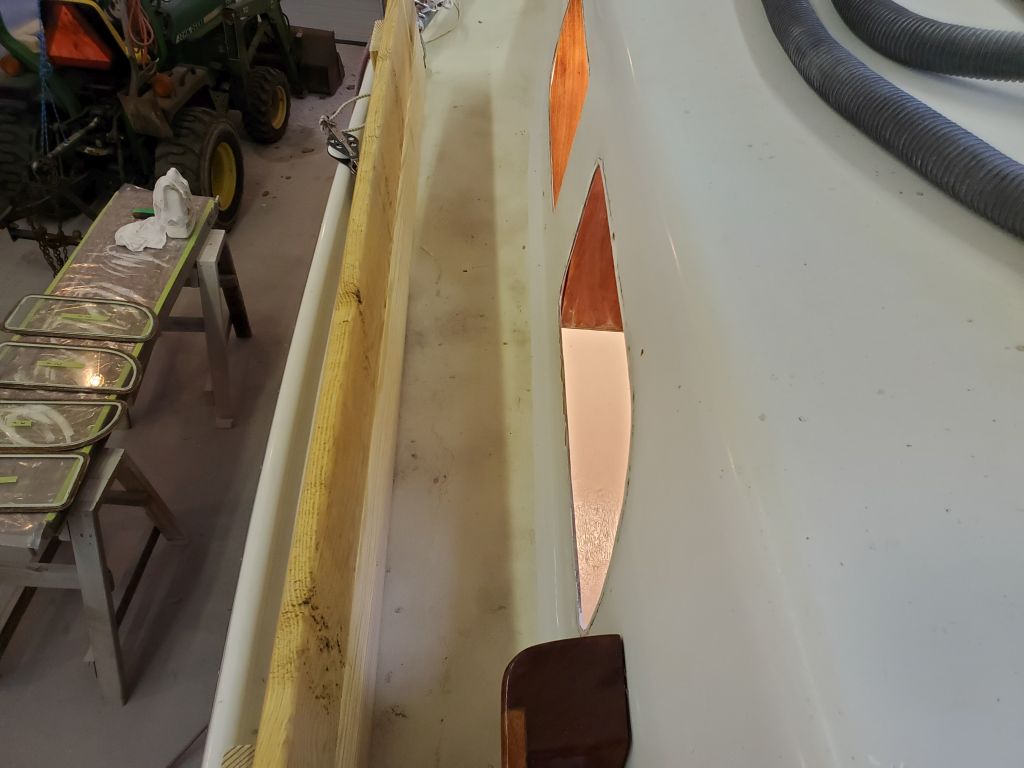

With those basic preparations complete, I dry-fit the port forward frame with the braces to check out the setup. I’d take these one at a time and work my way through. I’d done a fair number of installations of this type of frame, and they tended always to have some fun surprises in store along the way, so all I could do was take those lessons learned and be as prepared as possible.
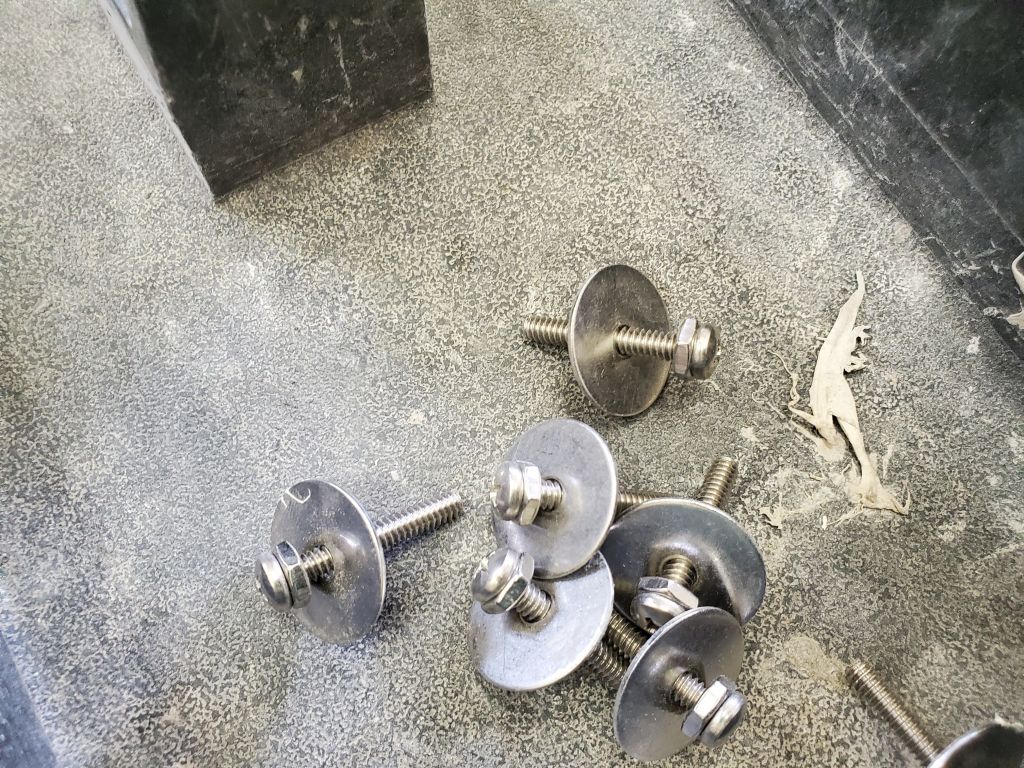
I had enough #10 x 1/2″ screws on hand to theoretically secure the frames, but knew there might be a need for other lengths. I couldn’t find my supply of #10 bronze machine screws–the bin was either staring me in the face, or misplaced somewhere, but either way I couldn’t put my hands on it–so earlier I’d ordered a range of lengths, which I thought would be here on the morrow. But even with various screw lengths, I knew I’d probably need longer bolts with nuts on the inside to help align and pull the frames together initially: By threading the bolt in till it bottomed out, and tightening the nut, I could pull the frames together regardless of actual screw length, then change the fasteners later. So I made up a few of these assemblies to be ready.
Total time billed on this job today: 4 hours
0600 Weather Observation: 48°, cloudy. Forecast for the day: Showers, AKA periods of rain, 49°