


May 6, 2021
Lyra 71
Thursday
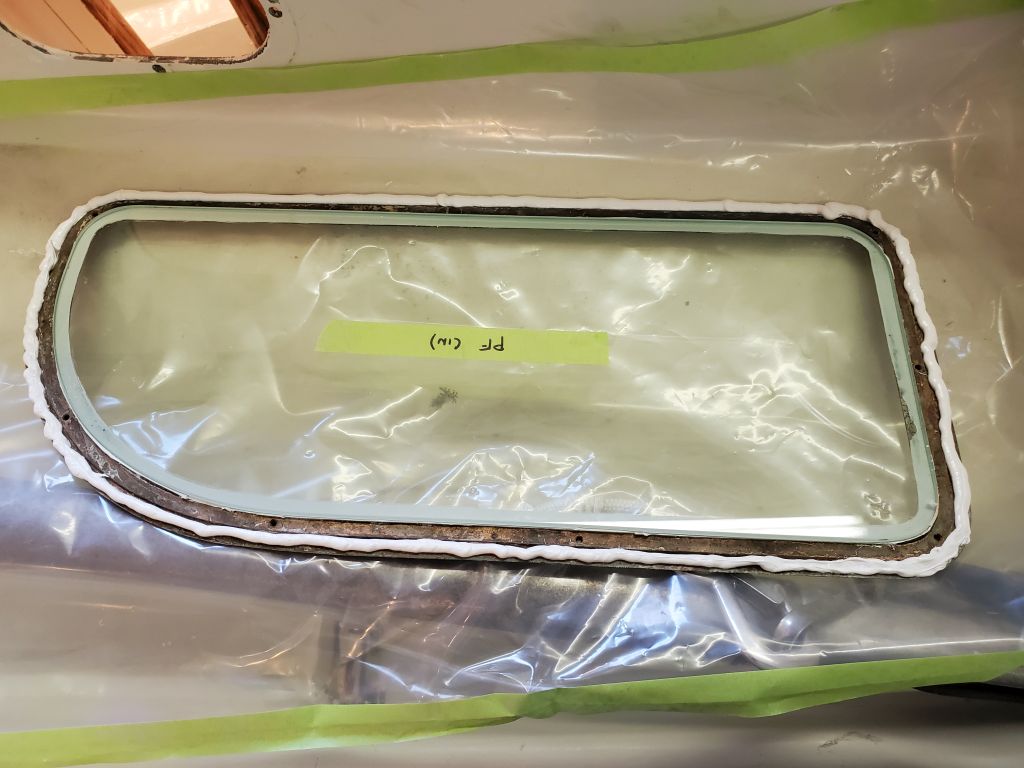
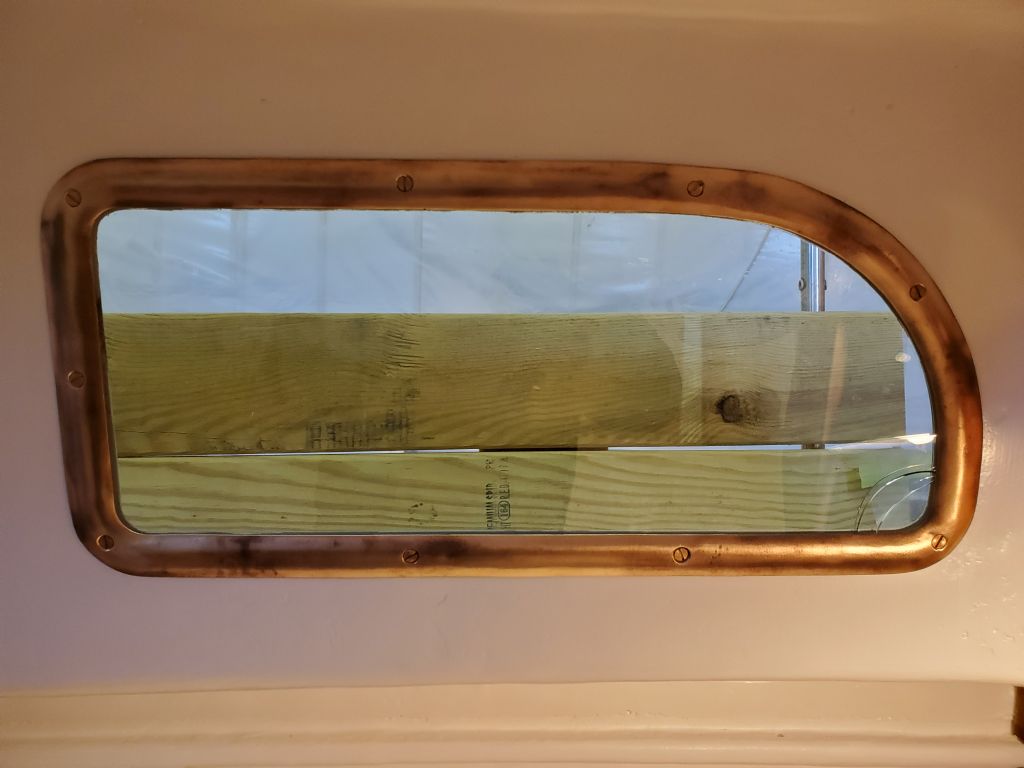
Bright-eyed and bushy-tailed, I got right to work on the deadlight installation, starting with the port forward unit. No greater motivator exists than the tantalizing thought of being done with deadlight installation. I applied sealant around the outer edge of the frame, then carefully inserted it in the opening and braced it tightly in place.
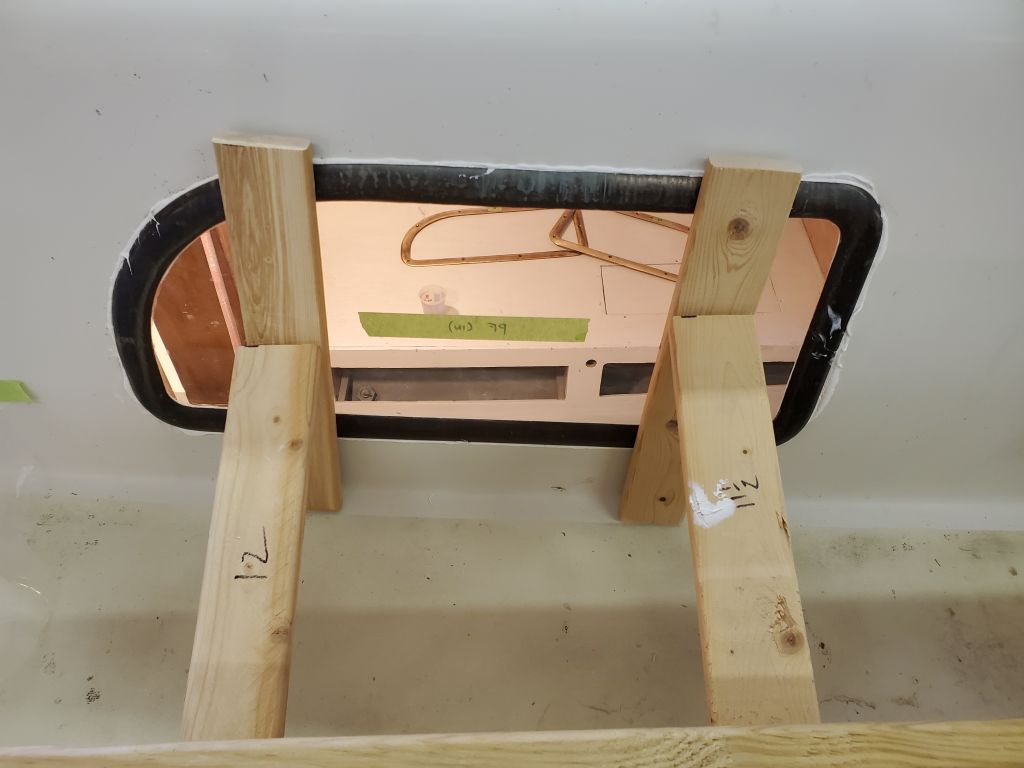
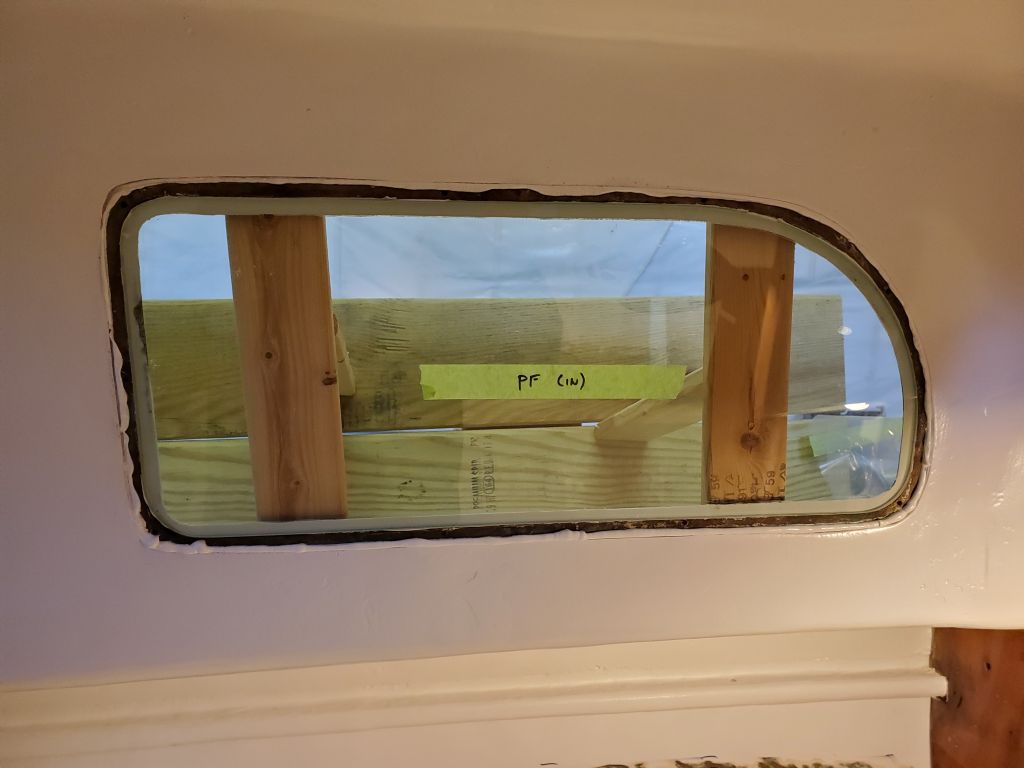
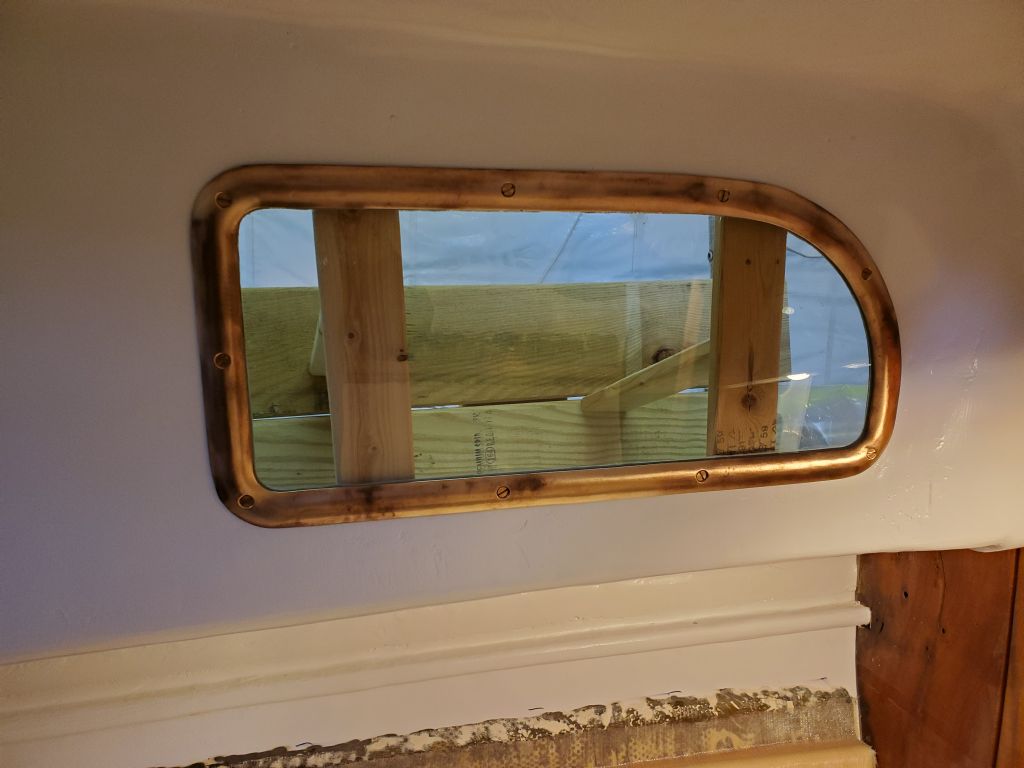
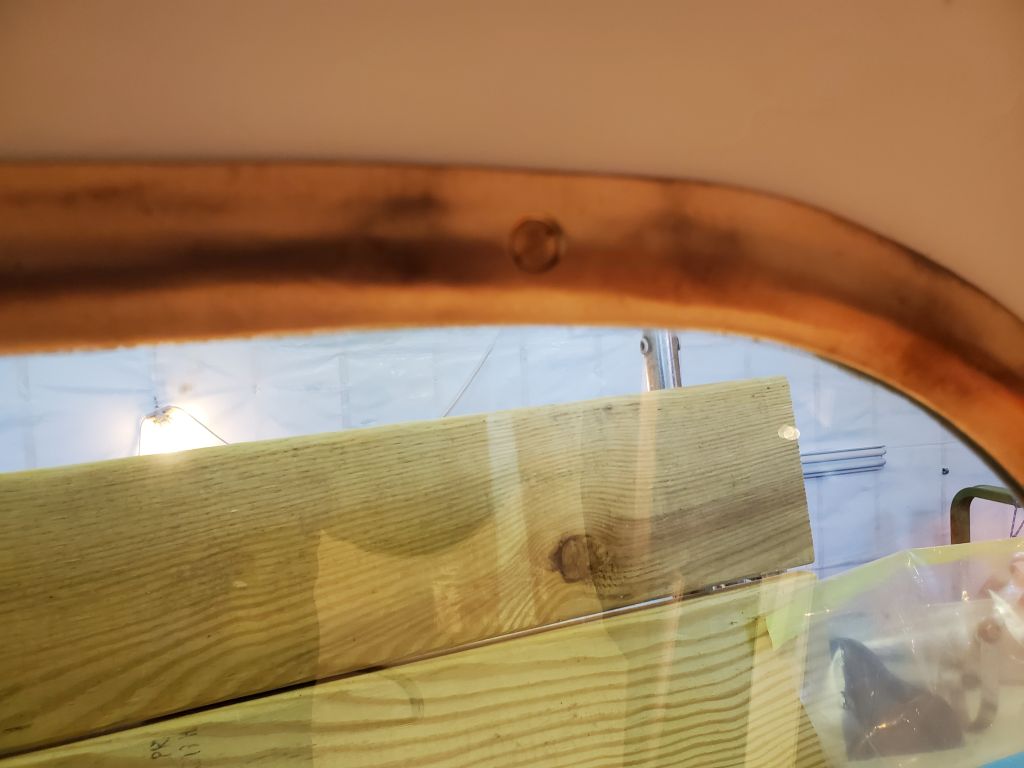
Inside, I installed the interior frame, which went well and quickly. I got all the screws started first, and I was careful as I went and maintained as even pressure as possible on the various screws as I tightened things down. The good news was that the bracing system worked well, and I had no trouble starting all the screws with the outer frame and glass held in position thus.
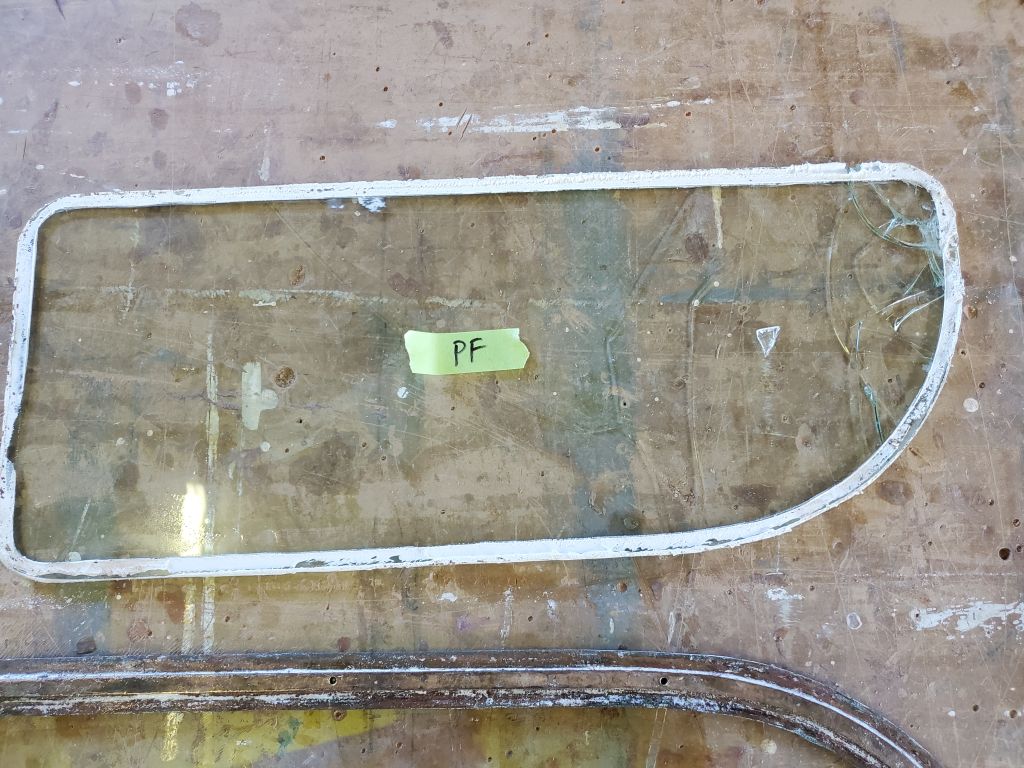
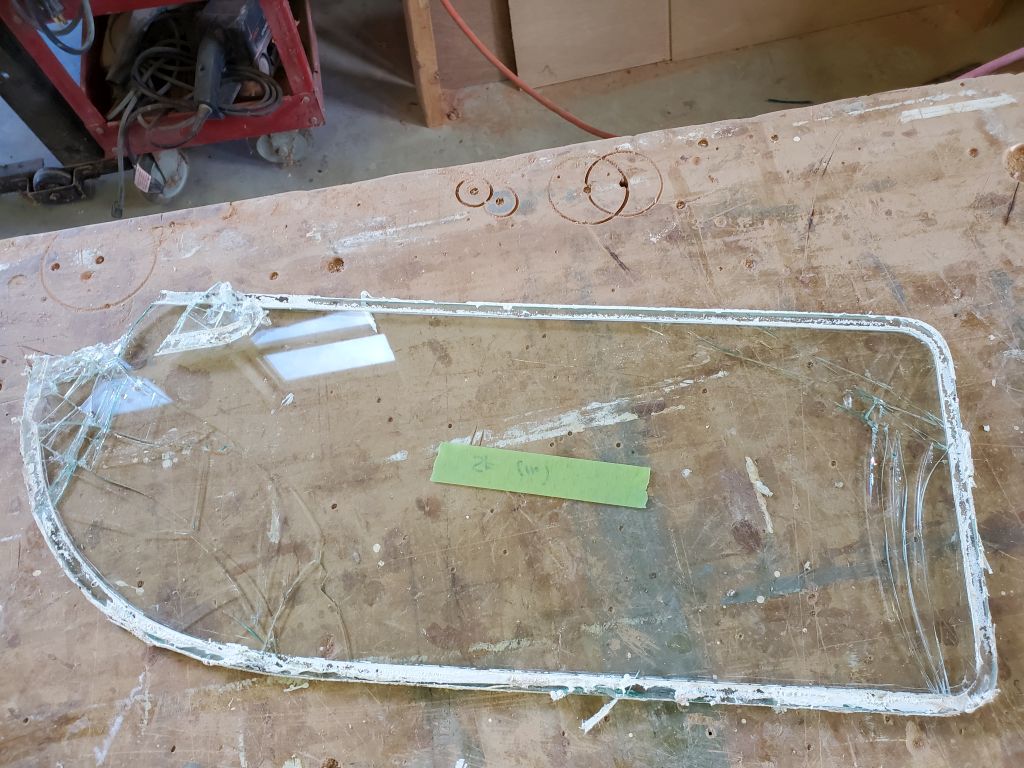
Then the day went downhill: The glass cracked at the forward lower corner, all on its own. And also at a spot at the top of the glass.
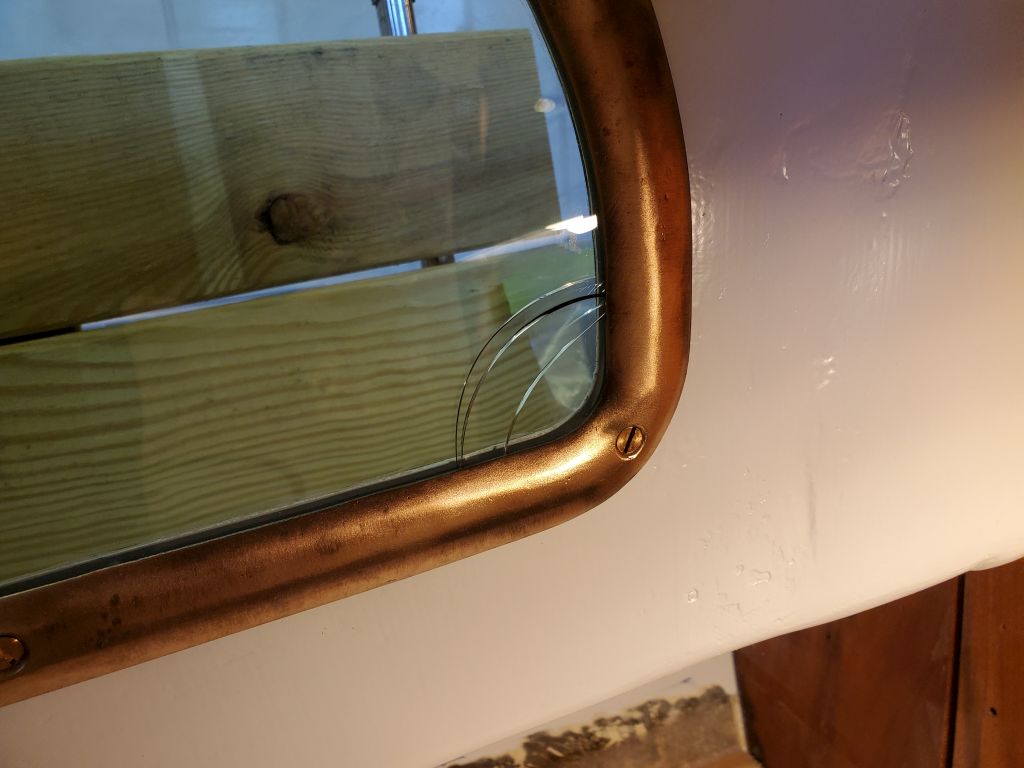
Was was worse, and all the more troubling, about this was that the outer frame wasn’t yet even tightly pulled in at that forward corner: I could still move it in and out with fairly light pressure.

This was devastating. This was a known potential all along, but I’d removed (and later reinstalled) glass deadlights in a sistership many years before, so when the owner had the glass lenses made I thought it would work, with cautions and care. It didn’t. These lenses today were 1/4″ laminated glass; the glass in the previous iteration was tempered safety glass. I’d had a problem with laminated glass on an Alberg 30 many years earlier too, which ultimately led to replacement with acrylic.
But there was nothing for it but to remove the frame, and regroup. There was no sense trying any of the other frames because they were doomed to failure. I couldn’t leave this one in place because the cracking was catastrophic, and the way laminated glass works any cracks tend to grow with time, pressure, heat and cold, and movement.
With the boat scheduled to leave the shop just 5 days hence, two of which were weekend days, I couldn’t waste any time. I ordered enough 1/4″ cast acrylic for the job as soon as I’d been in touch with the owner about the setback. I needed to get the new lenses installed as soon as they arrived Friday, giving them two days over the weekend to cure in place, then do the final installation on Monday. (Fortunately, the owner was later able to reschedule the transport a little later in the week, giving me some breathing room.)
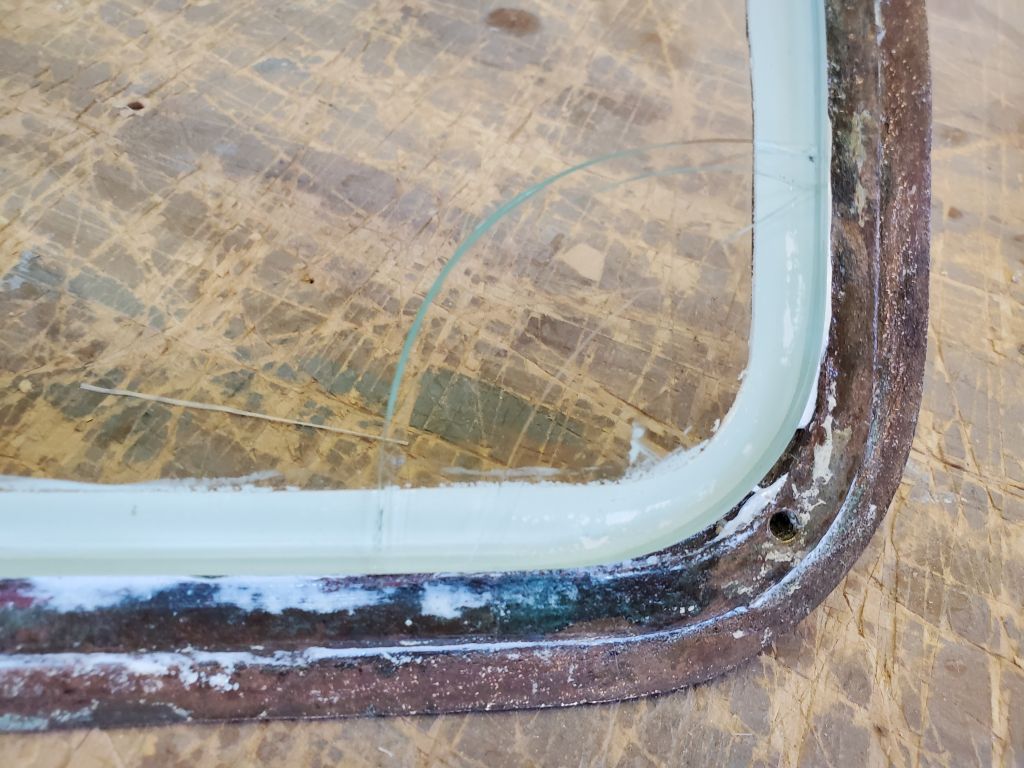
Next, I removed the frames without issue and cleaned up the sealant. In the process, the smaller crack at the top of the lens grew through the whole plate.


The problem with glass lenses in cases like this is the frame and glass have to bend slightly to conform to the shape of the cabin trunk, and, worse, the way the frames pin the lens between them, along with the inconsistent clearance and cabin thickness on these boats, even moderate screw pressure creates uneven hard spots on the glass, which then leads to the cracks. There’s no way to cushion this or add soft gasketing because of the nature of the frames and the minimal clearances.
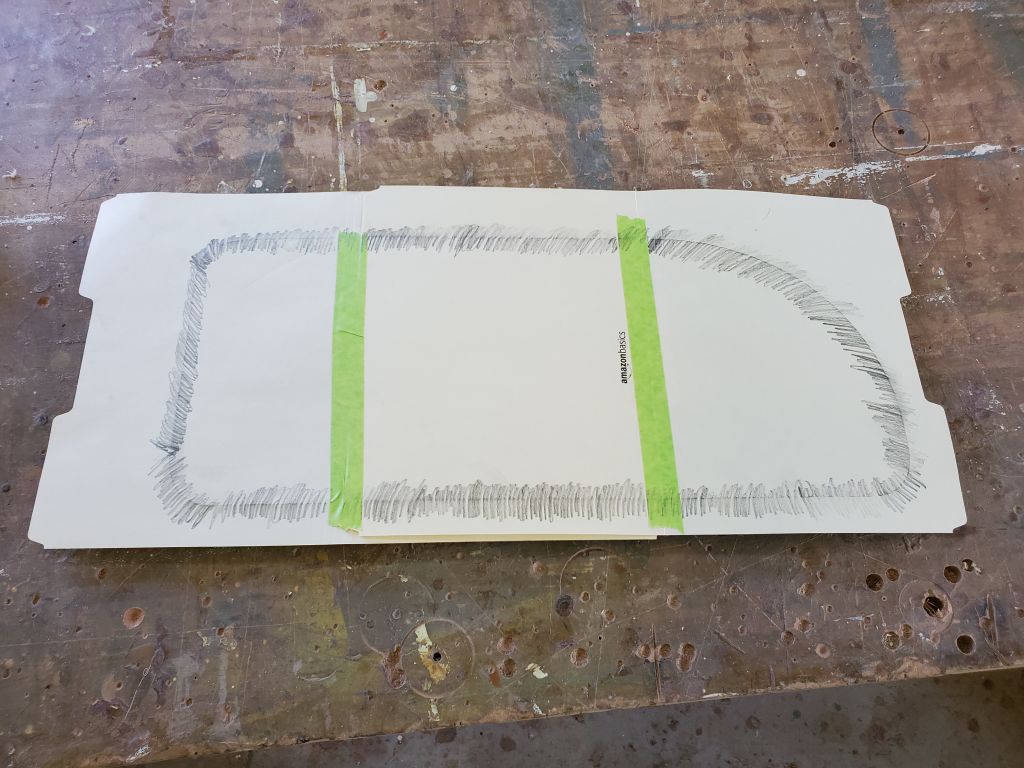
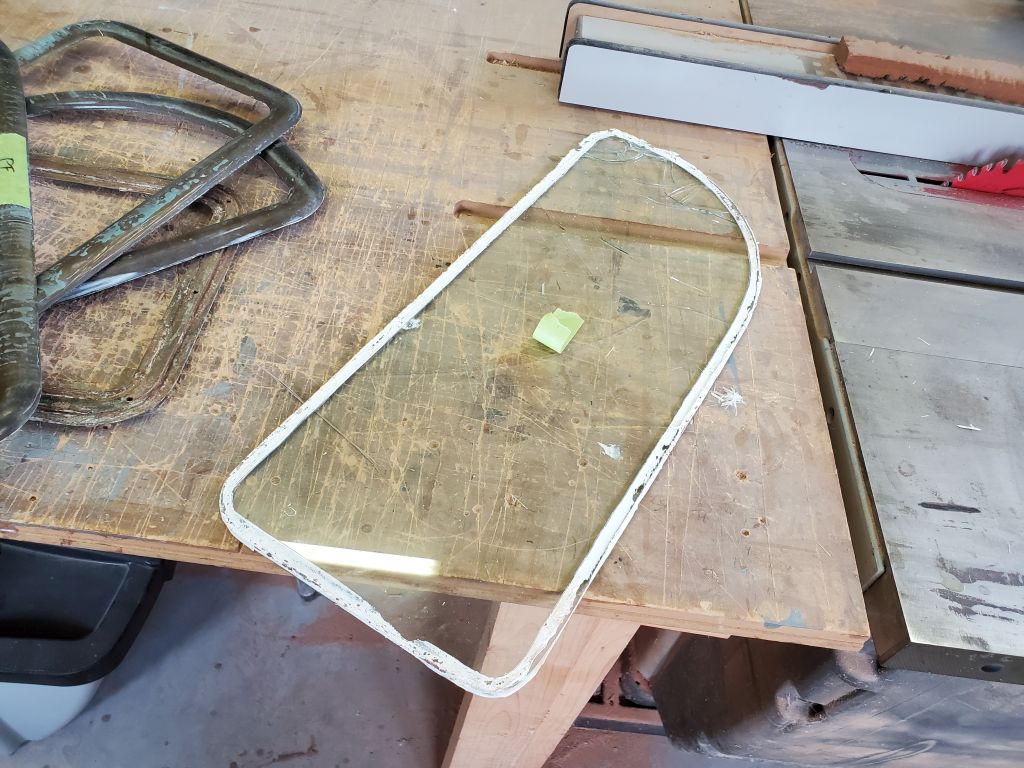
I made a template of the lens now, since I didn’t think there was any chance of the lenses coming out of the frames intact. There wasn’t room to trace around the exposed side of the lens if I laid it on top of the template material, so instead I made a rubbing of the edge from above.
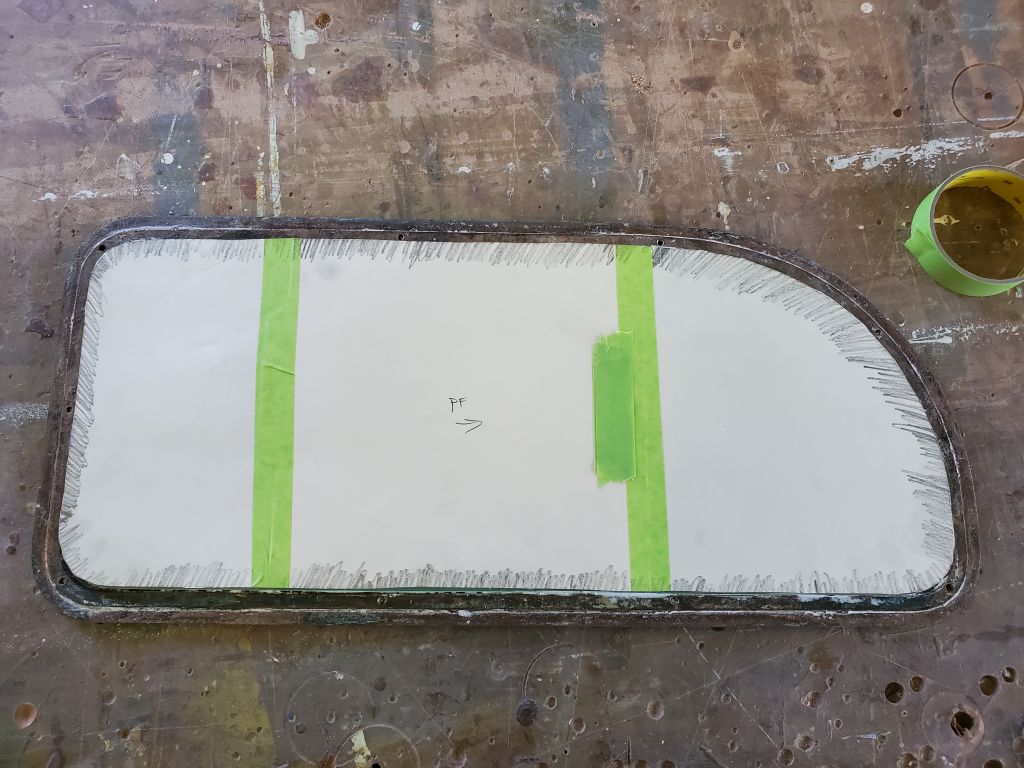
Satisfied with the template–and the owner had previously told me that all four lenses were cut the same by the glass shop, so a single template should do the job–I removed the offending lens, using heat to soften the adhesive, heavy gloves, and my favorite prying/scraping 5-in-1 tool. With one corner already compromised, it was pretty easy in this case to get the blade started, and once I got it inserted between the frame and the glass it was pretty easy to remove the whole thing in short order. This one maintained its overall shape well enough (with only the broken forward corner, which was still held together by the clear fabric in the center of the lamination) that I could use it to make a second, traced template (which ended up corresponding well with the original).

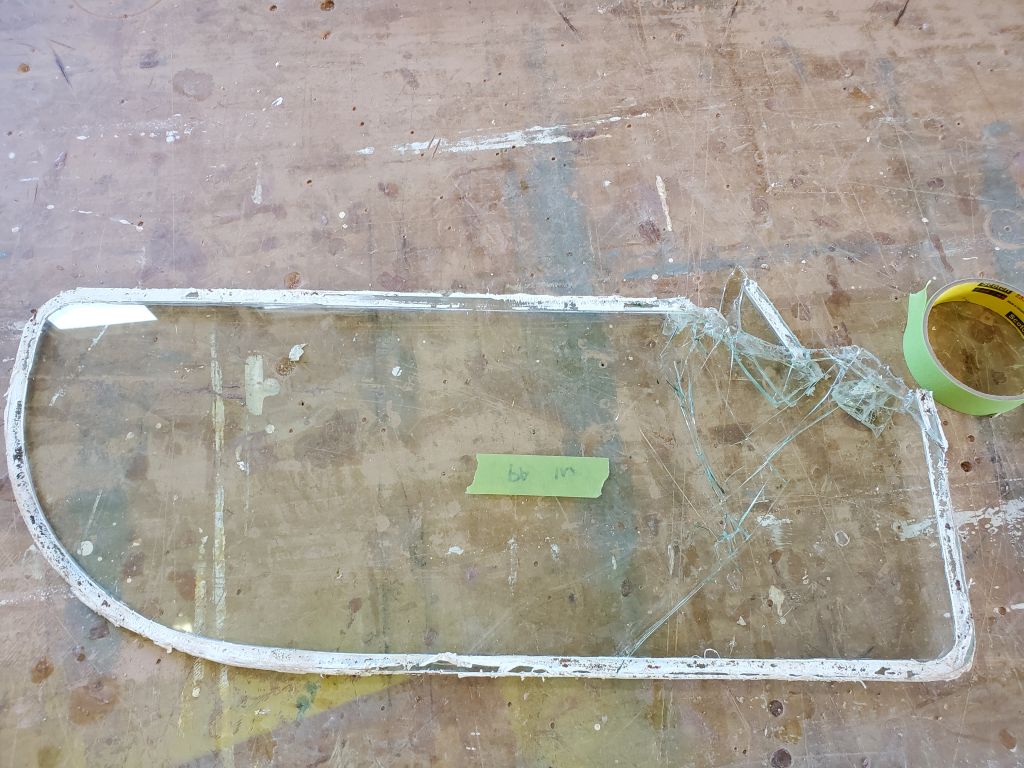
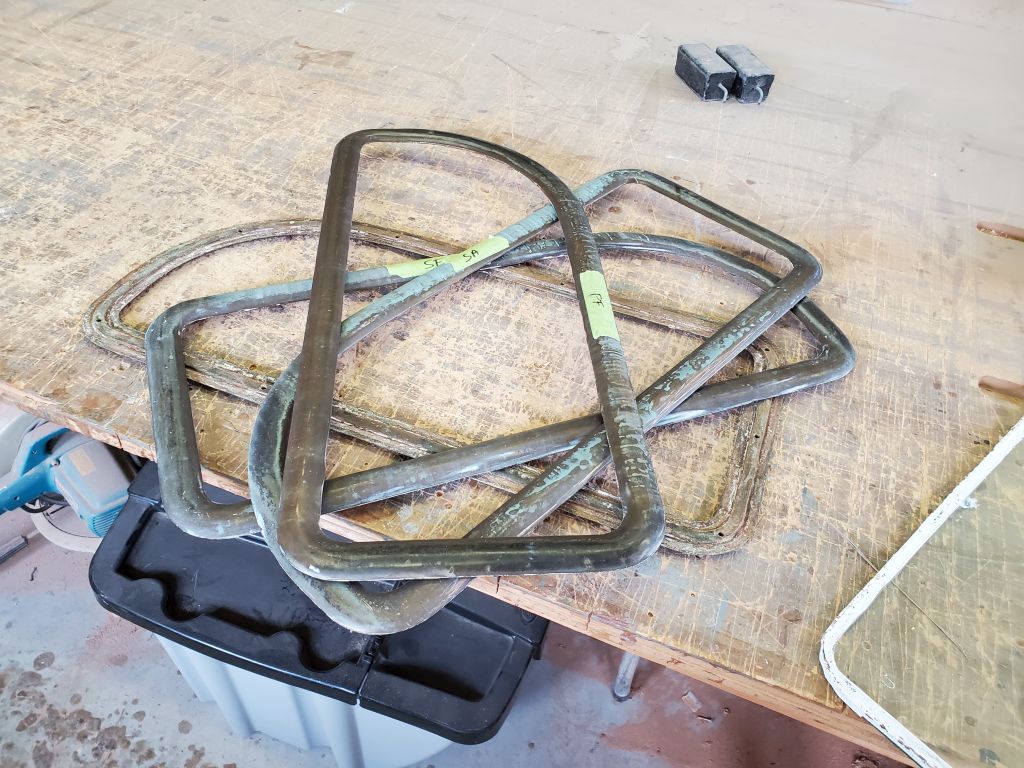
I repeated the process with the remaining three units. None of the other lenses came out without suffering numerous breakages, since it was tough to get the prying tool started beneath the glass–the glass sits in a recessed area, with a raised section just outside (which contained the threaded holes for the fixing screws), so there was no easy way to just slide beneath the glass. Laminated glass holds together pretty well when shattered, but when the broken bits come away from the center lamination they are sharp, deadly, and minute. I cleaned up carefully between each removal.

Afterwards, I was left with a pile of frames ready for the new acrylic, and one intact lens that I kept pending arrival and shaping of the new material.
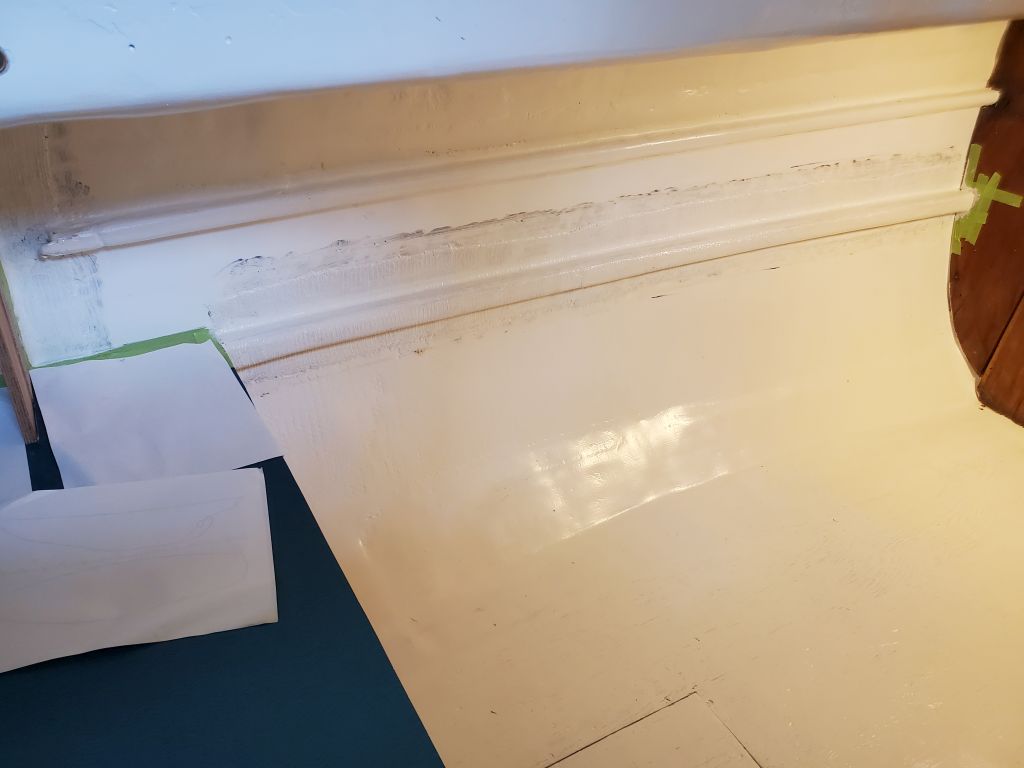
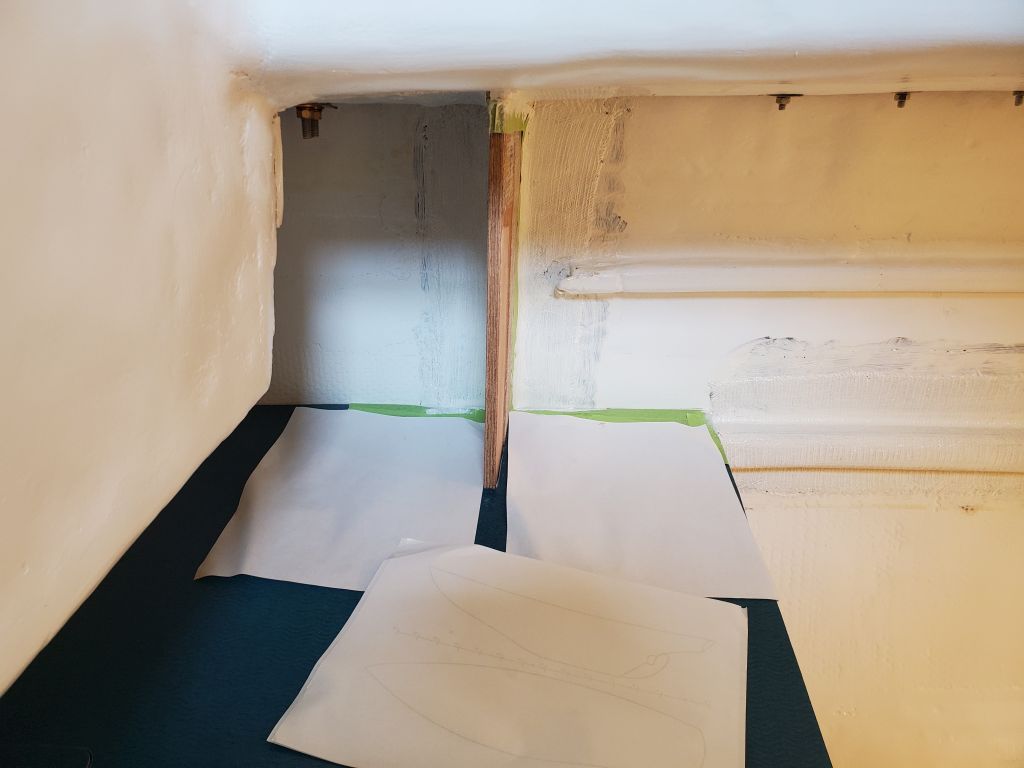
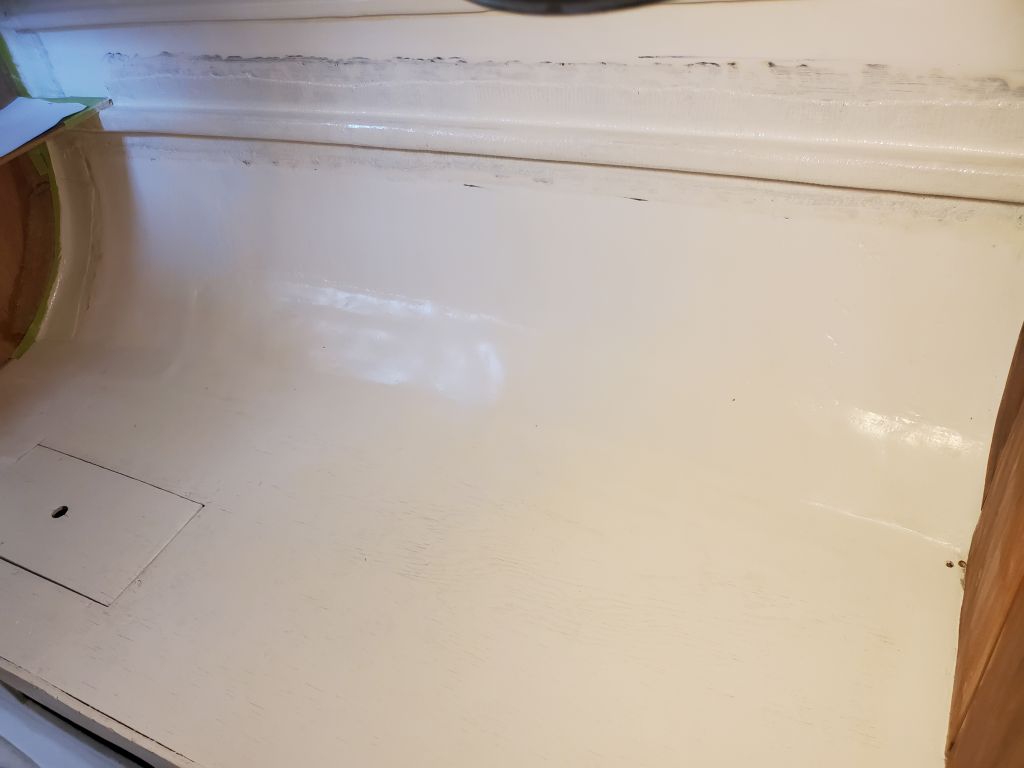
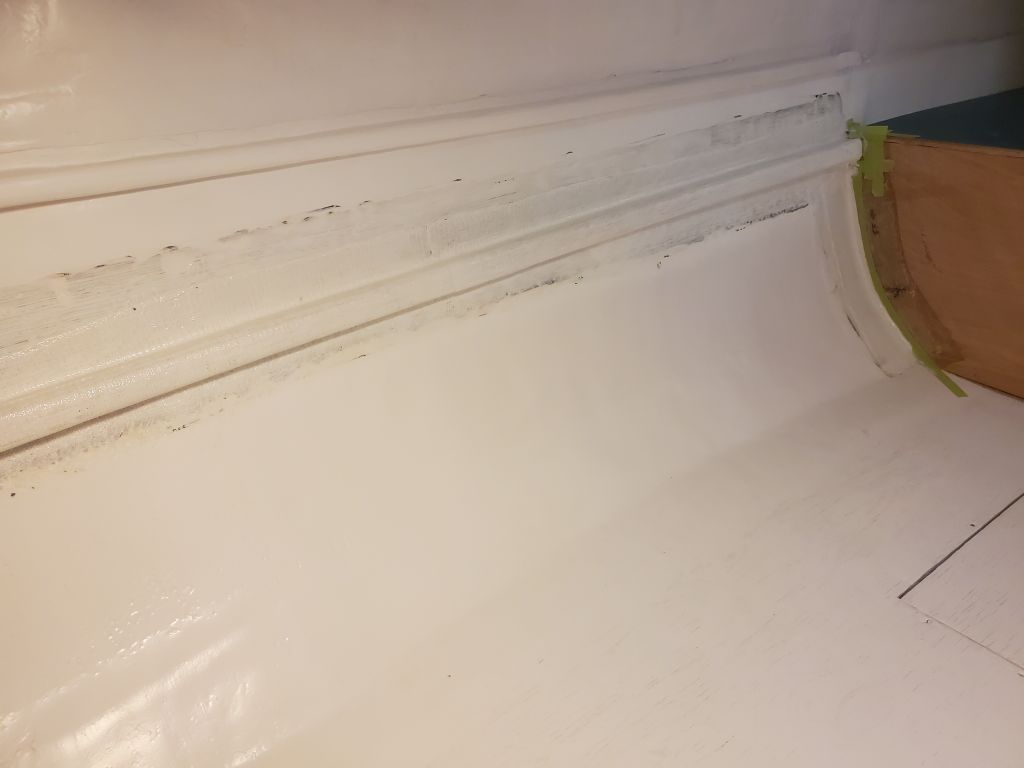
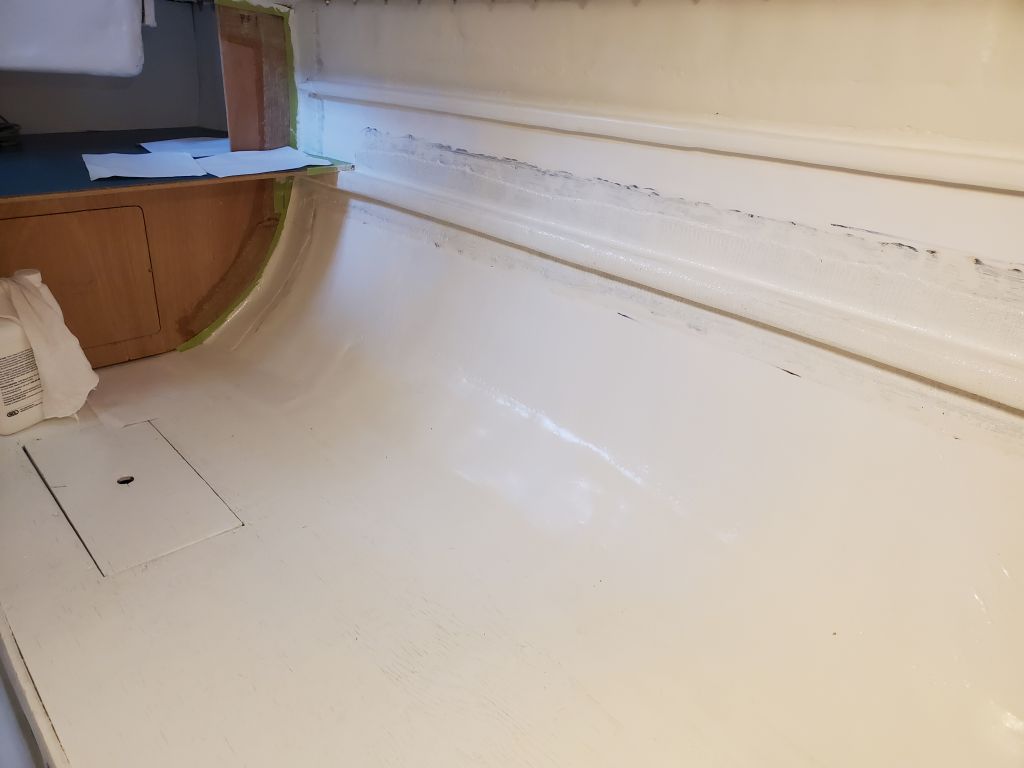
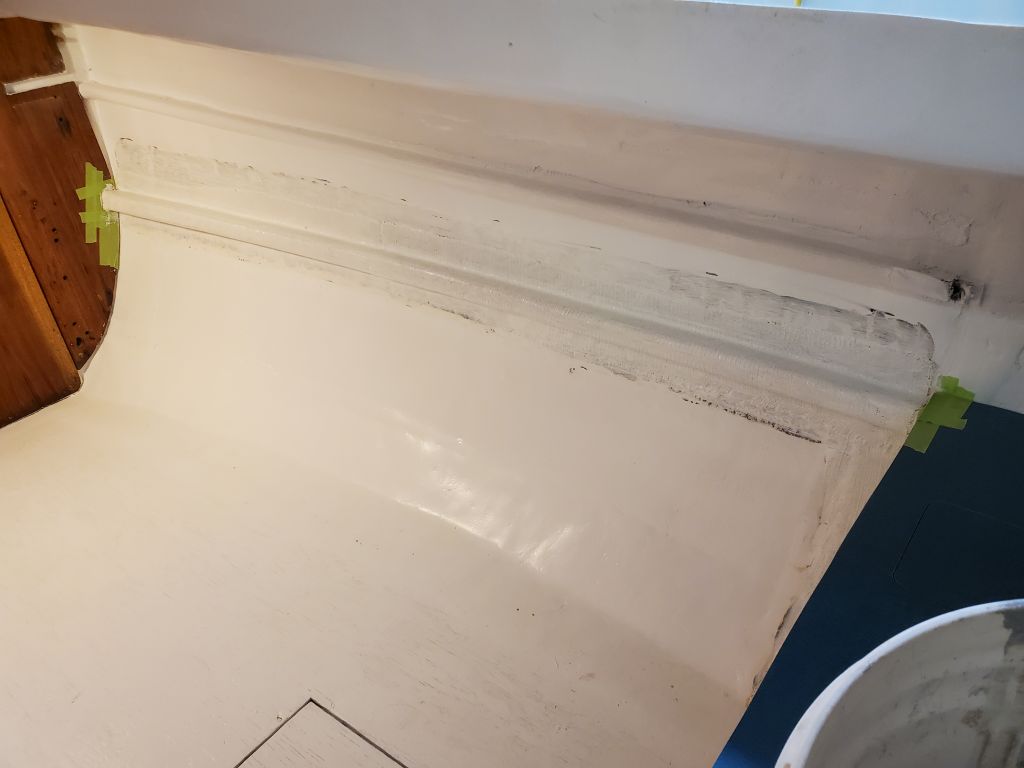
With nothing more I could do about the deadlights for now, I moved on to the newly-glassed shelf supports in the cabin, which now required the usual light water wash and then a light sanding to prepare for primer. With such fresh epoxy, I chose as usual a two-part epoxy-based primer as a sort of tie coat, since sometimes one-part products won’t cure properly over fresh epoxy. (Sometimes they do.) Once this cured, during the rest of the day and overnight, I could continue with the final products to finish off the new work.
Total time billed on this job today: 4.5 hours
0600 Weather Observation: 45°, cloudy. Forecast for the day: Cloudy, then becoming partly sunny, 59°