


April 13, 2021
Lyra 57
Tuesday
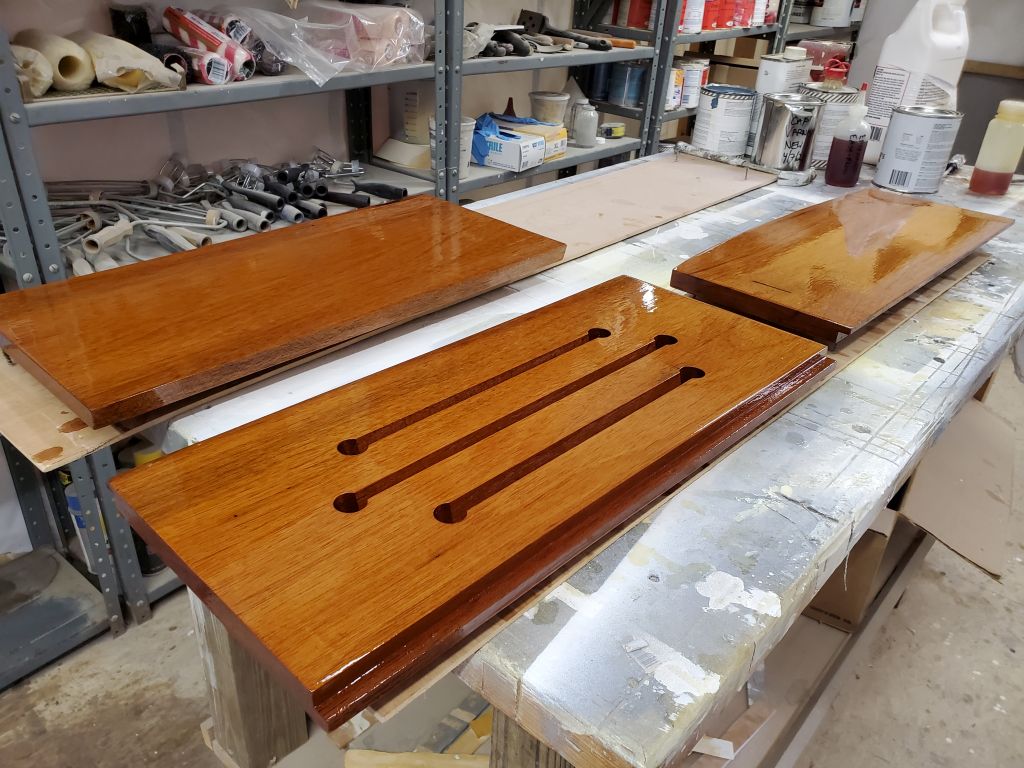
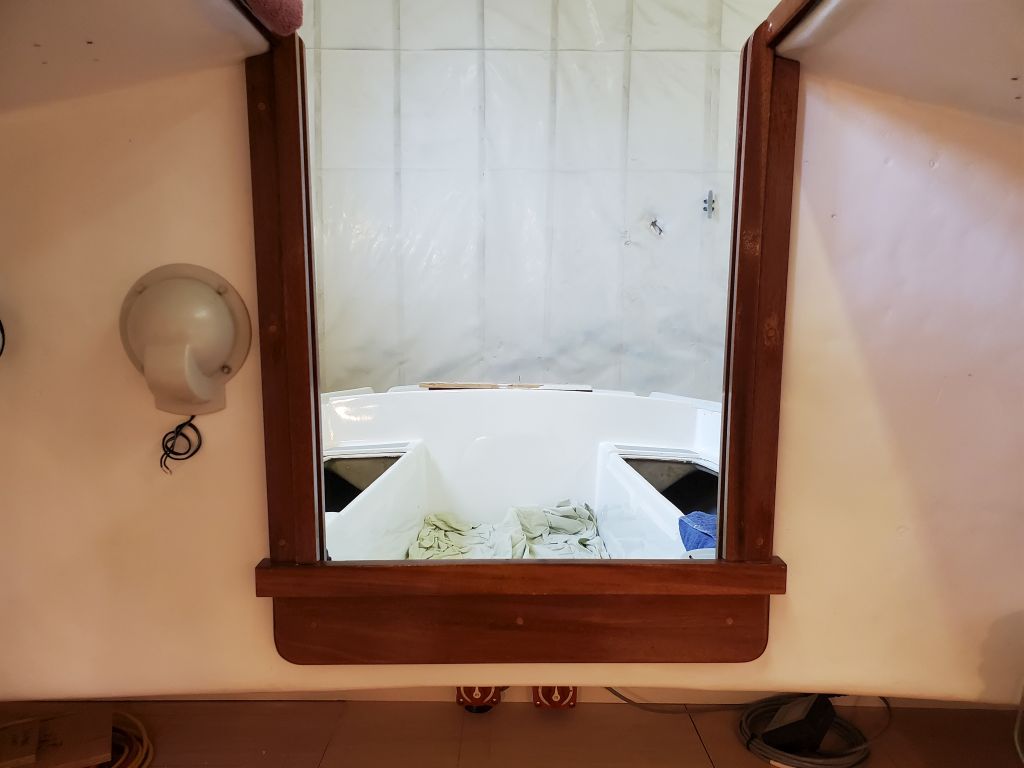
With six coats on the first (outboard) sides of the coamings, I gave them a day off to more fully cure before I considered turning them over to install the final coats on the inboard sides. This reduced my varnish burden for the day to the companionway swashboards, to which I applied the 5th coat on each side. In the cabin, I trimmed the bungs on the companionway, and dabbed on some varnish to blend in the plugs.
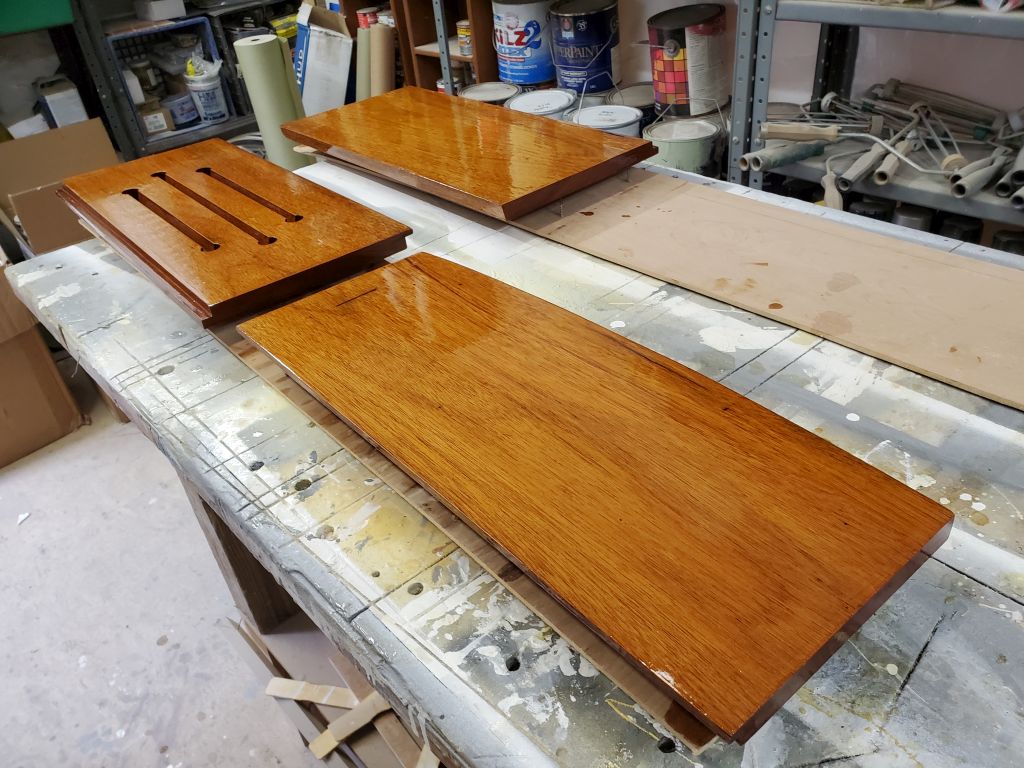
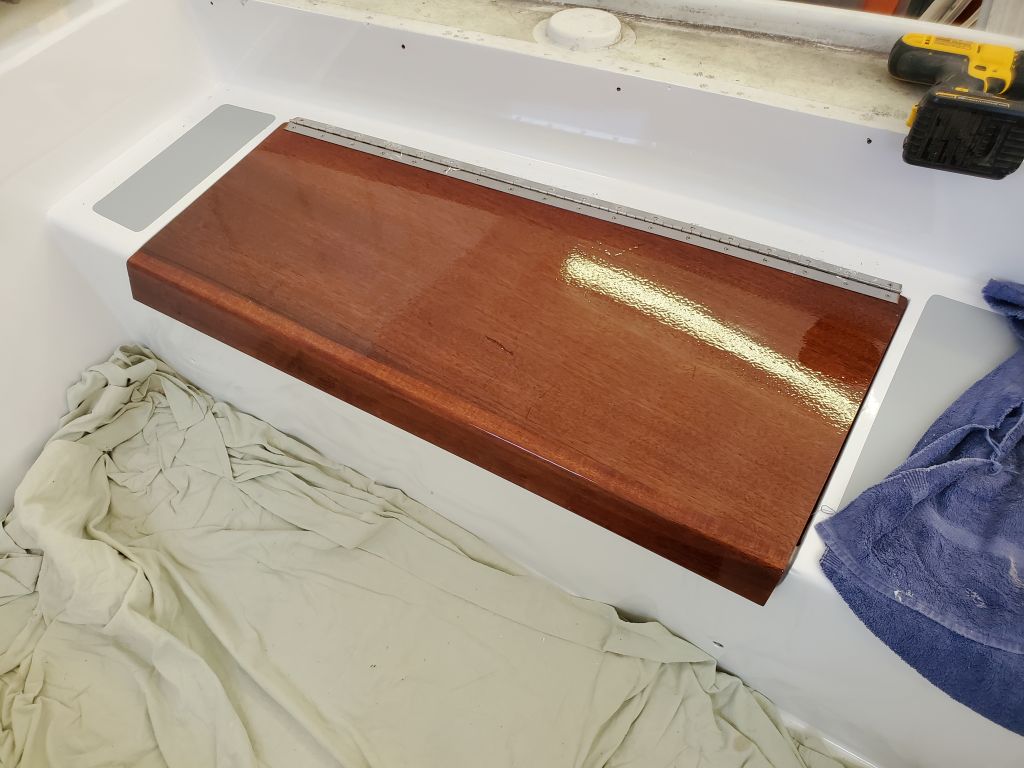
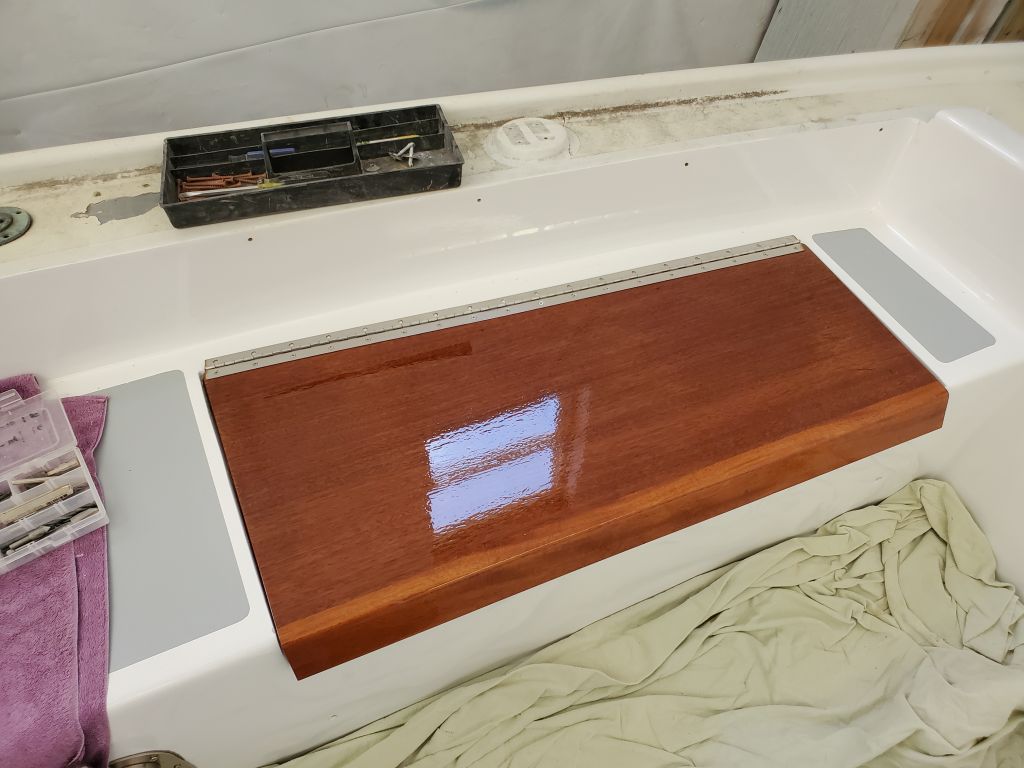
The owner and I had discussed the possibility of some sort of nonskid treatment to the varnished cockpit locker lids, and I’d attempted a couple different approaches to nonskid in varnish: One using a packaged nonskid grit that proved not to work well at all; and another using kosher salt sprinkled into the wet varnish, which one was supposed to wash out later, leaving behind some sort of texture. What sort of texture this might be was never determined by my test, as rinsing the sample piece not only didn’t remove all the salt, but also revealed that the salt seemed to have affected the curing of the varnish beneath. We both decided that for now, at least, it’d be better to leave the locker lids as they were rather than risk ruining them with some unsatisfactory treatment. Something could always be done later.
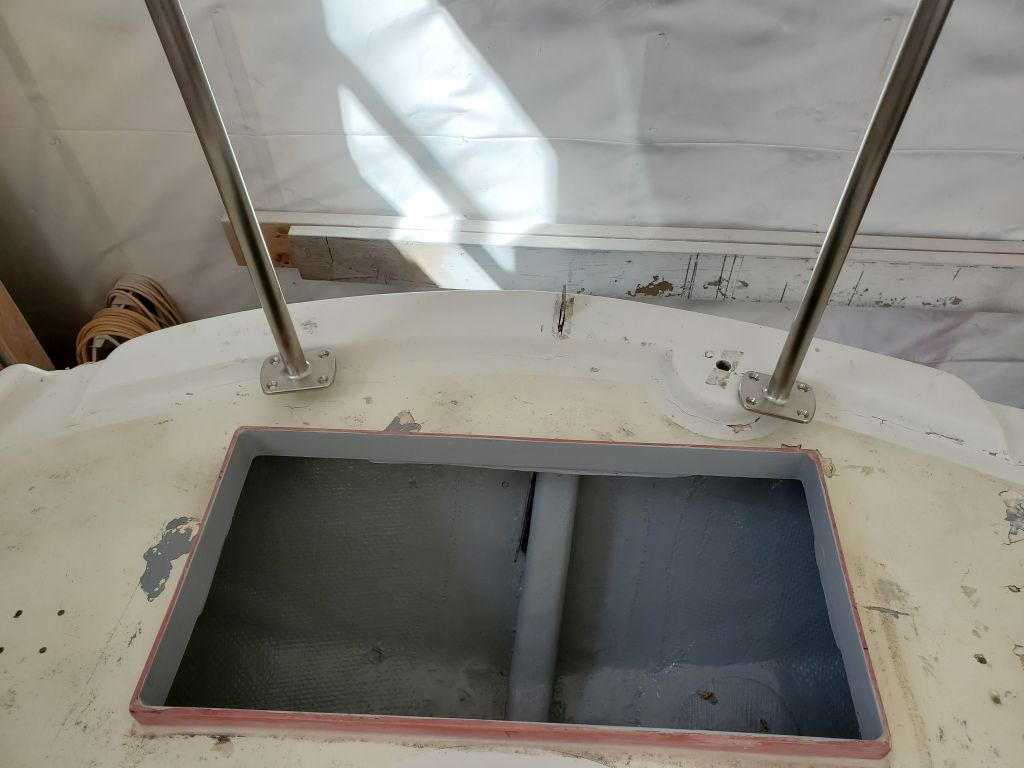
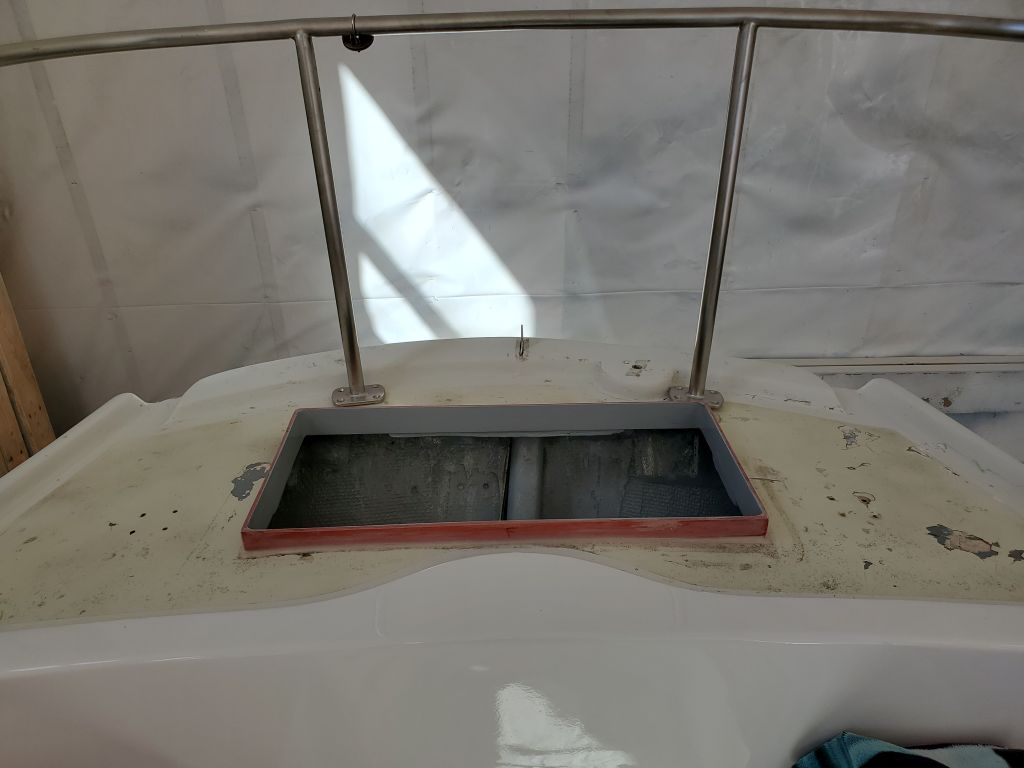
This meant that, with six coats–my minimum threshold for new work–on the lids, I could think about installing them, which would be nice since it would fill in the large holes in the cockpit and give me more room to spread out my tools and supplies.
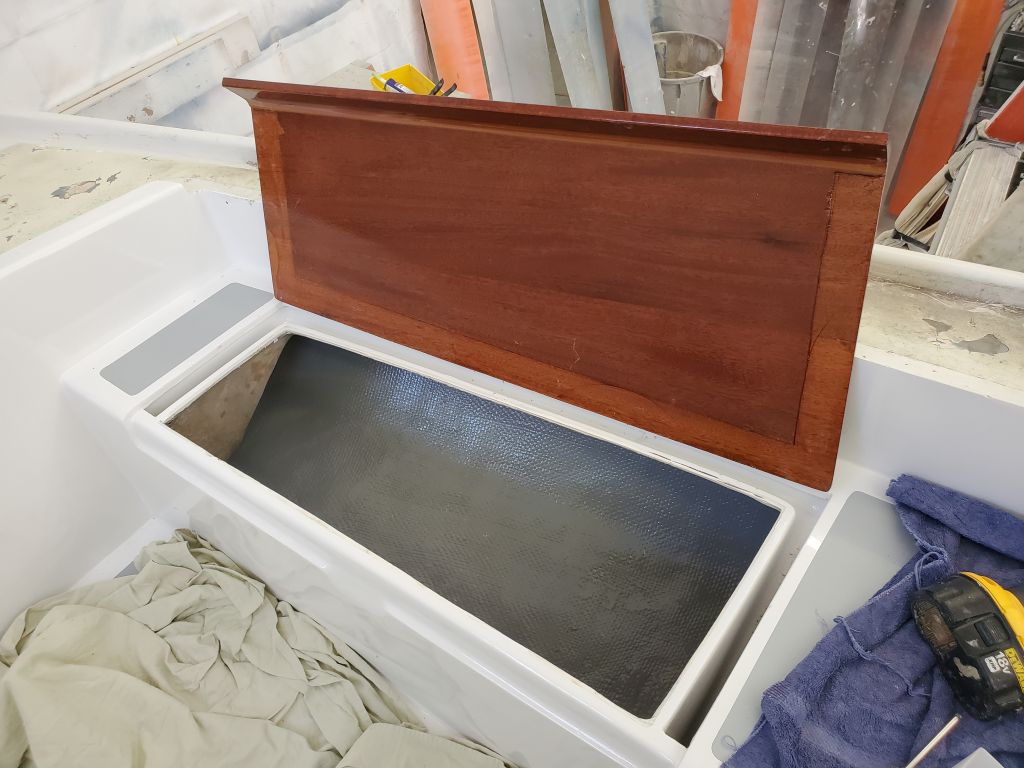
I’d purchased 36″ long piano hinges for these hatches, which was just slightly longer than the hatches themselves, so to start I had to remove one knuckle of length from each side of both hinges, to keep the bolt pattern centered. This I did with a grinder and cutoff wheel, after which I could install the hinges on the hatches themselves down on the bench. Then, I installed the hatches in the cockpit, though I found I didn’t have enough of the screws I needed, so I couldn’t fully install the hatches. But with butyl tape sealant, and all the holes prepared, I installed enough screws on each side for now, and could easily fill in the remaining screws later when my new supplies arrived.
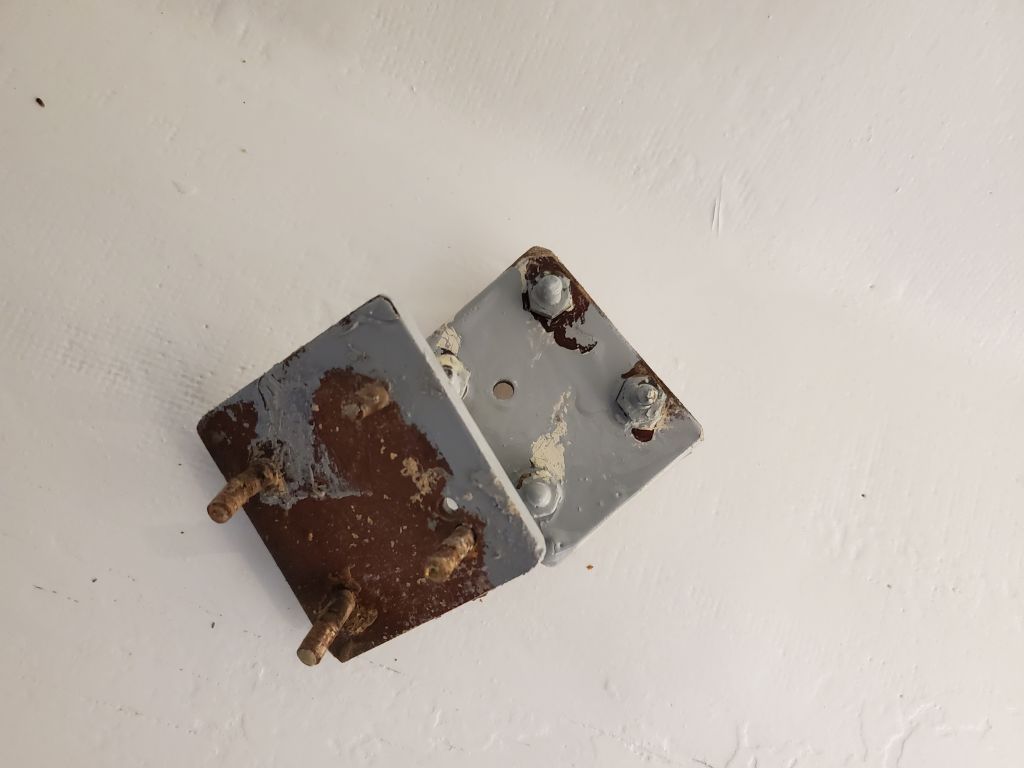
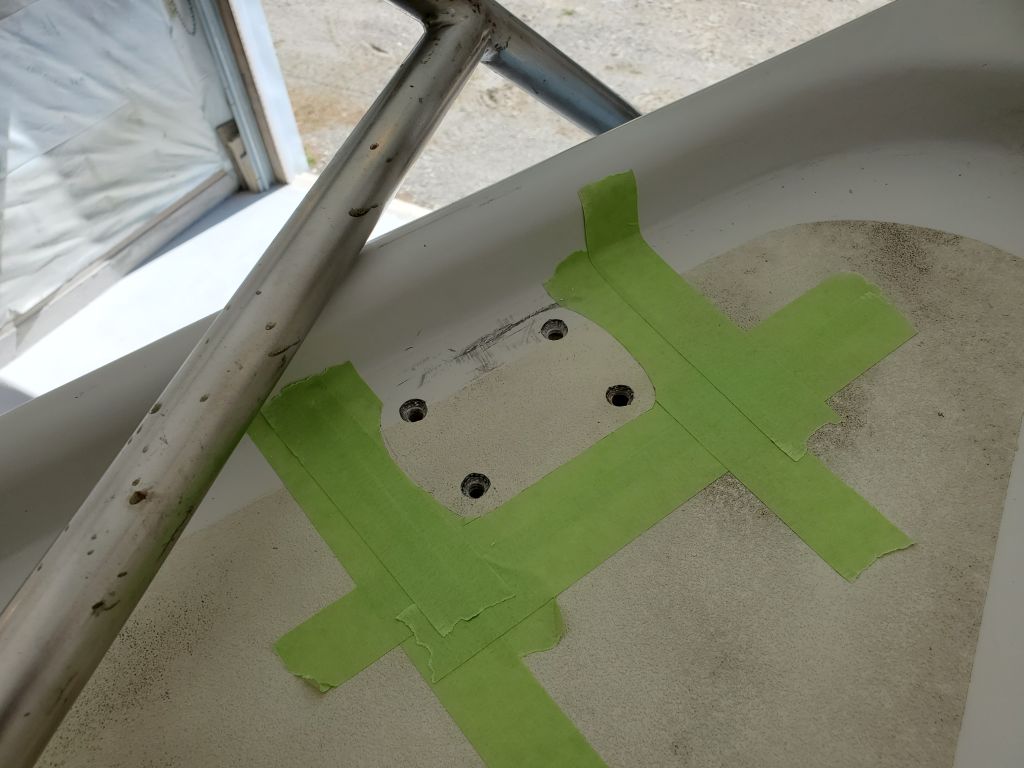
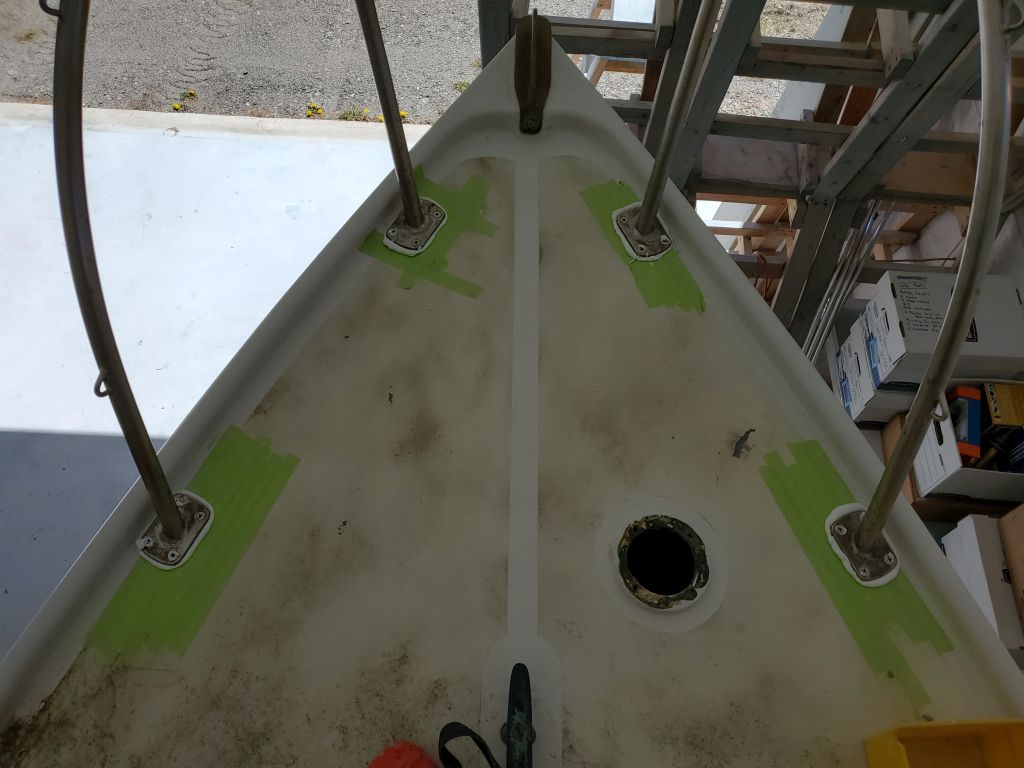
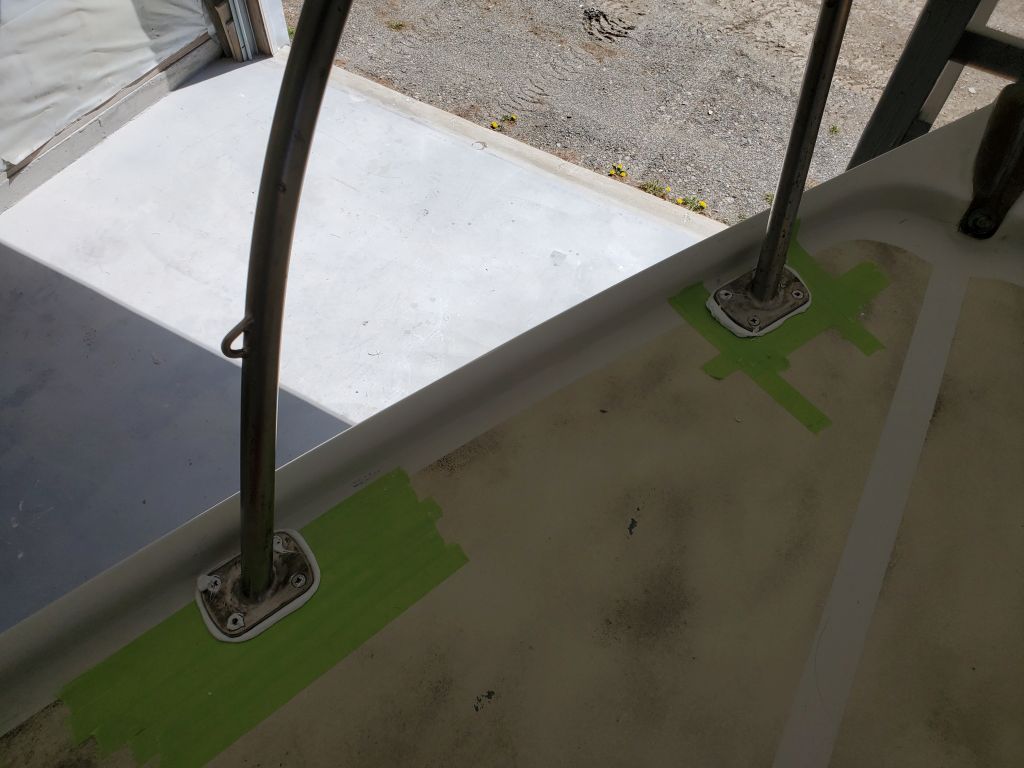
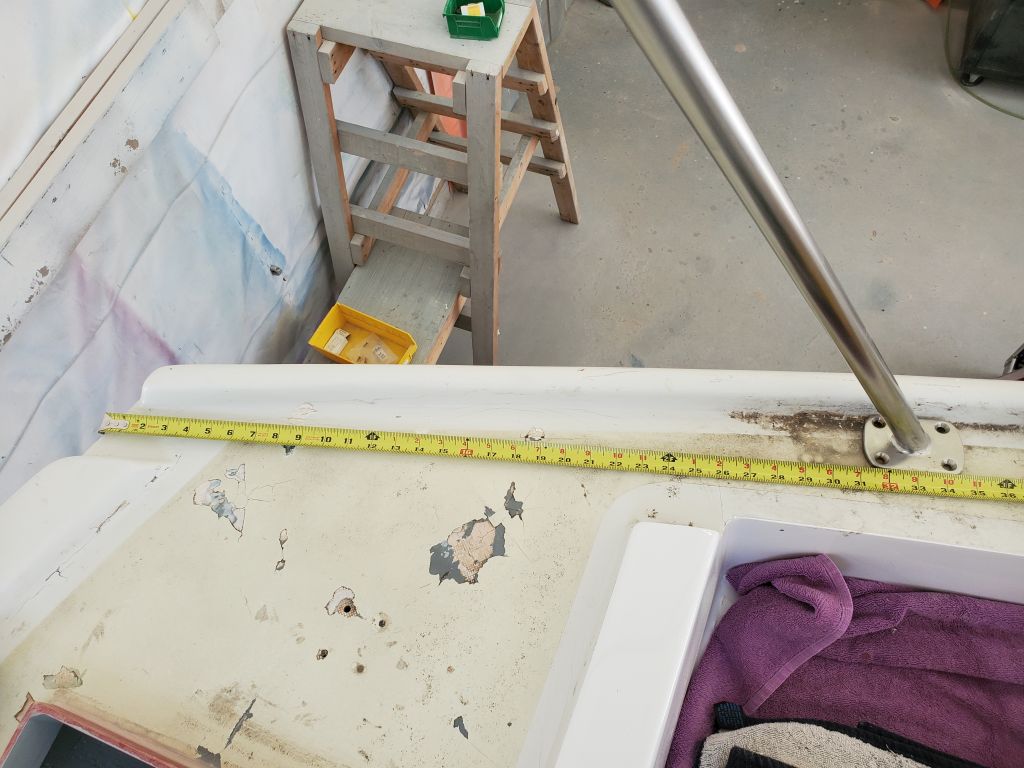
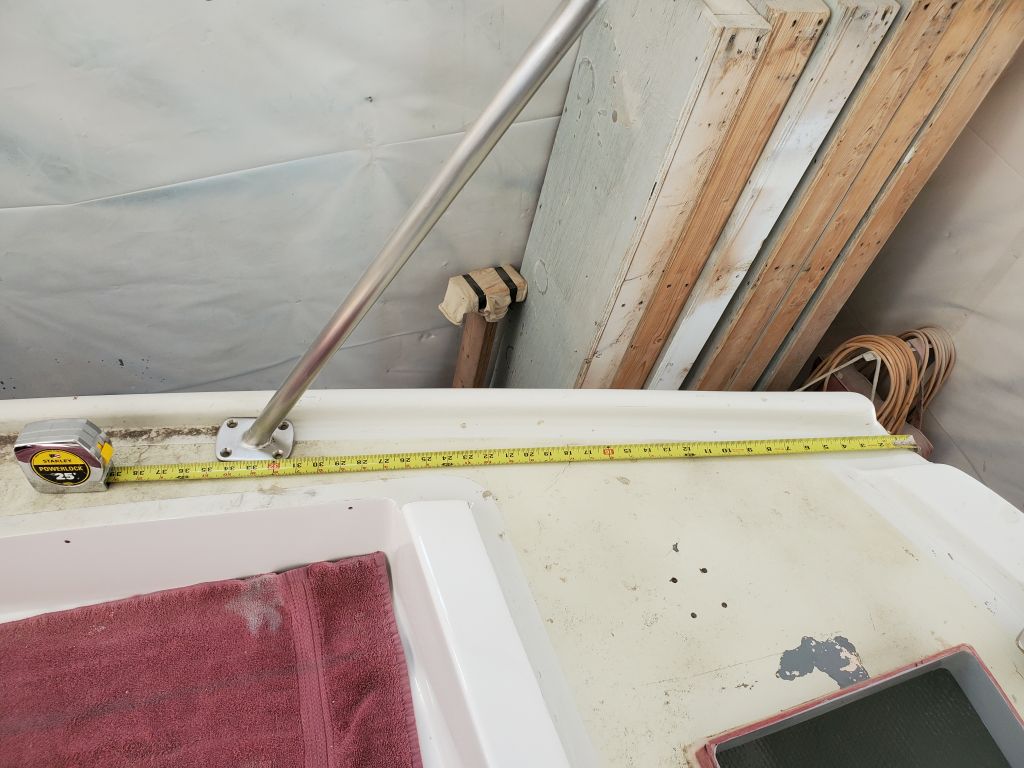
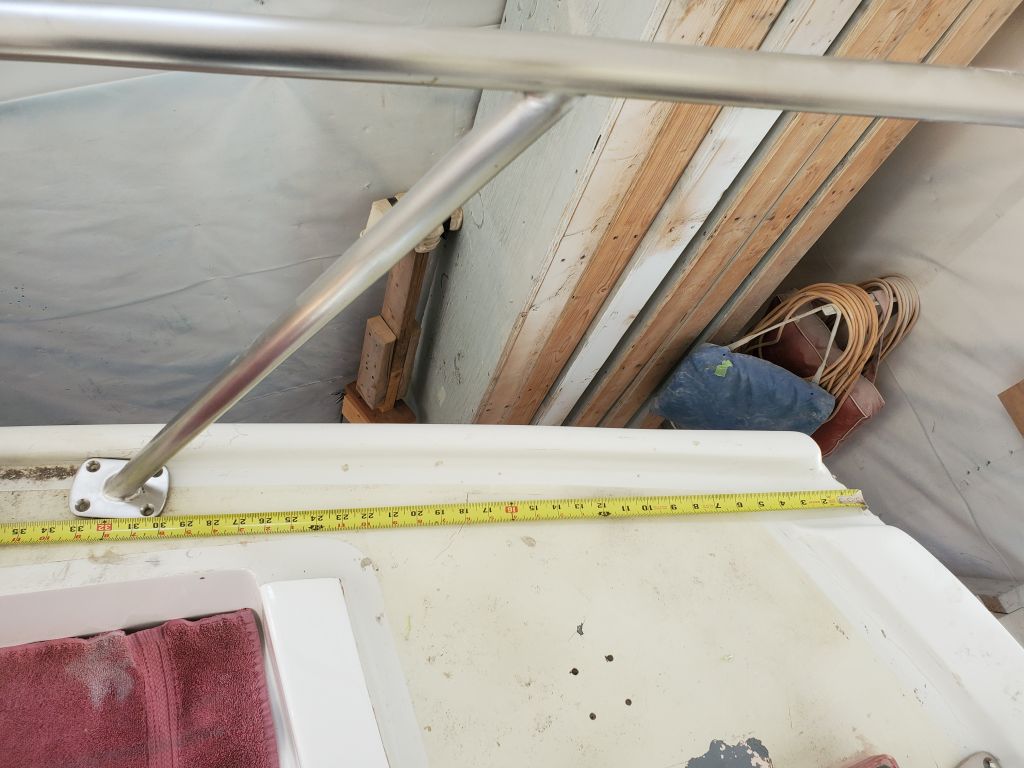
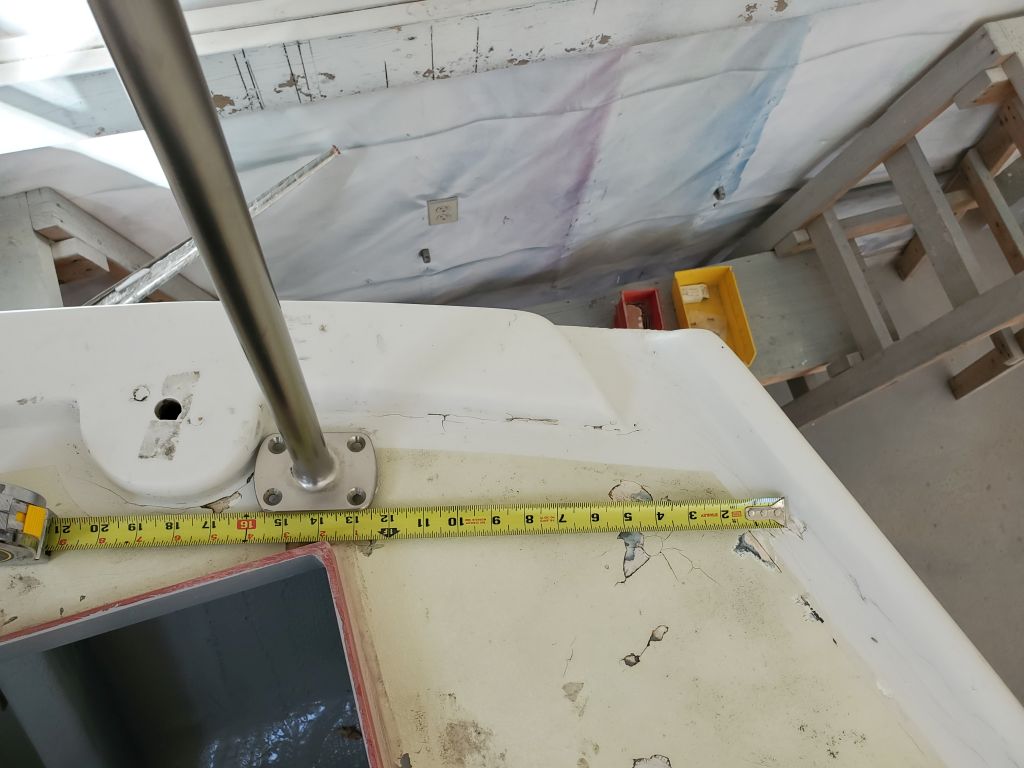
Next, I continued work on the bow pulpit, which I’d left before with a single screw to hold it roughly in position. Before continuing, I had to remove from below some old backing plates and partially cut-off screws leftover from some old hardware installation: These were in the way of the forward mounts for the pulpit. Fortunately, I could pry off the old stuff without too much work.

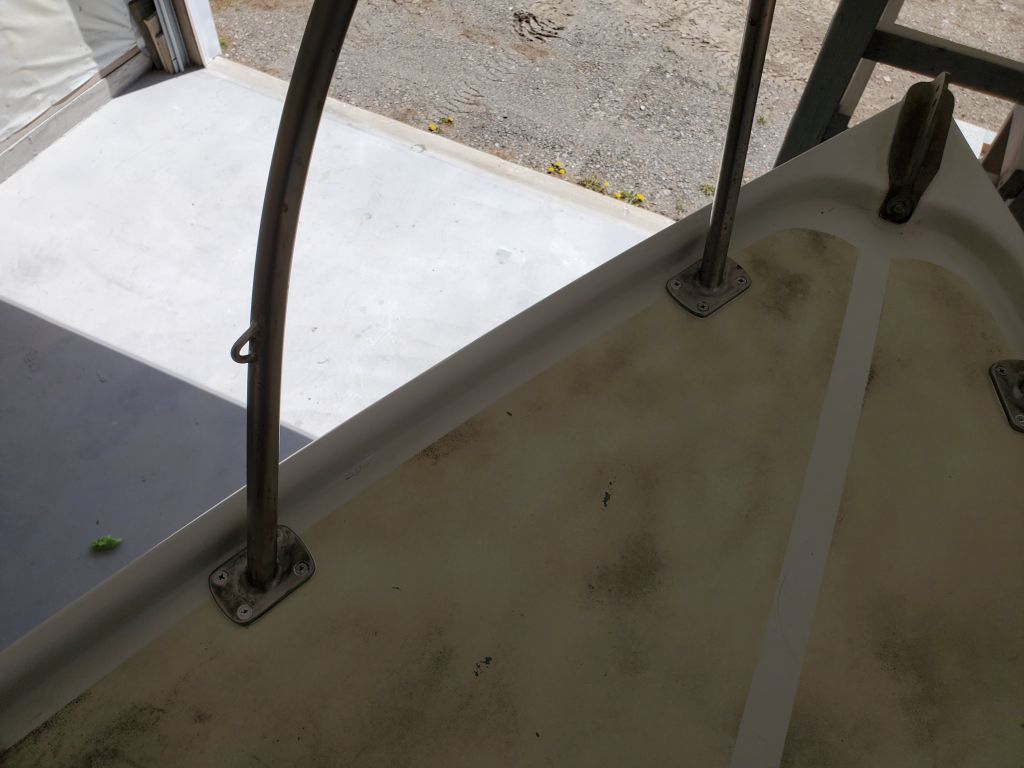
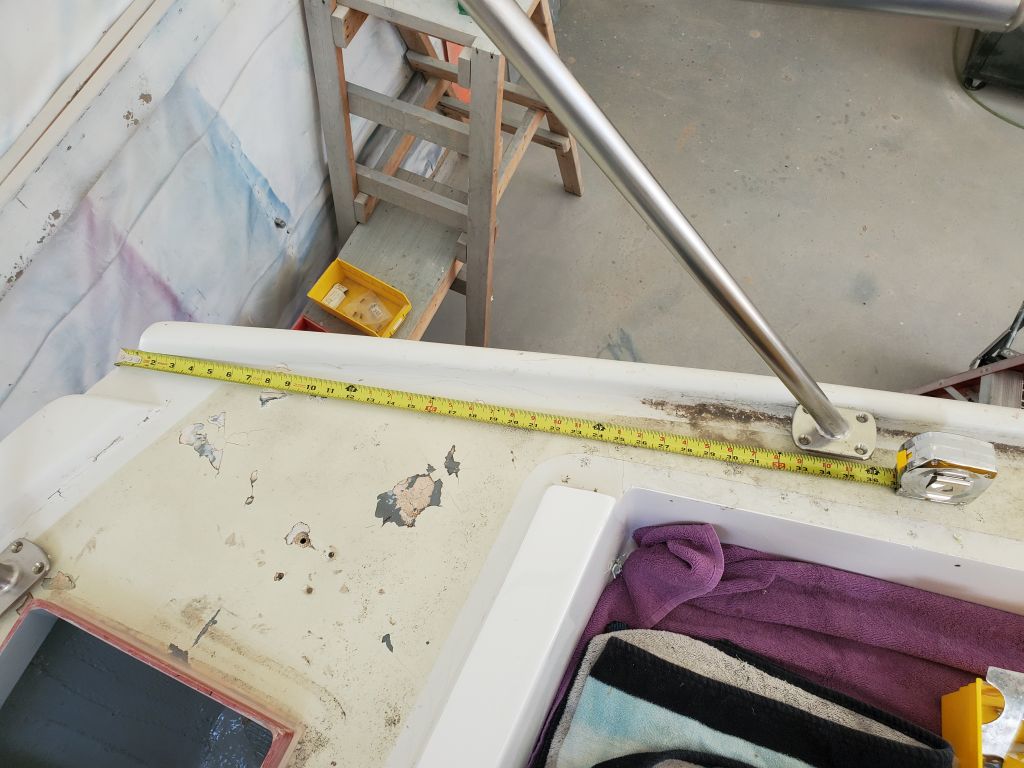
To complete the pulpit layout, I installed masking tape on the deck in way of each base location, then, ensuring the forward mounts were equidistant from the bow, placed each base on deck, using a pencil as a convenient spacer between the edge of the base and the raised gunwale (or roughly 1/4″), and marked the screw holes for drilling and tapping. With a single screw in place at each base to hold things in proper alignment, I cut the tape around each base, then removed the pulpit so I could peel off the tape within and finish readying all the fastener holes with tap and a small countersink at each hole; on the starboard aft base I drilled a hole through the deck at the center of the base to accommodate the newly-strung bowlight wire.

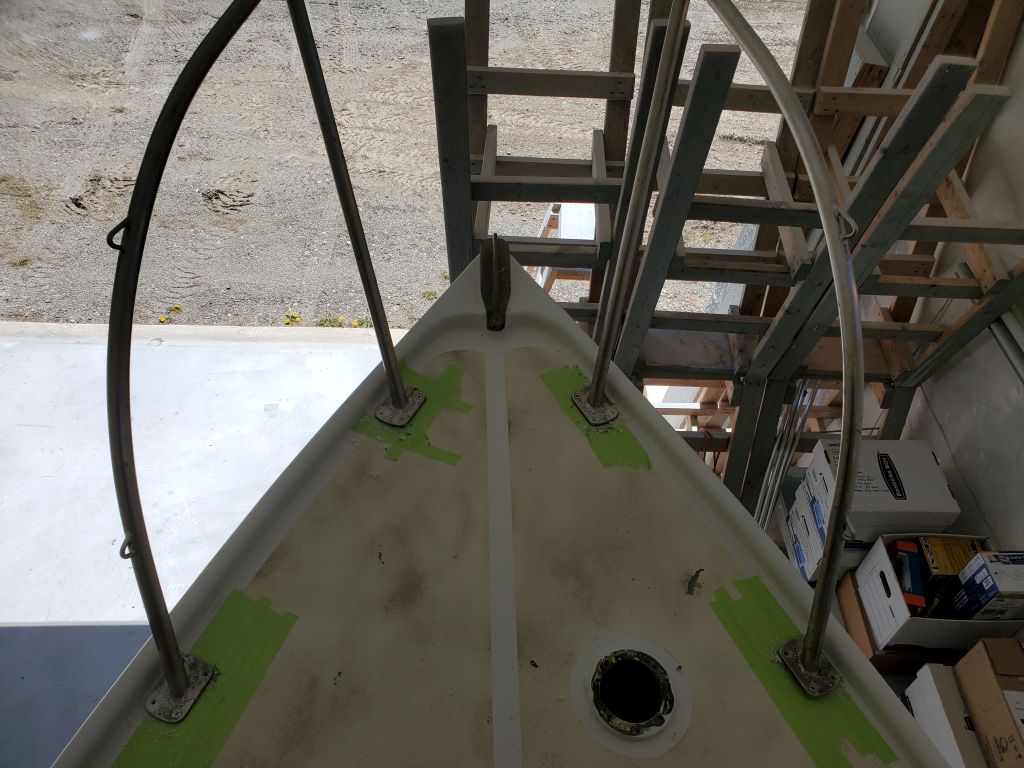
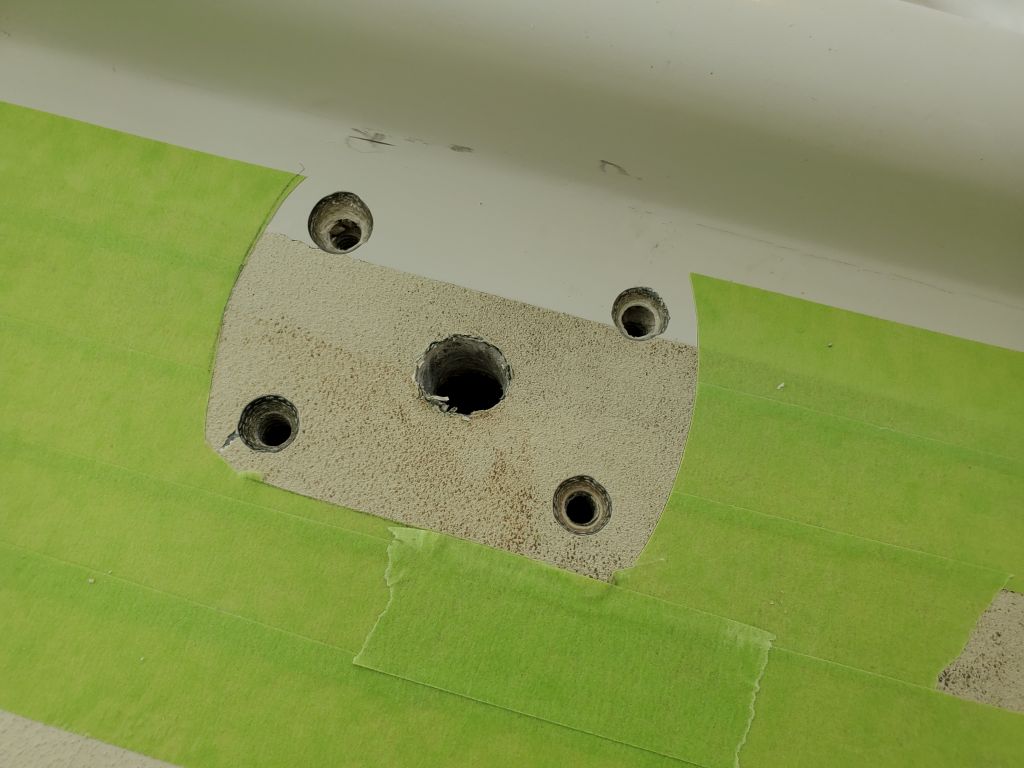
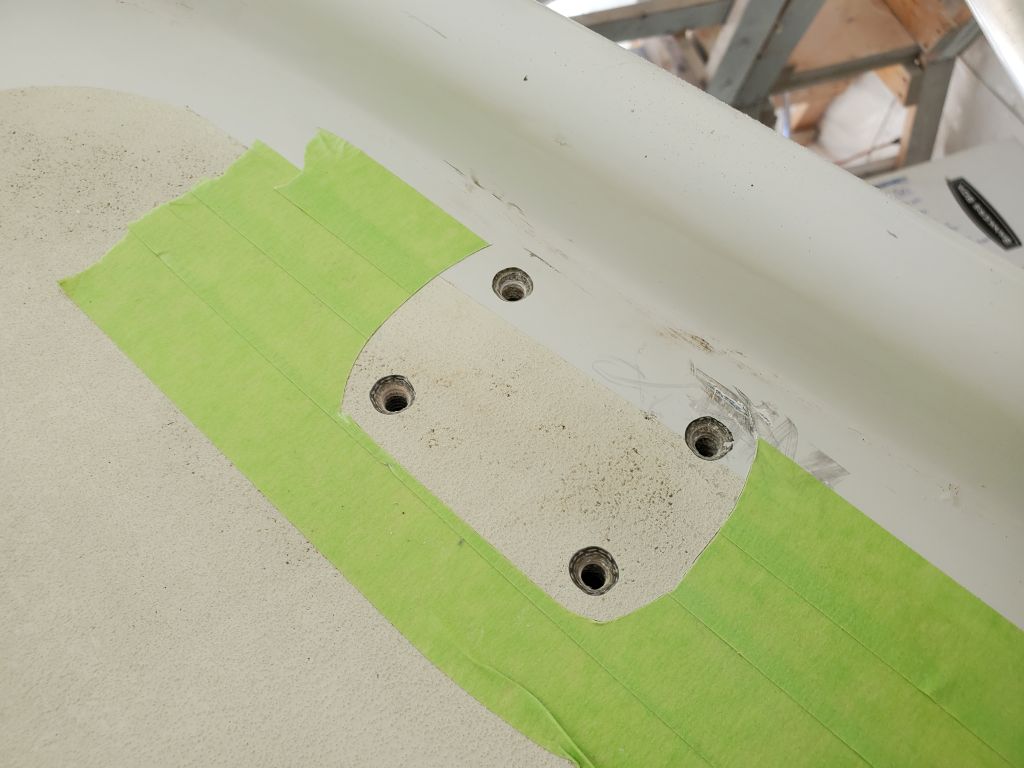
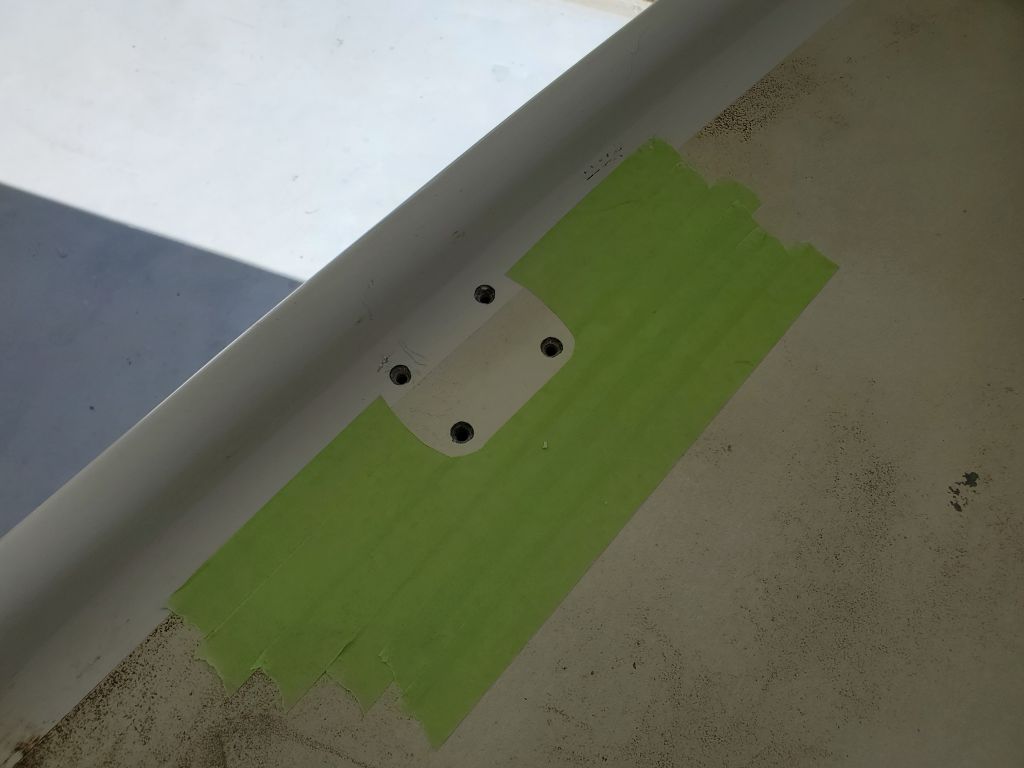
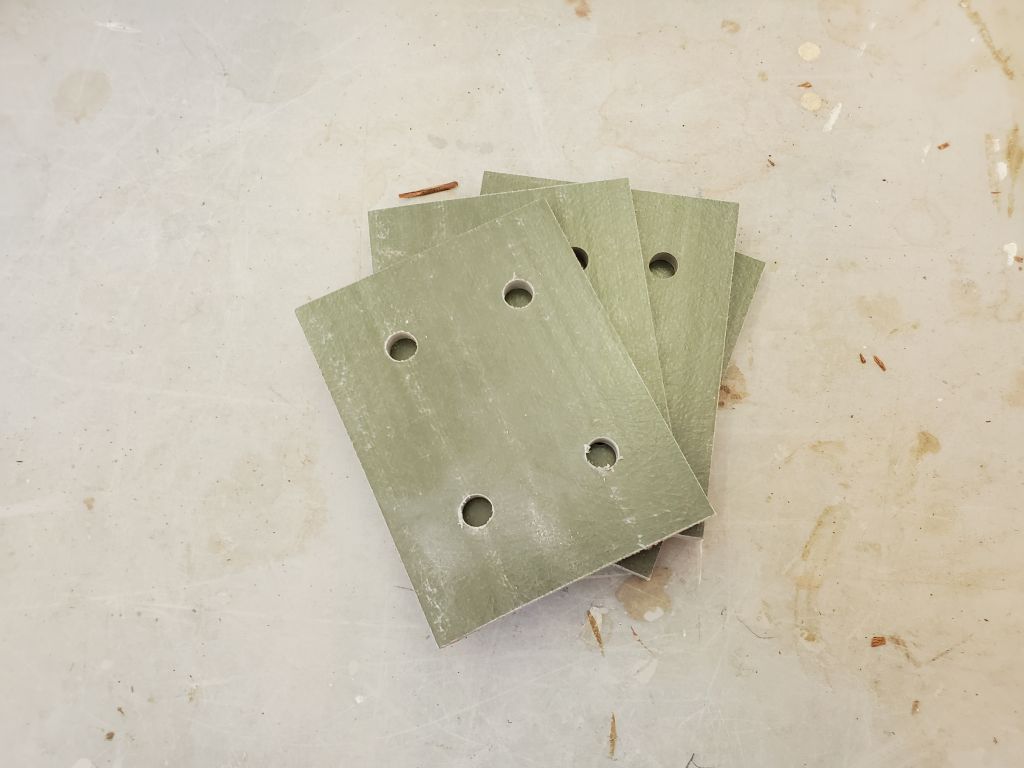
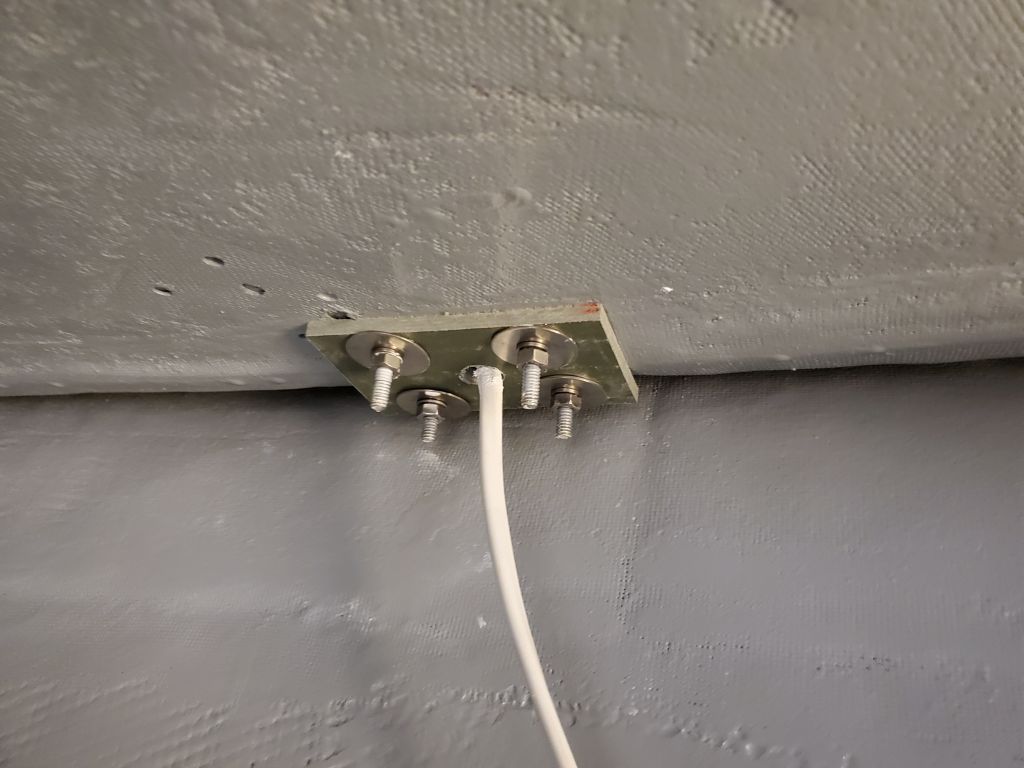
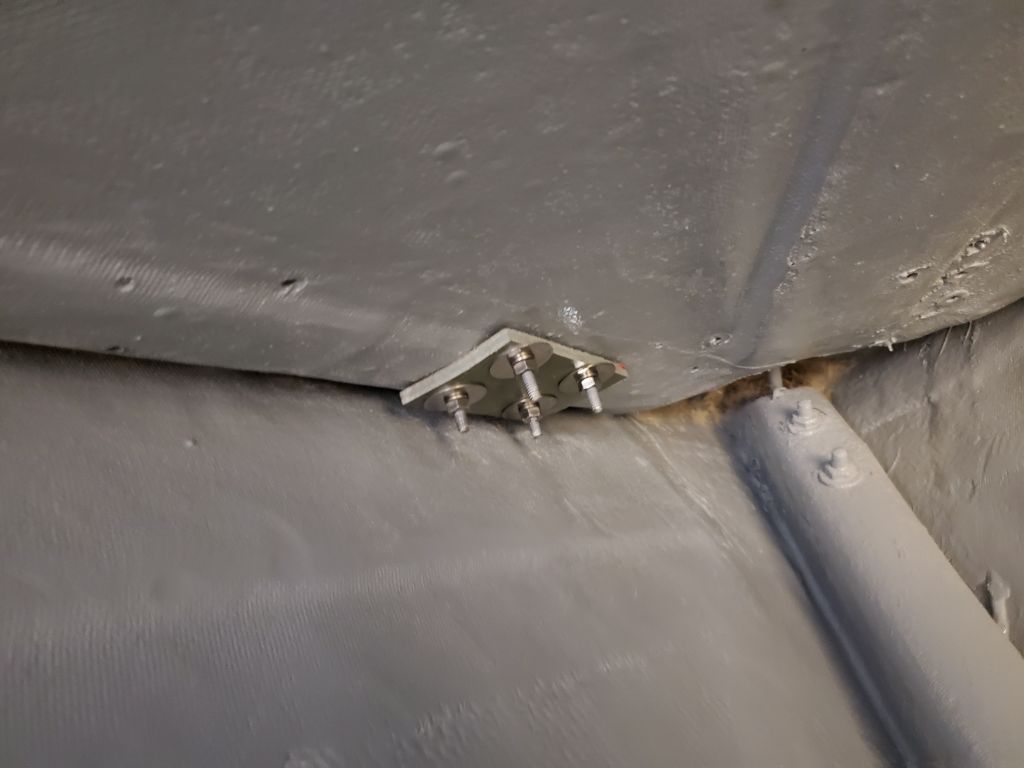
The backing plate material I needed for the pulpit installation was due for delivery later, and I’d made a cardboard pattern of the bases and the screw locations, so I decided to go ahead with the installation now and finish up the backing plates later. This was possible since driving the screws through tapped holes in the deck would pull the pulpit tightly into position, allowing me to install the backing plates, washers, and nuts at my lavish leisure later.
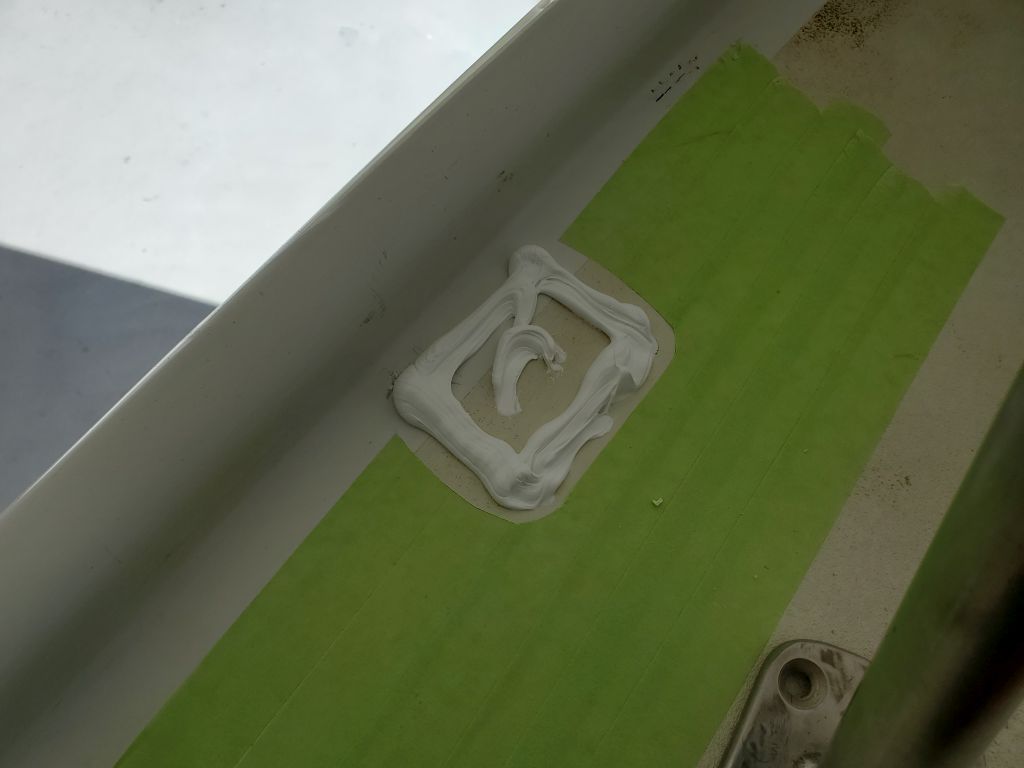
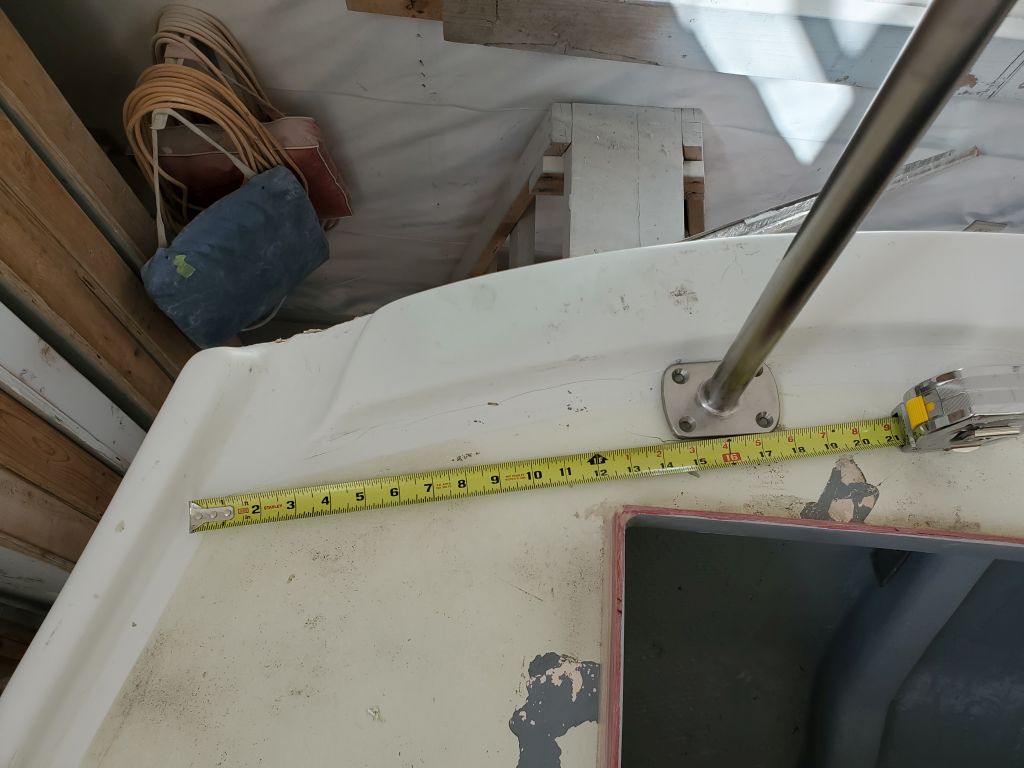
I applied abundant sealant to the deck in way of the bases and, starting with the starboard aft base and its wire, installed the pulpit with sixteen 1/4-20 x 2″ screws, cleaning up the excess sealant afterwards.


Meanwhile, in and around all this, I finished up basic preparations to the small transom/counter paint touchups, and, using an old can of the 2-part polyurethane paint that had been applied to the hull during the incomplete refit 10 or so years before, dabbed on some hull color to blend the small repairs. With two coats applied over a few hours, the repairs disappeared for the most part, certainly well enough given the tiny efforts expended for the work. Never were these fastener and exhaust repairs intended to attain perfection, but were merely a stopgap measure for now.
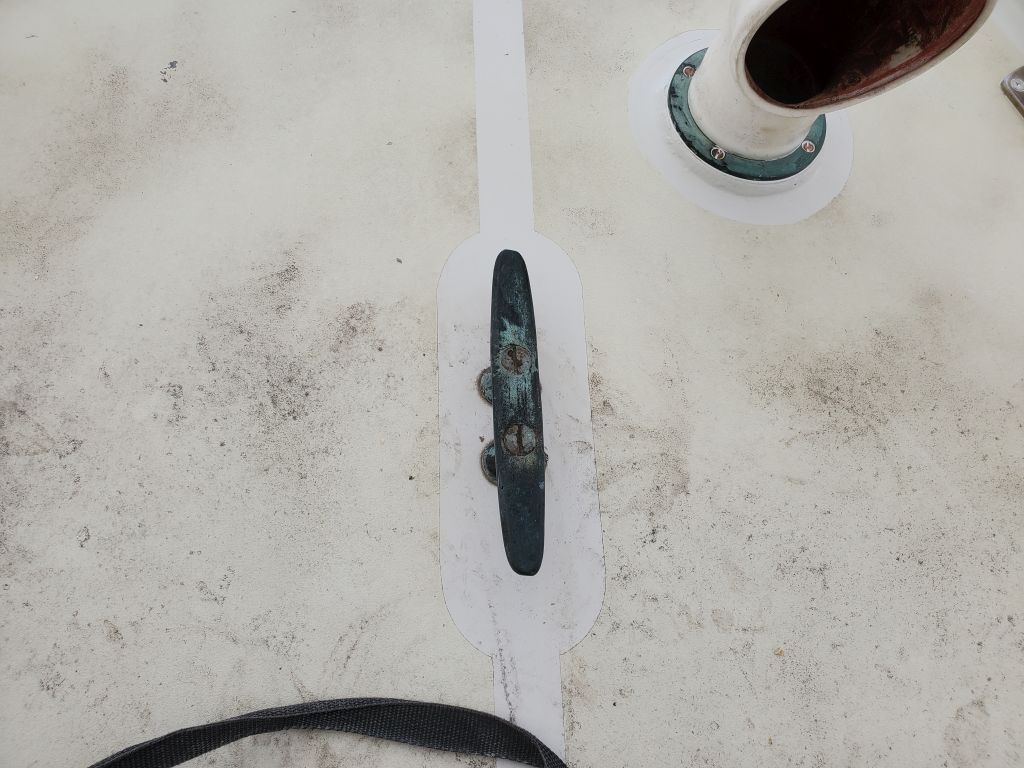
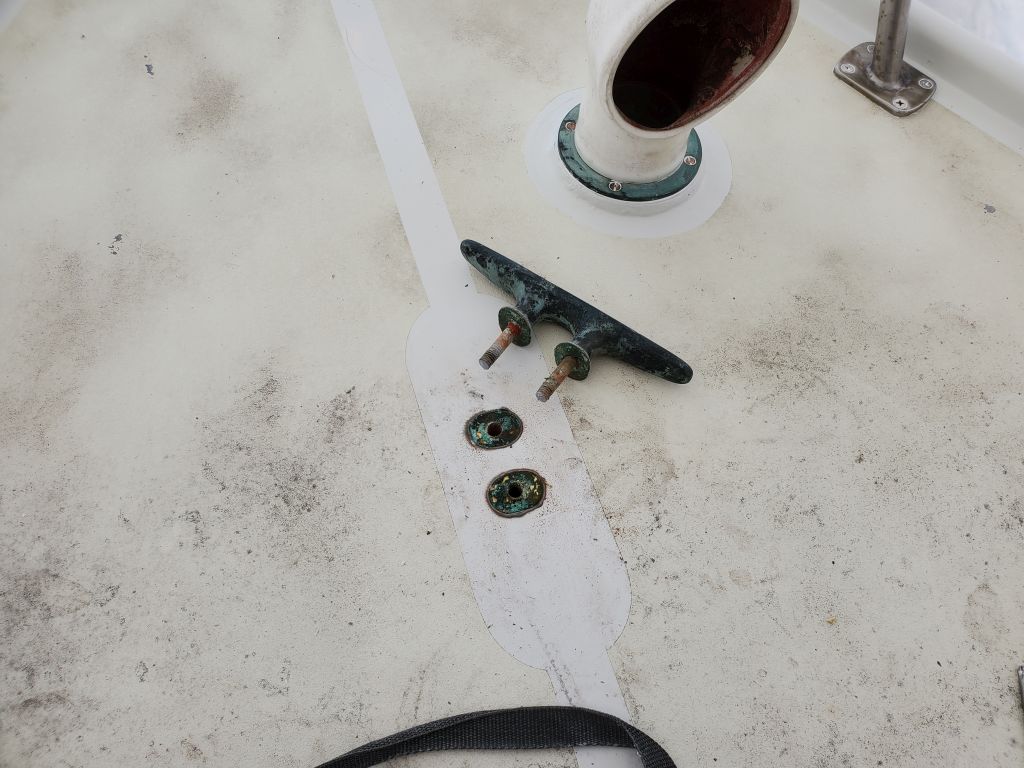
While I was on the foredeck, I removed an existing bow mooring cleat, which needed to be removed to make way for a bronze mooring bitt the owner had attained. The cleat was easy to remove, another surprise, so that made for quick work. I’d move forward with the final bit installation details in the near future, once my backing plate material arrived.

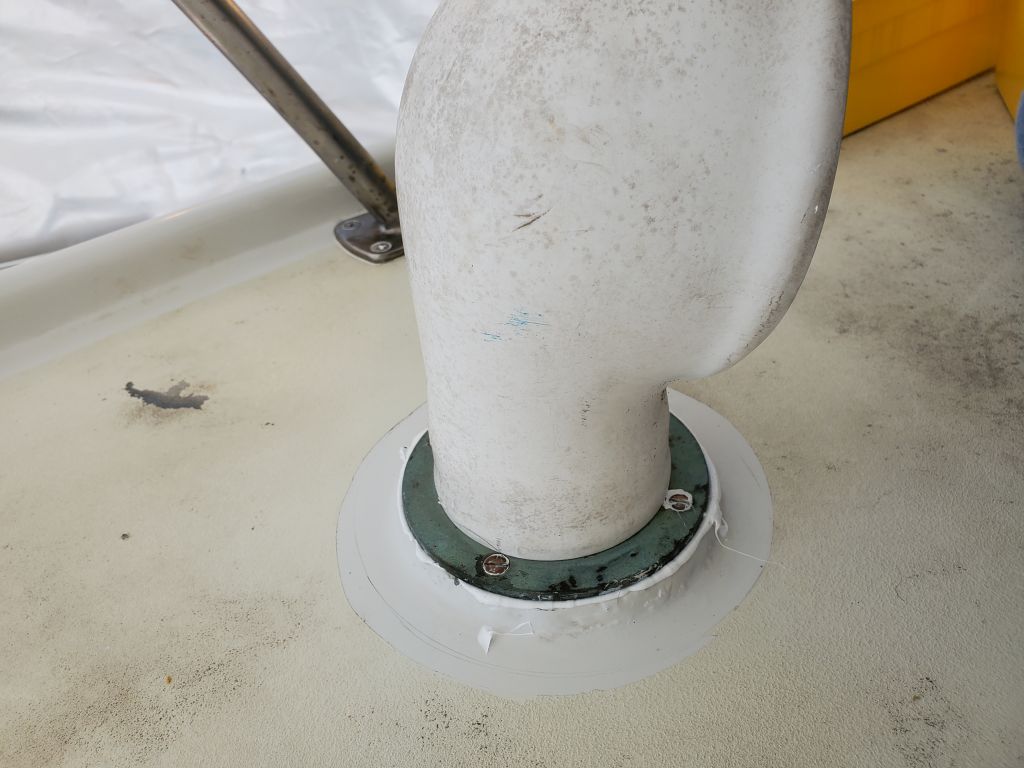
I also installed with sealant and new bronze fasteners the cowl vent on its little raised foredeck platform.


The stern pulpit was not original to this specific boat, but was otherwise a generally good fit. However, when I laid it out on deck to prepare for installation, I found that the port aft base interfered with the molded round on the taffrail where the sternlight was originally installed. I couldn’t move the pulpit forward at all to clear it, since then it would interfere with the new hatch opening and lid.
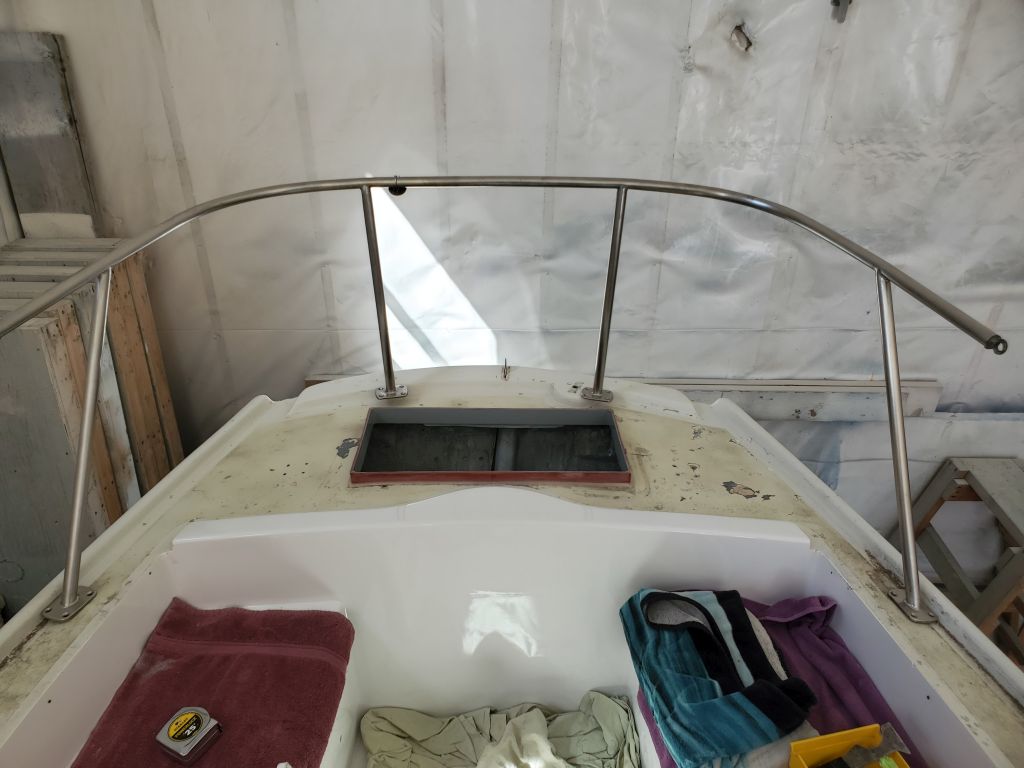


With a small tweak to port, the offending base could fit next to the molding, but this skewed the pulpit rather badly off center.
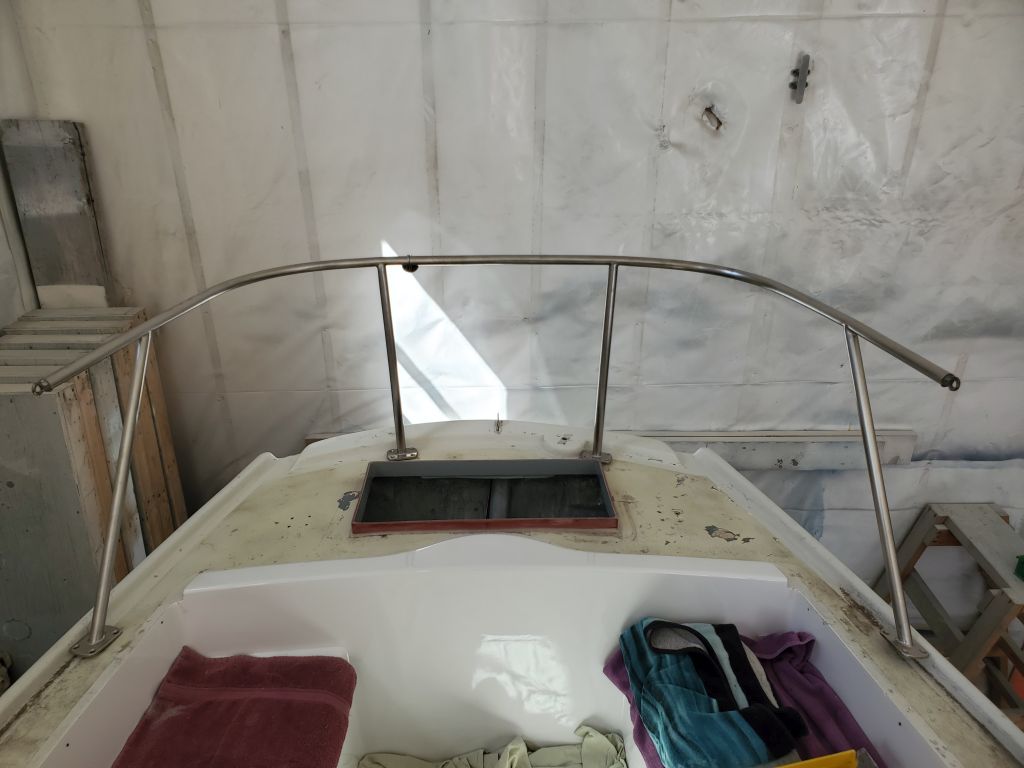
After discussions with the owner during our common postgame analysis session, we decided to cut away the silly round molded area on the taffrail and thus make room for the pulpit base in the correct location, so I’d add that to my list and take care of the repair and some temporary cosmetics over the coming days.
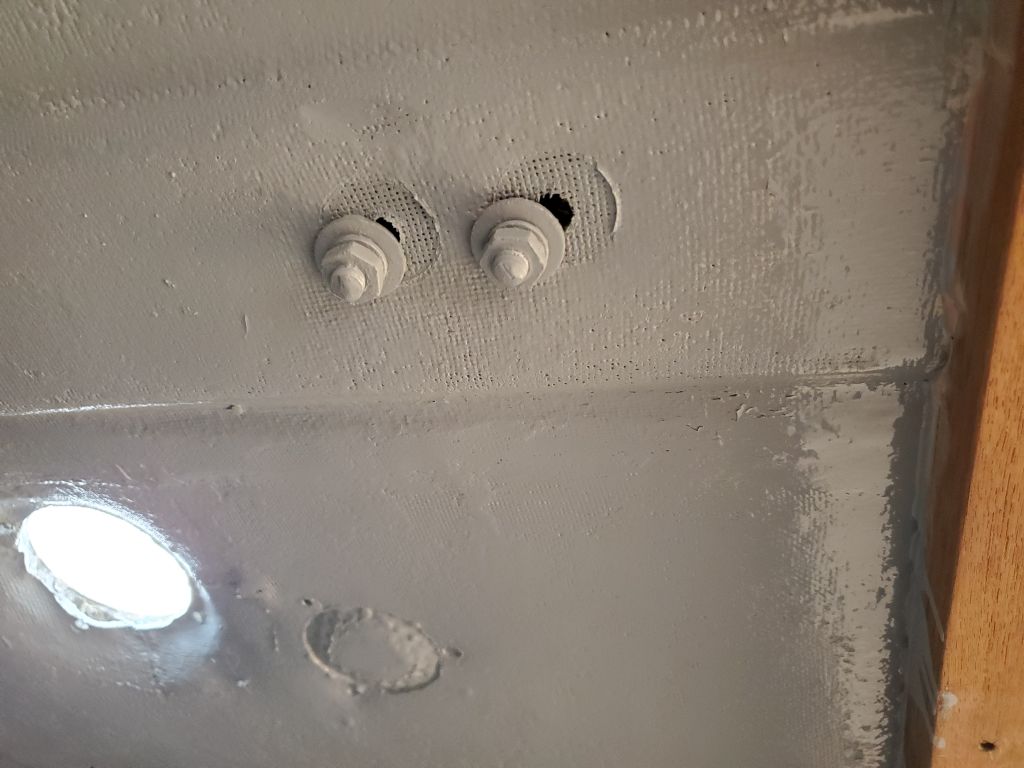
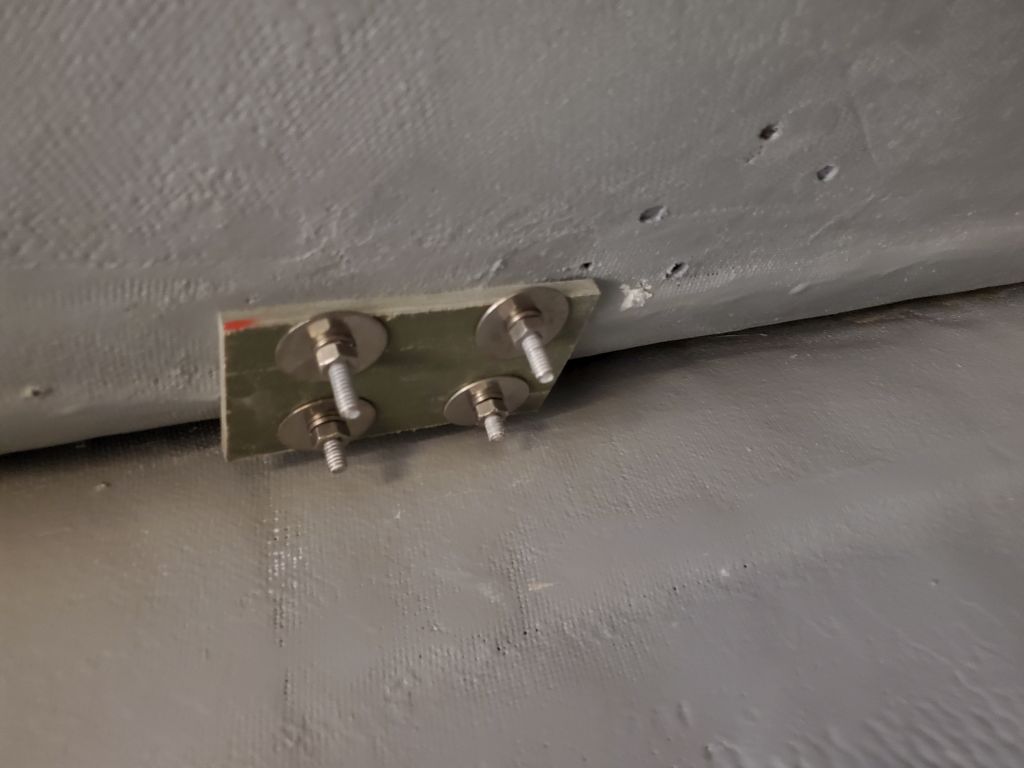
Meanwhile, my delivery arrived, and with time growing short in the day I immediately made up a set of fiberglass backing plates for the bow pulpit, using my template as a guide for the screw holes. I found that these were slightly too wide, given the angle of the hull beneath the protruding fasteners, so I trimmed them slightly, the installed the backing plates at each pulpit base location with fender washers, lockwashers, and nuts to complete the installation just in time for the end of the day.


Total time billed on this job today: 6.25 hours
0600 Weather Observation: Overcast, 45°. Forecast for the day: Mostly sunny, 62°