


March 19, 2021
Lyra 42
Friday
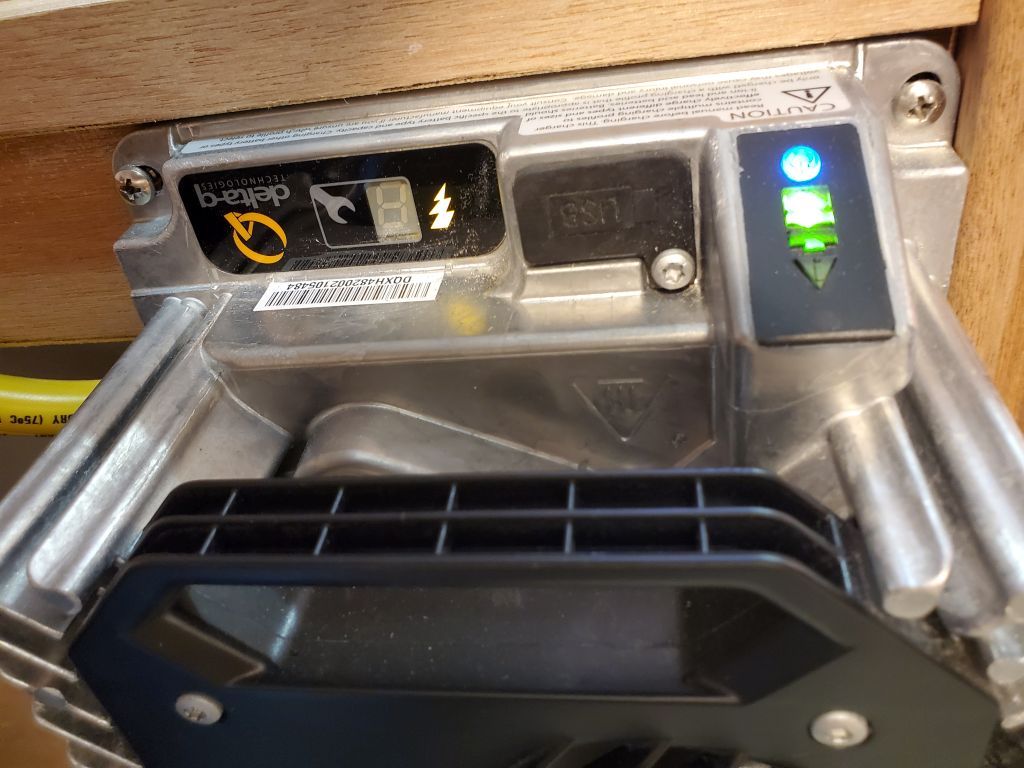
After checking over my various battery cable and charger connections, I plugged in the charger to test its function. Everything lit up that was supposed to light up, and nothing lit up that wasn’t supposed to (i.e. error codes in the numbered window). The fan whirred, and all was good in the land.
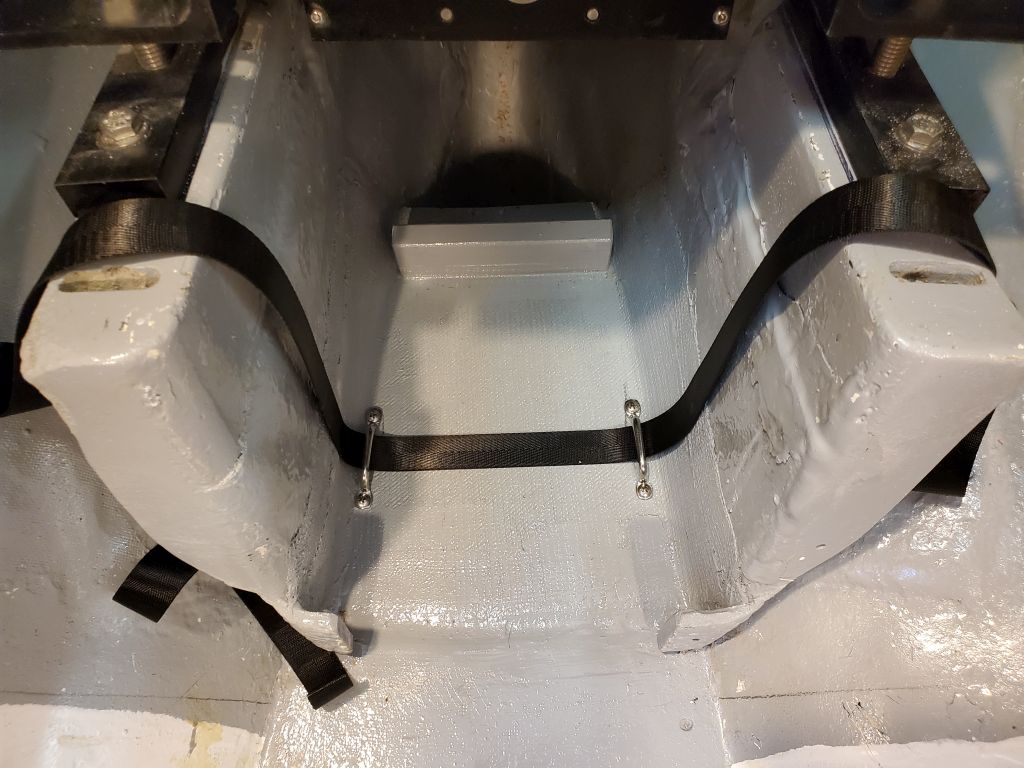
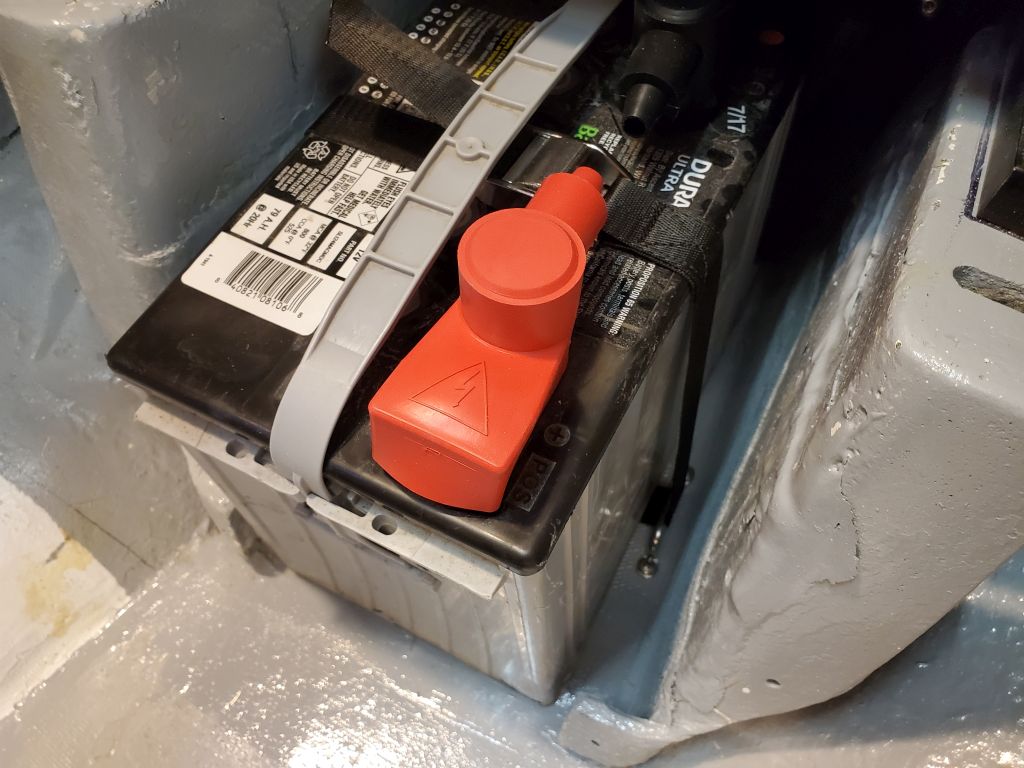
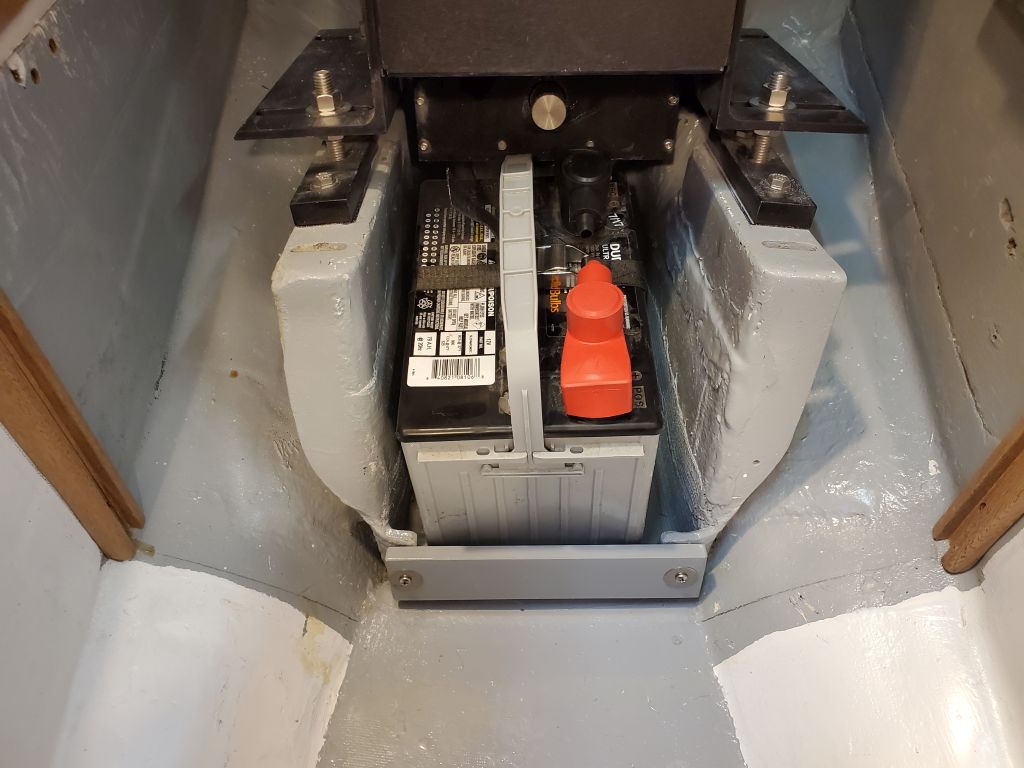
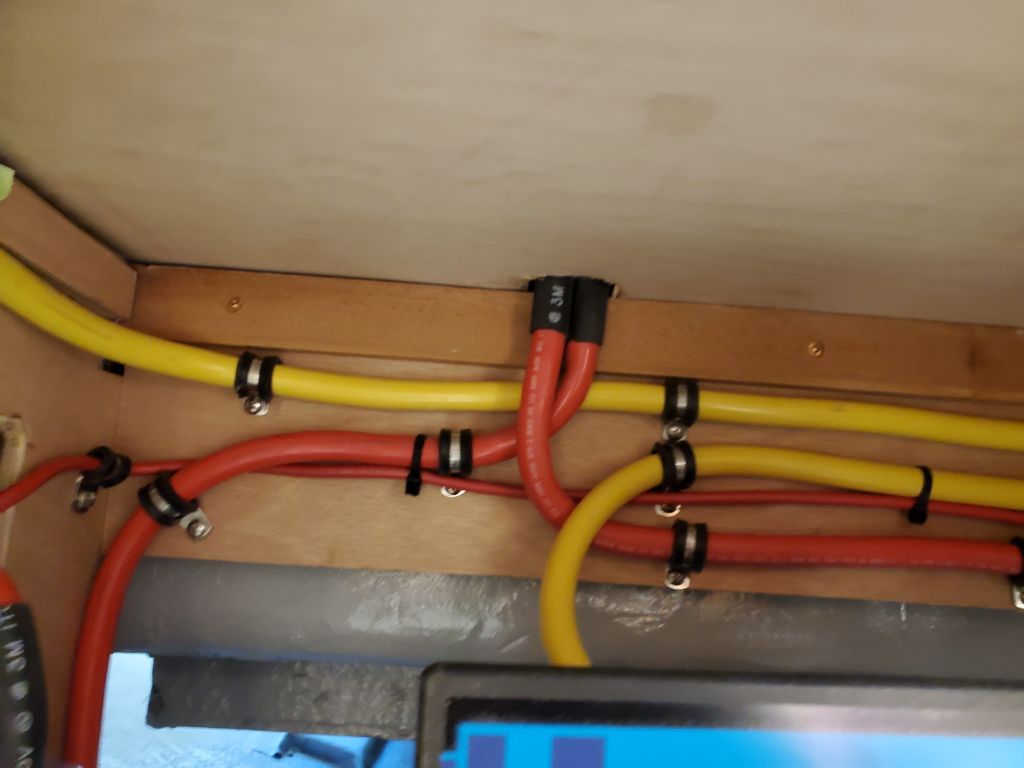
I had a few loose ends to wrap up in the galley and environs that would finish up this segment of the work, as I planned to transition to the cockpit final painting next (in keeping with the overall schedule and priorities in the project scope), starting with the final installation of the house battery in its new home beneath the electric motor. I installed a pair of stainless webbing strap eyes on the platform (which I’d secretly painted previously), then secured the battery in place with a strap (stainless buckle). I installed some terminal boot covers over the terminals both for ongoing protection now, and for eventual future use once the wiring was to go in. Finally, I secured the removable cleat at the aft end to hold the battery firmly in place.


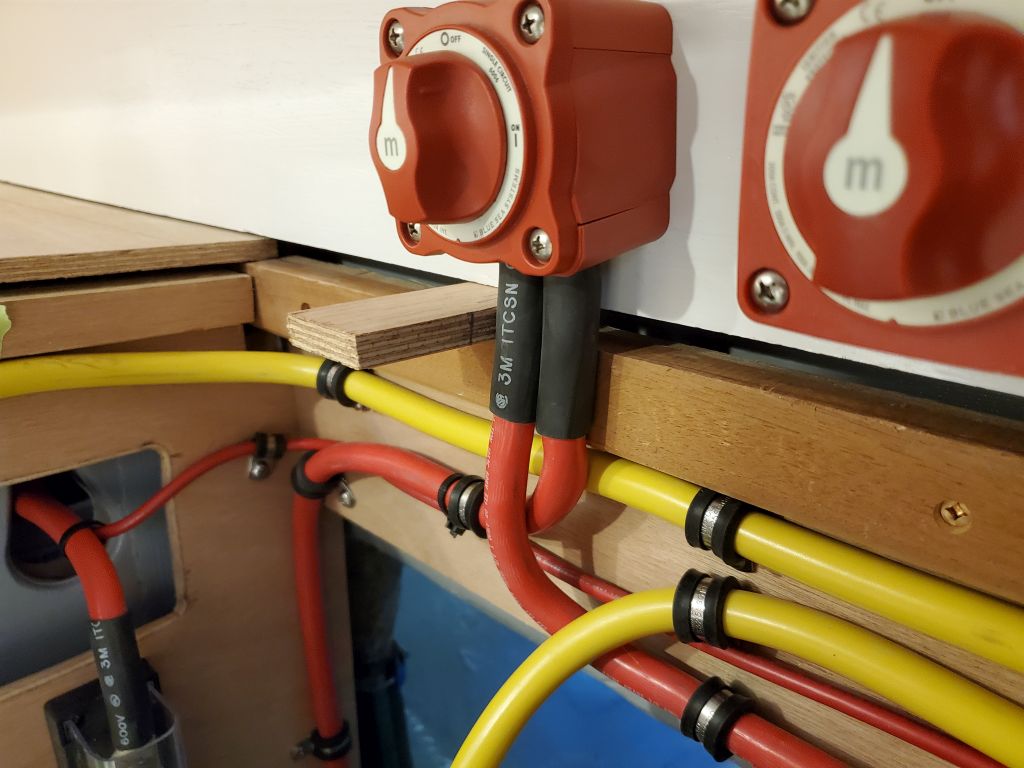
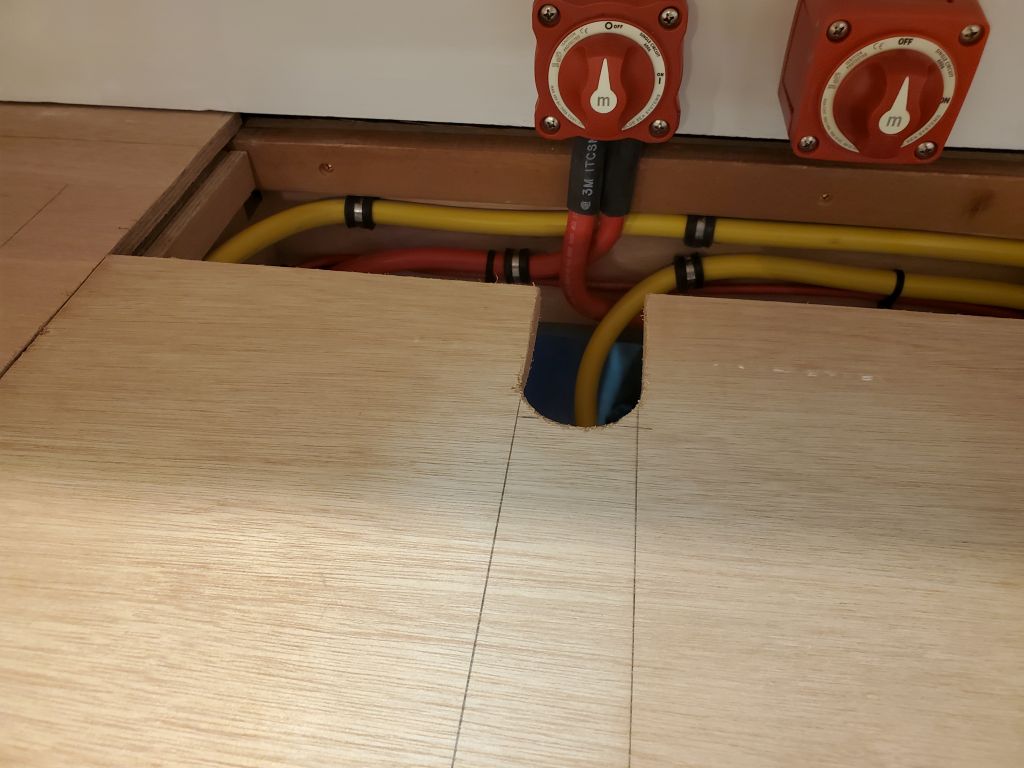
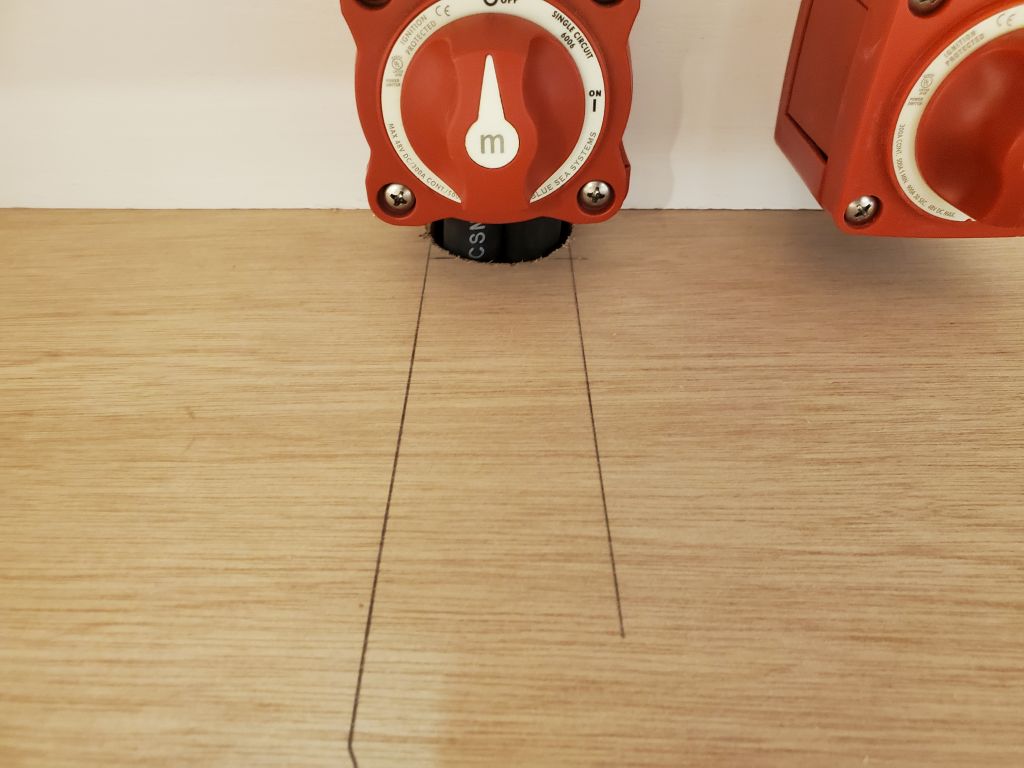
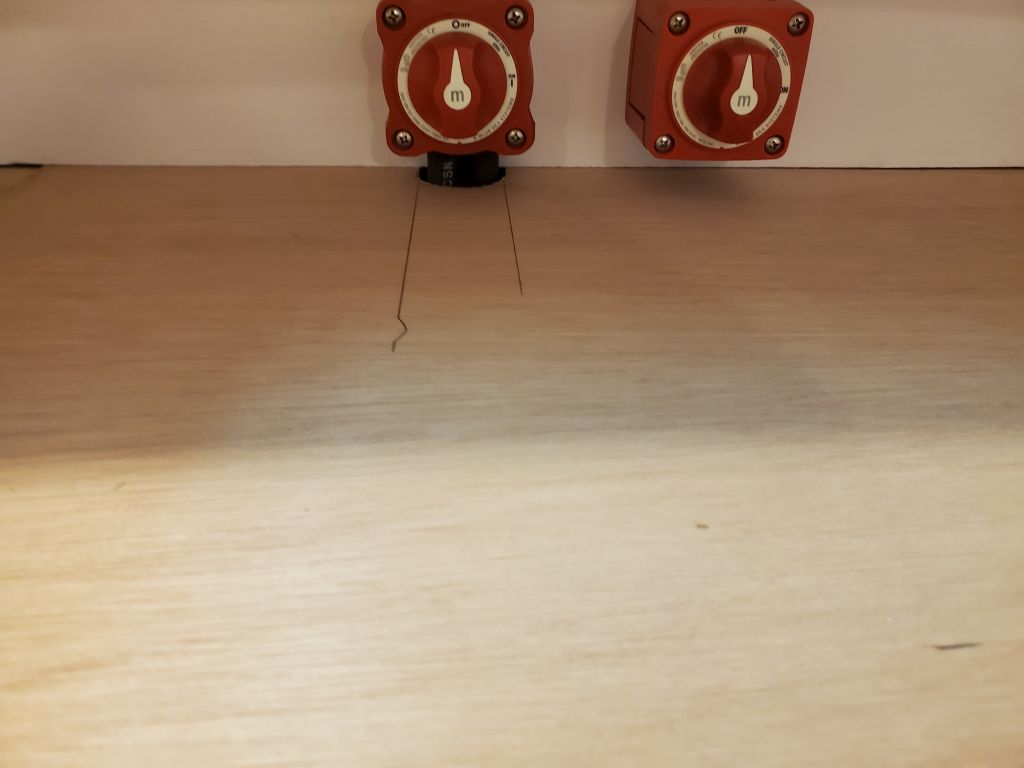
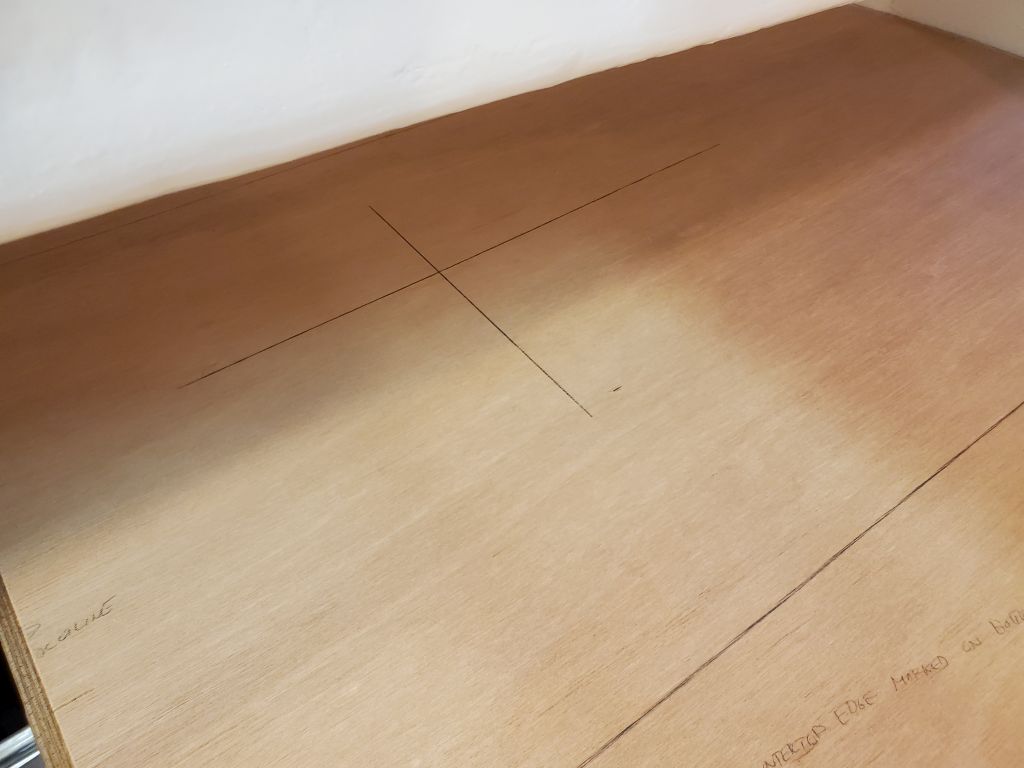
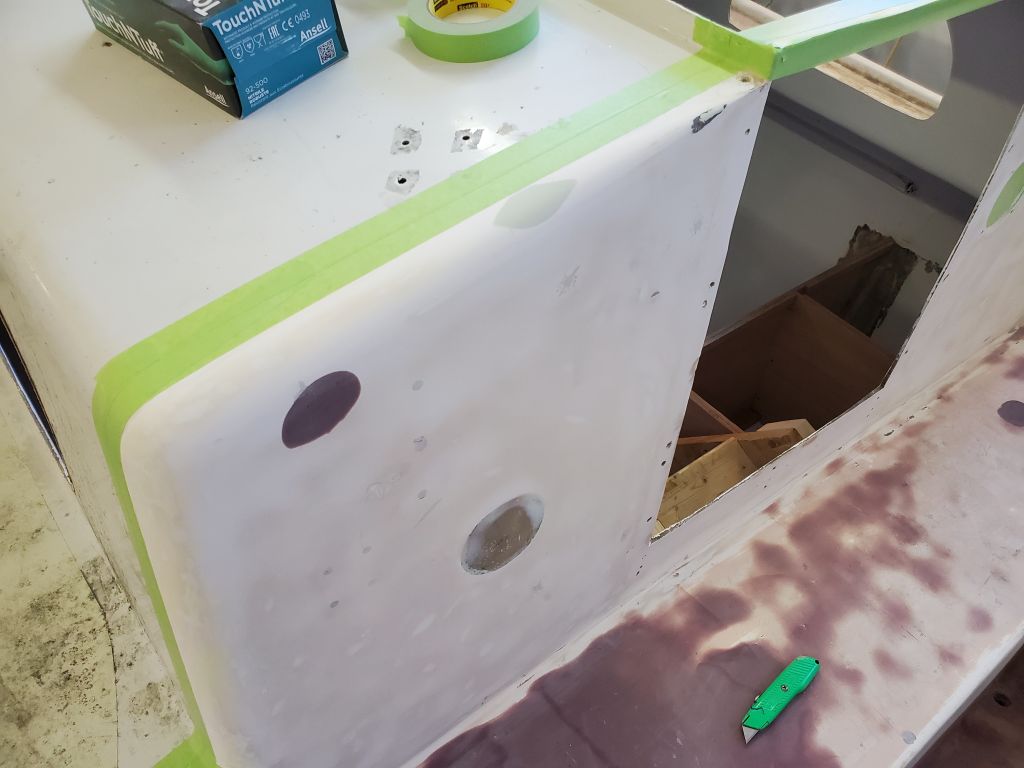
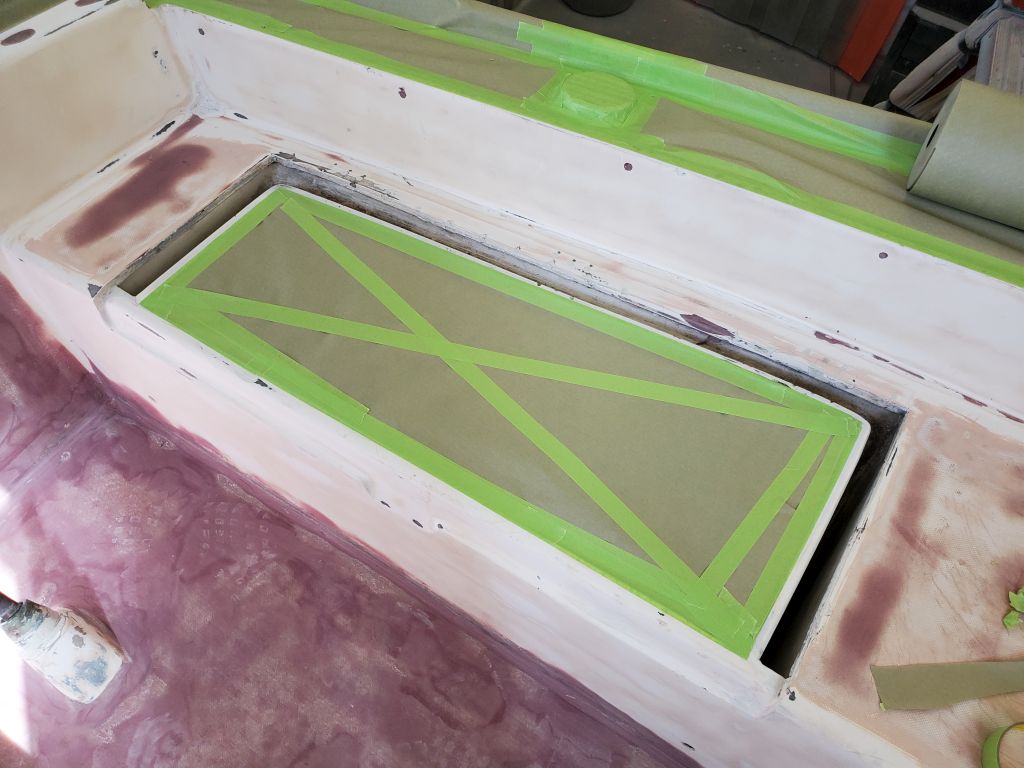
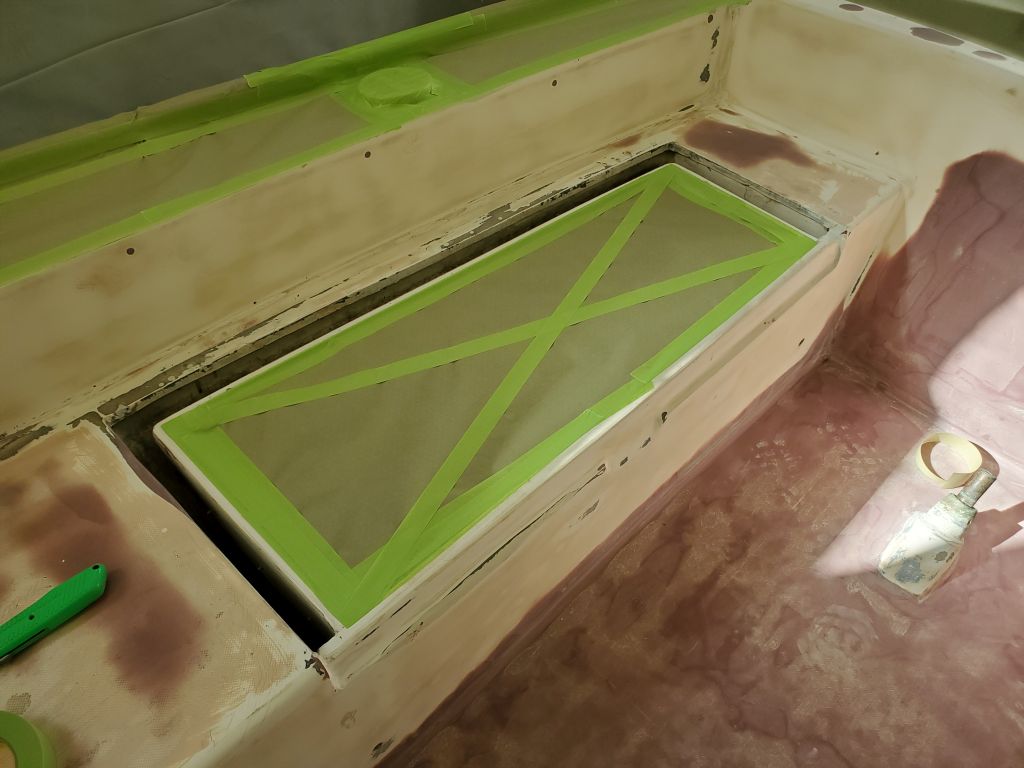
With a straightedge and spacer block, I marked as needed the width and depth of the cutout required in the engine room countertop panel to clear the wiring leading from the engine battery switch, and made the cutout. I’d follow suit with the house battery switch sometime later, once it was wired up.

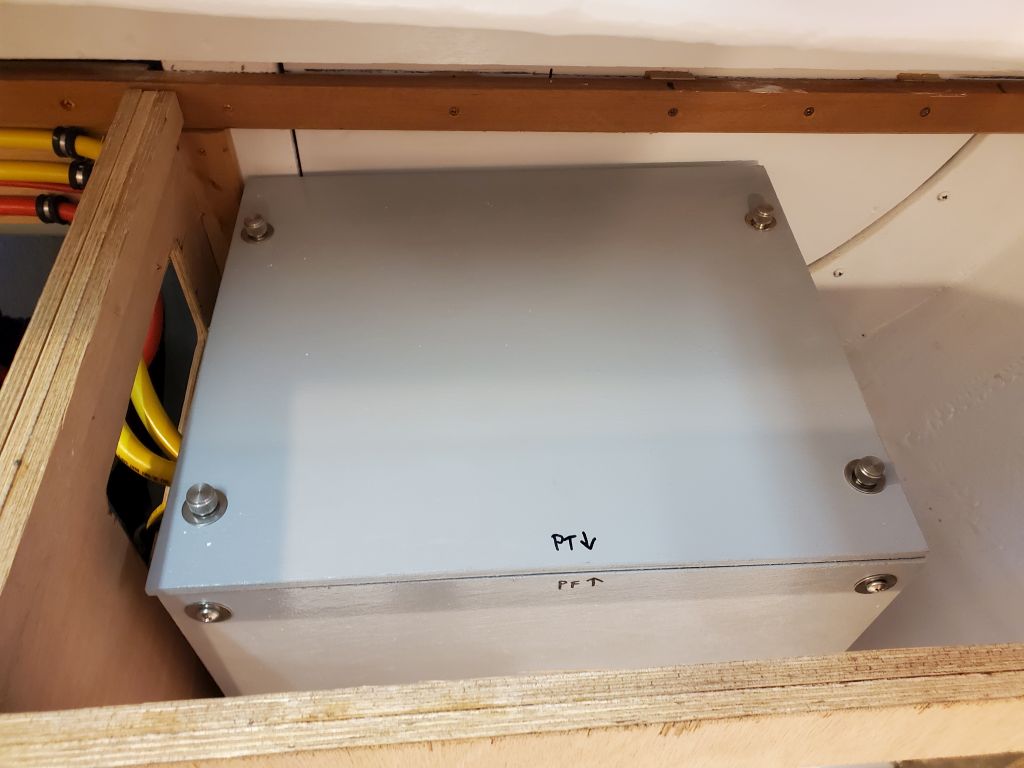
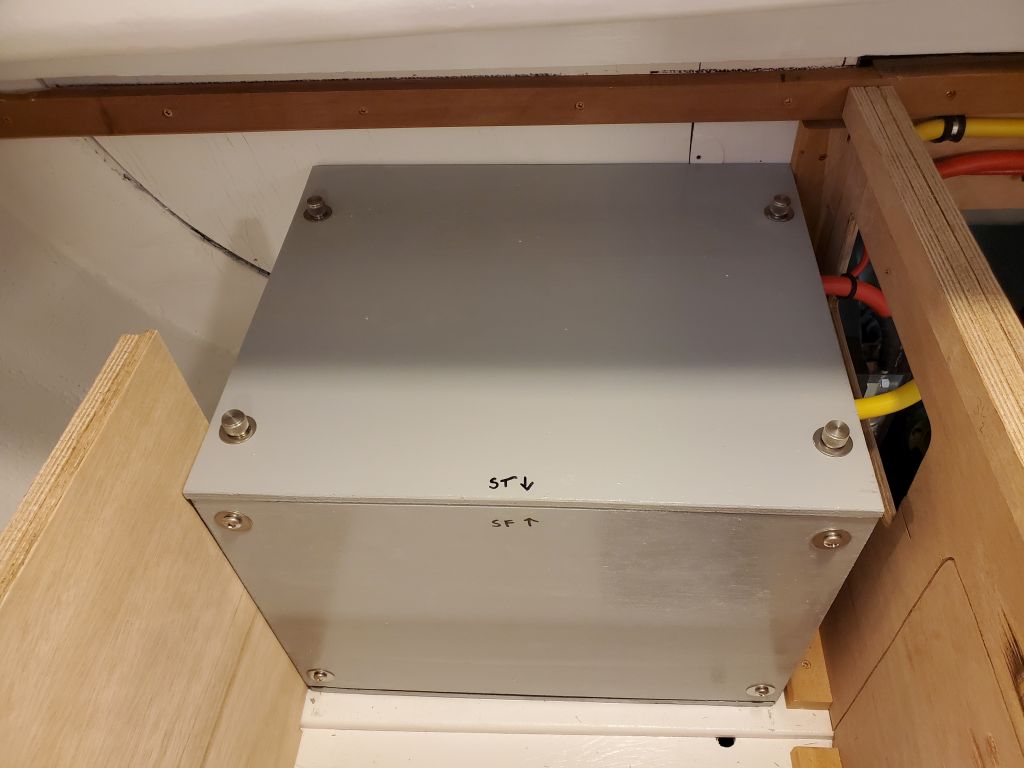
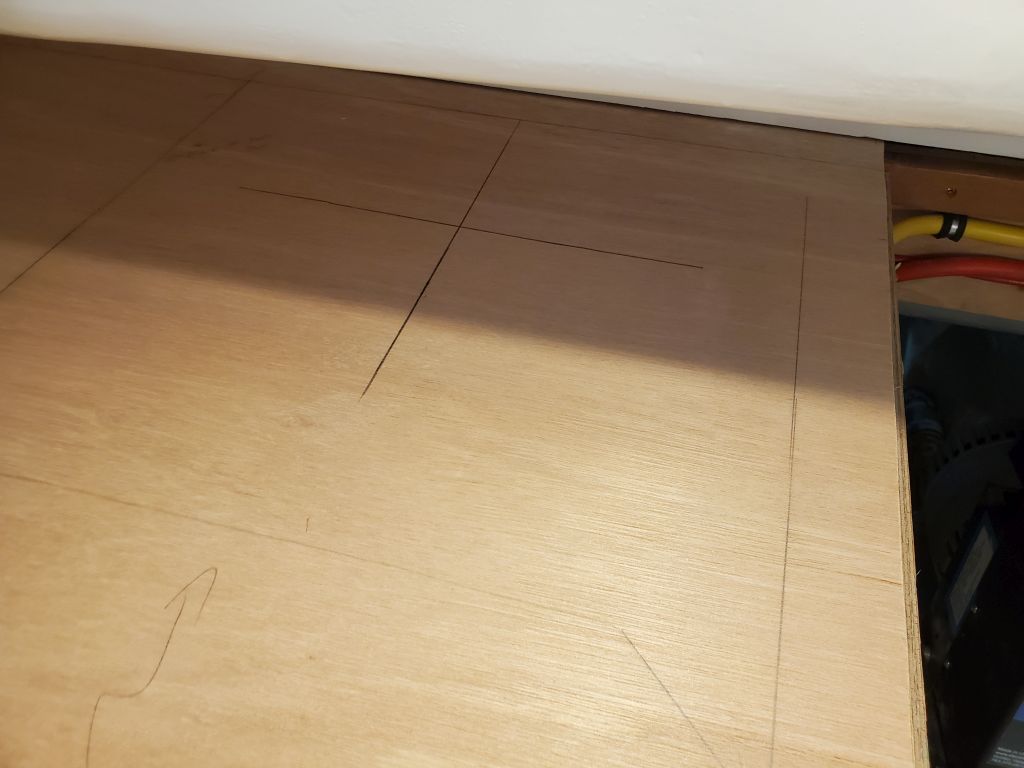
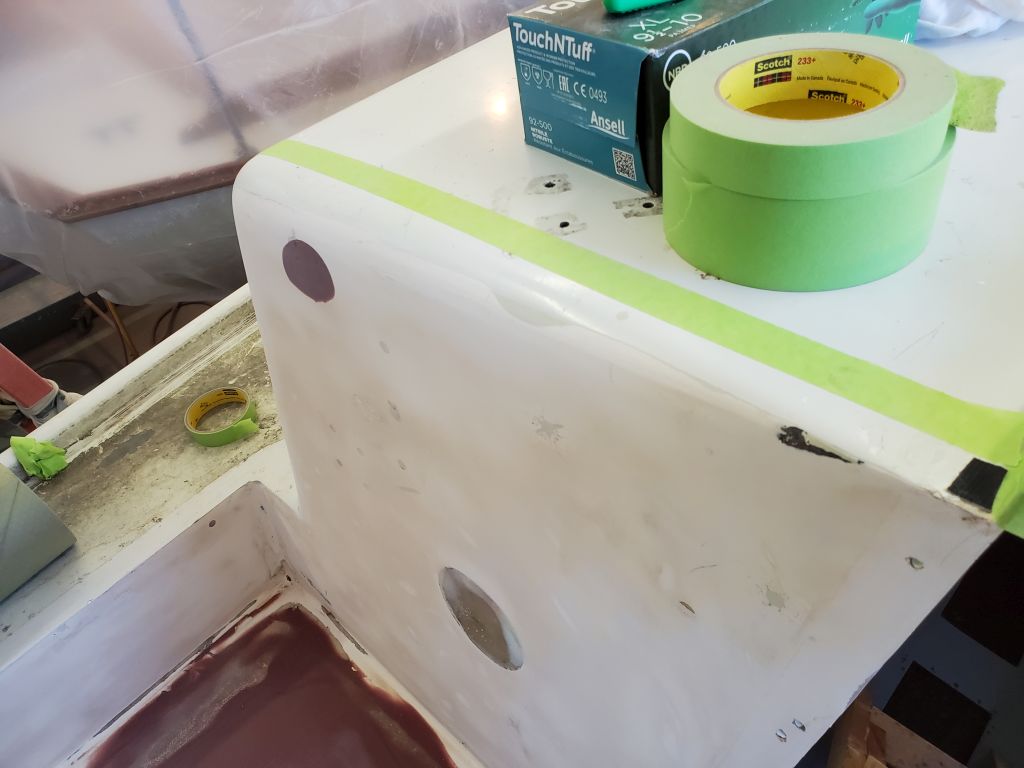
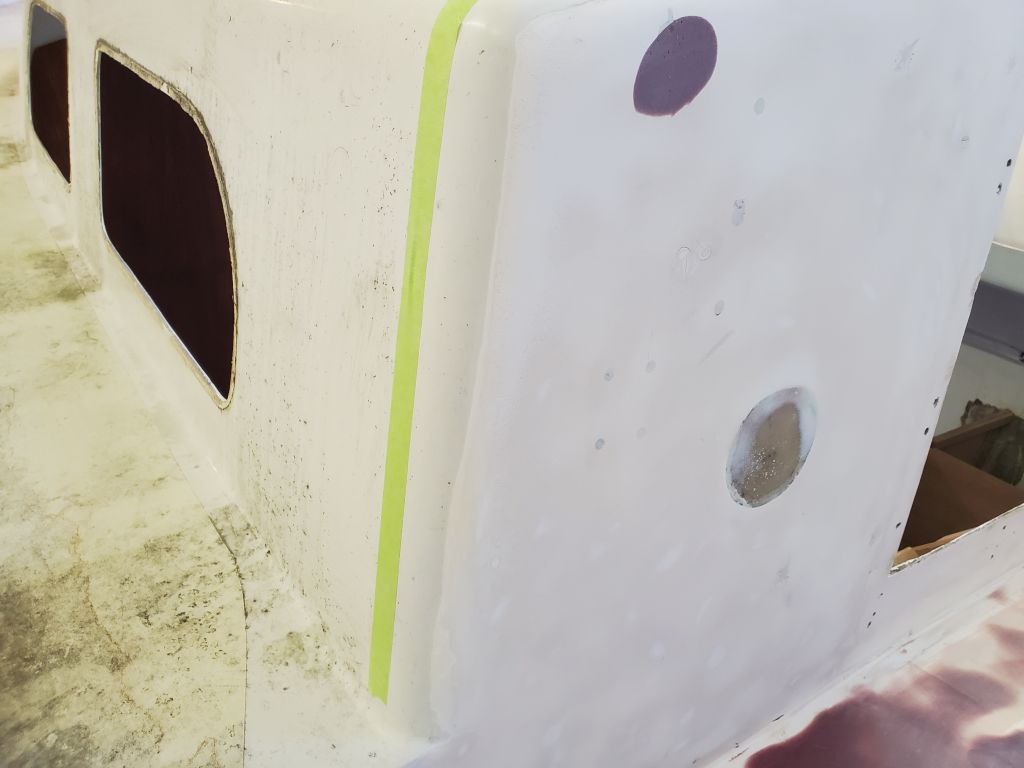
With no further work anticipated with the engine batteries, I could button up the boxes. To allow easier removal of the box tops for access later, while trying for the smallest practicable hatch size in the countertops above, I changed from Philips head screws to knurled-head fasteners that could be operated without tools. I’d already made some reference marks on the underside of the countertop around the boxes, but to help locate the new hatches I made additional measurements and marks for the approximate centers of the eventual hatches on top as well.
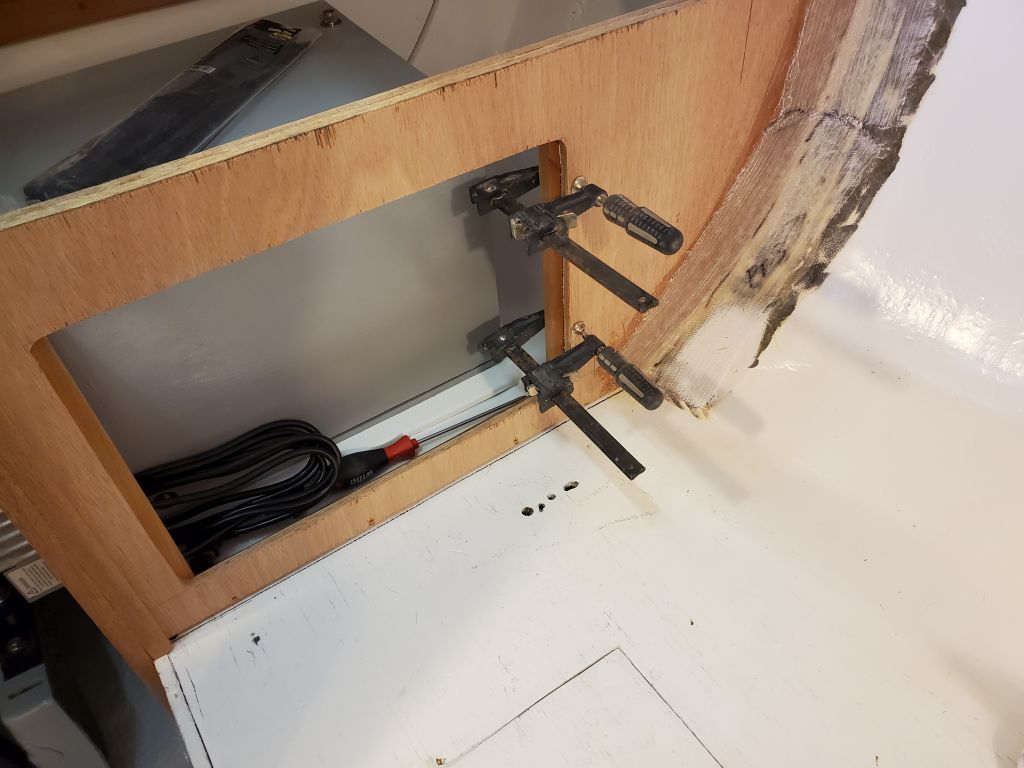
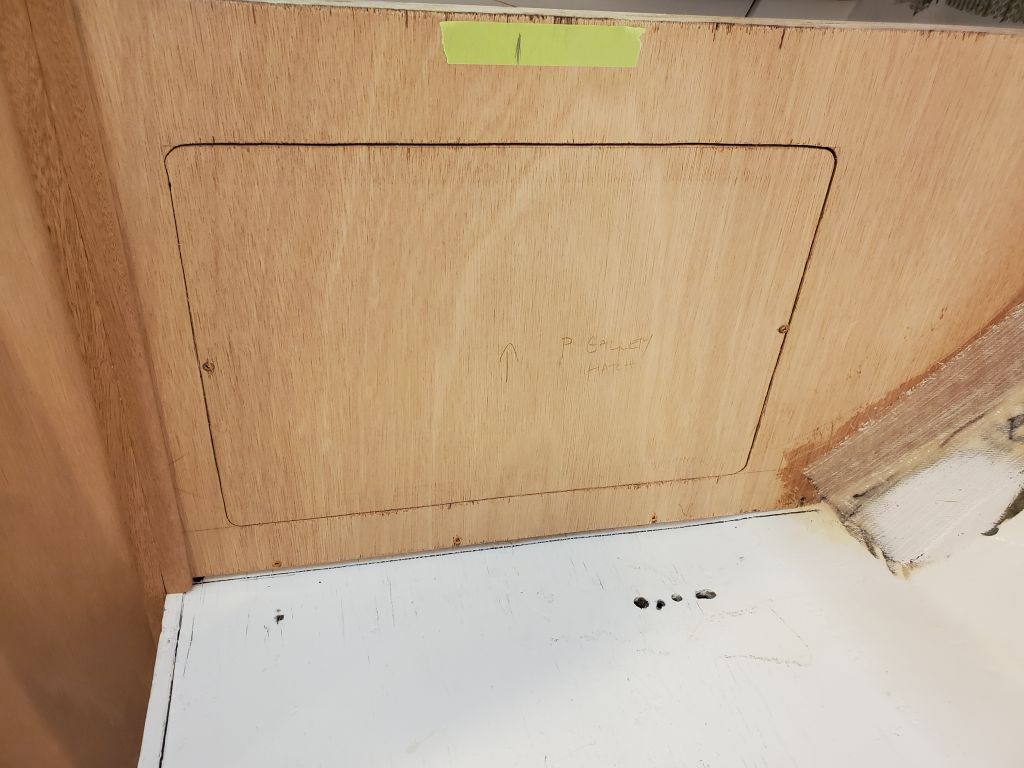
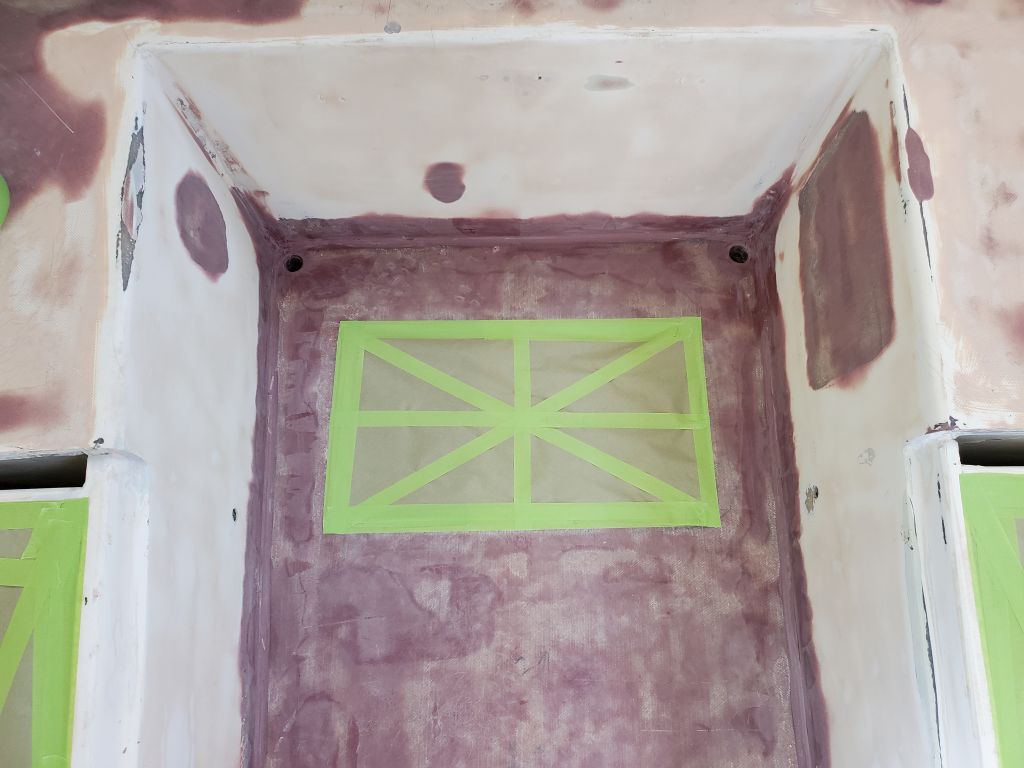
In the port galley cabinet, I’d already installed one cleat behind the large battery-access opening to hold the removable panel (which may someday be replaced with a door, but not right now). Now, I installed a cleat on the opposite side, gluing it in place. Once the glue had time to cure, I could install the front panel with two screws for now.
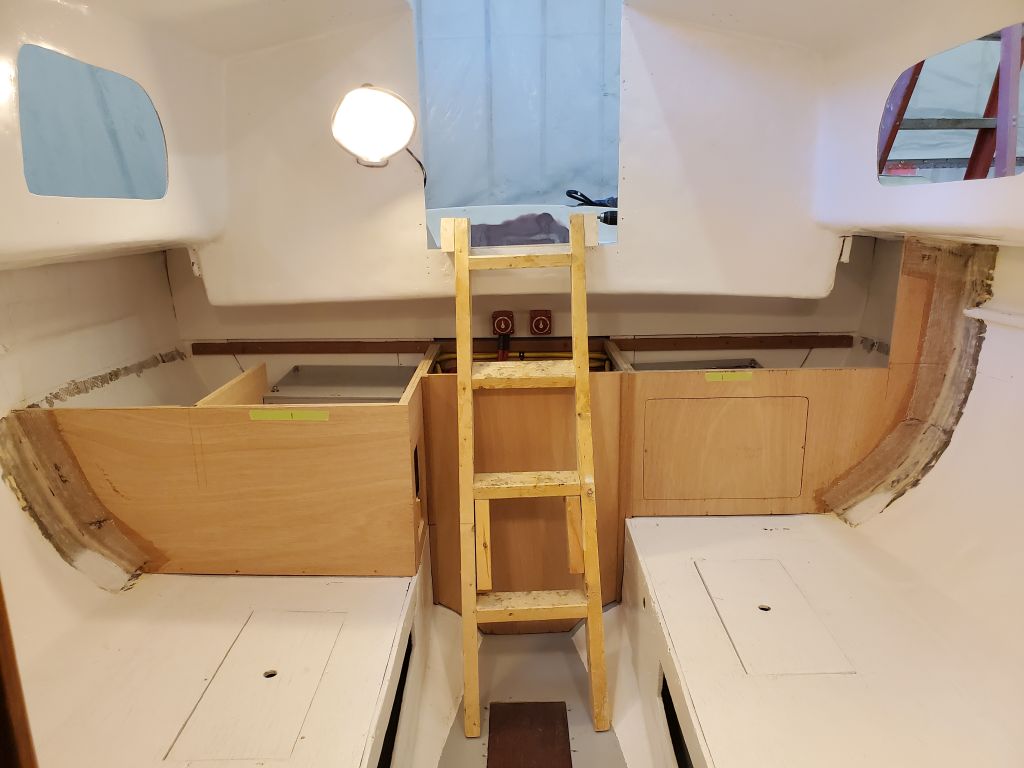
Before removing all the countertops and other removable panels for later attention, I realized I’d not yet assembled the engine front panel and countertop all at once, so I put everything together to test the fits and observe the “completed” galley arrangement for now.


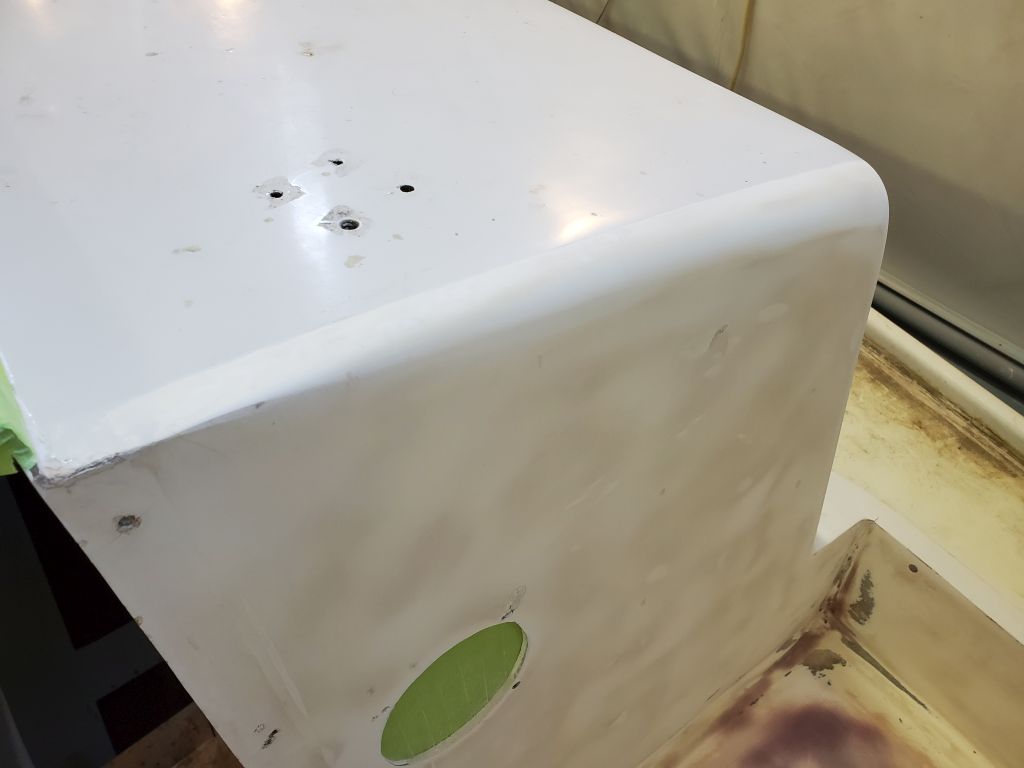
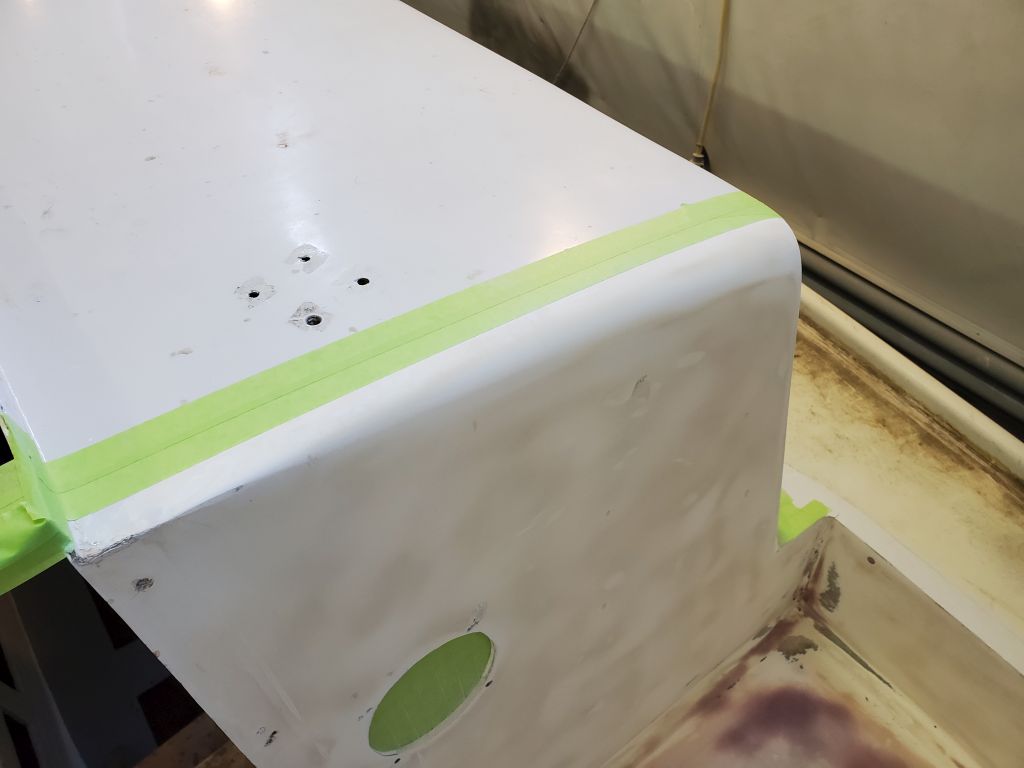
For now, my interior work was done, and I spent some time removing all my tools and other supplies from inside the boat, along with the countertop pieces (hoping to work on these independently in the coming days). Then, I cleaned up the inside of the boat and prepared to seal it off for a while while I worked on the cockpit painting. As a last interior step, I masked over the compass hole and some companionway fastener holes from inside.
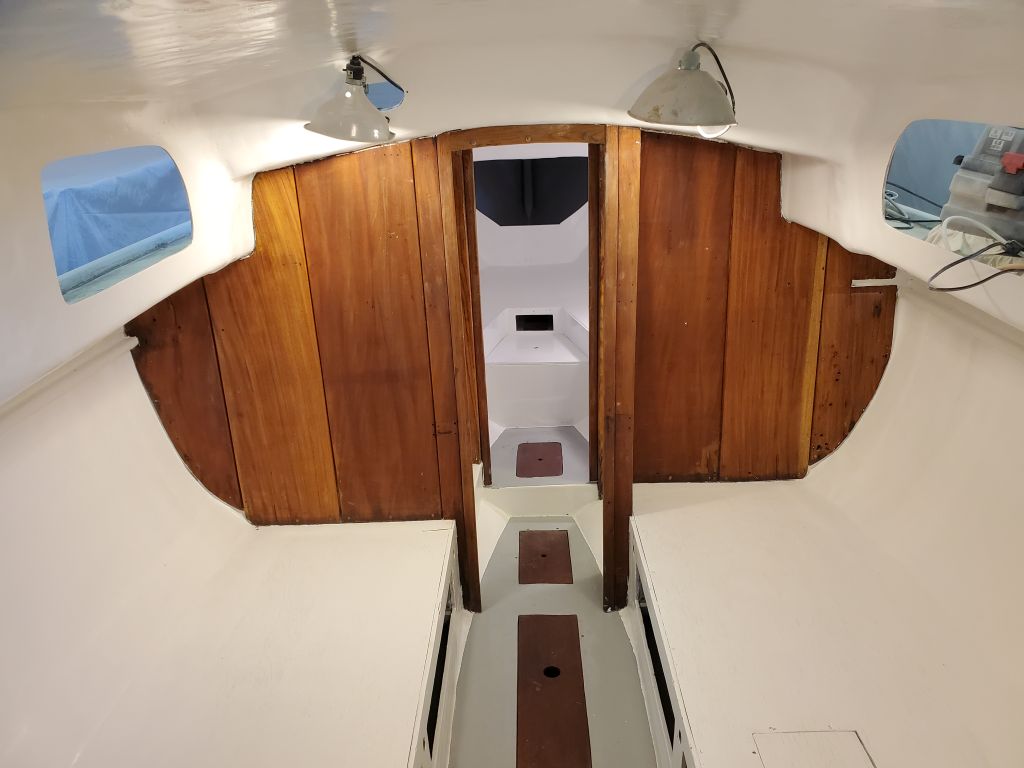
On deck, I vacuumed everywhere, then solvent-washed the cockpit, surrounding sidedecks, and part of the cabin top to prepare it for masking and other prep in the immediate future.


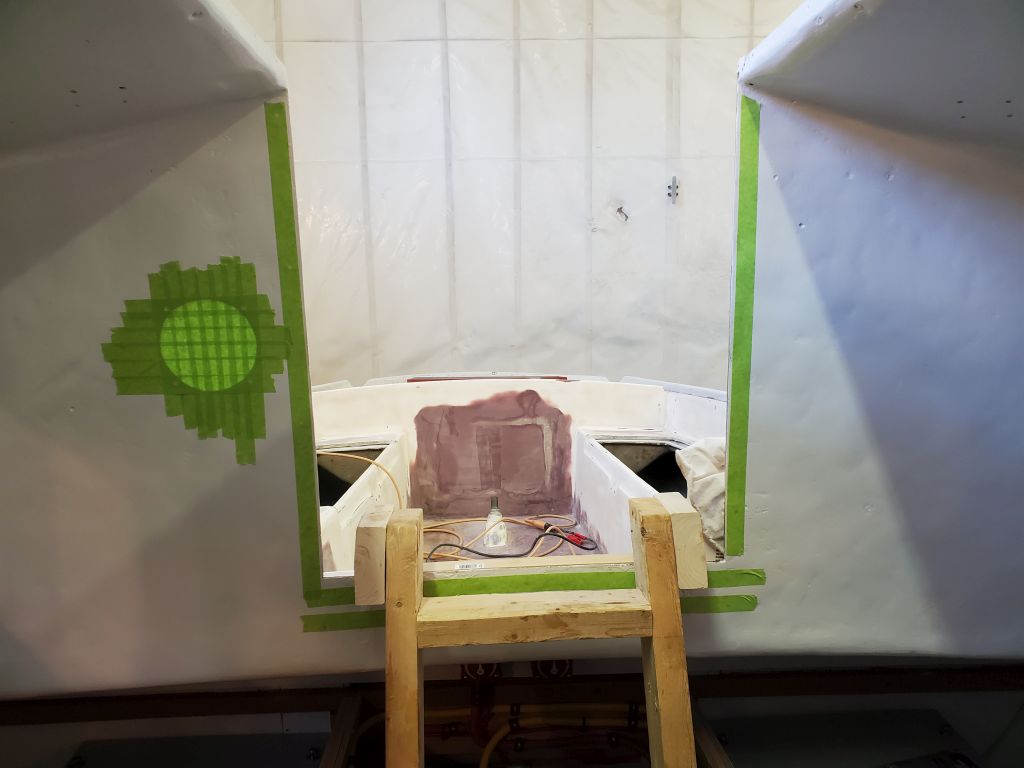
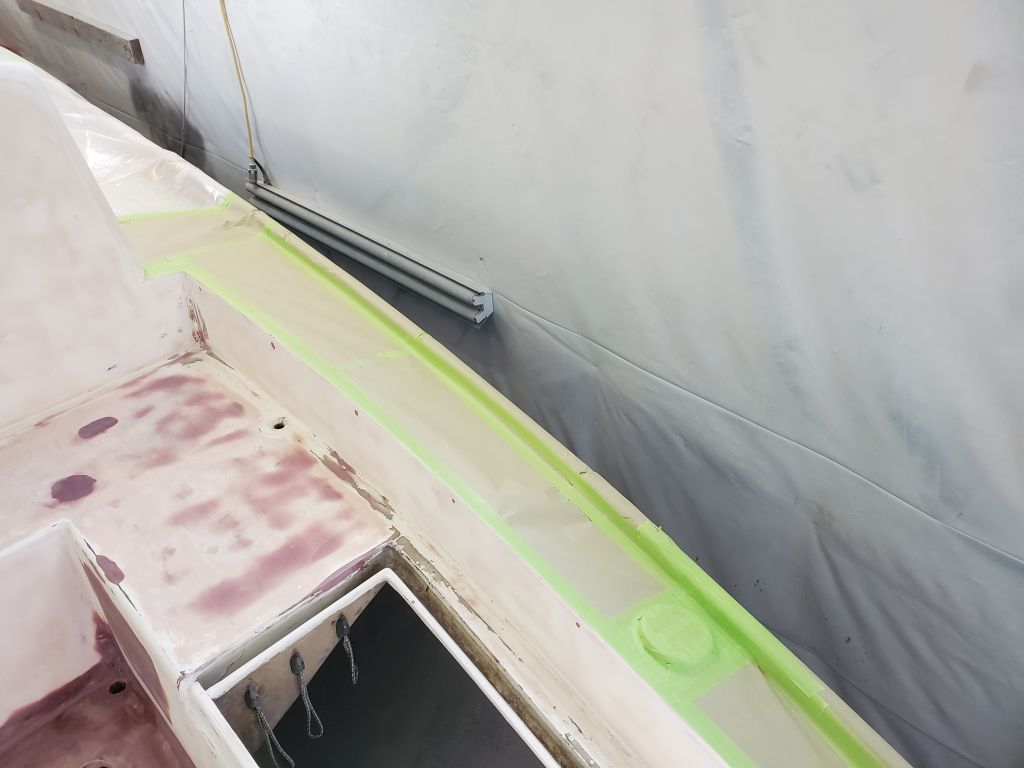
With surfaces clean enough now for masking, I started at the aft cabin bulkhead and cabin top to slightly expand the area I’d sanded and prepared before, striking a new line with temporary tape at a place on the cabin where it would be easier to blend any future deck paint with the new work going on in the cockpit. By hand, I sanded off the existing paint in these expanded areas, then, after removing the temporary marking tape and cleaning the areas, masked off the new paint demarcation along both sides of the companionway.


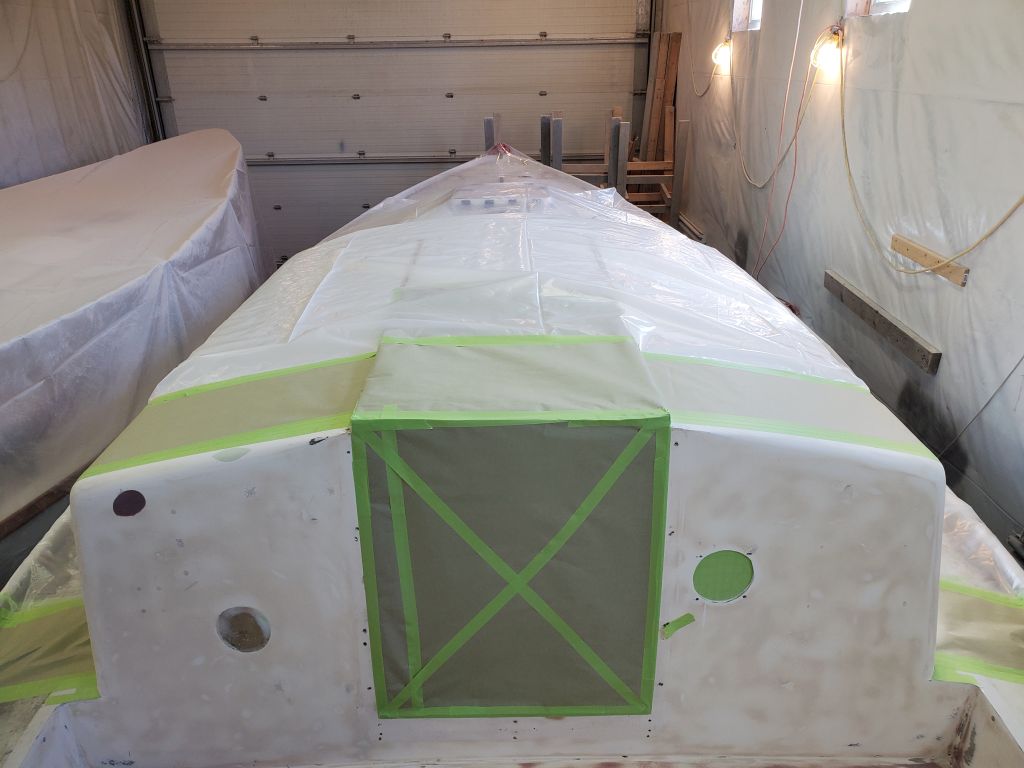
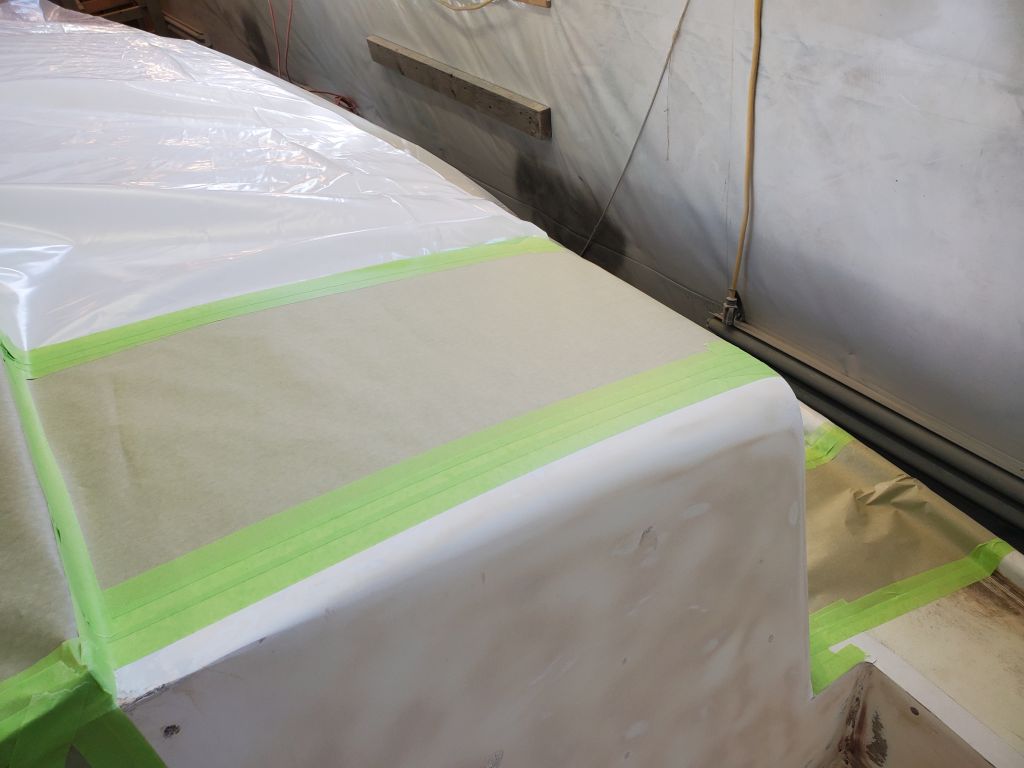
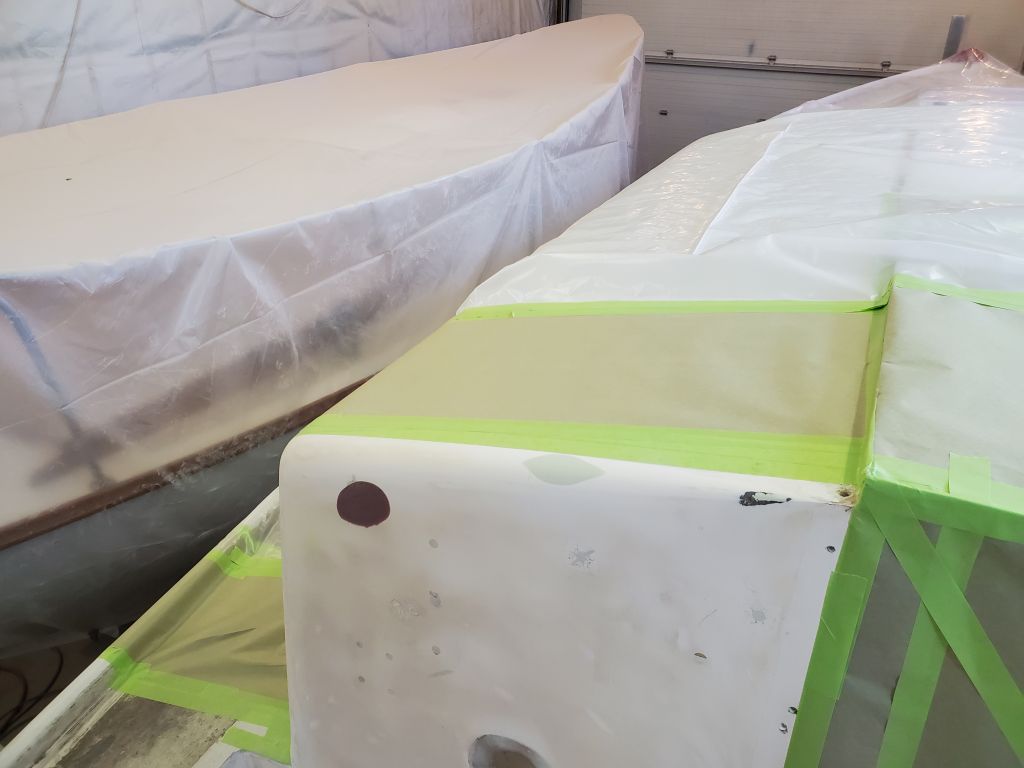
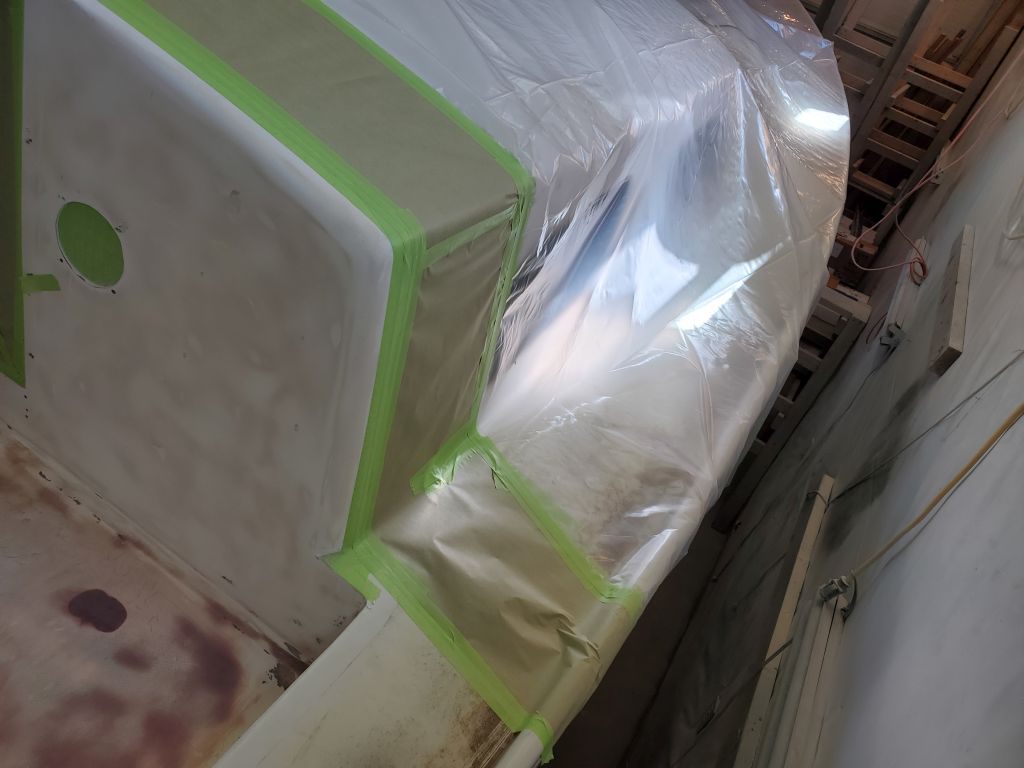
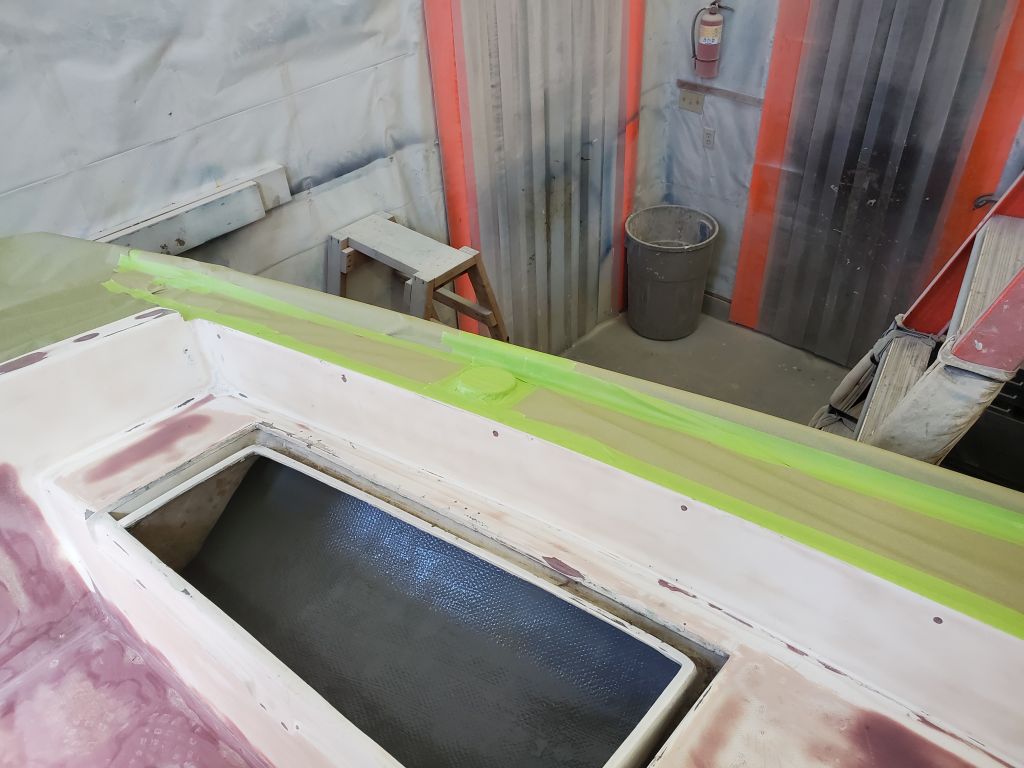
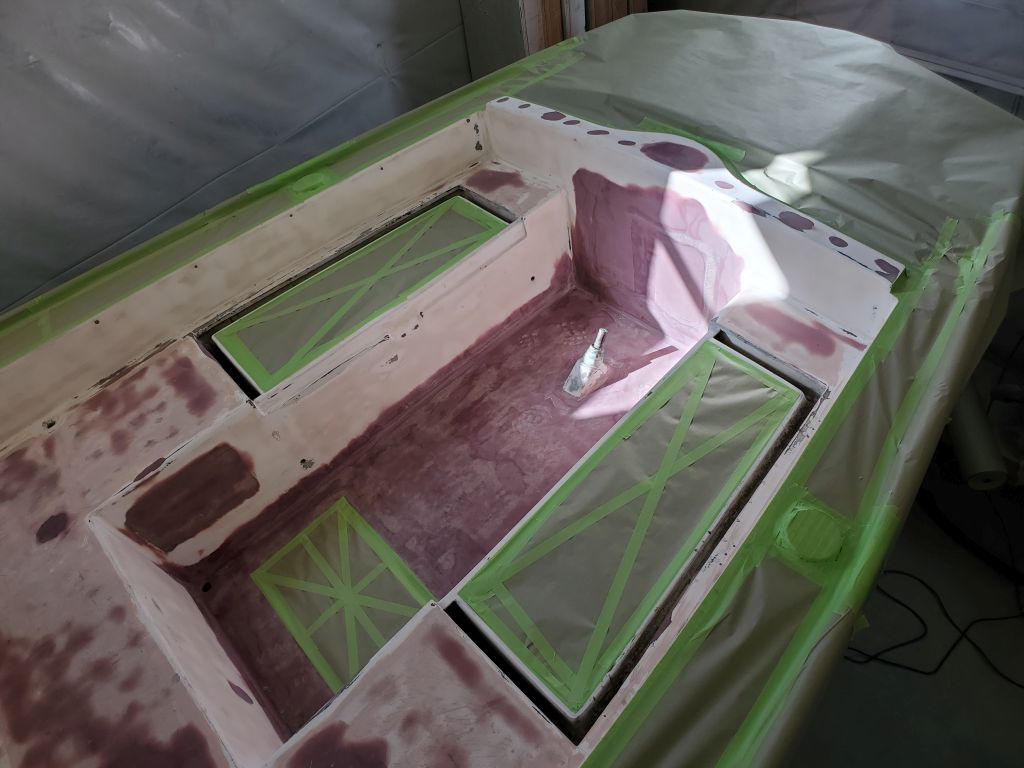
During the rest of the afternoon, I worked to mask off the companionway and areas forward of the cockpit with a combination of masking paper (near the cockpit) and plastic sheeting forward, then masked the sidedecks, poop deck, and three openings in the cockpit to protect these areas during the primer and paint ahead. (Oops, I spy with my little eye some misaligned tape on the starboard cockpit locker, something to correct next time.)


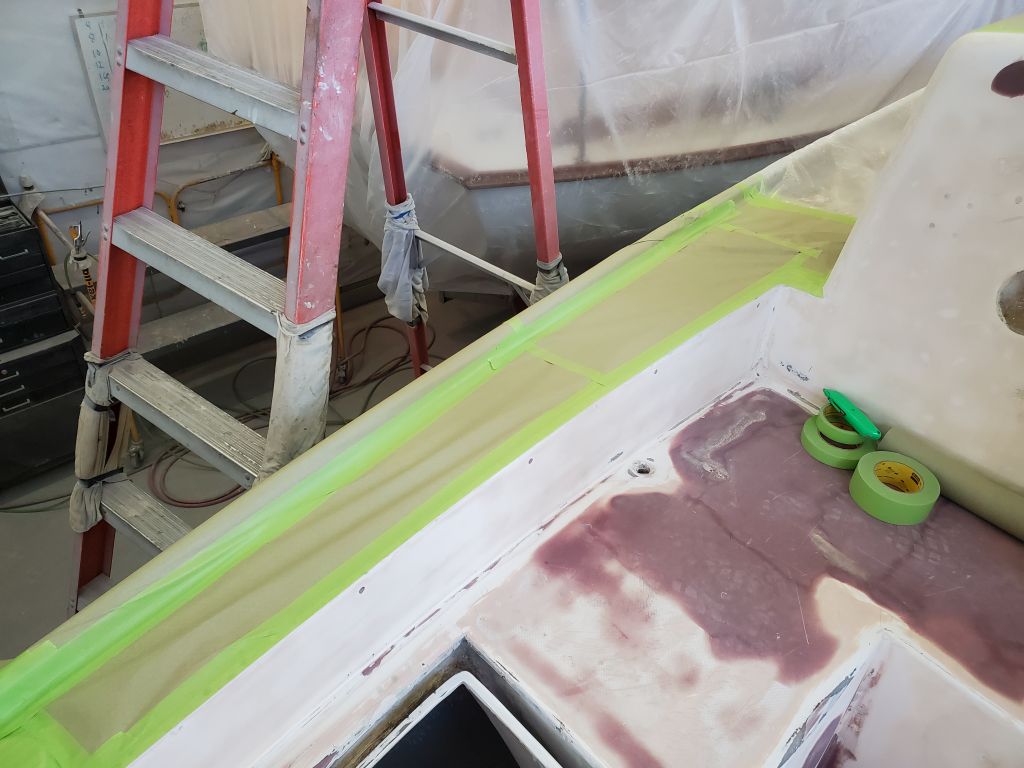
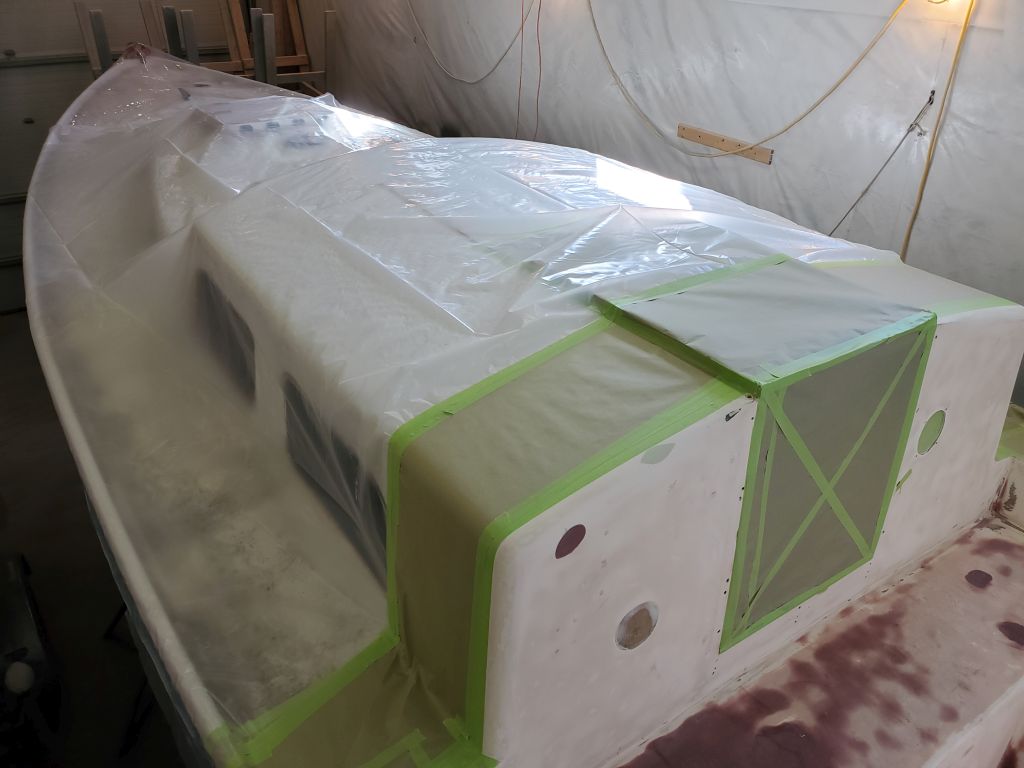

There was more masking and some other painting prep still ahead, including preparing staging and ladders for cockpit access all around, and a general shop cleanup and related preparations, but I’d finish all that up next time before starting the high-build primer application.
Total time billed on this job today: 6.25 hours
0600 Weather Observation: 19°, partly cloudy, windy. Forecast for the day: Windy (how unusual), sunny, 34°