


January 27, 2021
Lyra 4
Wednesday
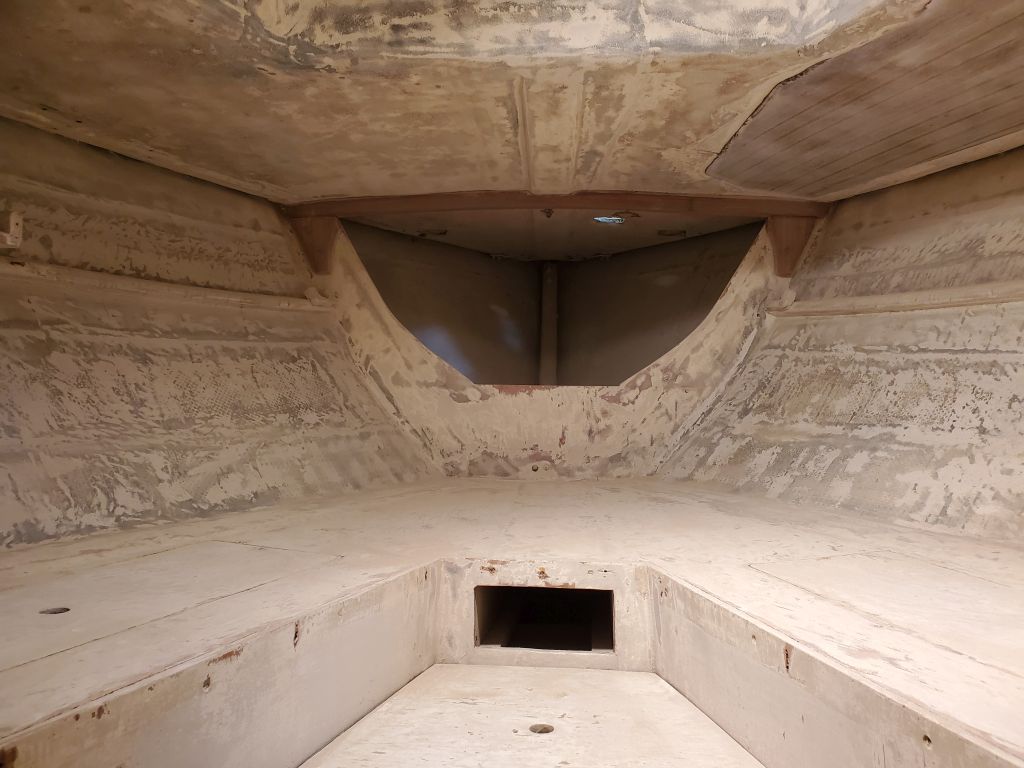
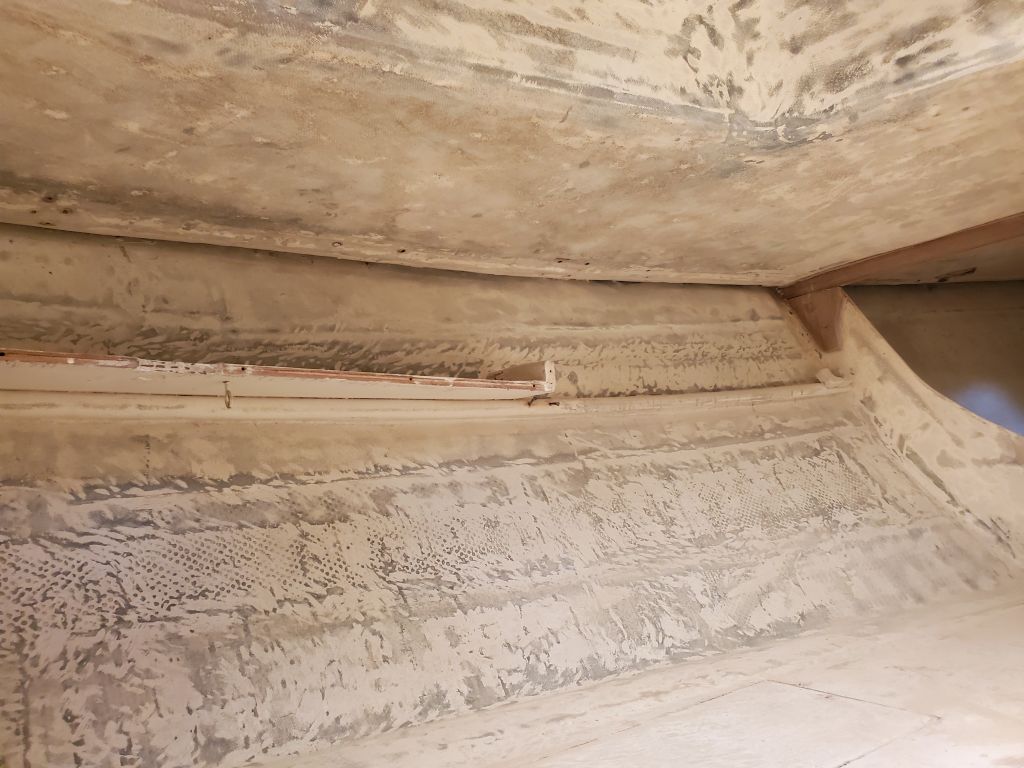
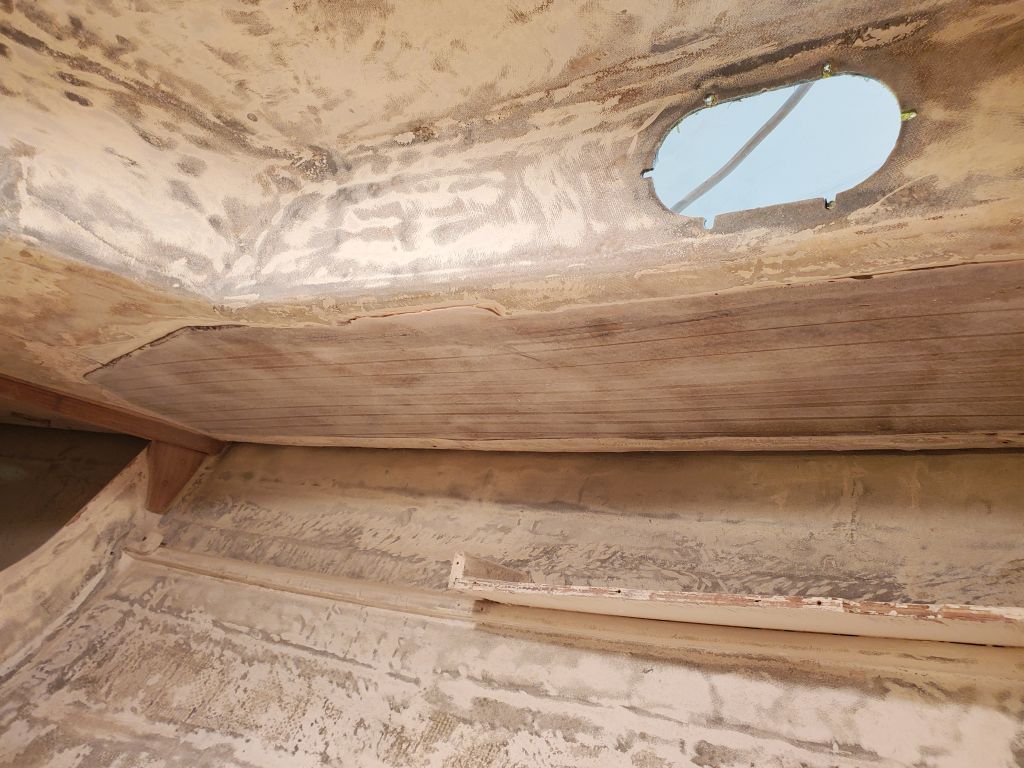
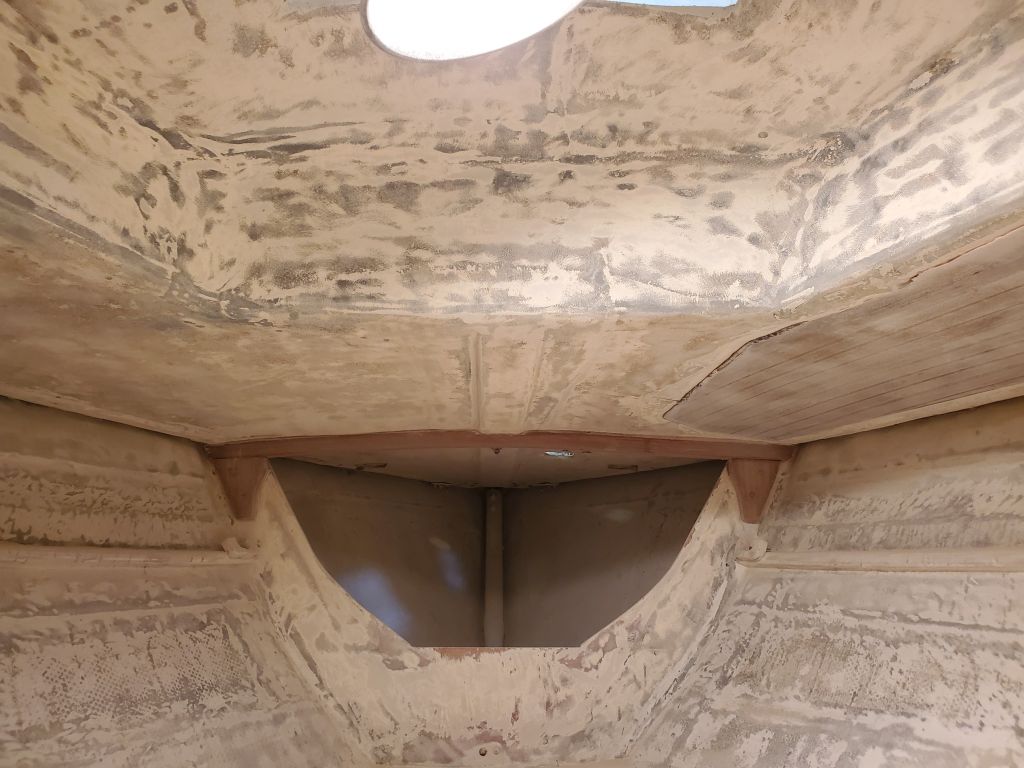
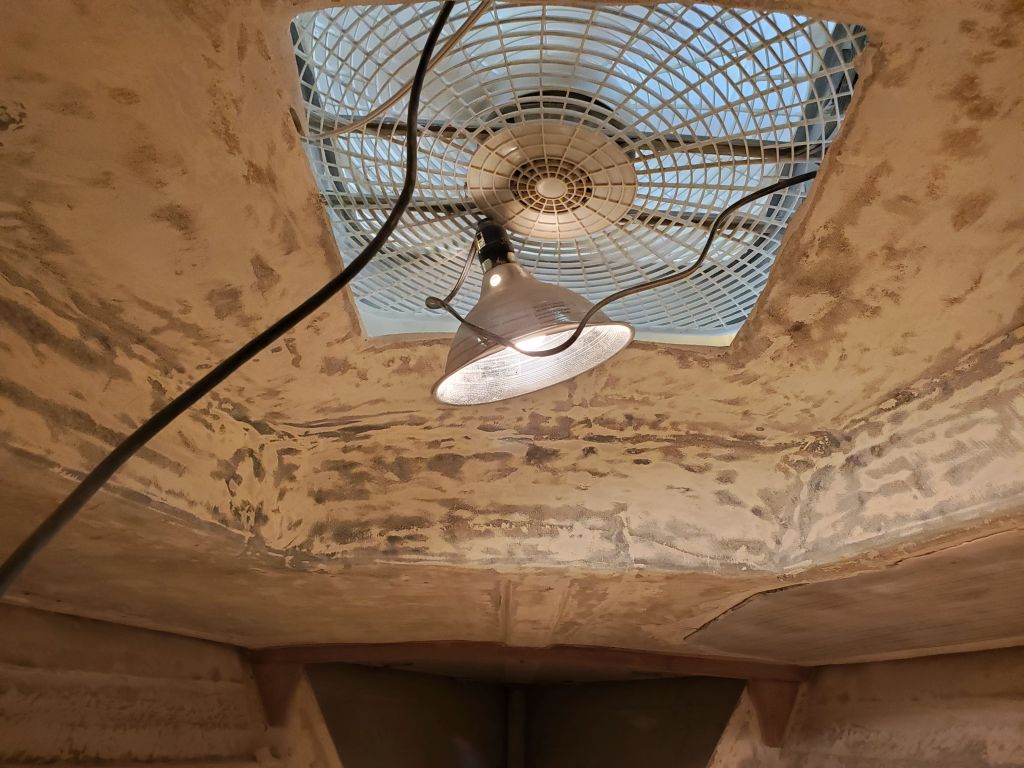
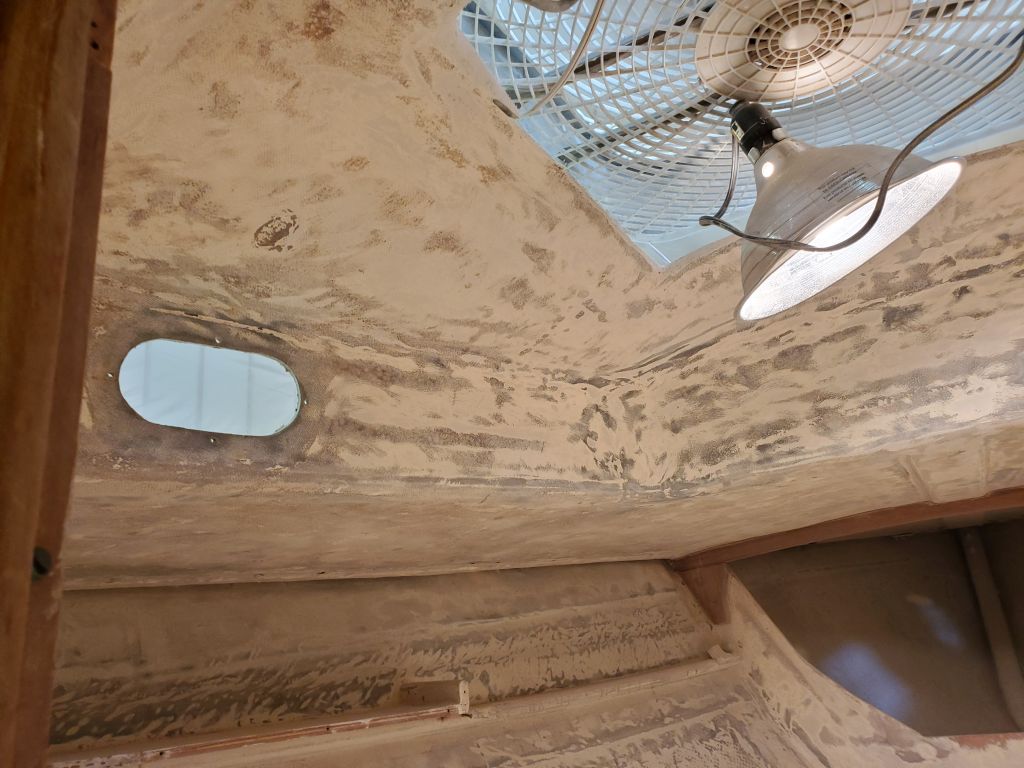
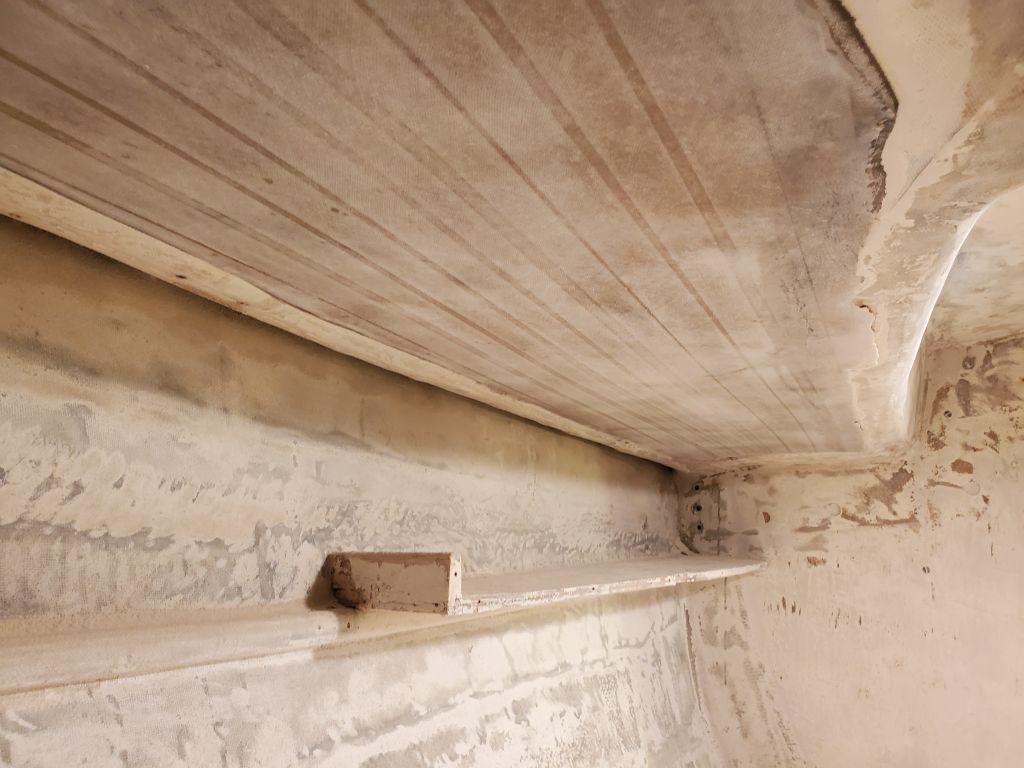
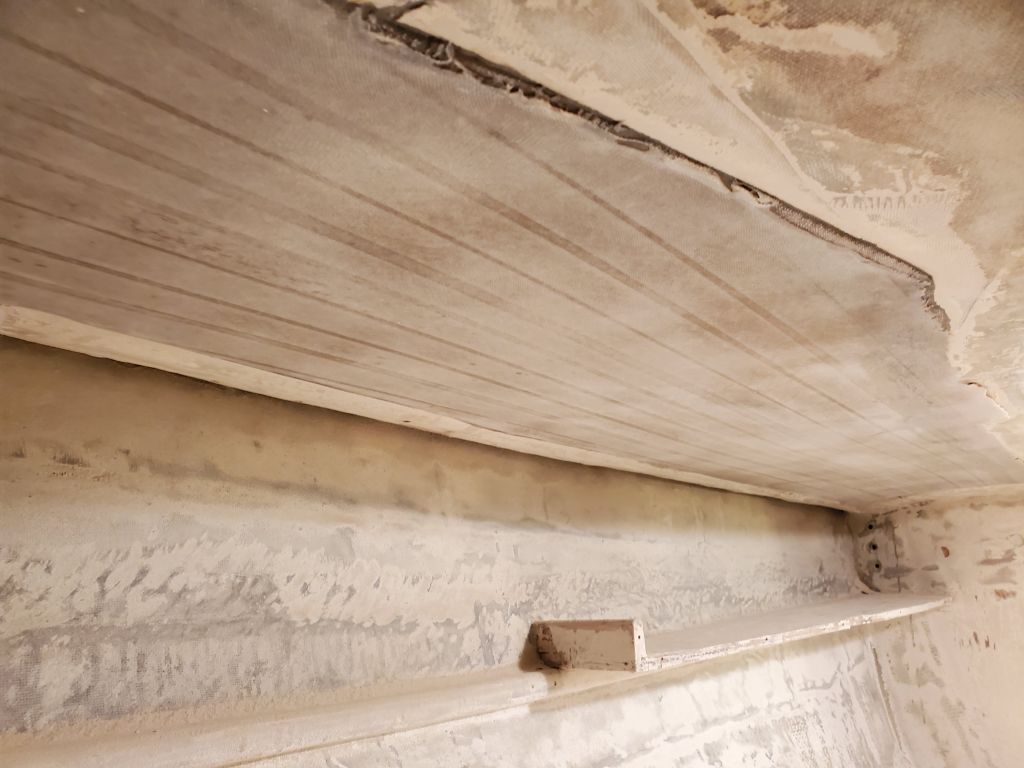
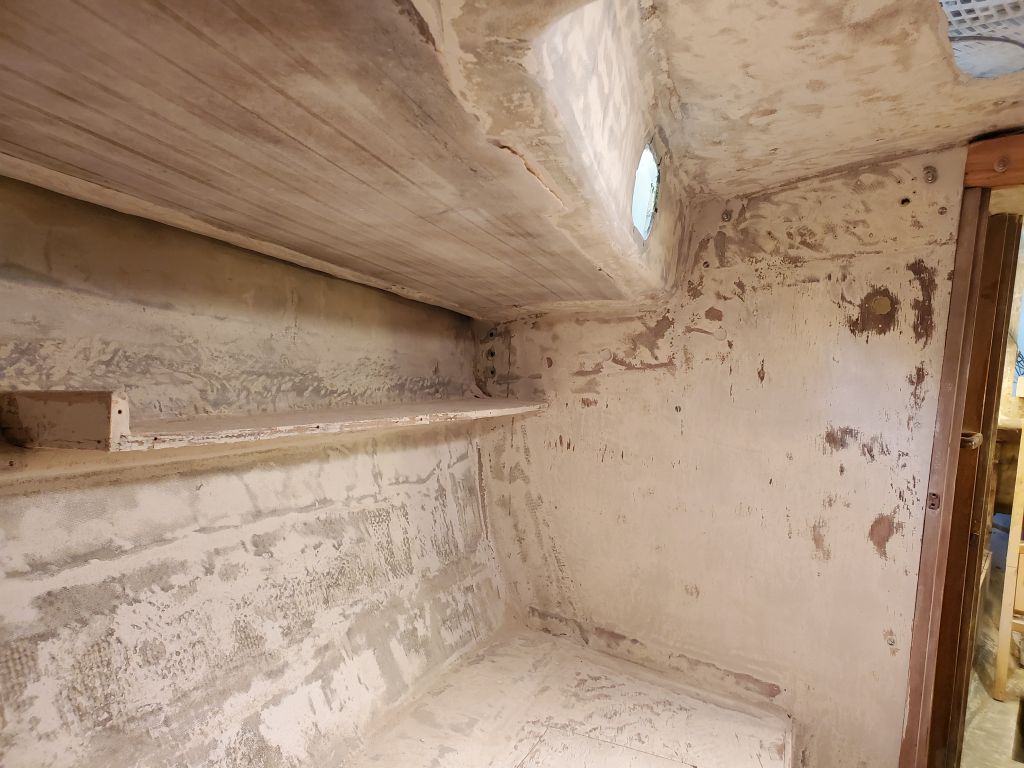
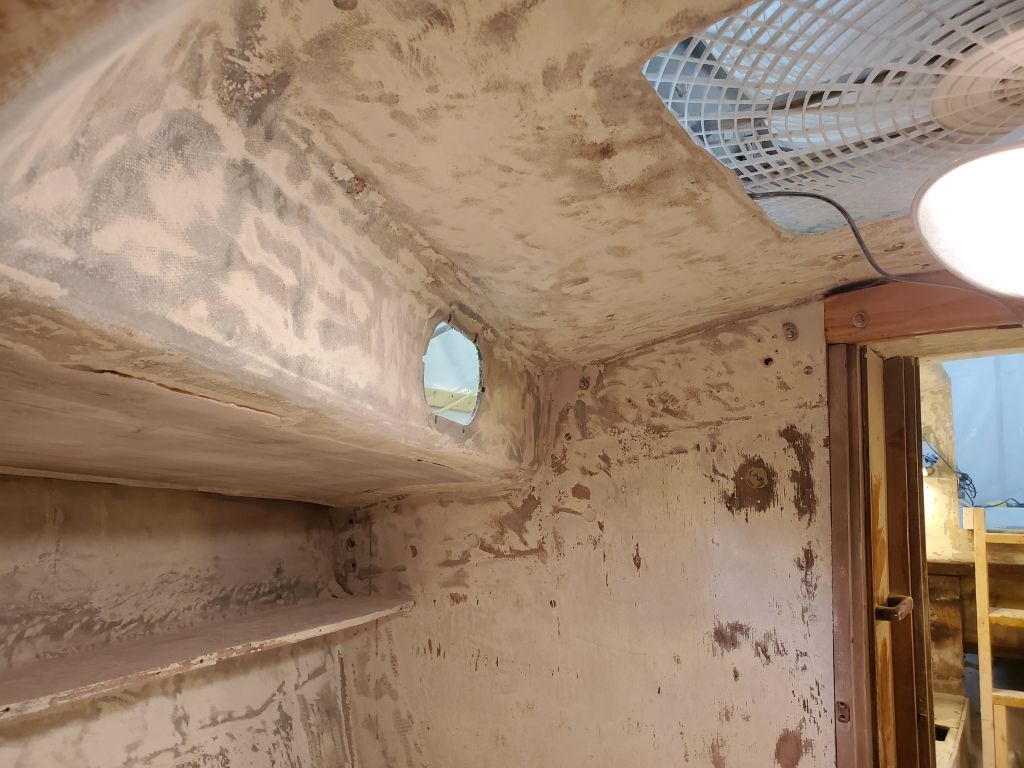
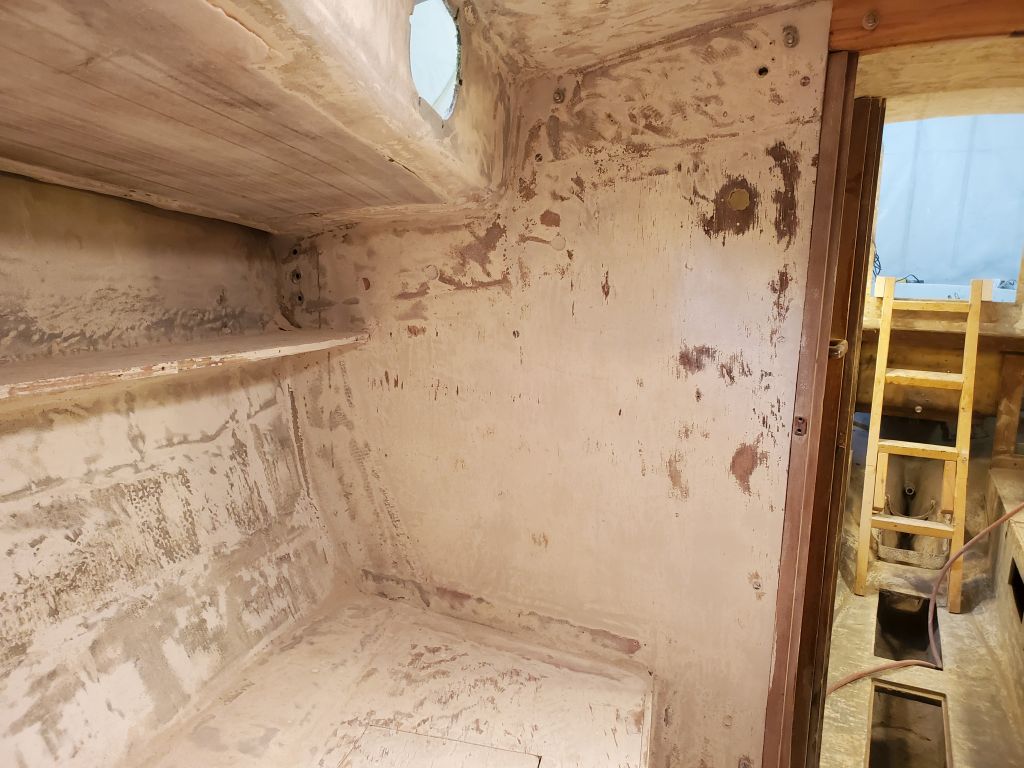
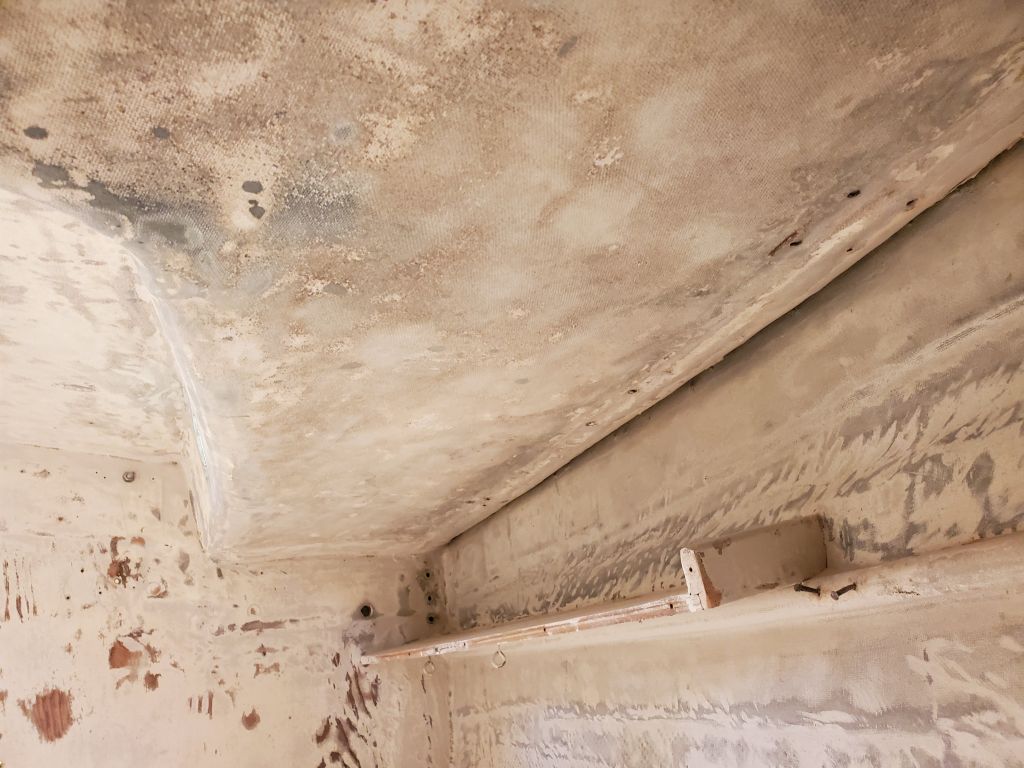
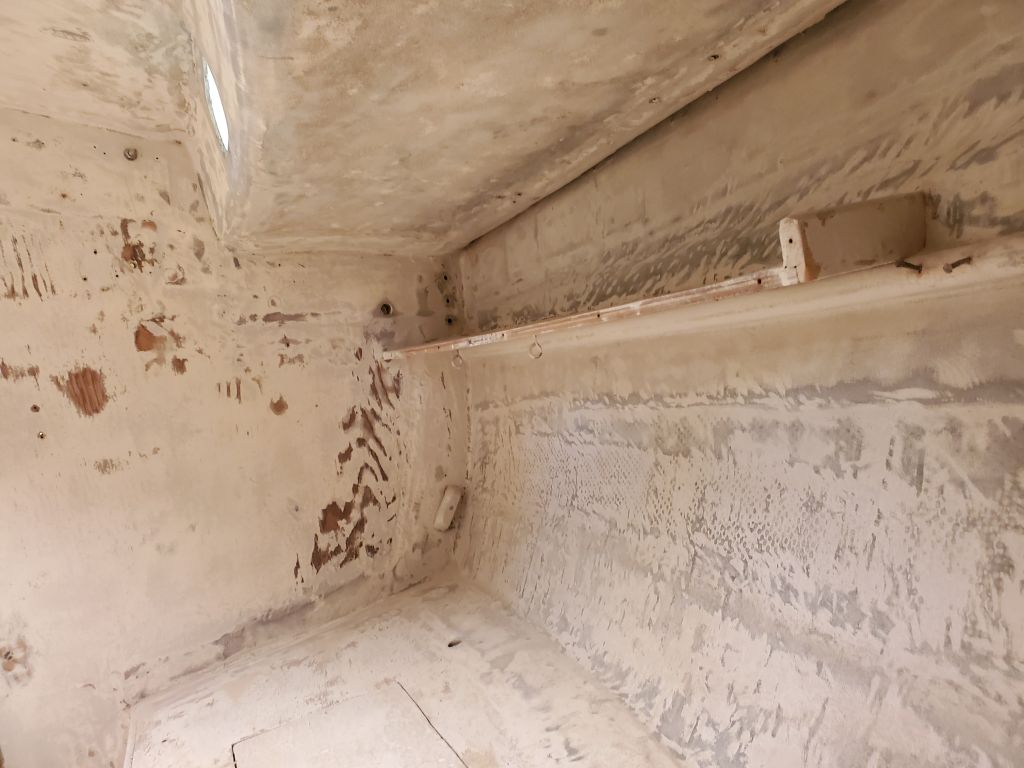
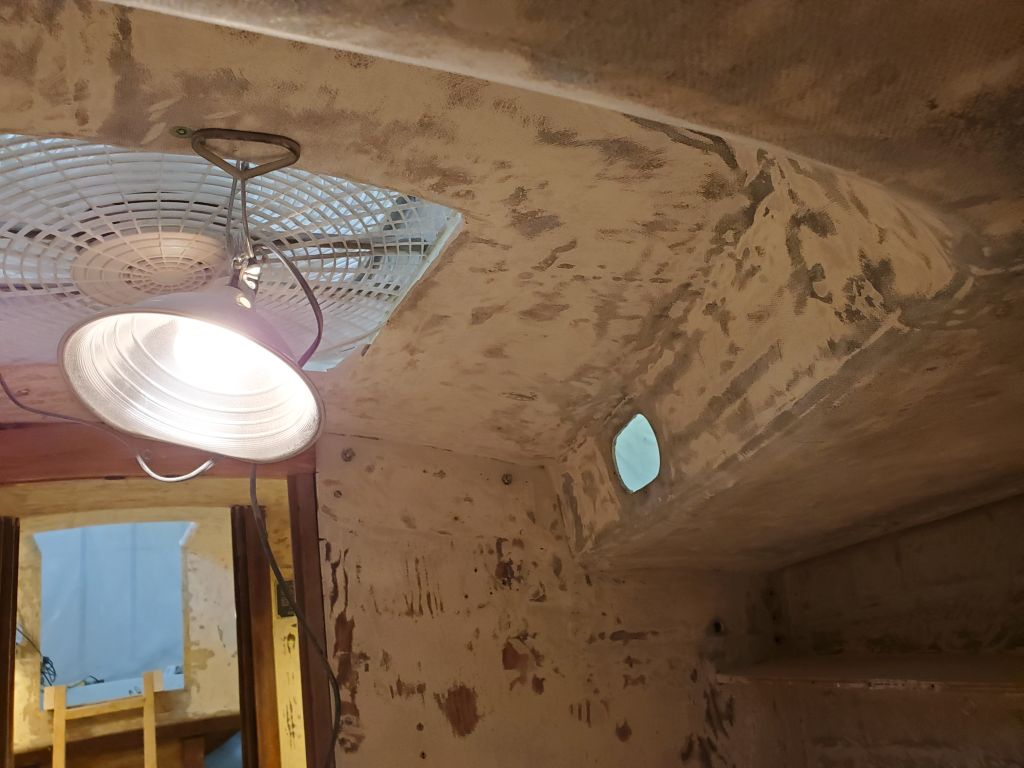
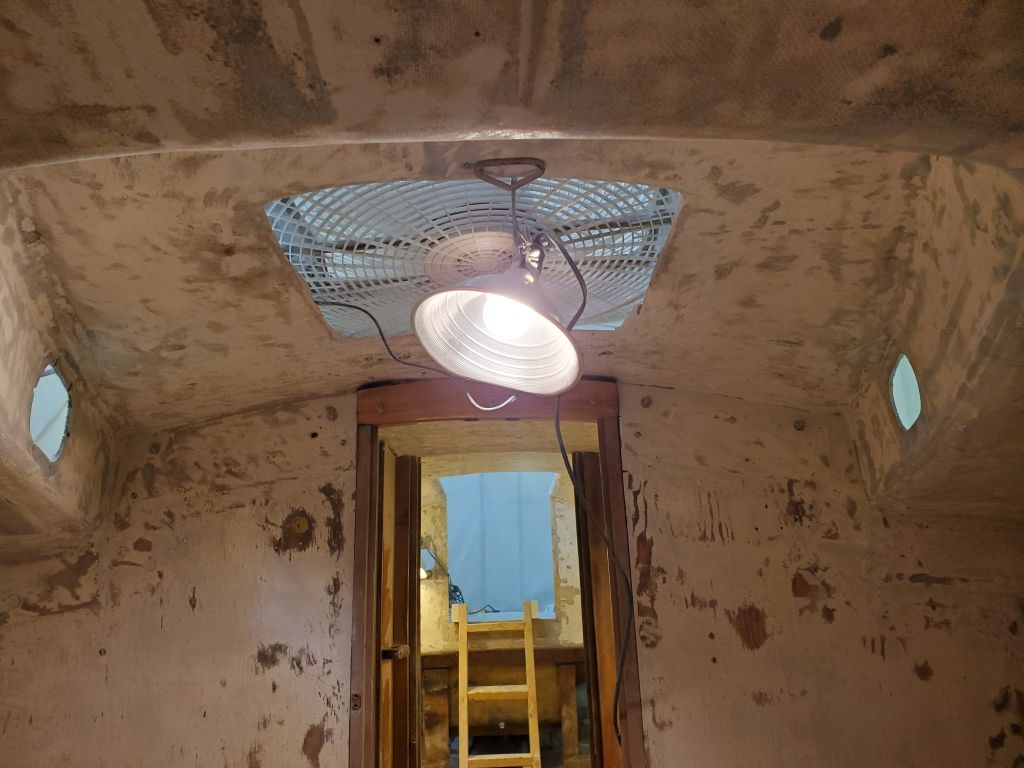
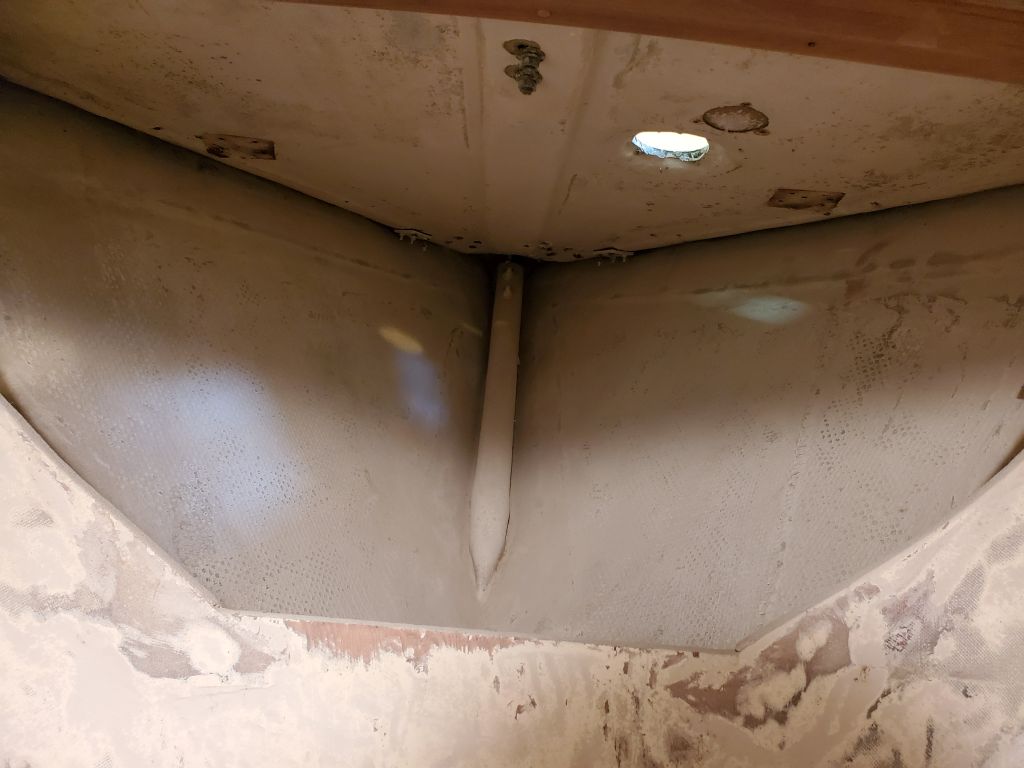
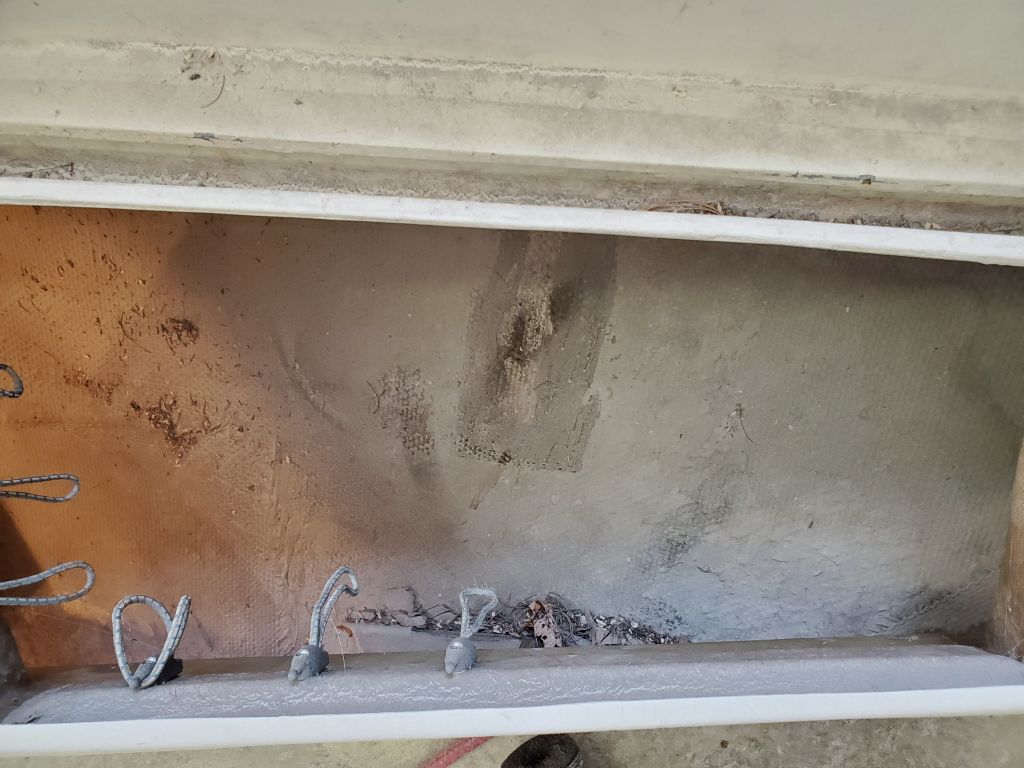
The last major portion of the interior left to sand was the forward cabin, and I spent the morning completing the surface prep there, and in the chainlocker. Much of the paint here was in fairly poor condition but was easy enough to remove down to a sound substrate.
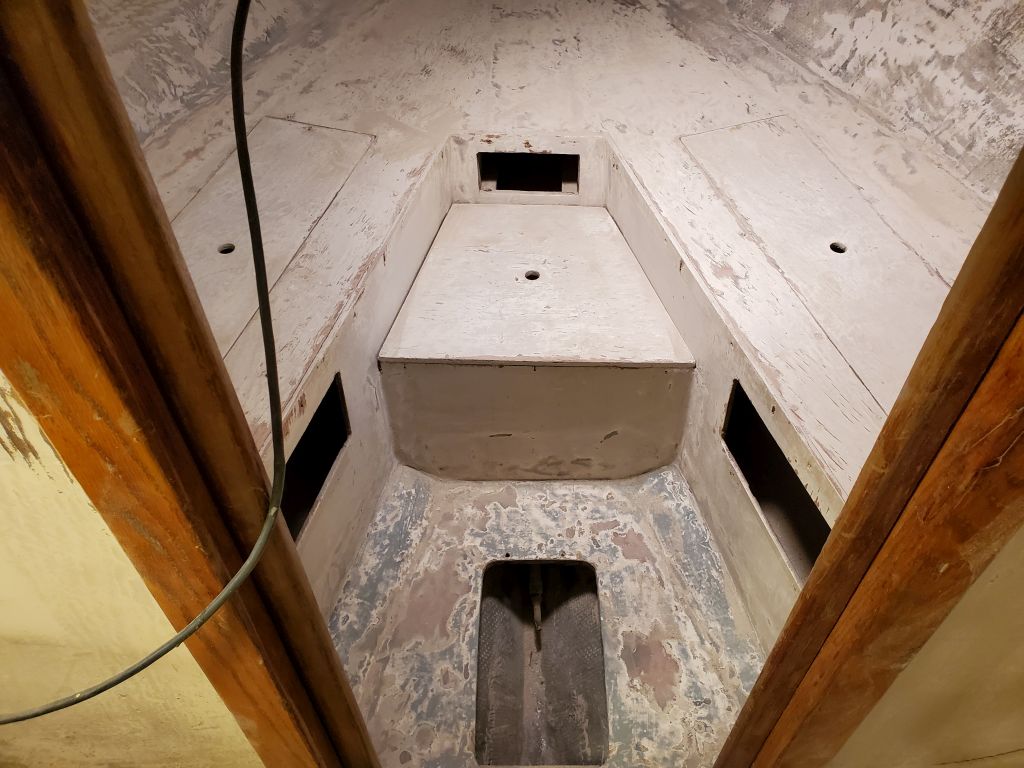
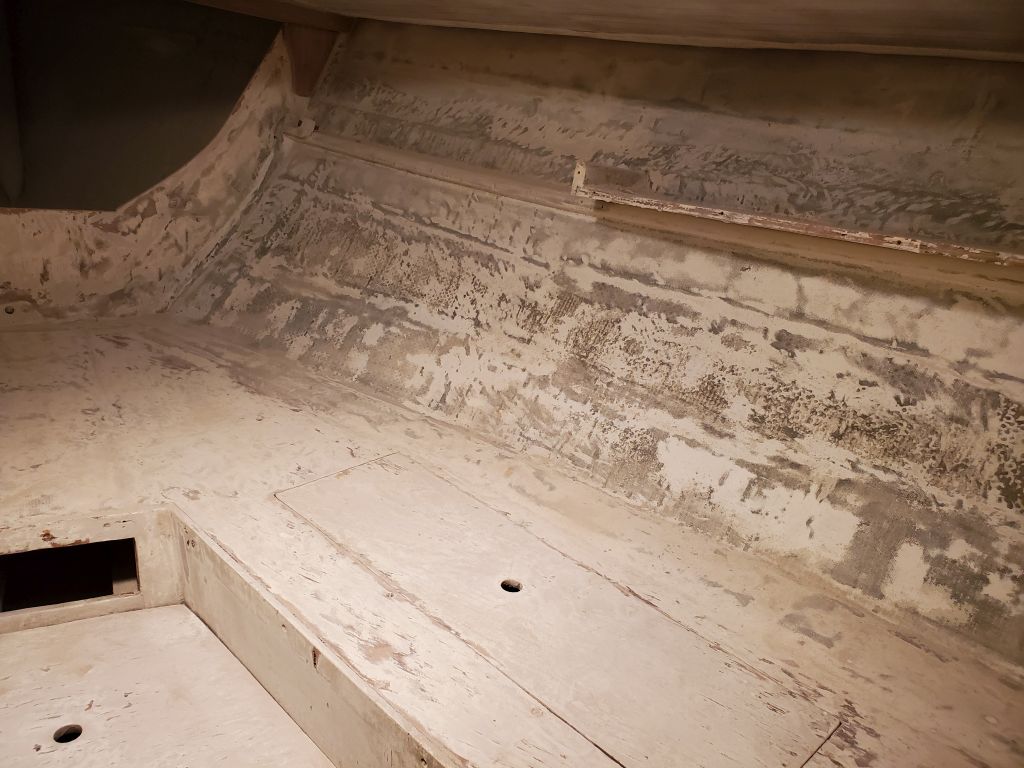
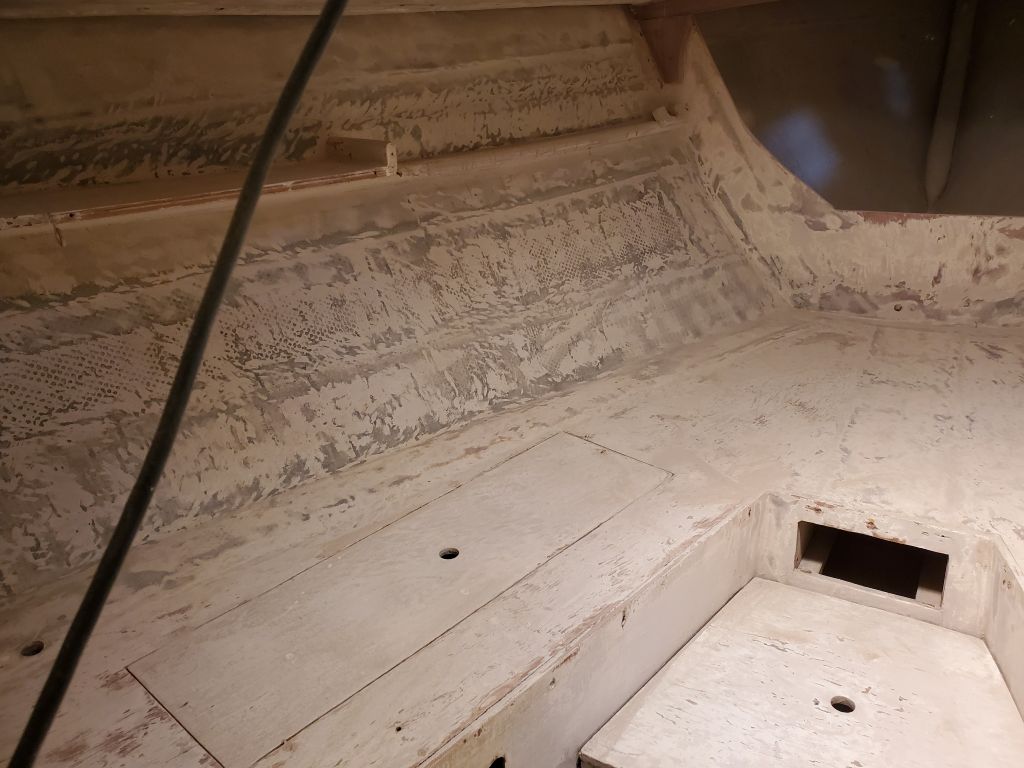

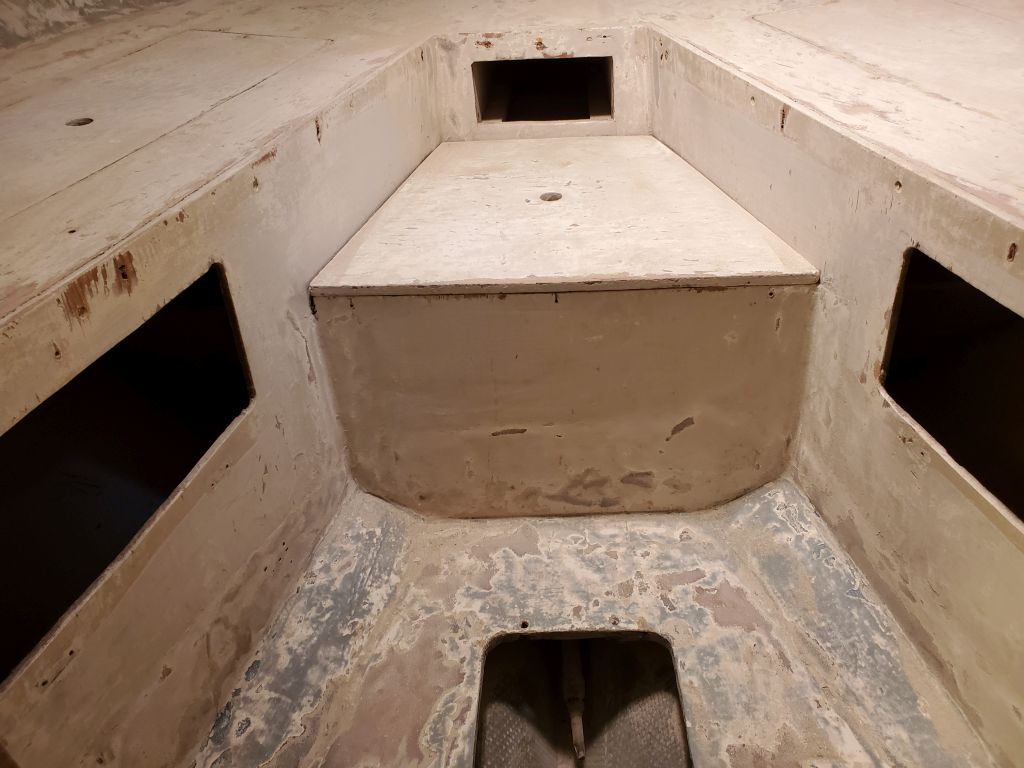
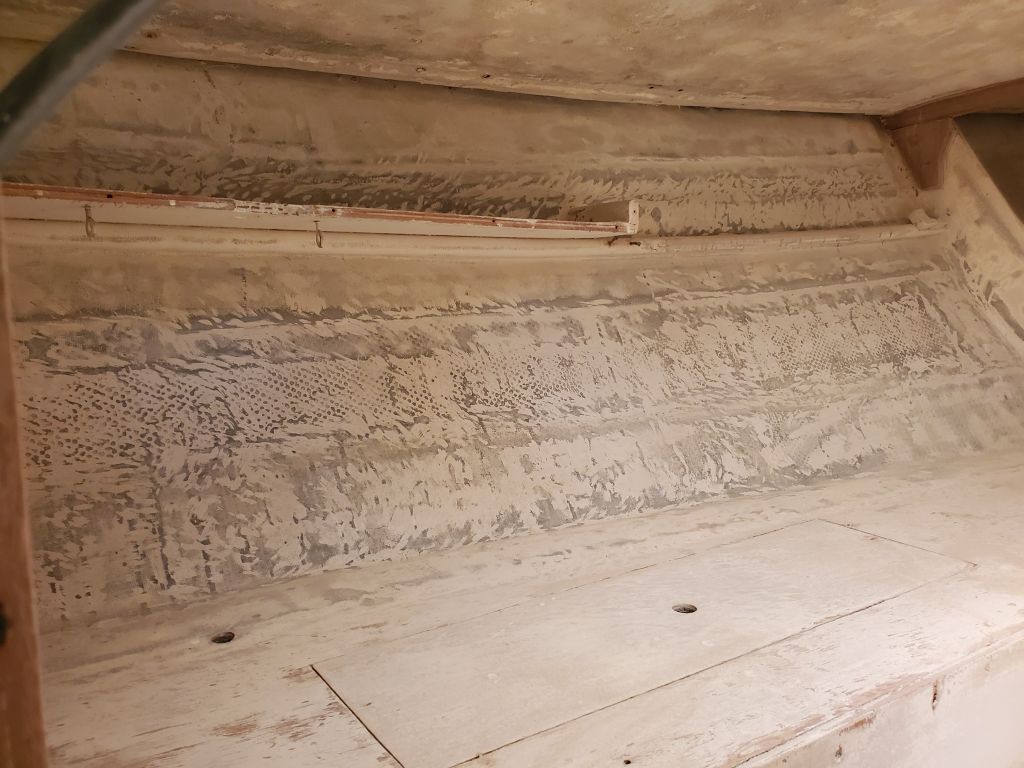
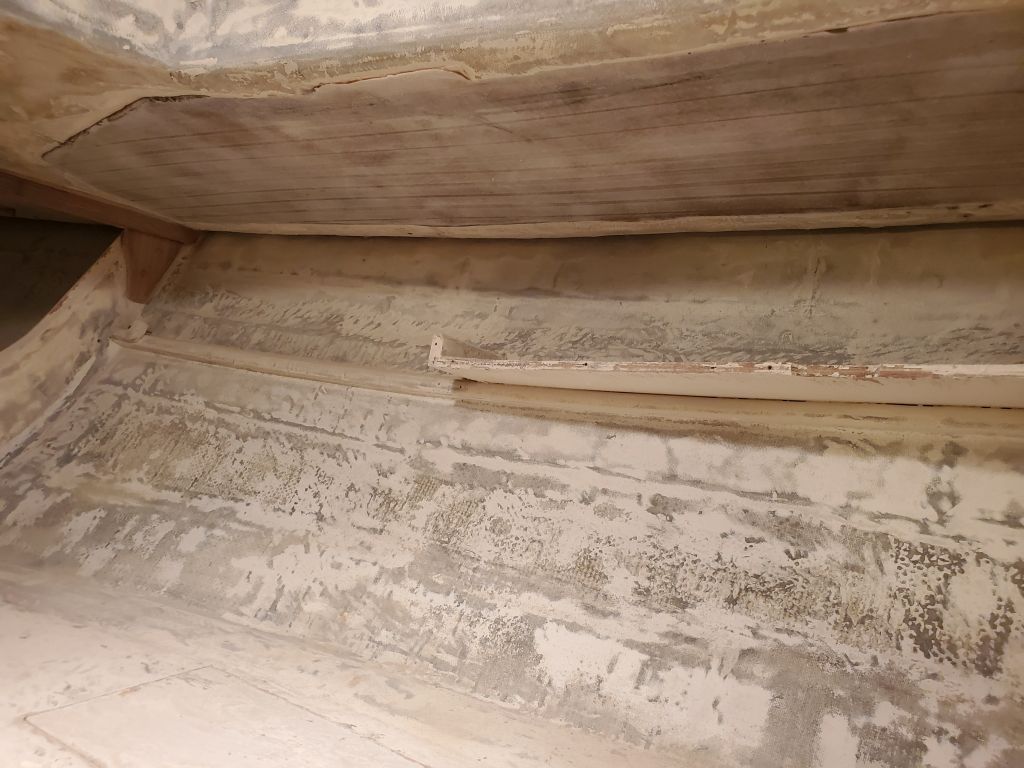


After a break to take care of some plowing, I turned to the various settee and underberth lockers, sanding these as needed. Access was limited through the small hatches, but fortunately the hull surfaces within were already in quite good condition, and a light sanding was all that was needed. These areas were not particularly photo-worthy.
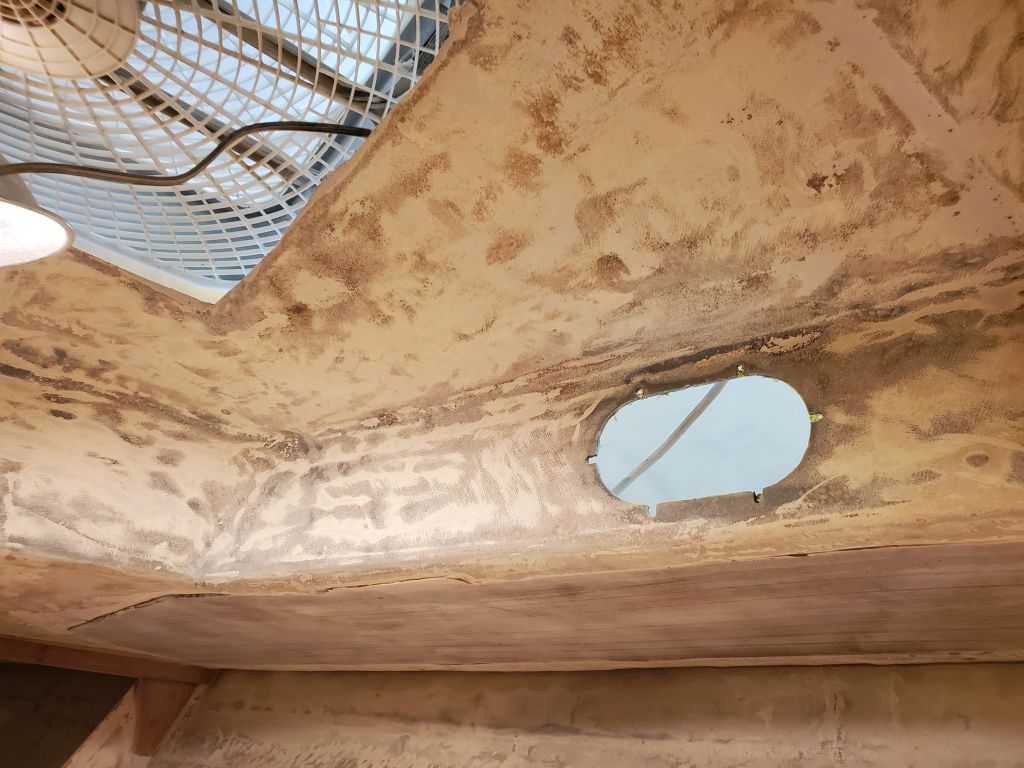
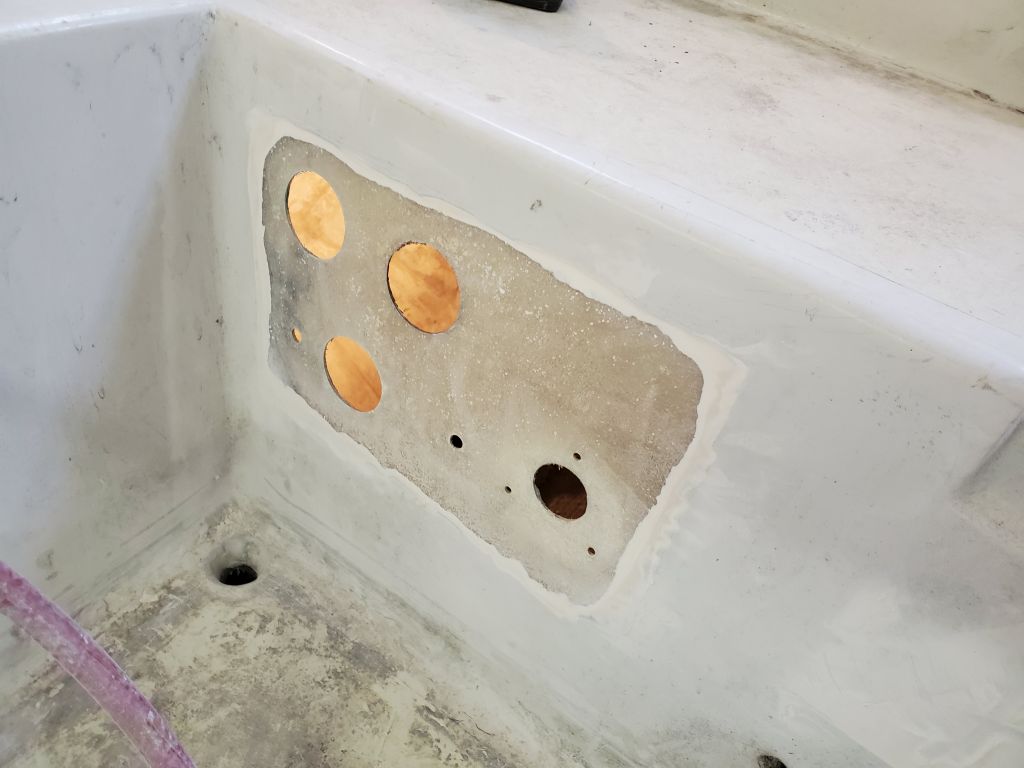
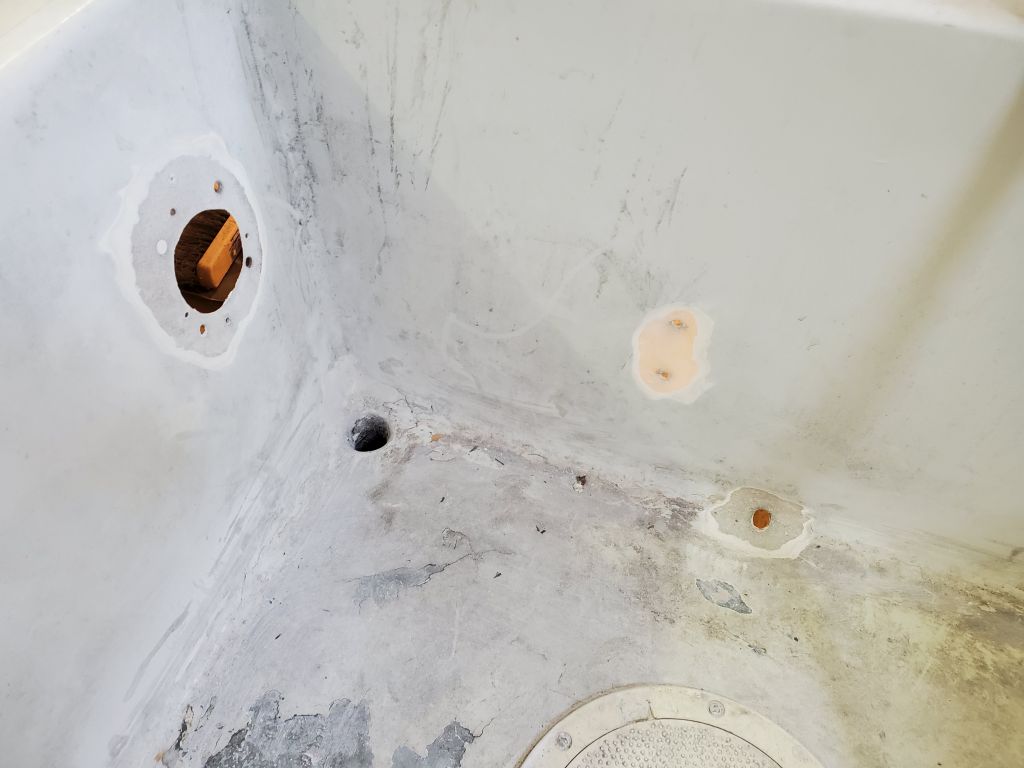
The cockpit would require additional work soon, but for now I worked on preparing for patching several old engine instrument holes, the old icebox drain hole, and a hole leftover from some other installation, grinding away the paint and gelcoat and exposing the laminate beneath to accept patching and fairing.

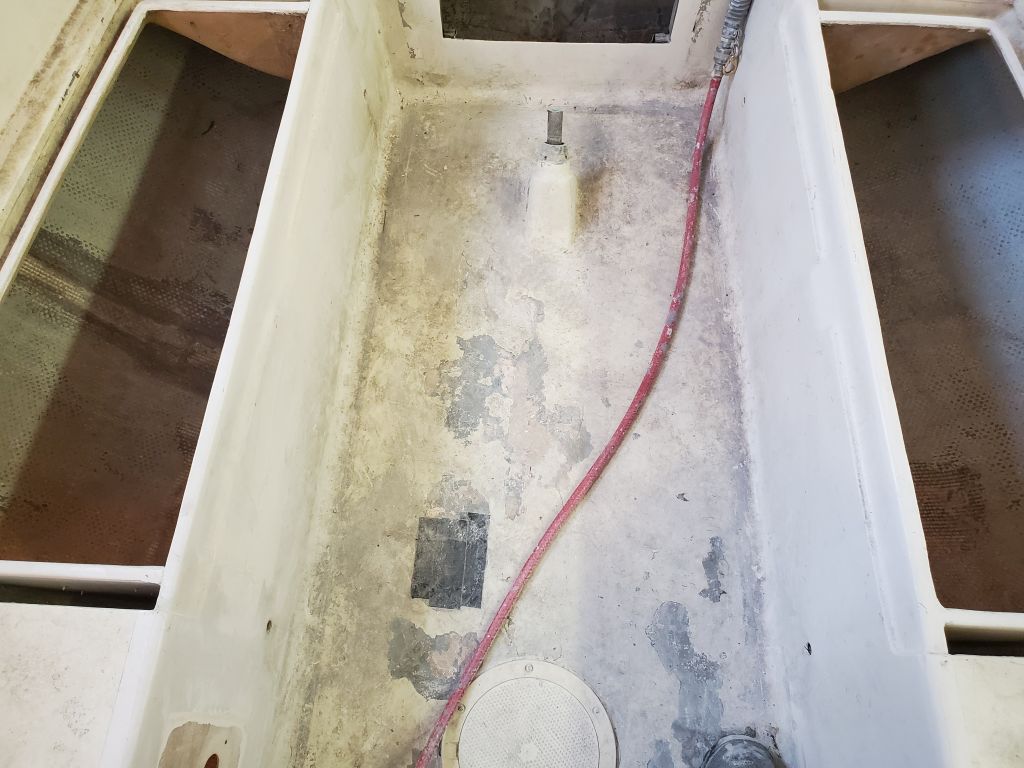
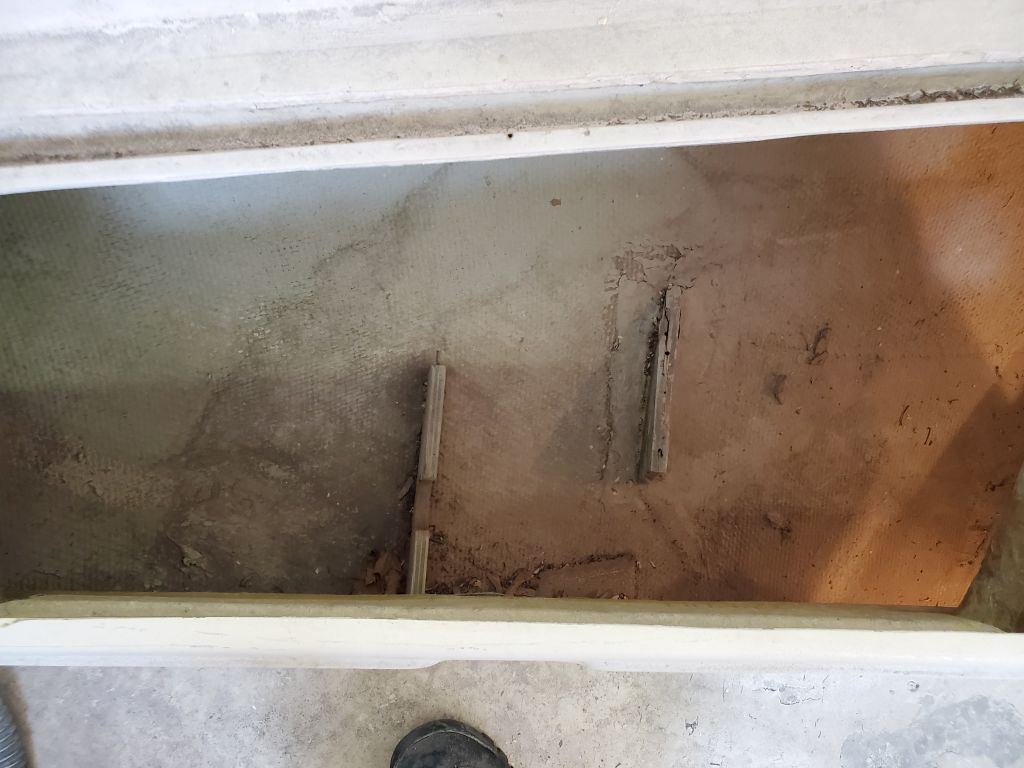
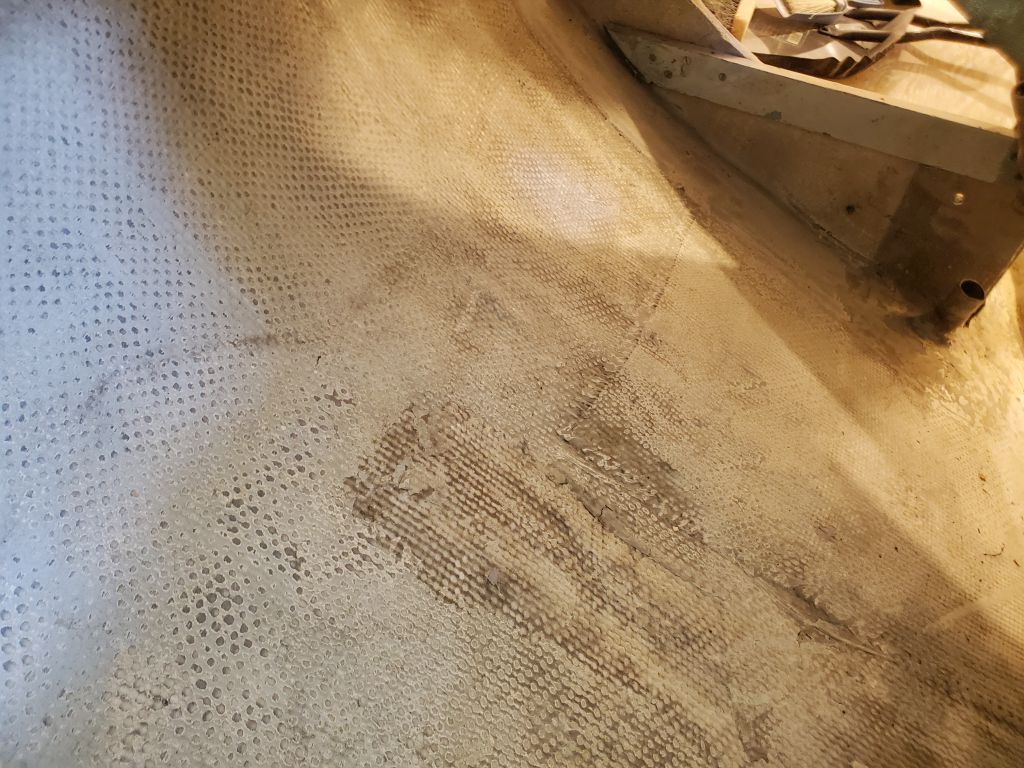
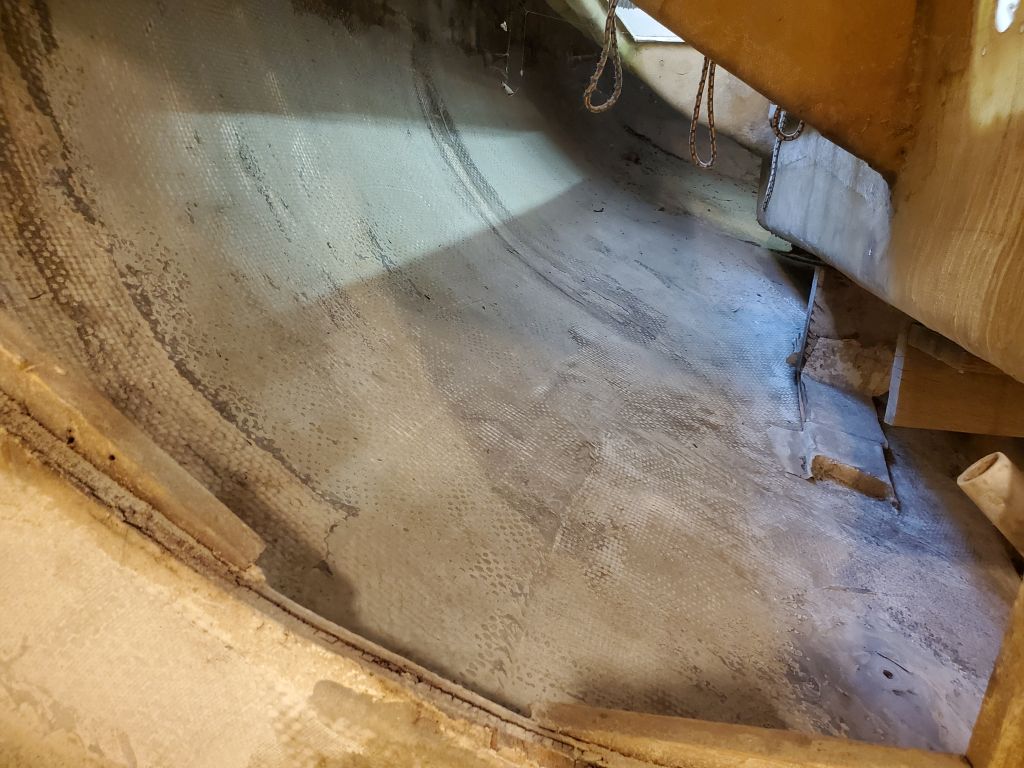
Meanwhile I continued with the cockpit lockers and spaces aft of the cabin, all of which were relatively accessible now. There were a couple old supports from something or another still in place on the port side, but these were easy to remove with light hand pressure. Afterwards, I scuffed all the surfaces to prepare them for future work, including repainting. As with most of the other “hidden” areas of the hull, these surfaces were in decent condition to start with and didn’t require major sanding to prepare. Afterwards, I spent some time cleaning up from the week’s efforts: I’d kept ahead of the worst of the sanding debris each day, but with the worst of it now behind me, and quite a lot of leaves and other debris from the after lockers, it was time to go a step further, both inside the boat and on deck, where I cleaned up the bulk of the dust that had settled there.


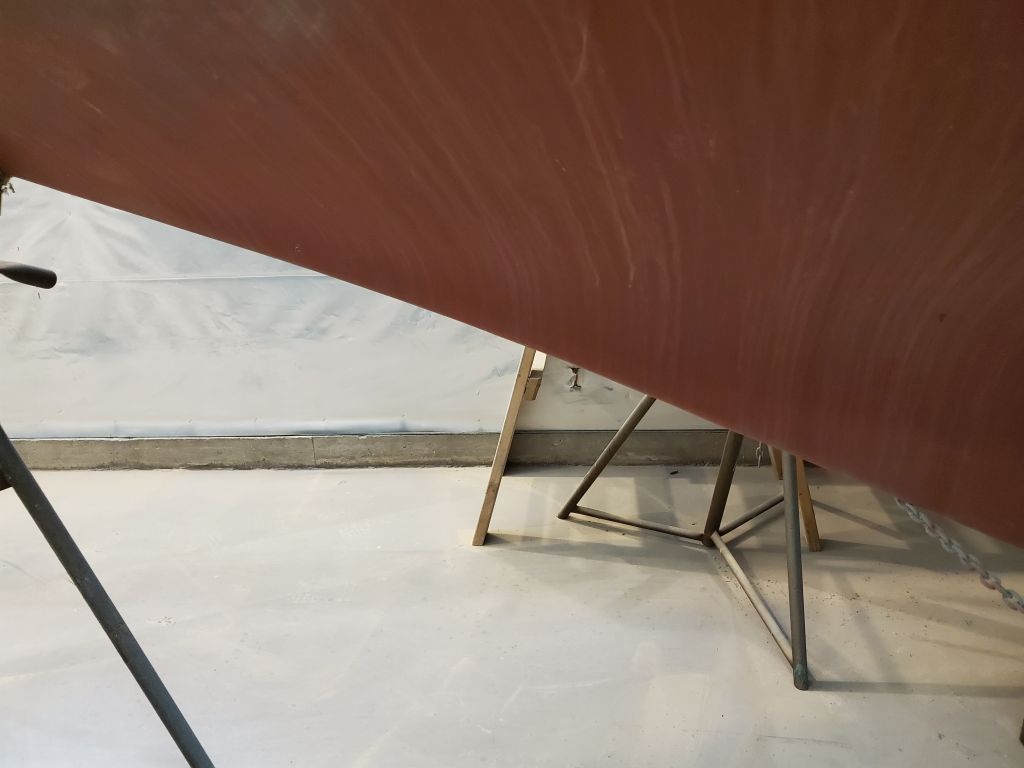
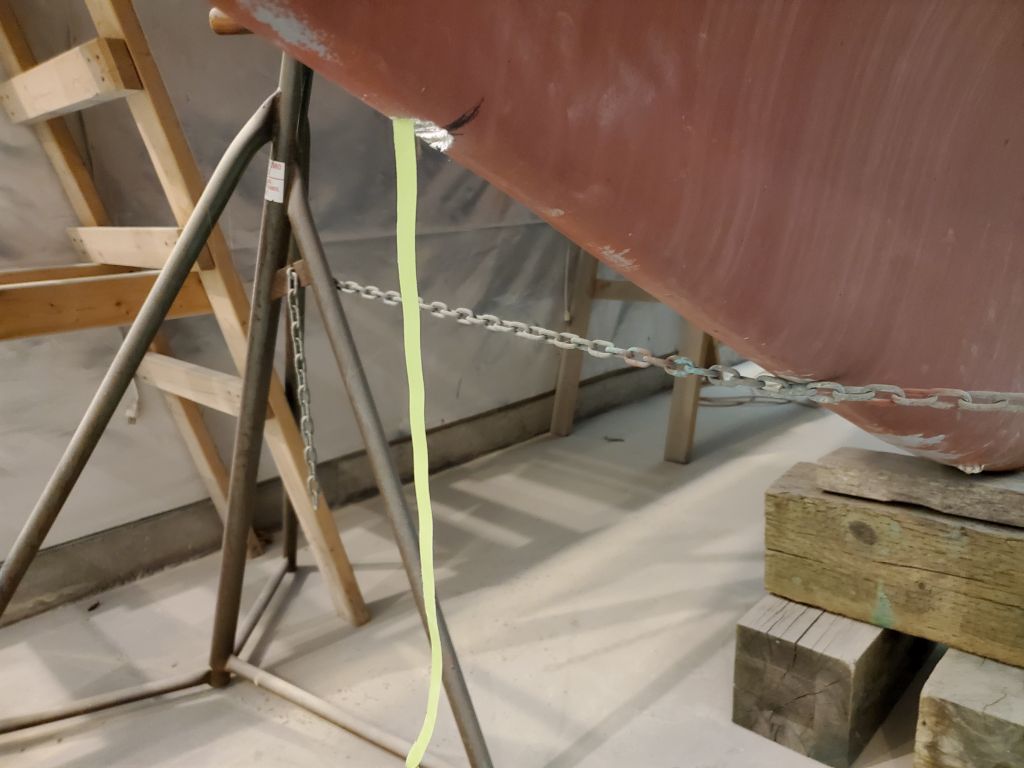
There was more surface prep and the like ahead, but for now I needed a change of pace, so I turned to the transducer installation for the owner’s new electronics. We planned to install this large, rectangular transducer forward of the keel on the centerline, and this location would require a sort of “shark bite” cut in the leading edge of the keel in order to mount the transducer properly. This location was preferable as far as the transducer’s efficiency was concerned, but in this case there was also a lack of better options to begin with, and, as I’d done a similar installation many years before, working with the forward centerline location appealed to the owner for all these reasons.
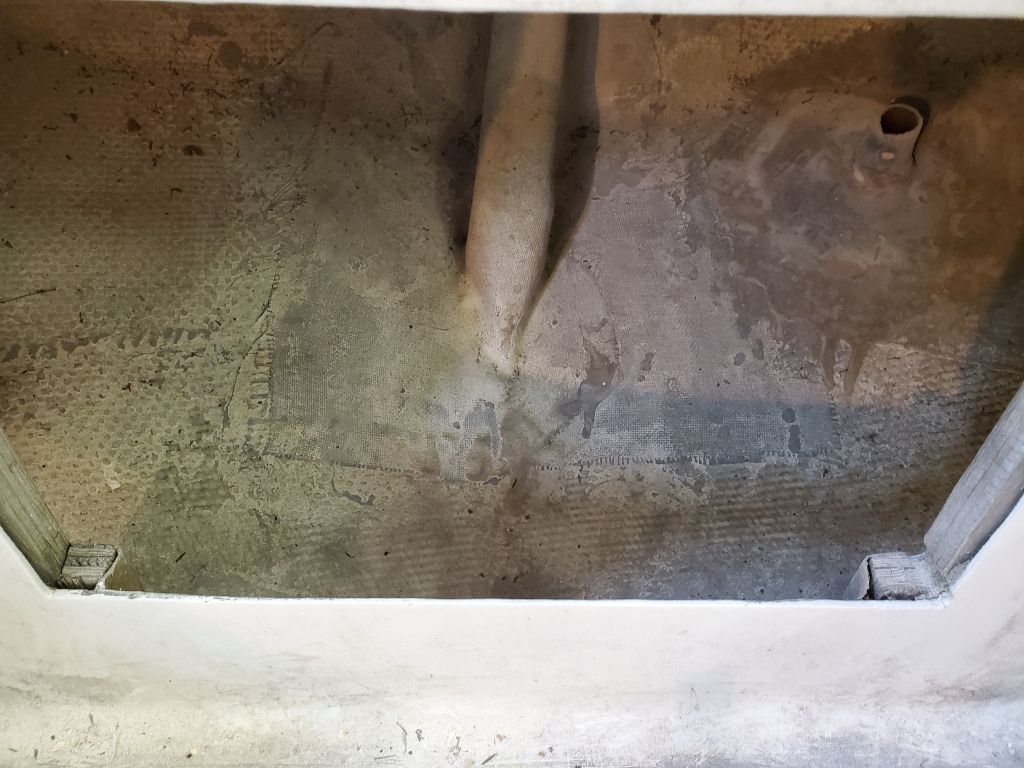
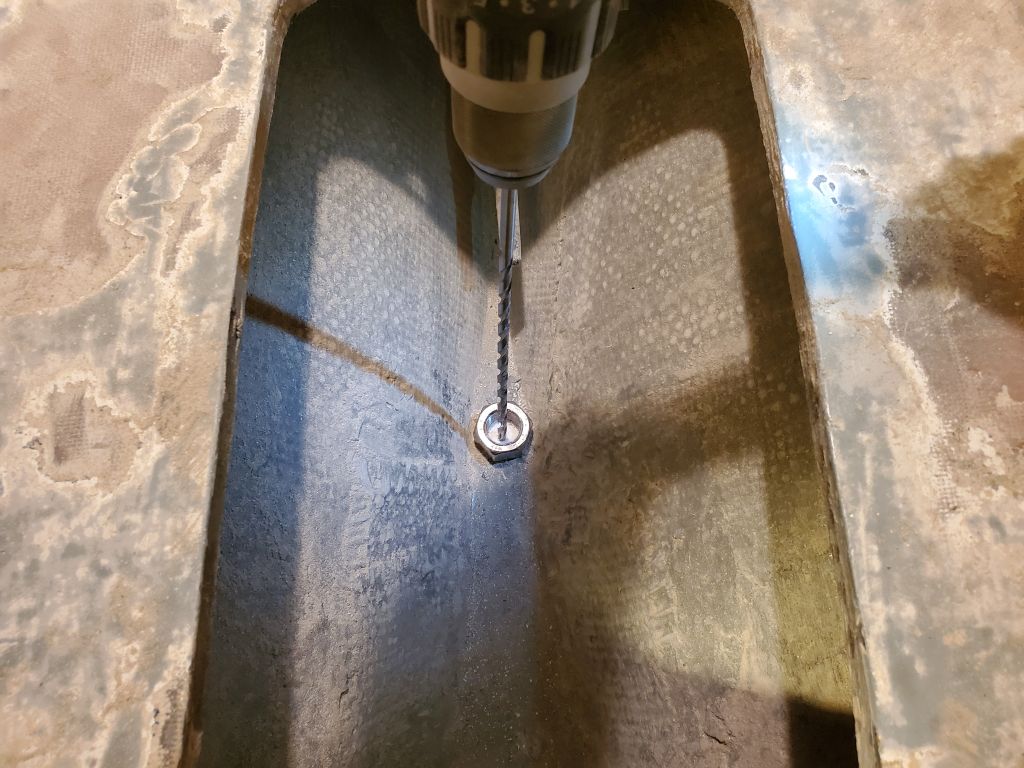
Inside the boat, in the forwardmost section of the bilge, I determined the location for the transducer stem, using its fixing nut to ensure appropriate space in the flat spot in the bilge.

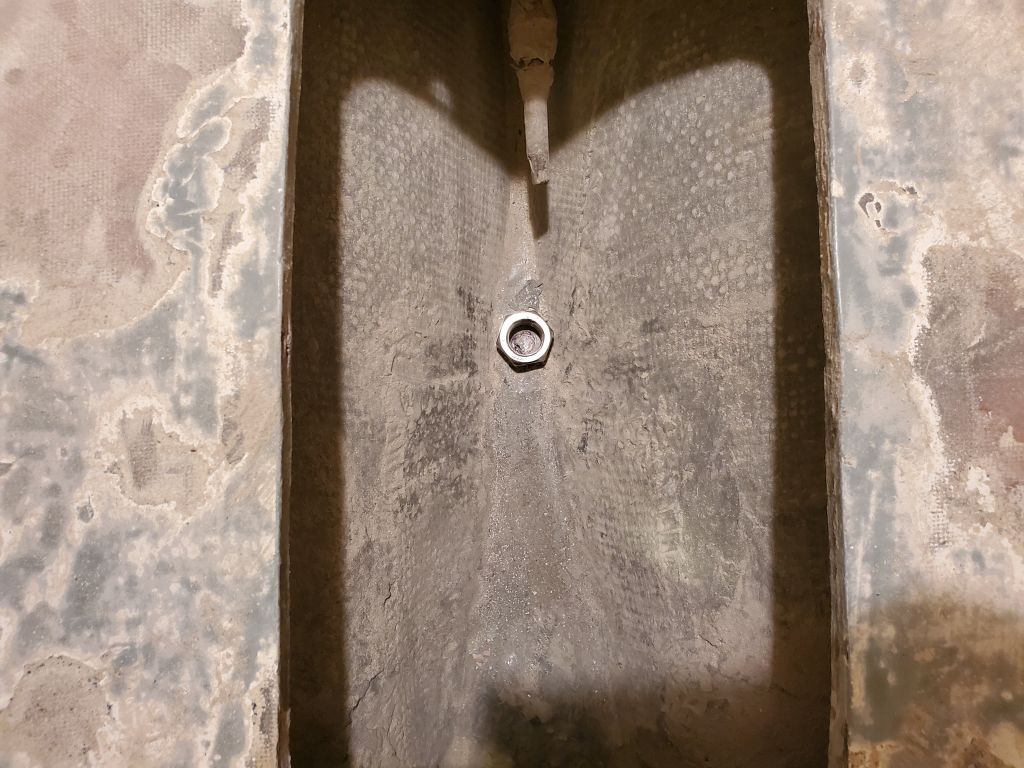
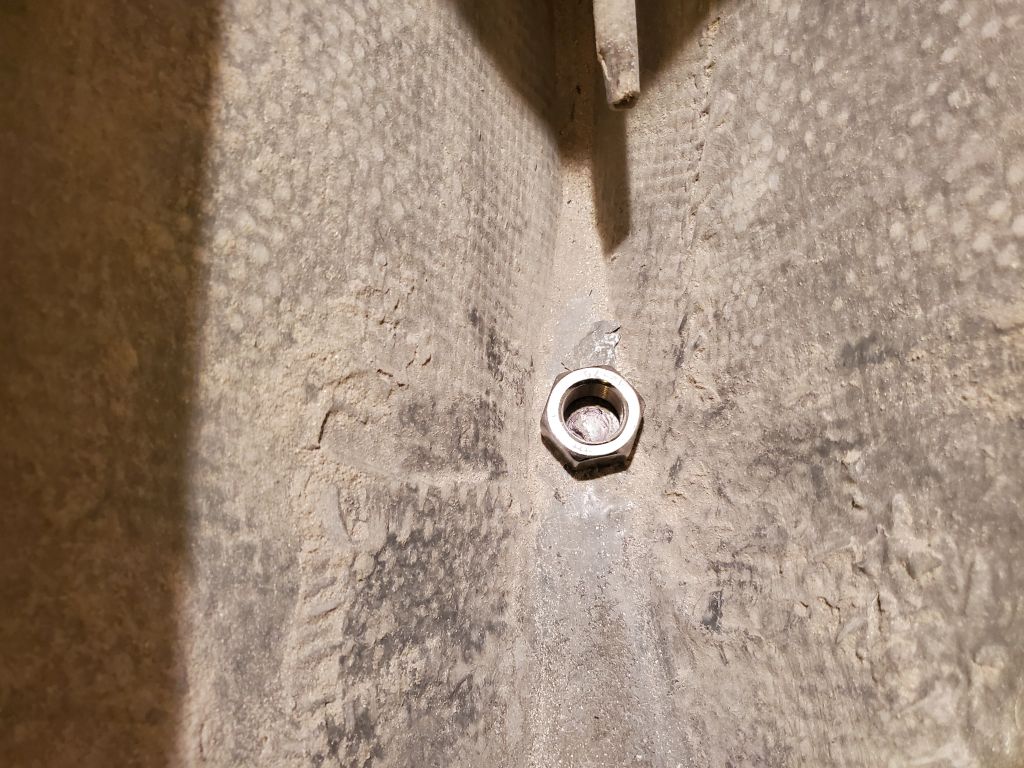
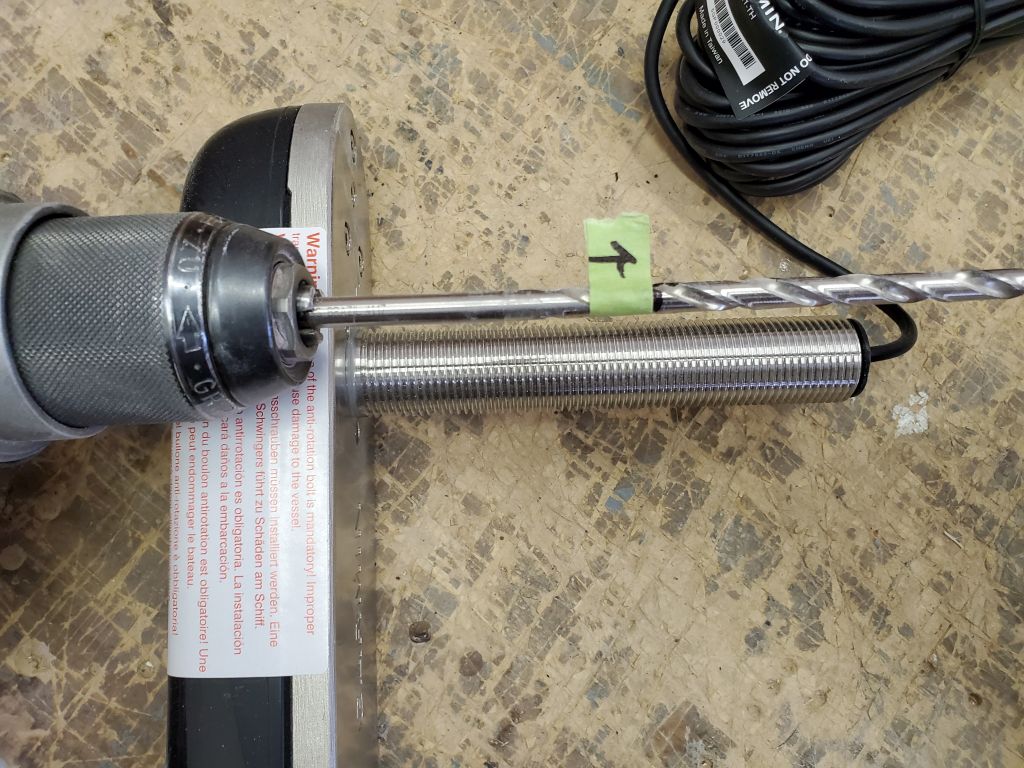
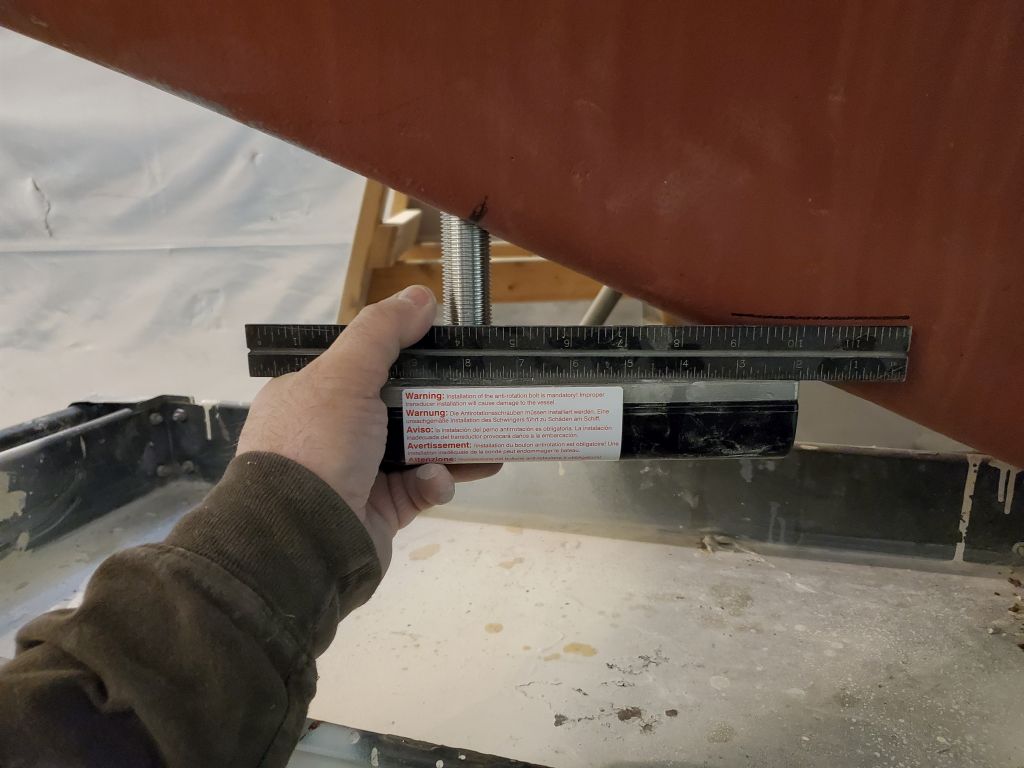
I marked the center of the nut, then used a long drill bit to drill through from inside; I wasn’t sure how thick the keel was at this point. With the bit all the way through (and slightly off center on the exterior, though that could be fixed with the larger hole and the shark bite cutout), I marked its depth so I could ensure that the transducer stem was long enough to work here: It was, with plenty of room to spare. The existing thickness was roughly 3″, and this would actually be reduced once I made the cutout.


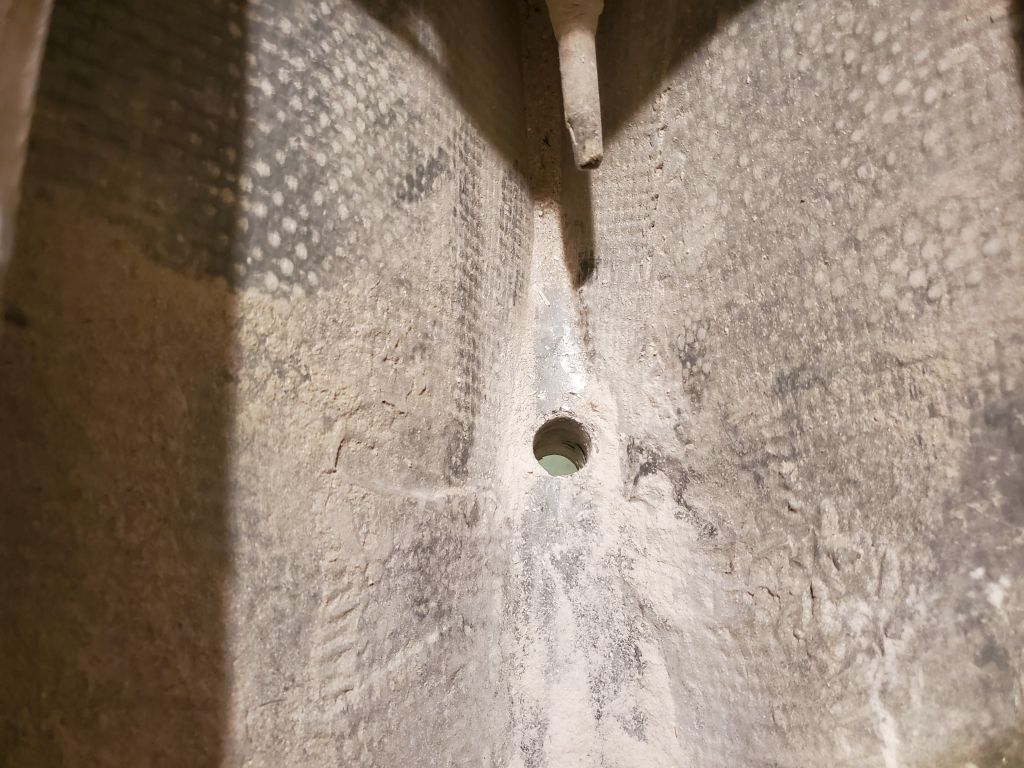
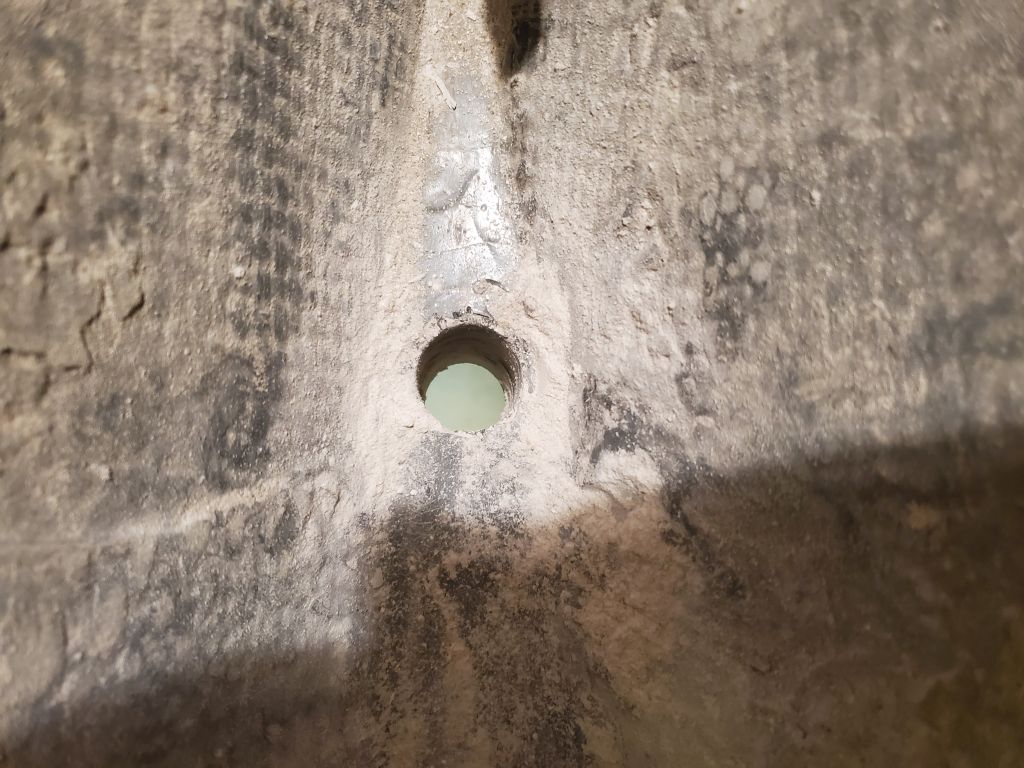
Next, I drilled a 1″ hole through the centerline from the inside out. This was the size required for the transducer stem. I dropped a length of tape through the hole to allow me to attach the transducer cable and pull it through, which I needed for the next step.
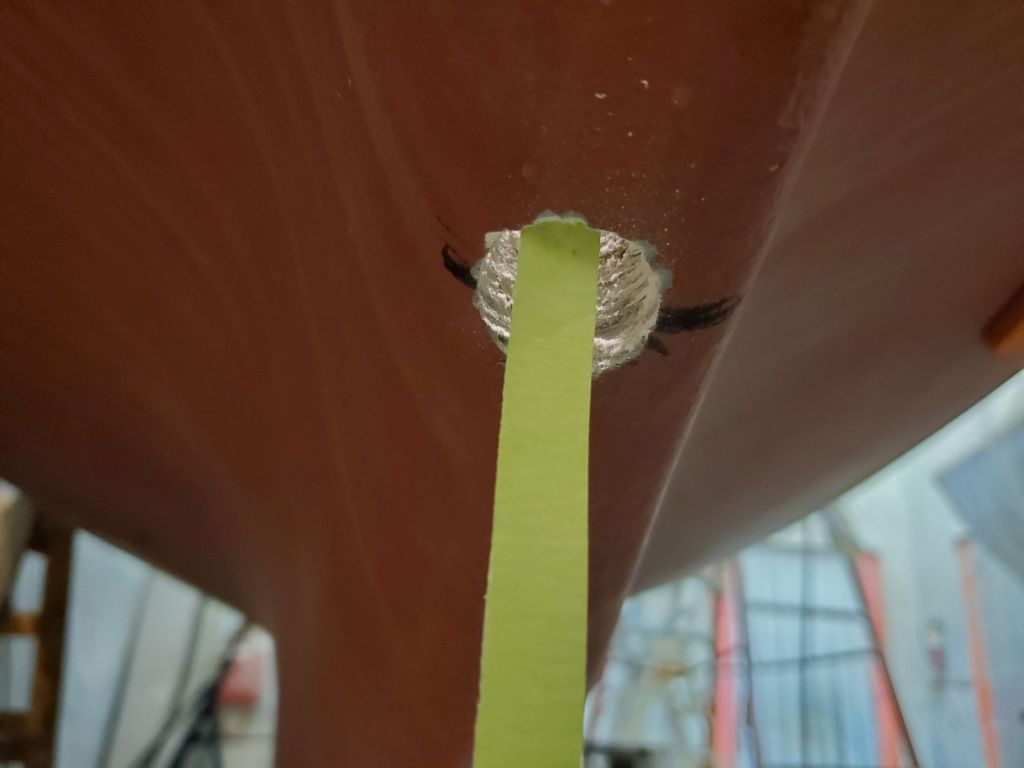
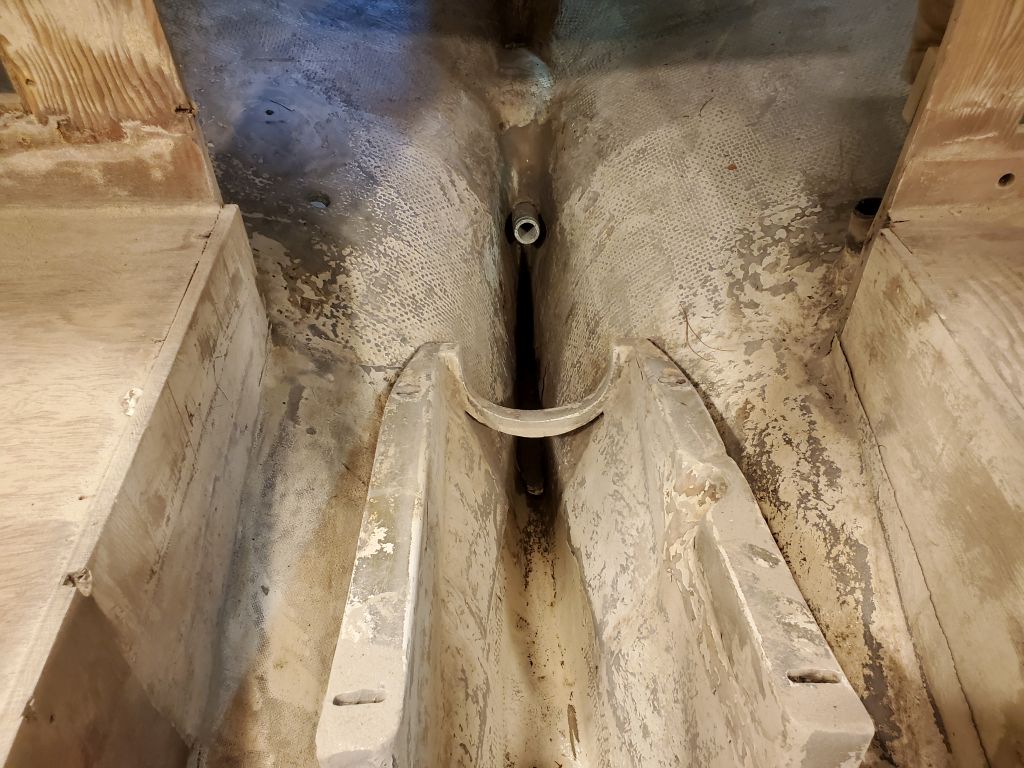
I rough out the shape of the cutout required, I pulled through the transducer cable and then inserted the transducer stem in the new hole, which gave me the angle and orientation of the transducer housing as dictated by the through hole and stem. I transferred this line to the hull with a steel rule, then began to guesstimate how I should cut the hull in order to partially insert the transducer housing. I’d have to research the directions more thoroughly, but I suspected that most of the black part of the housing needed to be exposed, assuming the transducer included side-scanning capabilities. So I needed ultimately to find the right balance between how deeply into the keel to set the housing, versus how much of the housing had to extend exposed anyway.

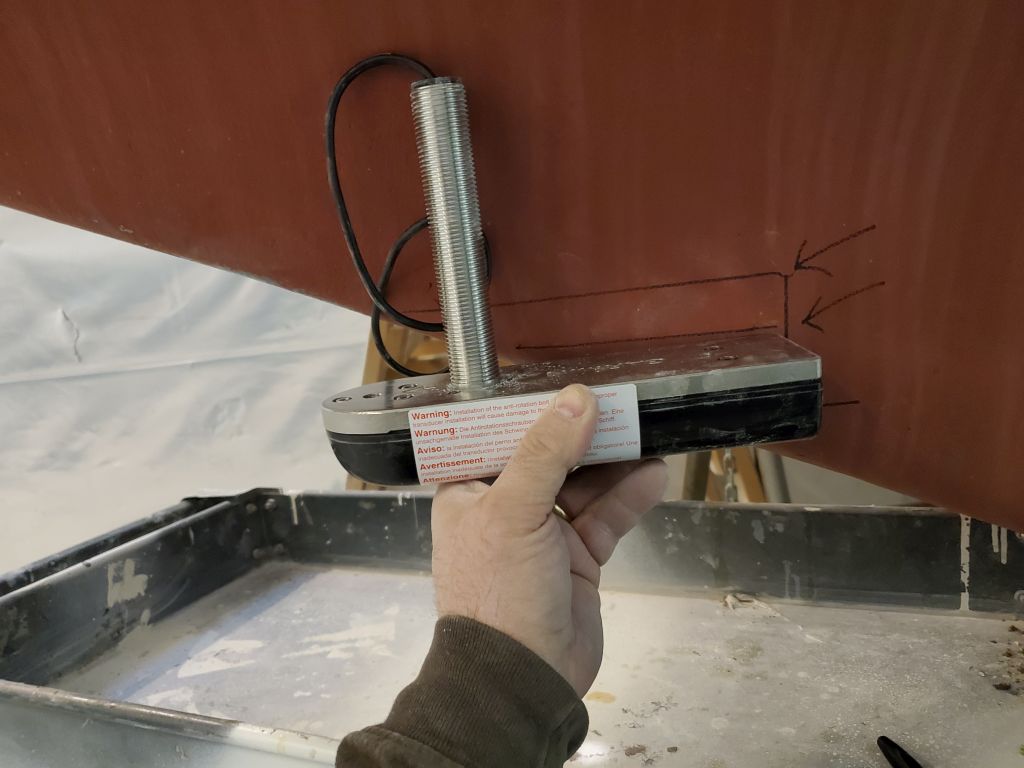
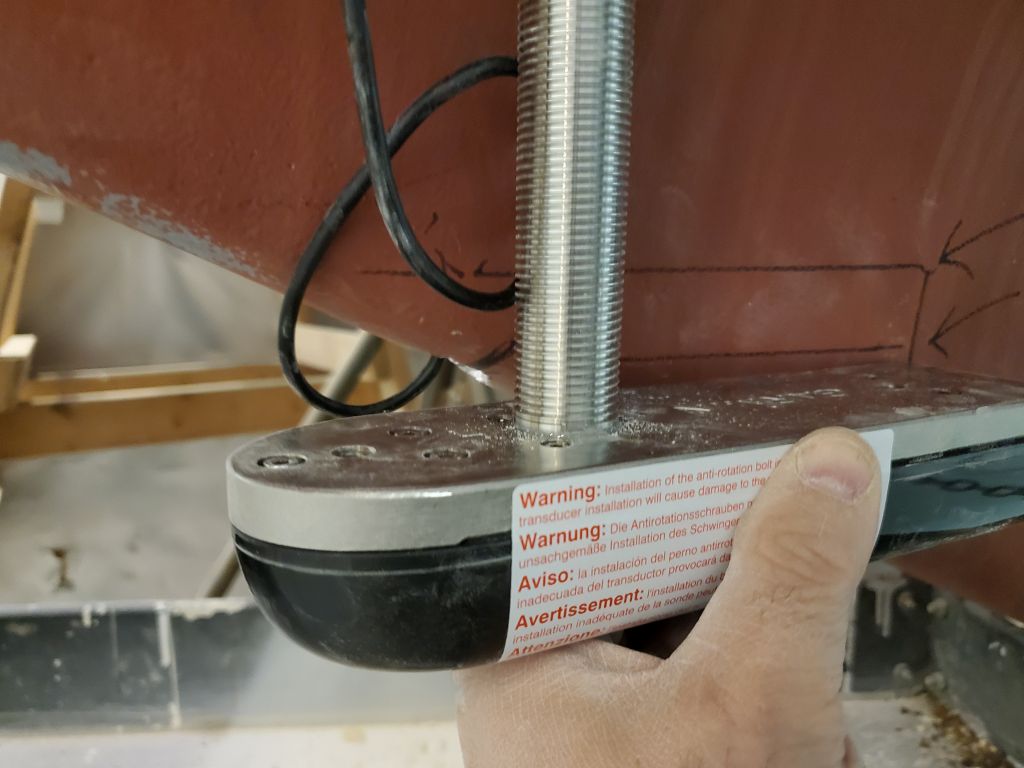
I’d work that out soon, but in any event once I made the cut in the hull I planned to build a fiberglass housing into which the transducer would fit the appropriate depth, and then glass and fair the whole arrangement into the hull as smoothly as possible. For now, I’d gotten along far enough, and in any event I didn’t have the blades I needed to make the keel cut just yet, so I’d fine tune the details as needed and proceed once I could.
Total time billed on this job today: 6.25 hours
0600 Weather Observation: 28°, cloudy, 2-3″ snow down overnight. Forecast for the day: Light snow, then cloudy, 35°