


March 16, 2021
Lyra 39
Tuesday
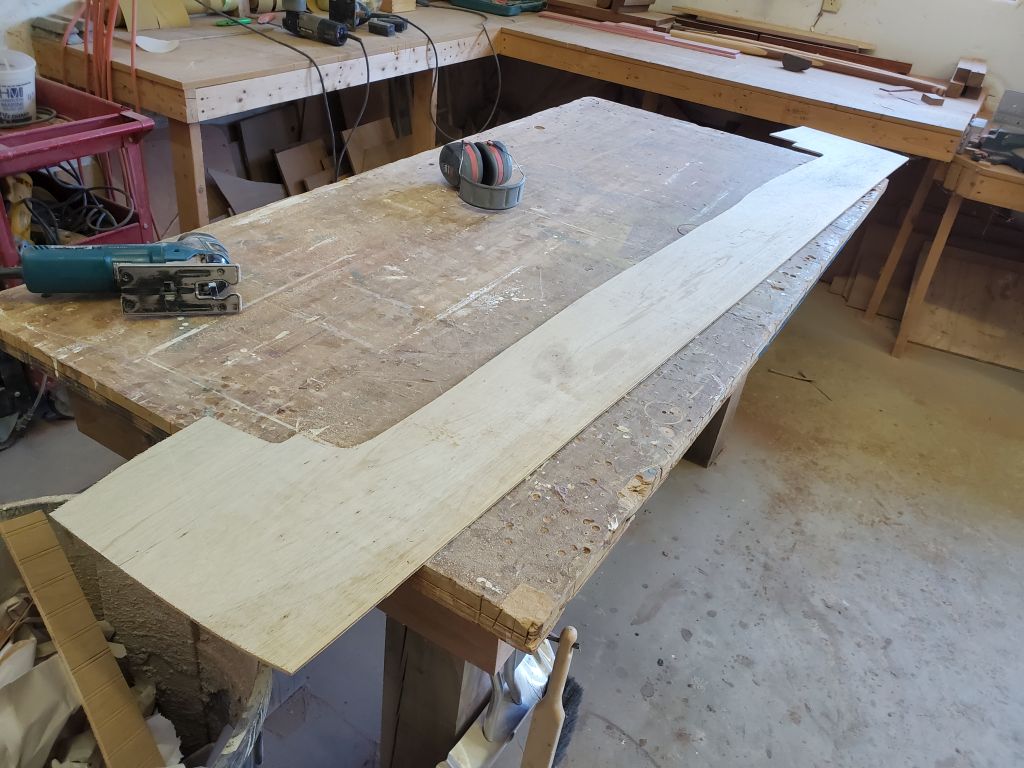
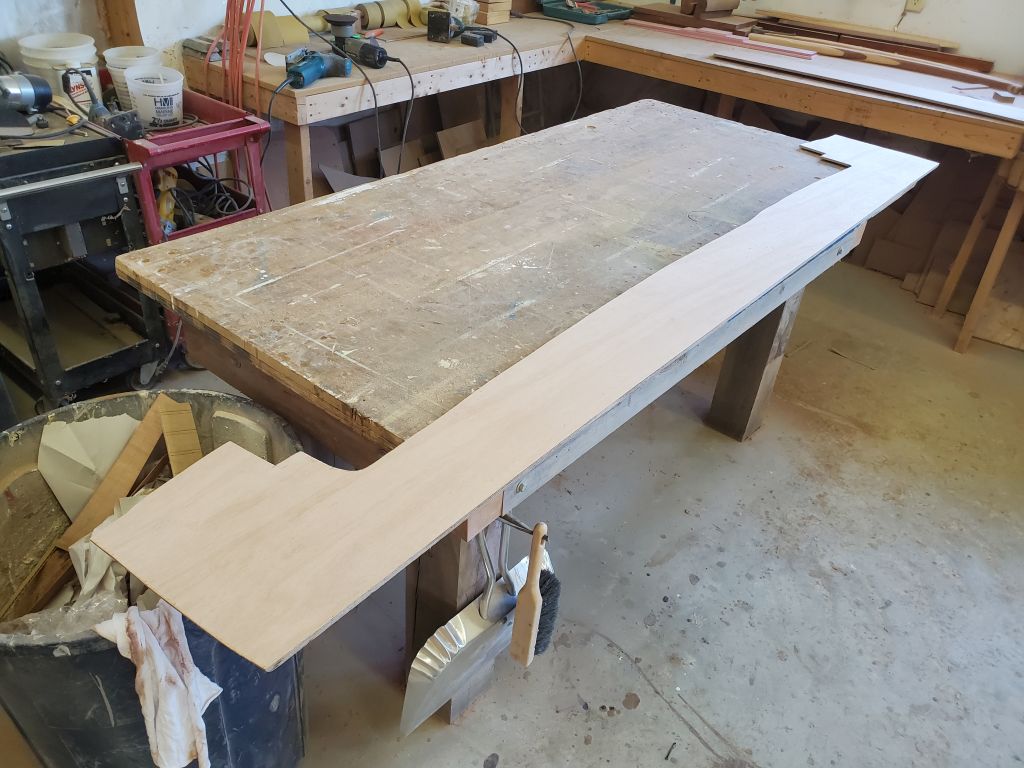
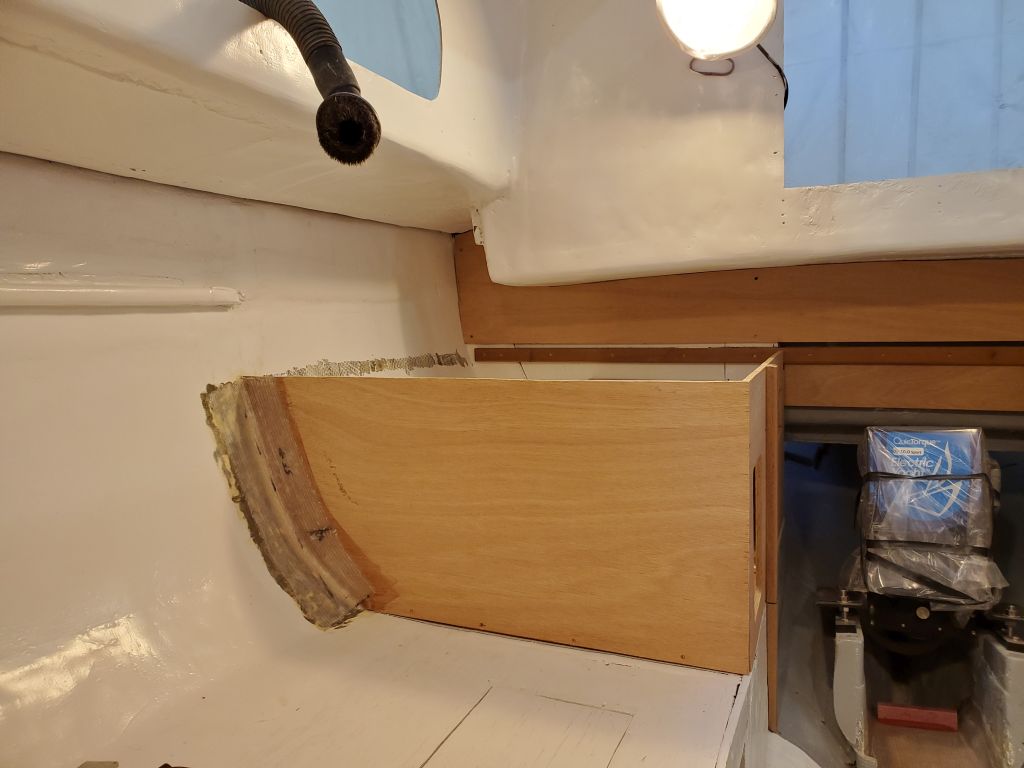
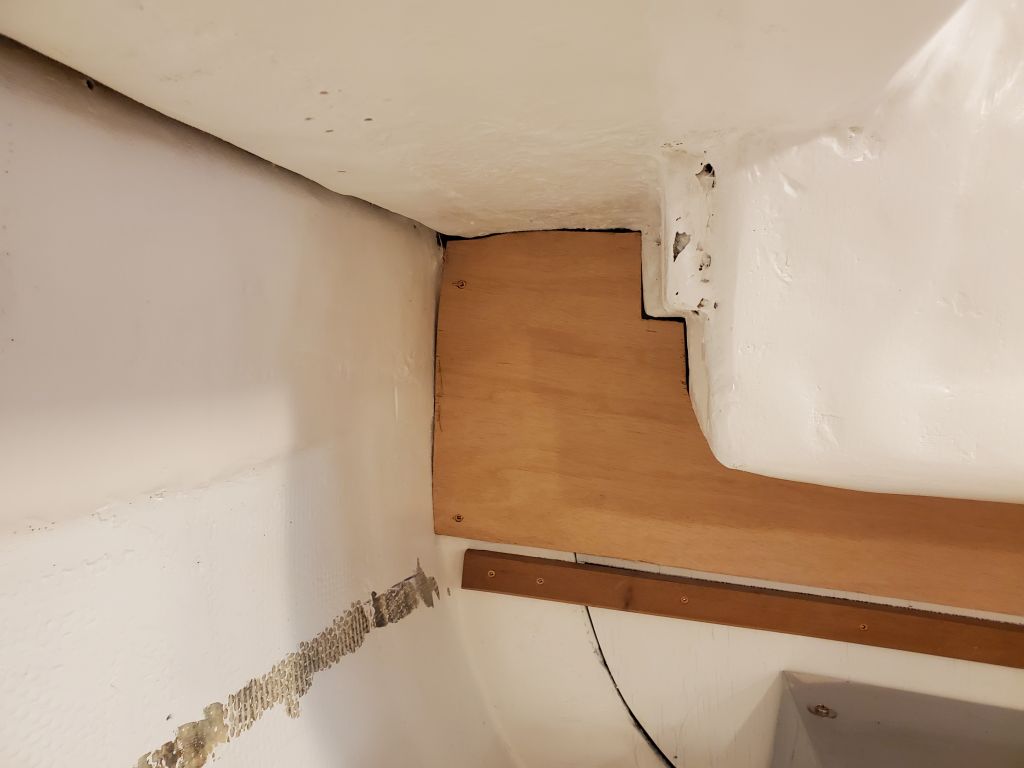
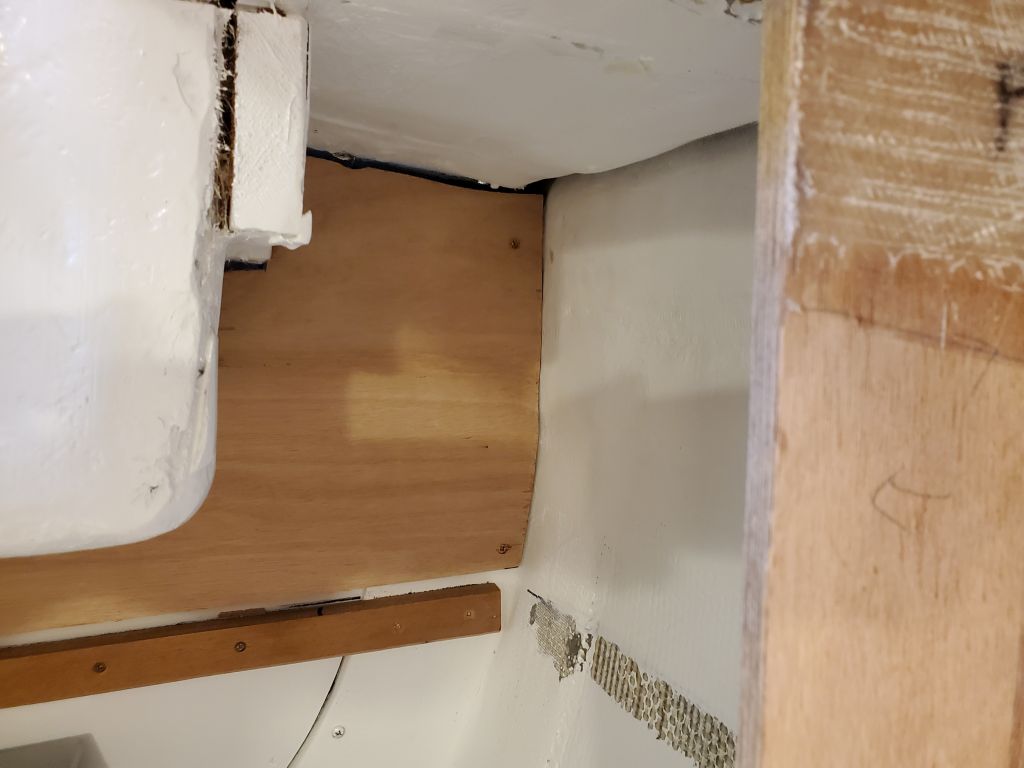
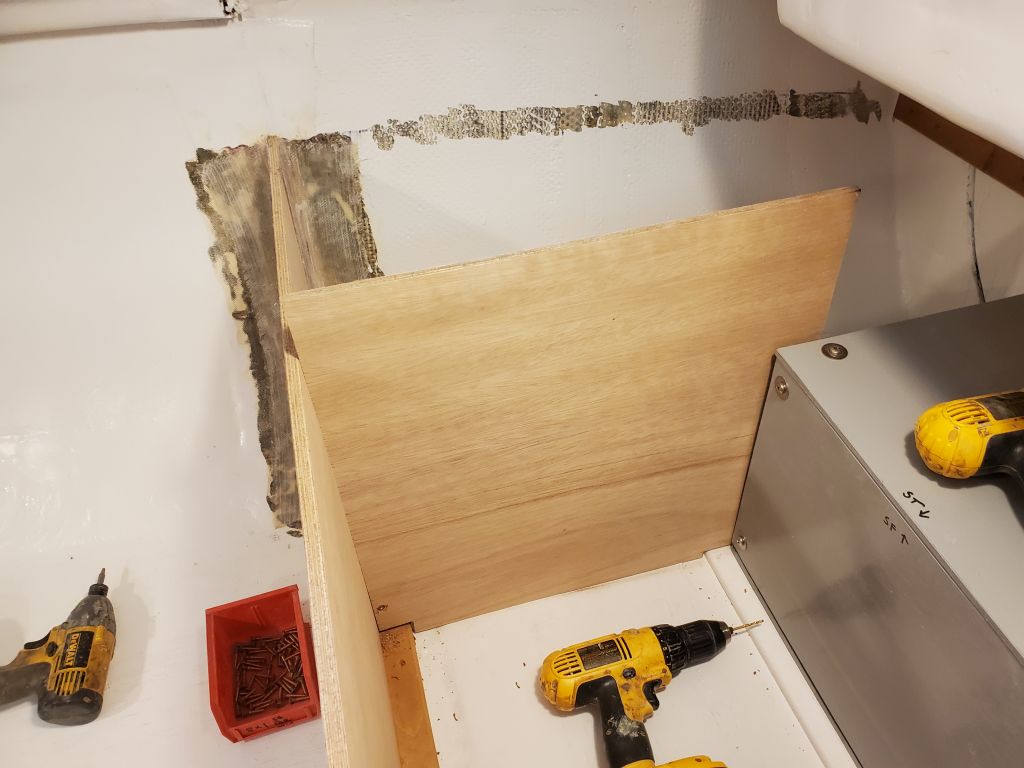
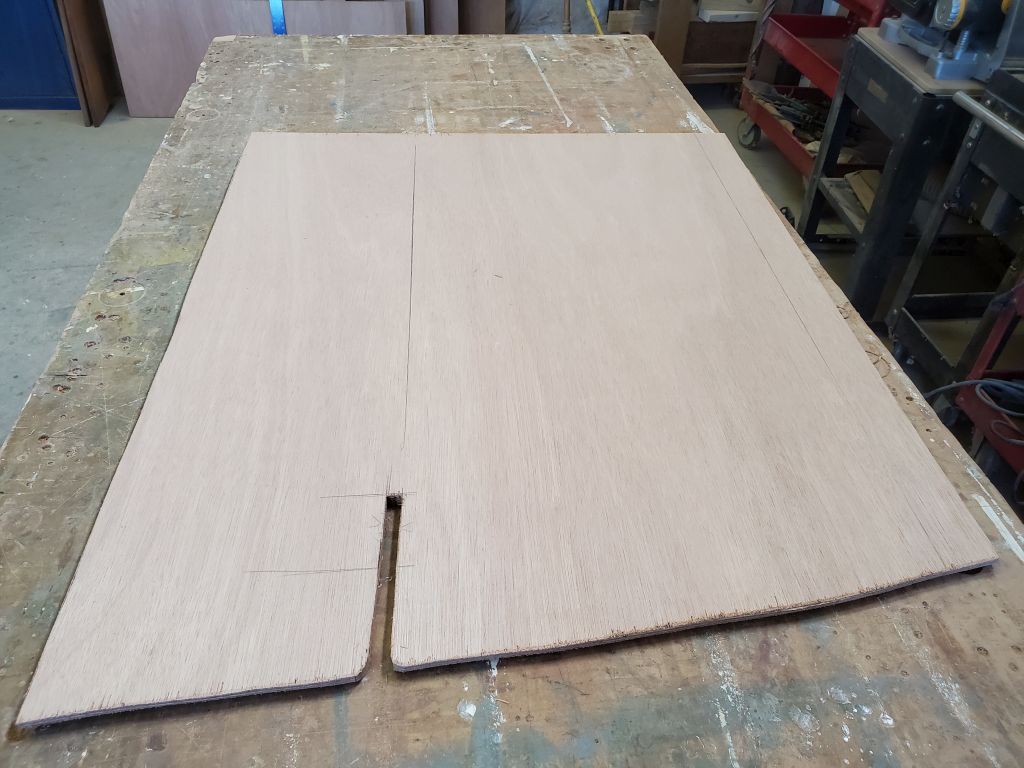
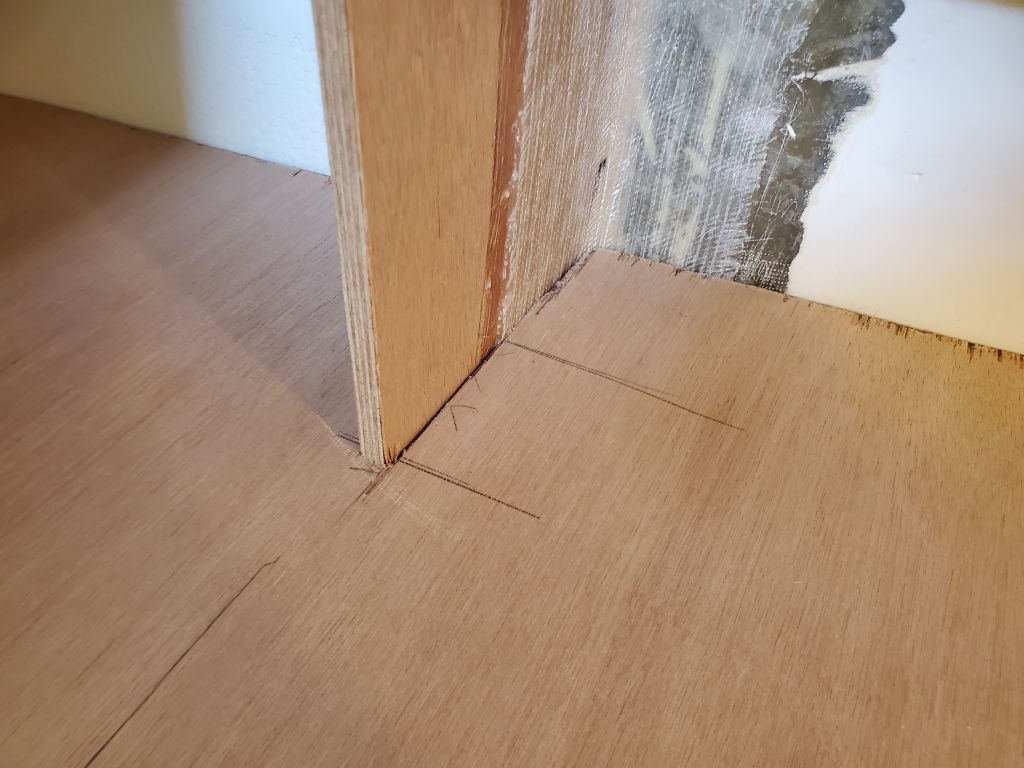
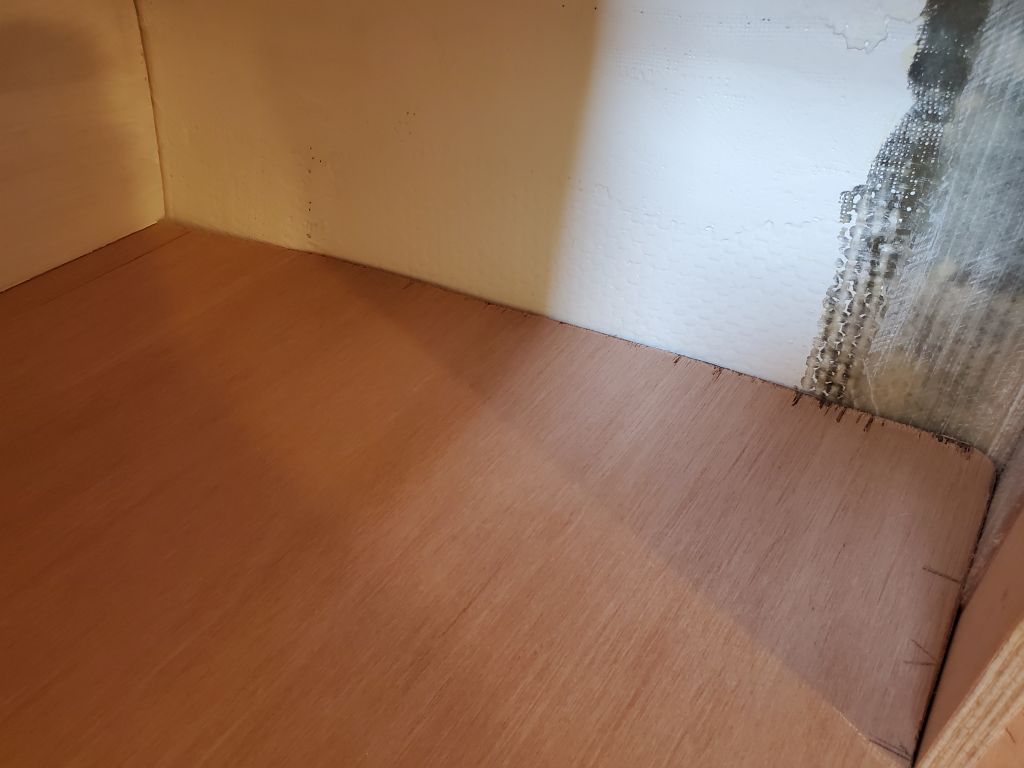
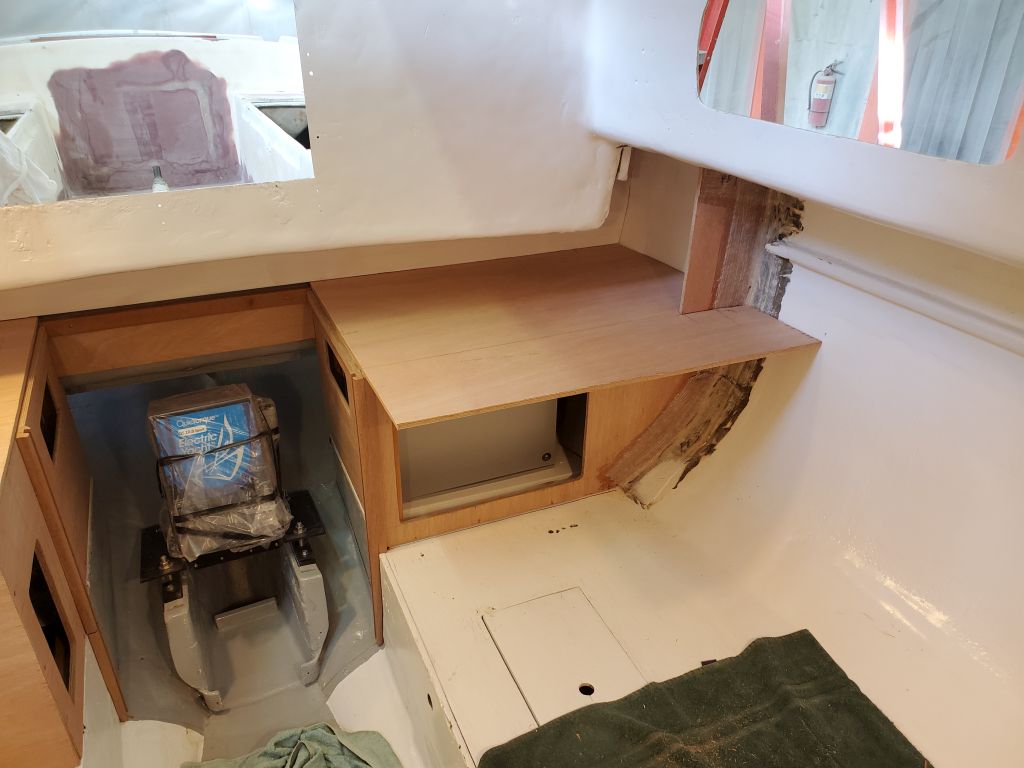
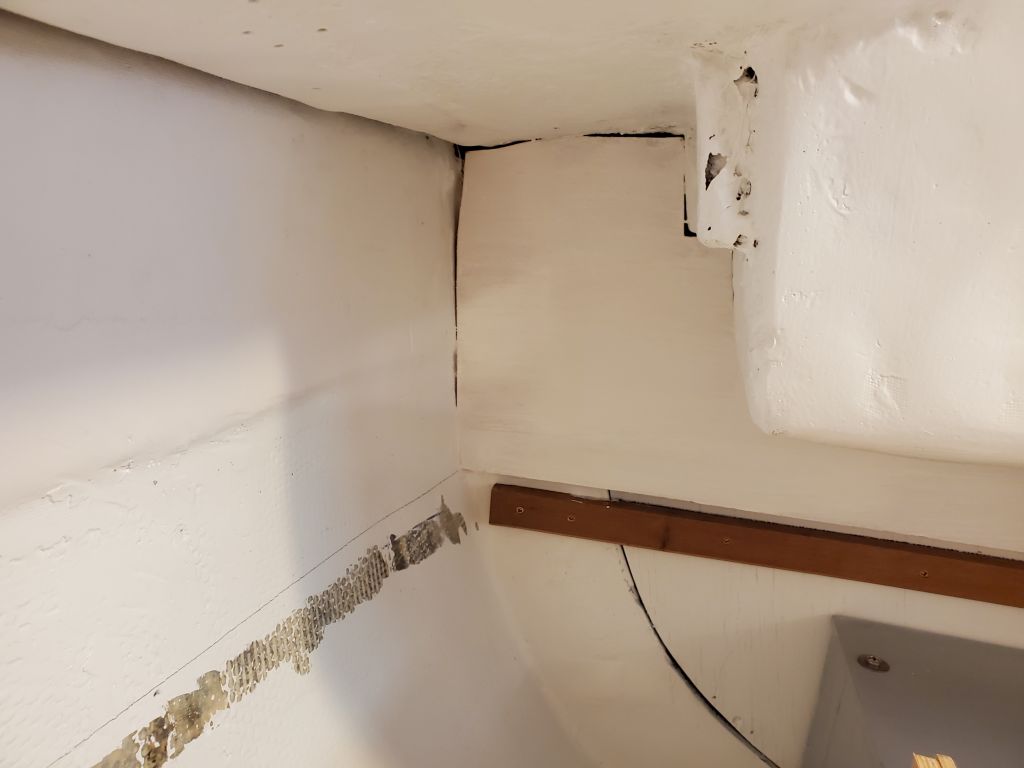
I uncovered a long, narrow strip of junky 1/4″ plywood, which was perfect for making a more accurate pattern of the after bulkhead above the countertop. After transferring the lines from the cardboard template to the new plywood, I test-fit the template and scribed and re-marked it at a 2″ offset, which I then transferred anew to the strip of 9mm I’d prepared for the final bulkhead. From here, it took several trips up and down to fine-tune the cuts and trim various areas, but finally the piece fit.
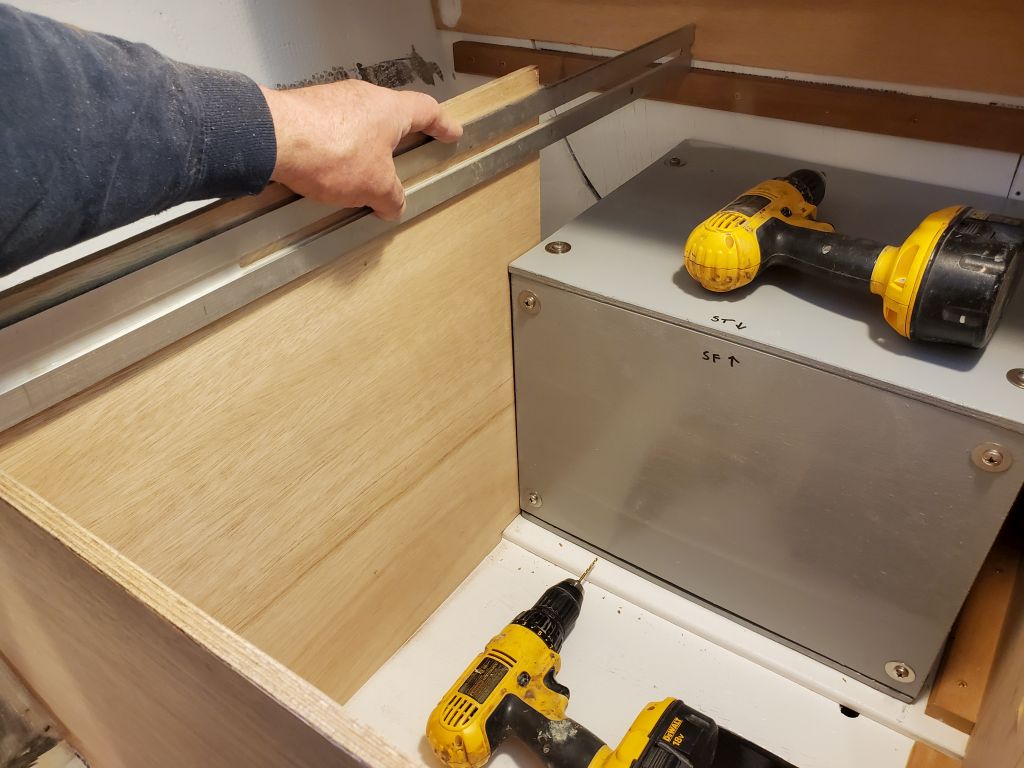
I’d originally set the bottom of the patterns right at the level of the countertop cleat, but with the final fitting I trimmed the flat, straight bottom edge of the panel to provide enough room for the countertop beneath: 12mm plywood plus an allowance for the laminate countertop surface, for which I used a scrap of firm 1/8″ gasket material that I had around. For final positioning of the bulkhead, I used similar spacers beneath the panel to hold it the proper distance from the support cleat.

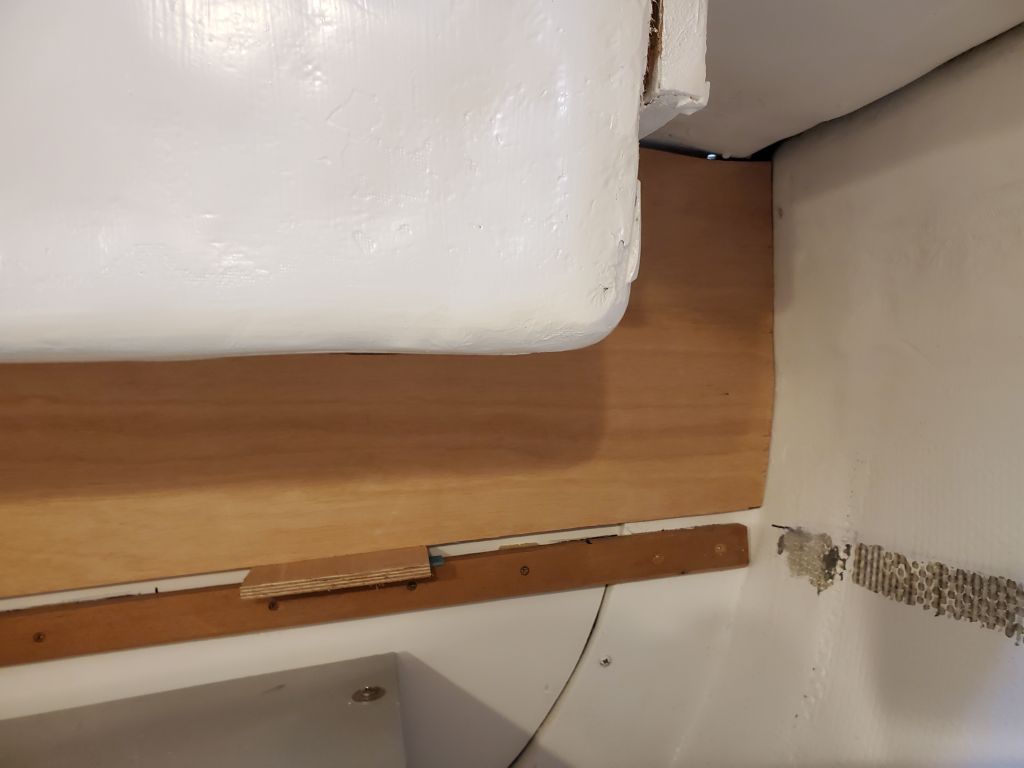


The panel was a tight fit, and because of the nature of the underpinnings it only required a few screws to secure in strategic places–eight in all. Once I’d secured the panel, I filled the countersunk screw holes with some quick-dry fairing material to prepare the new bulkhead for priming later in the day.
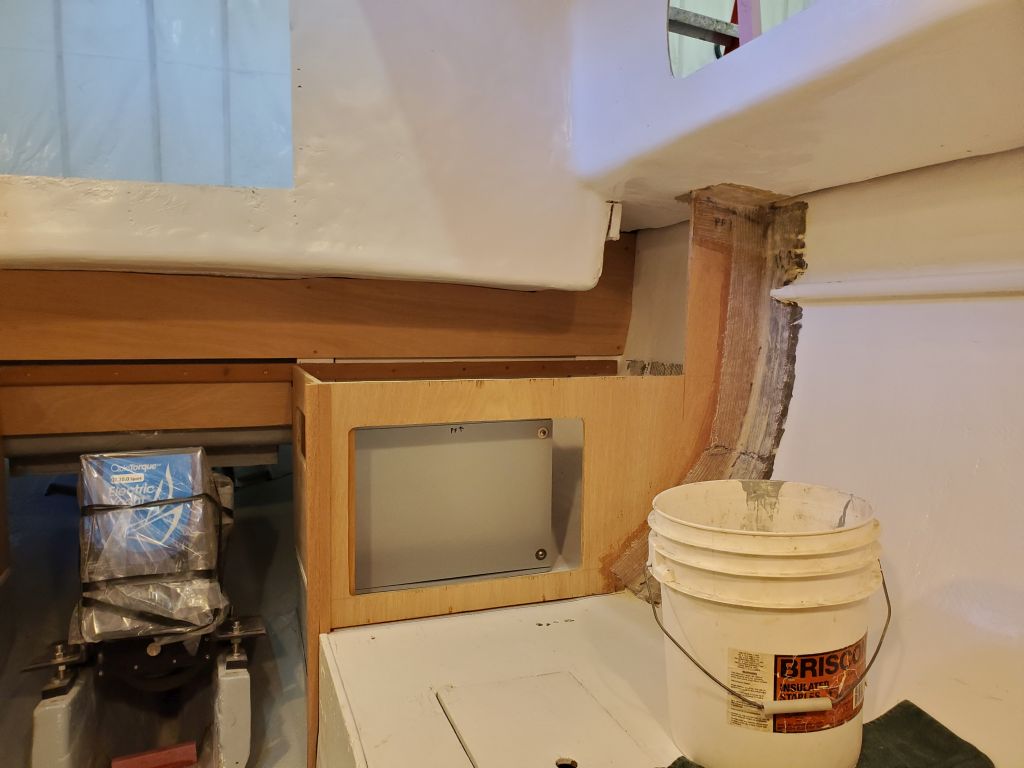
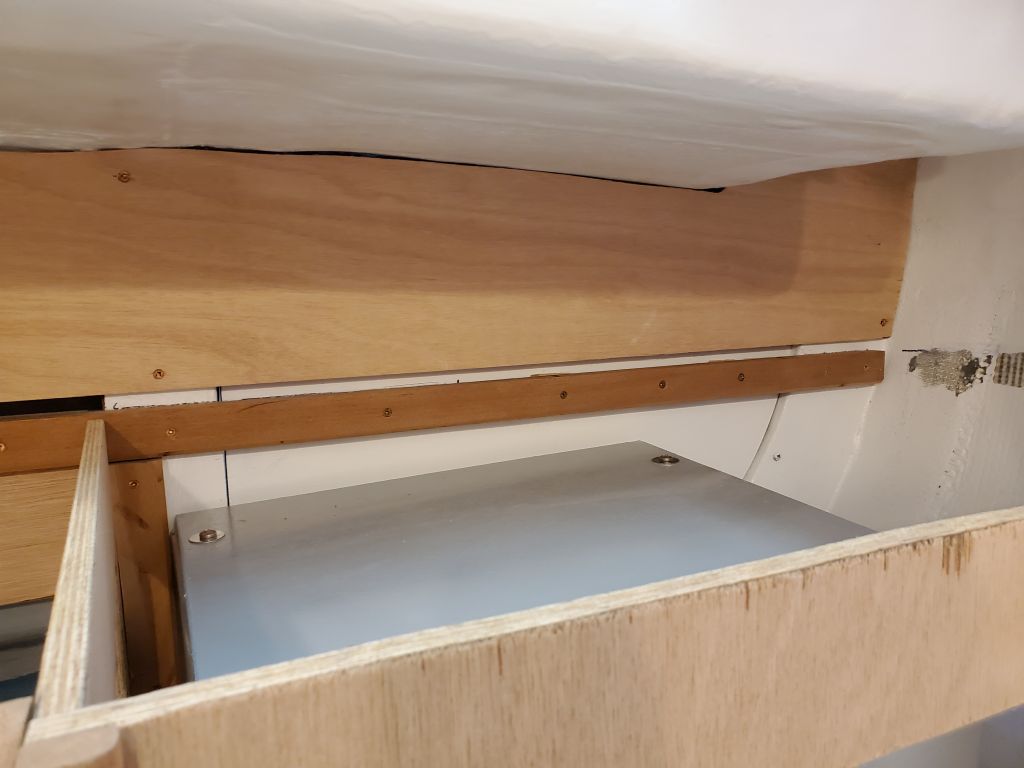
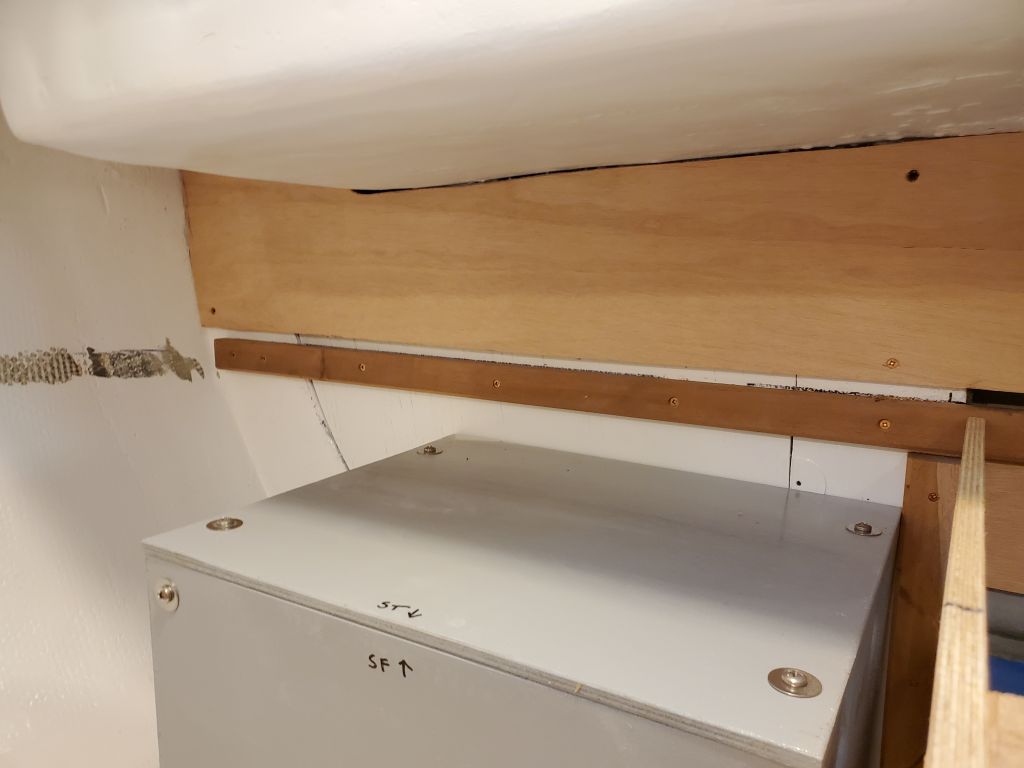
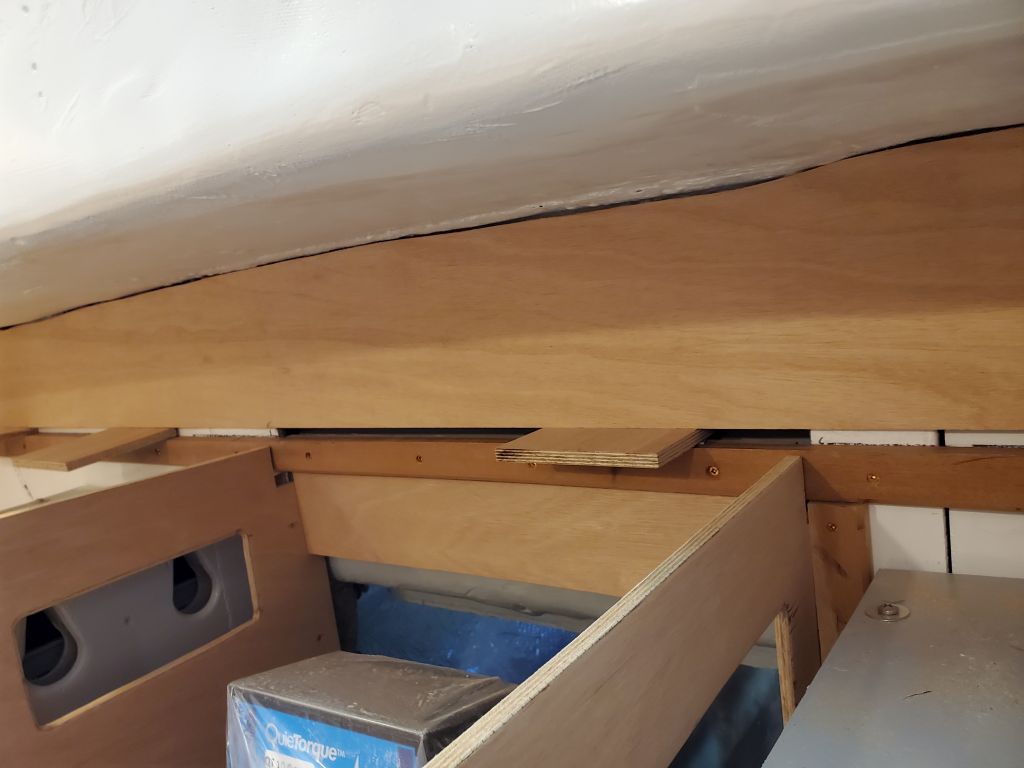
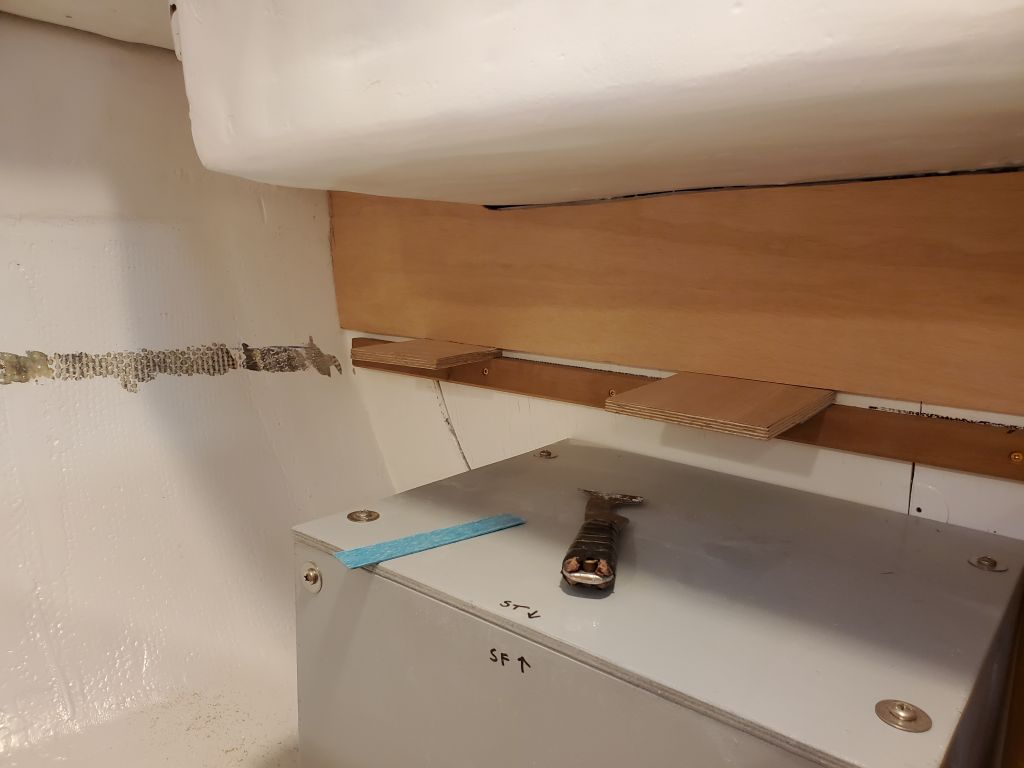
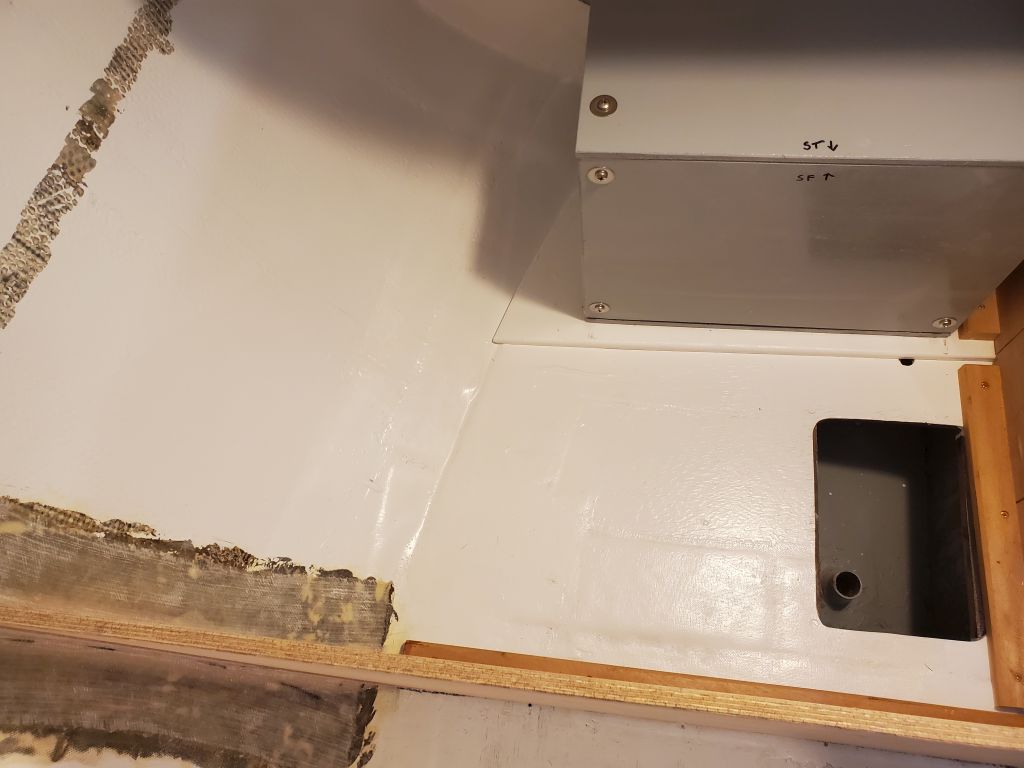
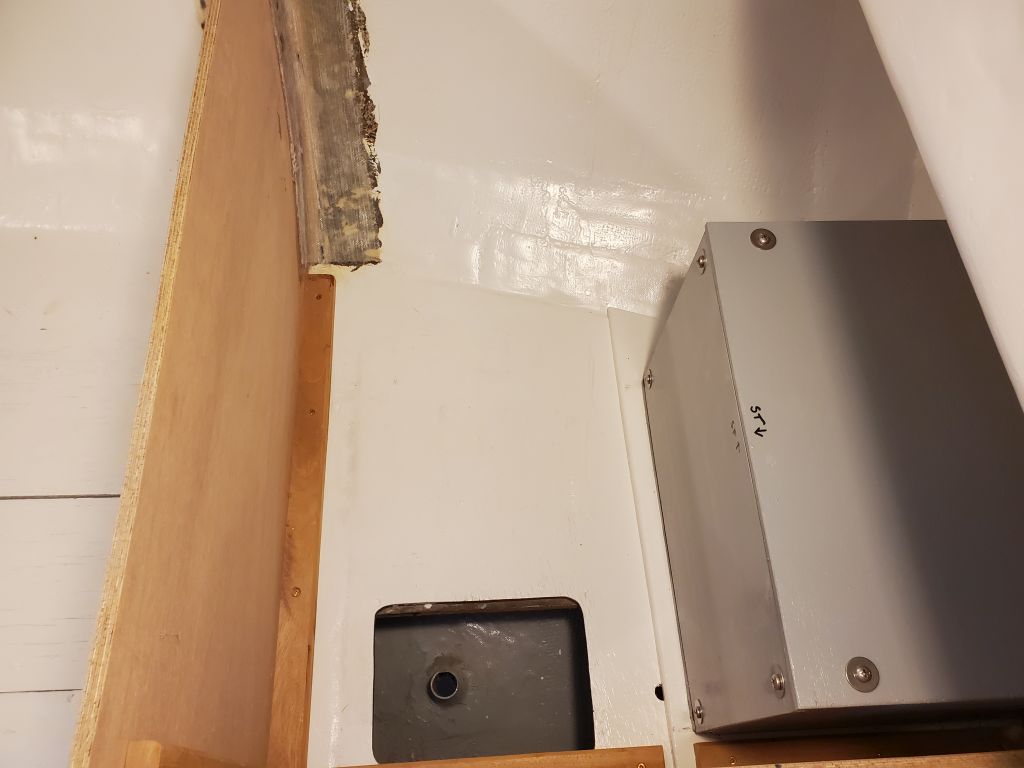
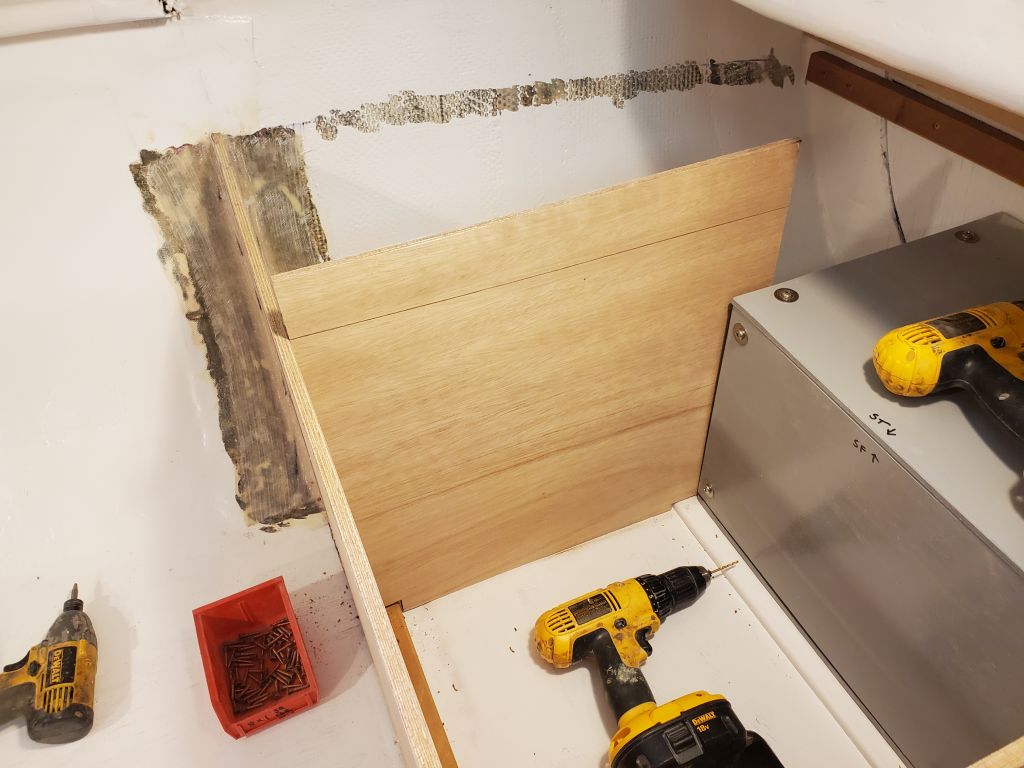
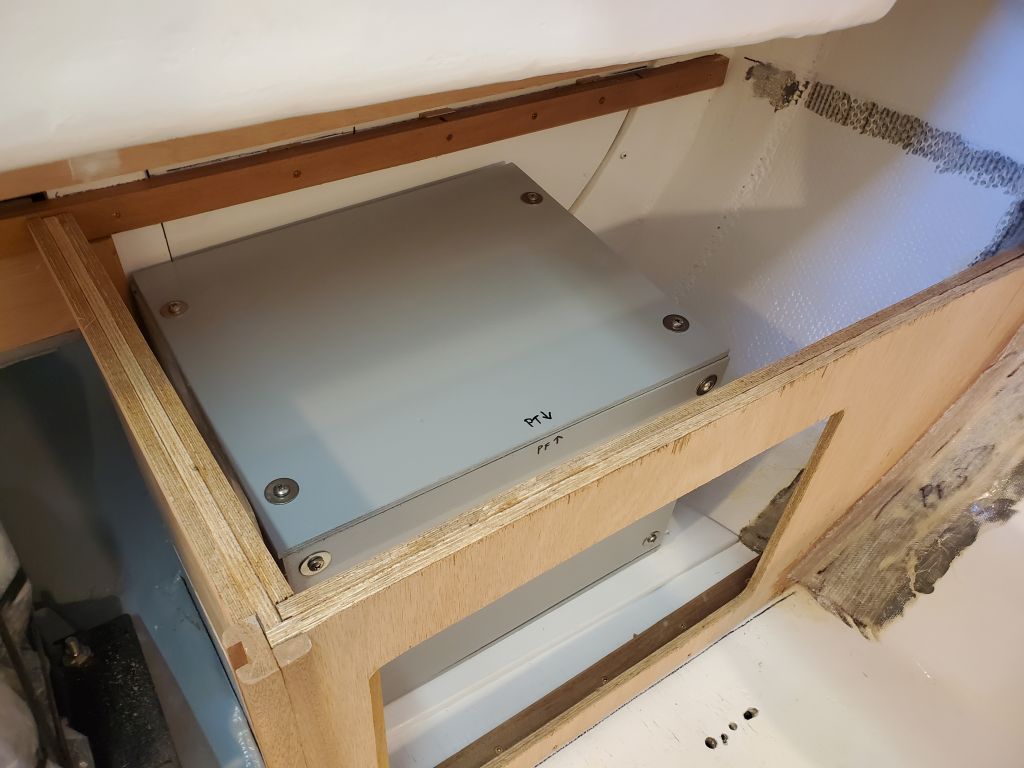
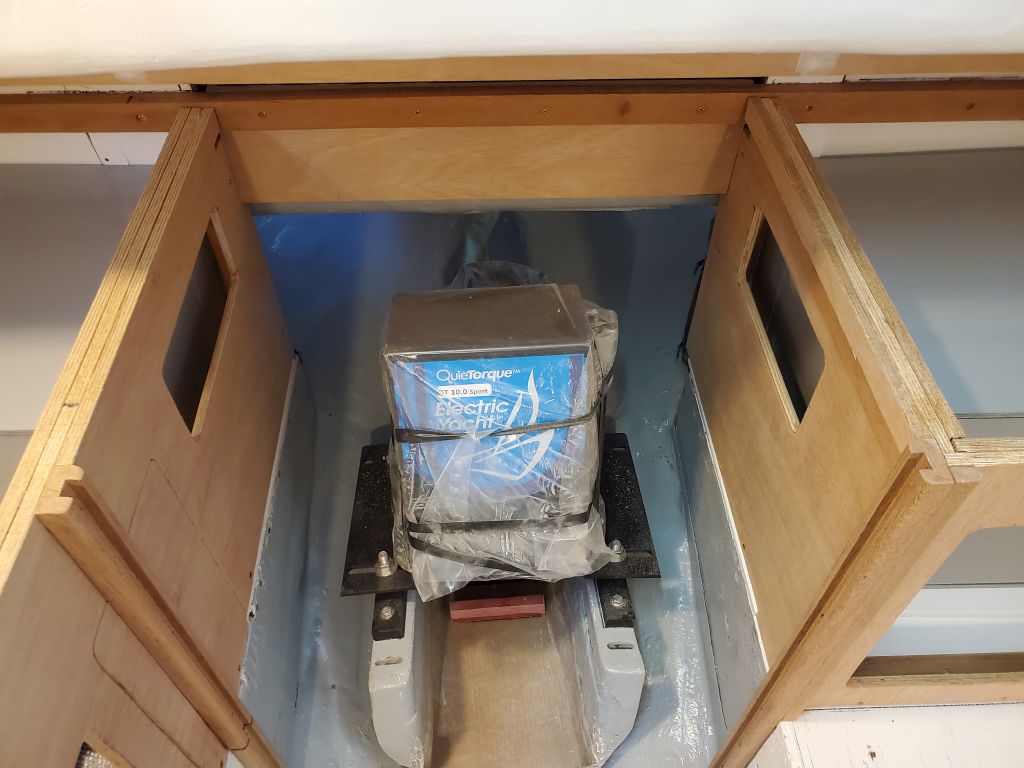
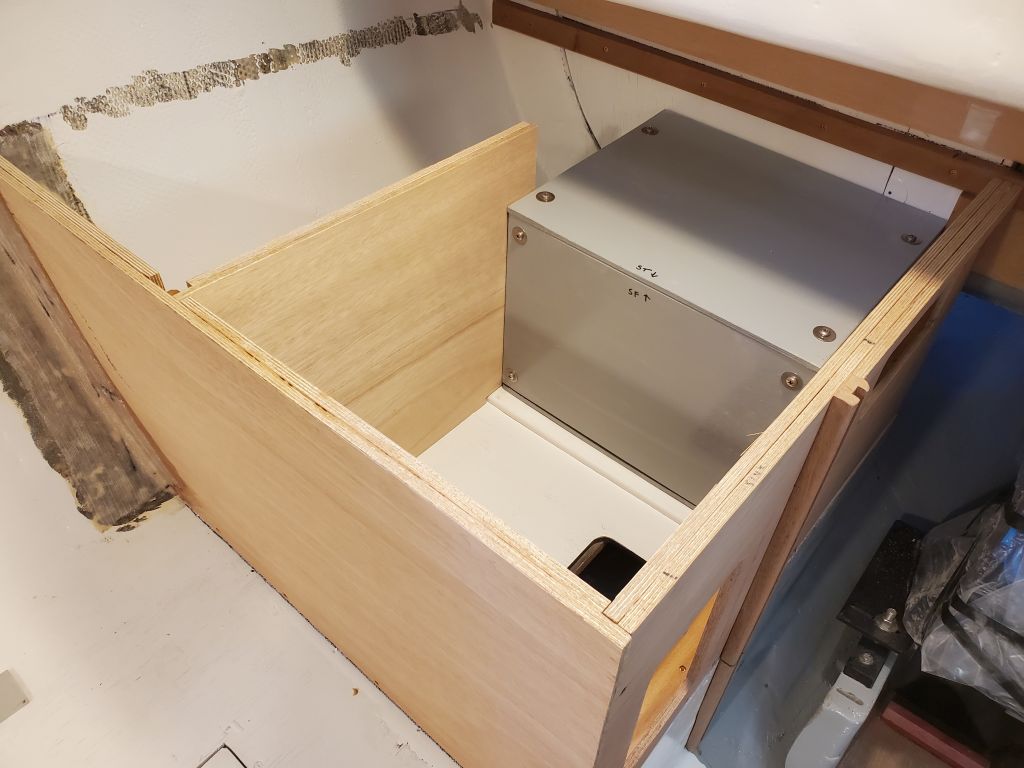
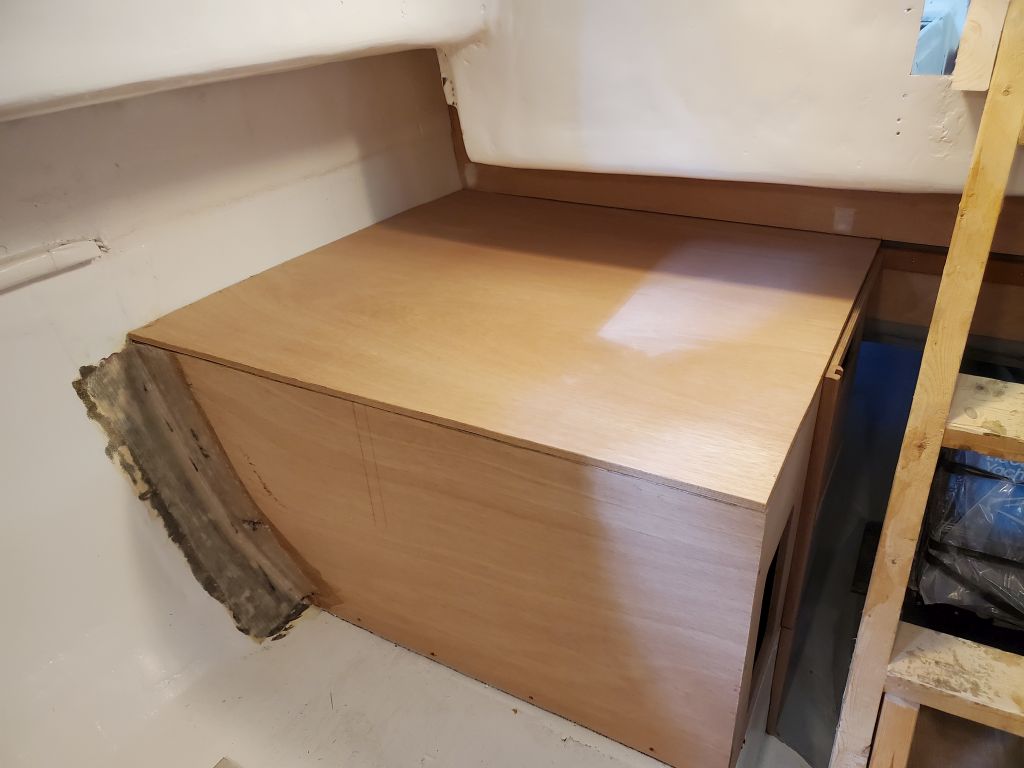
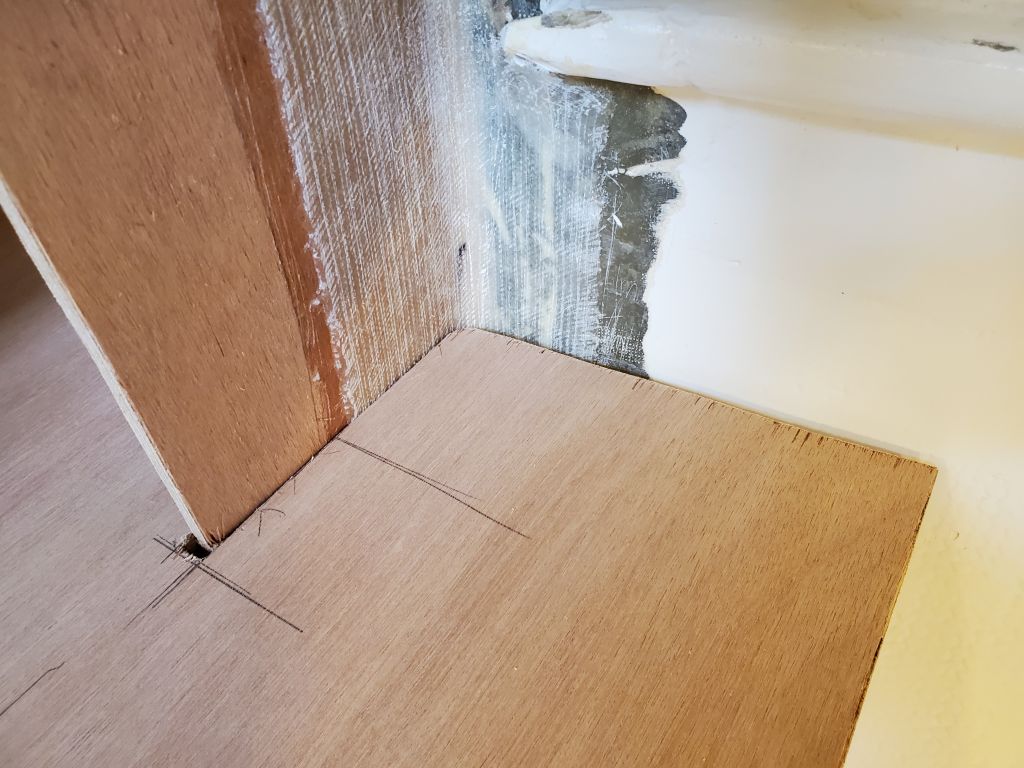
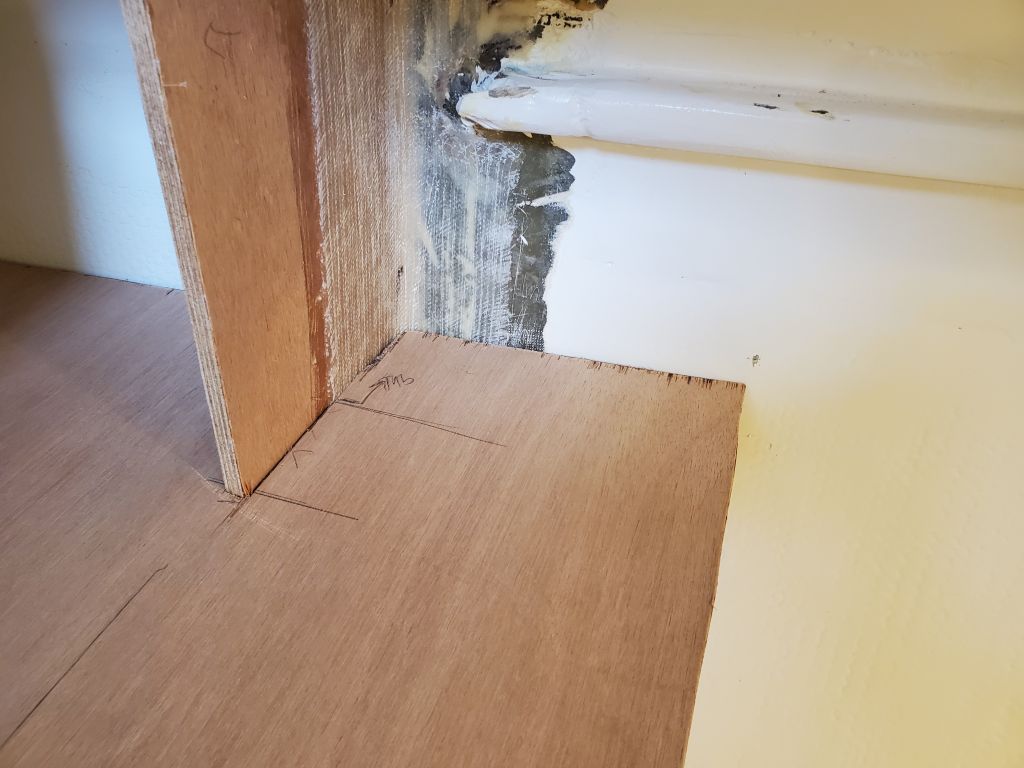
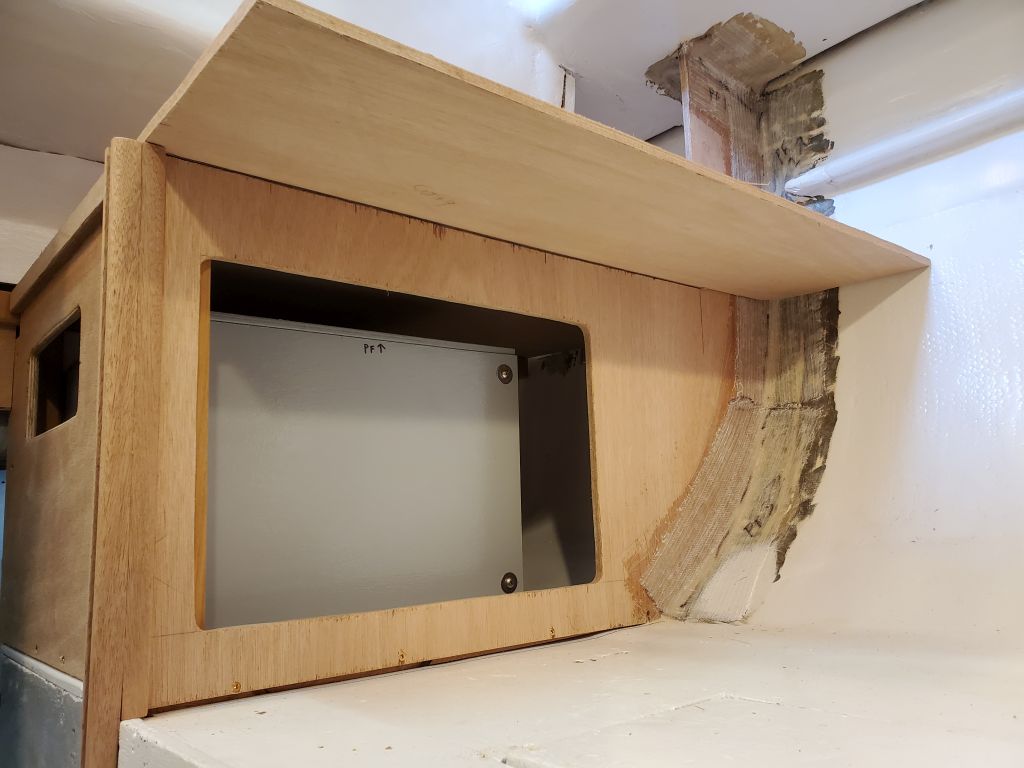
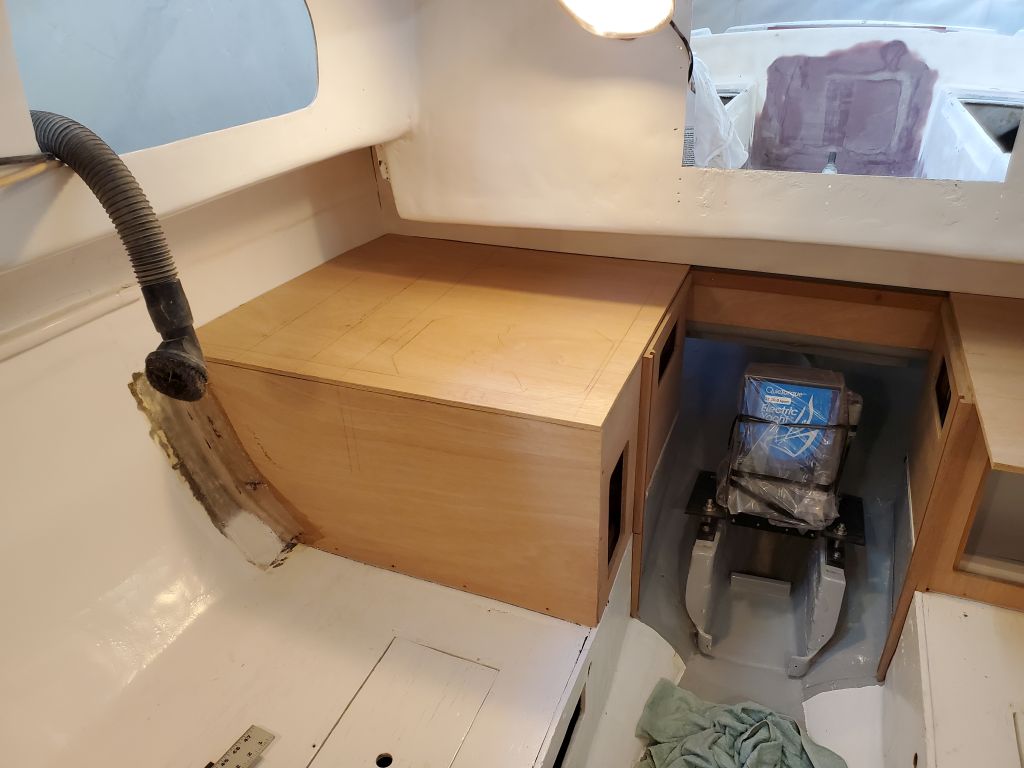
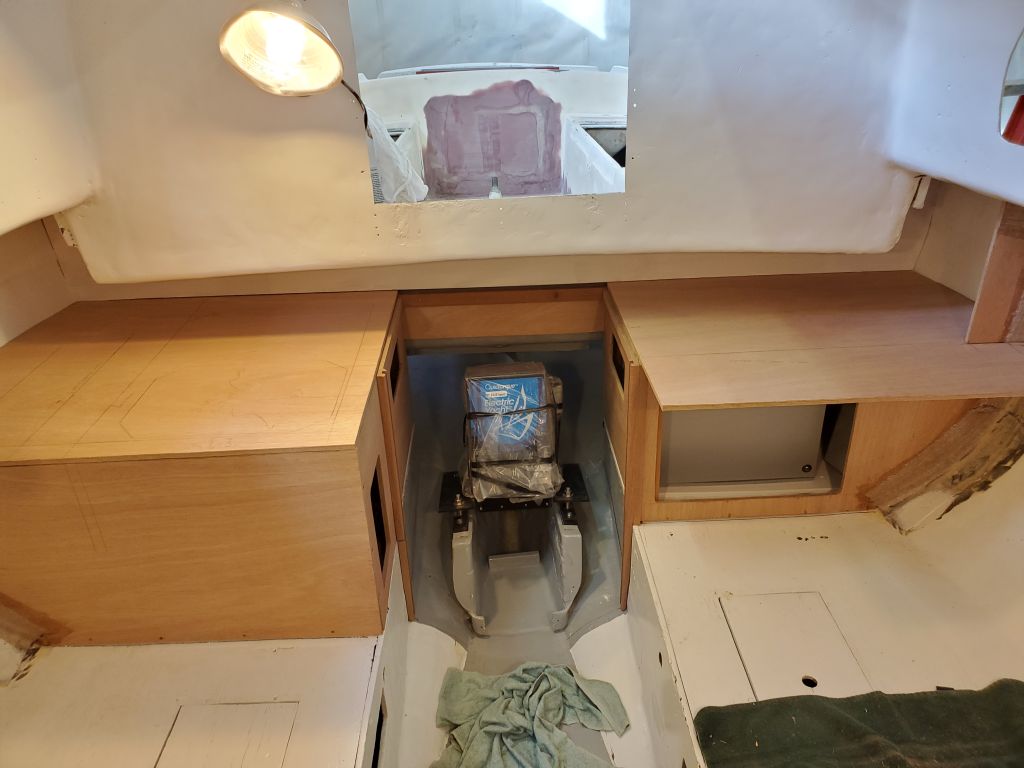
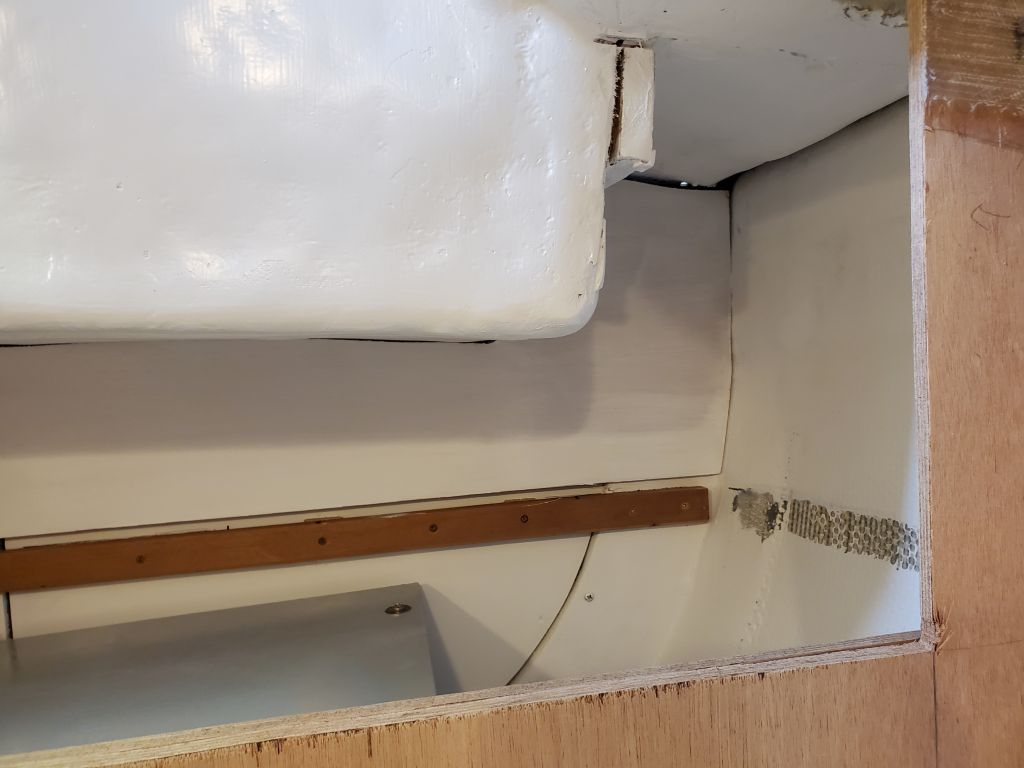
The starboard galley cabinet required a divider across the widest part, not only to provide a separate storage area outboard of the sink and battery box, but also for countertop support across its area of widest span. This was a pretty straightforward installation using a leftover piece of 9mm plywood for the divider, and a hardwood cleat where it joined the forward bulkhead at 90°. The after side of the divider rested against the outboard side of the battery box.
With the slightly-oversized divider in place, I struck a line between the forward bulkhead and aft countertop support cleat to get the correct height, then cut the plywood and installed it permanently with screws to the forward cleat and battery box. This left a good-sized storage area that would be accessible through top-access hatches in the countertop later.


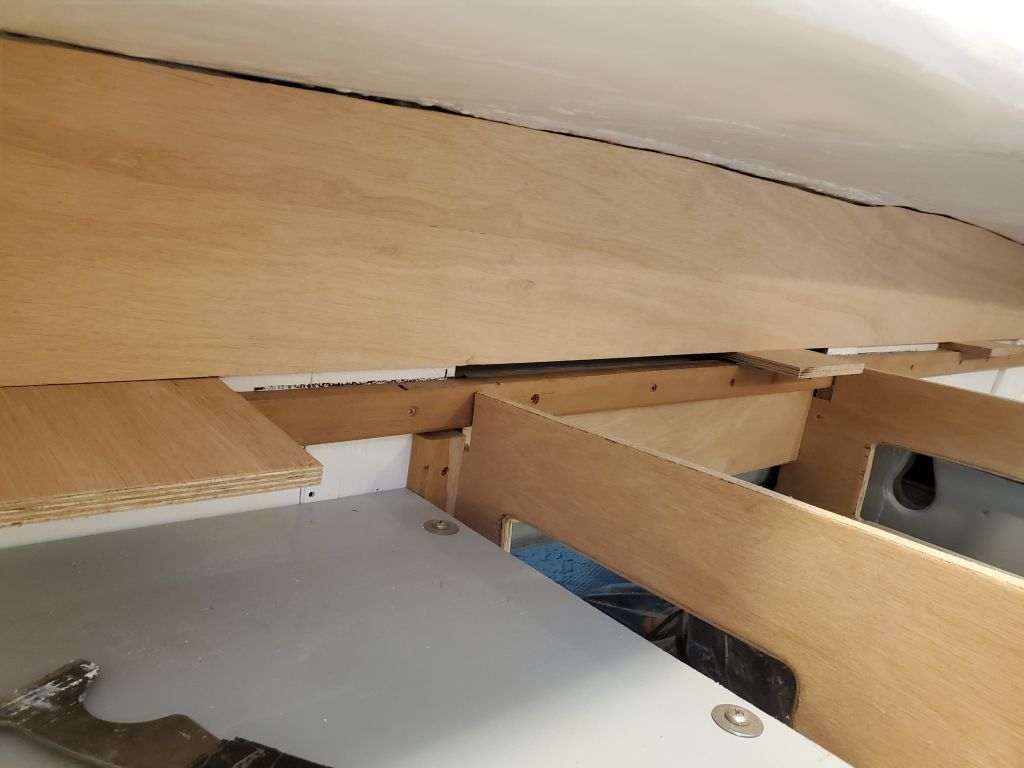
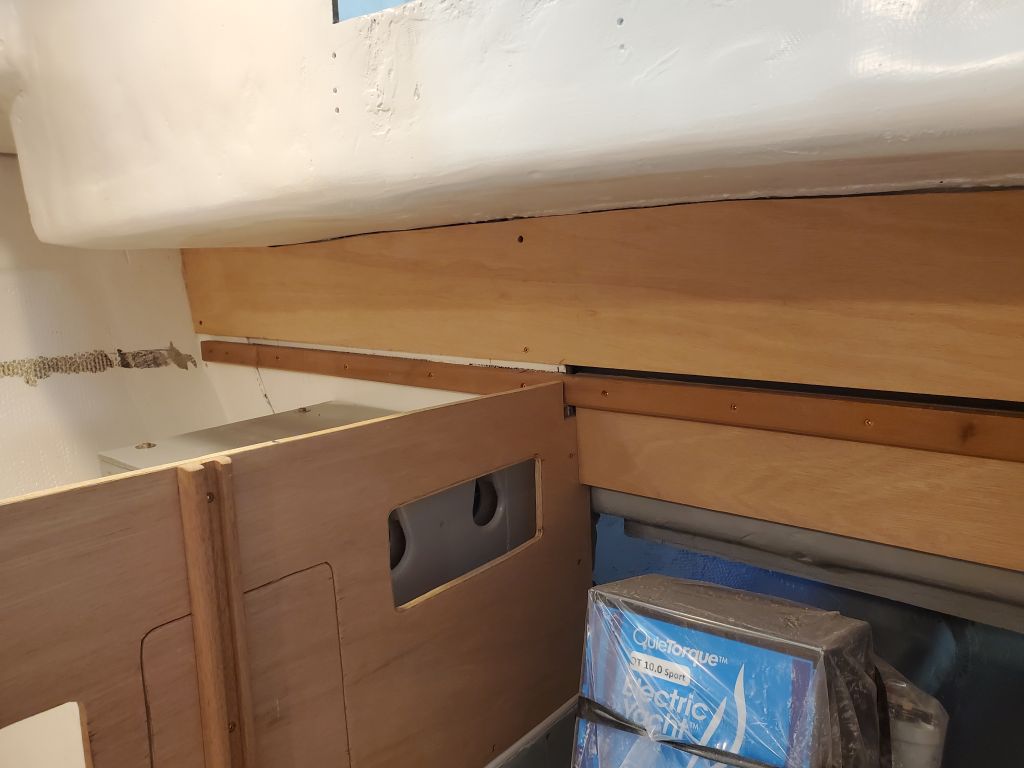
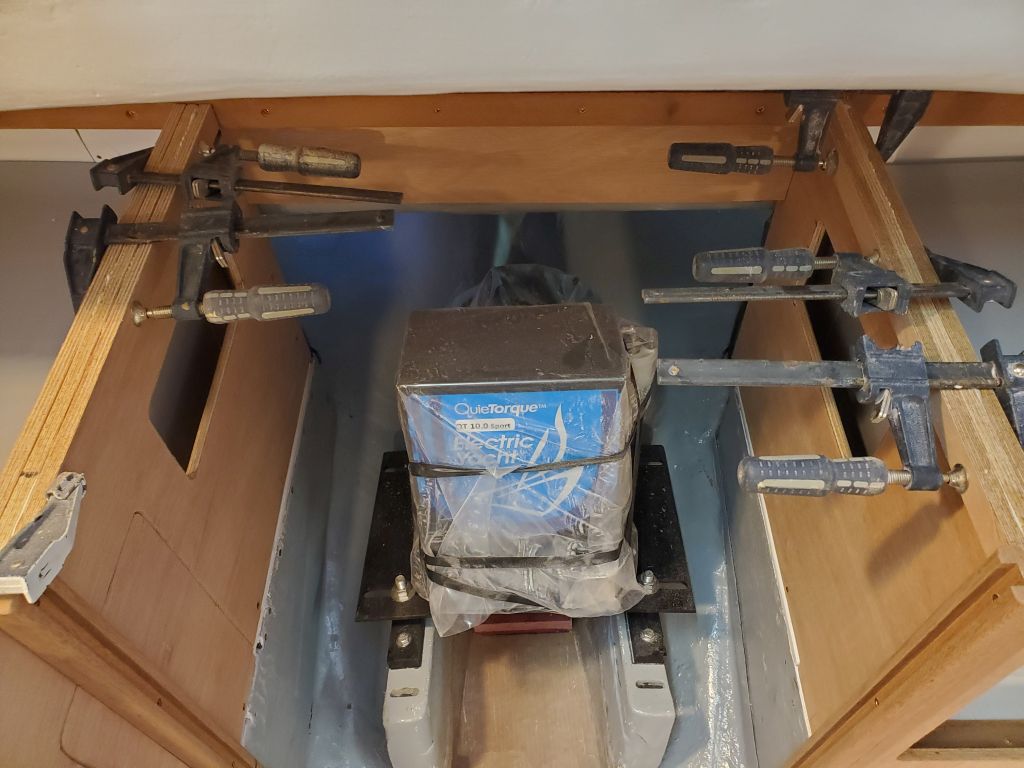
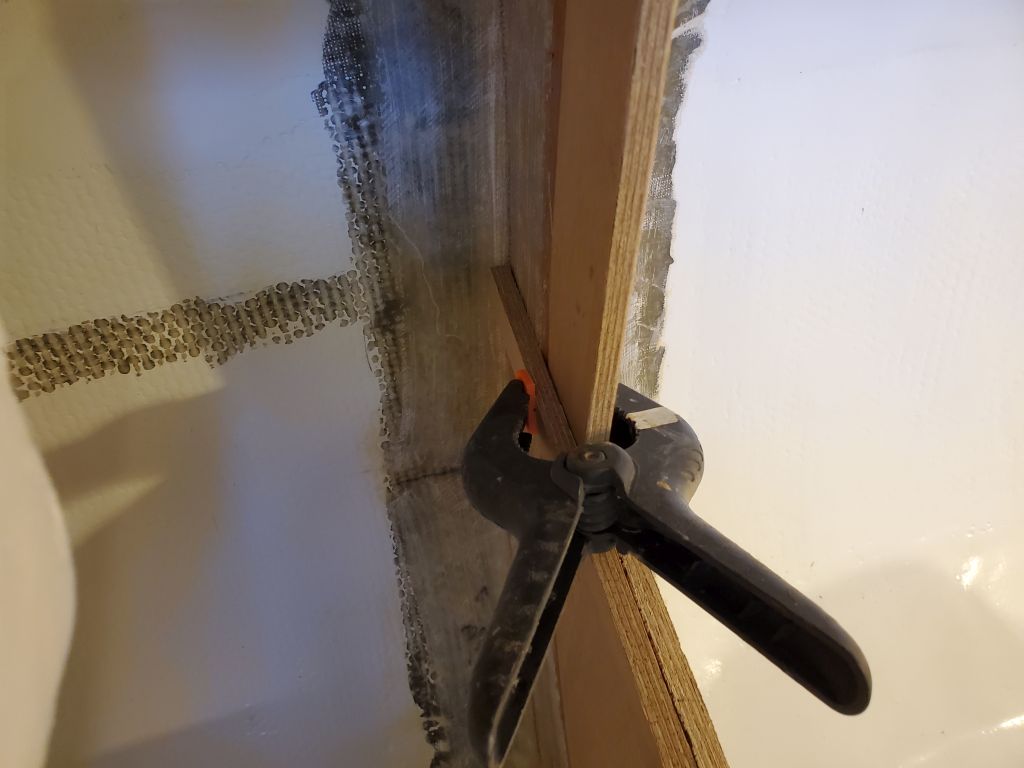
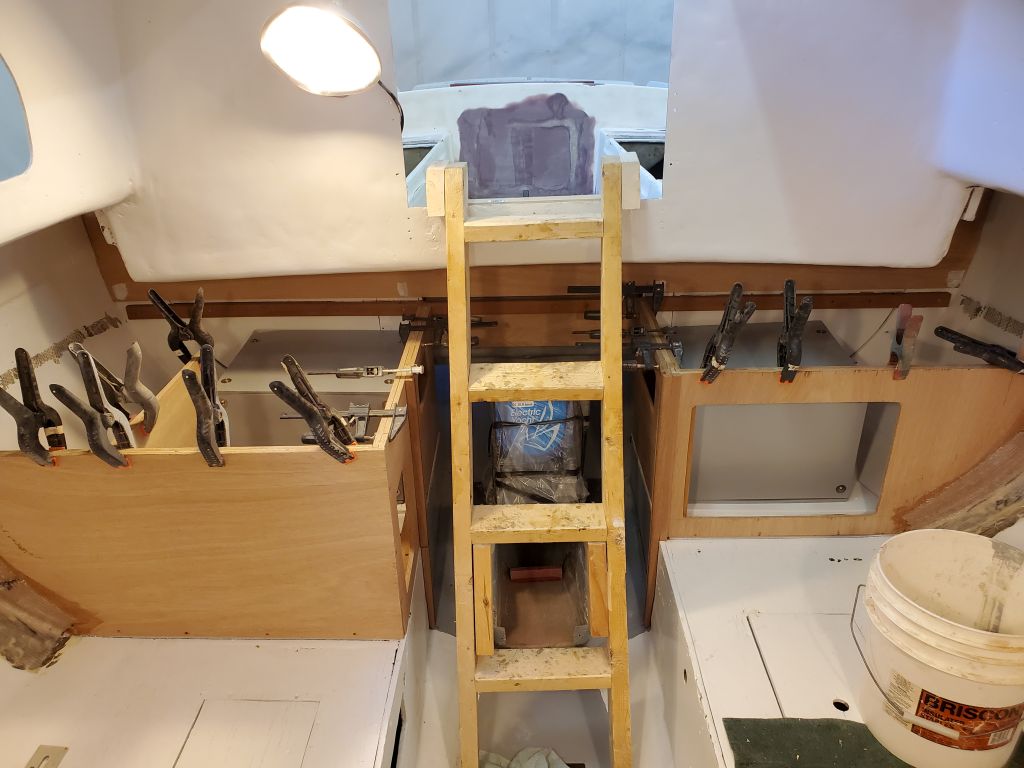
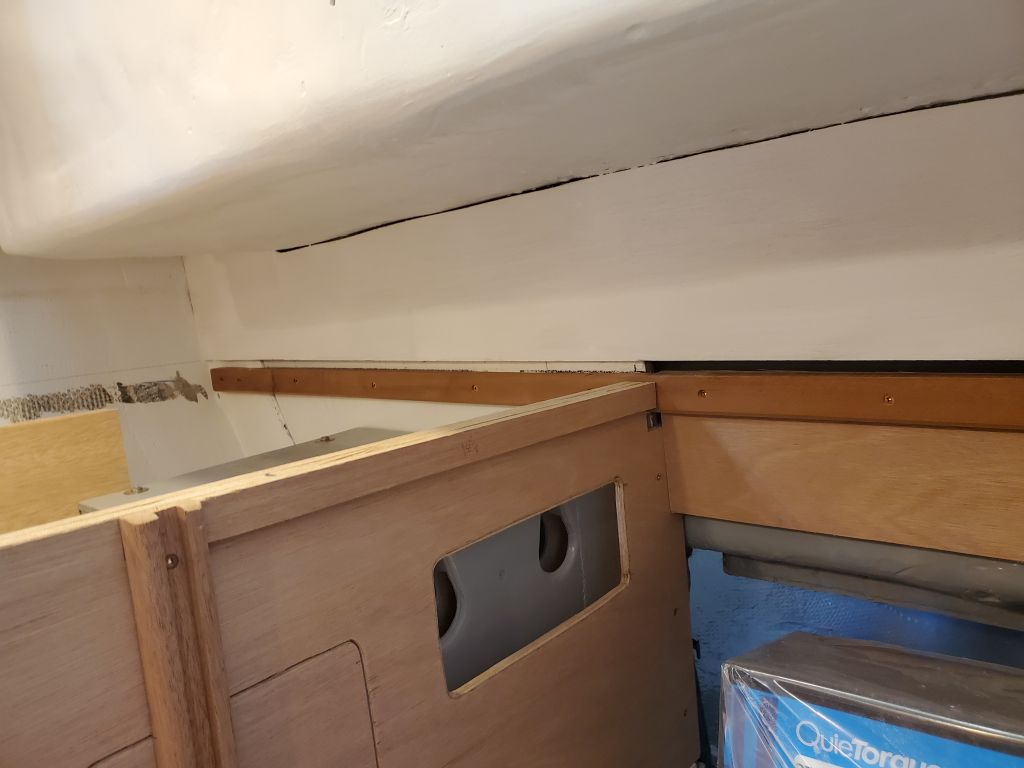
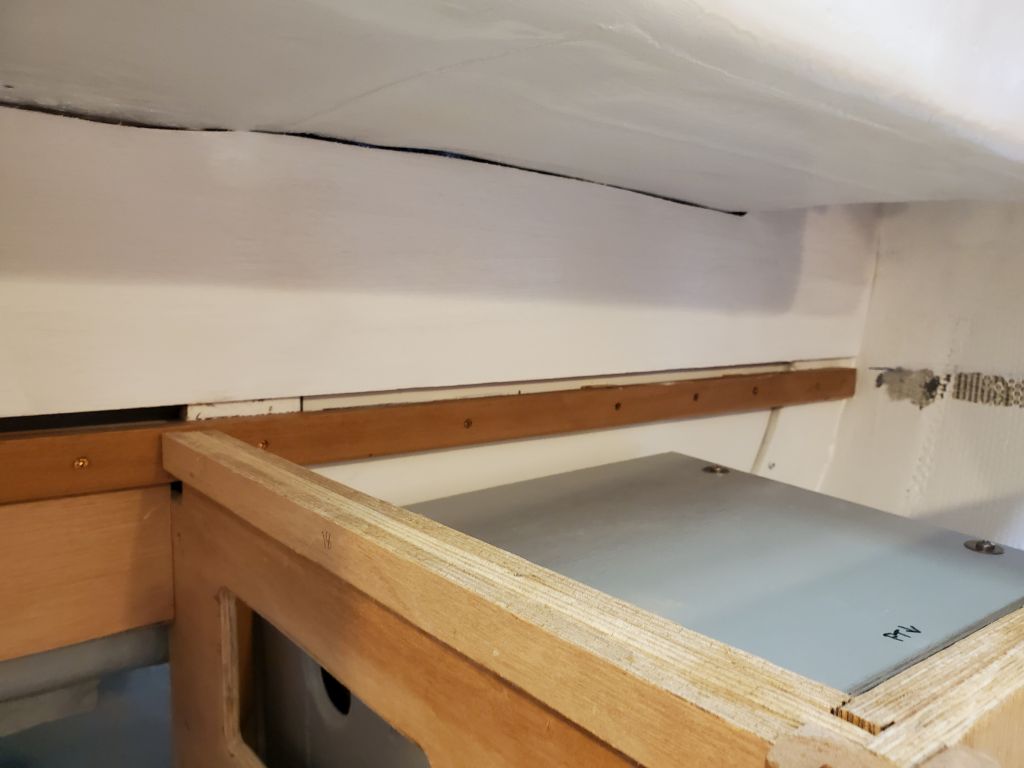
To better support the countertop during final installation, I prepared a series of cleats from offcuts of 12mm plywood, which I then glued to the inside edges of all the galley bulkheads and partitions with glue and clamps, leaving them over lunch break to cure. These cleats would provide a wider bearing surface for securing the countertop, and also the requisite support for the top panel over the engine room.


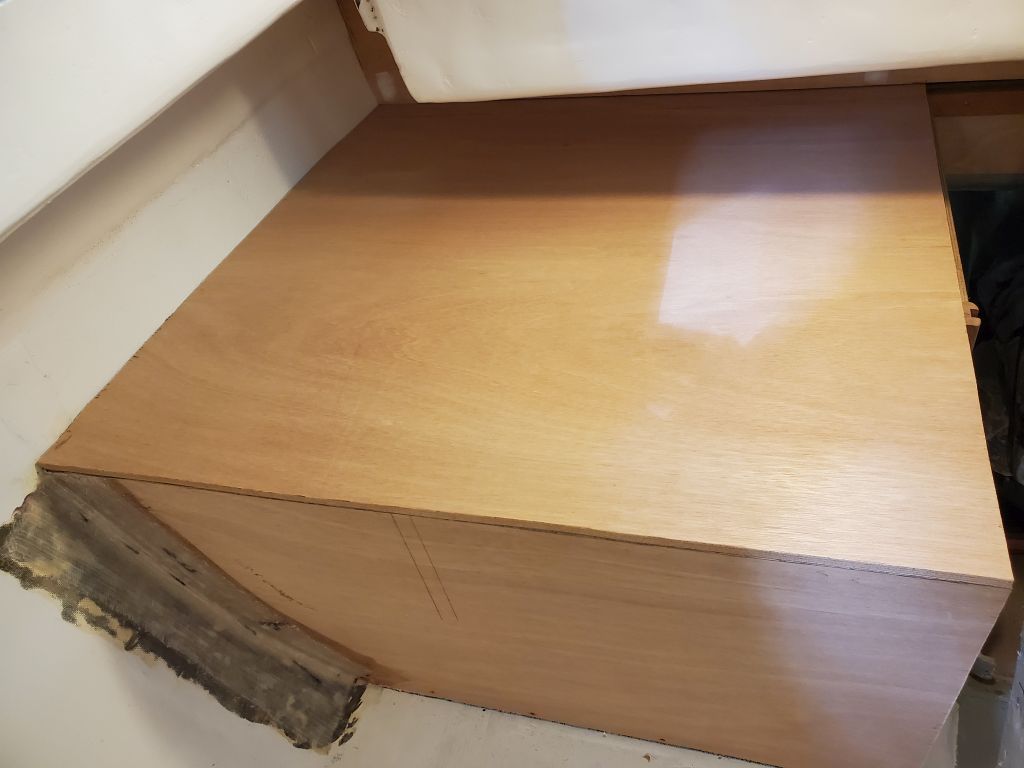
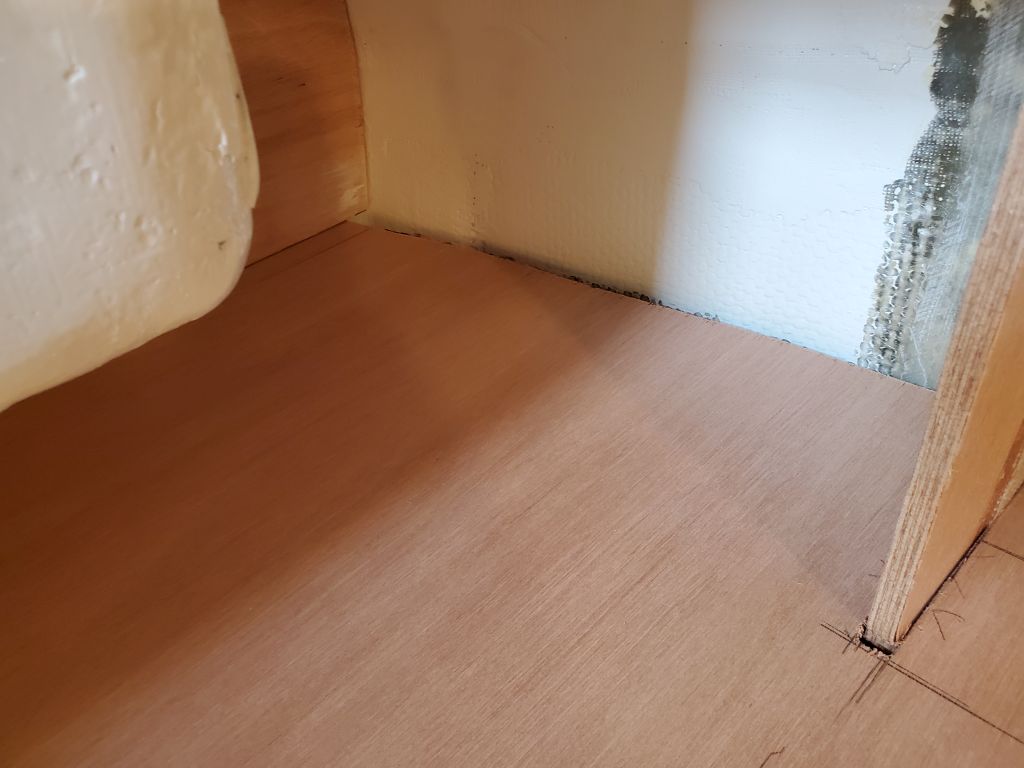
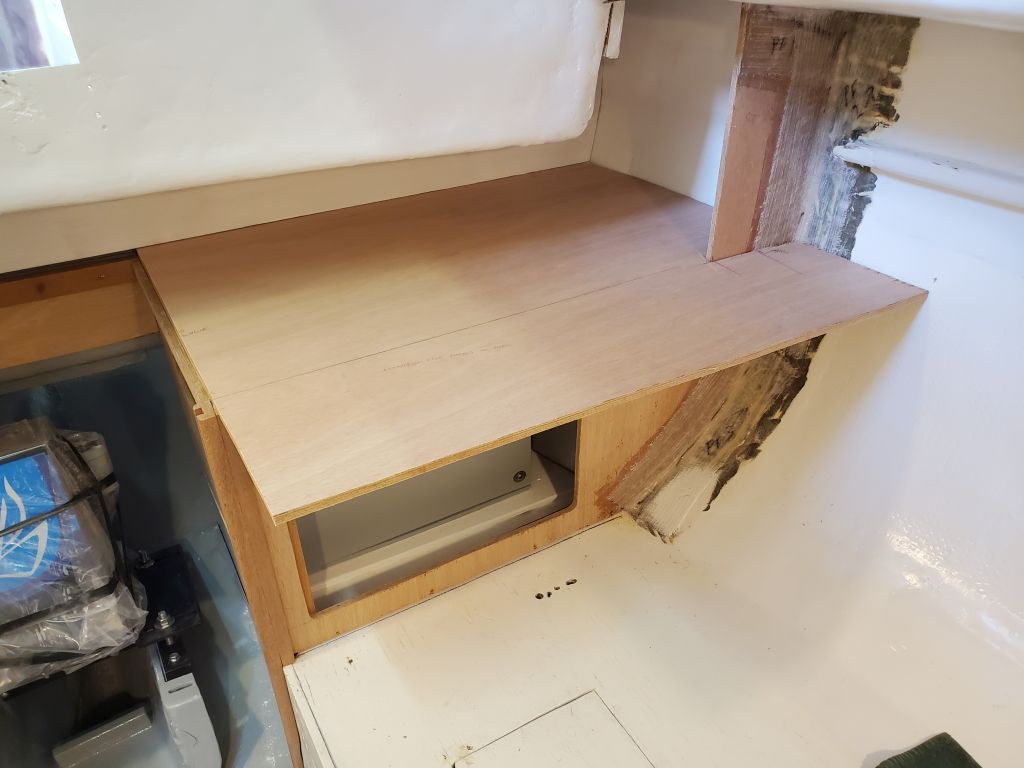
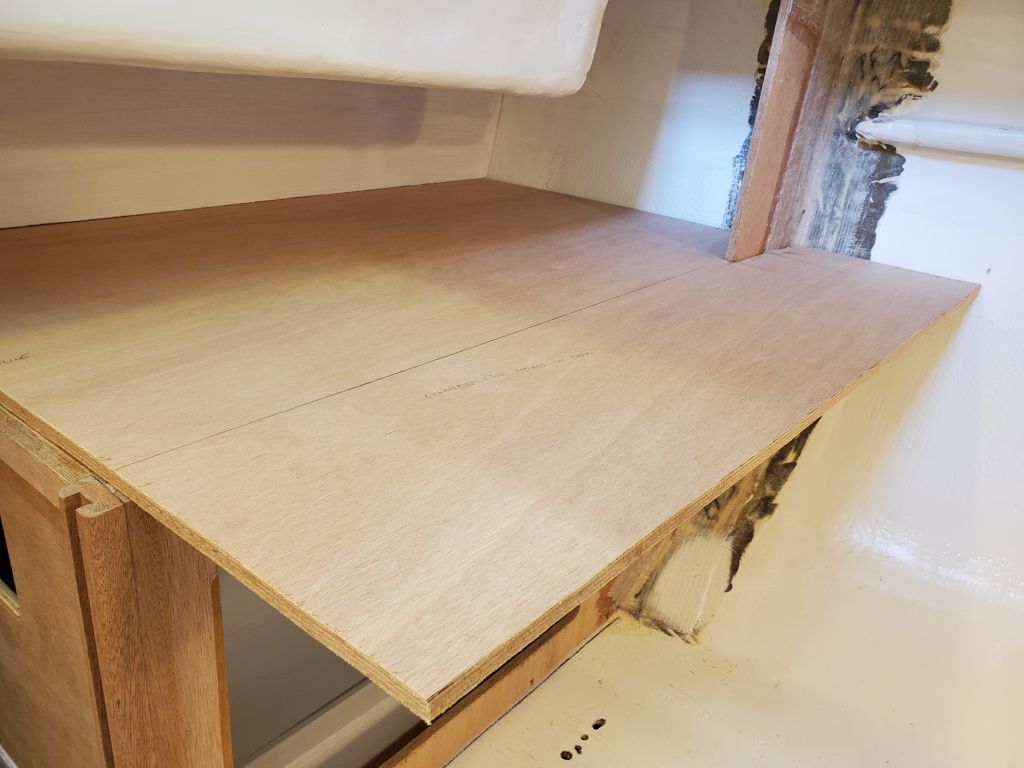
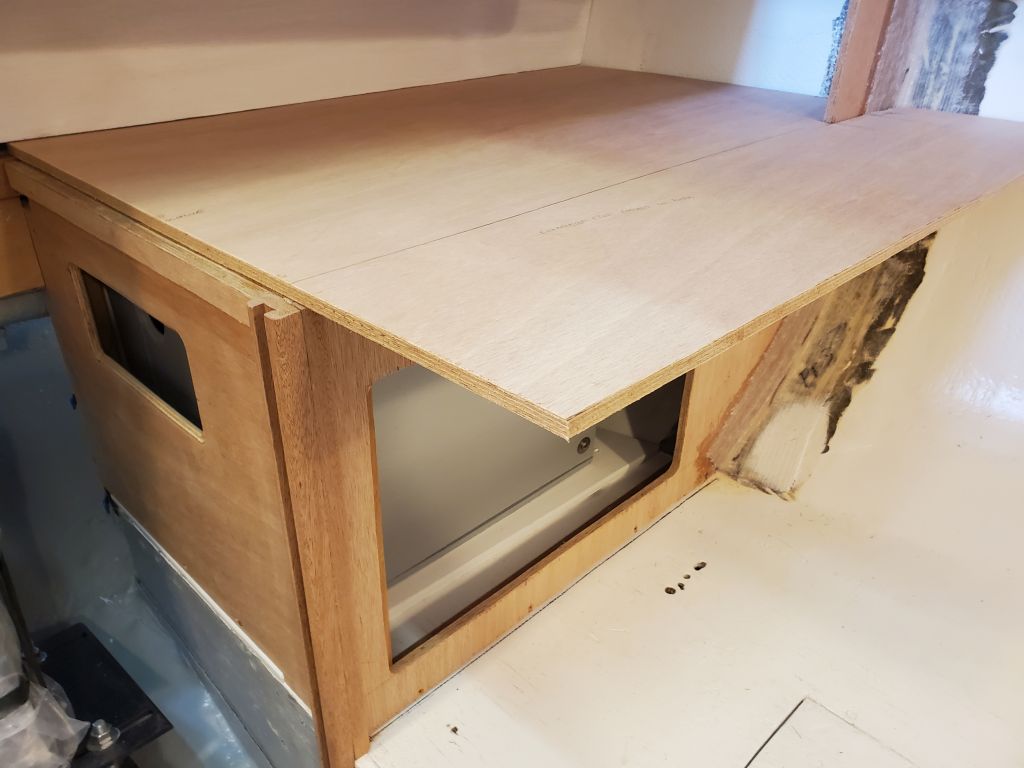
Now, starting with the starboard side, I used my cardboard patterns to cut a piece of 12mm plywood to fit for the countertop. I left the two outer edges overlong to start so I could mark and cut them accurately according to the cabinets themselves. The first piece fit well from the start, with one extra scribe and cut to improve the fit where the countertop met the hull.
Once I had the fit where it needed to be, I traced the overhang on the two sides of the cabinet and cut the plywood to its final size.

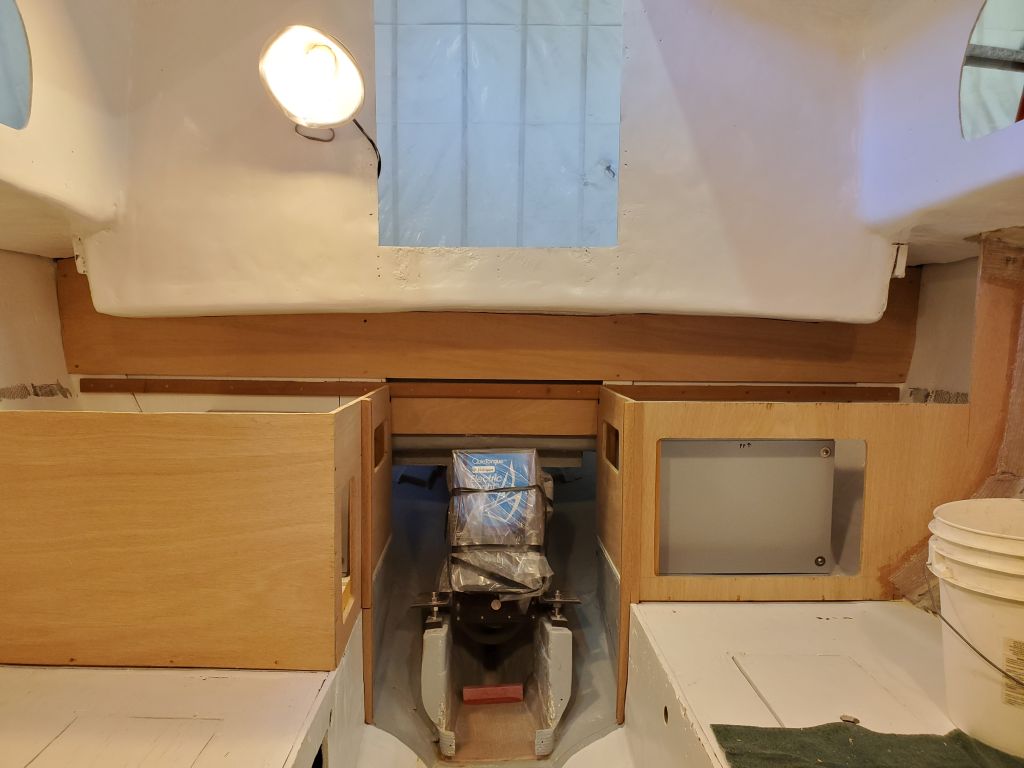
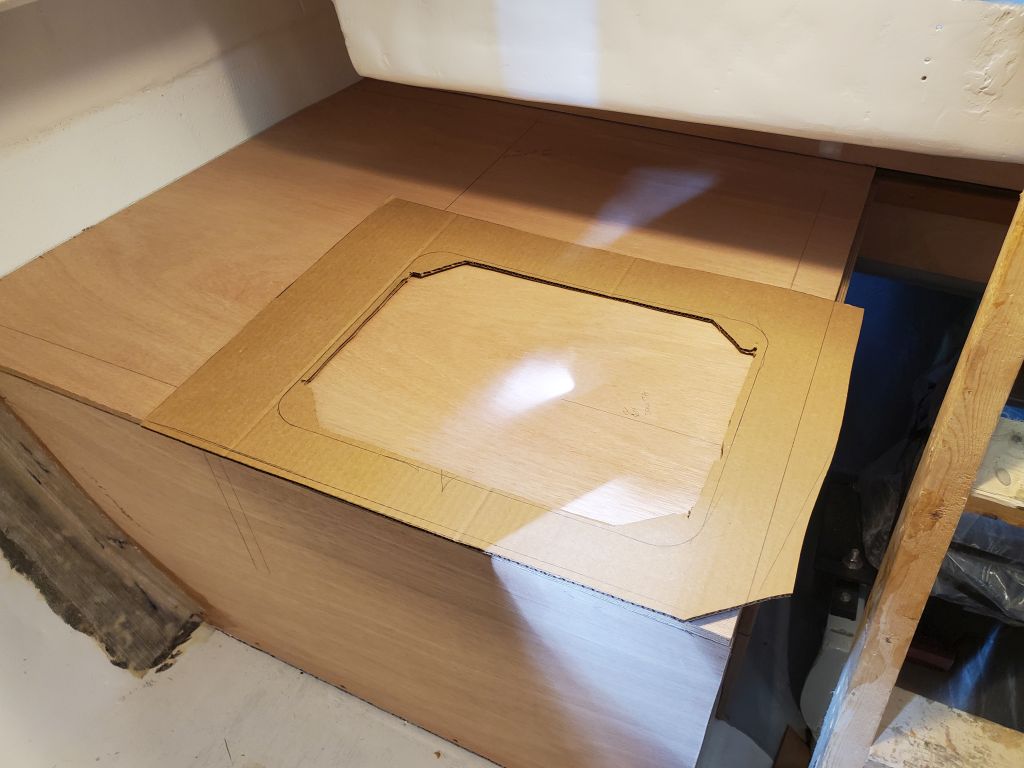
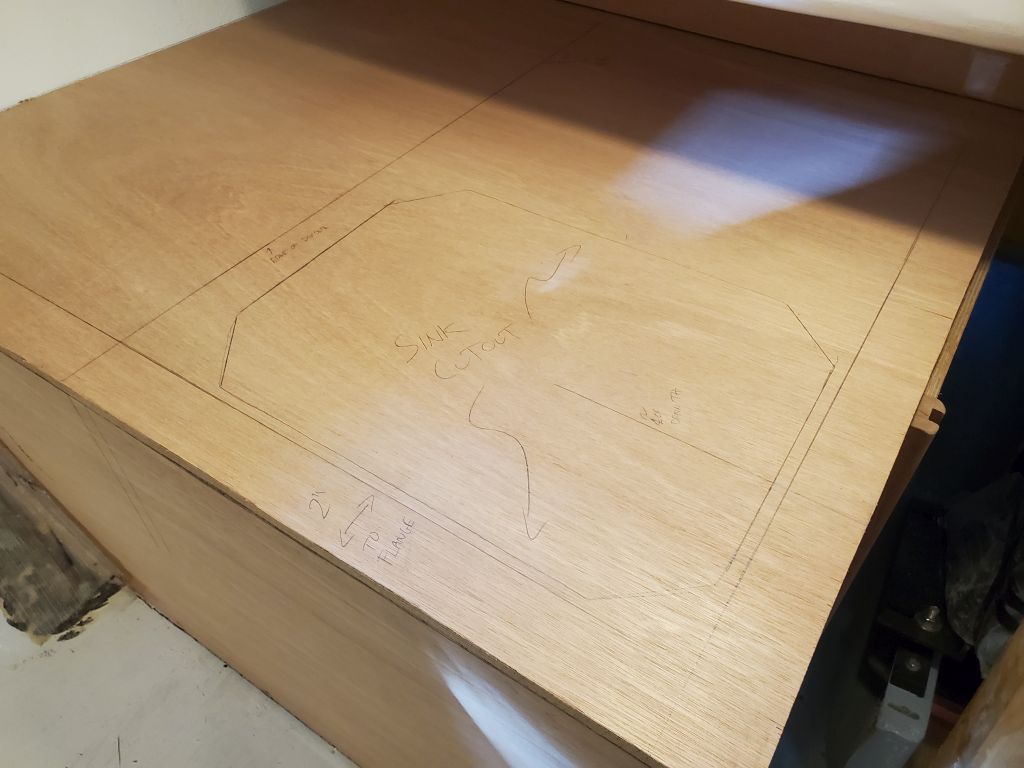
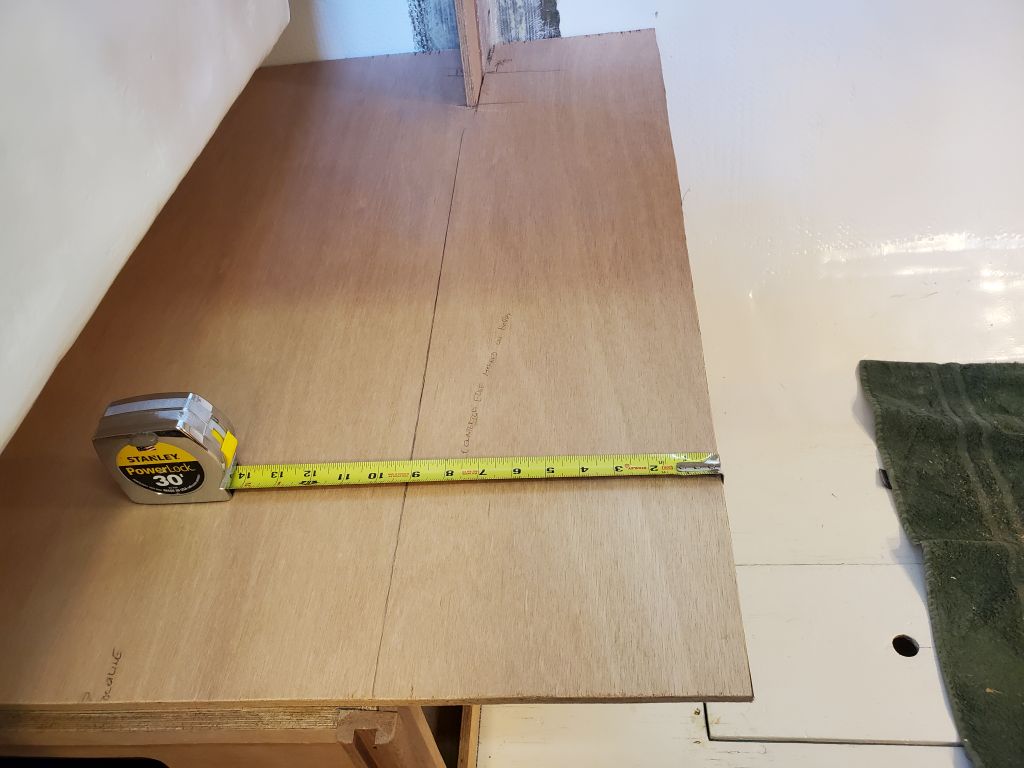
Next, I laid out some reference marks that would come in handy later, including the position of the longitudinal divider, the top of the battery box (marked from inside), and the sink drain. From cardboard, I made a pattern for the sink cutout and laid out a proposed position for the sink, with the sink flange 2″ in from the countertop edge on both sides.
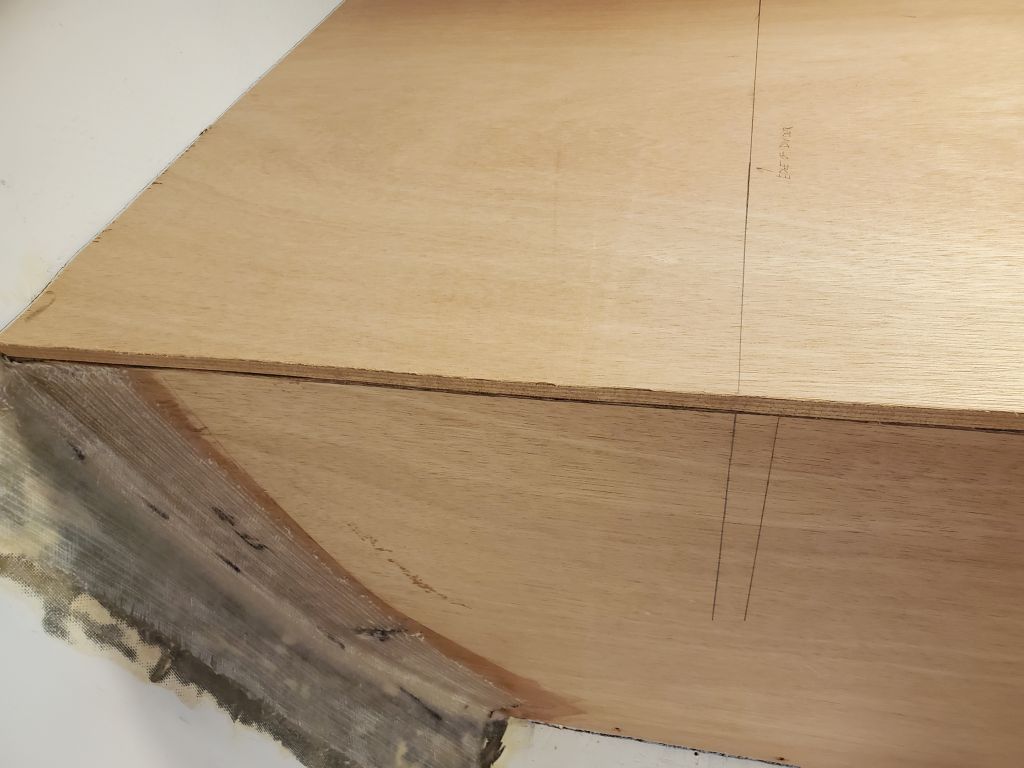
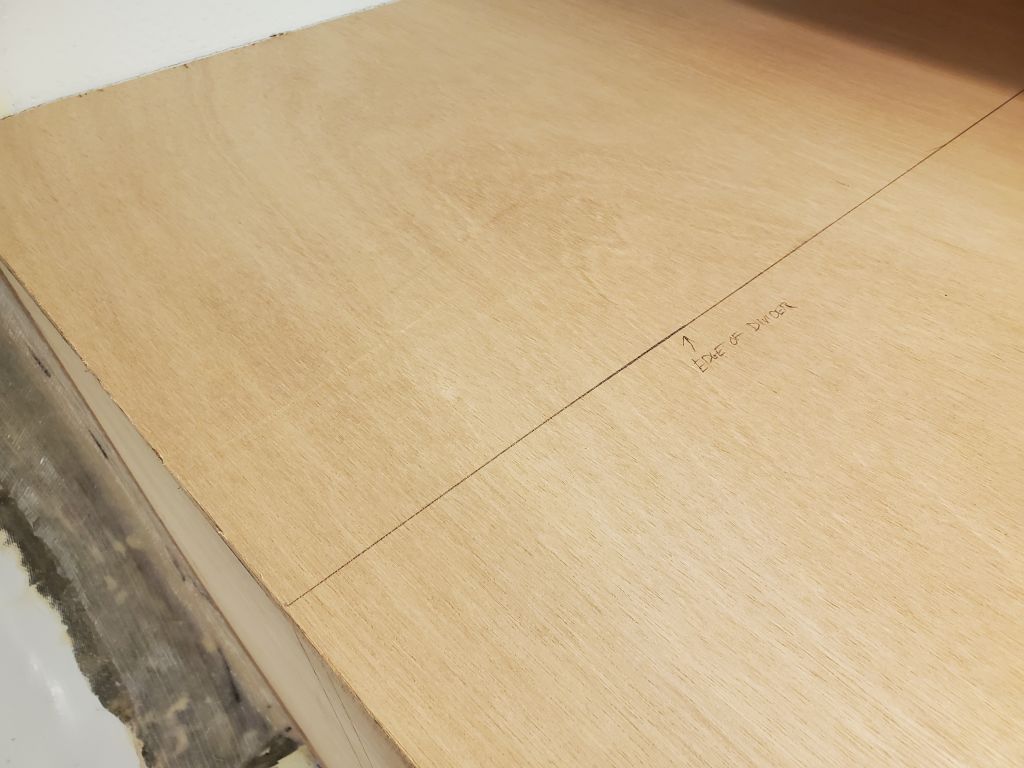

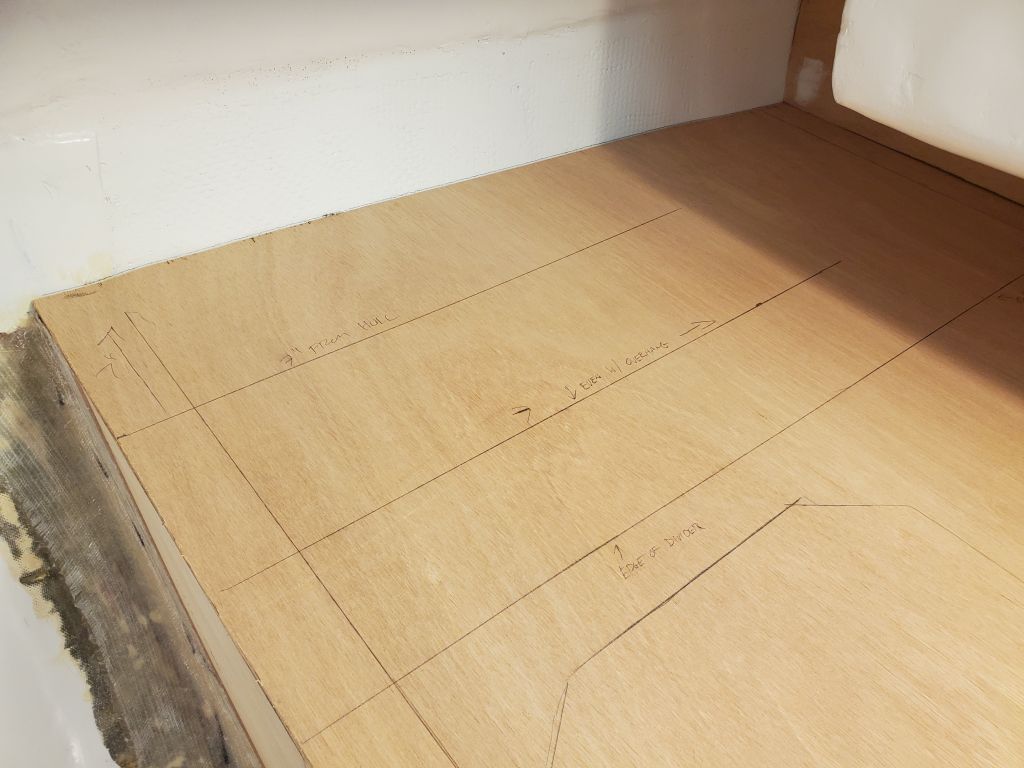
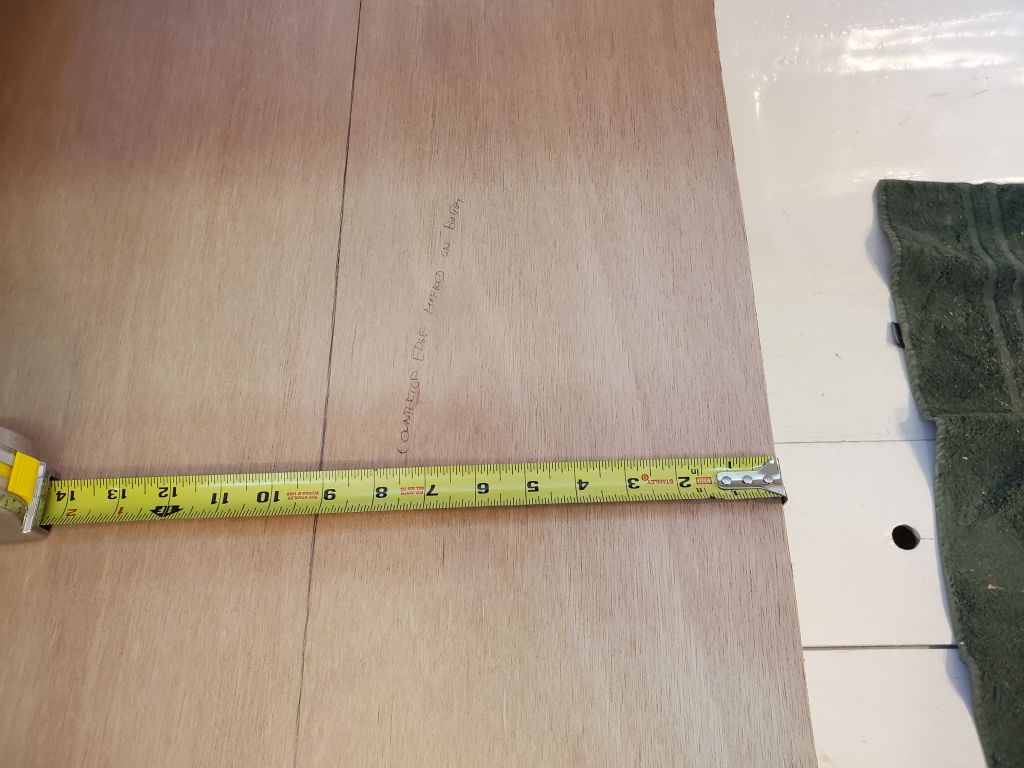
Not yet sure what the owner eventually planned for any upper cabinets at the outboard edge of the galley, I laid out a couple different marks that might affect the top access to the locker beneath: one 7″ in from the hull, which would match the vertical extension on the port side; and a second line in line with the bump in the bridgedeck at the after end. For now, these were for reference and consultation.

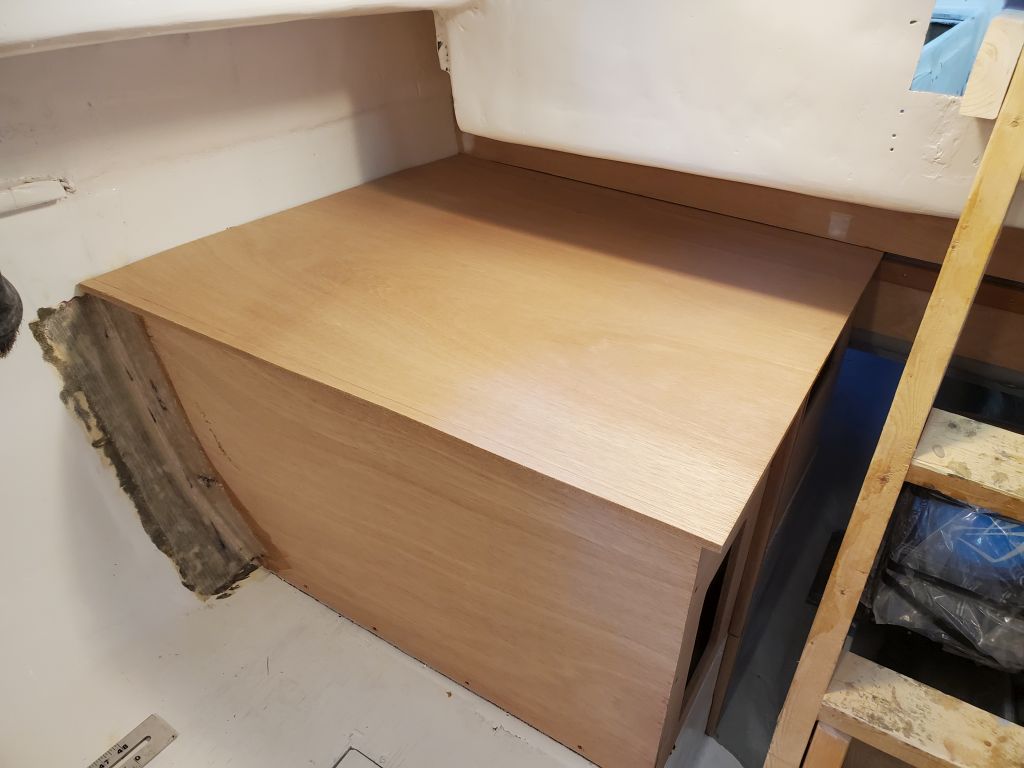
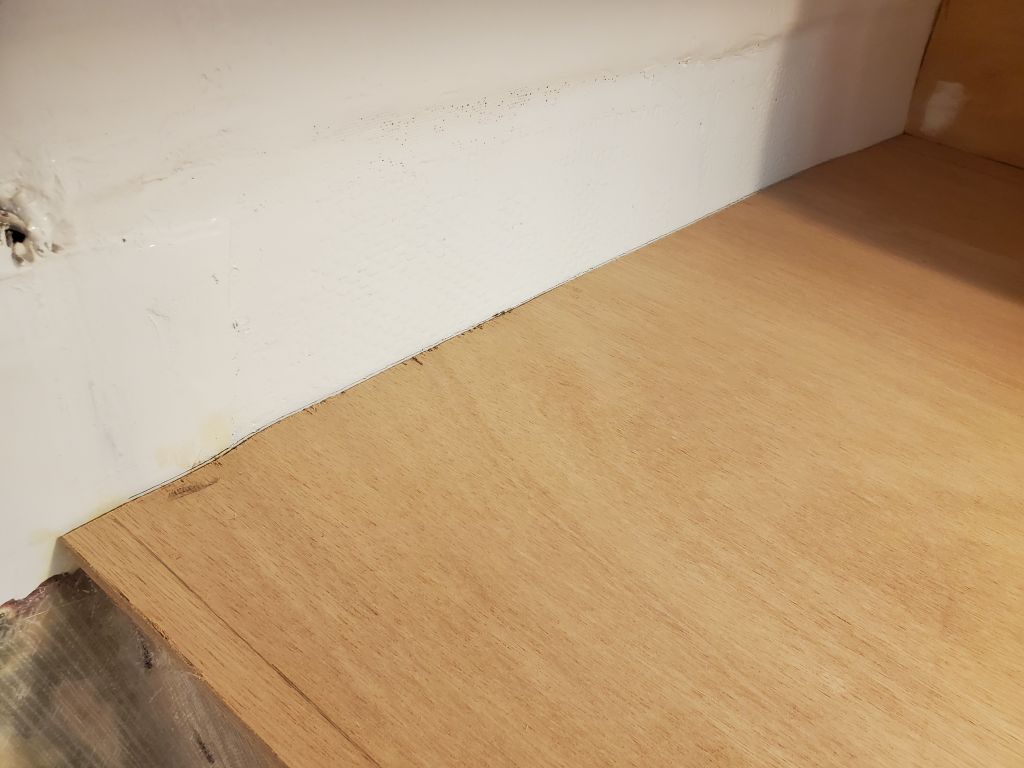
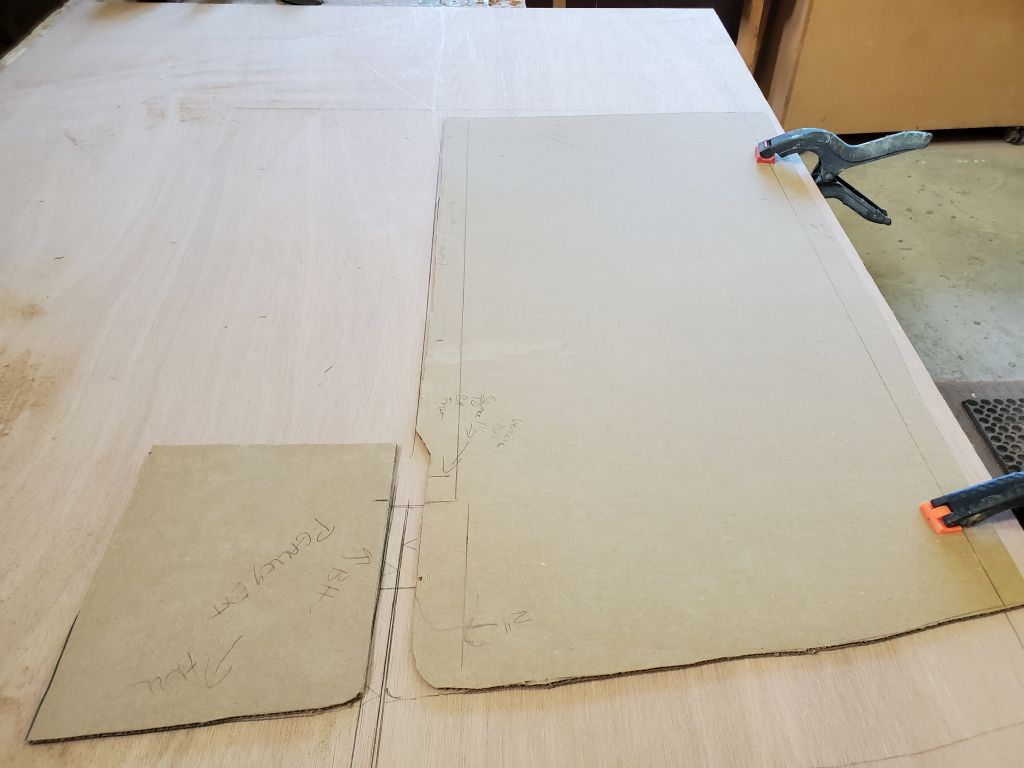
For the port side, the owner requested a countertop overhang forward of the cabinets, up to 9″ wide, so to start, after setting up my cardboard patterns appropriately, I added 10″ to the outer reaches to allow room for trimming to final shape according to the reality of the cabinets. The first test-fit was pretty good, but the shape of the fillets and tabbing around the top part of the bulkhead stopped the plywood from getting all the way to the hull, leaving a small gap.

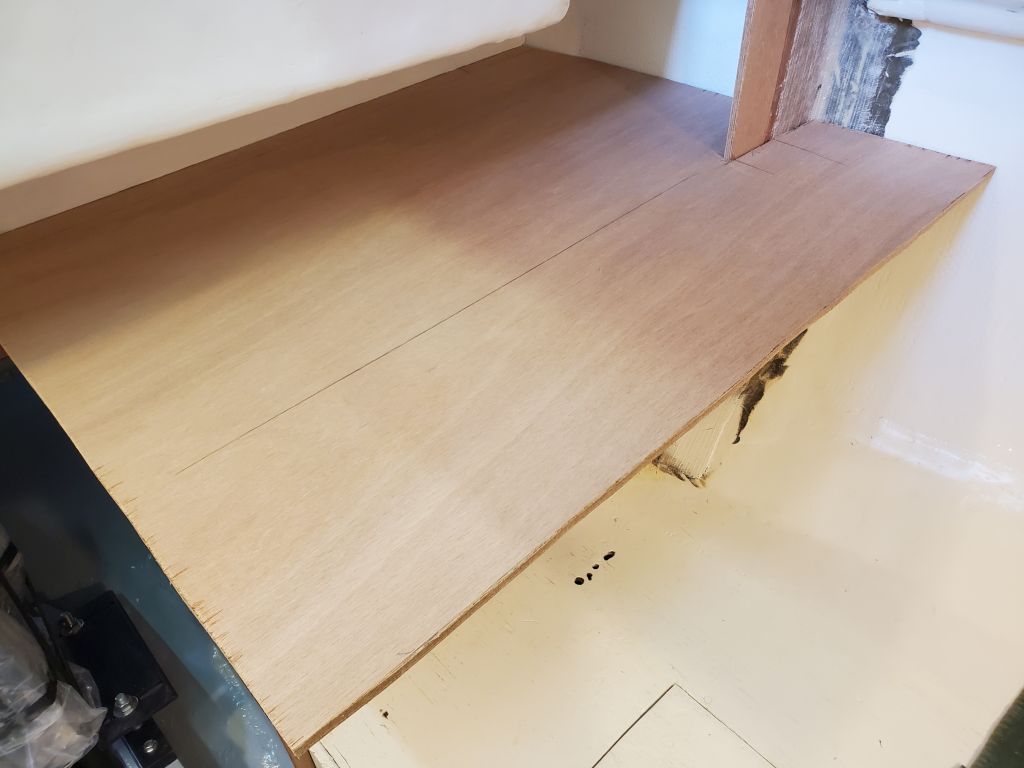
I scribed the plywood and, after cutting to the new marks, the countertop fit well against the hull and bulkhead.
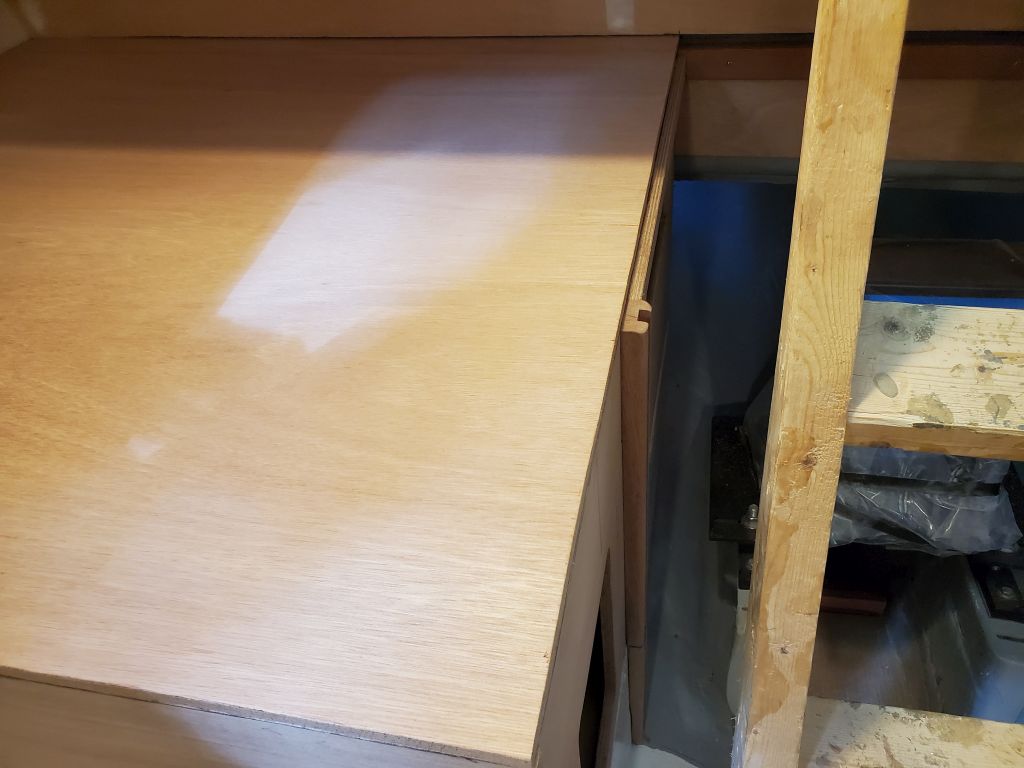
From beneath, I marked the engine room and forward edges of the galley cabinet on the plywood, then, back down on the bench, added 9″ to the forward mark and one thickness of plywood away from the engine room mark (to allow for the width of the inner support cleat) and cut the top to its final (for now) size, which would give the owner a chance to see the 9″ extension in the raw and help determine the final shape.


During the morning and afternoon I’d applied, sanded, and applied again some filler to the screw holes in the after bulkhead. Now, by the end of the day, this was ready for a coat of primer.
Total time billed on this job today: 7.25 hours
0600 Weather Observation: 6°, clear. Forecast for the day: Sunny, 34°