


April 21, 2021
Lyra 63
Wednesday
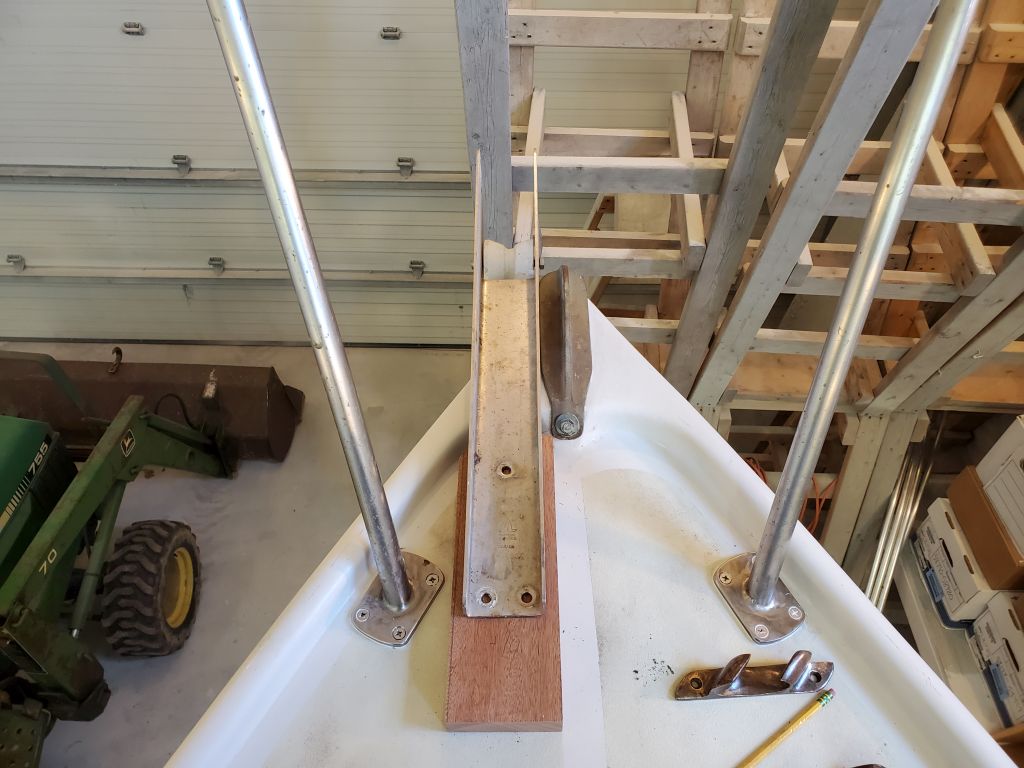
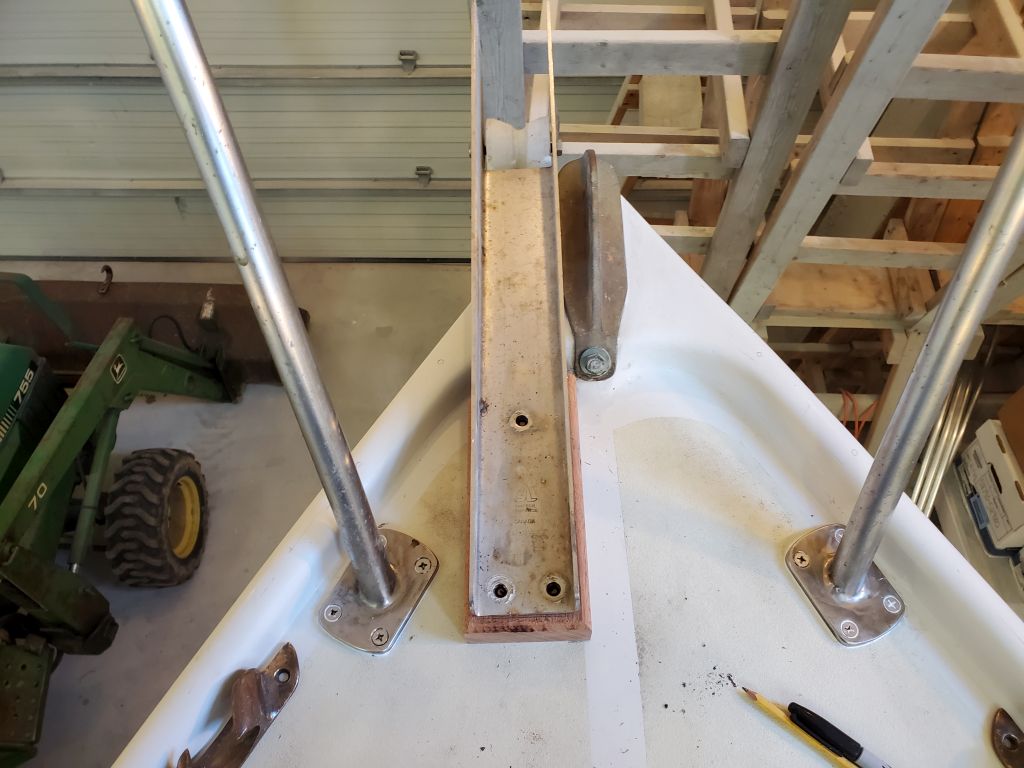
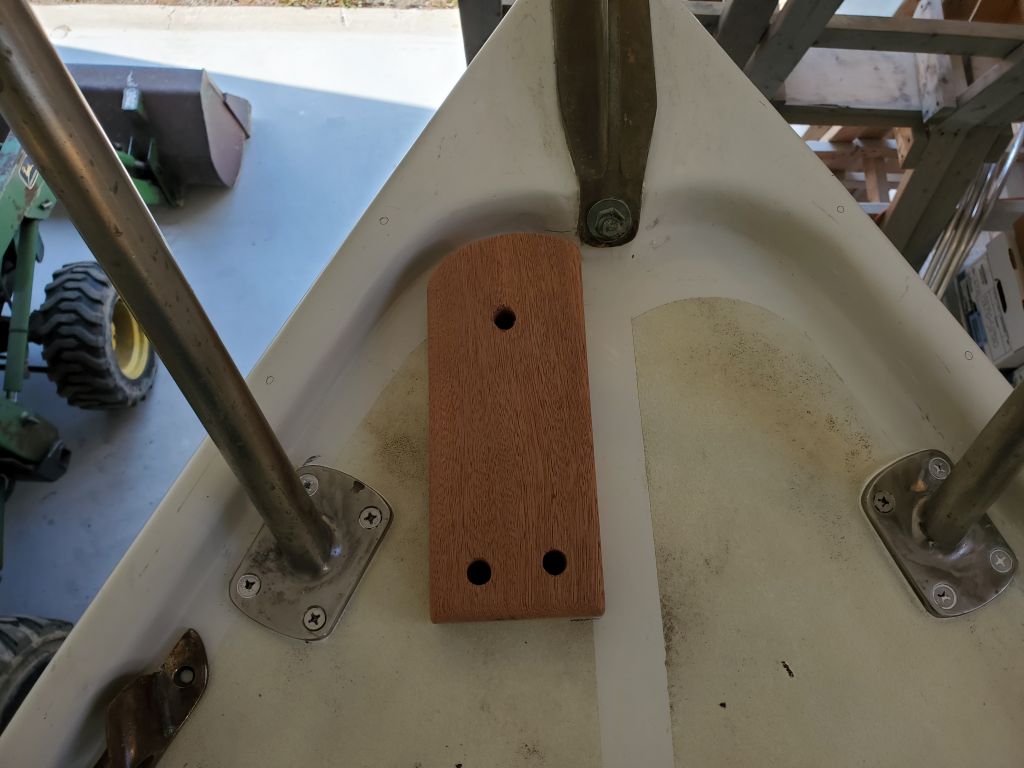
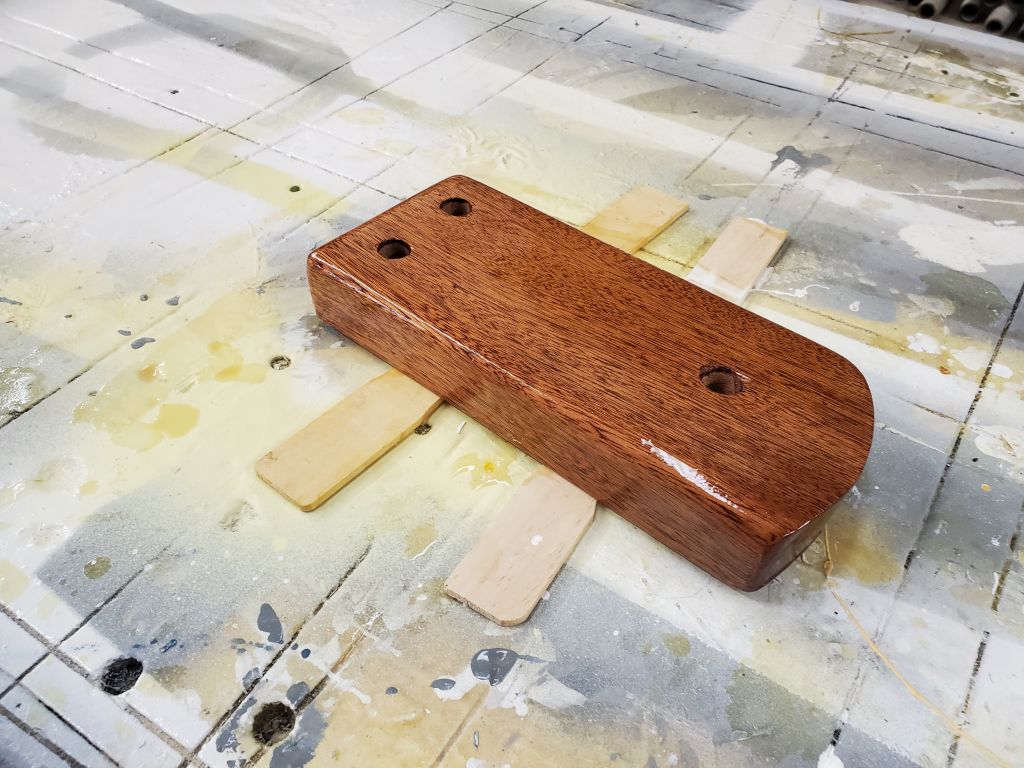
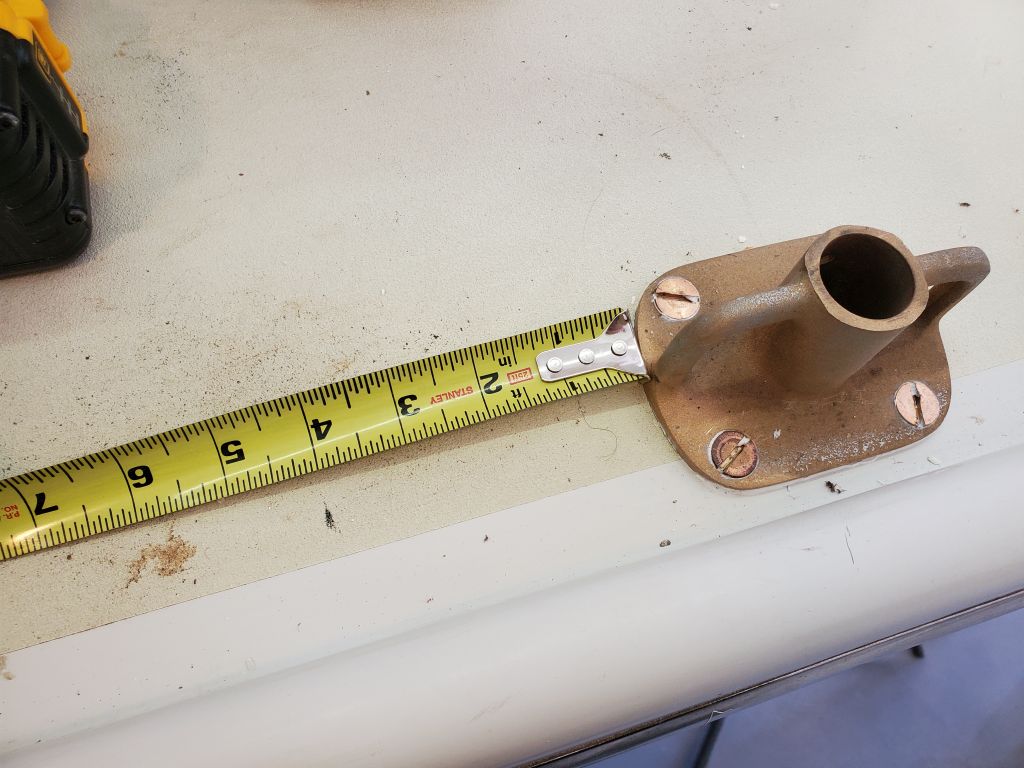
To install the anchor roller, I needed a spacer block to equal the height of the molded gunwale and small stem platform, on which block the end of the anchor roller would be supported and through which it would be bolted to the deck. With a piece of sipo cut slightly larger than I needed, I marked the rubrail height and trimmed the thickness down accordingly. Then, I scribed the curved shape at the end of the stem and cut this out so the block would follow the contours. After some additional test-fits and adjustments, trimming to final size, and rounding over the exposed corners, I ended up with the block I needed.
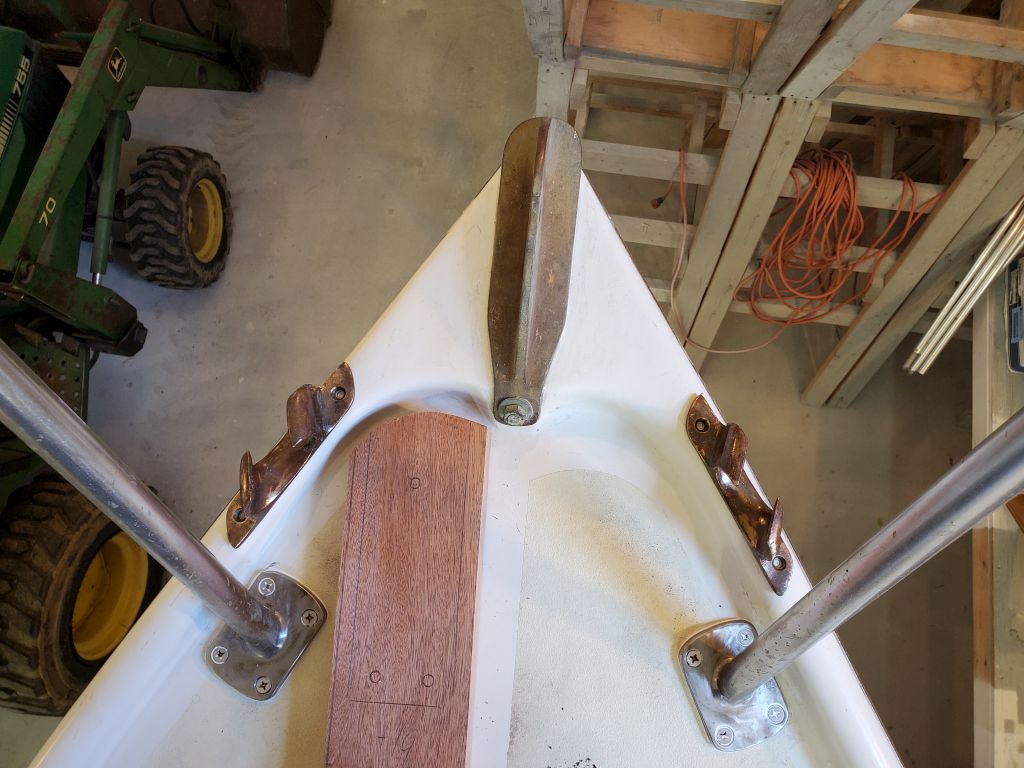
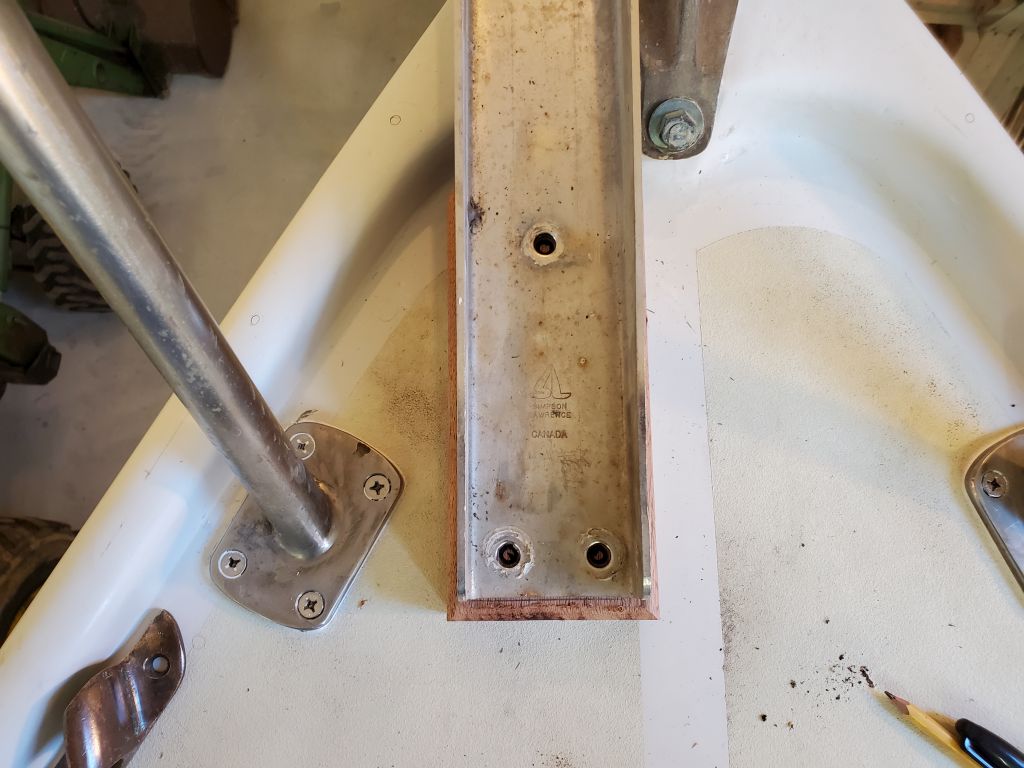
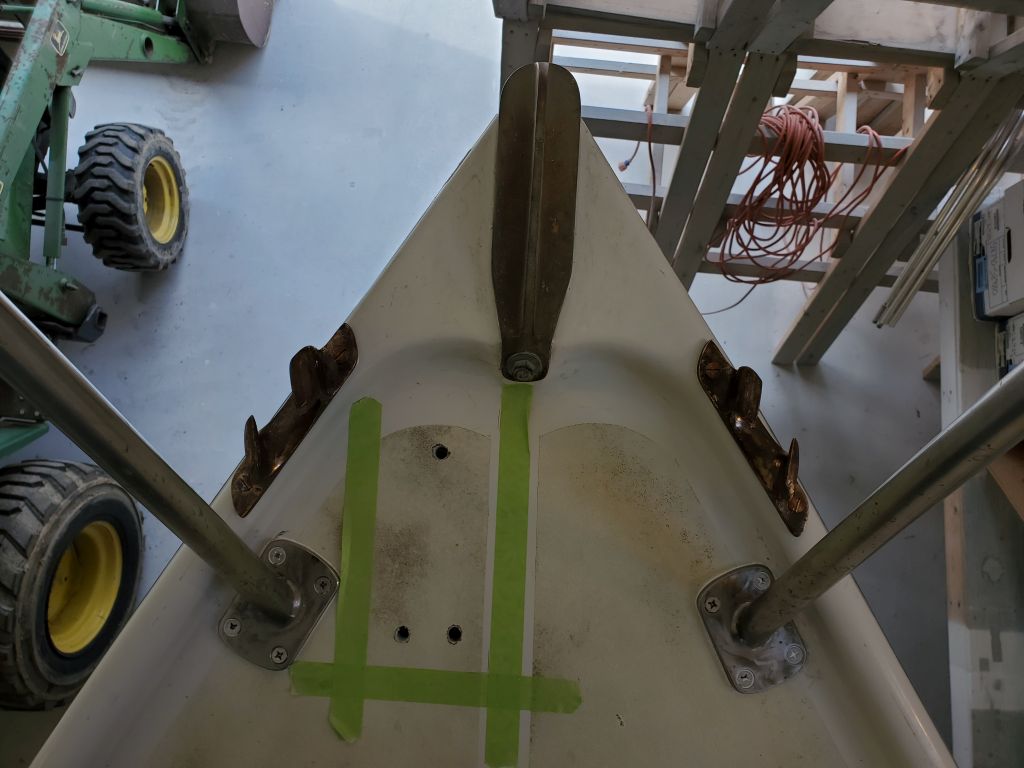
I held the block back enough from the stem that there’d be room for air and water to pass in front of it, then marked and drilled the three holes required for the anchor roller. Afterwards, I marked the deck with tape for future positioning and for eventual installation.

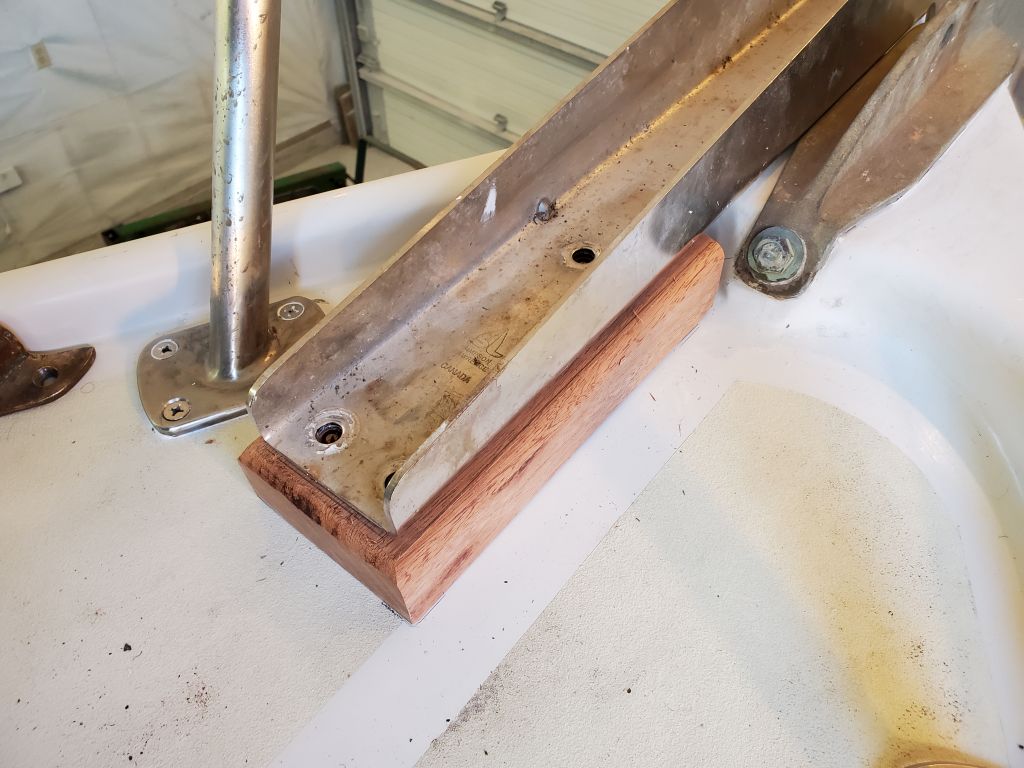
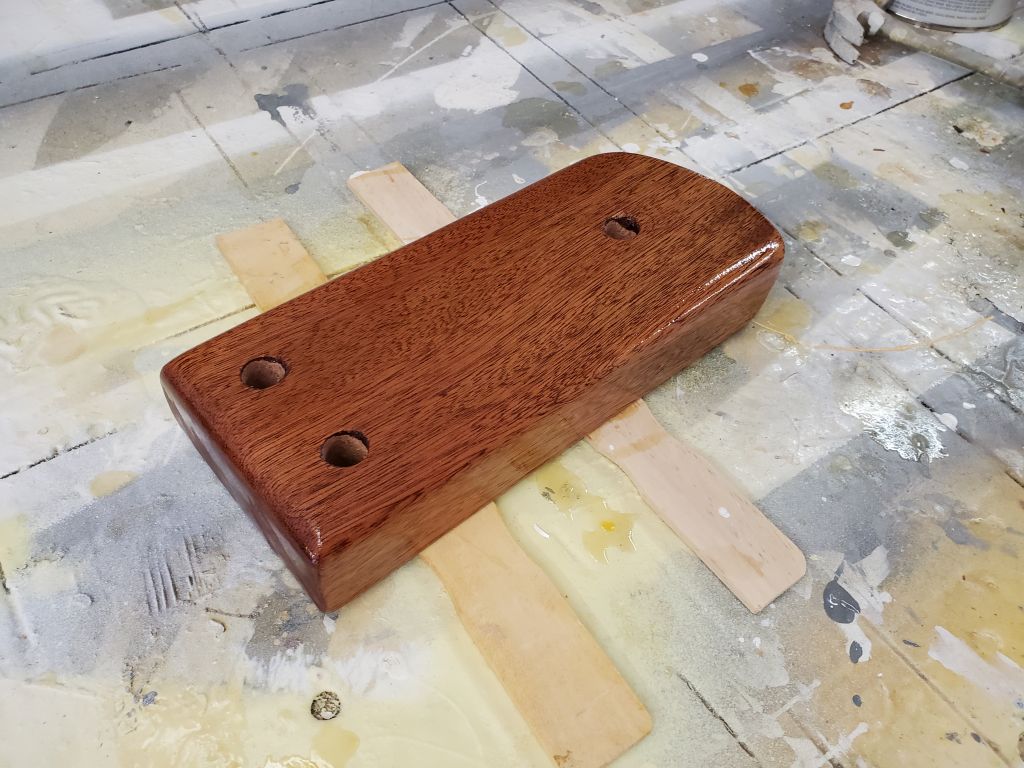
After final preparations, I applied a sealer coat of varnish to all sides of the block. By late in the day, the thinned coat had cured sufficiently for me to install a second coat all over as well.
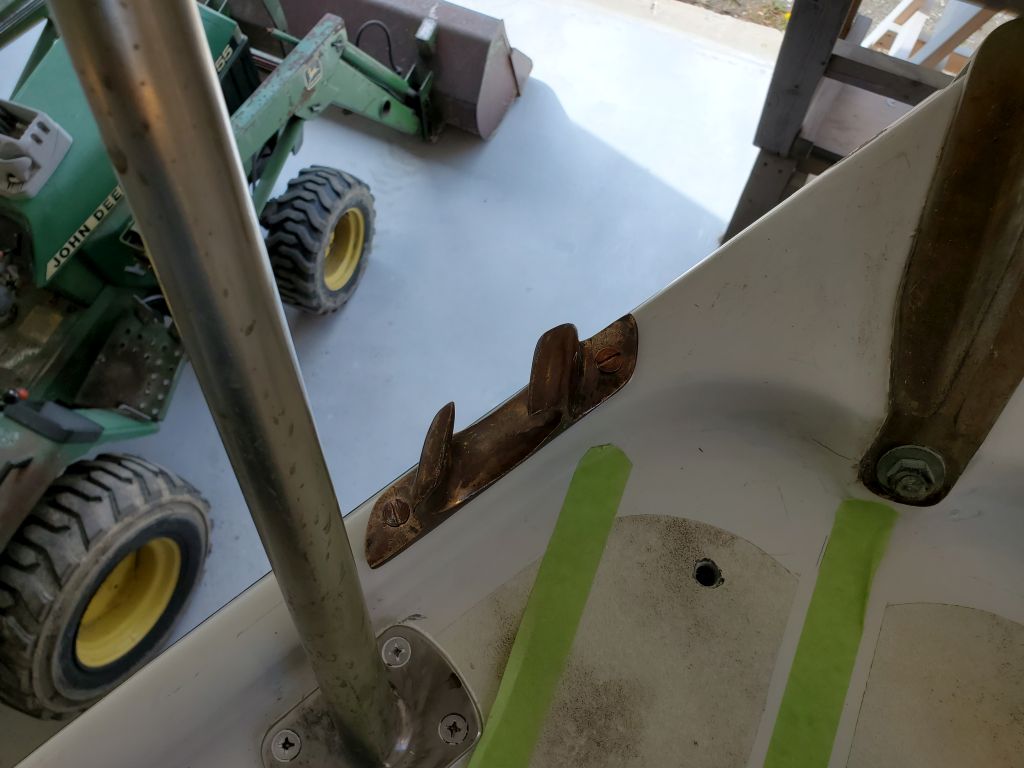
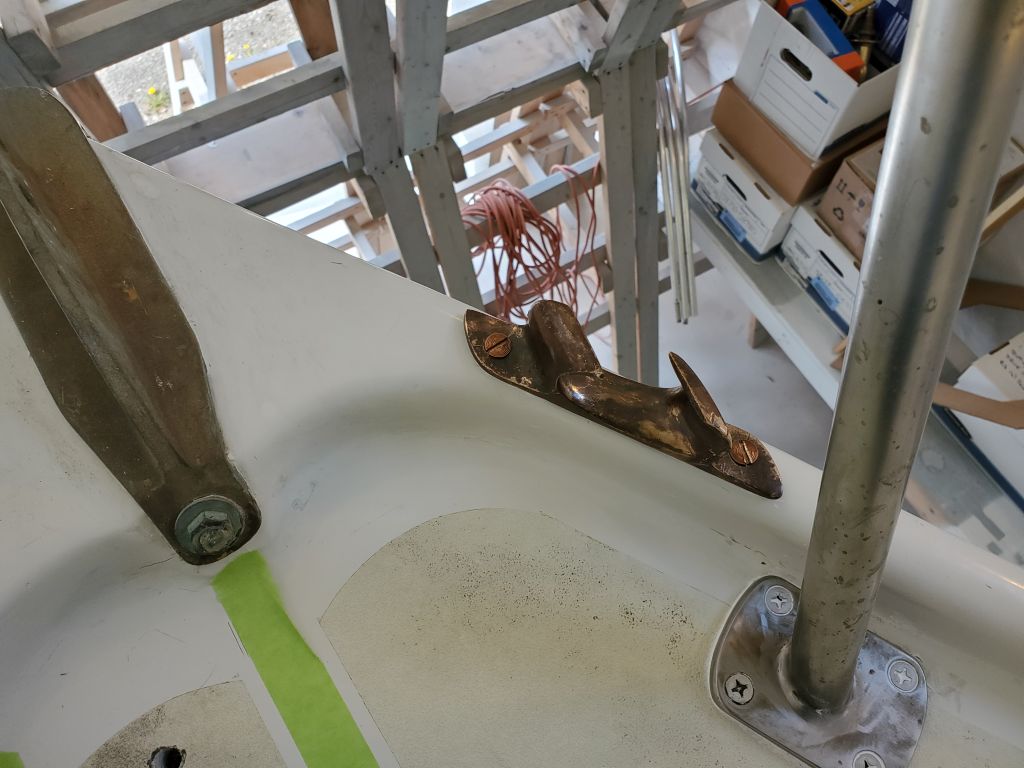
While laying out the anchor roller, I also determined the locations for the bow chocks, and afterwards I installed these with new bronze fasteners.
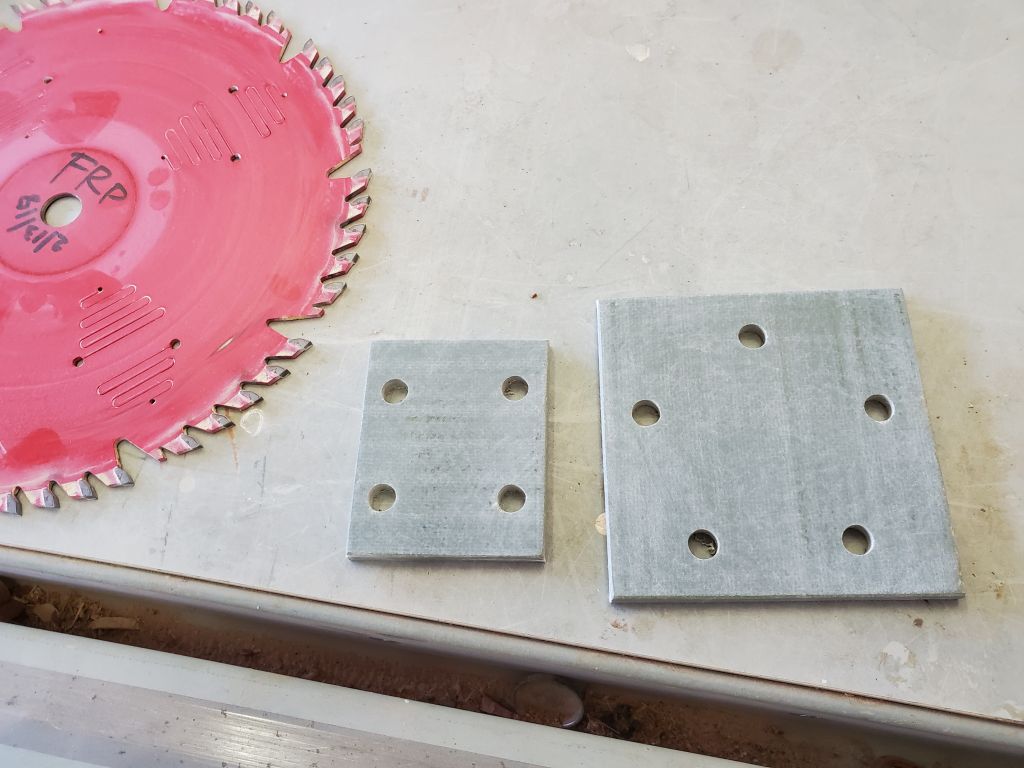
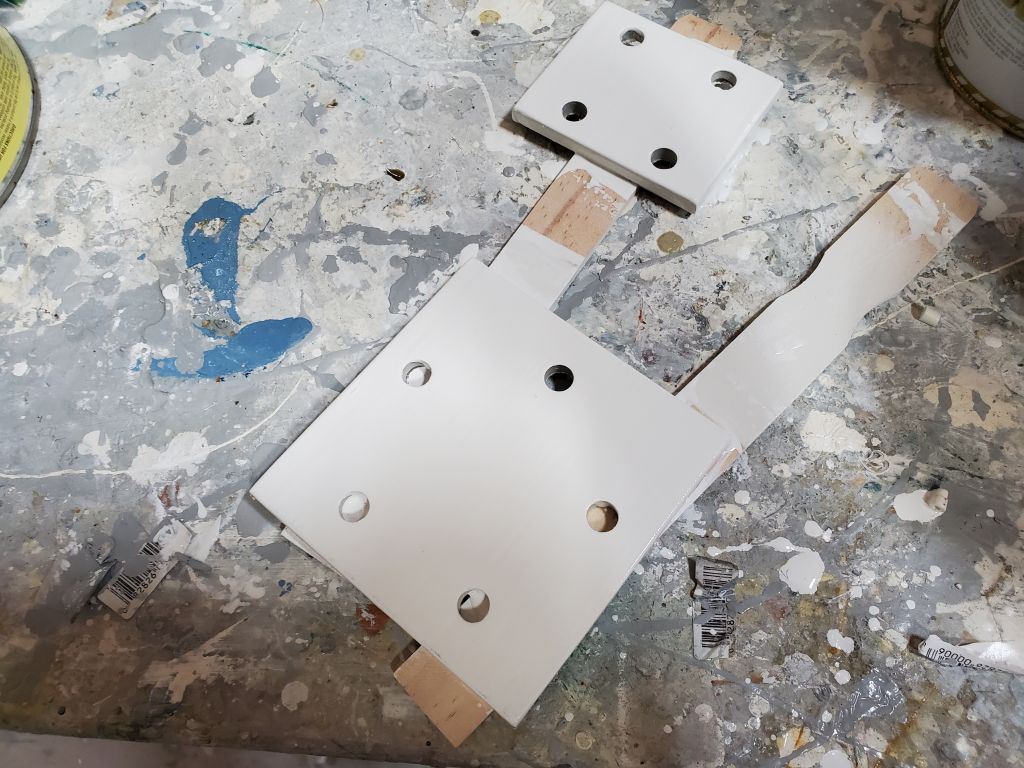
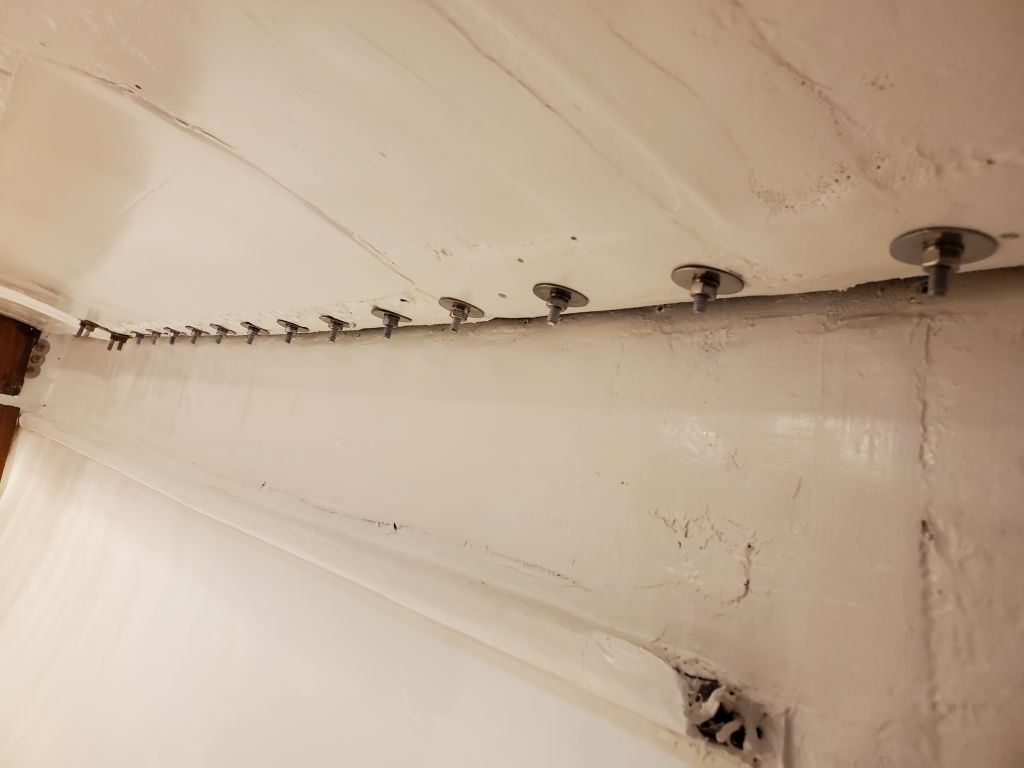
The main halyard winch and its cleat required backing plates, which I made up from some 1/4″ fiberglass. Since these would be highly exposed in the main cabin, I painted them to match, applying two coats over the course of the day. Final installation of the hardware would come later, once the backing plates were ready.
For now, though, I could install the turning block at the forward end of the coachroof, using three #10 machine screws. The two holes at the center of the sheave were too close for anything but the silly little standard #10 washers, which are barely larger than the nut, if at all.


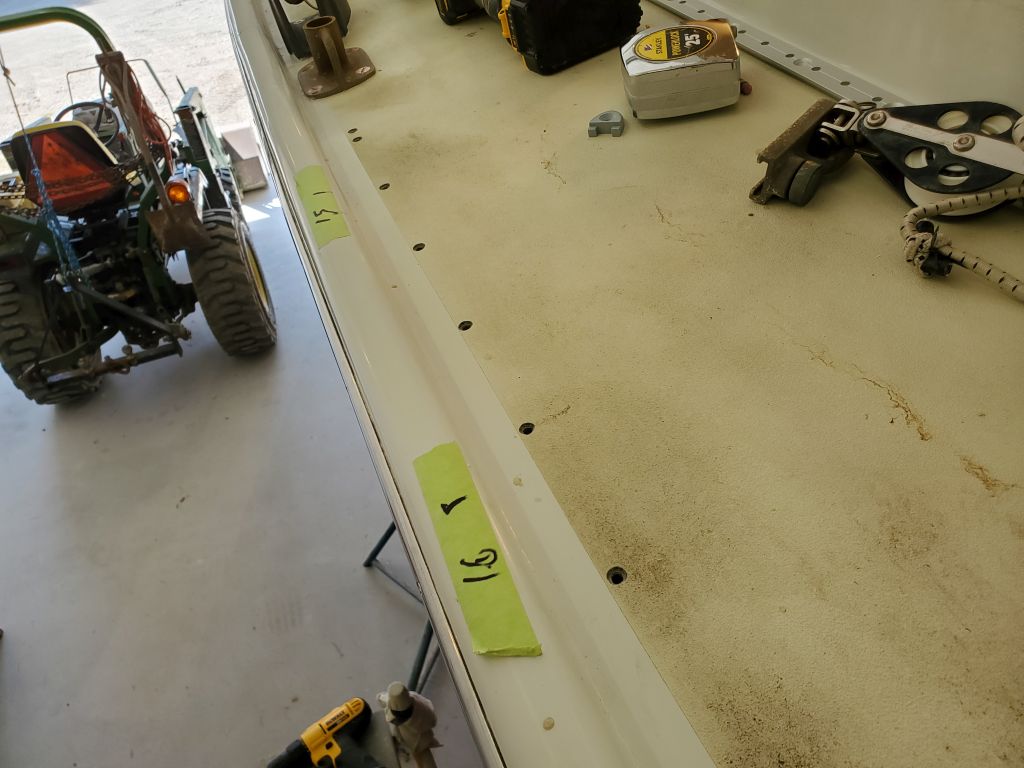
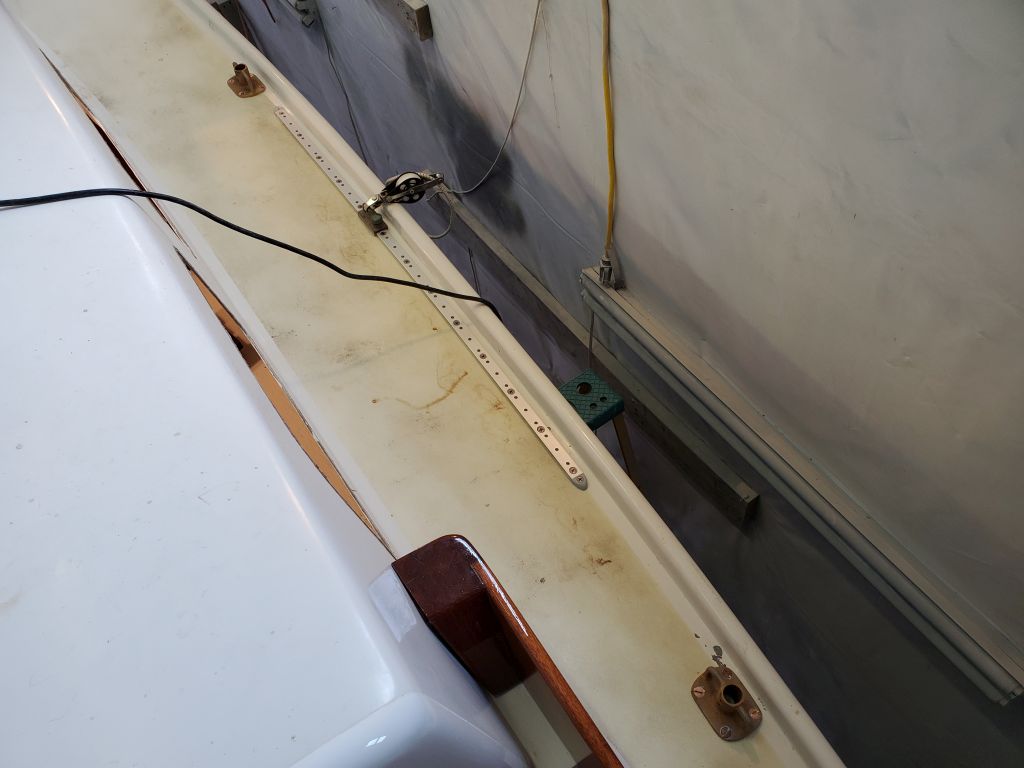
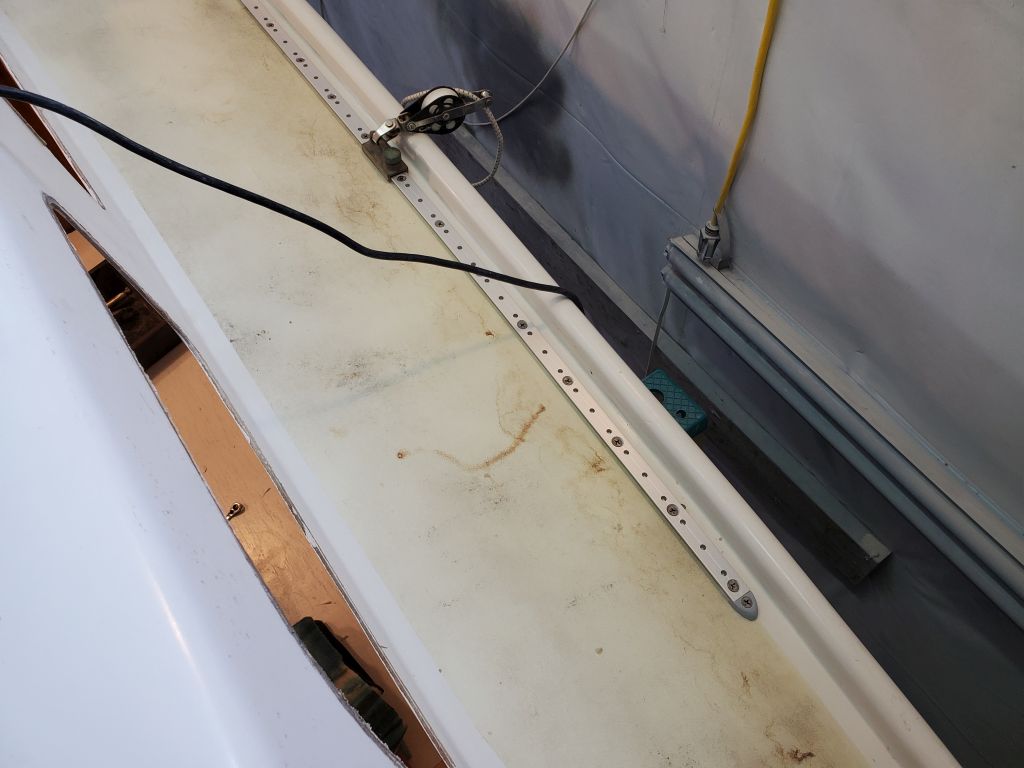
Armed with some genoa foot-length measurements from the owner, I confirmed the position of the genoa tracks, more or less as I’d laid out; the sheet leads would be somewhat aft of the lengths, so I left plenty of track for that while allowing room forward as well, for reefed or smaller sails.

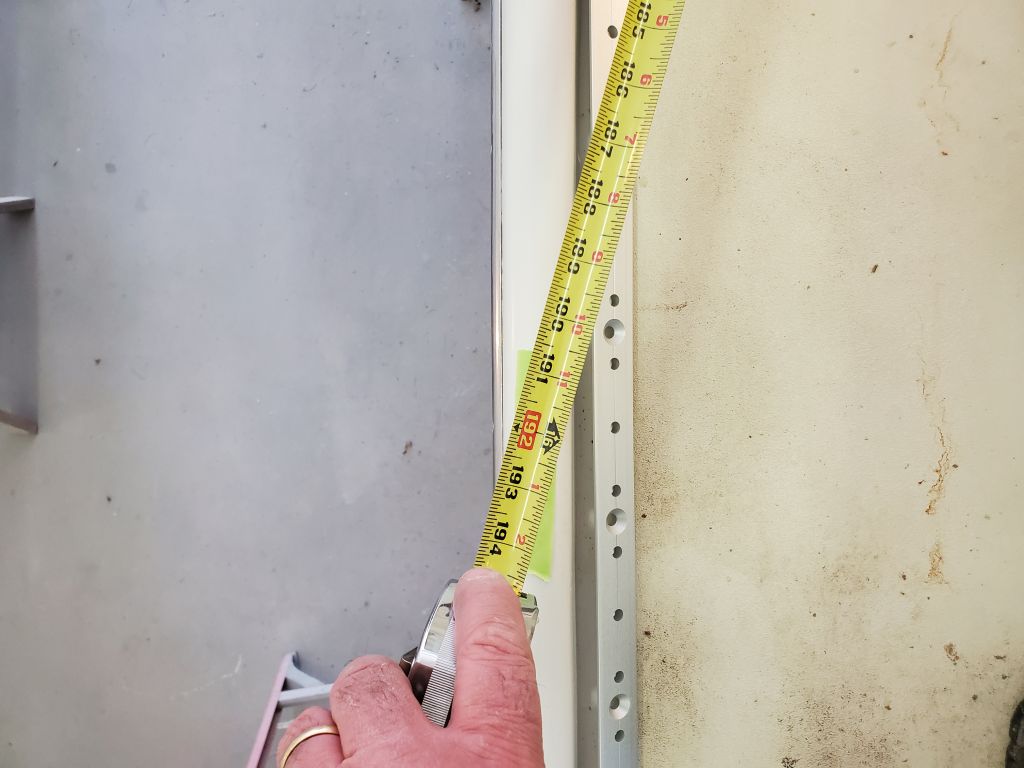
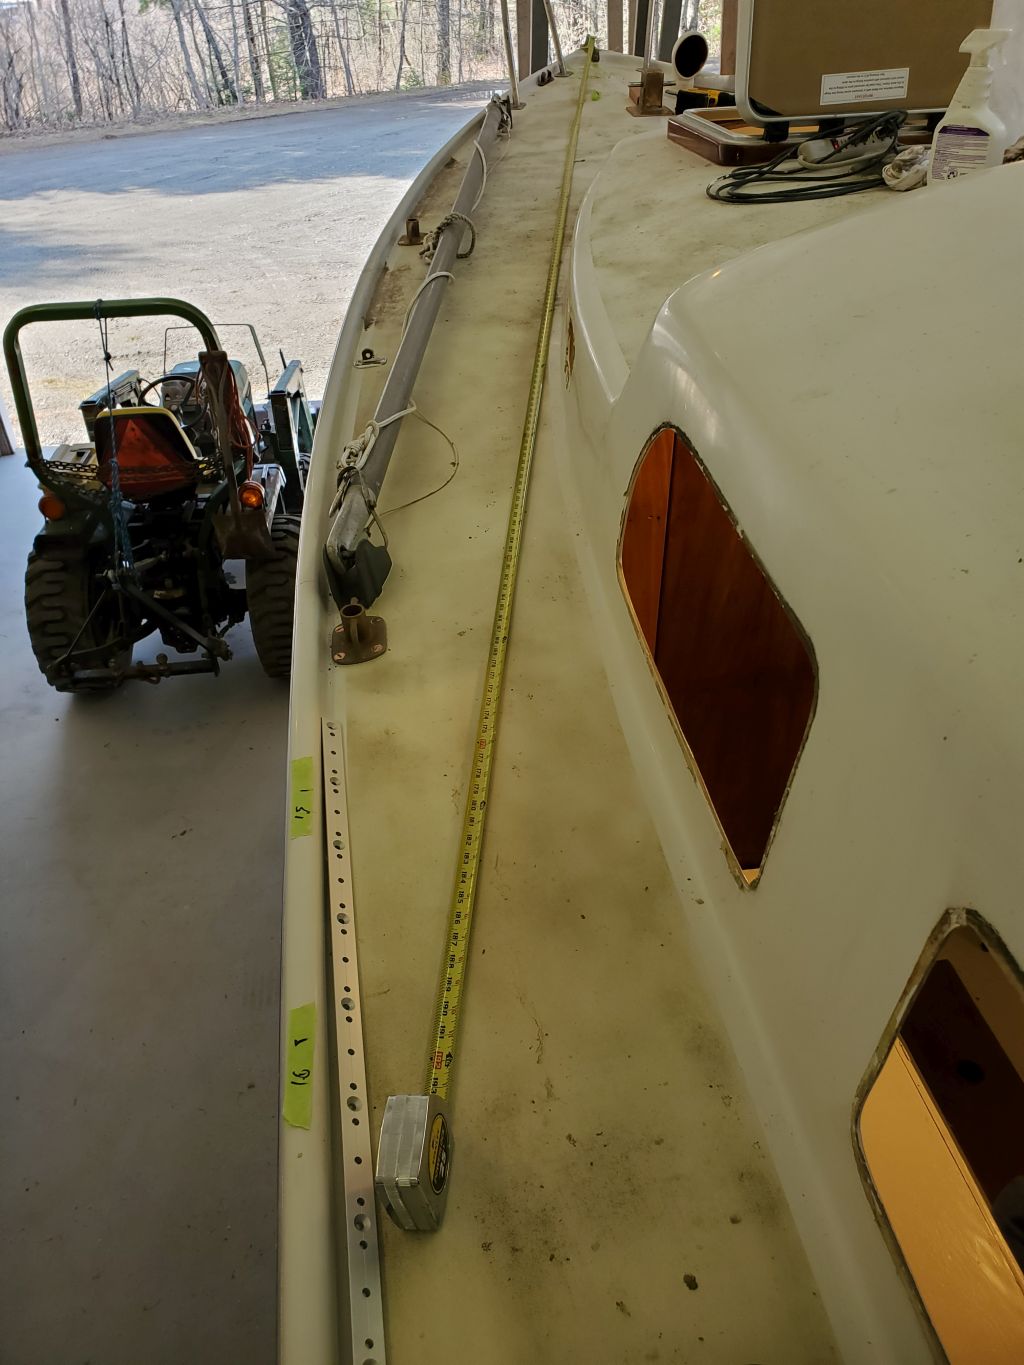
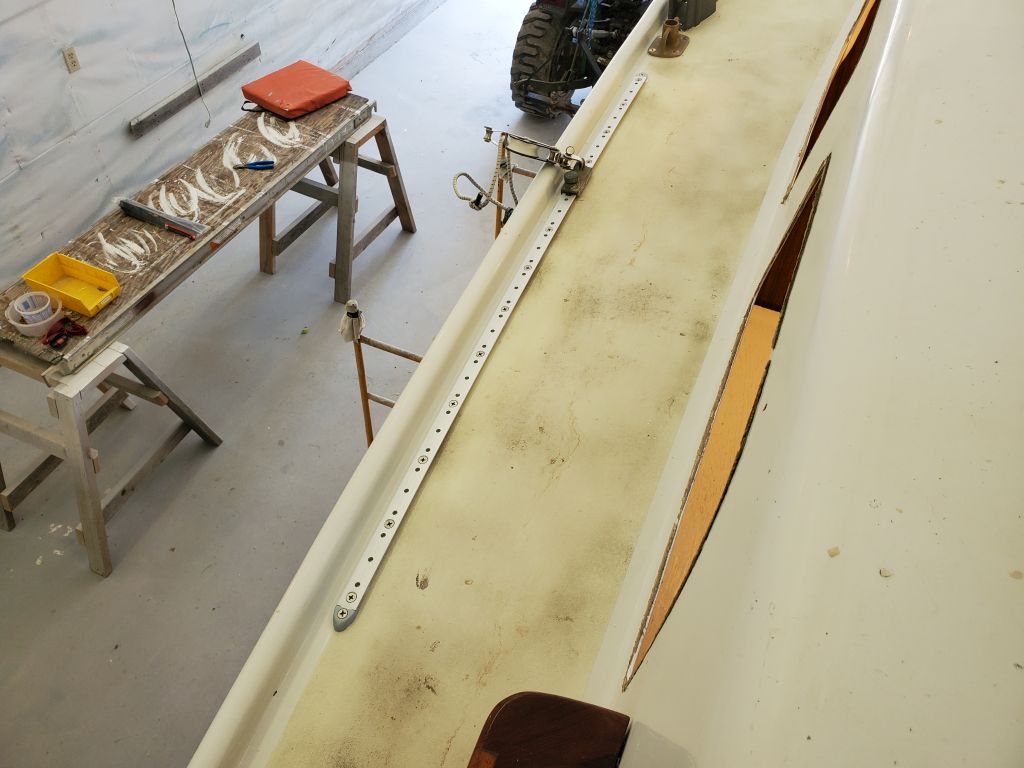
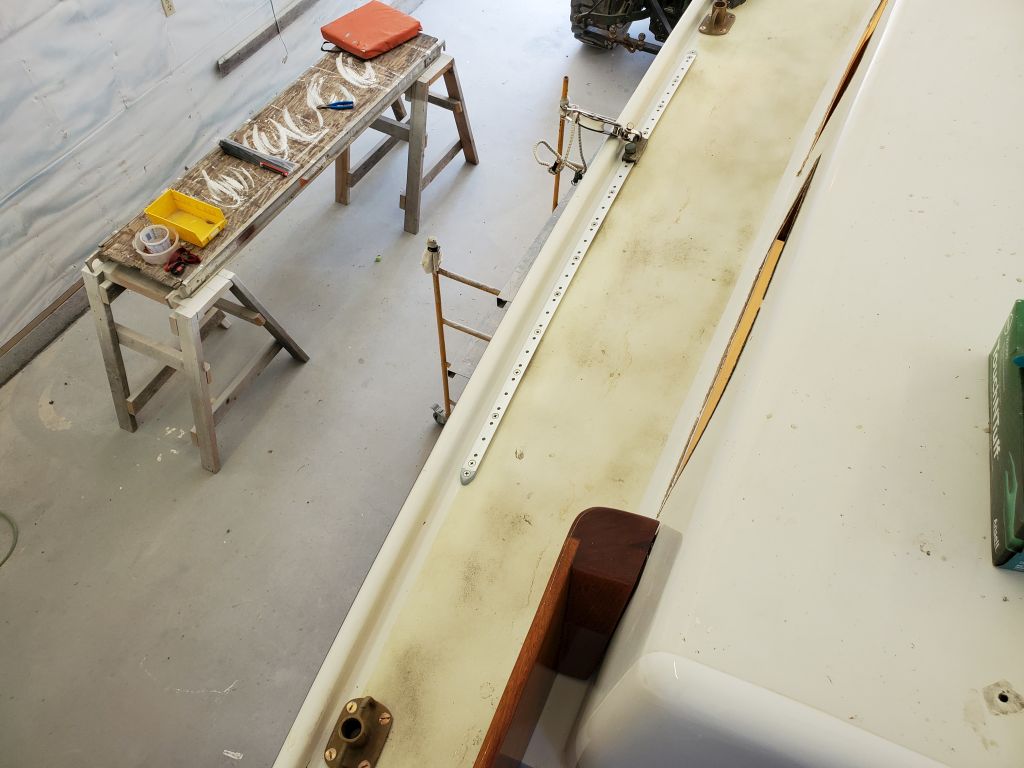
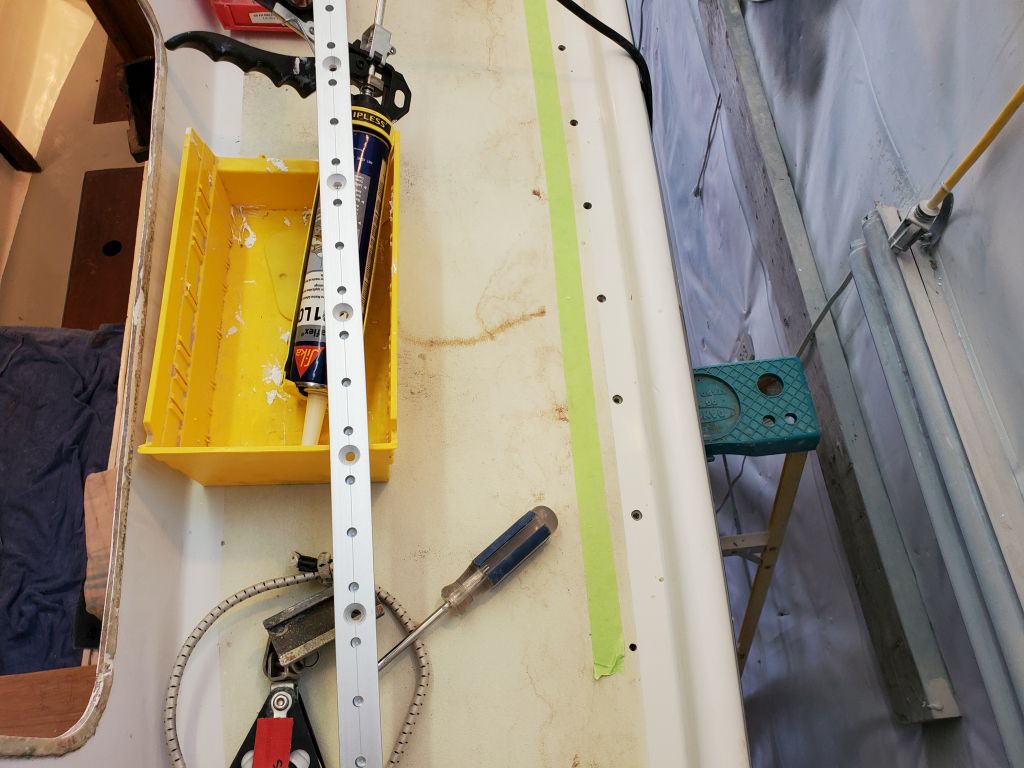
I held the forward end of the track far enough aft of the stanchion base to allow cars to be installed or removed from that end (there was plenty of room at the aft end), then dry-installed the track along the gunwale, curving it in place to follow the shape of the deck. With three drilled-and-tapped fasteners holding the shape, I drilled out the remaining holes, then, with the track removed, finished the tapping and other preparations. Then, I installed the track in a bed of sealant, remembering to slide on the lead car before I installed the removable end stops.
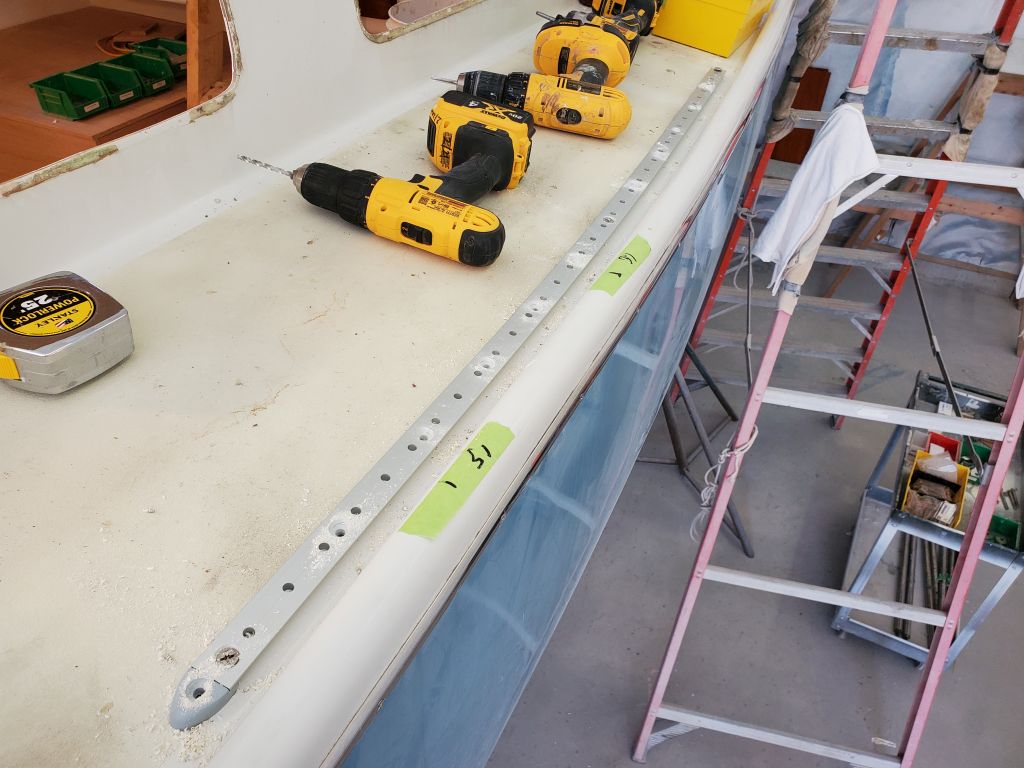

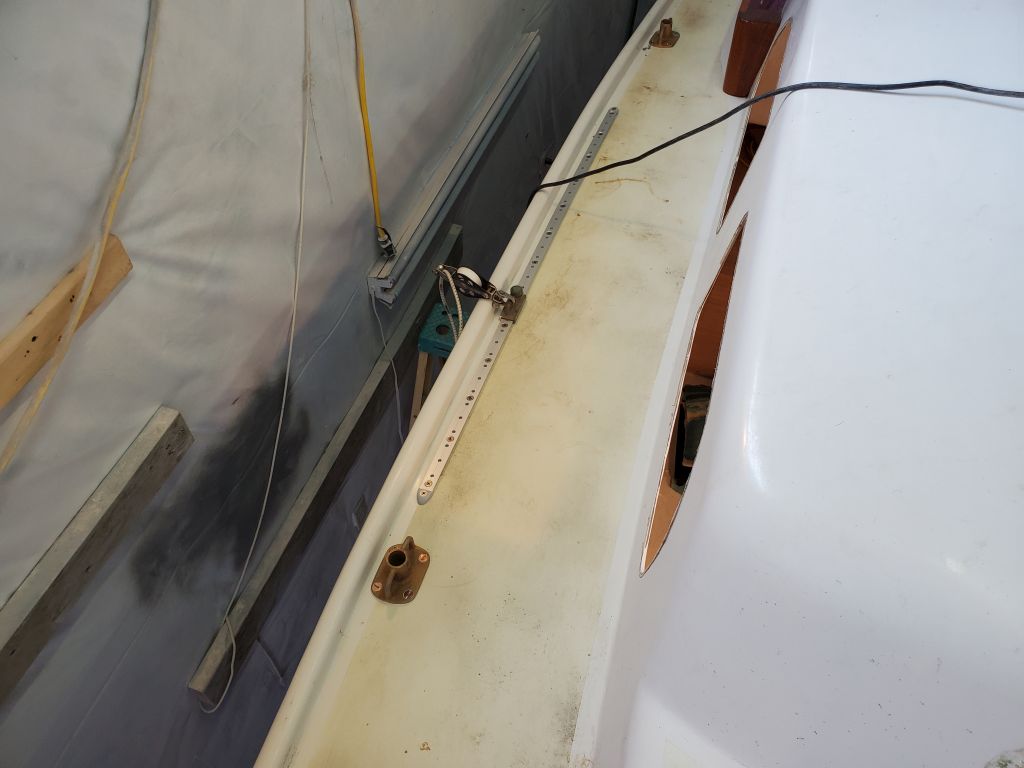
On the starboard side, I positioned the track accordingly, 4″ aft of the stanchion base, and laid out the curve dry in the same way. In marking and drilling the remaining holes, I also had to slide the plastic end caps in place so I could drill their fastener holes. These little caps, which slide around the leg of the T-shaped track, are often tight fits with the track installed, so with some issues getting the cap in place at the aft end I first loosened the temporary screw there, to no avail, then removed it completely so I could fit in the end stop. An apparent molding error in the plastic piece meant that it simply wouldn’t go, so I trimmed it a bit with a knife and finally slipped it over the end of the track.
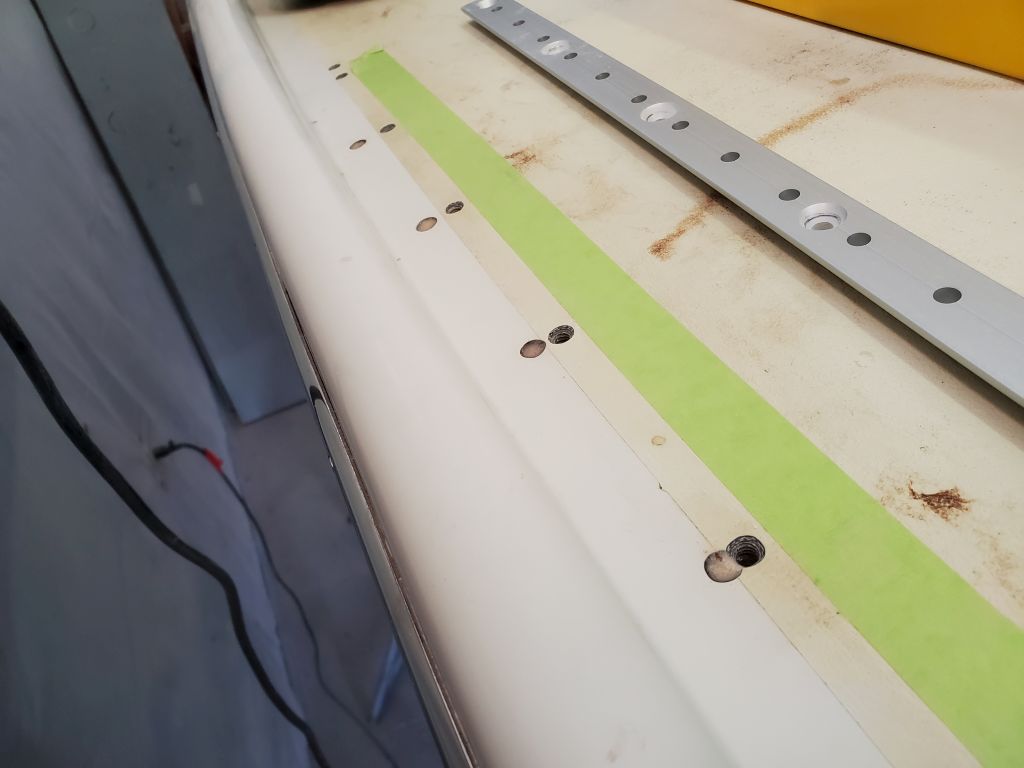
Here I made a stupid mistake. Happy to have the end cap finally in place after cursing its ill-fitting cheapness, I drilled the remaining bolt holes (the ones between the three screws holding the track in place)–except I’d removed the after screw to fit the end cap, and had forgotten to reinstall it, so the track was running straight from the central screw, rather than curved along the rail. This meant that the holes aft of center were in the wrong place, further outboard than they should have been. Since I’d been drilling from bow to stern, I hadn’t noticed the mistake till the last hole. This displeased me.
The only thing for it was to fill the mistaken holes with epoxy, which I did immediately, then set some heat lamps in place to cook the epoxy during lunch break. Fortunately, the track would hide most of these filled holes, but a couple at the aft end would require touch-up. Also fortunately, at least this was in an area of the deck slated for future refinishing rather than one that I’d just refinished. So the errors in my ways would be expunged during the next phase of the project. In any event, I deducted time from the day to make up for the foolish mistake.

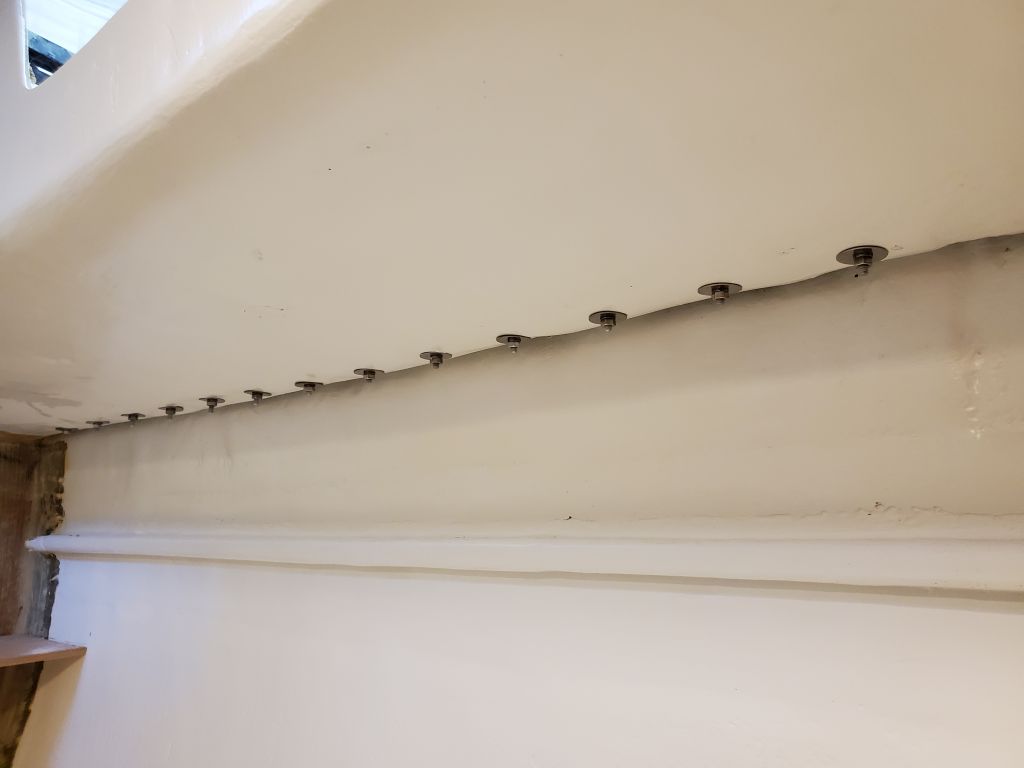
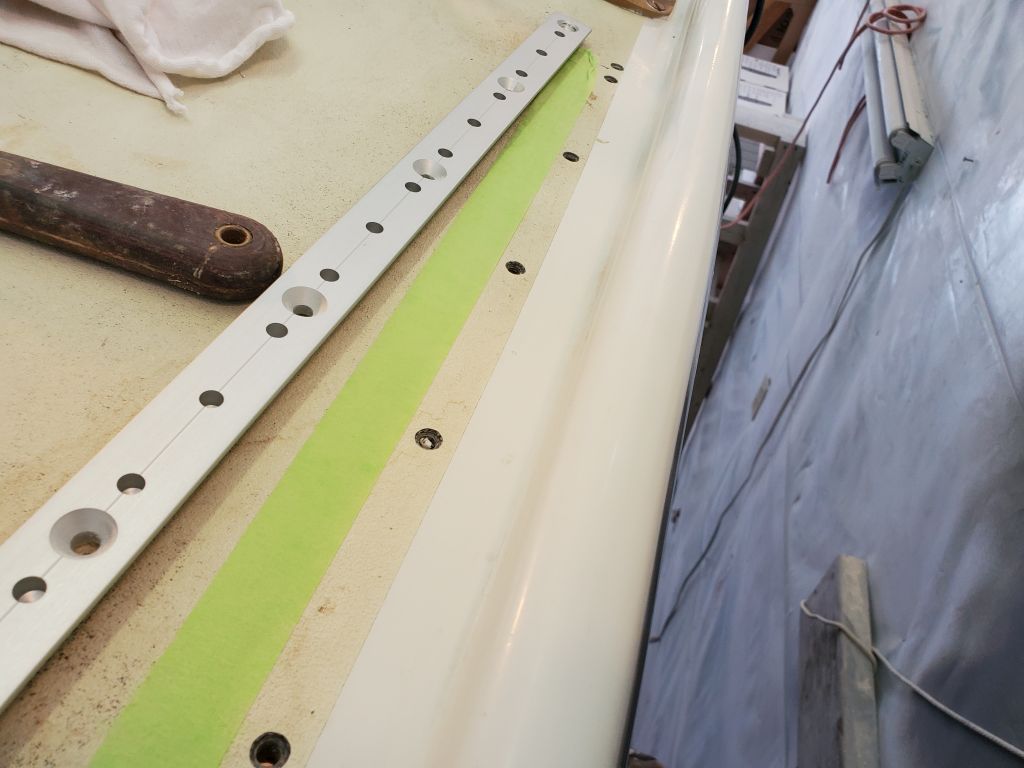
Later, with the epoxy cured enough to move on, I repositioned the track properly and redrilled the after holes, then finished the installation with sealant, nuts, and washers. Only the after couple holes were visible (just) once the track was in place, and I planned to touch them up with some of the old deck paint on hand from the former refinishing project a decade before.

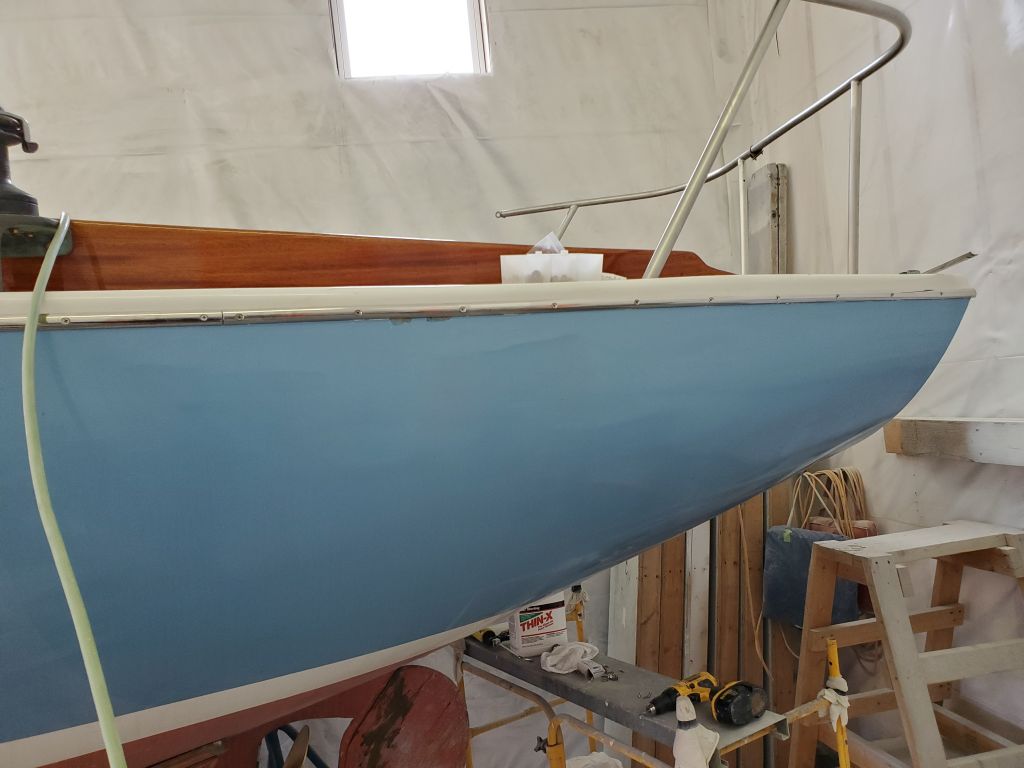
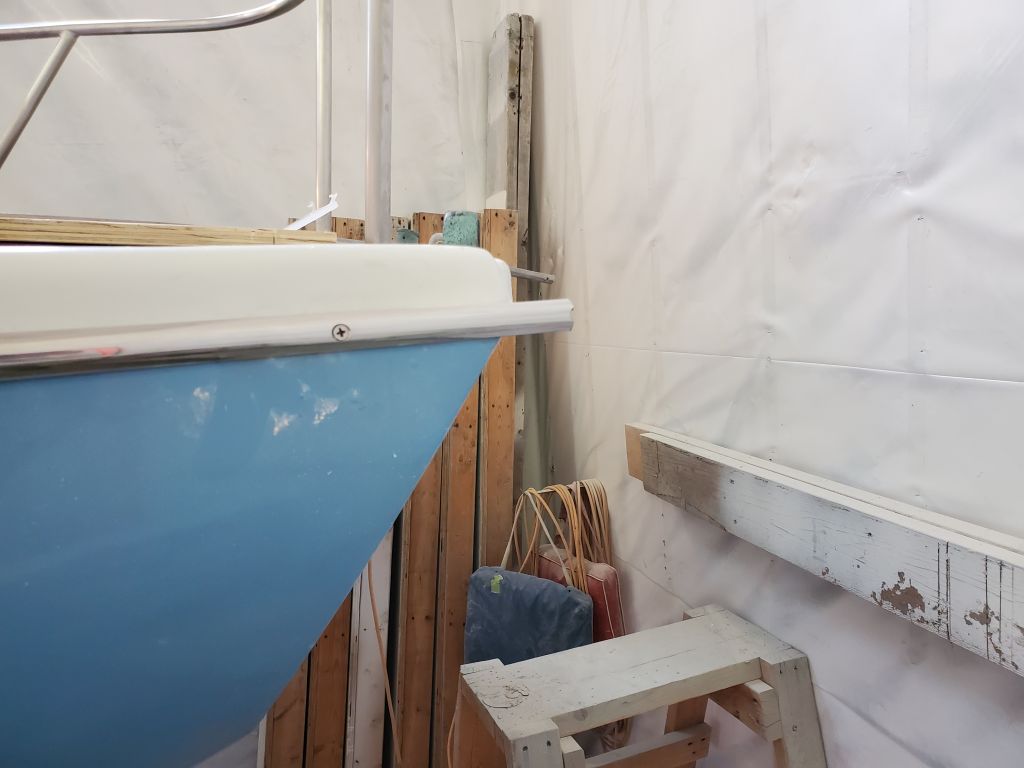
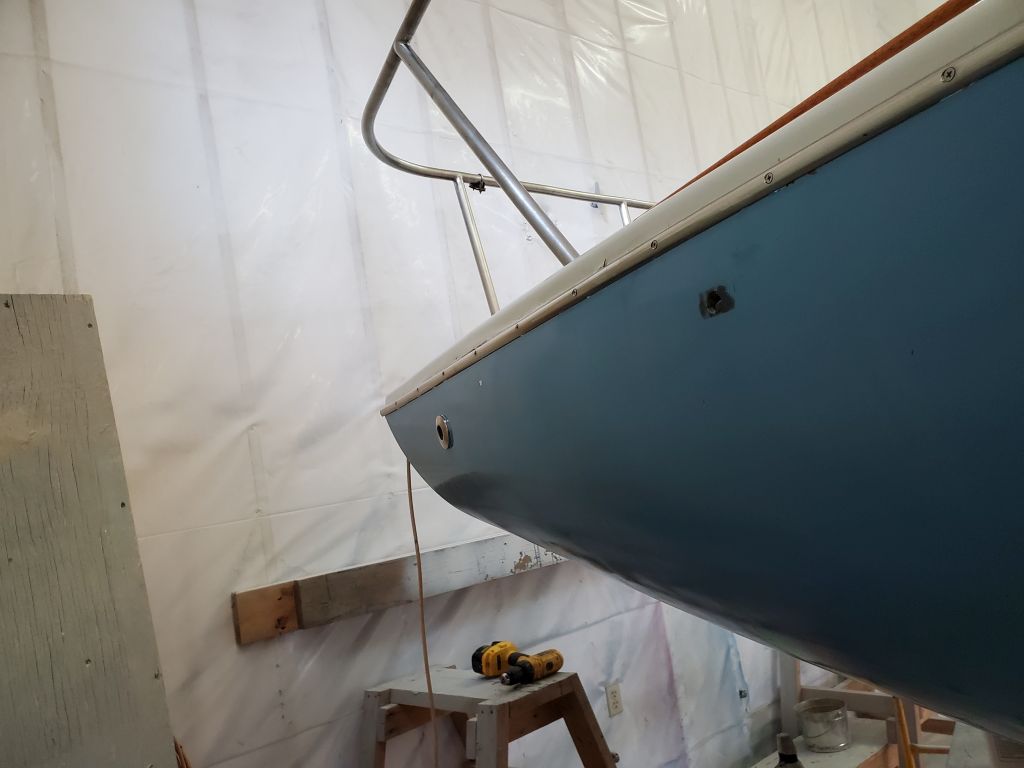
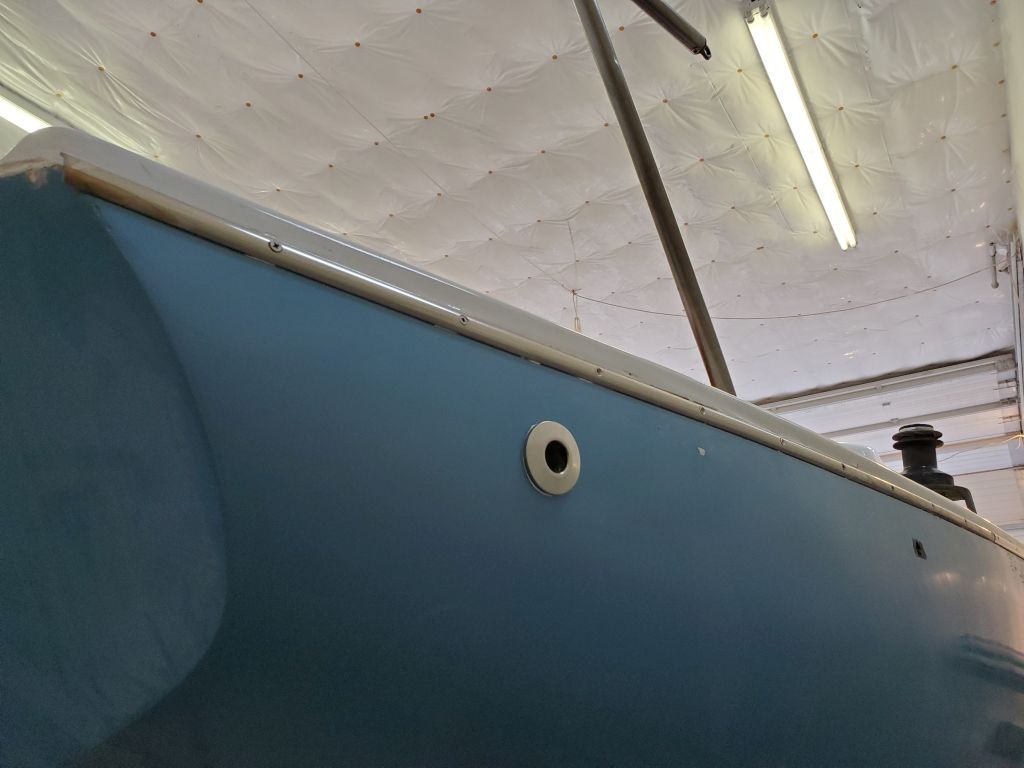
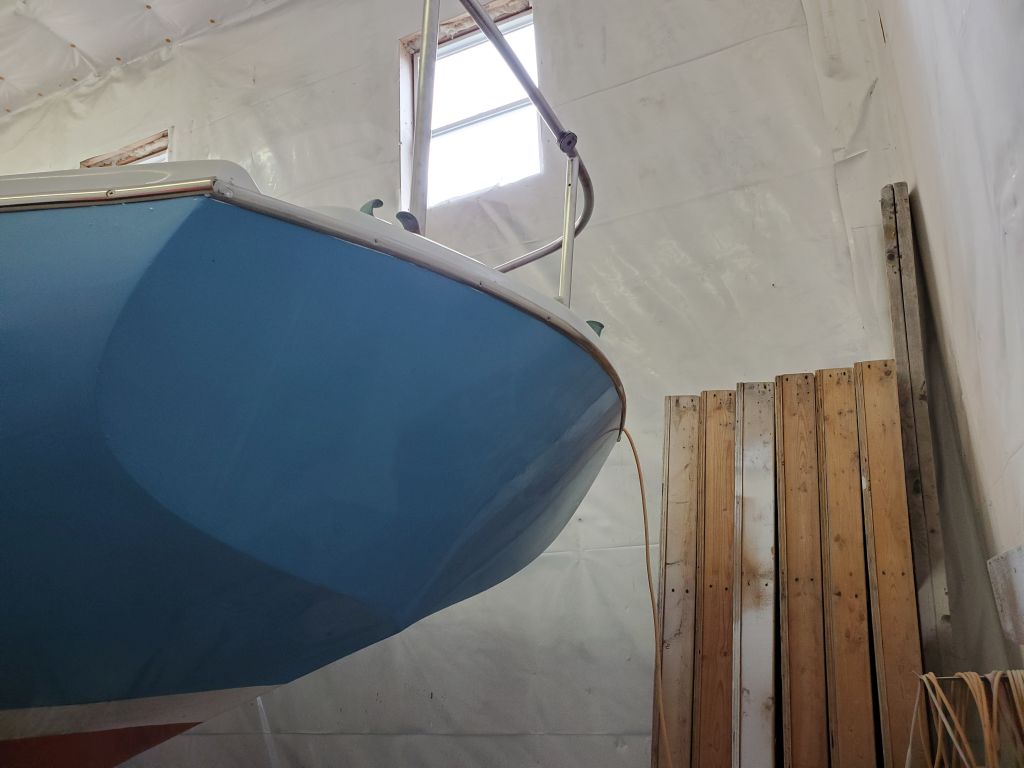
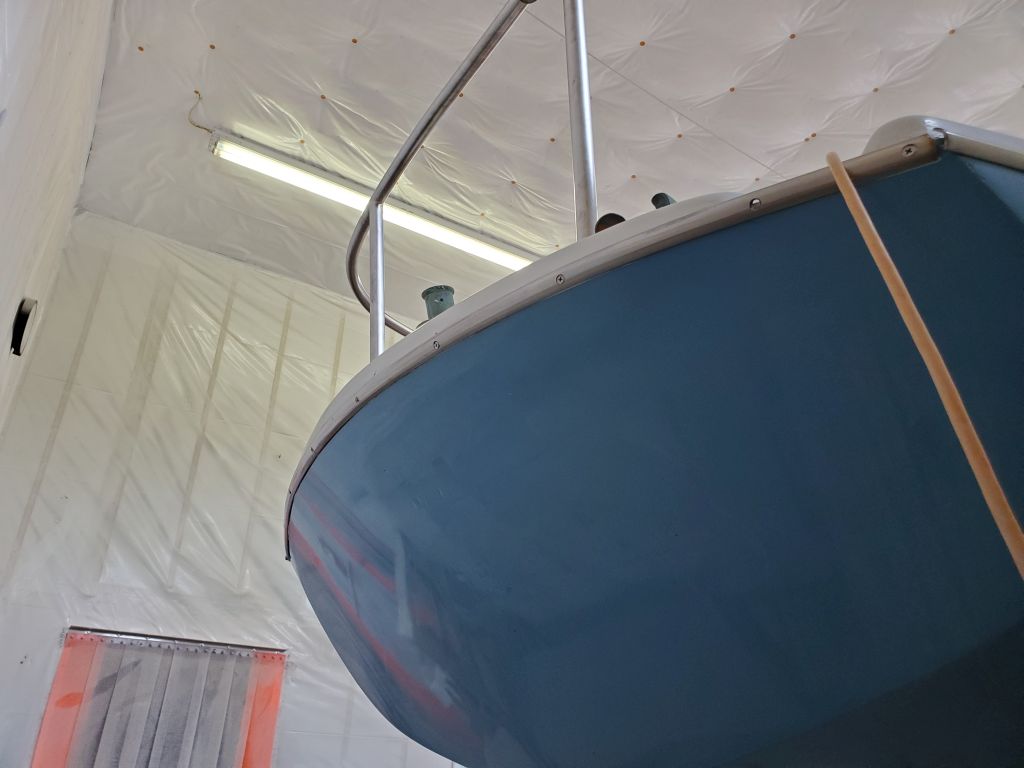
The owner had, during the previous summer, installed new stainless steel rubrail around most of the hull, but small sections at the quarters required rail installation, along with the transom. The transom piece, which was curved to fit, had come from another boat, while the side pieces were new and required trimming to fit.
Dry-fitting each side in turn, I determined where to cut the rubrail, then installed the trim pieces afterwards to finish up the perimeter of the hull.


Total time billed on this job today: 6 hours (after time subtracted)
0600 Weather Observation: 40°, mostly cloudy. Forecast for the day: Clouds, showers, and eventually rain, 54°