


March 10, 2021
Lyra 35
Wednesday
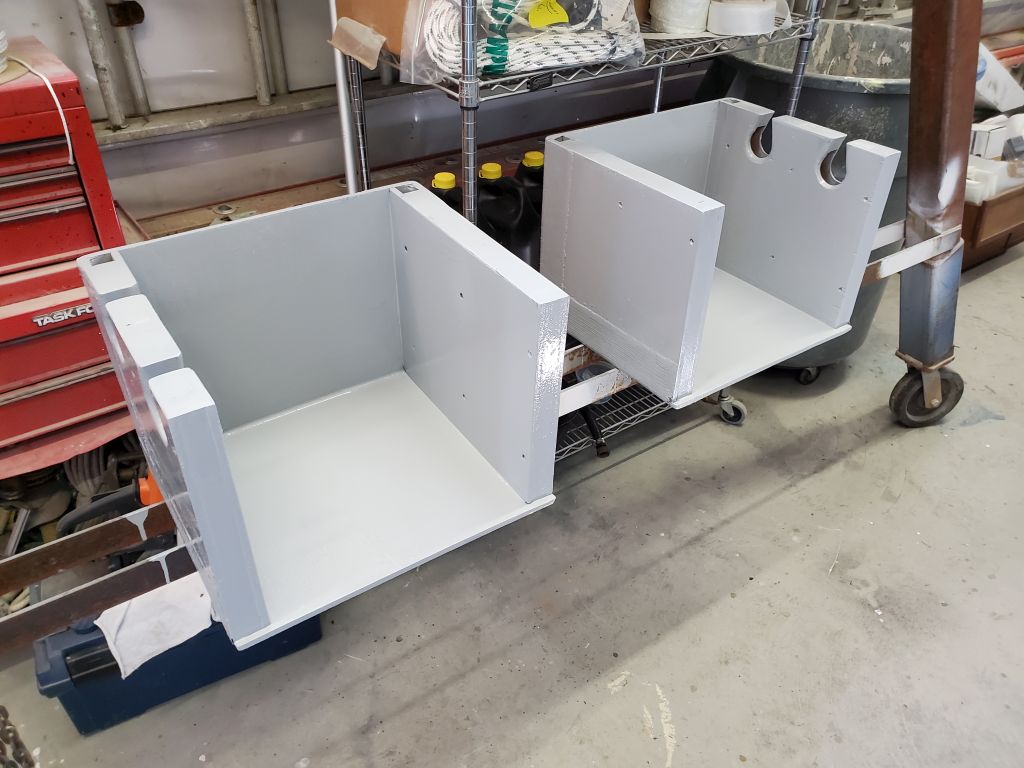
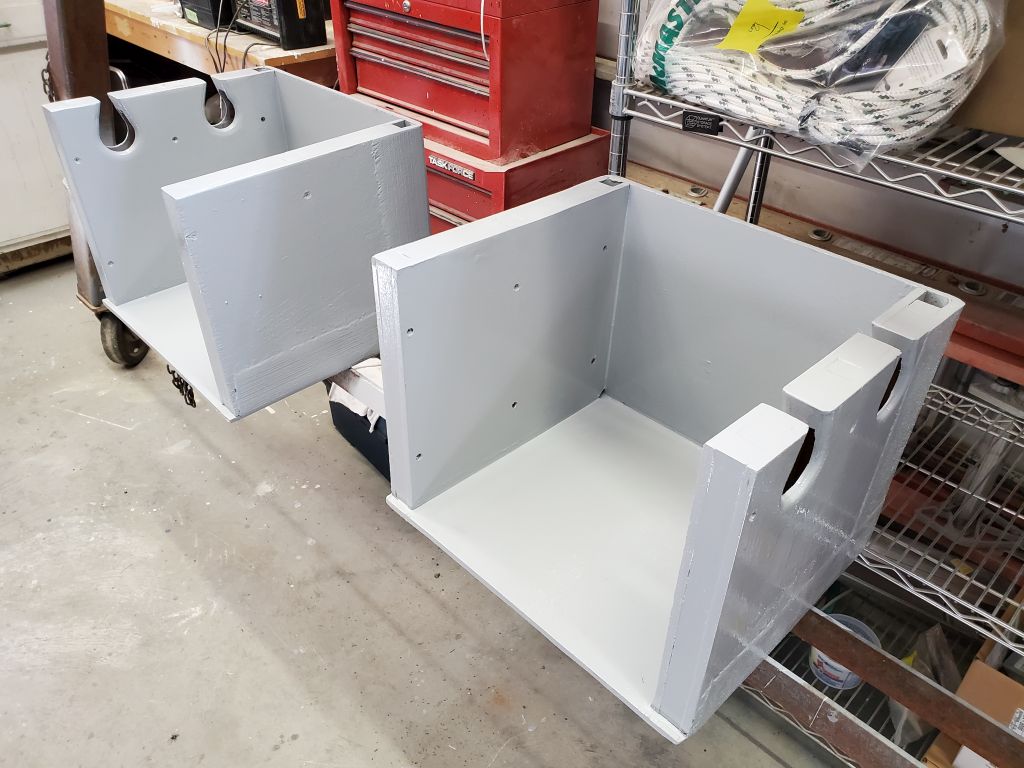
The battery boxes required another coat of paint, as the first coat (as is typical) soaked into the new plywood, so although I’d been hoping to install these today, needs must, so I applied a second coat of paint. I had enough to do and didn’t absolutely require the boxes right away.

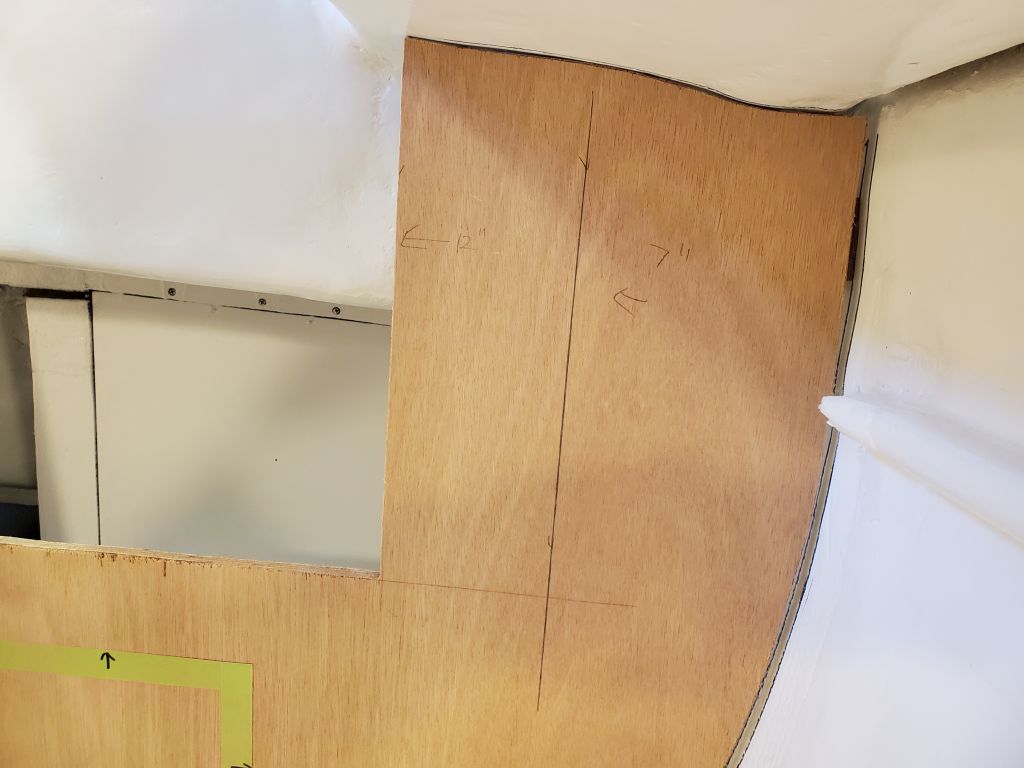
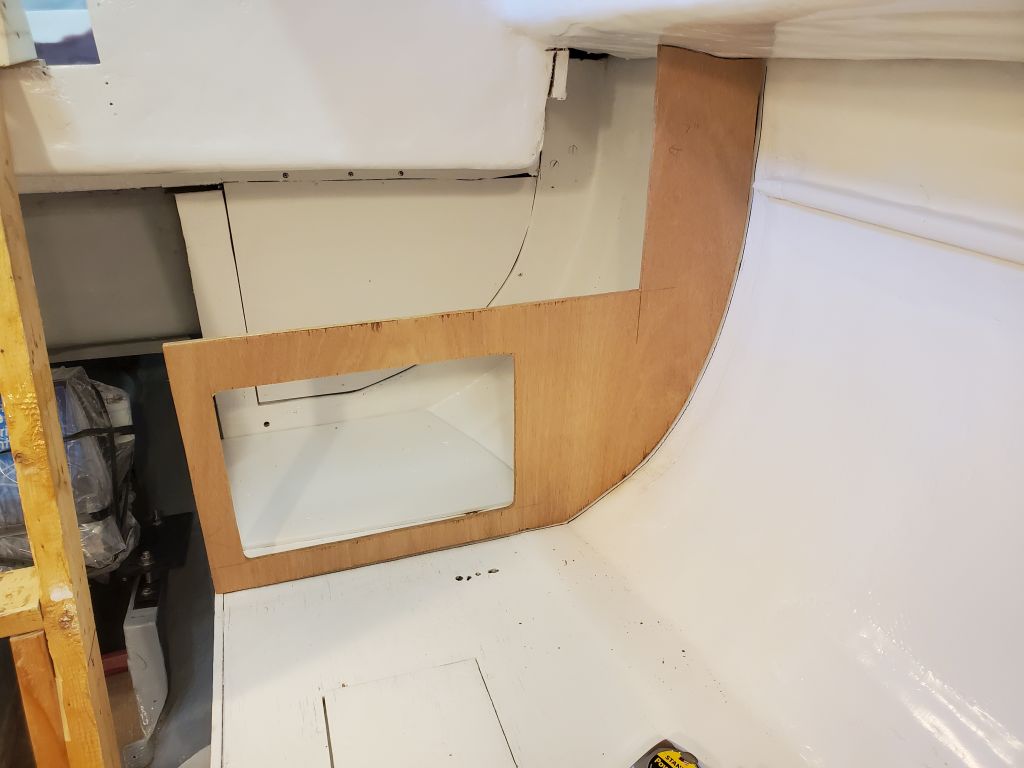
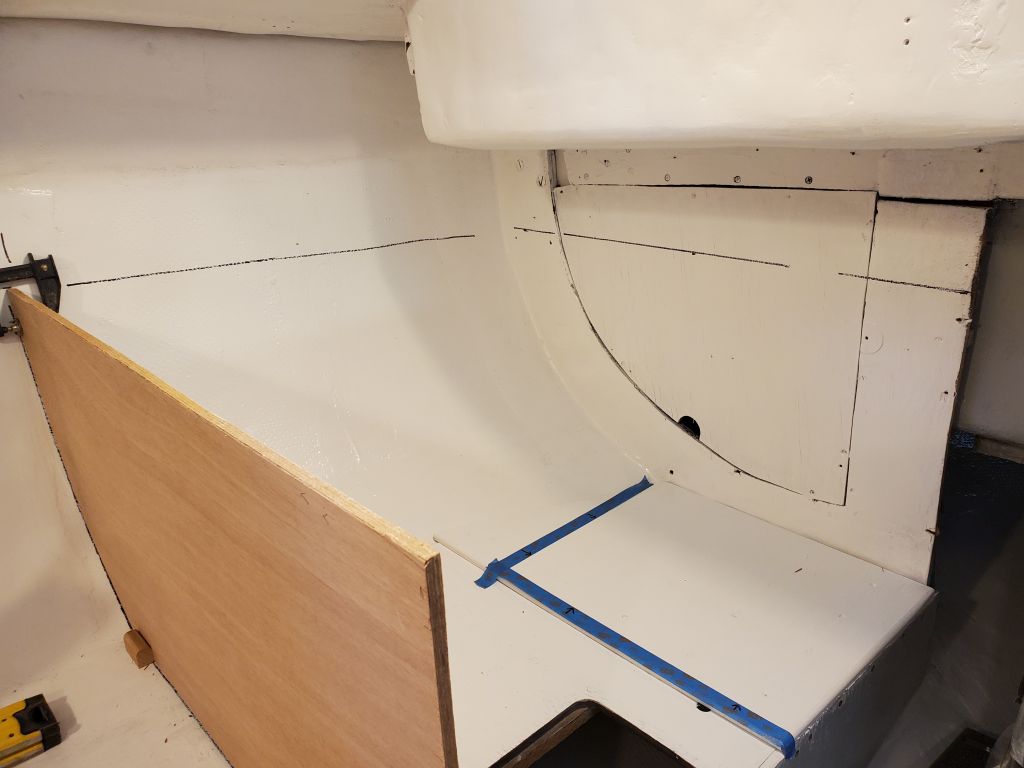
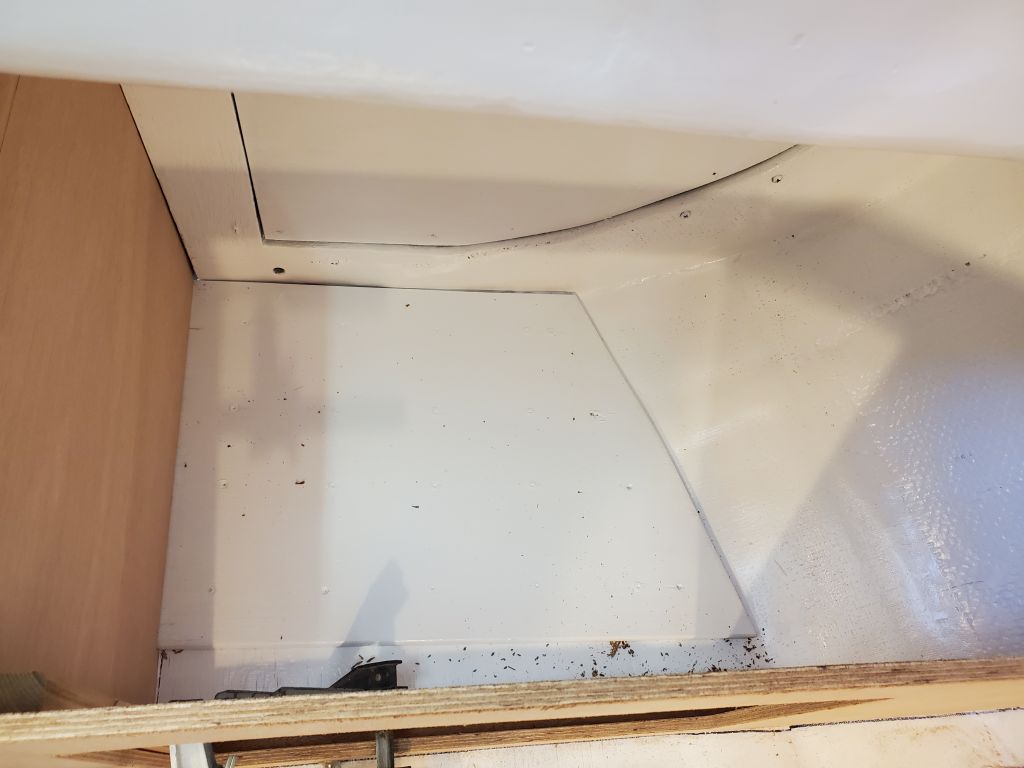
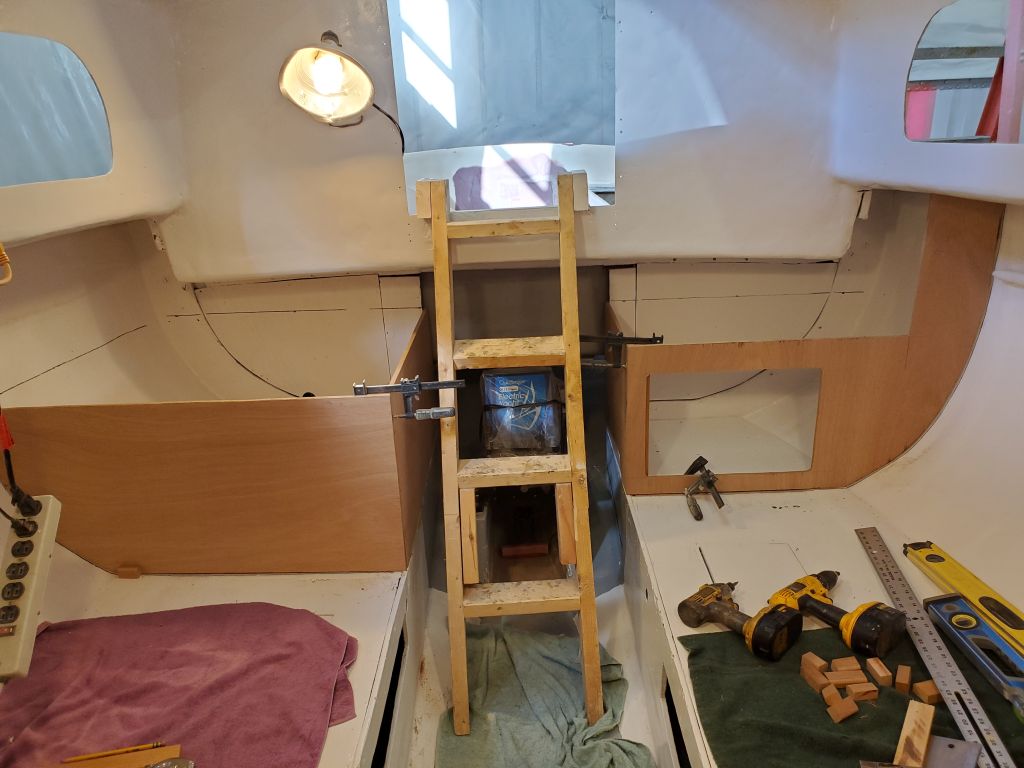
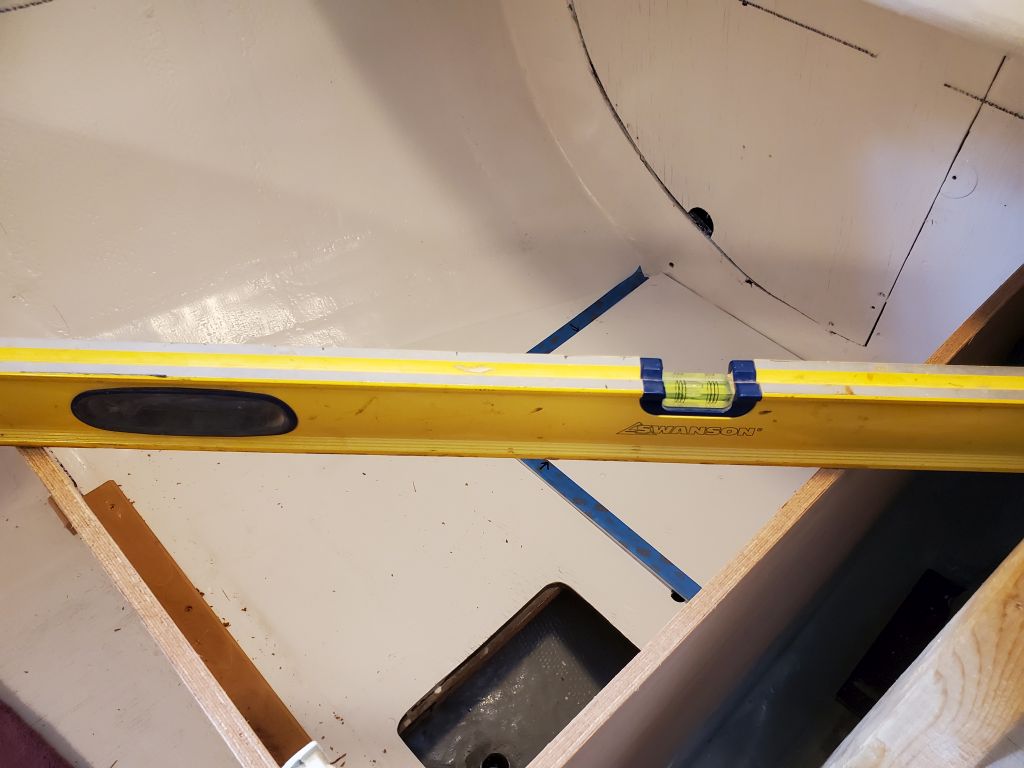
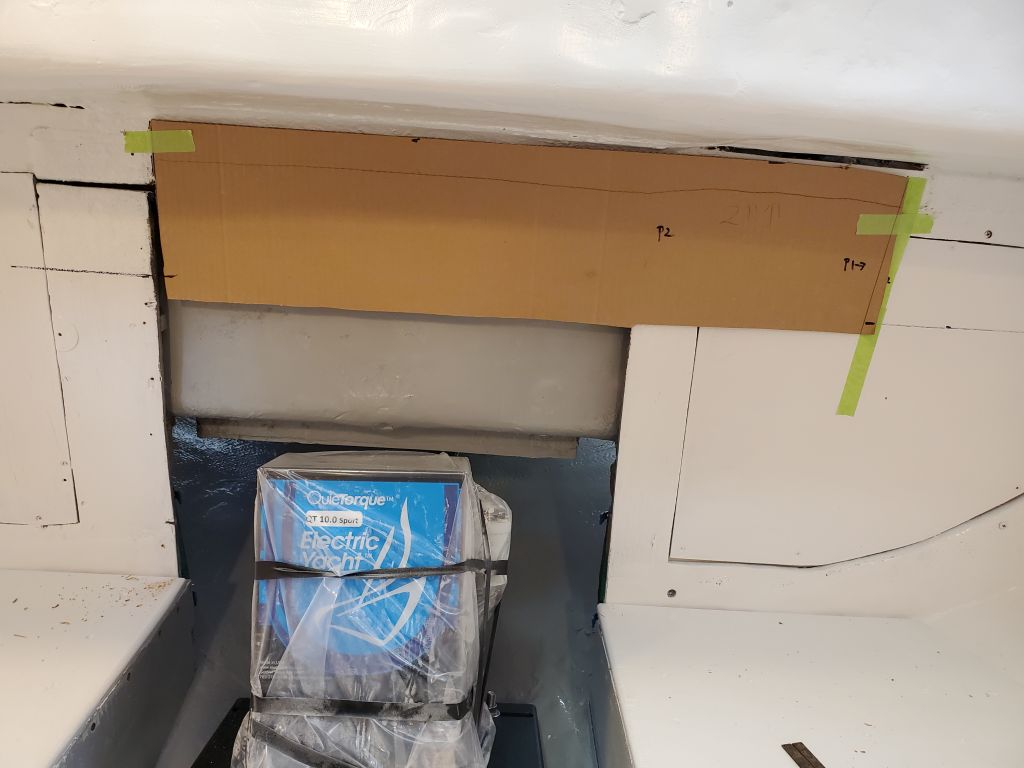
In order to finalize the size of the port bulkhead–specifically the vertical extension to the sidedeck–I had to determine how much depth the electrical locker, which would abut the bulkhead on the forward side, required for what the owner planned to install within. The deepest installation was likely to be the VHF radio, which I had on hand and measured at about 5″ to the end of the housing plus room for wiring connections, so around 6″ minimum clearance required. To this, I added 1/2″ for the plywood front (assuming the front of the panel would be flush with the aft bulkhead), and an extra 1/2″ for good measure to arrive at 7″ total.
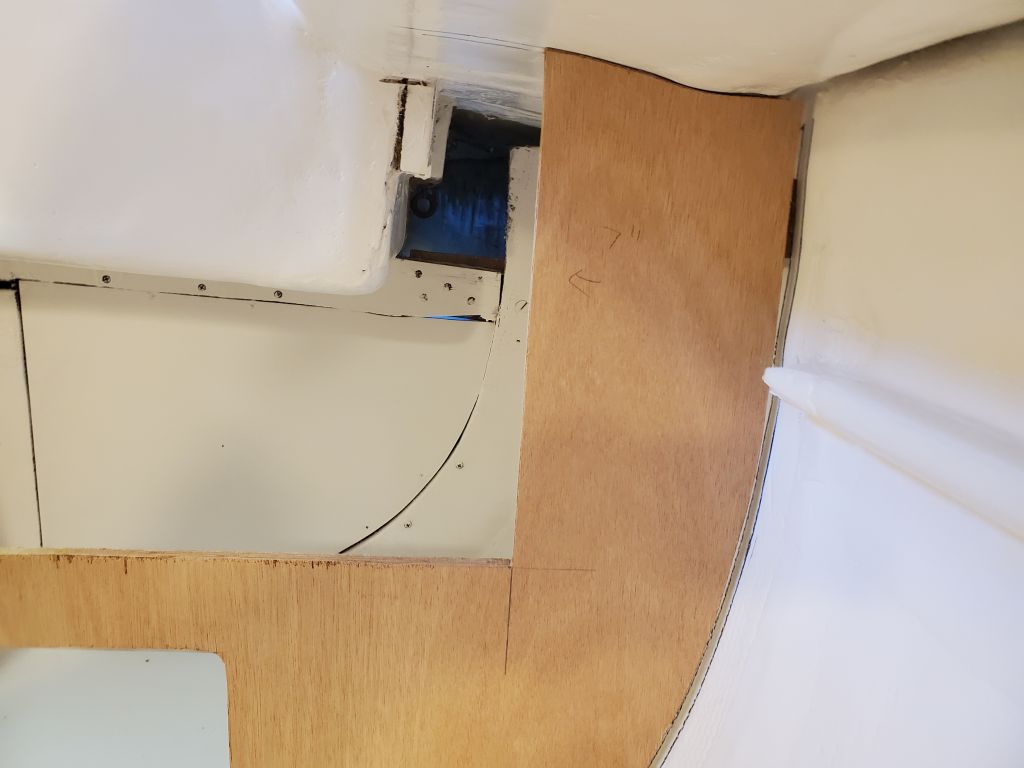
On the bulkhead, I marked a plumb line at 7″ from the closest part of the hull, then removed the bulkhead to make the cut and also cut out the large battery access panel in the front, saving the cutout piece to use as a hatch at least for the short term. The new, slimmer bulkhead looked right and afforded much better access to the aft corners of the space, including the nook between the cockpit and side of the hull.


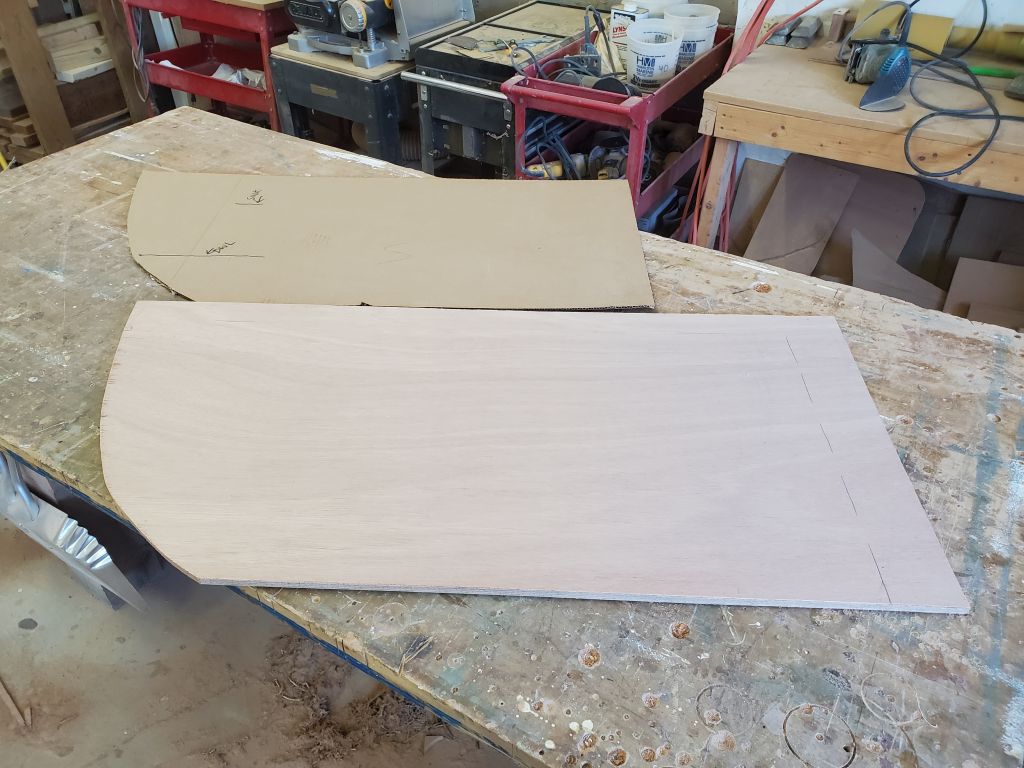
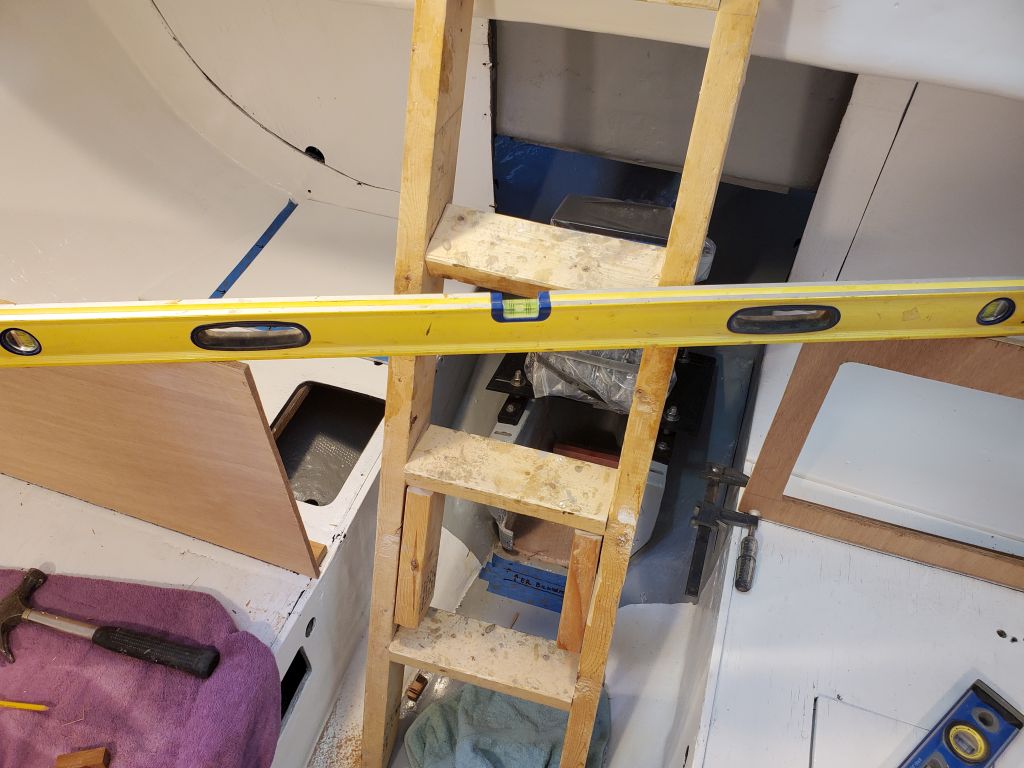
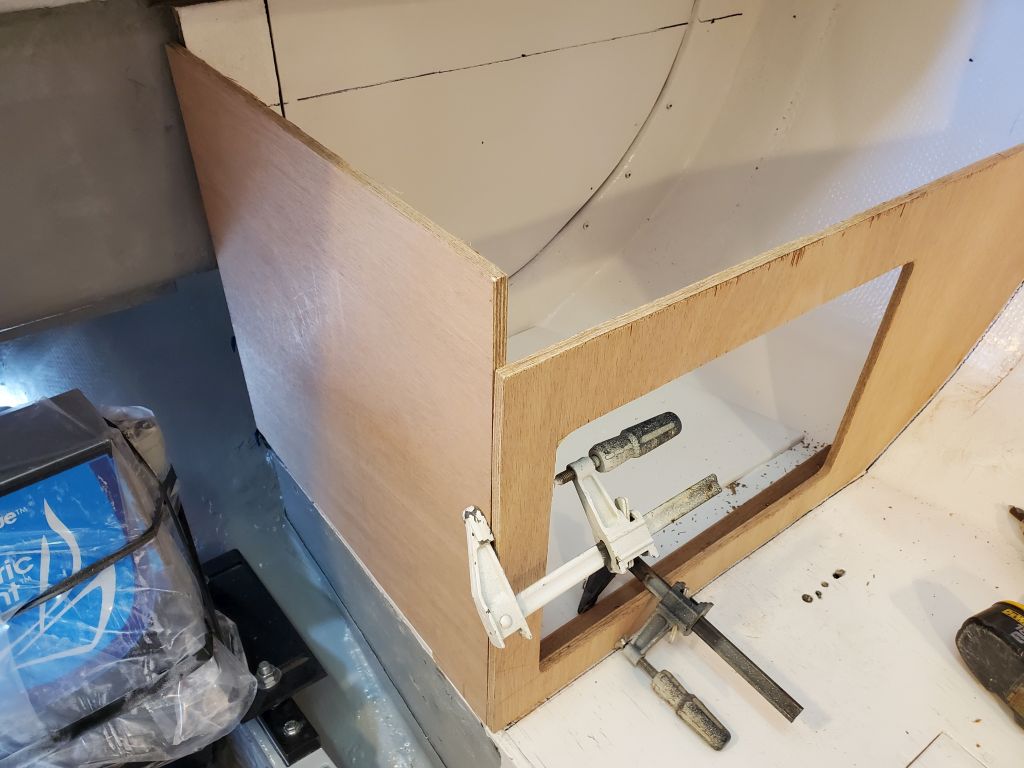
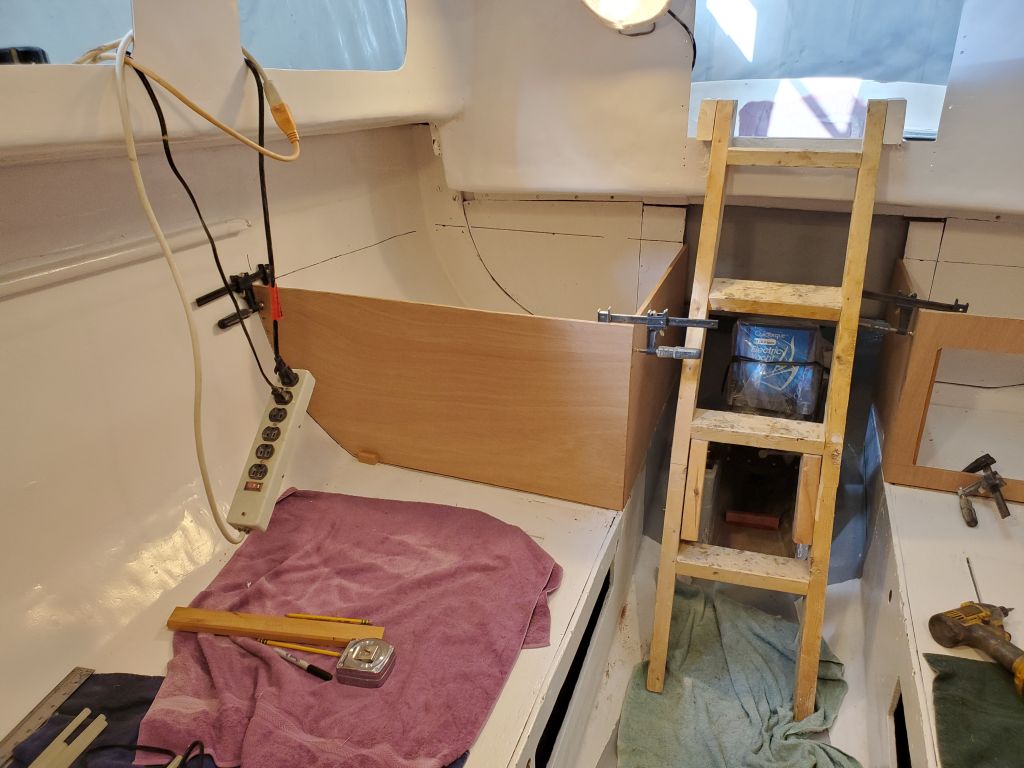
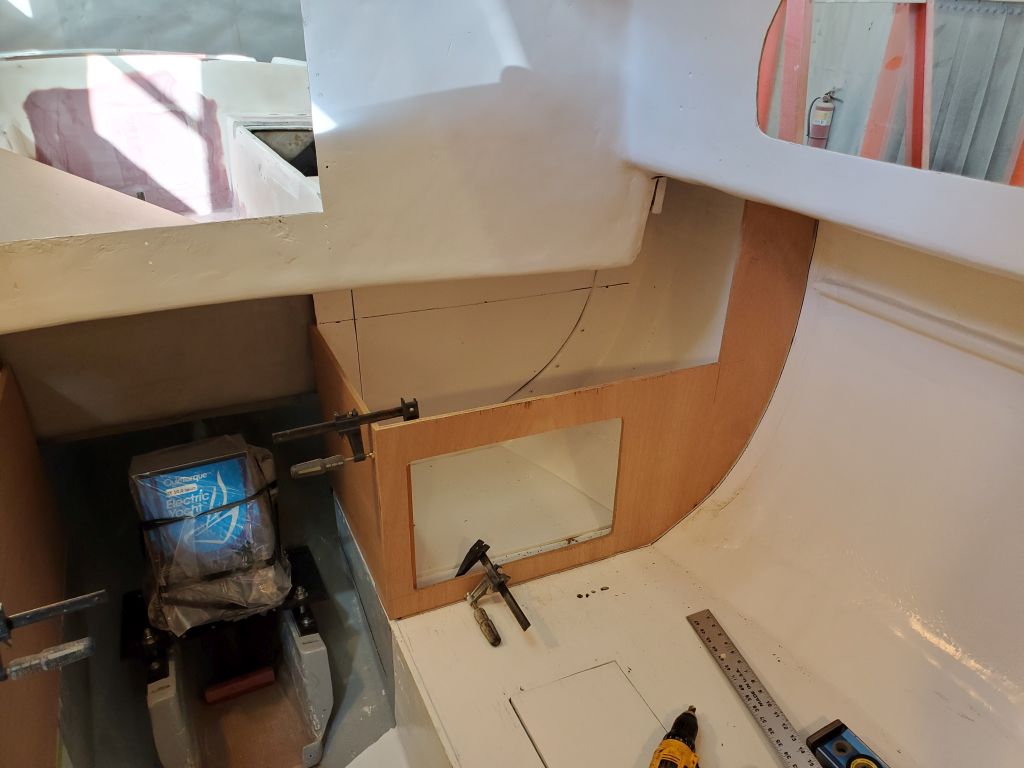
Using the cardboard mockup, I cut out a blank for the starboard galley bulkhead, leaving it overlong and over tall for now to allow final in-place marking and trimming. I installed a hardwood cleat on the settee at the marks I’d made and 90° to the settee front–the most immediate and logical reference for whatever might be “square” in this boat–and temporarily installed the bulkhead plumb using some hot-glued blocks on the hull for support.
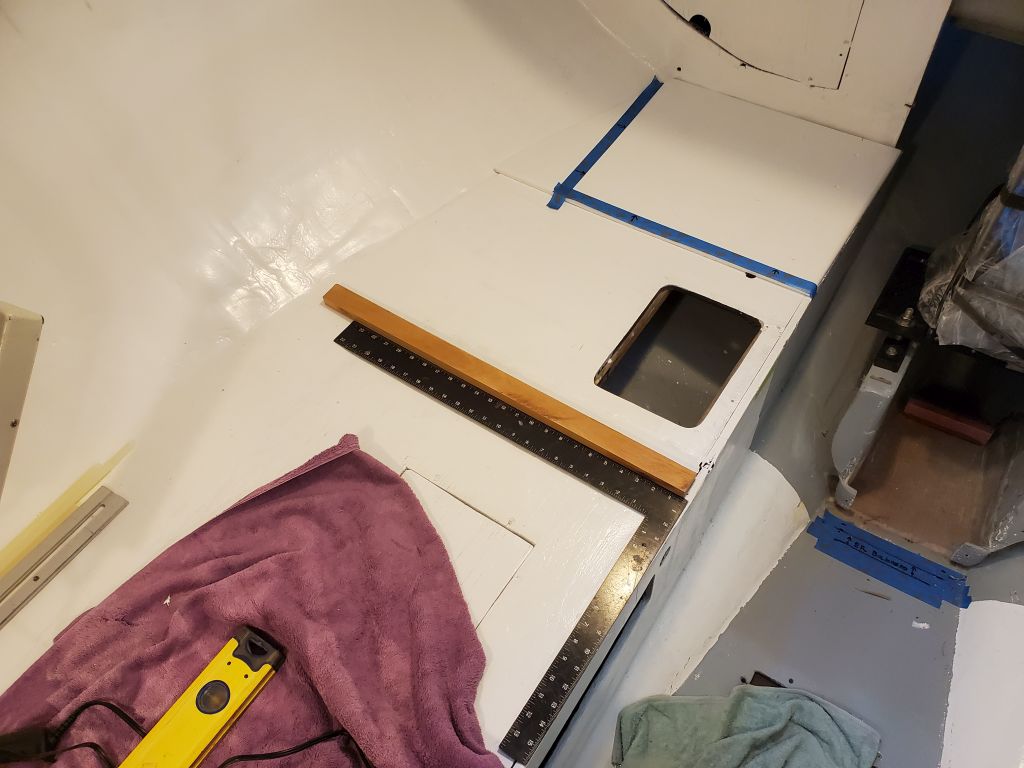
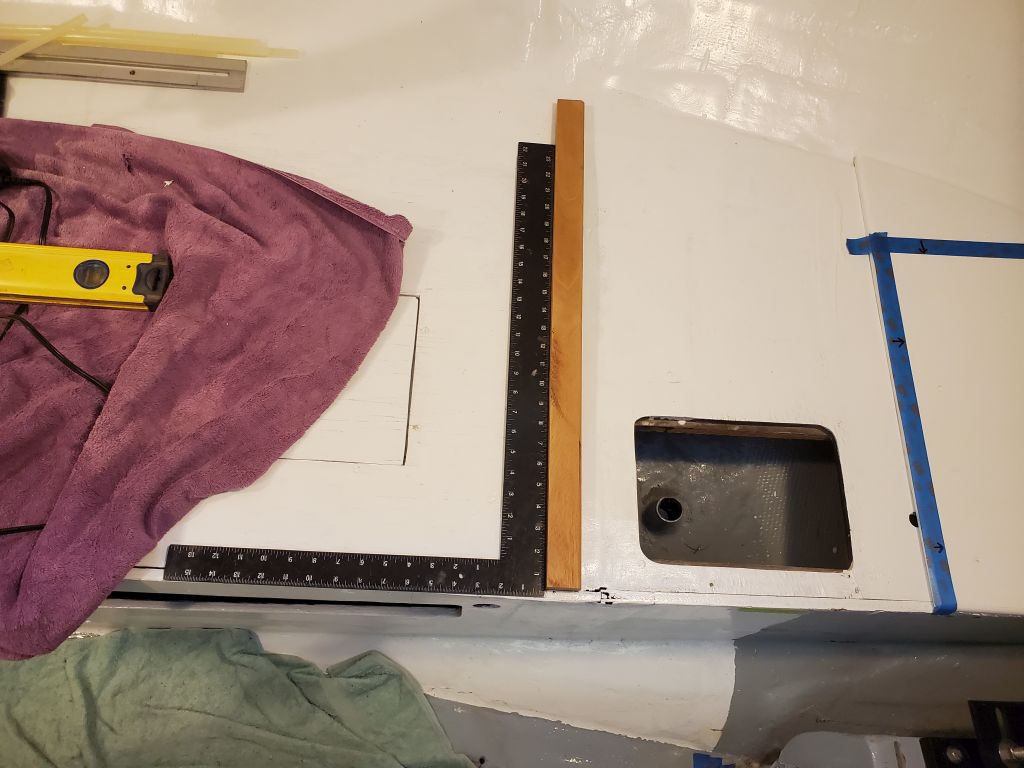
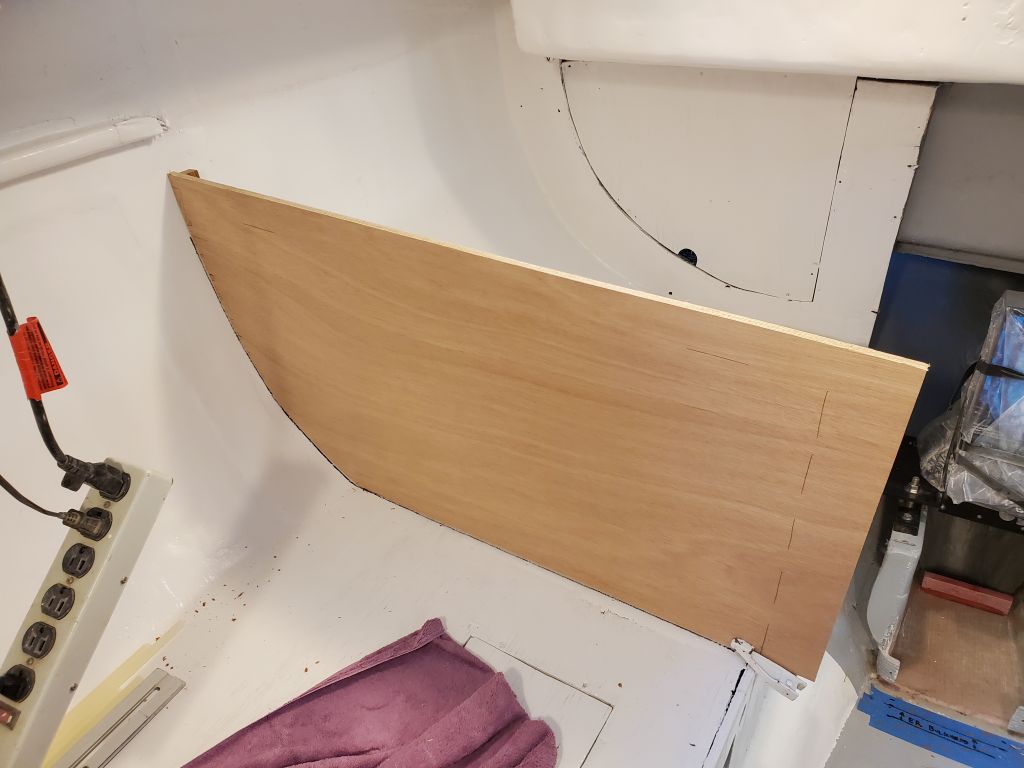
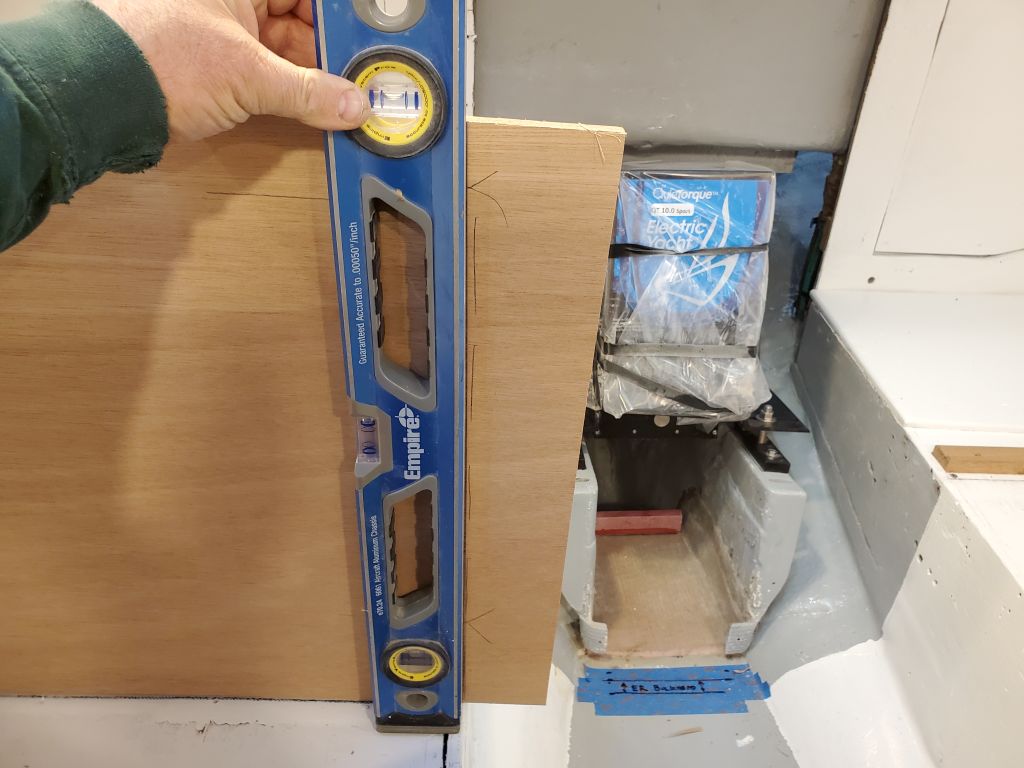
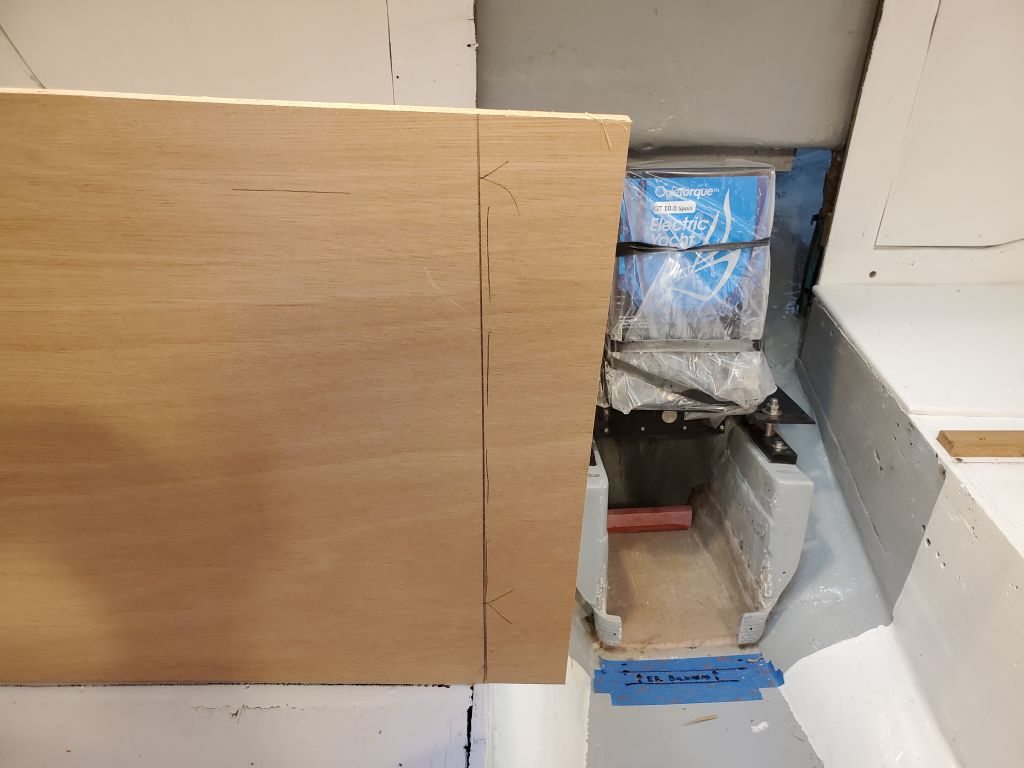
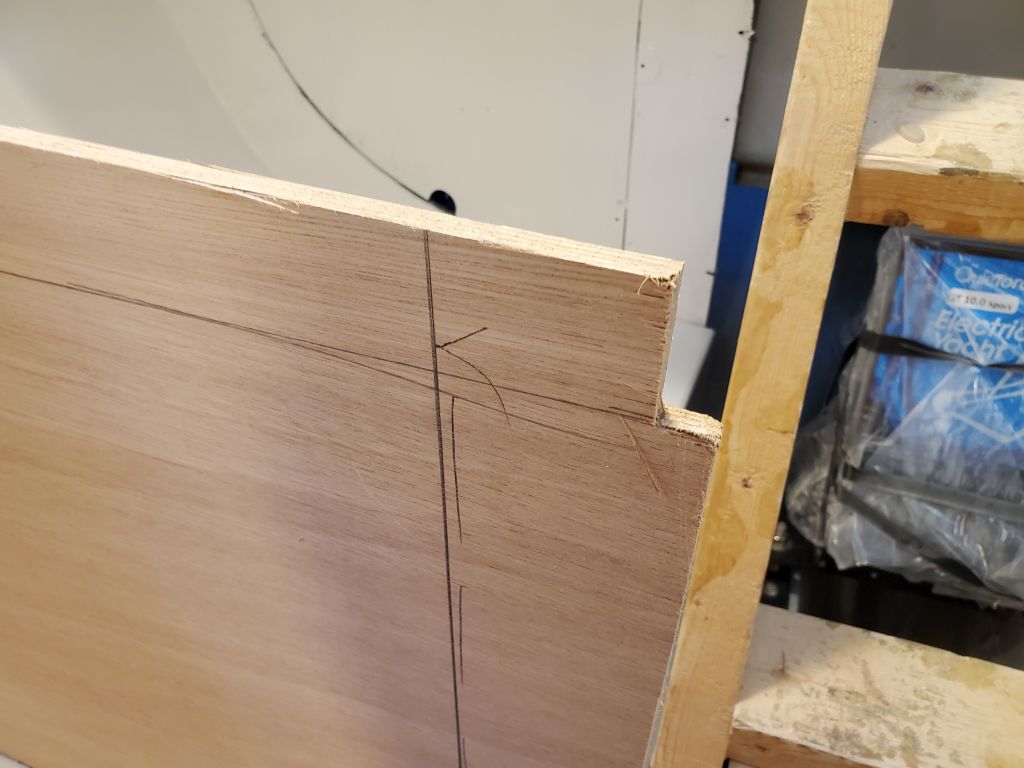
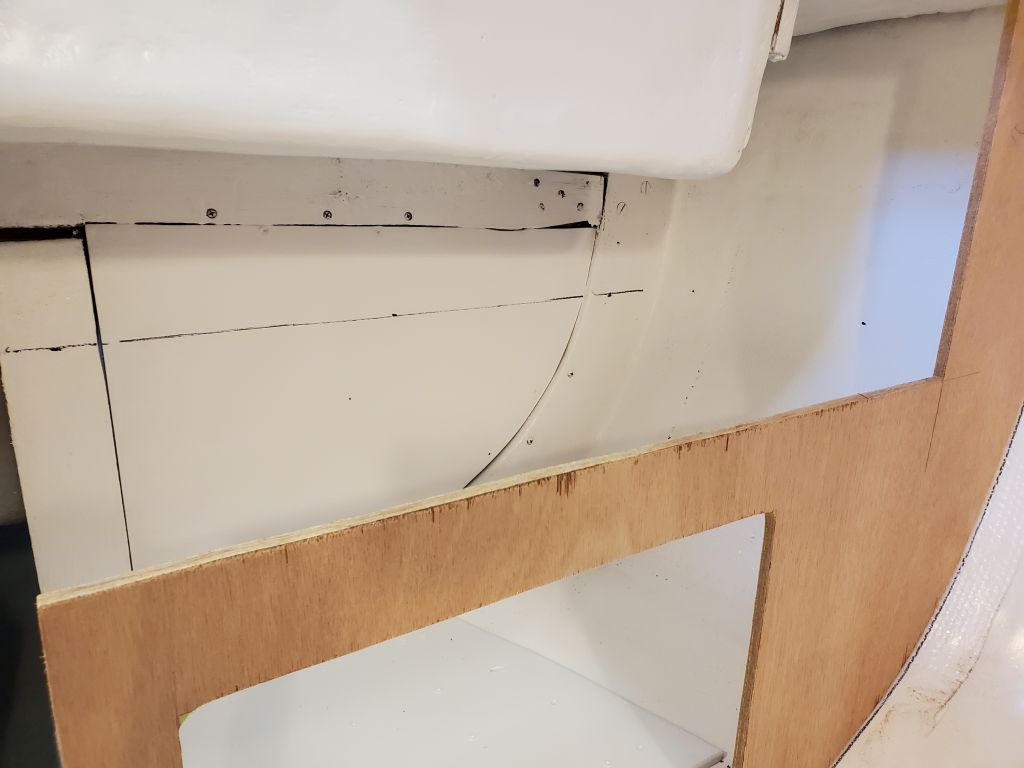
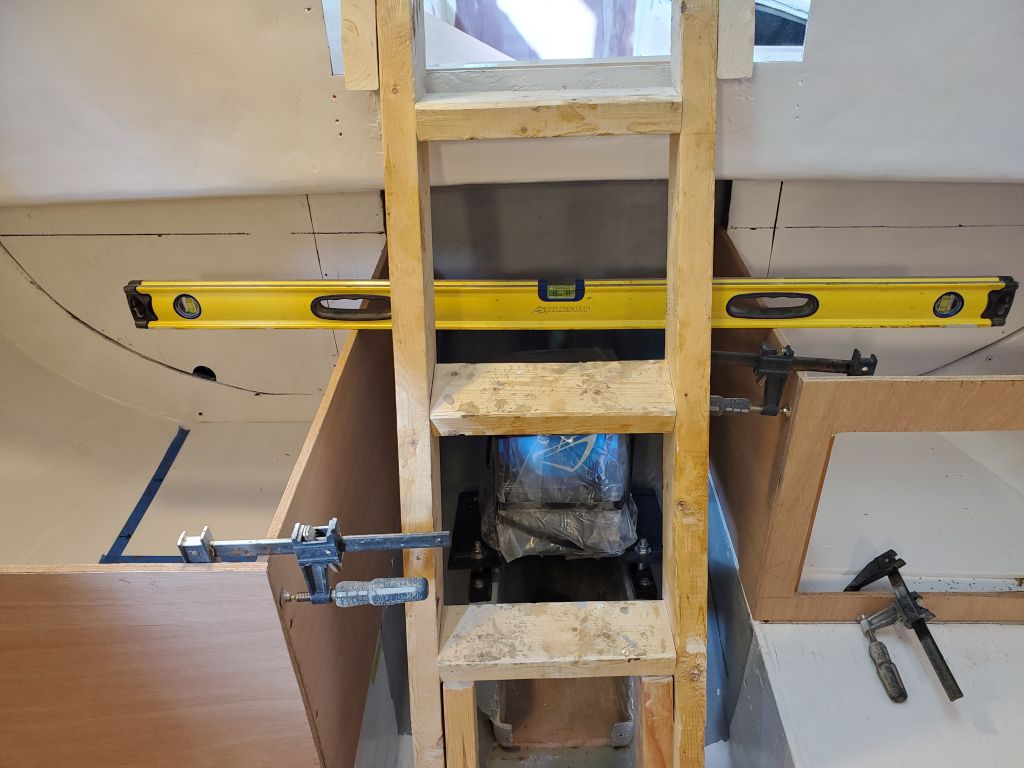
The bulkhead fit well against the hull and required no further trimming there. At the inboard end, I struck a plumb line from the settee face, and with a level transferred the height of the port bulkhead across the boat. To help with this I cut a little notch in the waste portion of the starboard bulkhead so I could more easily run the level across. I had to mark the top edge of the new bulkhead this way because the settees from side to side were not accurate enough to use as a measurement, and to ensure the new countertop was level across the whole boat (since it was to be more or less a single surface all the way). I needed to start with what, by default since it had been cut first, had become the permanent reference–the port bulkhead. Measuring up 17-1/2″–the height on the port side–from the starboard settee had created an entirely new attempt at reality that had little in common with the established reference to port, highlighting the off-kilter fundamentals of the settees on either side. So by transferring the port height, and establishing level off of that, I ensured the whole countertop would be in keeping with itself.
Figuring out how to measure, plumb, and level off a 60 year-old construction that was never accurate to begin with is one of the more enjoyable challenges of the job.
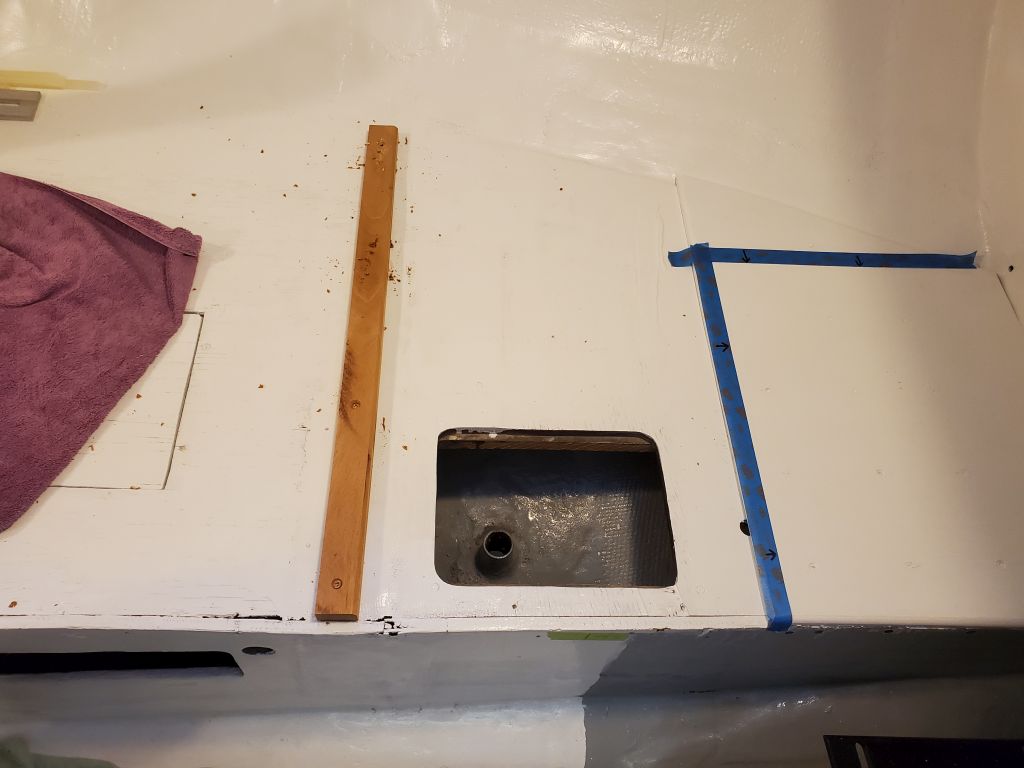
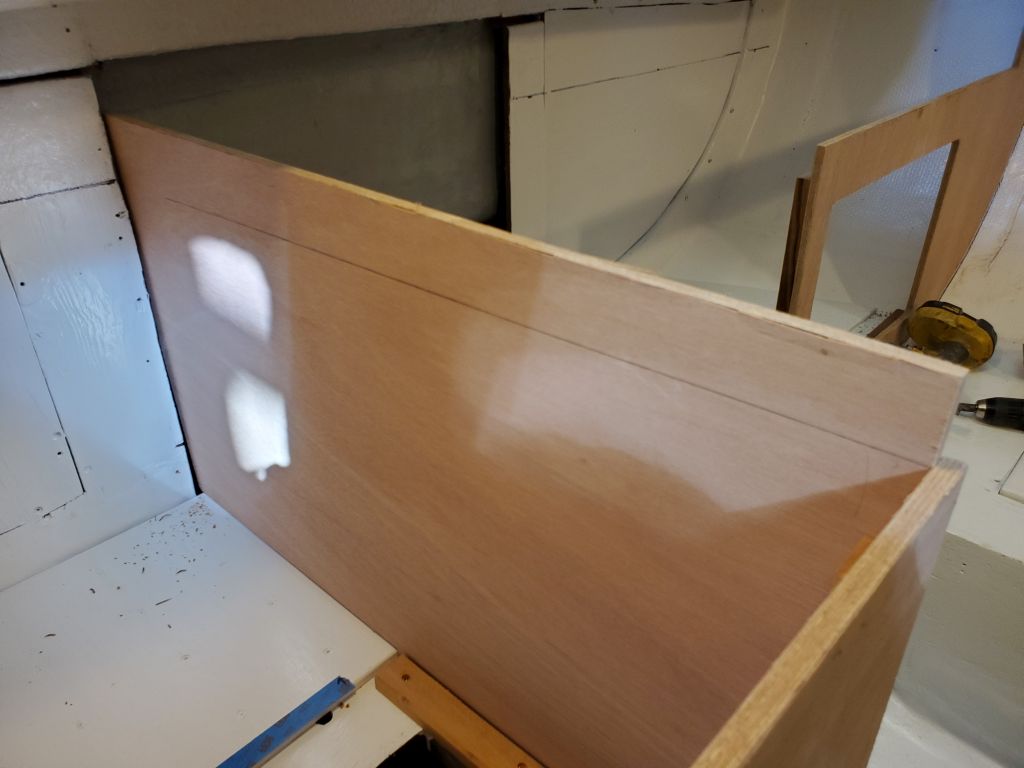
Now I could remove the starboard blank and make the final cuts down on the bench.

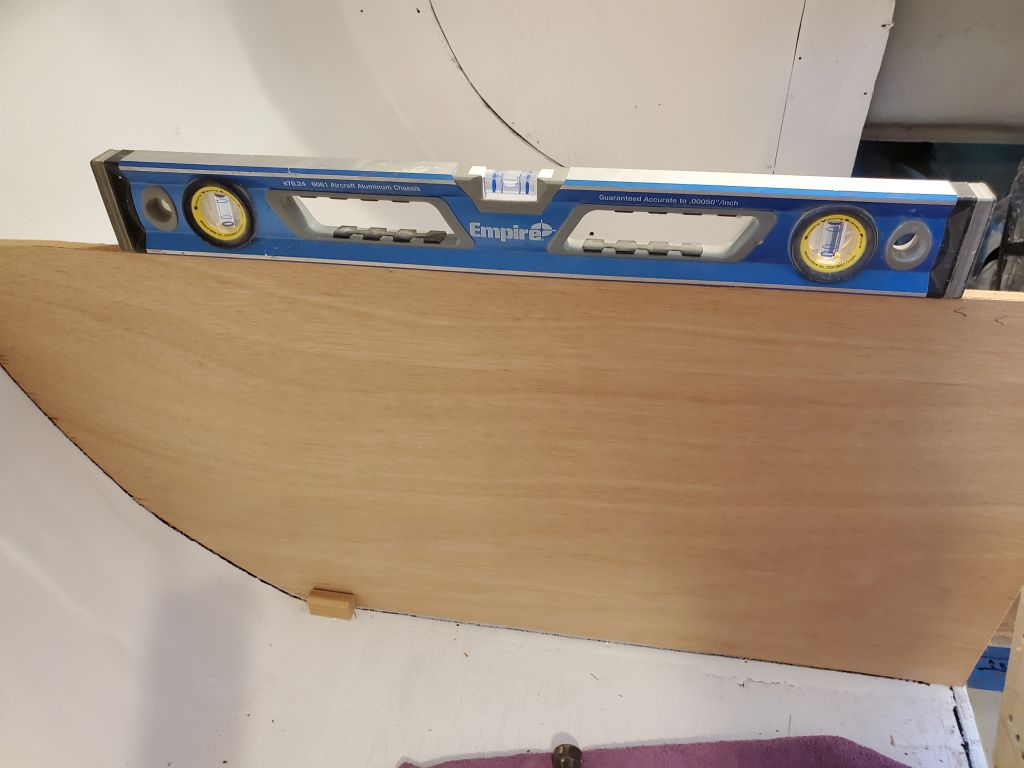
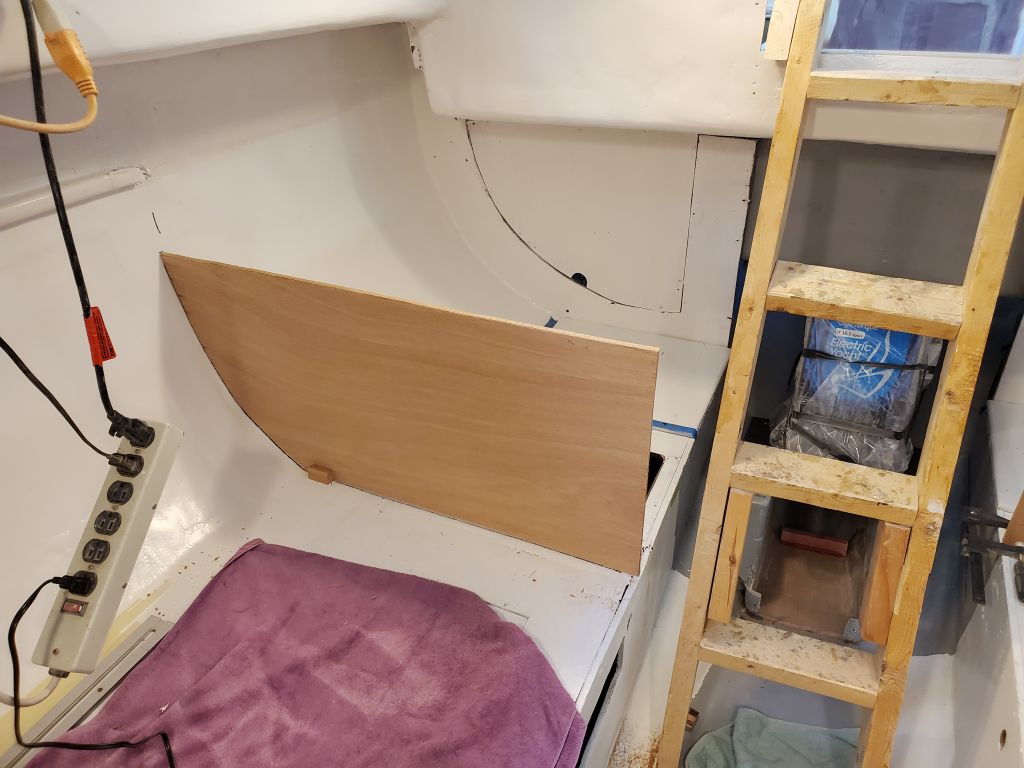
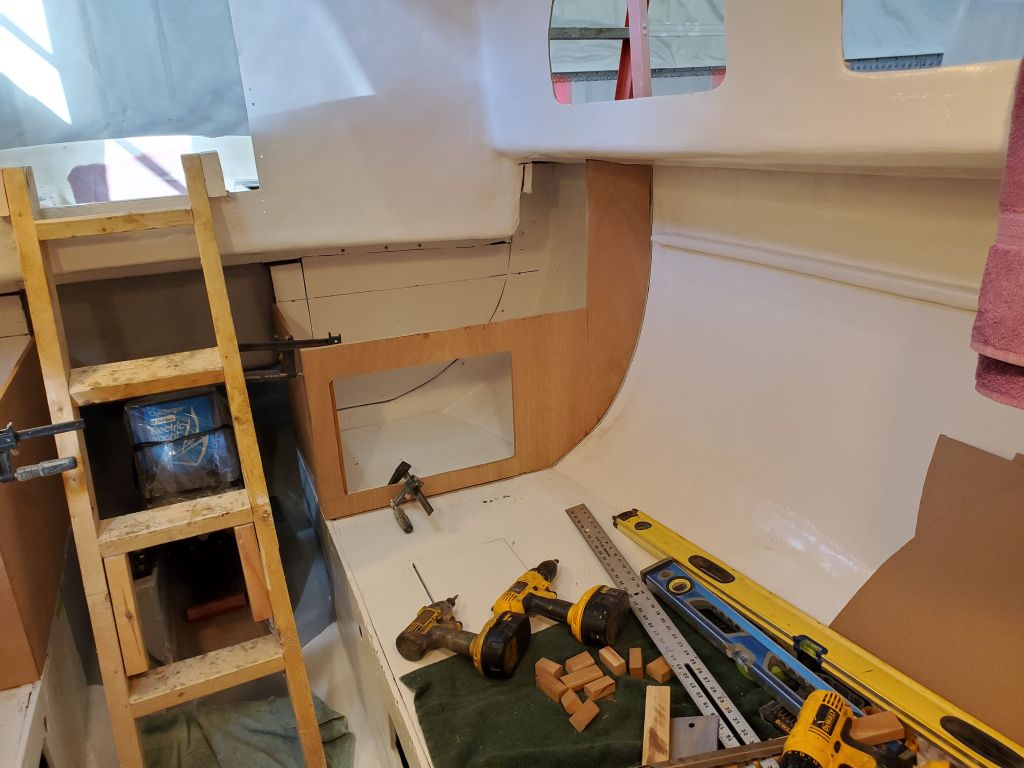
I used a level off the new bulkheads to establish a line across the aft end of the space, on the original aft bulkhead, which would define the aft edge of the countertop.
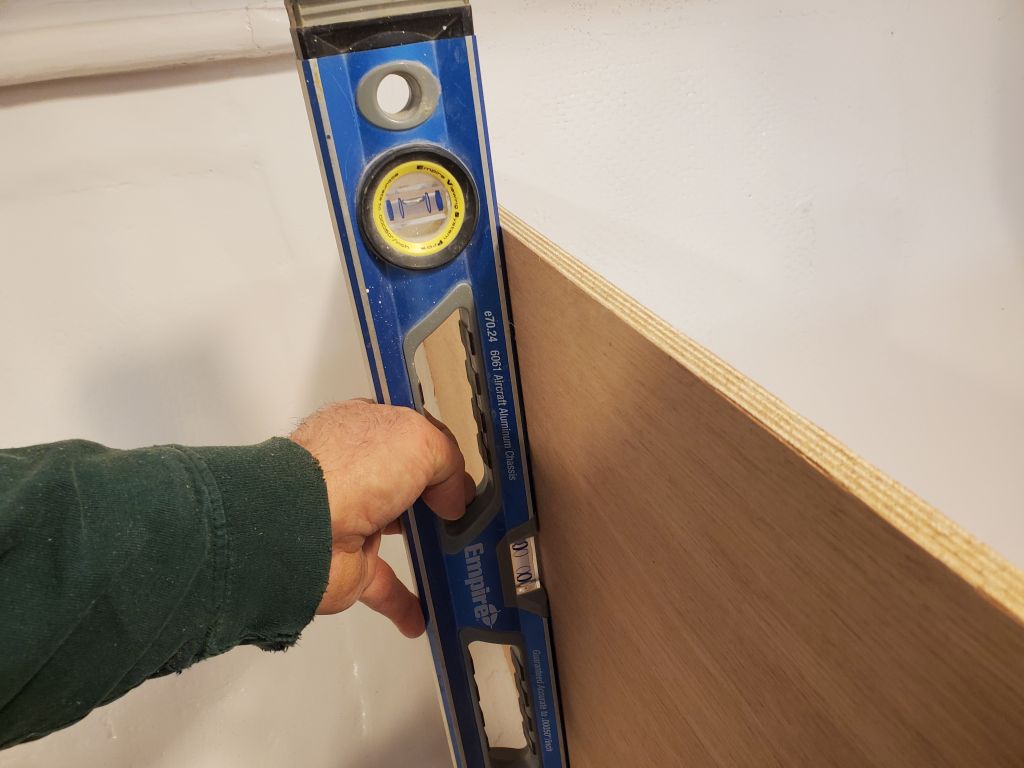
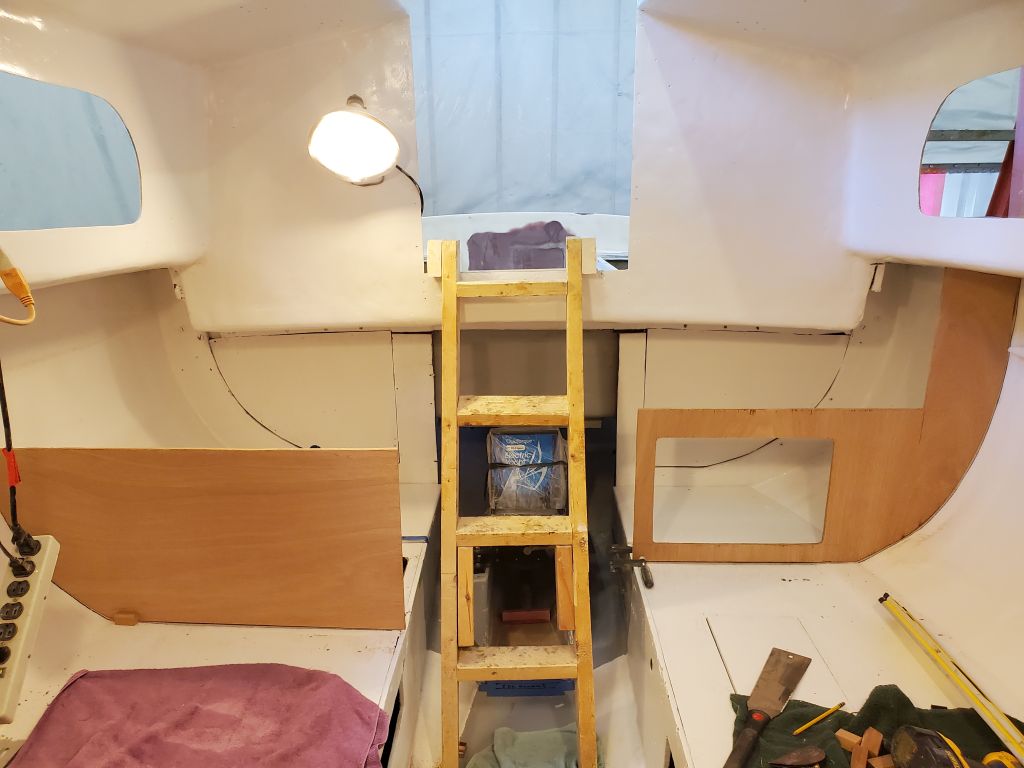
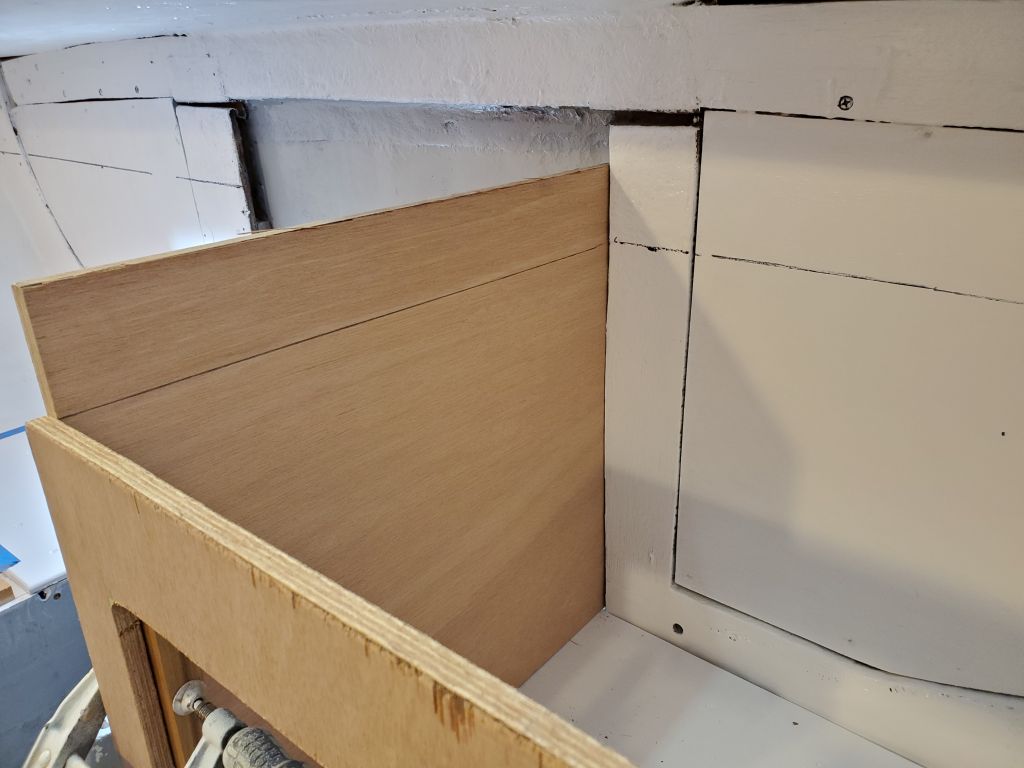
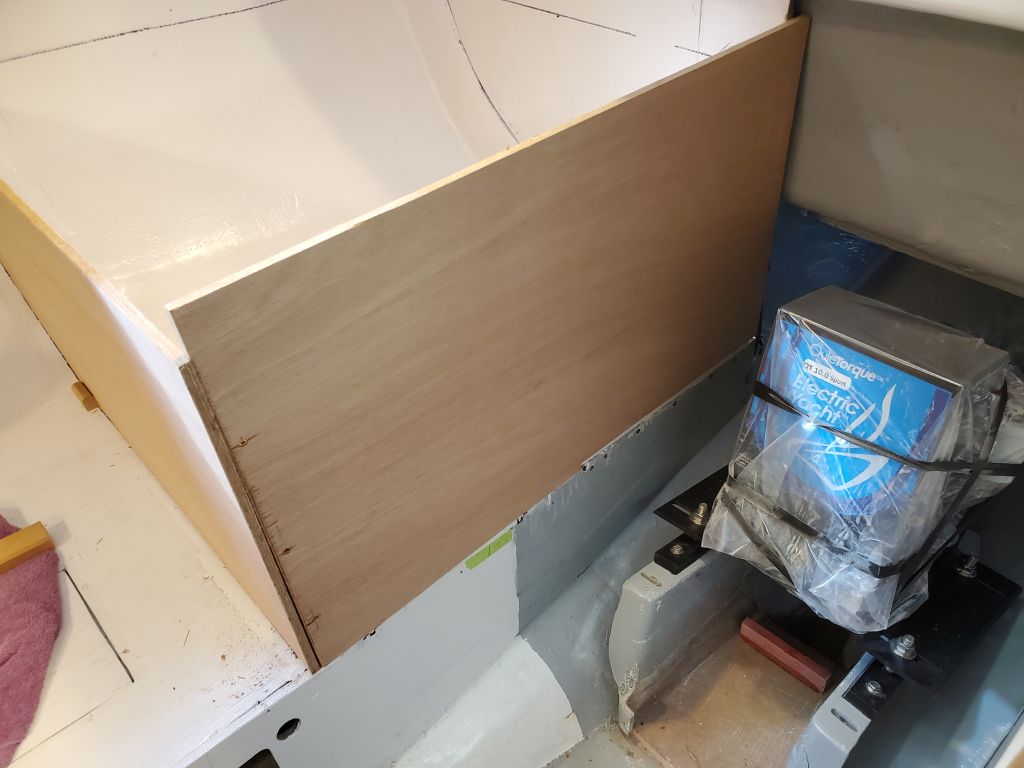
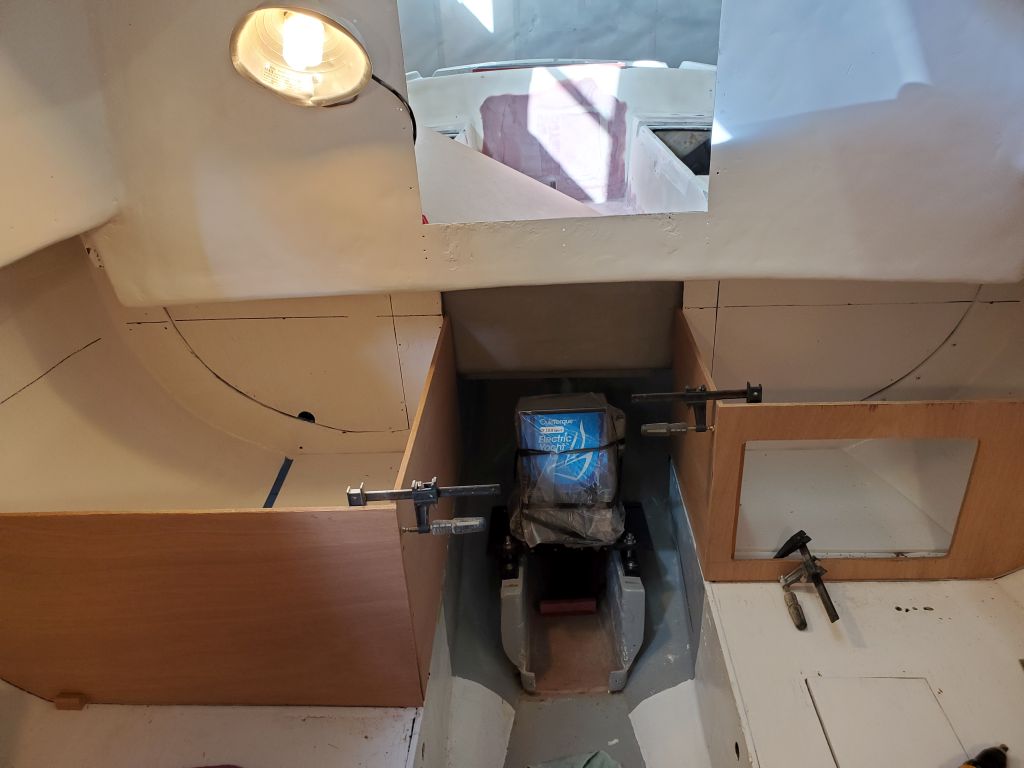
With the transverse bulkheads established, it was time to build the two short longitudinals that would define the engine room and enclose the two galley areas. With basic measurements, I cut two blanks of appropriate size and, with a few fine tunings, fit them to their respective spaces and leveled off the top edges accordingly. As needed, I installed support cleats on the settee and adjacent bulkhead to support the new panels; the after ends of the panels (at least I thought for now) would be supported by the battery boxes once installed, so I held off installing any cleats in those areas pending final battery box installation. These panels extended just past the edges of the original aft bulkhead on each side of the engine room.


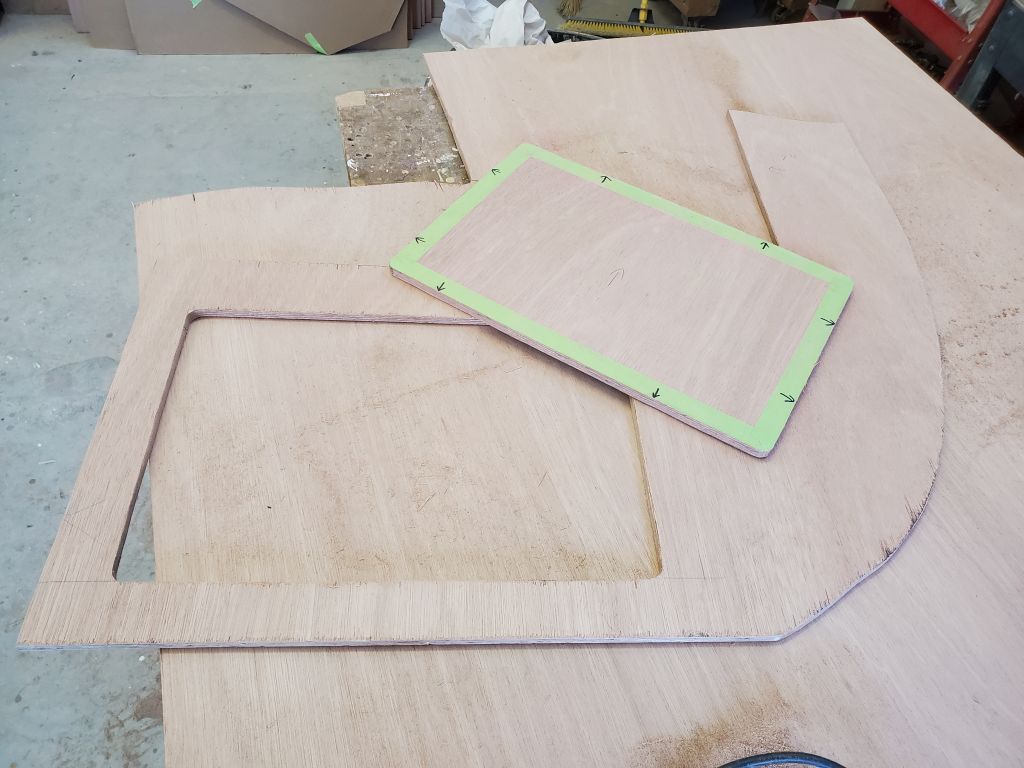
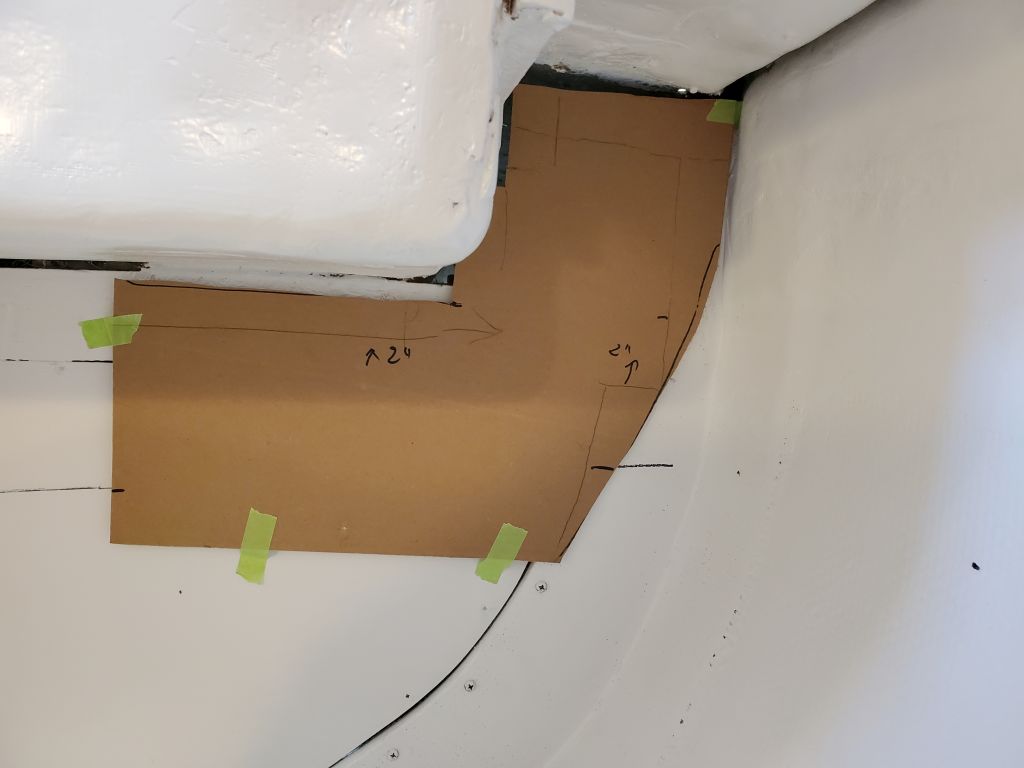
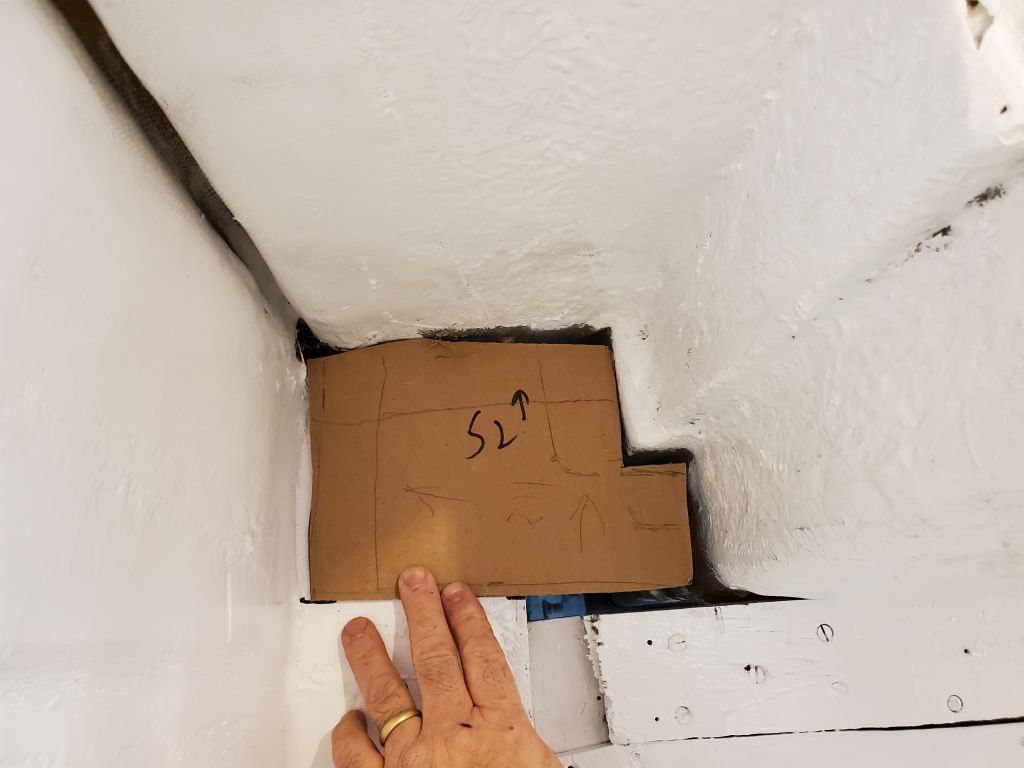
With the galley basics cut and fit, they could await final installation in the near future. For now, though, I removed everything to make room for some additional work at the aft bulkhead, starting with a basic cardboard pattern of the space above the new countertop line. The original “bulkhead” was an el-weirdo mishmash of different pieces, rough carpentry that would make a first-day high school apprentice wince in pain, and gaping openings, and quite simply needed to be covered. I made my cardboard patterns by cutting pieces roughly to size, then using a compass set at a fixed measurement to scribe the Roz Chast-inspired contours of the hull, deck, and elsewhere. This simplistic and quick approach has always worked well and accurately for me.

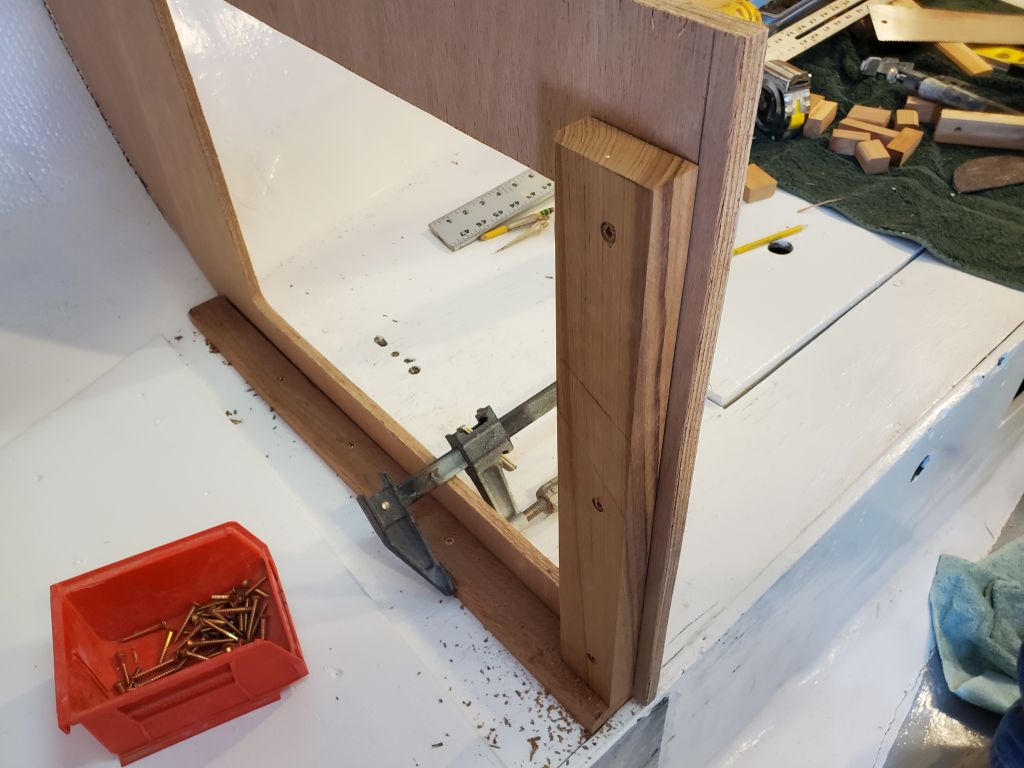
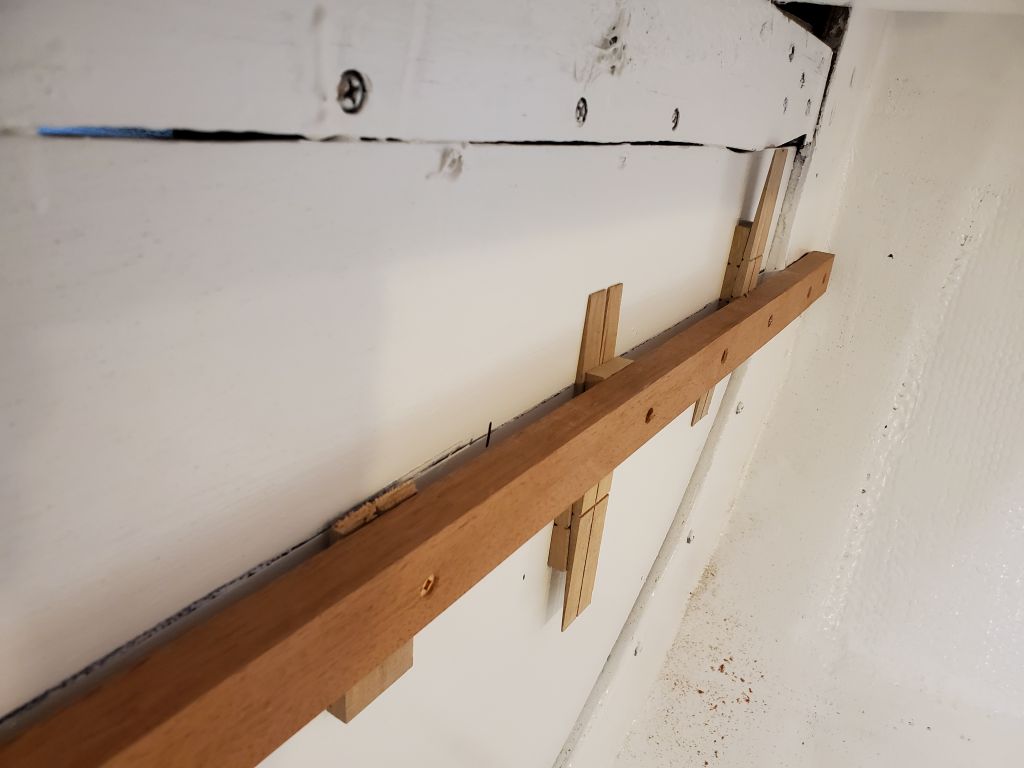
Setting those aside for now, I milled and installed a hardwood cleat across the bulkhead, with its top edge even with the line I’d struck earlier. I found a suitable offcut of old Honduras mahogany–which I’d not seen in many years since it is no longer widely available on the market (I miss it)–that had to date to the early 2000s in my shop. The long narrow strip from which I cut my cleat was not of much use for anything good, but would make an excellent cleat.
I installed the cleat with screws into the bulkhead, with some shims behind where the cleat spanned the new plywood filler piece on the port aft side.

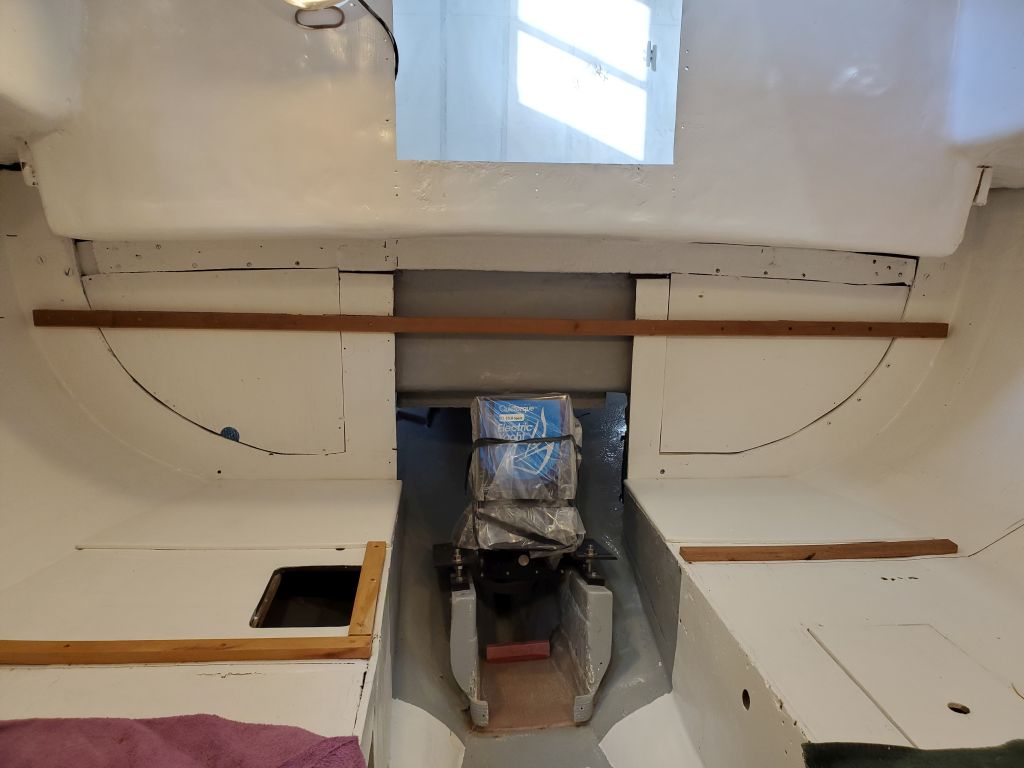


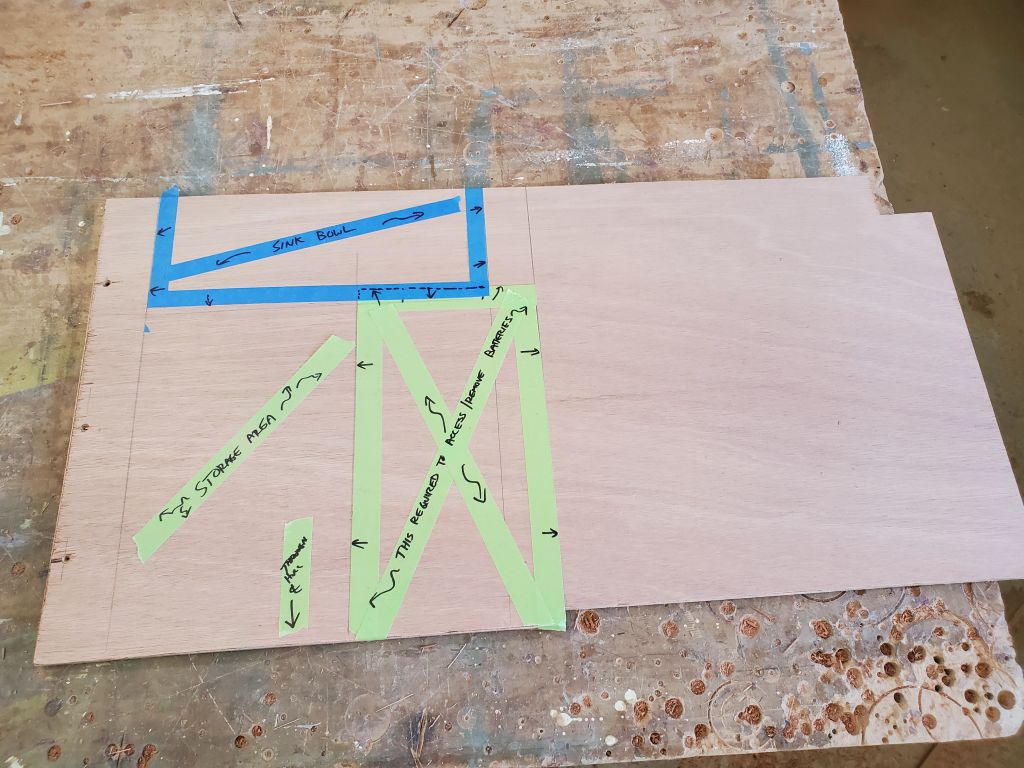
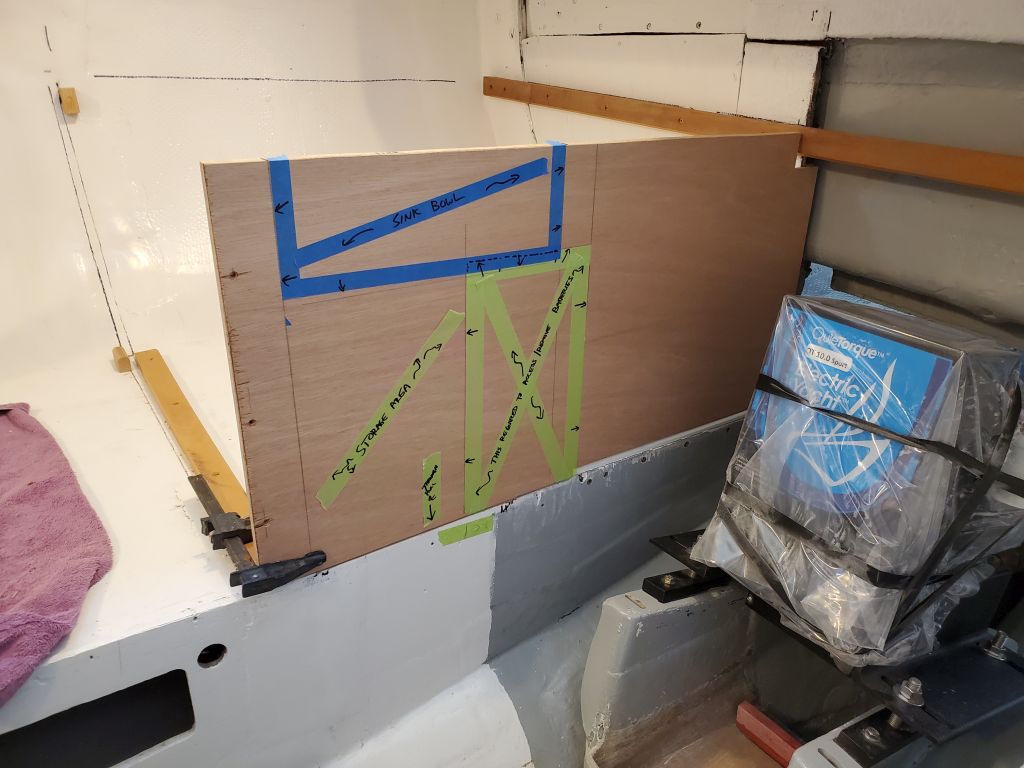
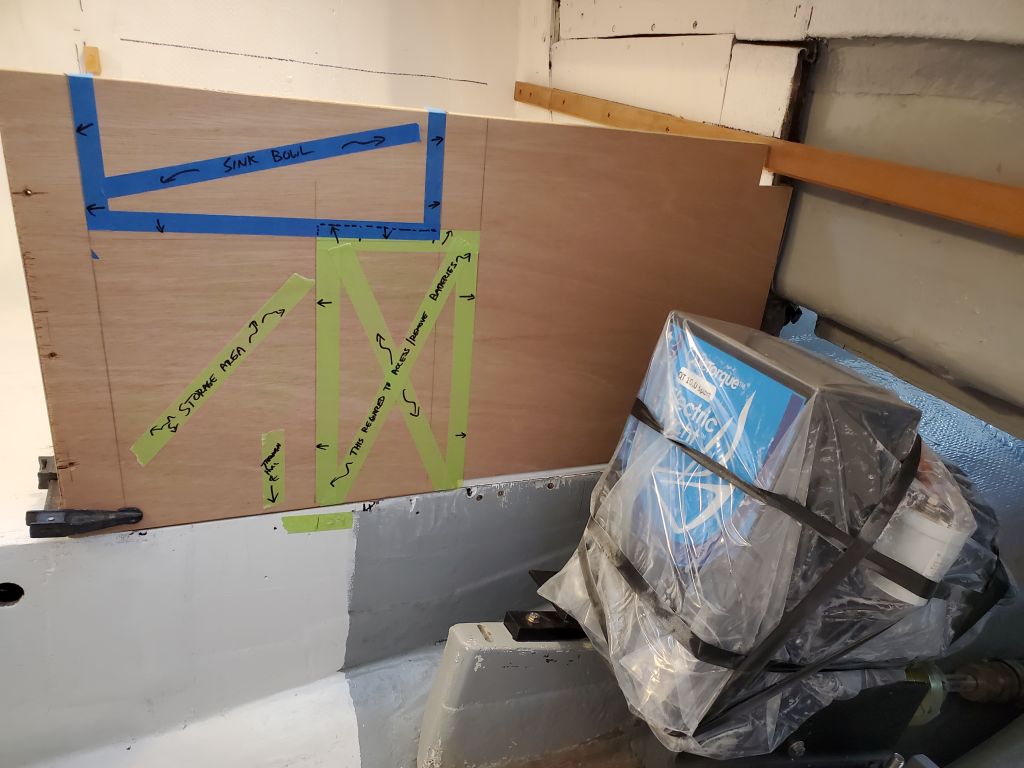
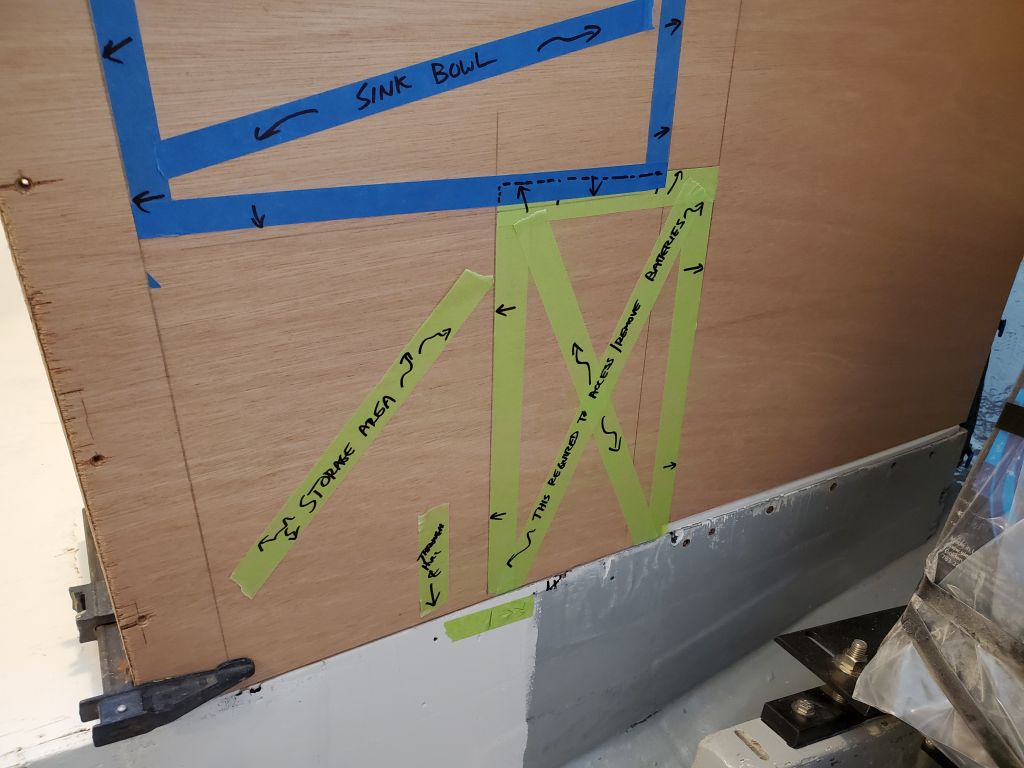
Finally, using some reference marks I’d made while the panel was in the boat, I laid out a few things on the starboard engine room/galley panel, including the minimum required opening to allow battery passage (marked by the outside edge of the green tape), and the sink bowl (outside margins of the blue tape). I also marked the drain location for the sink for reference. I thought there was a need and desire for access into this potential storage space, not to mention hose maintenance access, and while probably a second opening (and eventual door) made sense for this, since the battery opening was partly in and partly out of the engine room (and front panel, which was to come), but wanted to highlight the situation to help better showcase it for the owner so he could make the most informed decisions possible.
Total time billed on this job today: 6.5 hours
0600 Weather Observation: 25°, cloudy. Forecast for the day: Mostly sunny, 48°