


May 10, 2021
Lyra 73
Monday
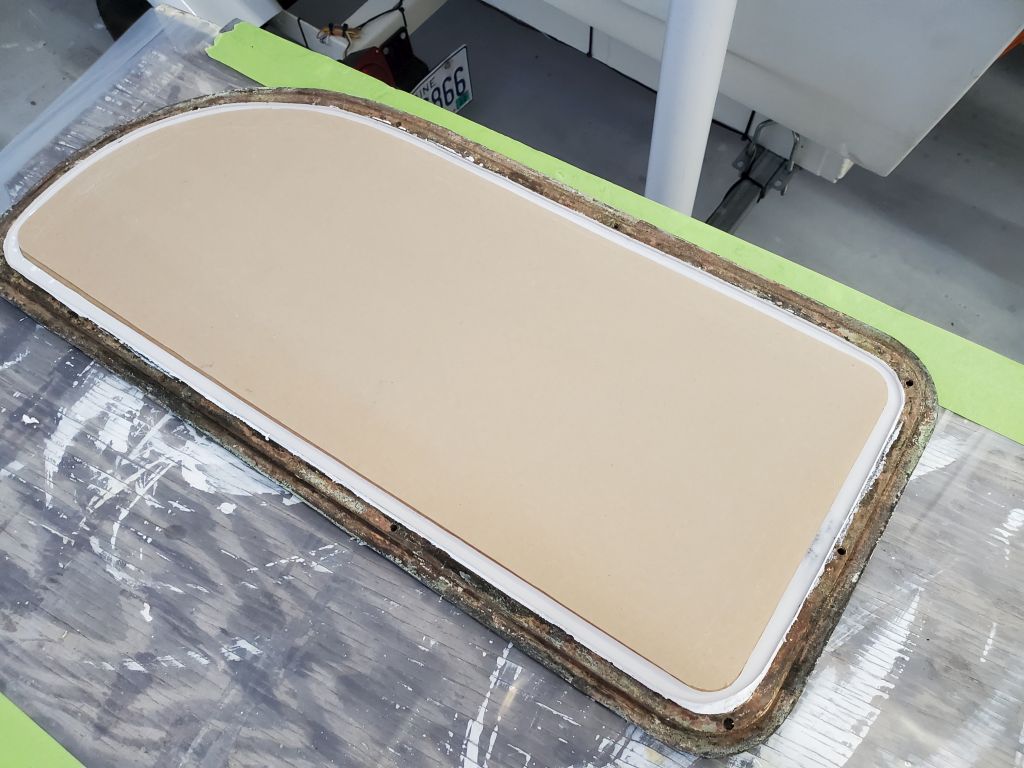
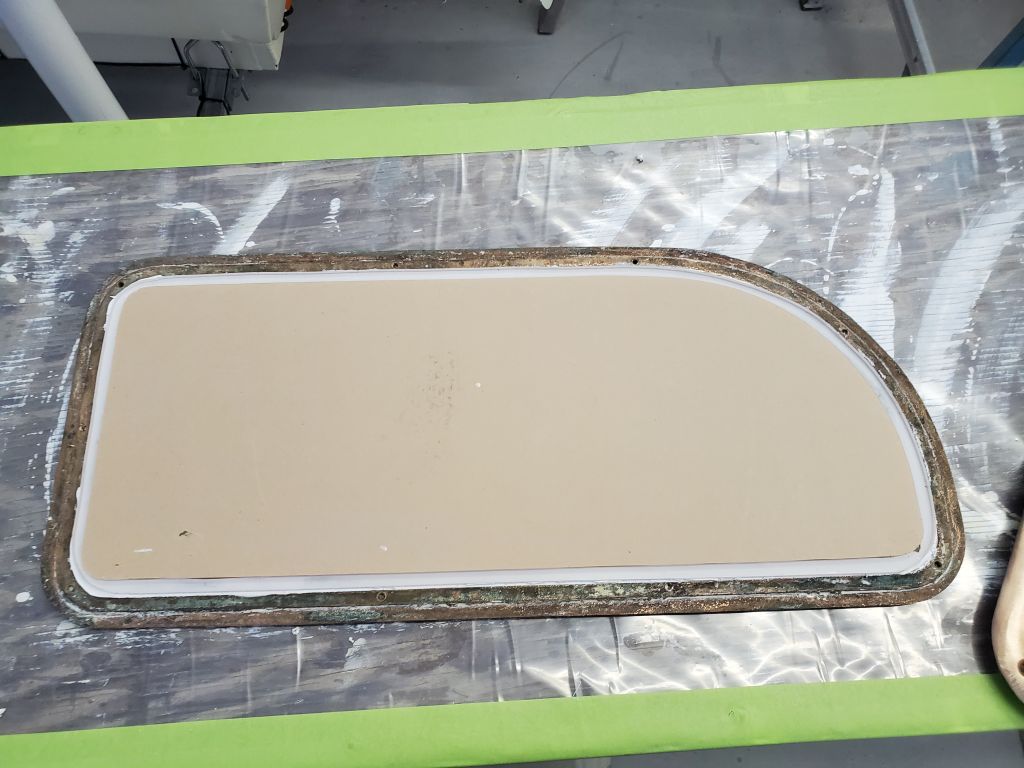
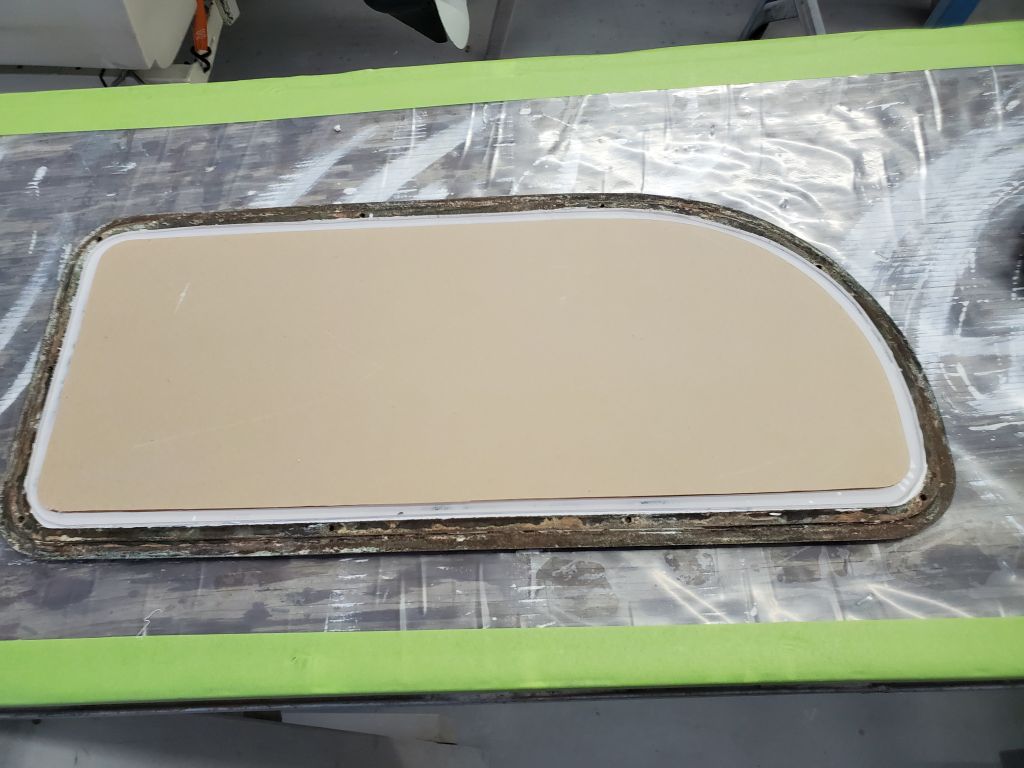
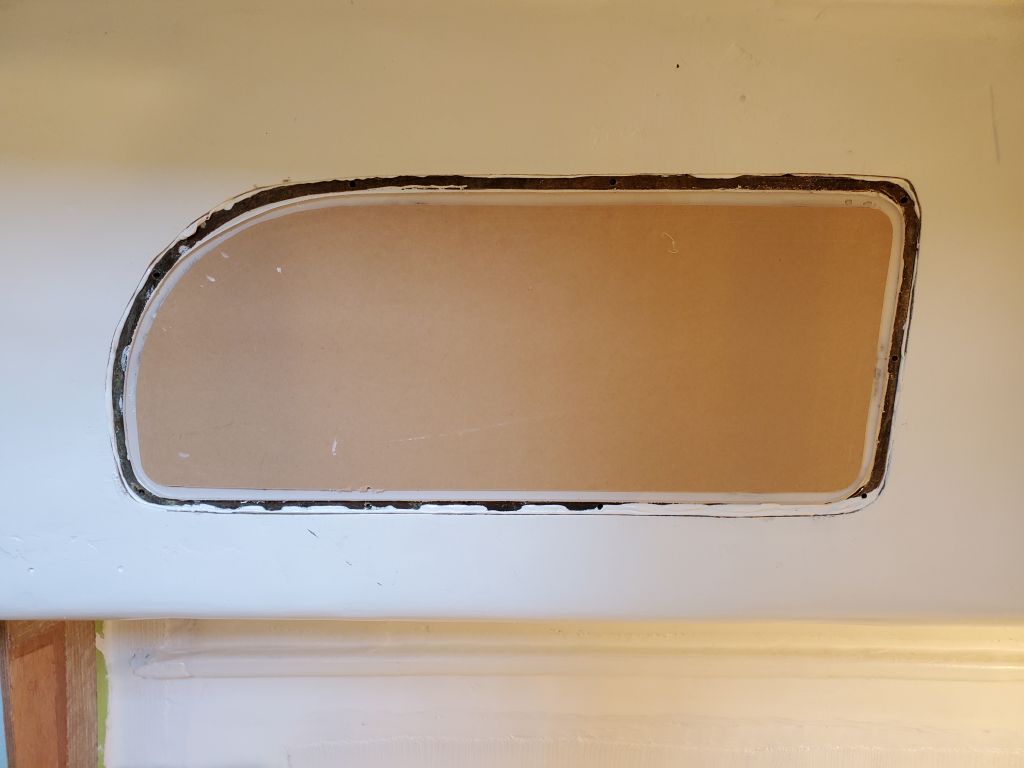
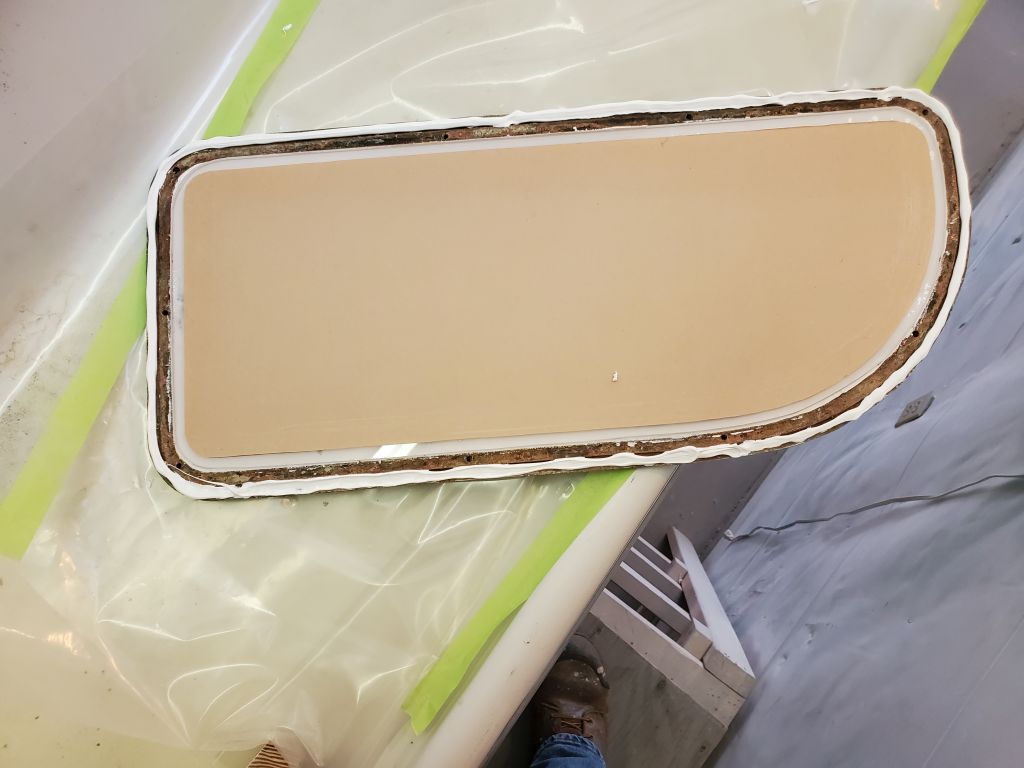
The sealant securing the new acrylic lenses in place had cured sufficiently over the weekend, so my first task was to trim the excess from the back sides of the frames, where the sealant had spread a bit onto the raised mating/bolting flange of the frames. This was straightforward and quick.
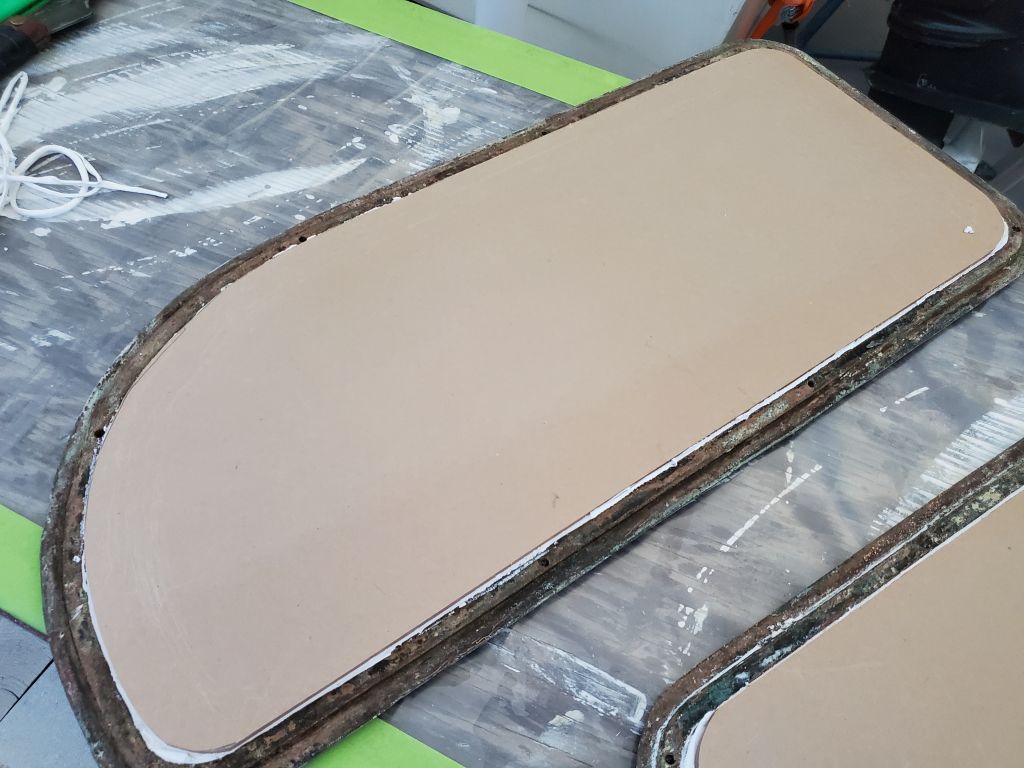
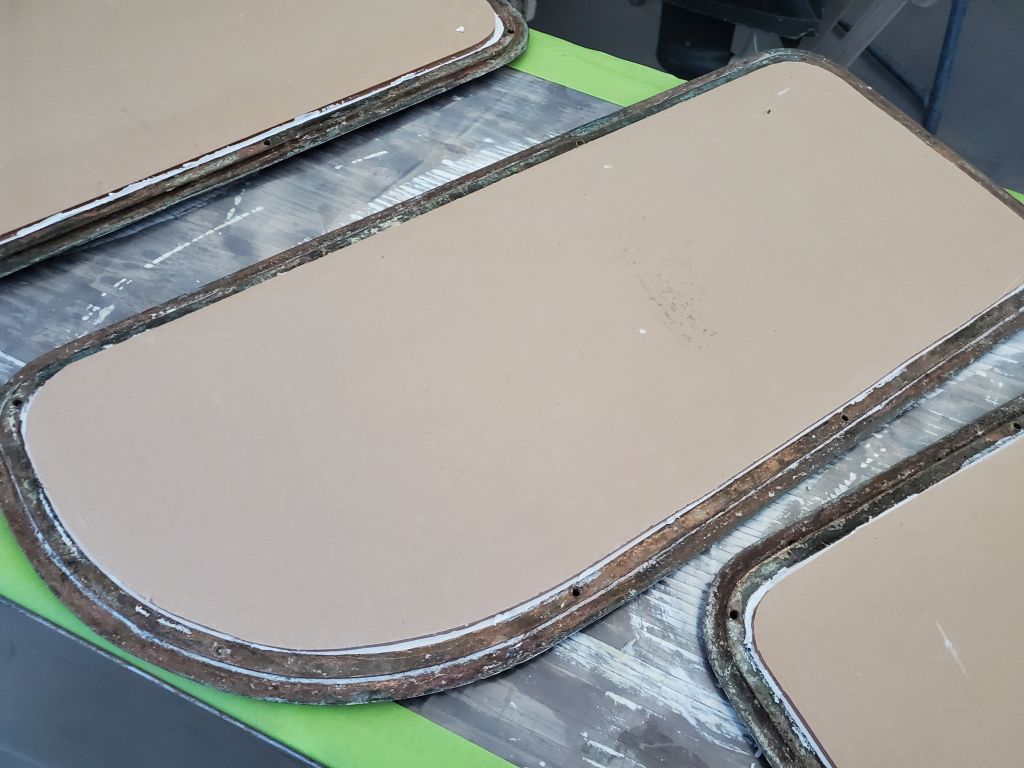
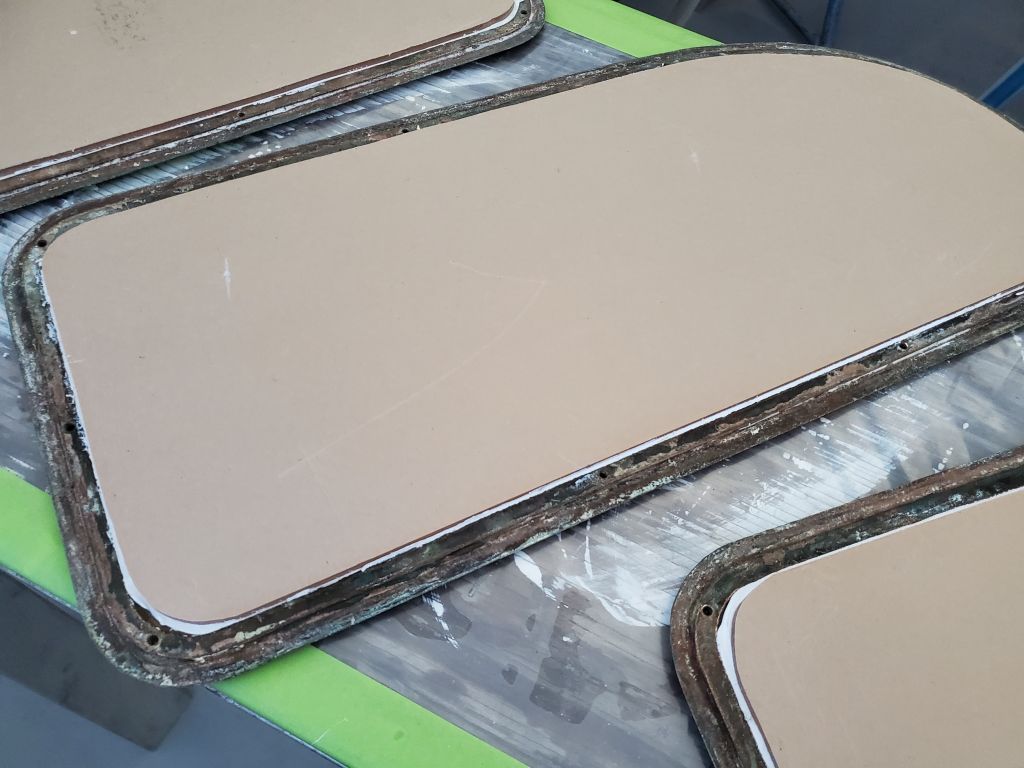
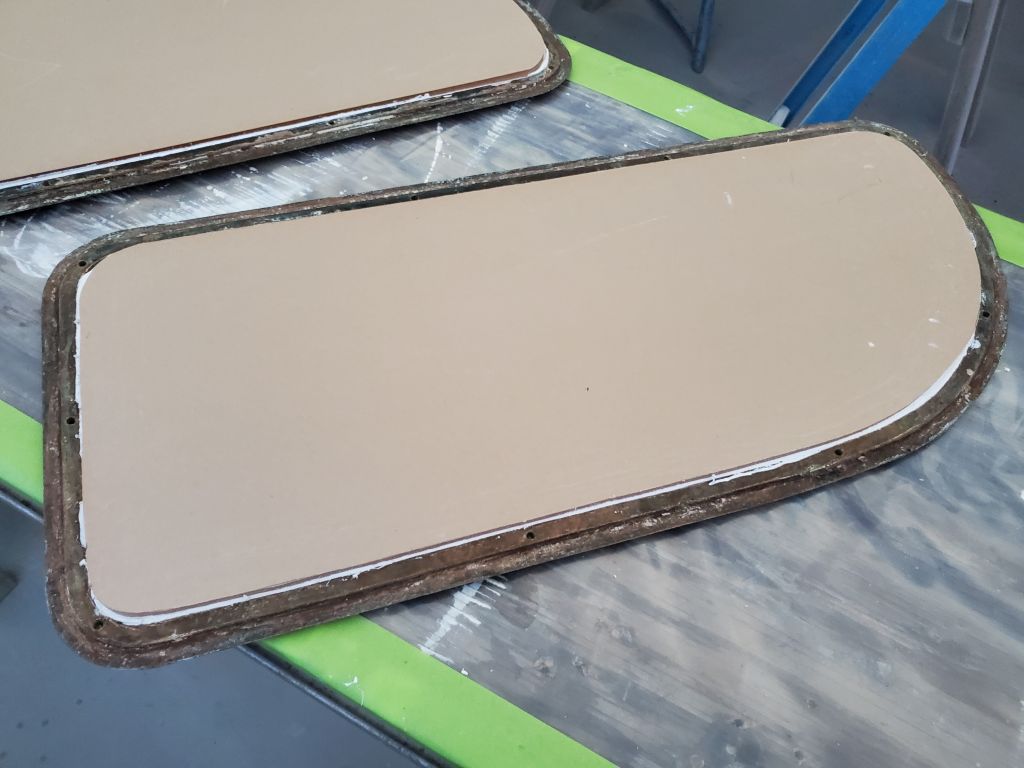
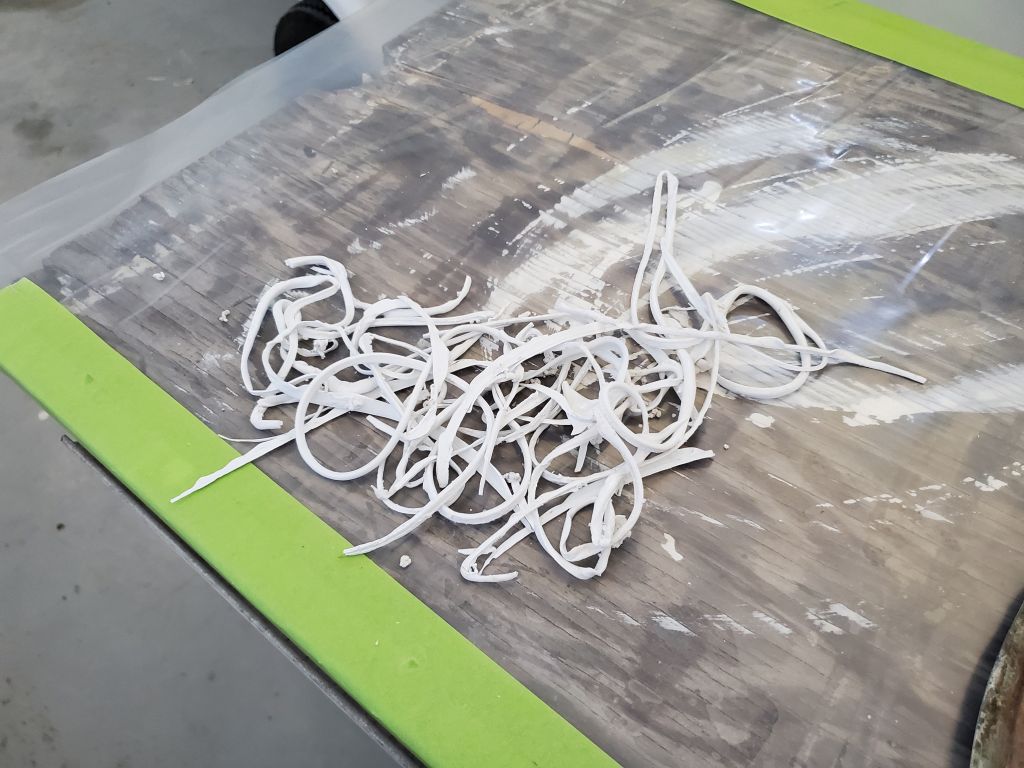
I chose to leave the outer side of the frames alone for now, leaving the squeezeout for removal after installation so that the protective paper would remain intact. Plus, I didn’t want to take the time to remove it now, since it didn’t affect installation and frankly I just wanted to get these in, after which I could clean up at leisure.

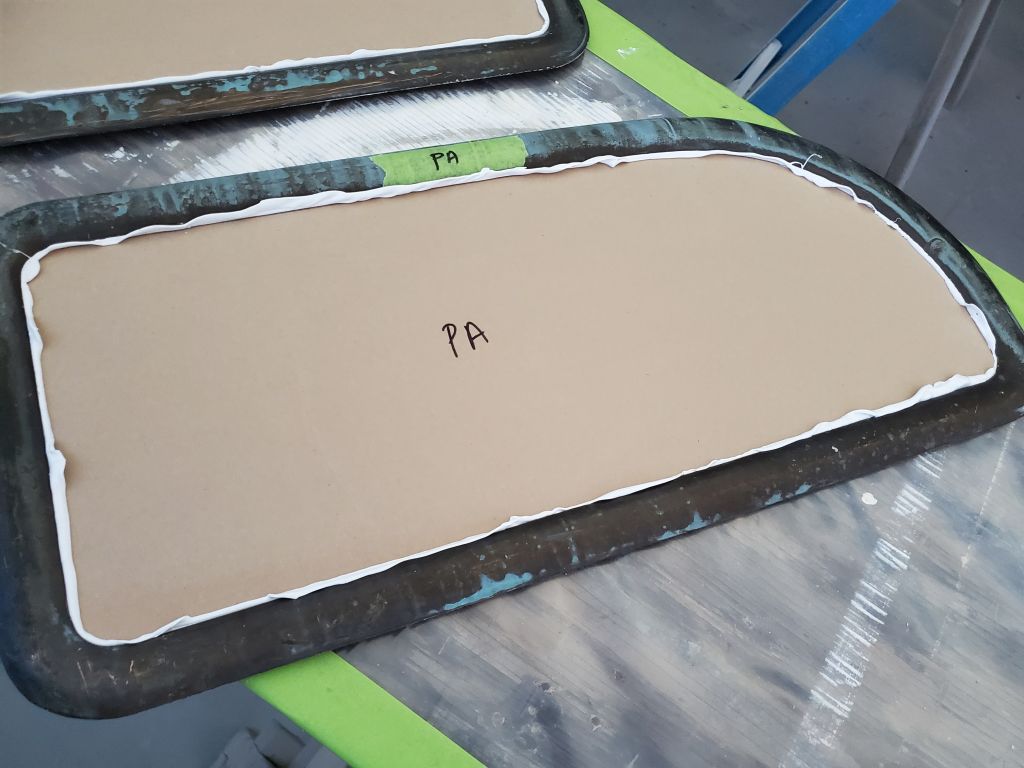
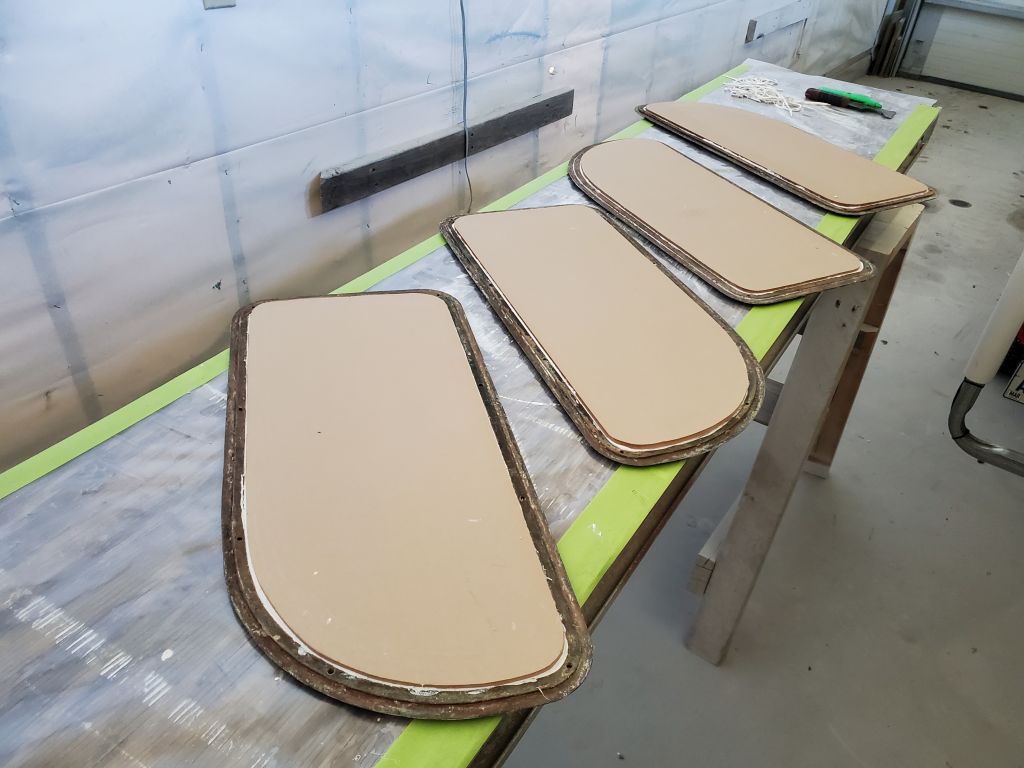
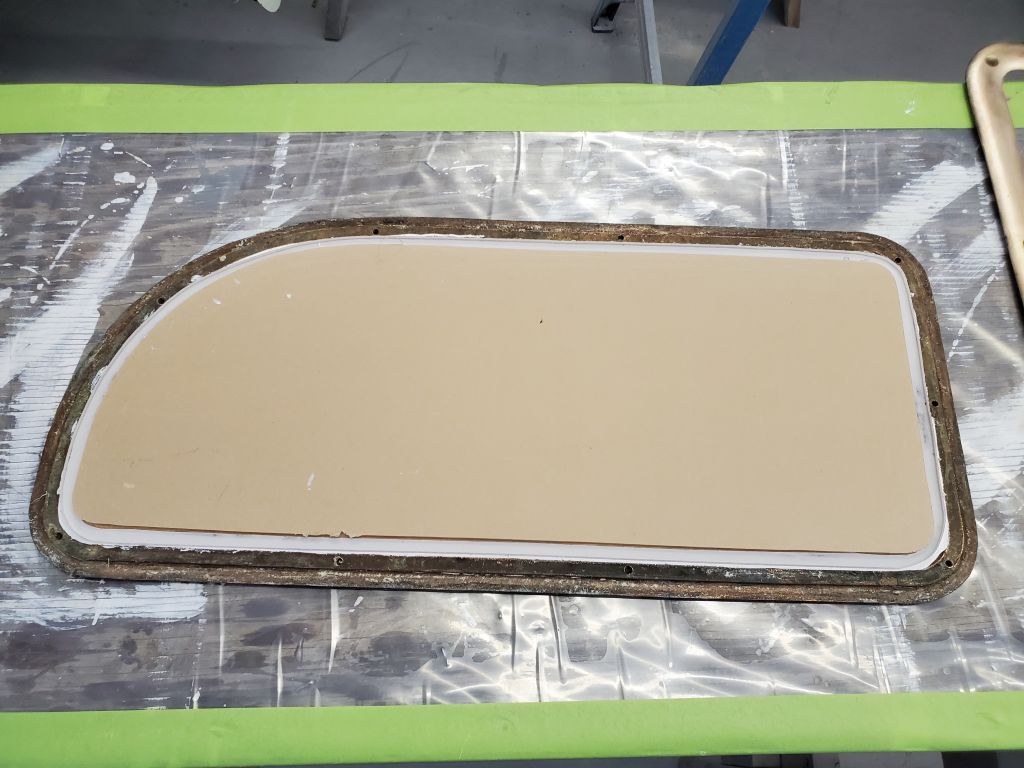
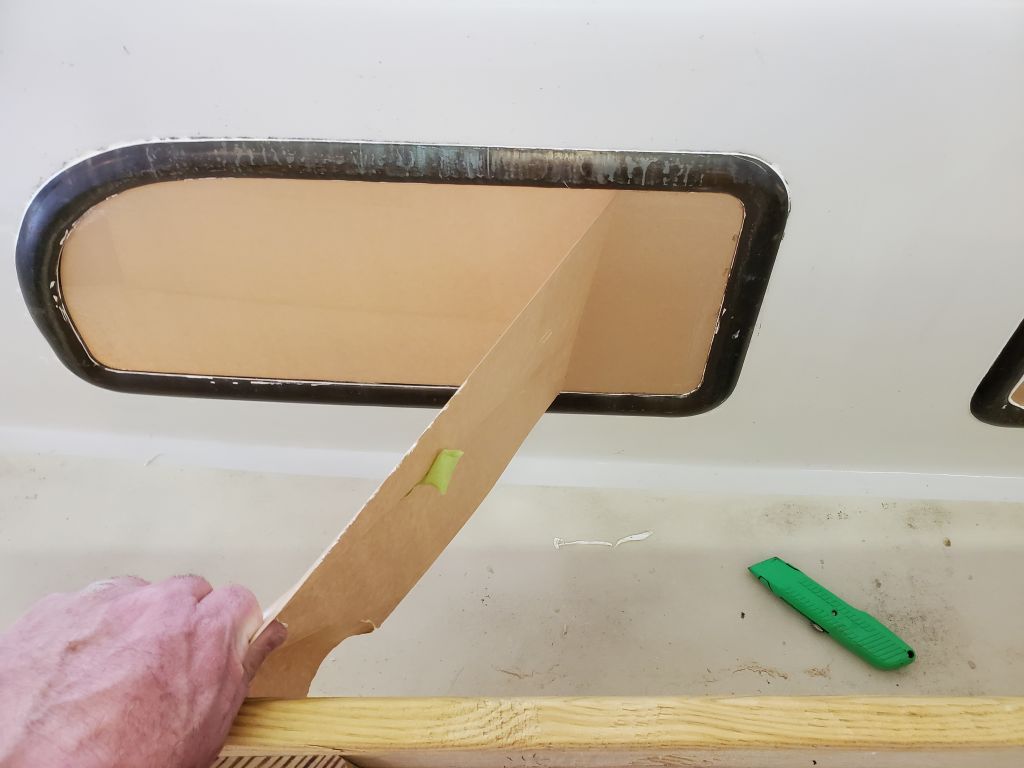
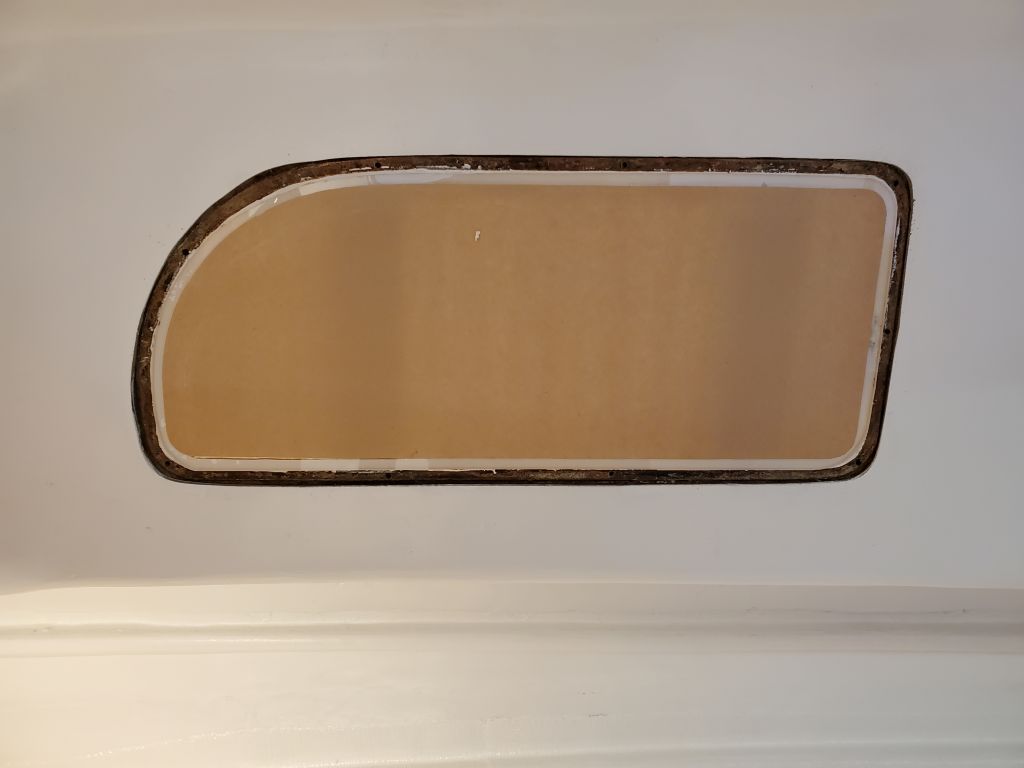
Next, I dry-fit each inside frame to its respective mate and used the frame as a guide to trim the paper on the inside of the lenses.

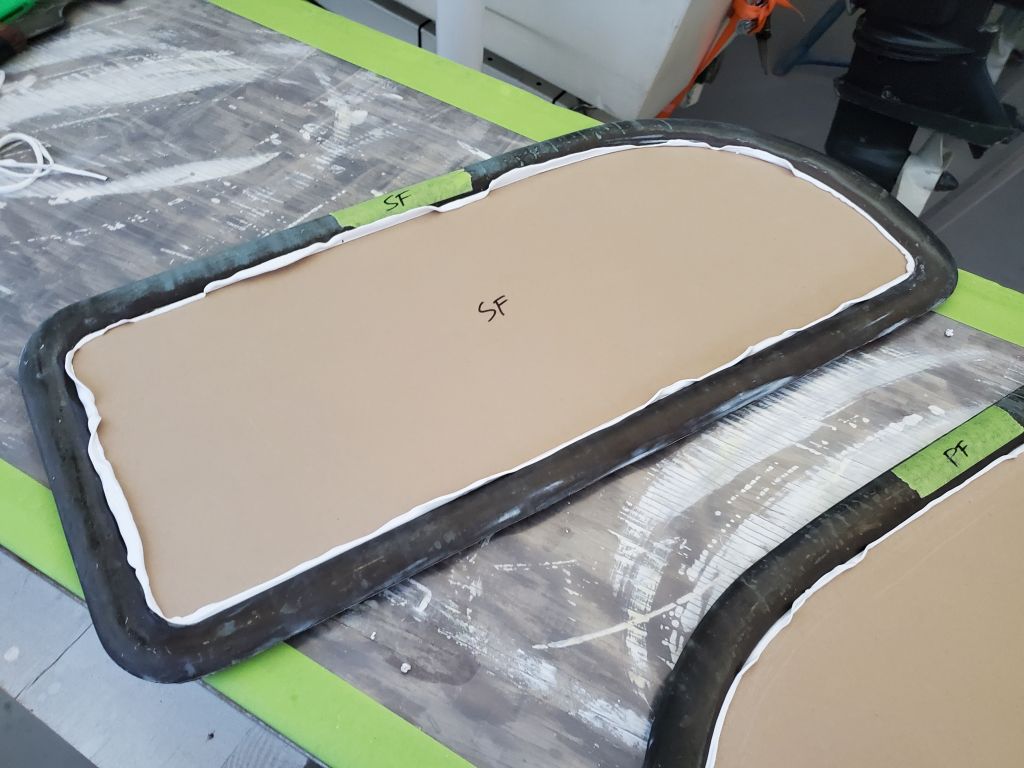
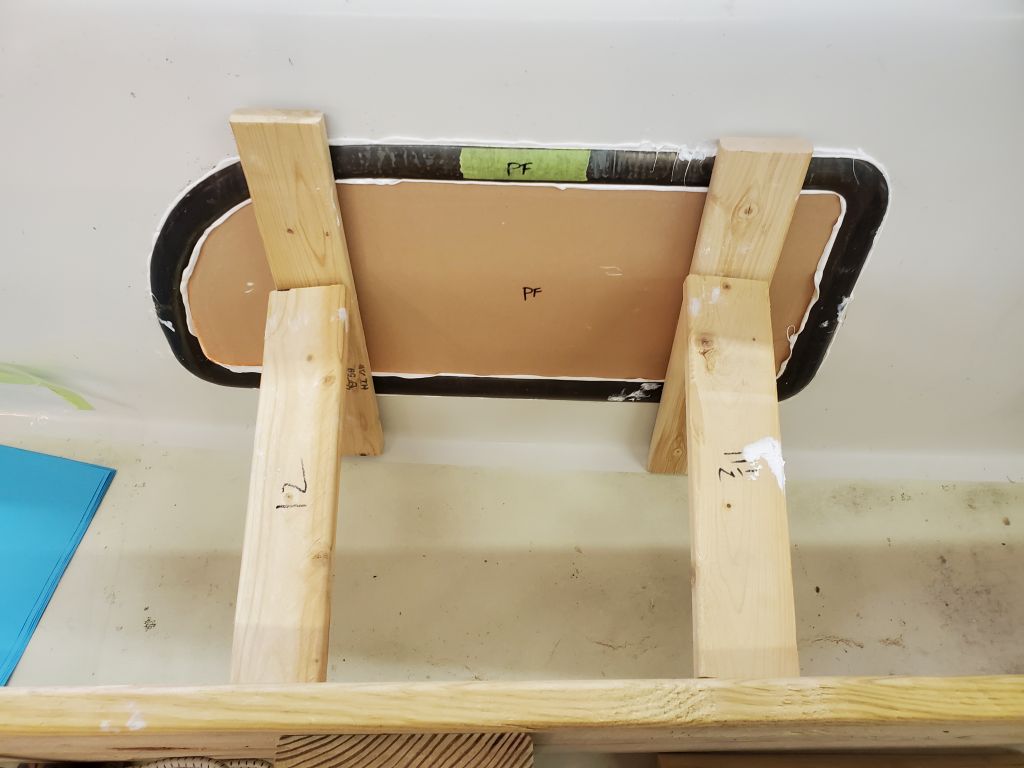
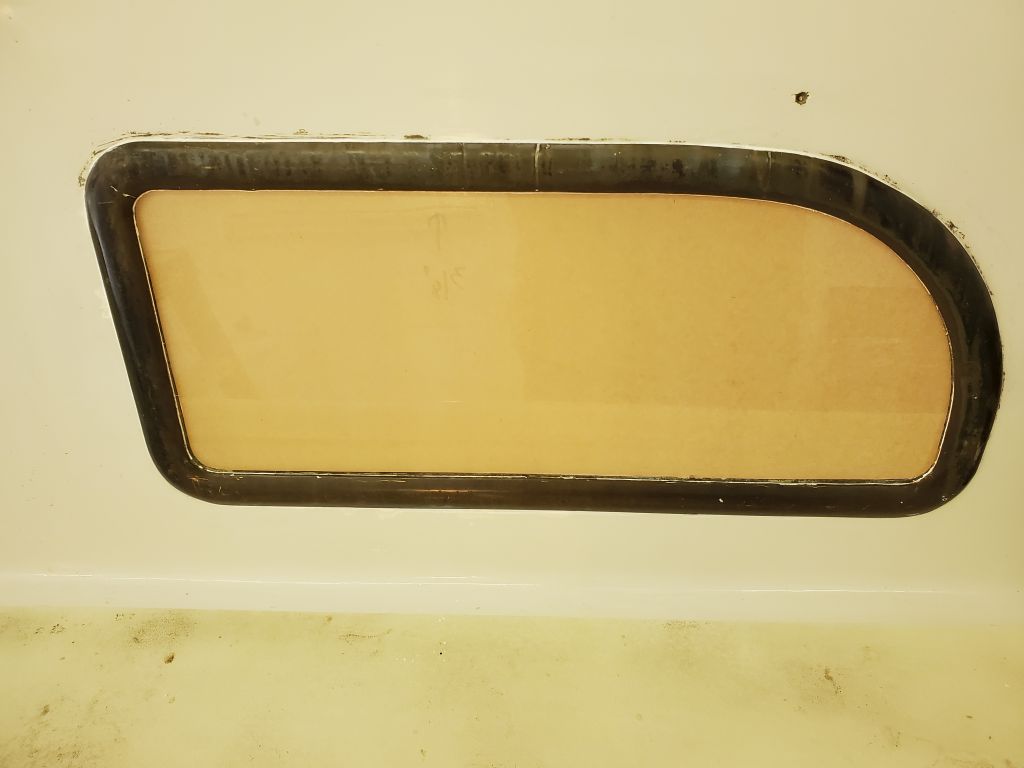
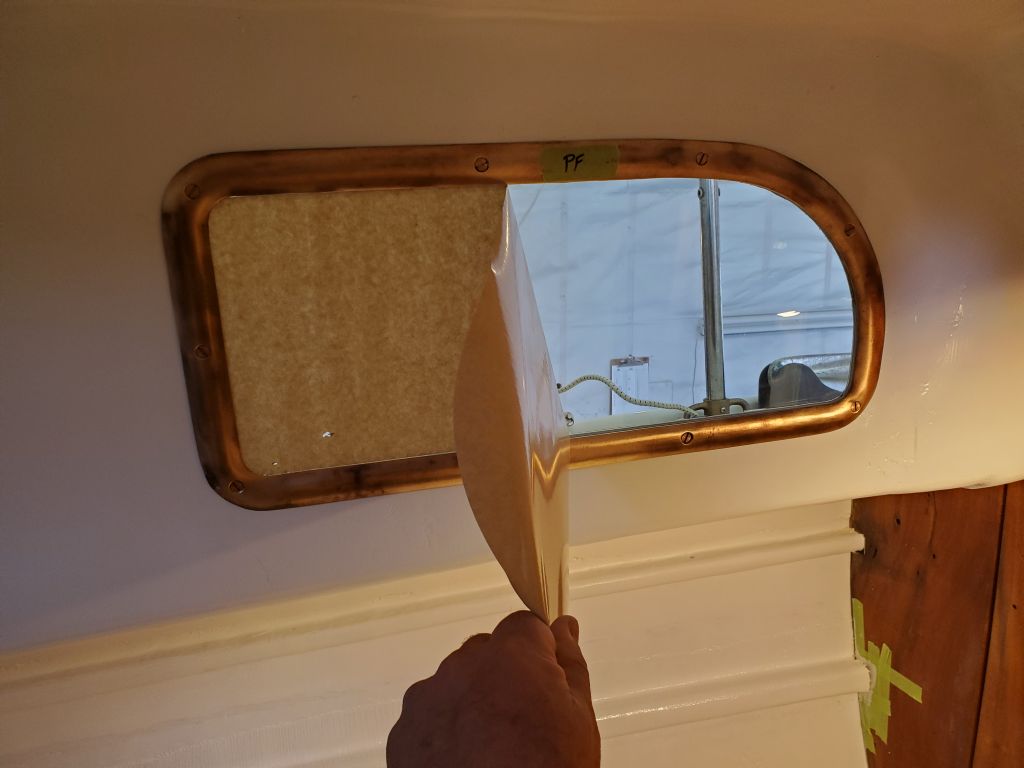
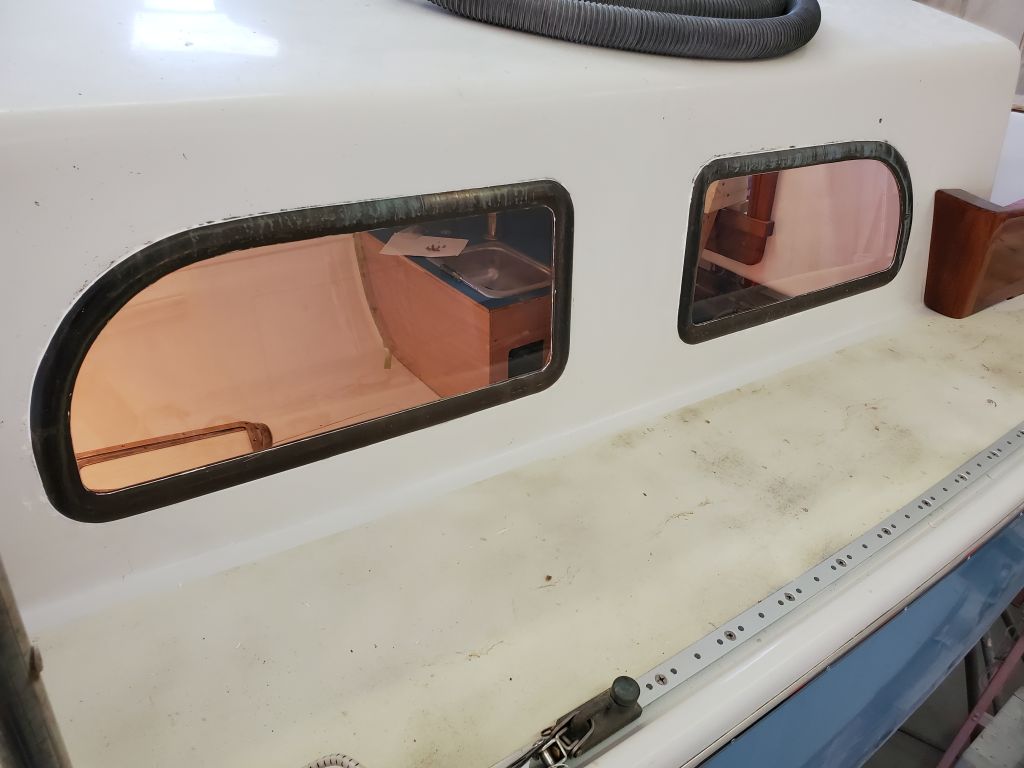
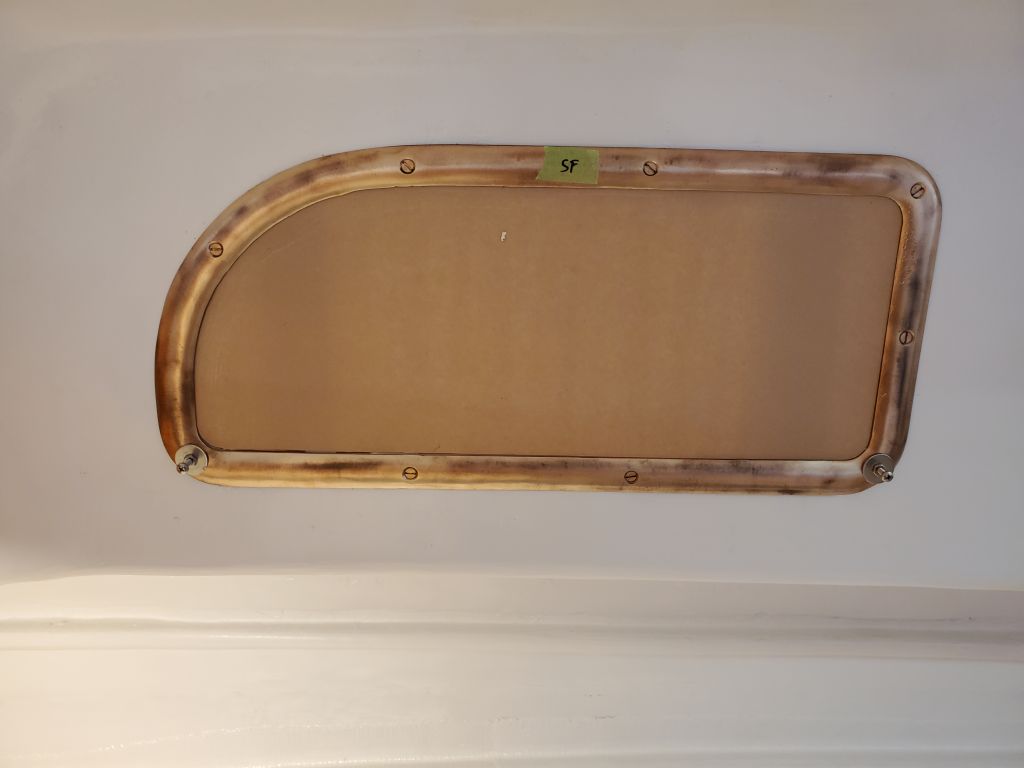
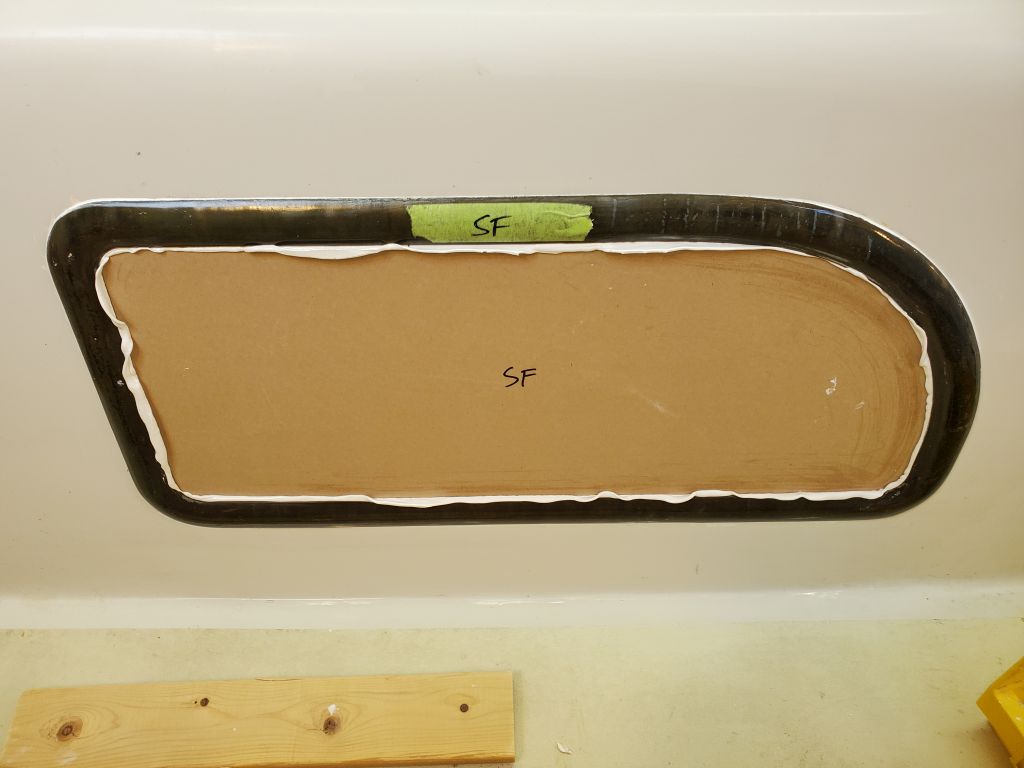
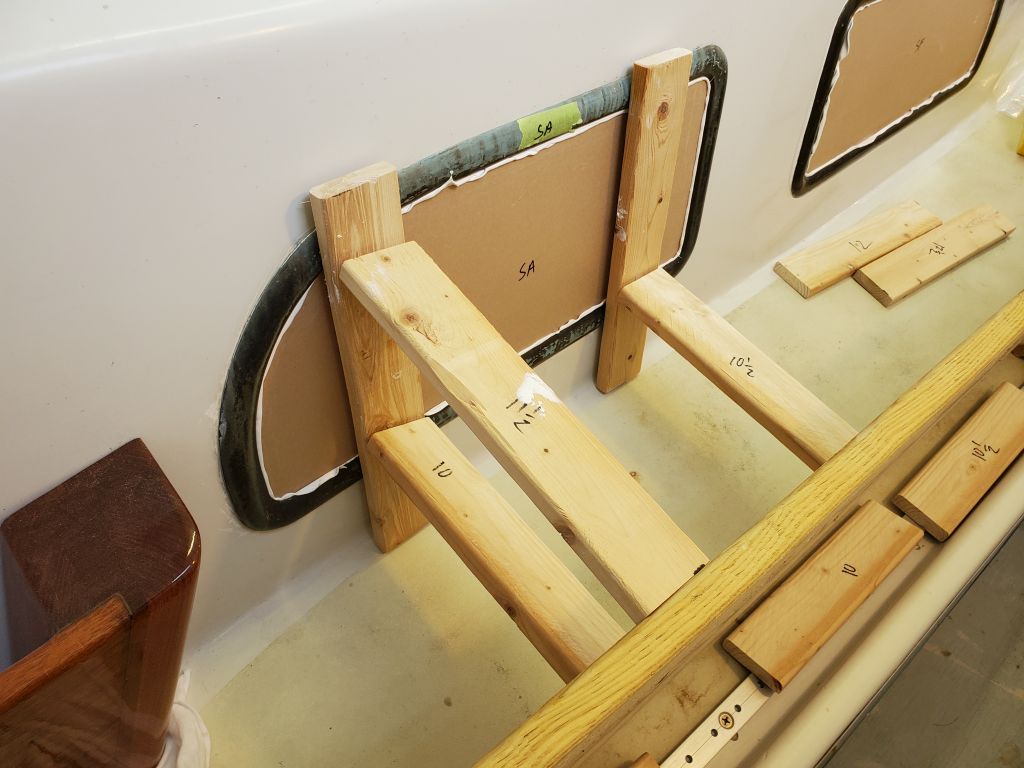
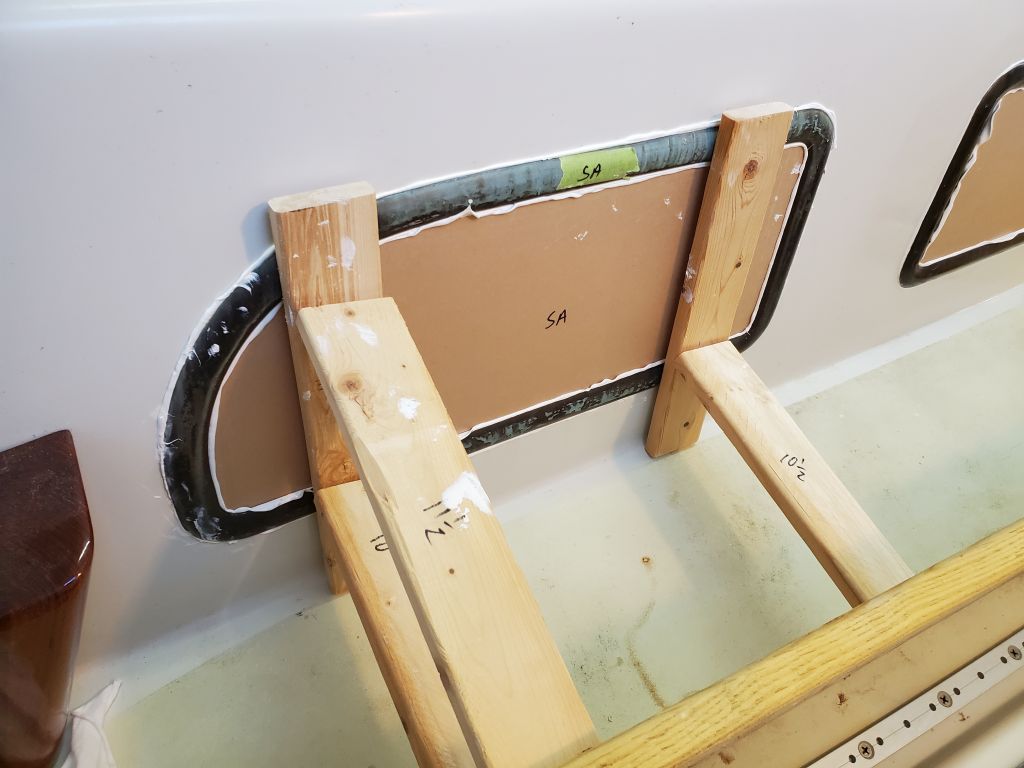
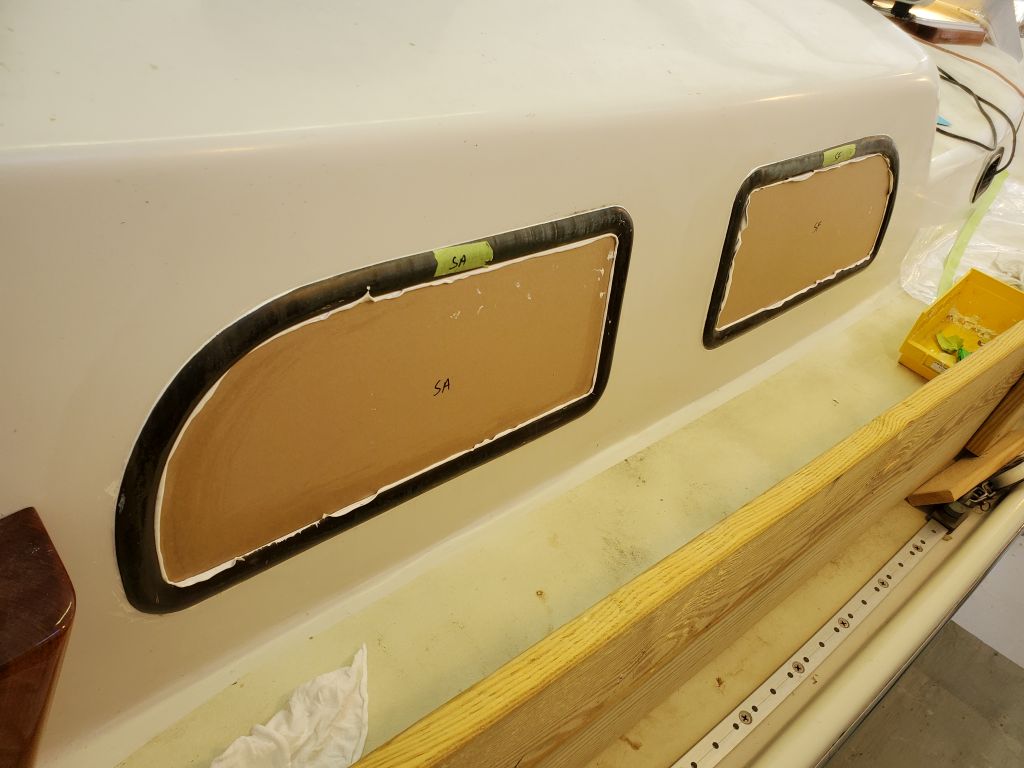
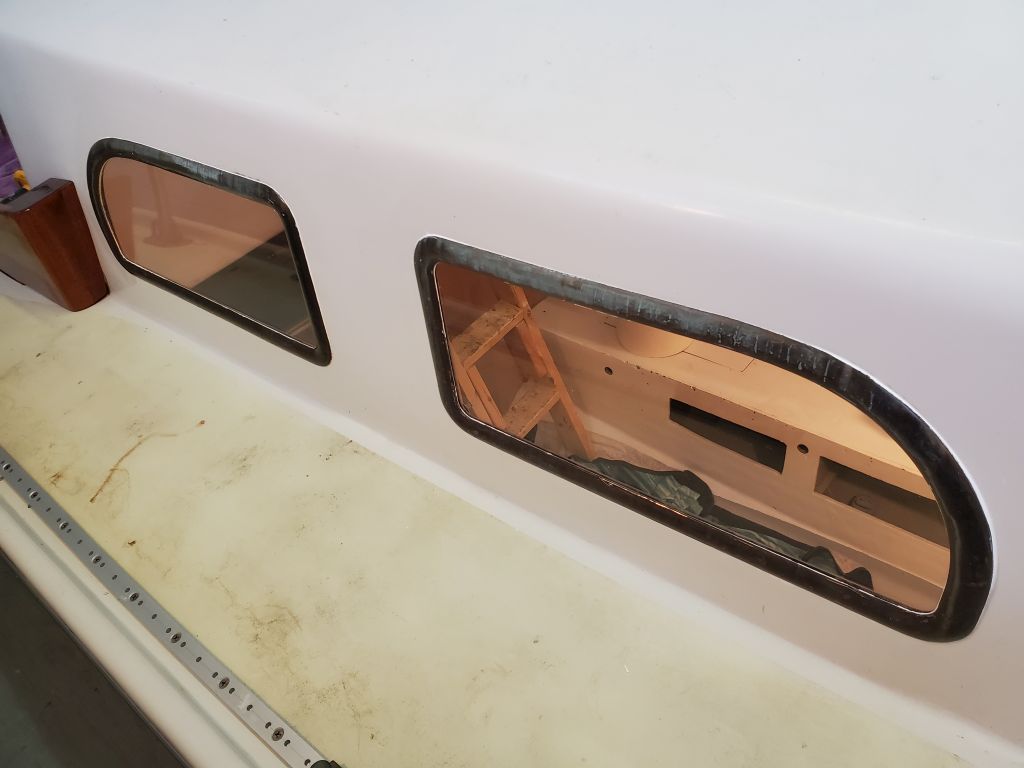
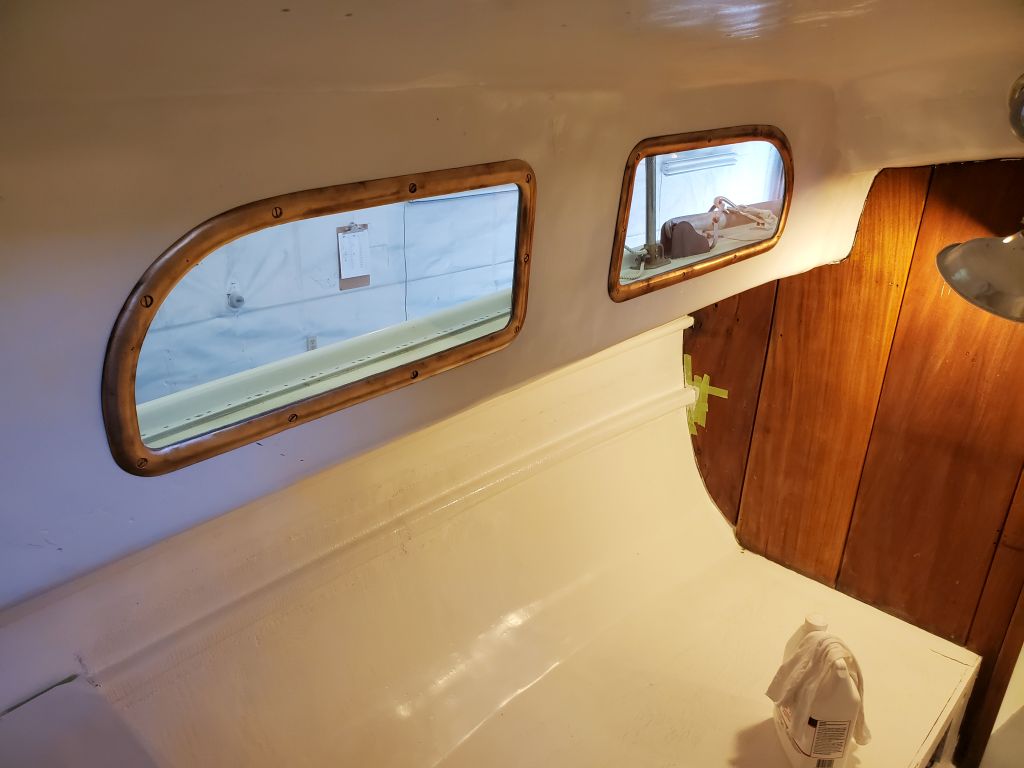
With preparations complete, and the rest of the installation gear still arranged on the port side, now I could get back to the final installation after last week’s setback. I started with the port forward frame. For each frame, I first dry-fit the frame with the braces to check its security and to choose the right brace lengths. Then, I applied sealant to the back of the frame and braced it for the final installation. This worked well to position and hold the outer frame tightly, allowing me to go below and install the inside frame with screws. Then, I could go back out and clean up the excess sealant from the outside of the frame.


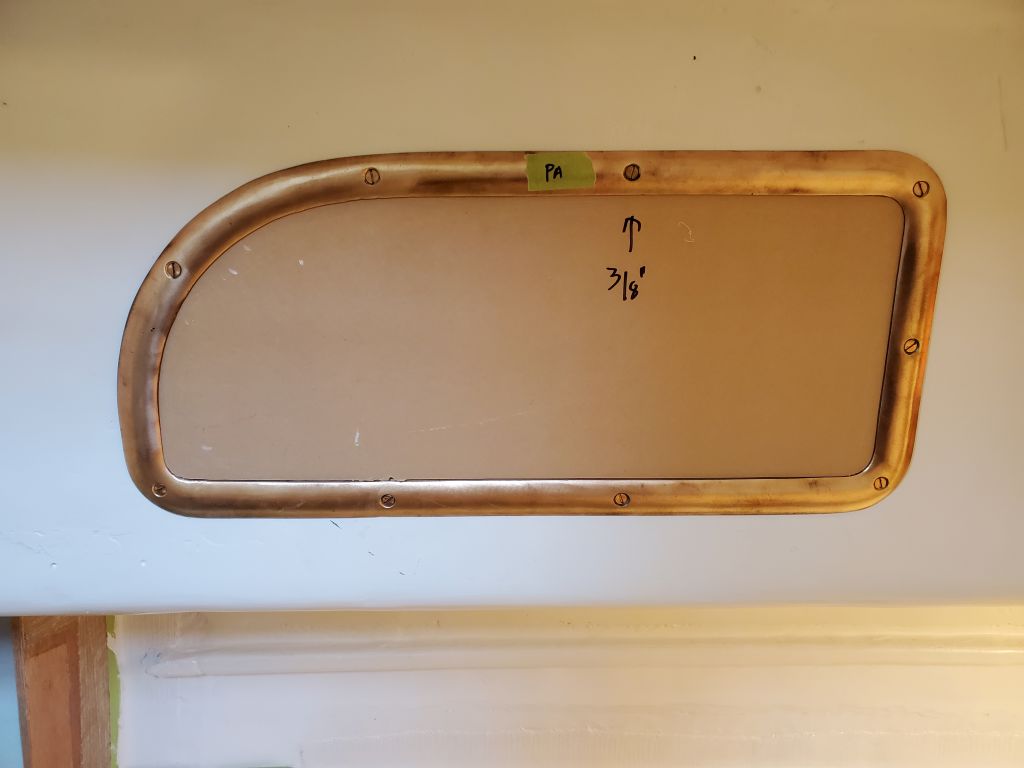
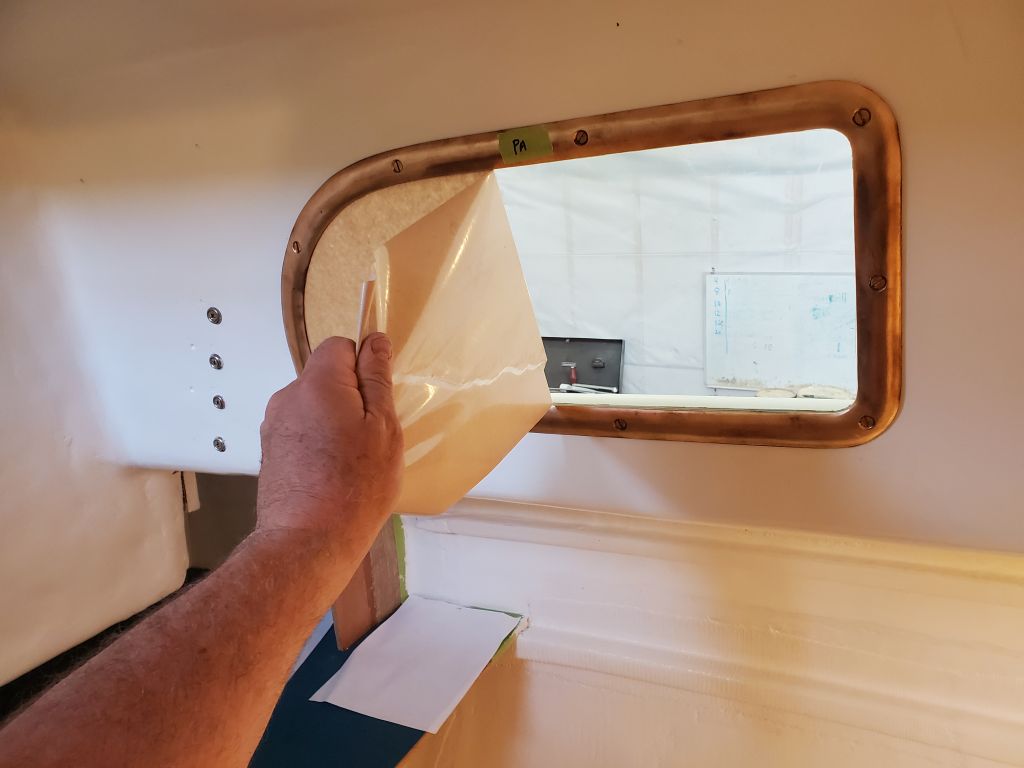
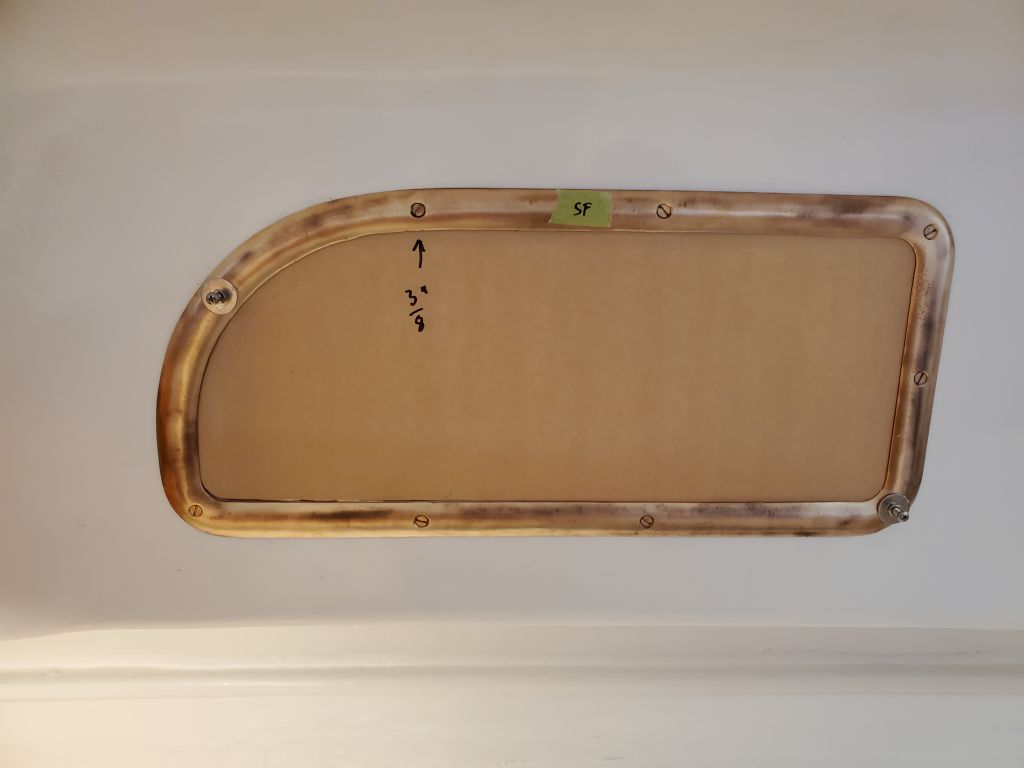
I continued with the port aft deadlight. In this case, I found a need to use a shorter, 3/8″ screw (versus 1/2″ as the working length elsewhere) in one location on the frame since the longer screw there was bottoming out and pushing the outer frame away.

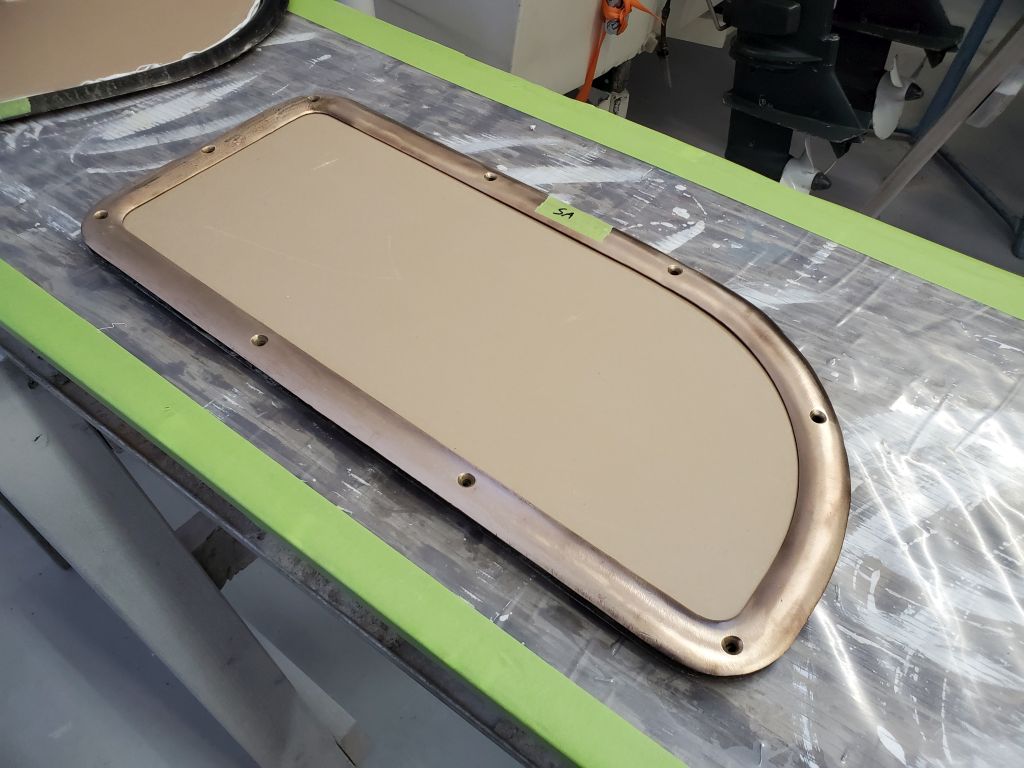
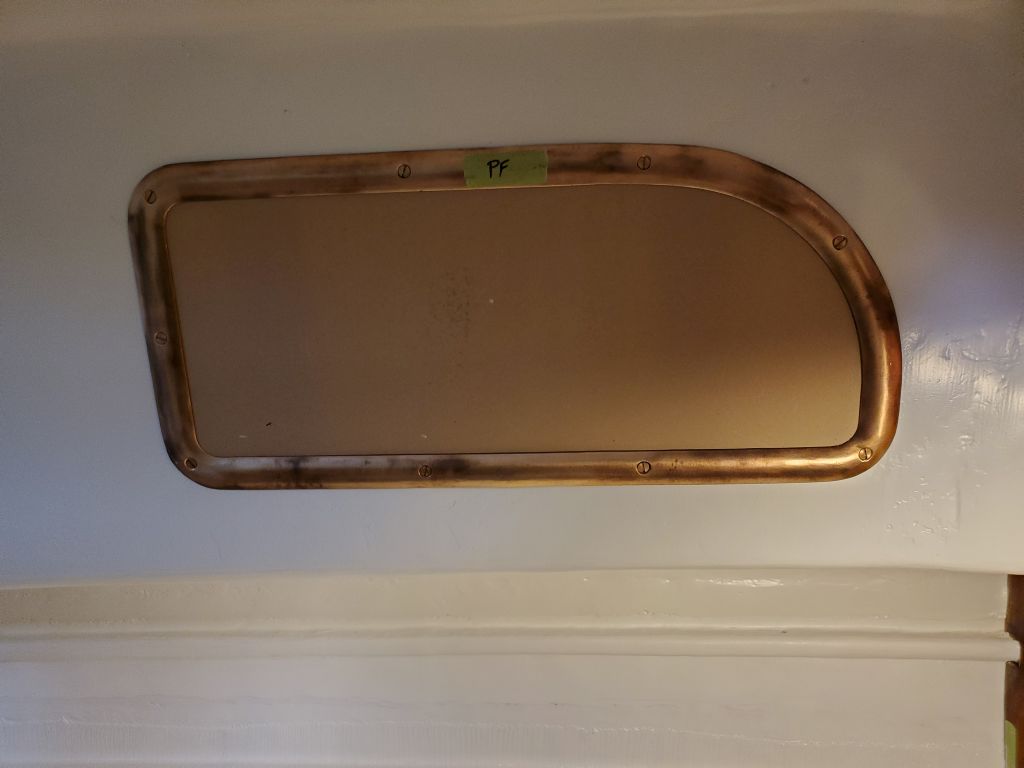
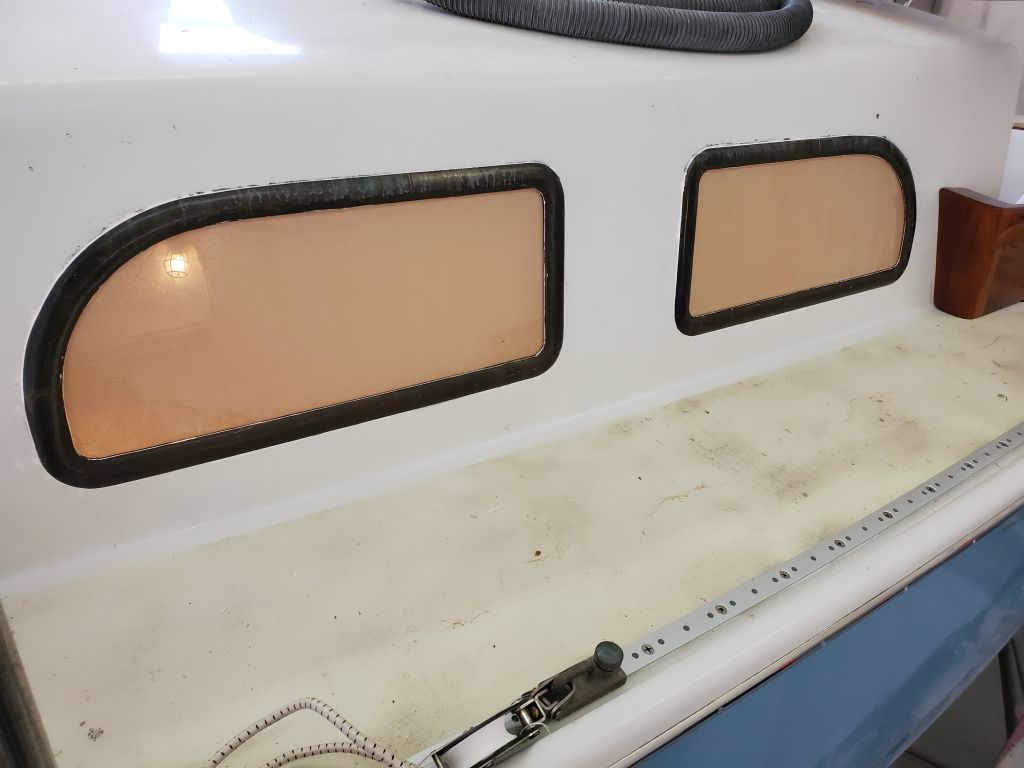
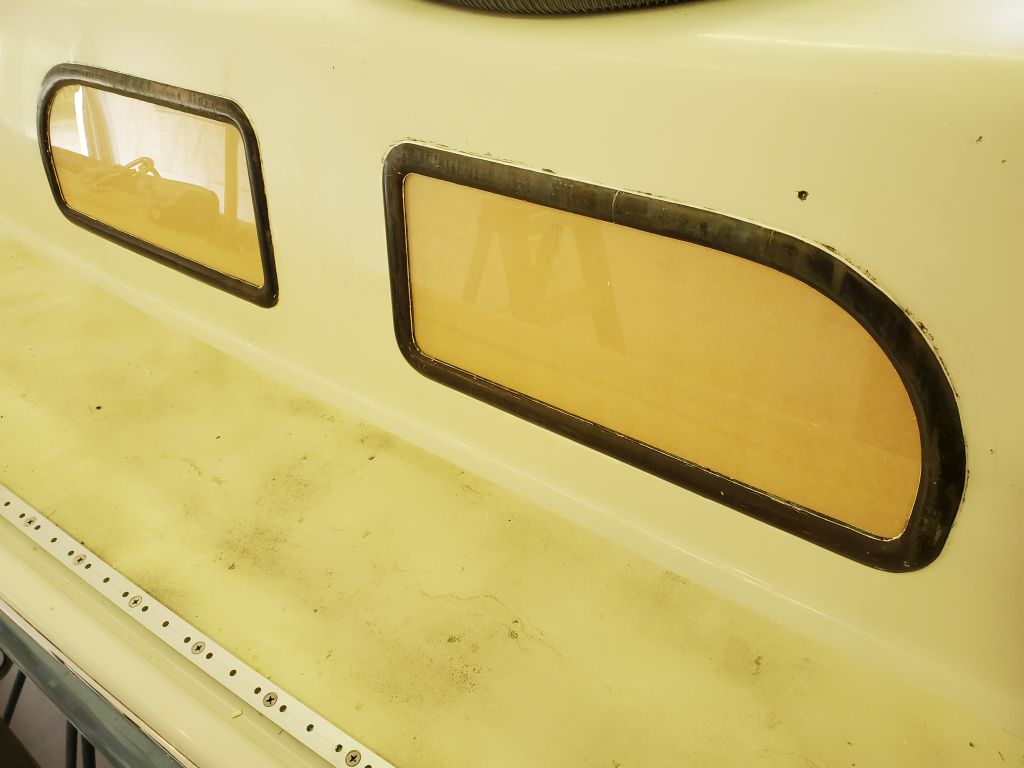
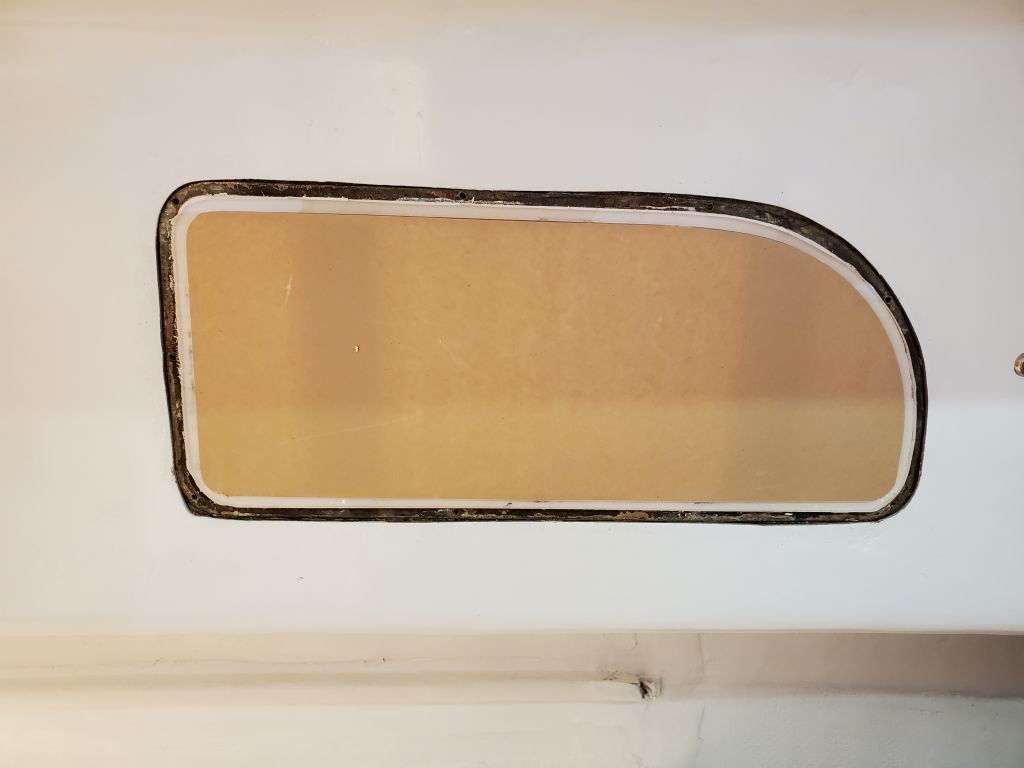
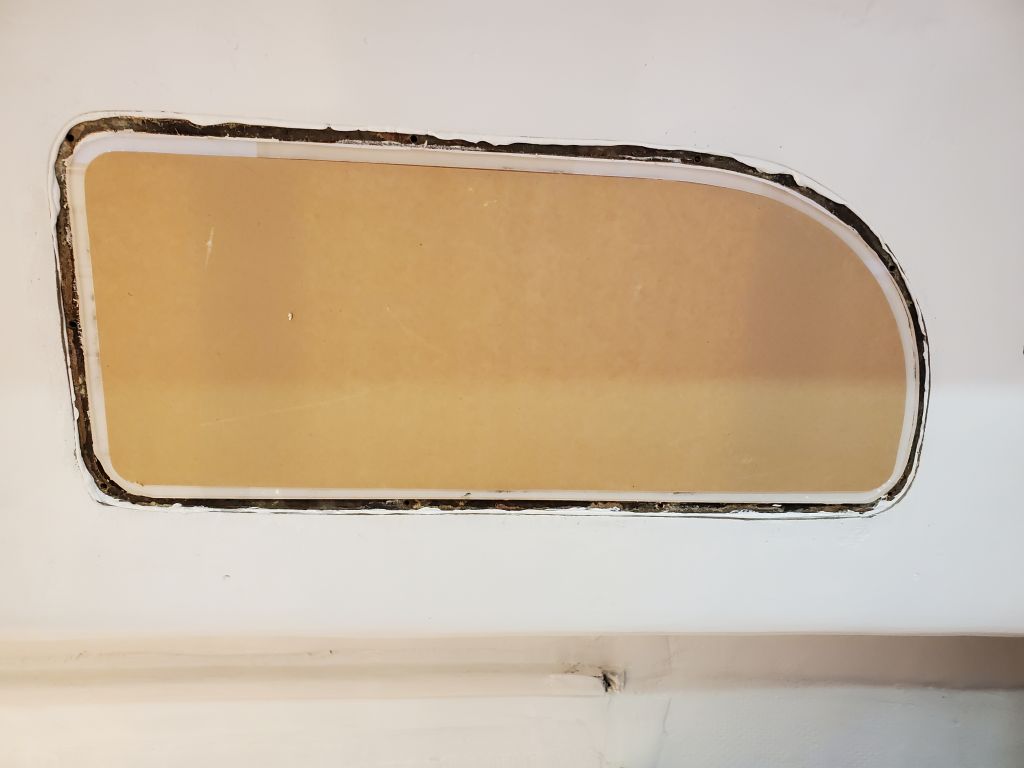
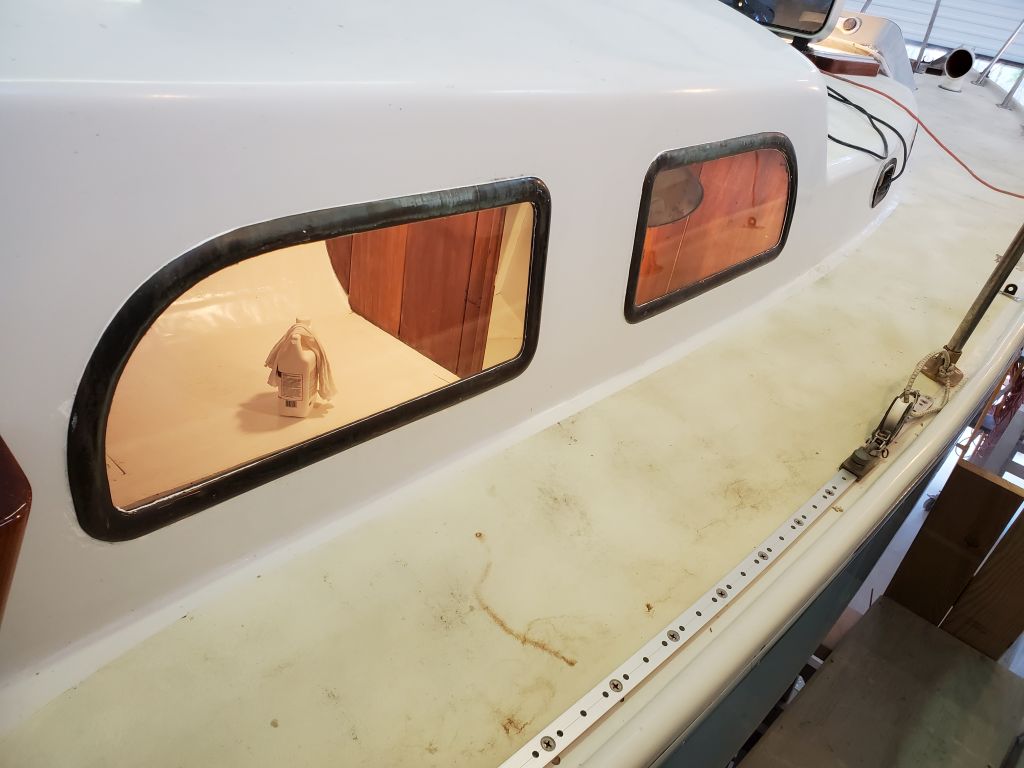
With both port frames installed and the new sealant cleaned up, now I could remove the cured squeezeout from the lens on the outside and pull off the paper from both sides, revealing the new windows in all their glory.


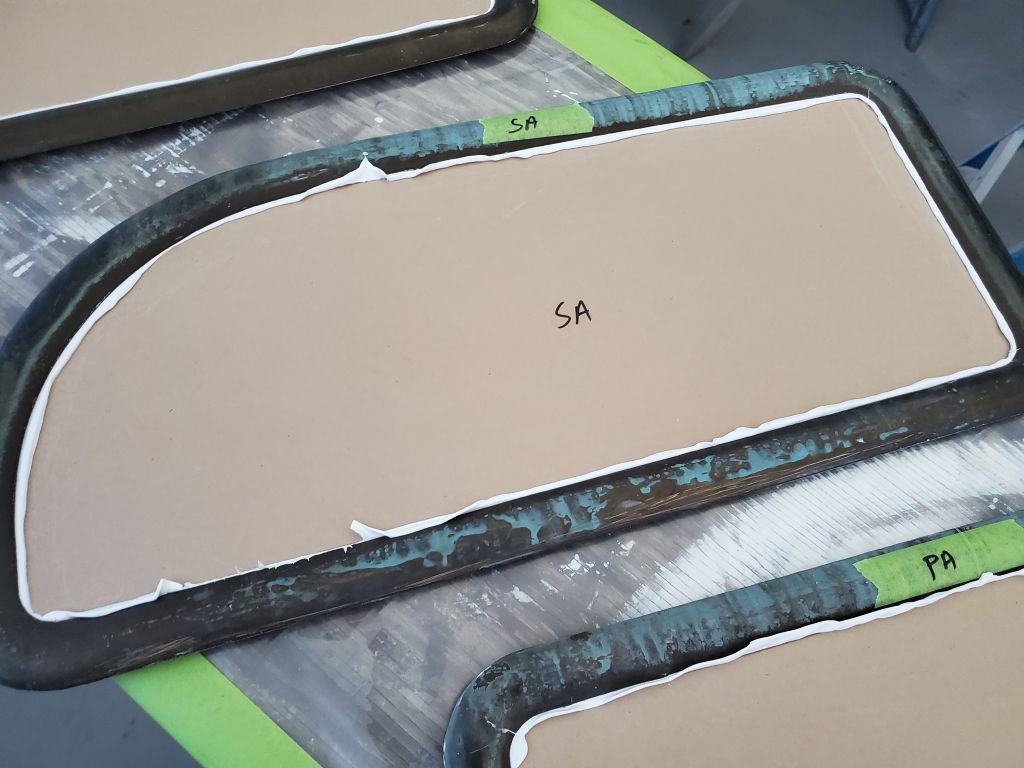
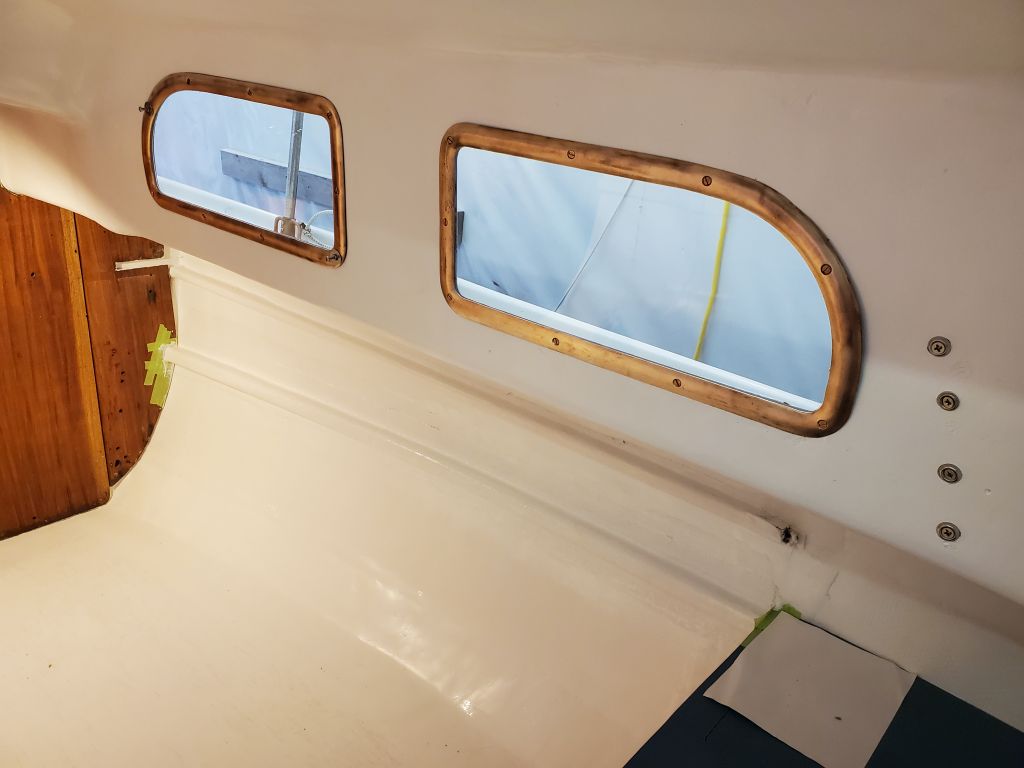
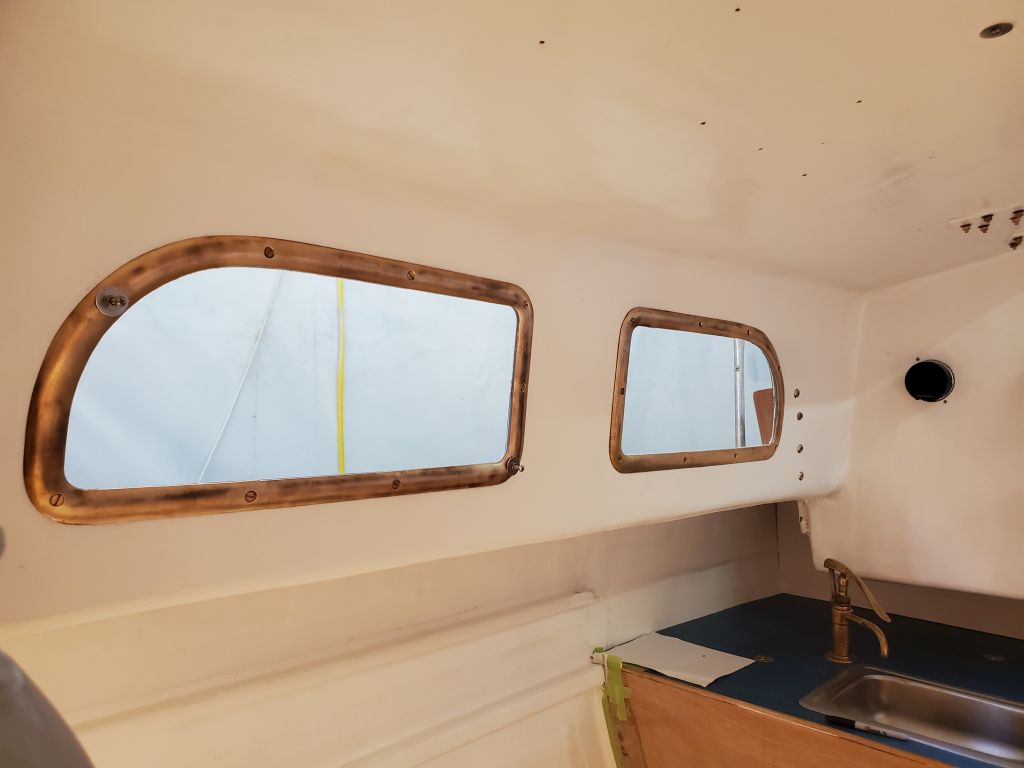
Moving my operations to the starboard side, I started with the forward deadlight frame and went through all the processes. On this frame, a couple of the dead end threaded holes in the frame seemed to be somewhat stripped, and while the bronze fixing screws would seem to grab at first, ultimately I couldn’t get them to pull tightly. At these two locations, I ended using a couple of my longer bolt and nut assemblies to pull the frames together, and also needed a single short screw at one of the top locations. Late in the week, if possible and once the sealant cured enough, I hoped to replace these with the proper screws.
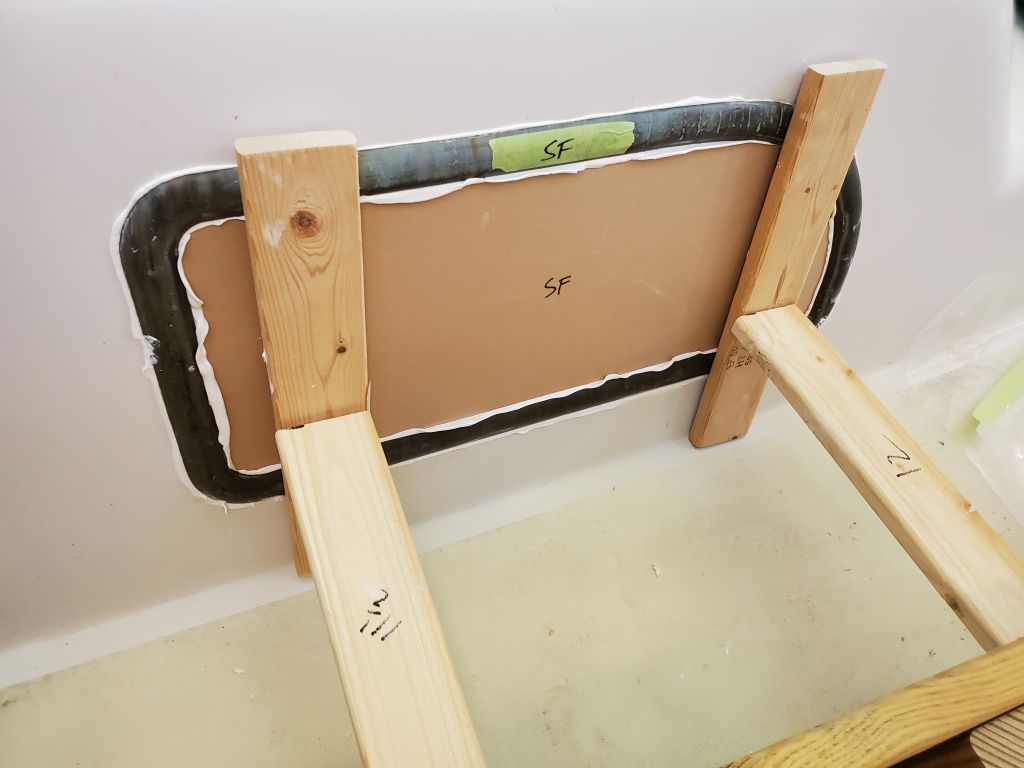


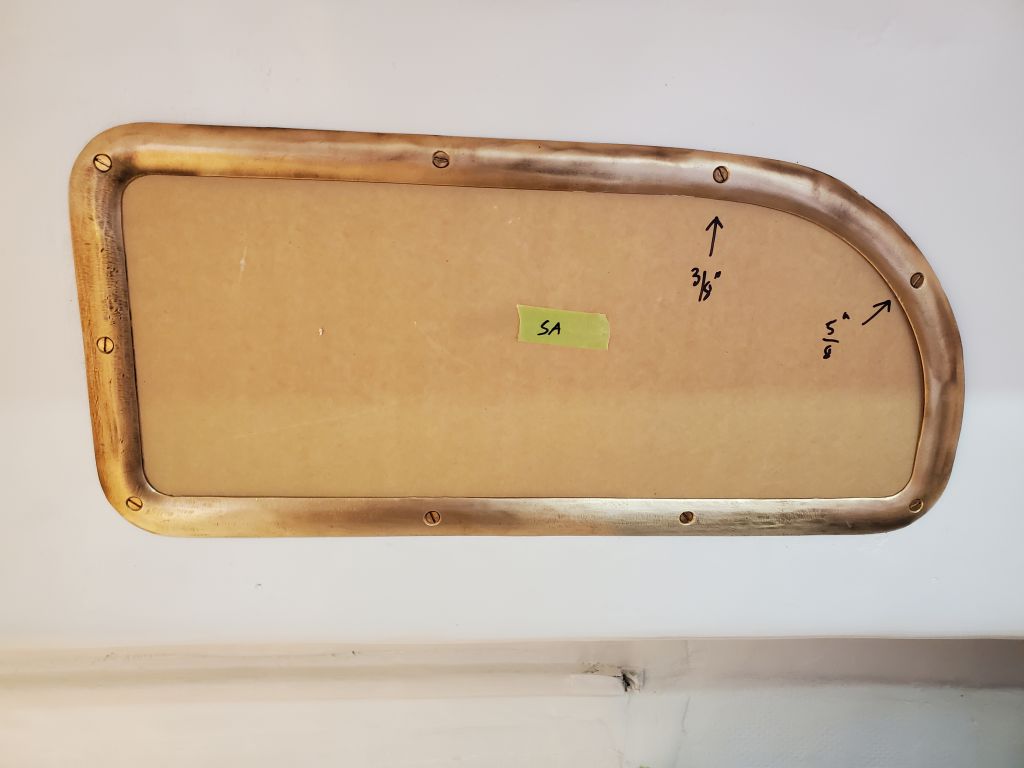
With great fanfare, I finished up with the starboard aft frame. This one required a third brace since the shape of the cabin trunk here was preventing the aft part of the frame from being pushed in tightly with just the lower brace. When all was said and done, this frame required a 3/8″ screw at the top, followed by a 5/8″ screw just below, and the rest the stock 1/2″.
I finished up by removing the paper and excess cured sealant from the frames on this side.

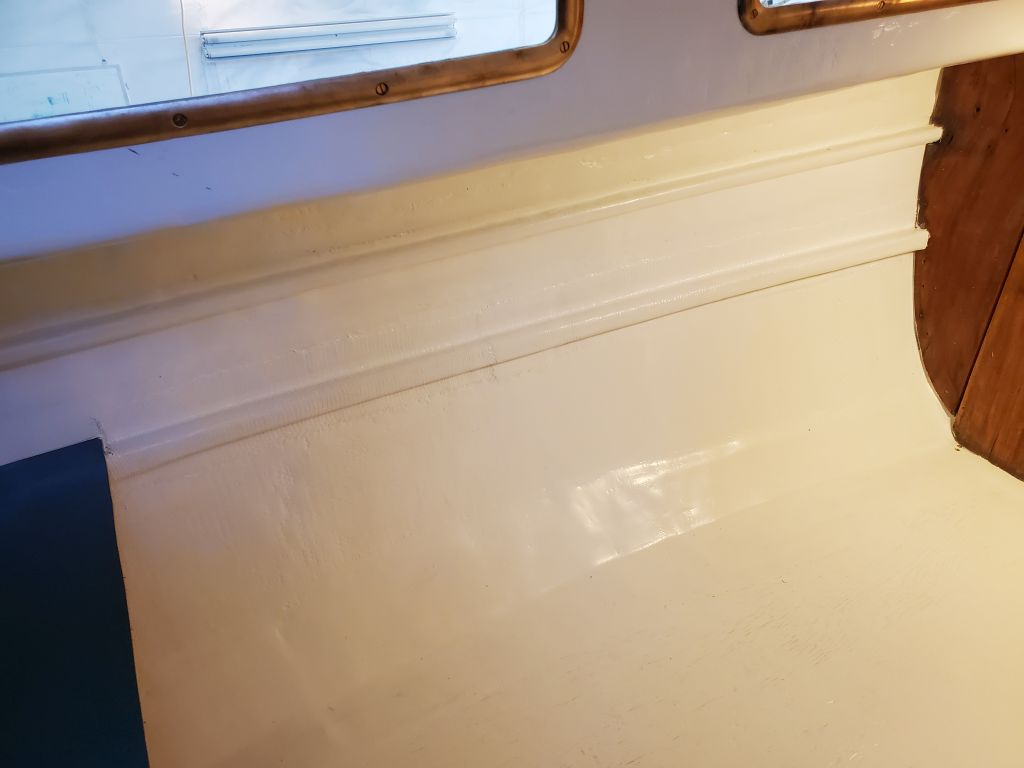
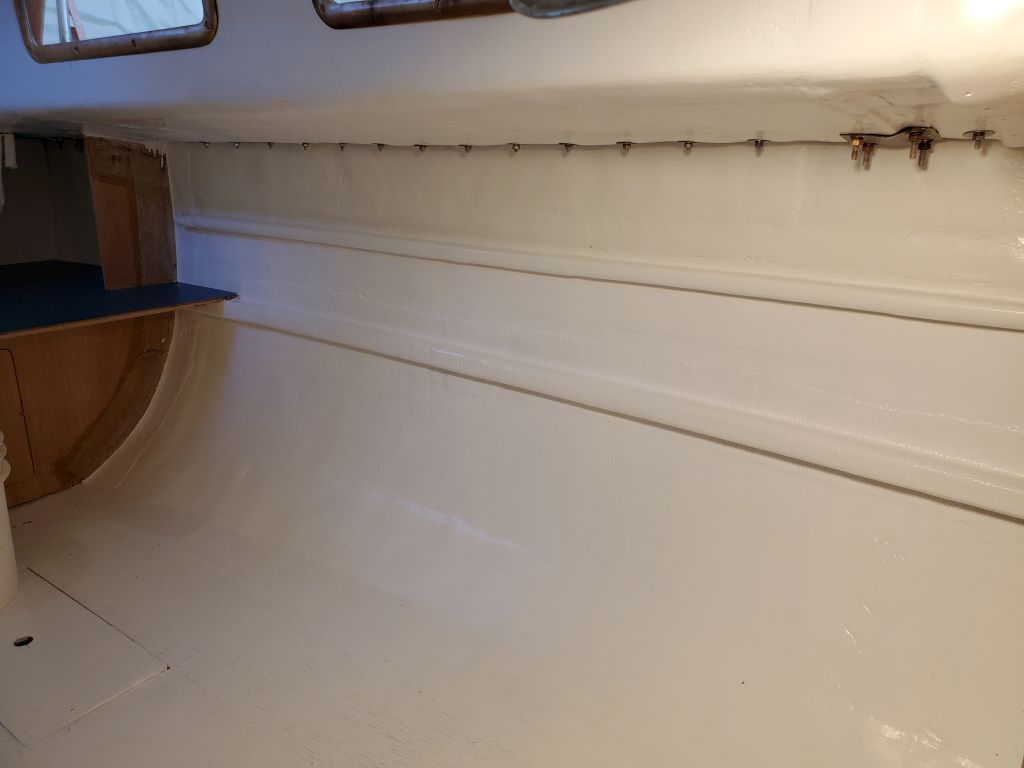
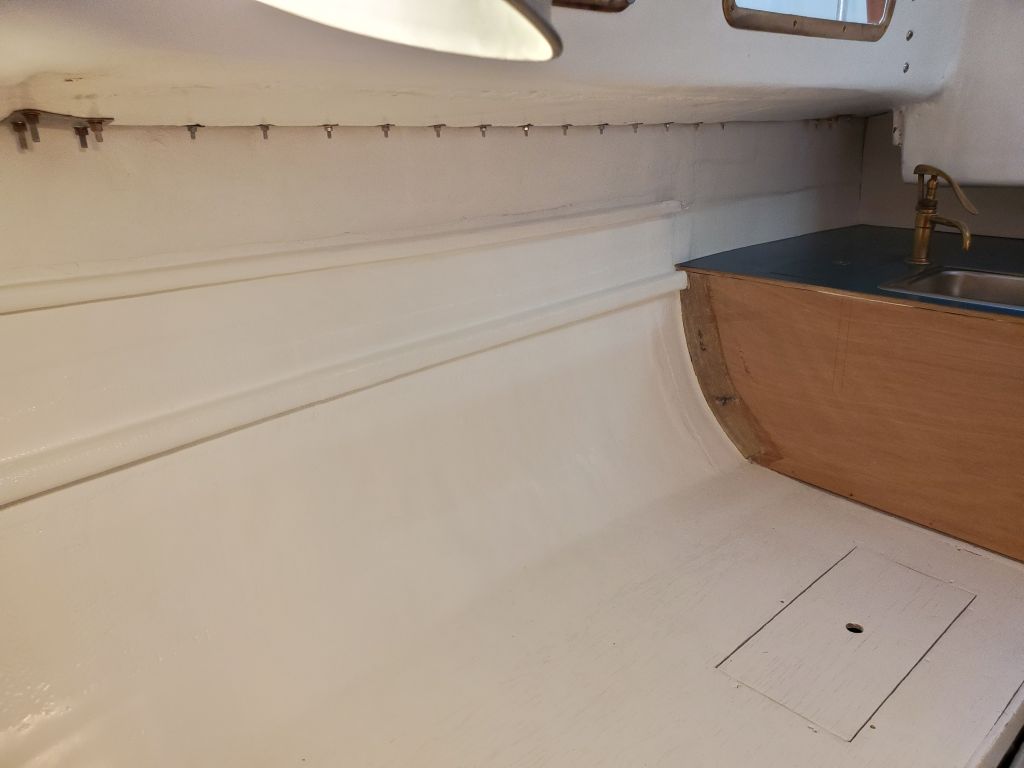
I had a few items to do later in the week, part of a short extra list the owner requested since we had a few days’ bonus time before the boat departed on Friday, but for the moment I was awaiting new materials that I’d ordered, so I finished up the day with another quick coat of white paint on portions of the new shelf supports, mainly above the supports where the dark laminate was shadowing through the first coat. Then I removed the masking tape to complete this task.

Total time billed on this job today: 4 hours
0600 Weather Observation: 50°, cloudy with a sprinkle. Forecast for the day: Chance of showers, gradual clearing, 64°