


April 8, 2021
Lyra 53
Thursday
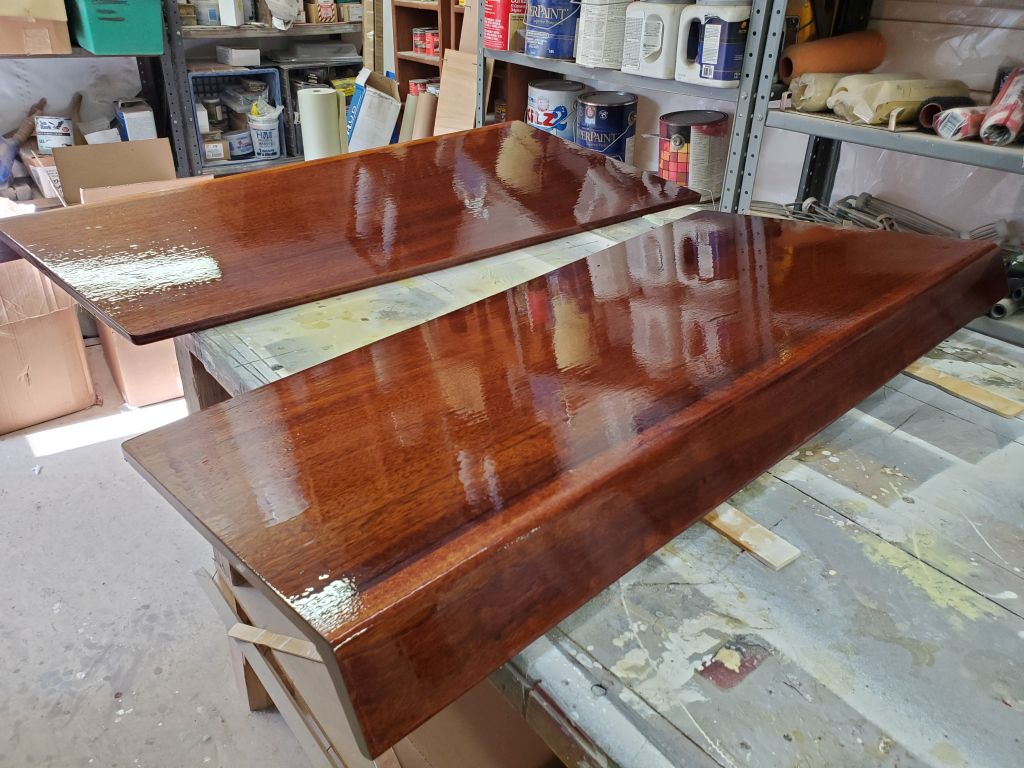
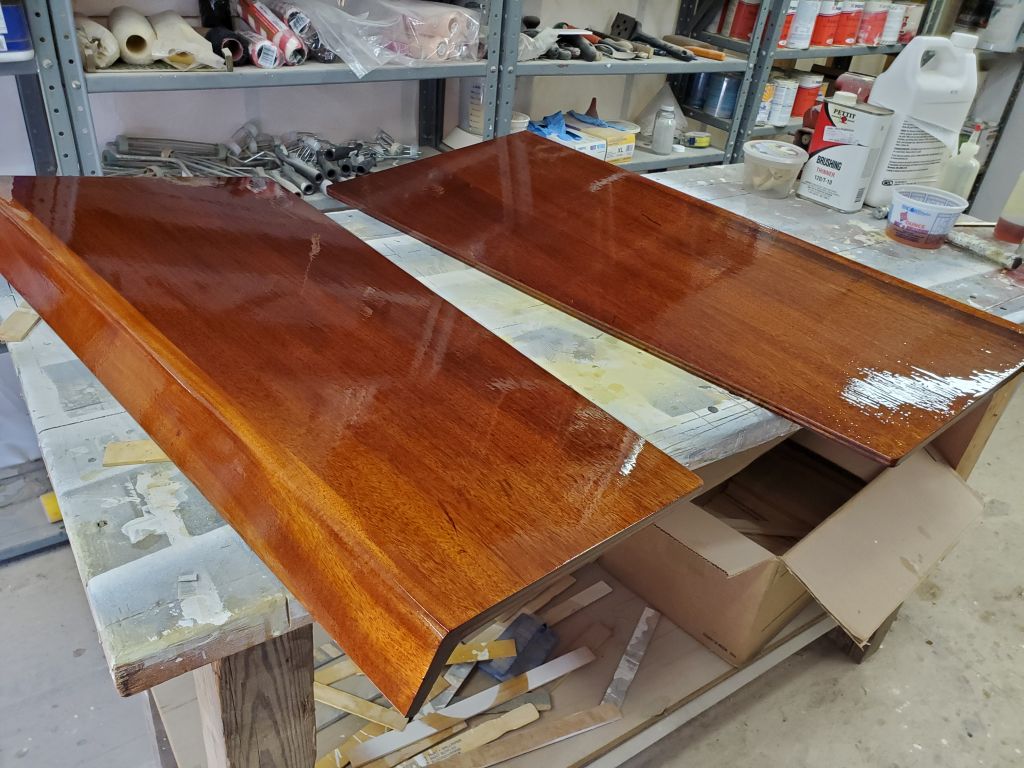
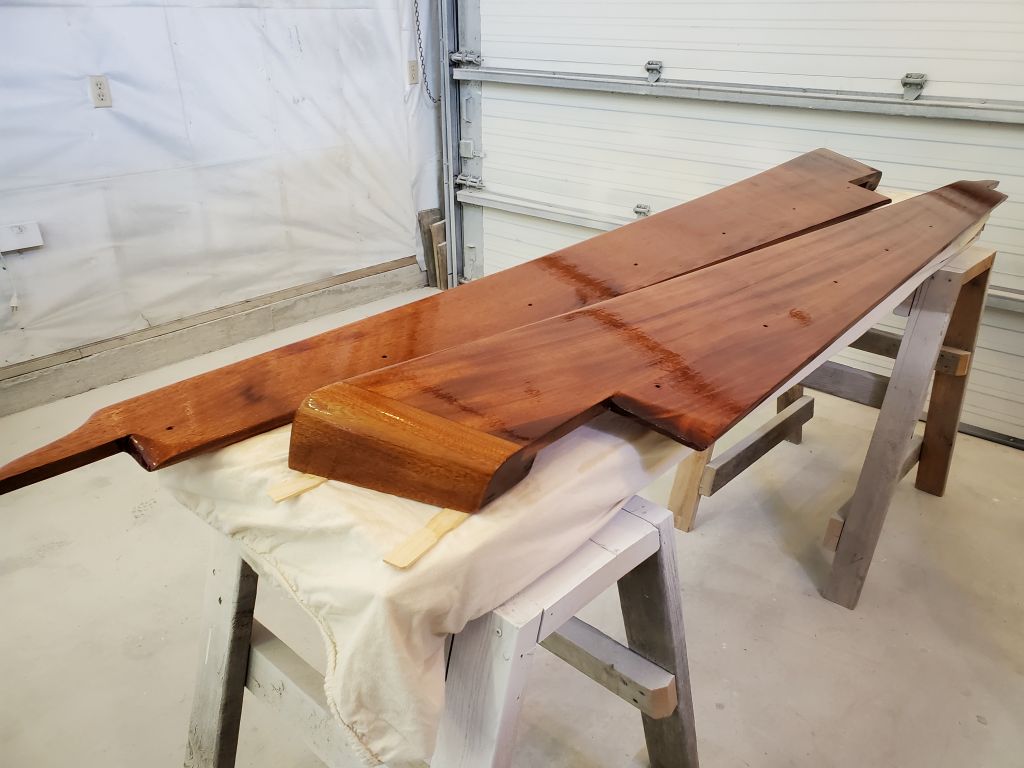
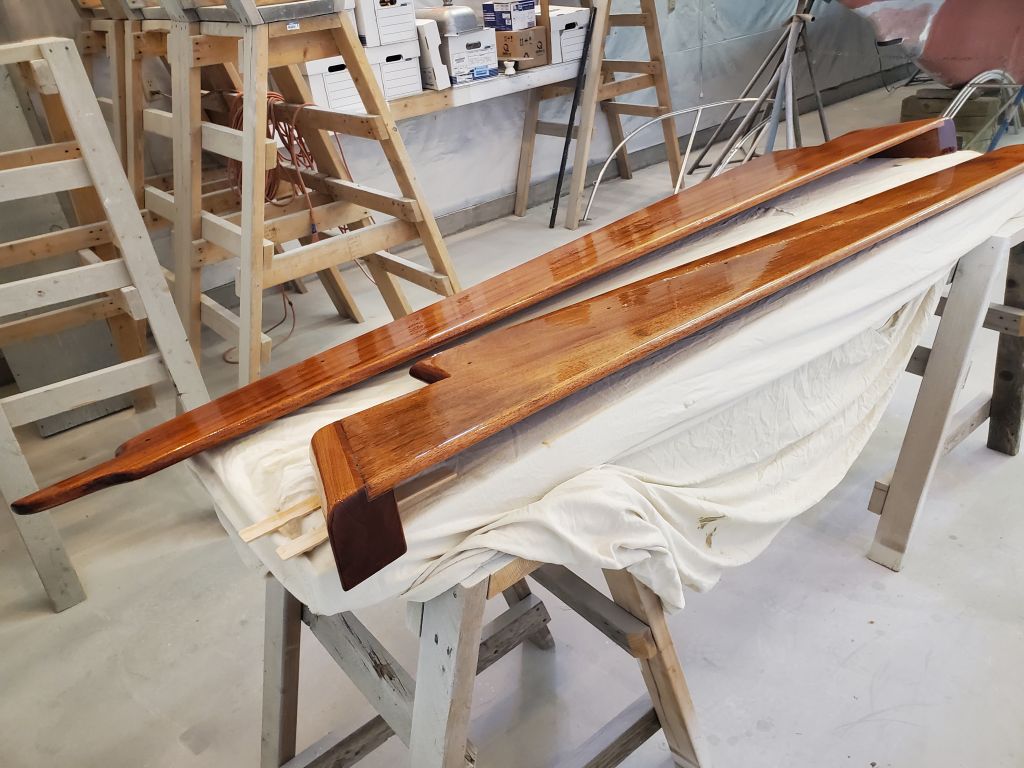
I began with the usual rounds of sanding and varnish on the ongoing pieces: Cockpit locker lids (coat 4 on both sides) and cockpit coamings (coat 3 on the first side).
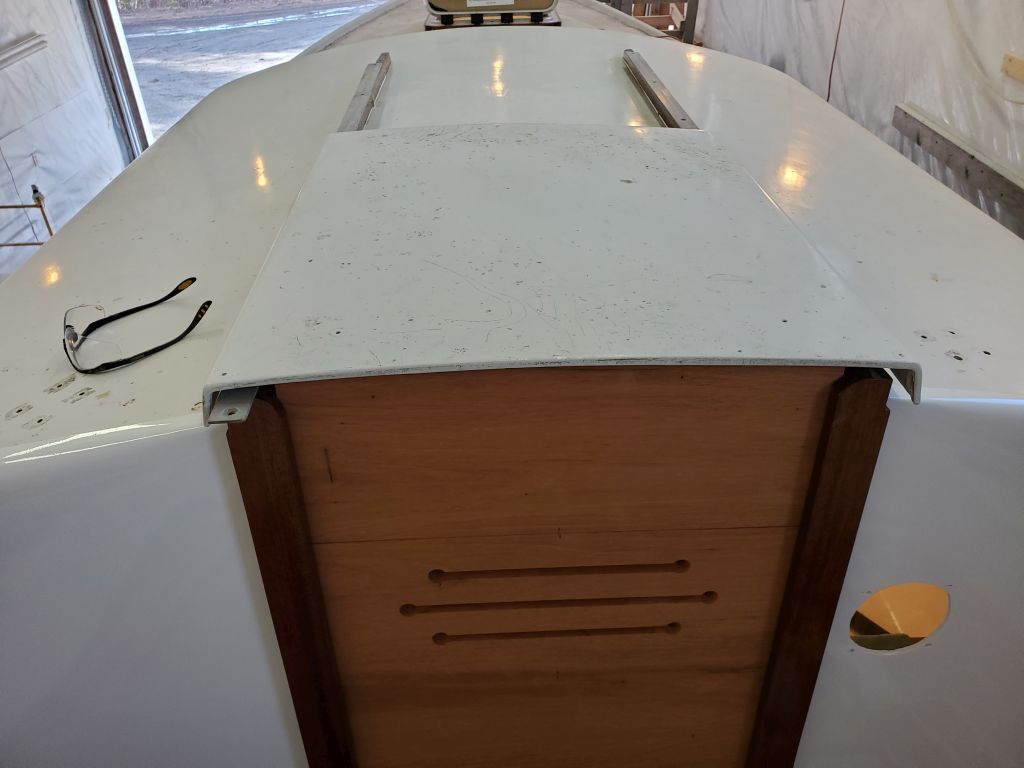
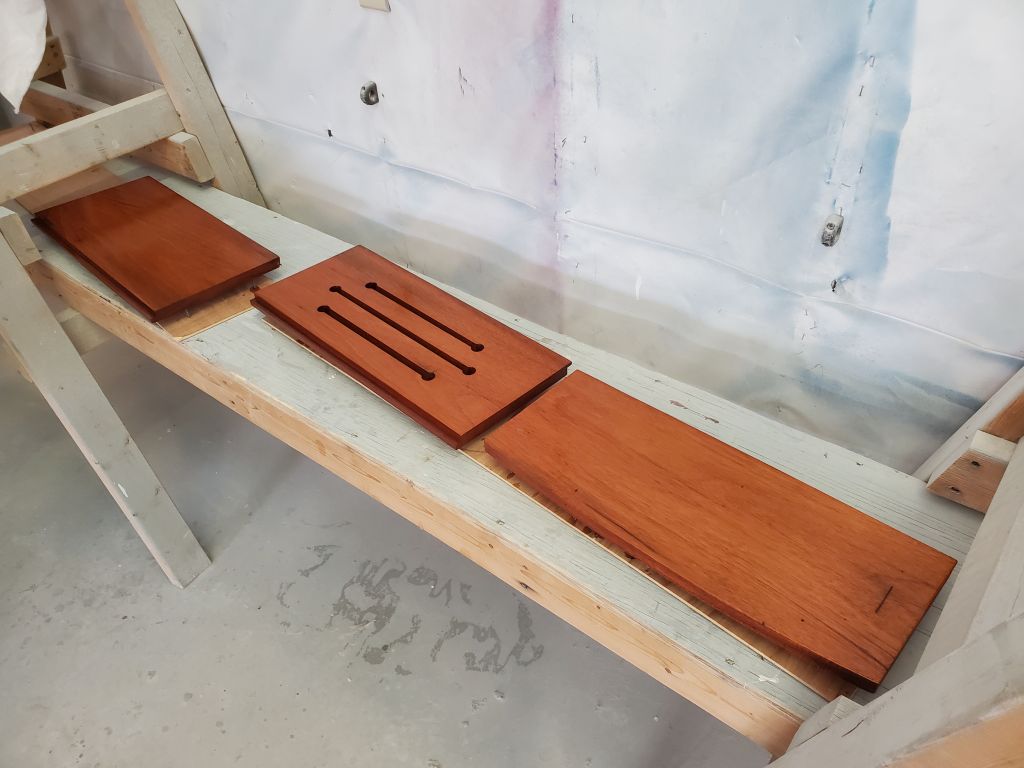
After some light sanding around the new epoxy work on the companionway sliding hatch, I test-fit it on the boat along with its guide rails so I could confirm and modify as needed the height and shape of the top swashboard. I found that the board was OK as is and required no changes, so with that out of the way I could clean up, sand, and start varnishing these as well.
Meanwhile, after final preparations I applied a coat of primer to the underside of the companionway hatch.
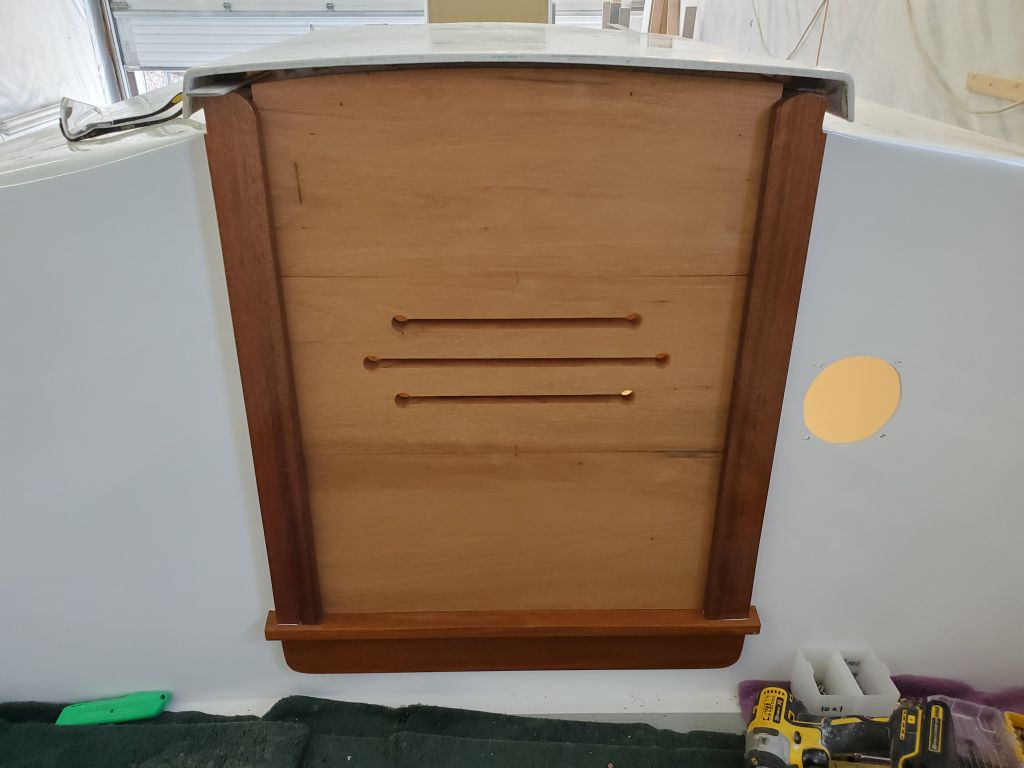

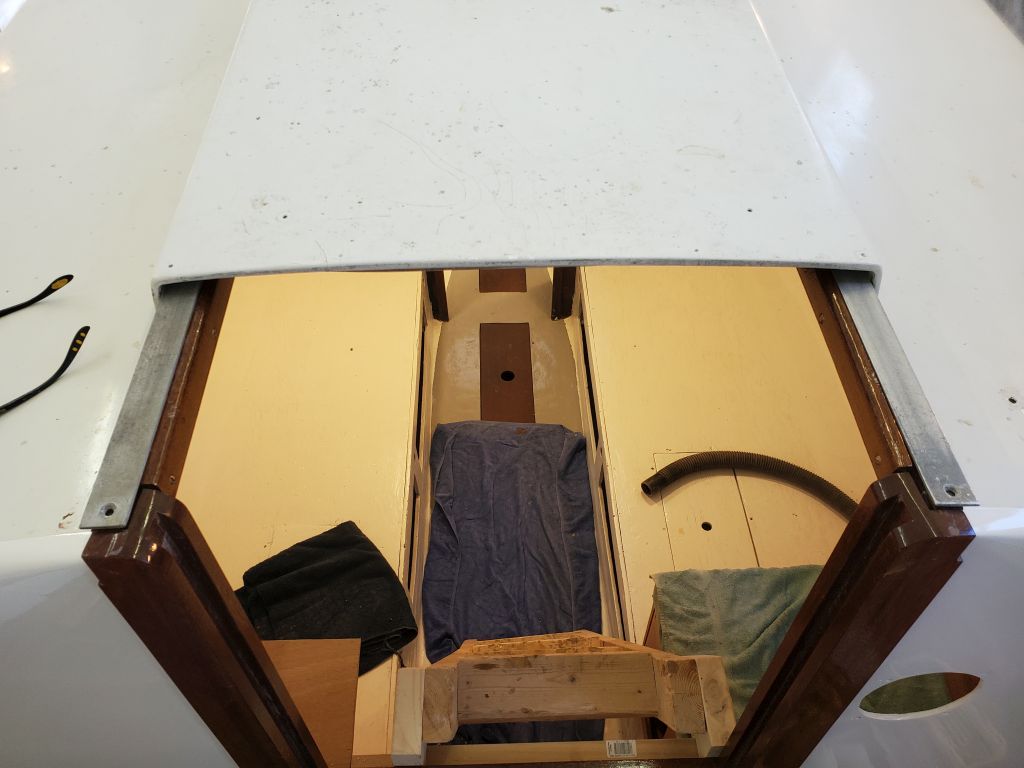

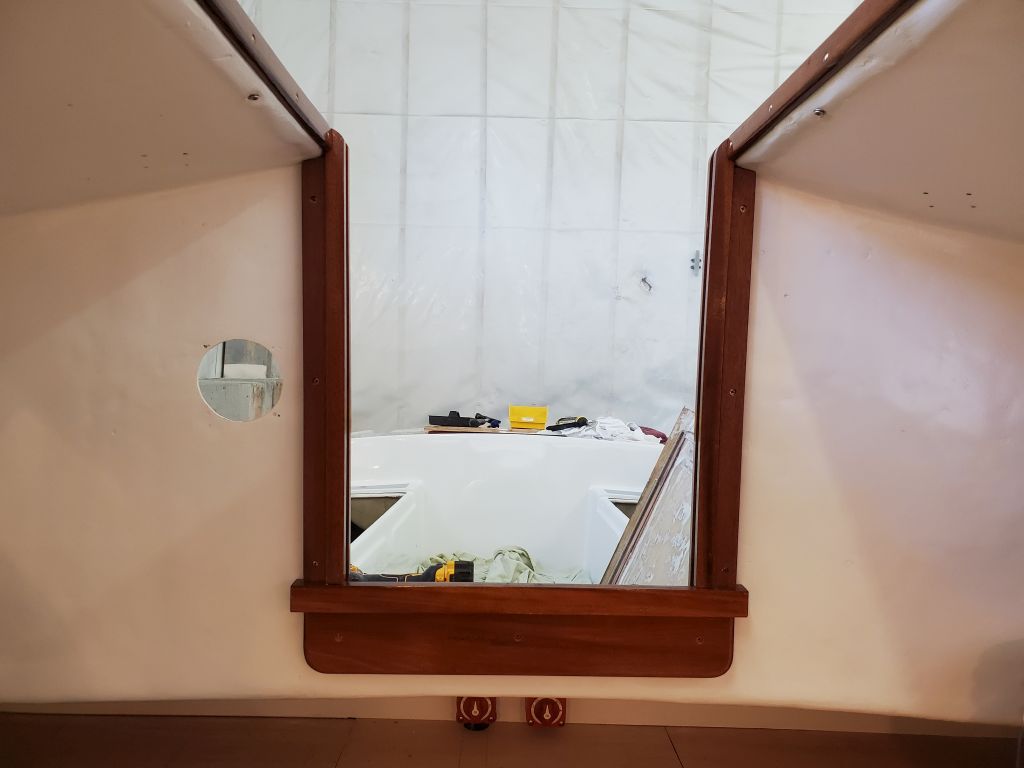
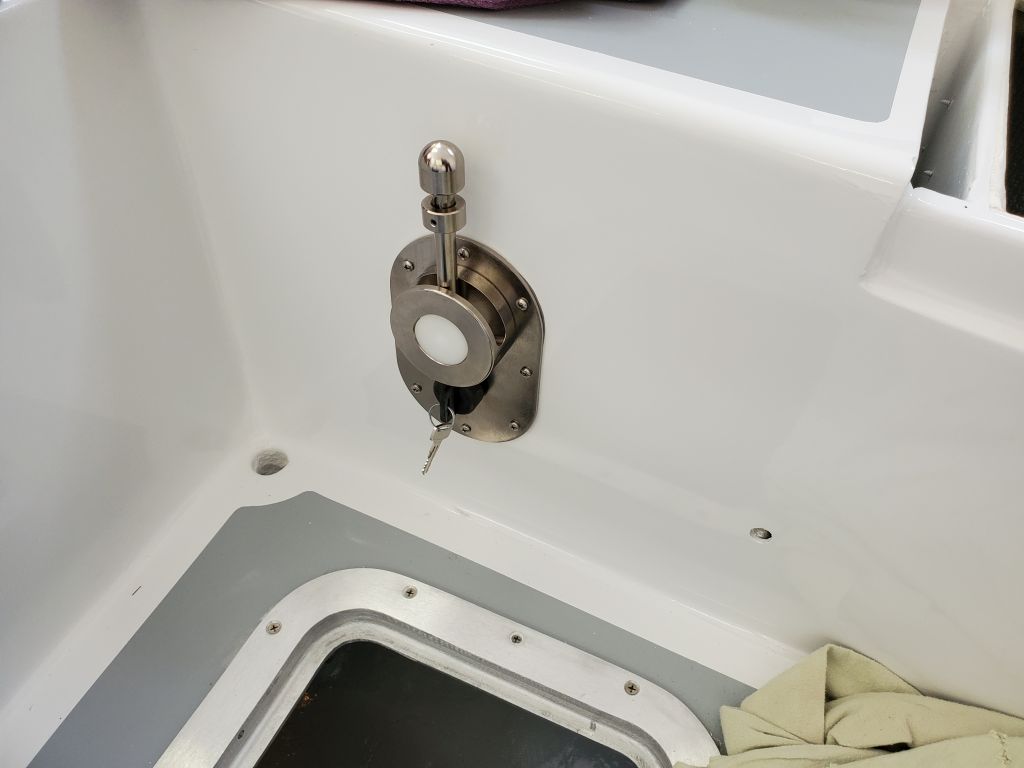
Inside the boat, I installed the sealed pieces of companionway trim with screws, then bunged the screw holes late in the day.

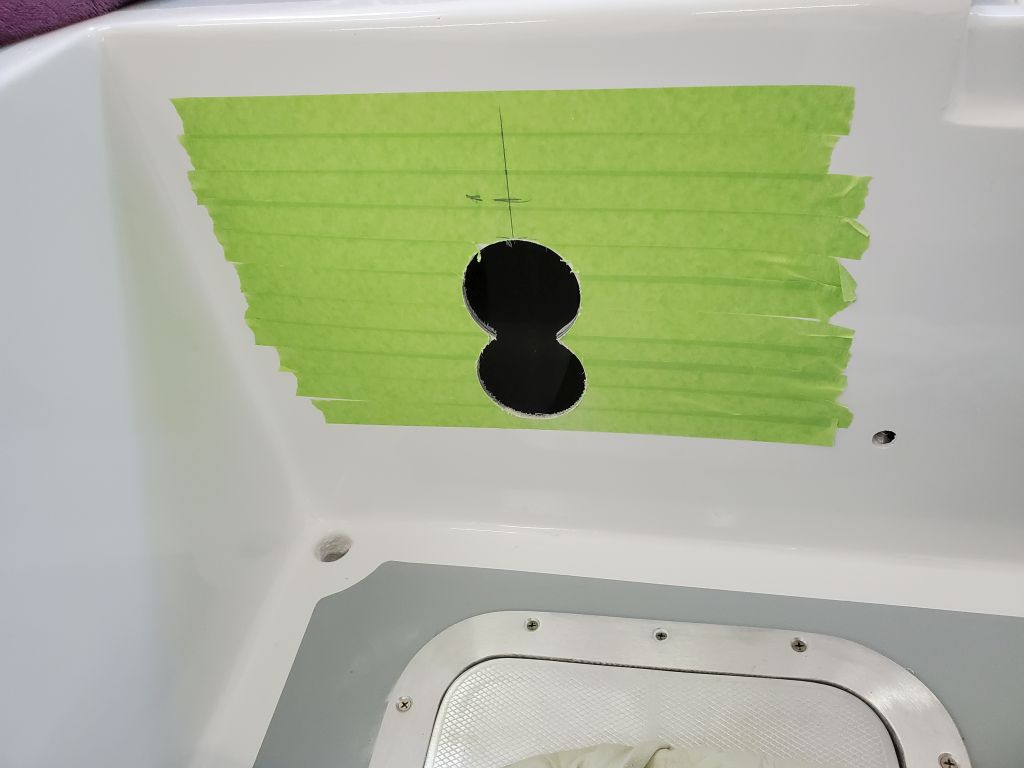
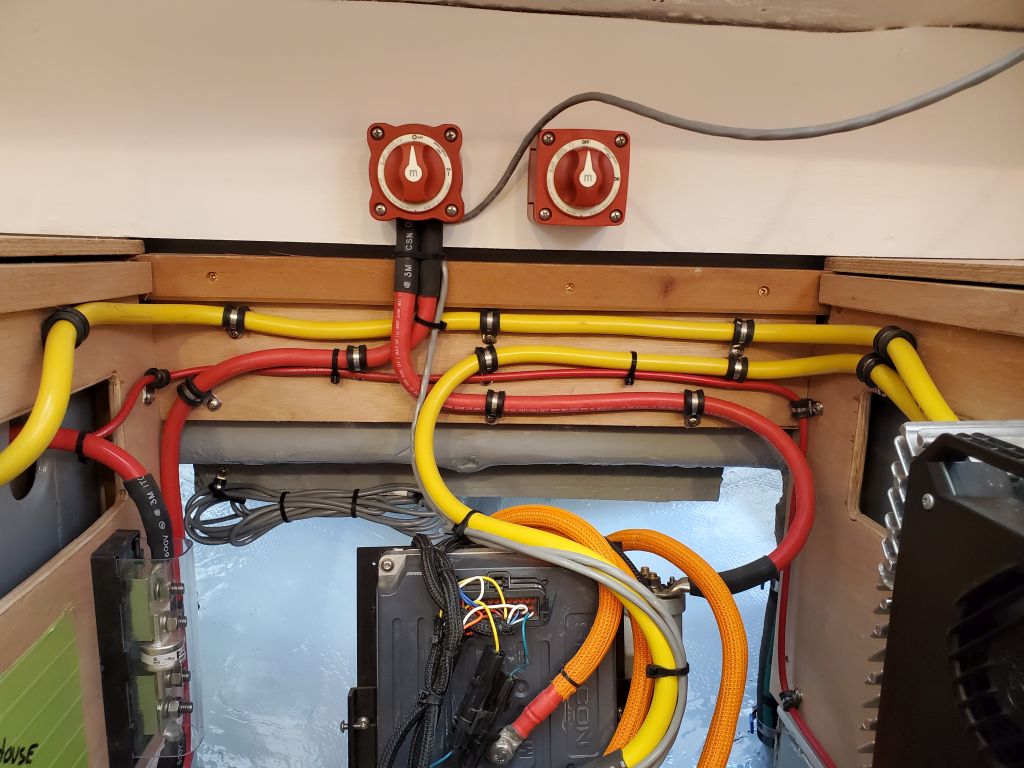
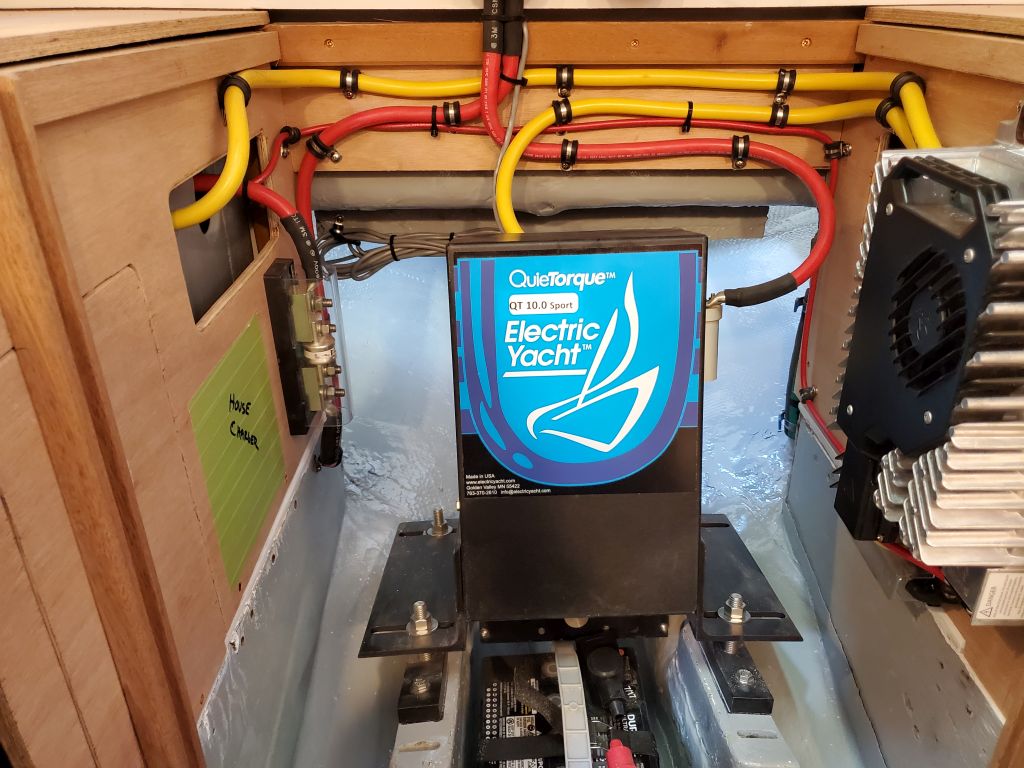
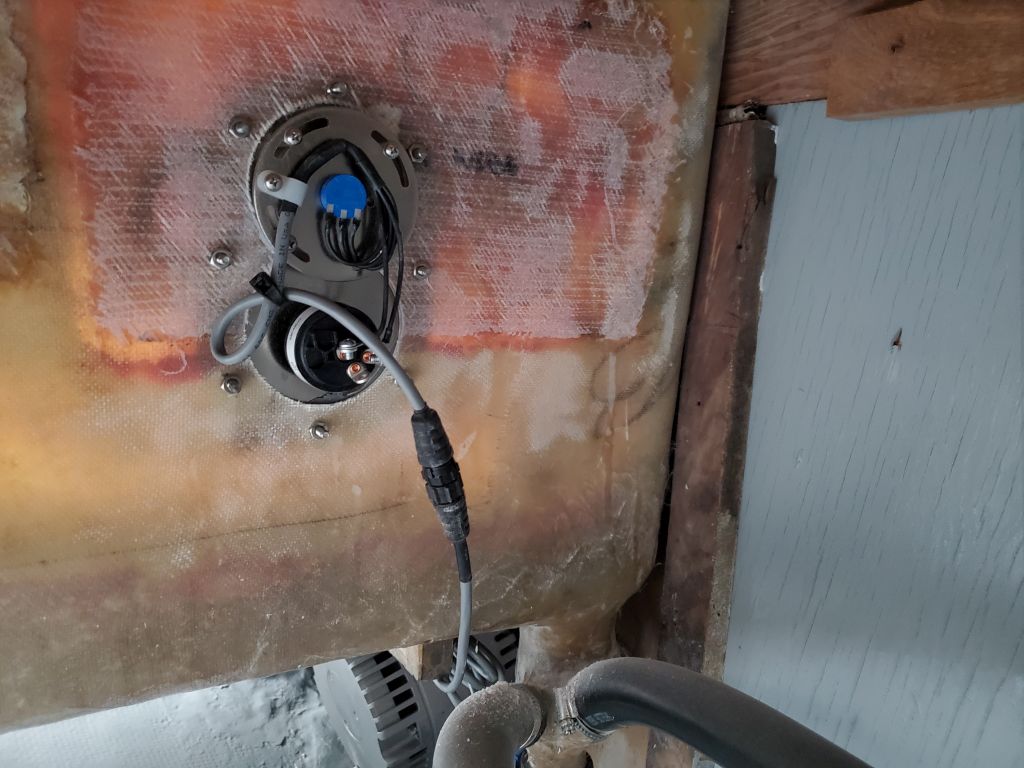
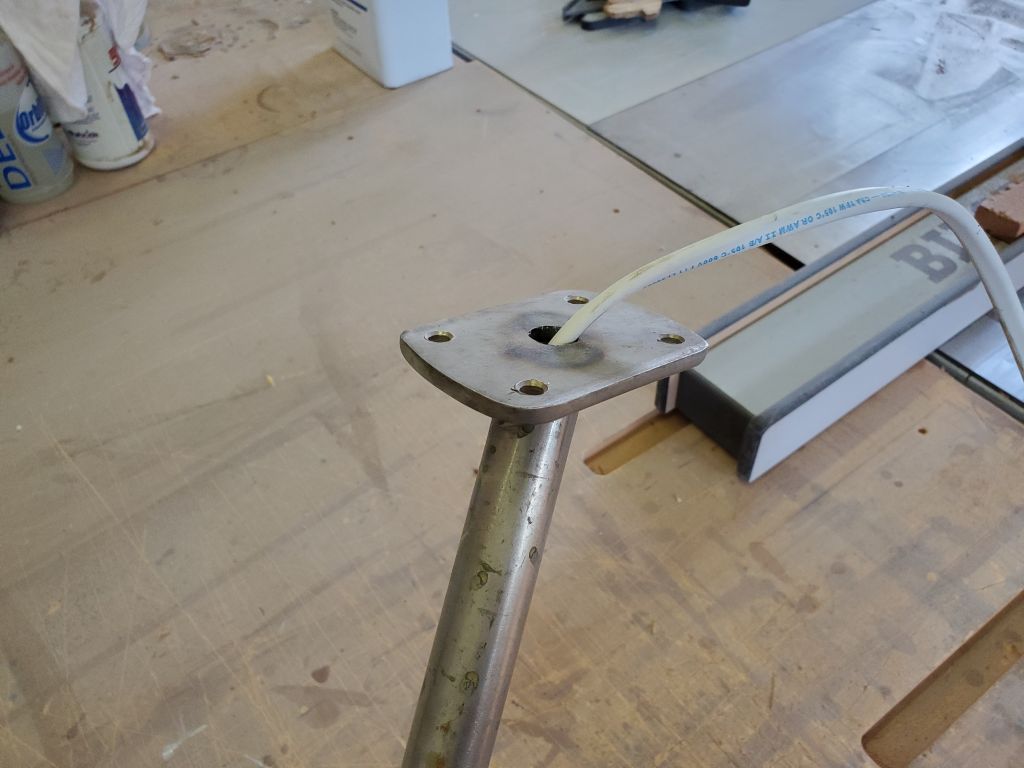
Now I turned to the engine control, the final step required in the electric propulsion motor installation. I did a little layout for the control at the owner’s chosen location, the forward end of the starboard cockpit well, and, satisfied with the position, cut the two holes required for its installation. I marked, drilled, and tapped the 8 fasteners required to hold this in place, but for now didn’t install it in case I had to make any changes behind the control.
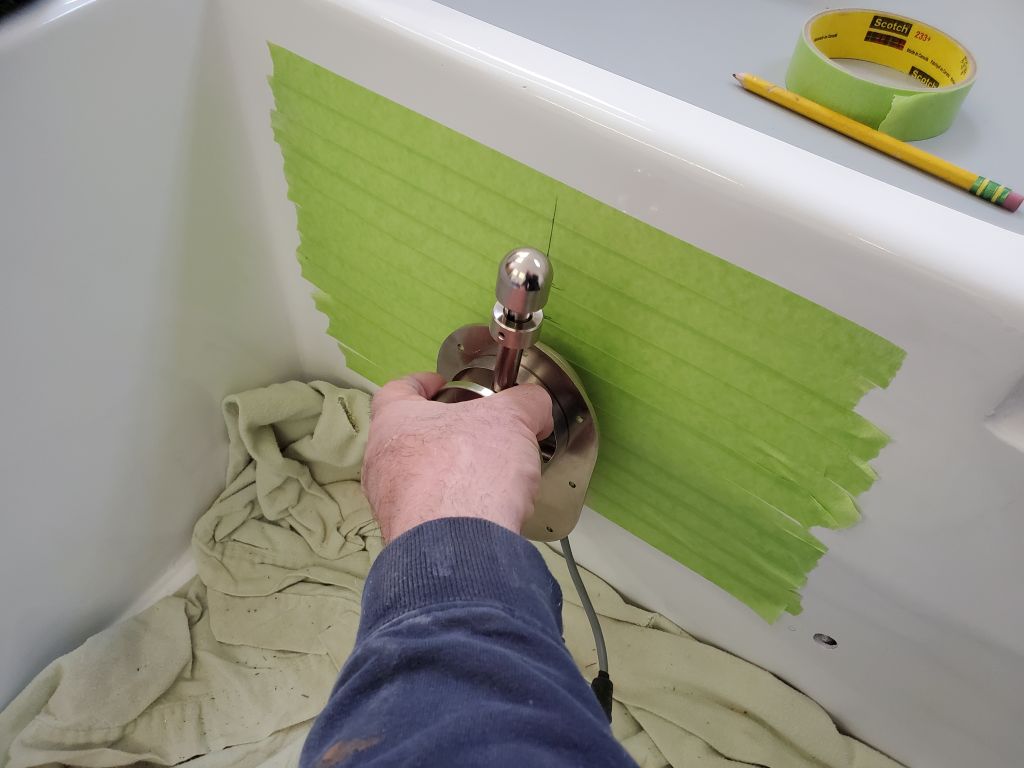
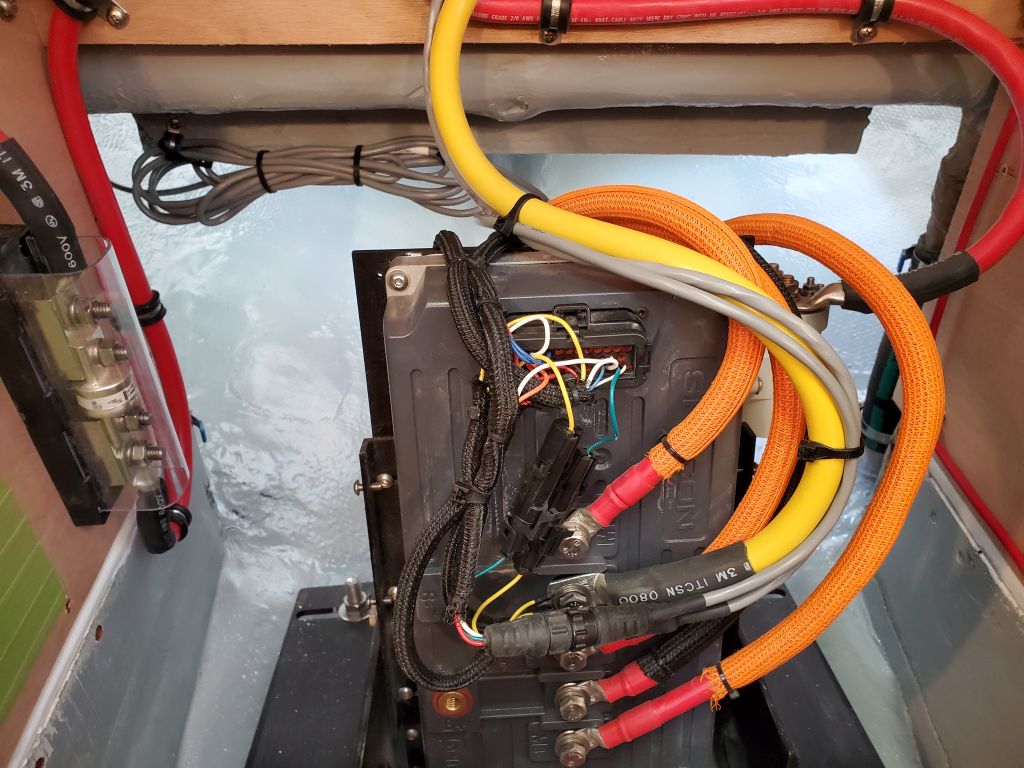
Leading the attached cable forward into the engine room, I connected it to the corresponding terminal at the front of the engine, along with the connector for the engine’s battery and control monitor. The owner chose to leave this monitor loose for temporary mounting, hoping for a more technologically-recent upgrade sometime in the near future, apparently promised by the purveyor. With this, I could energize the powerplant for a test. Not unexpectedly, my initial test revealed that the engine control lever was backwards: forward was reverse, and vise-versa, as the control was set up by default for port-side installation.
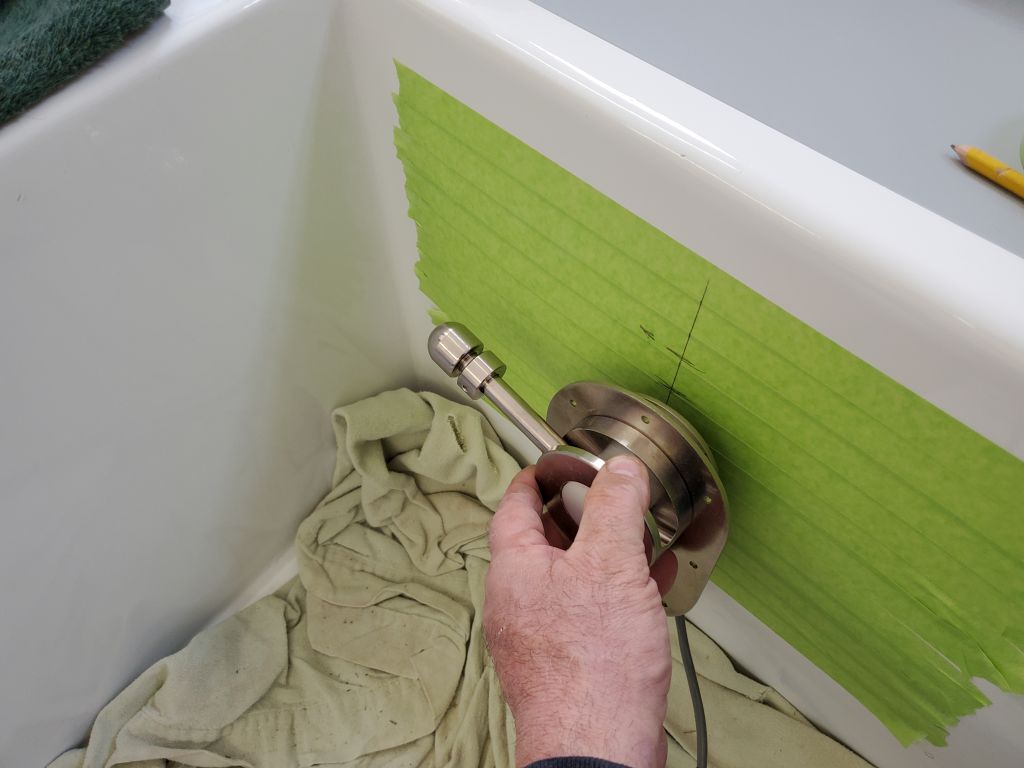
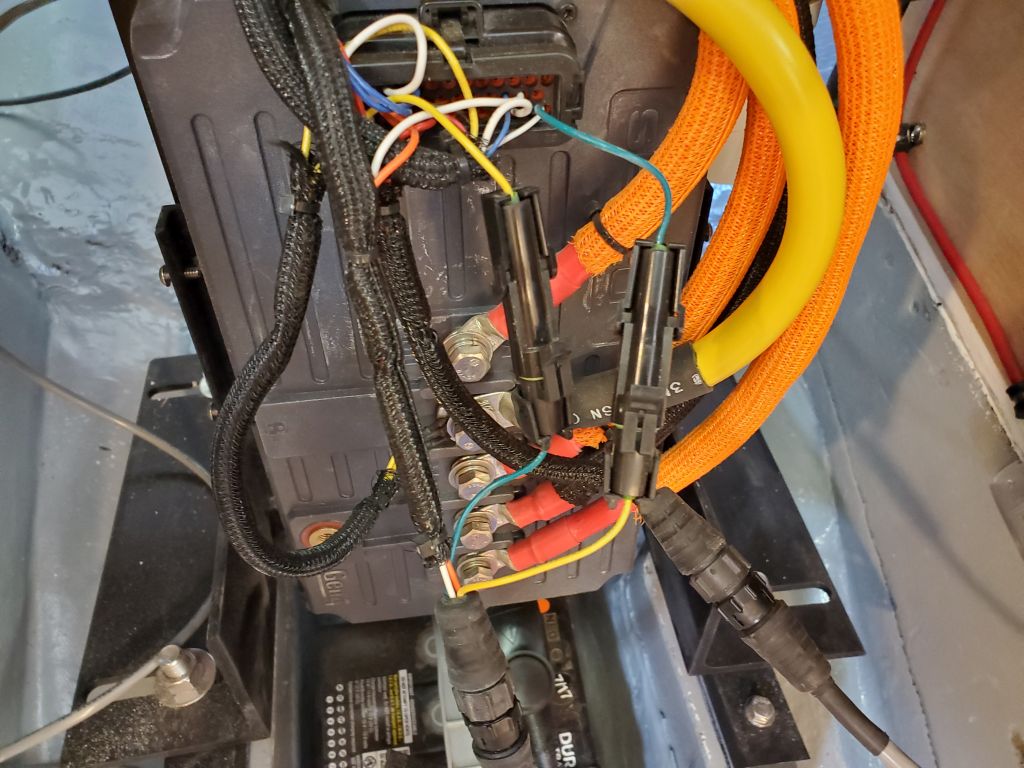
The fix for this was easy once I found it buried in the manual: Just switch the two connectors, one with green wires, one with yellow, on the front of the engine. The third photo shows the original configuration; the 4th shows the modified connection.
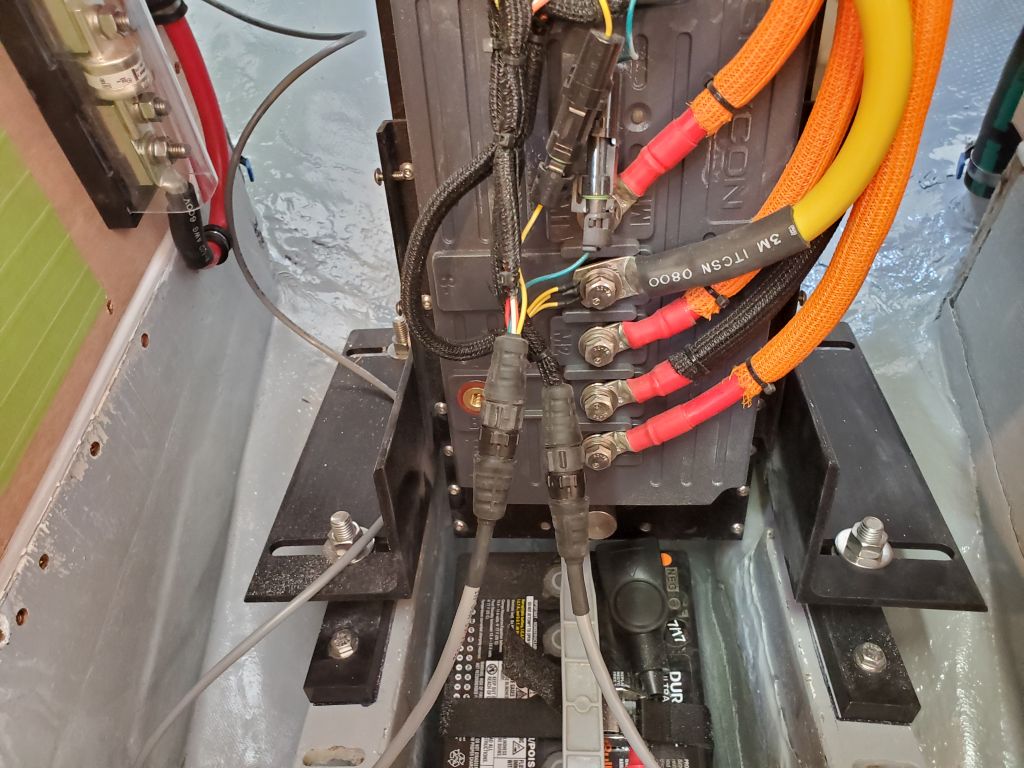

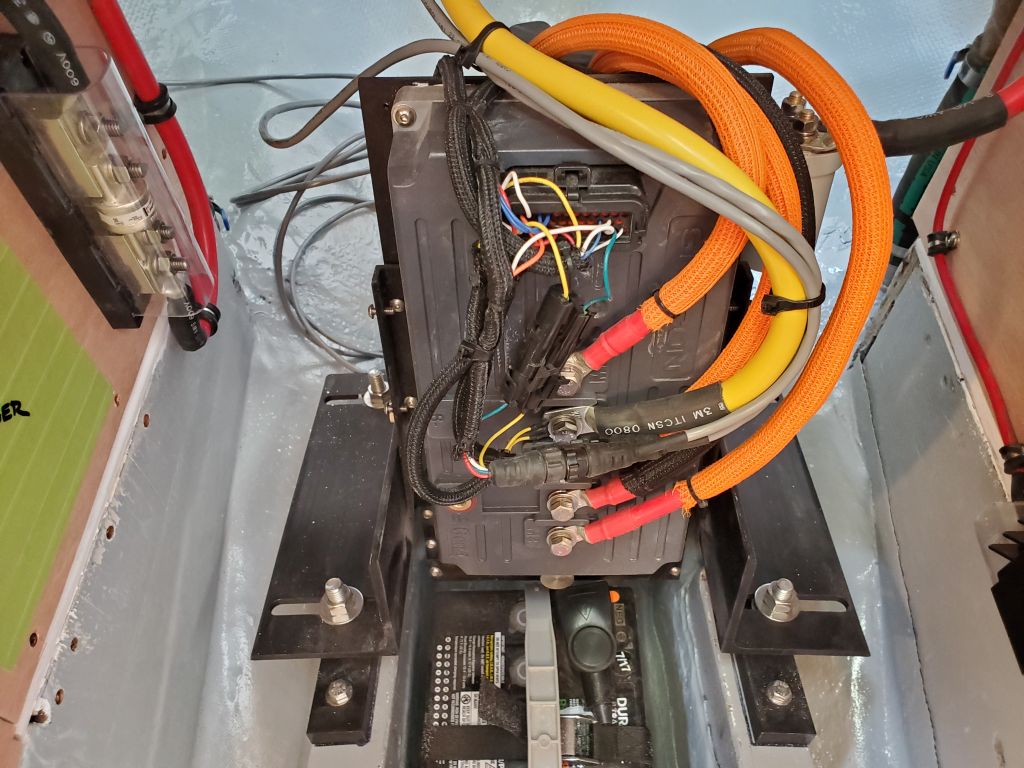
Once I made the switch, the shaft turned the correct way: clockwise for forward, counter-clockwise for reverse. The test was successful in all ways.
I finished up the control installation by securing the wires as needed, and installed the control lever itself with machine screws, butyl sealant, and nuts behind.


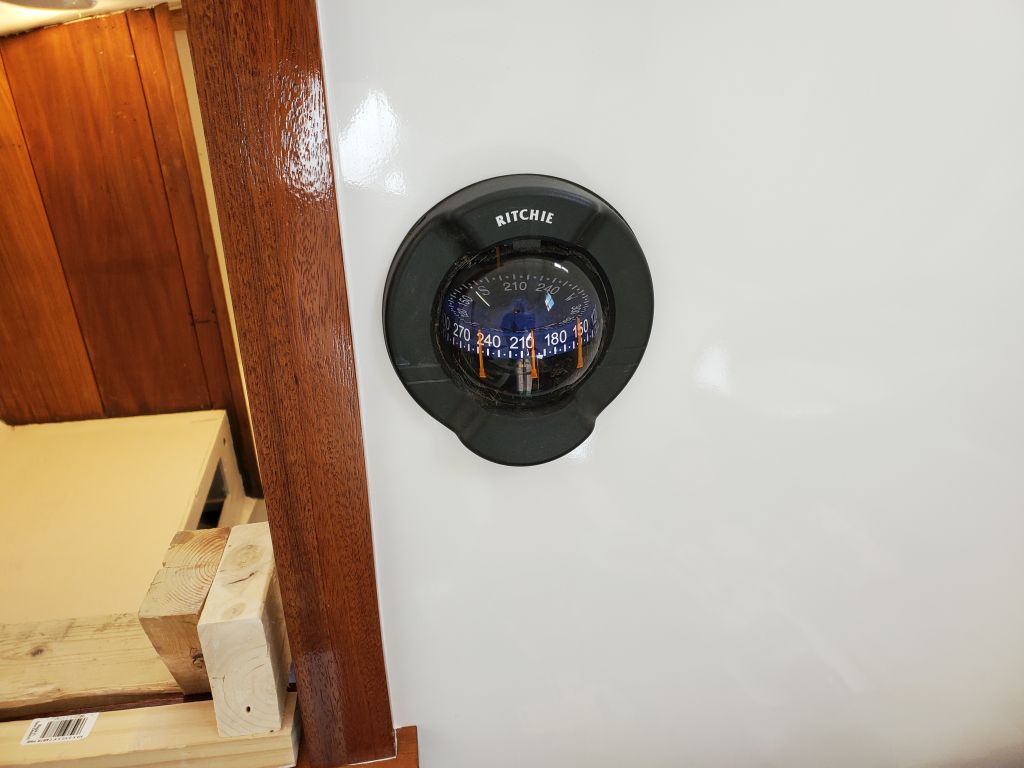
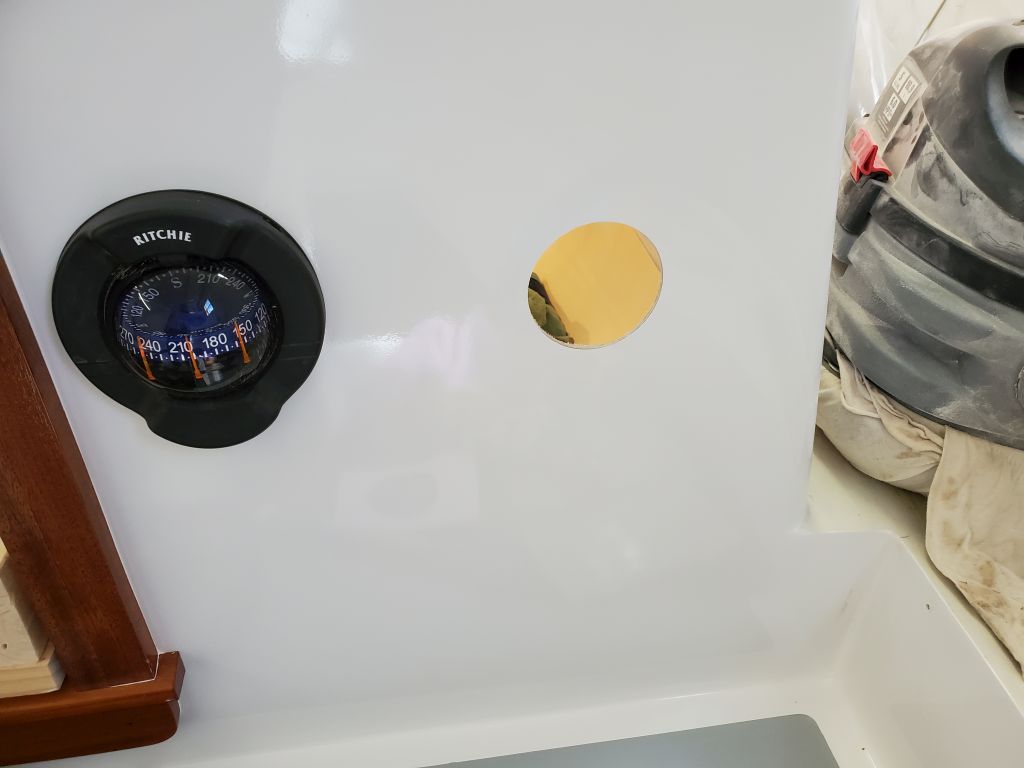
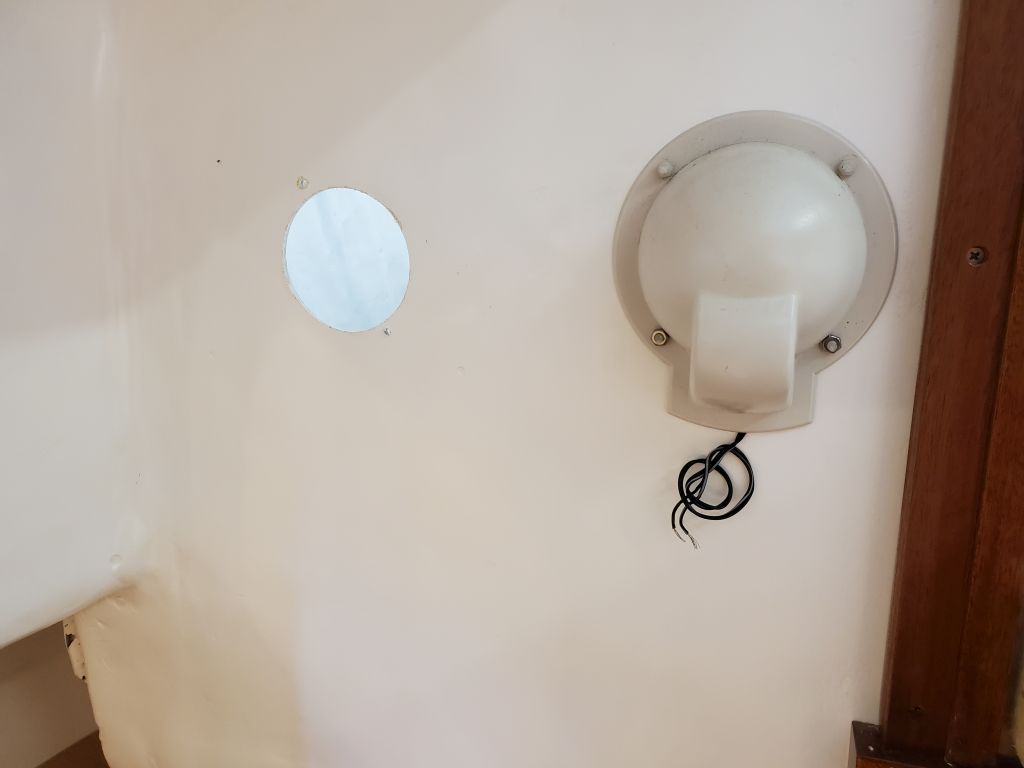
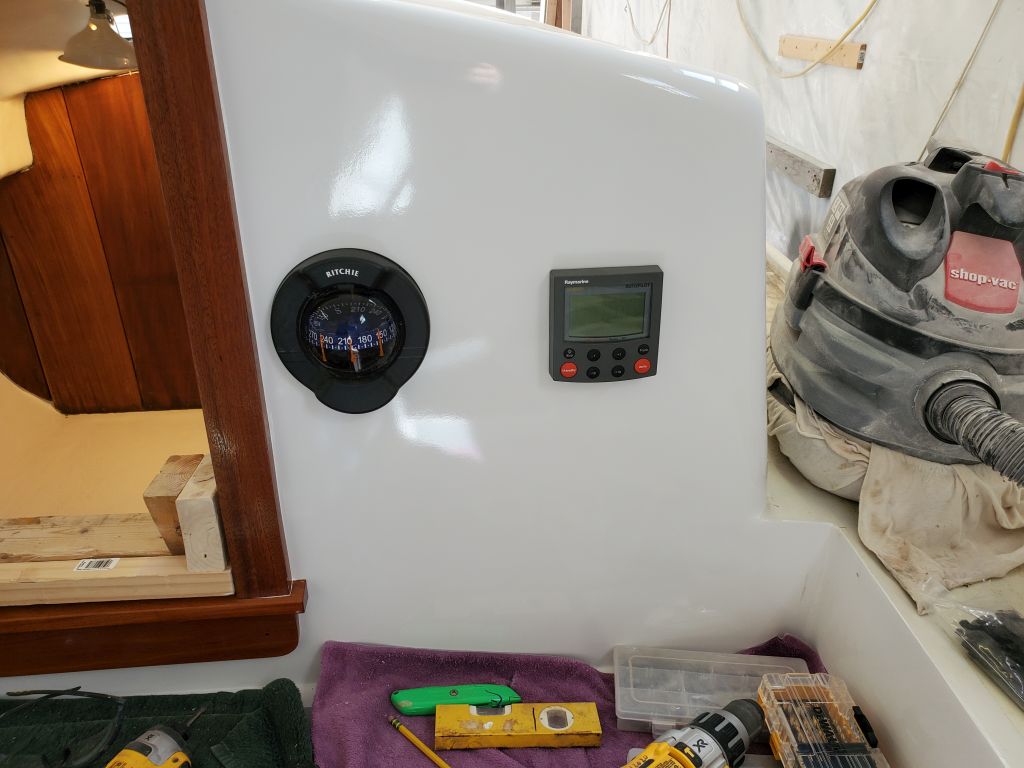
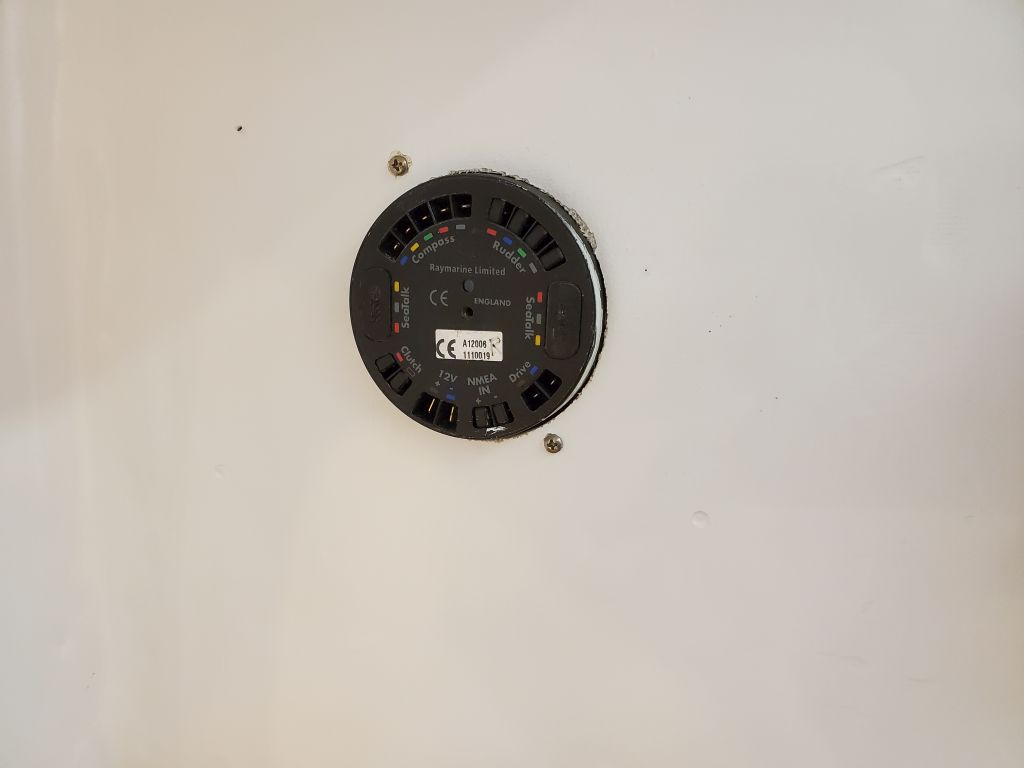
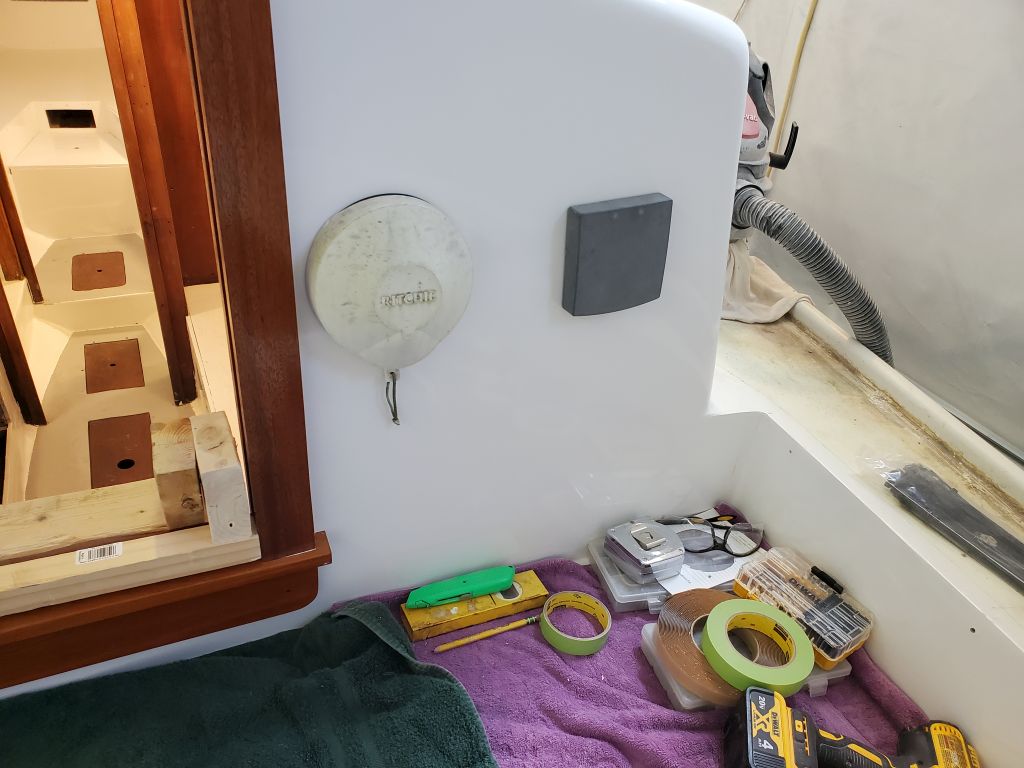
Finishing up some nearby installations in the cockpit, I installed the compass back in its existing opening, and, nearby on the same bulkhead, an autopilot control unit.

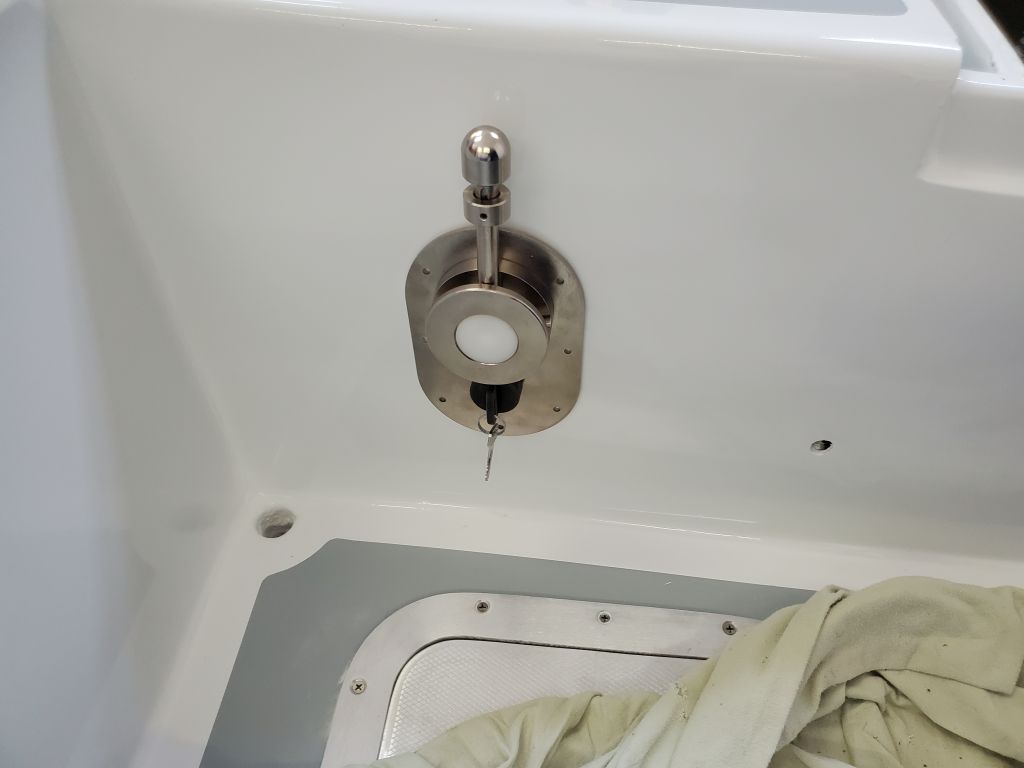
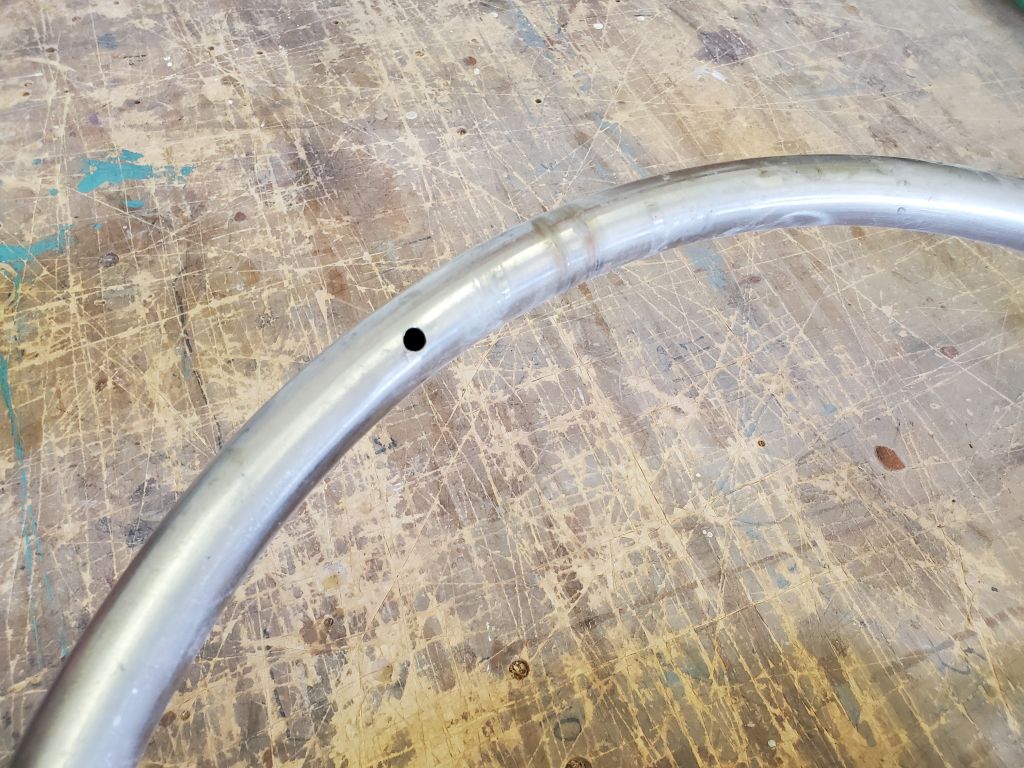
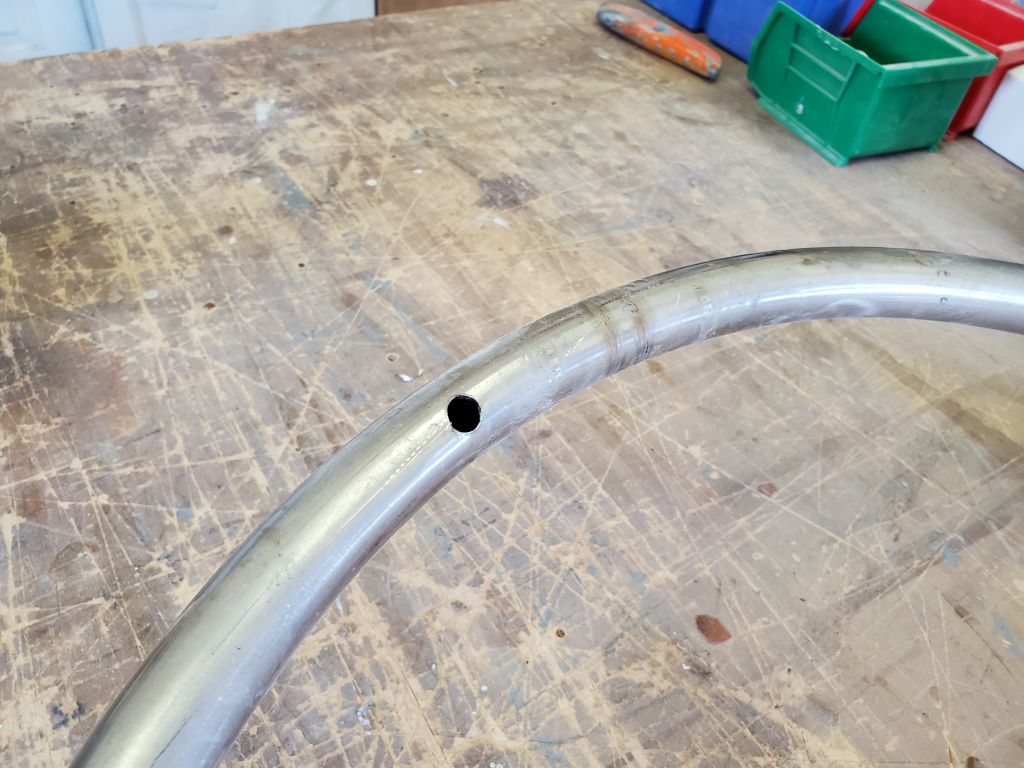
To round out the day, I took a few minutes to run a length of 14/2 wire through the bow pulpit for a future bow light to be mounted. There was already a smallish hole in the underside of the pulpit near centerline, which I enlarged slightly to accommodate the wires, then led them easily through and out the after end of the rail. Now the pulpit would be ready for installation in the immediate future, along with other deck hardware, which would be my focus in the coming days.


Total time billed on this job today: 7 hours
0600 Weather Observation: Mostly cloudy, 42°. Forecast for the day: Partly sunny, 60°