


April 7, 2021
Lyra 52
Wednesday
I started the day with sanding and varnish work on the cockpit locker lids–coat 3 on both sides.

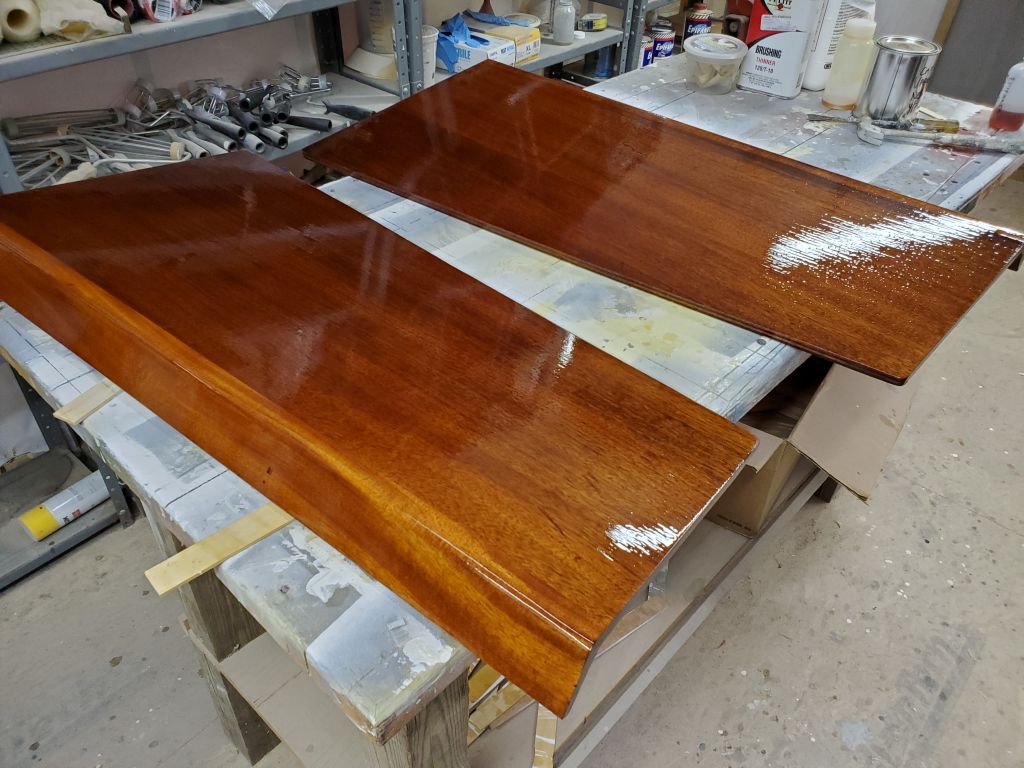
Continuing, I sanded and varnished the coamings–coat 2 on both sides. I’d hoped to sneak out 3 or even 4 coats like this on both sides of the coamings at the same time, but flipping the coamings after doing the first side was proving too harmful to the varnish, so, alas, from here on I planned to work on only one side at a time, which would extend the process a bit but otherwise was of no matter.
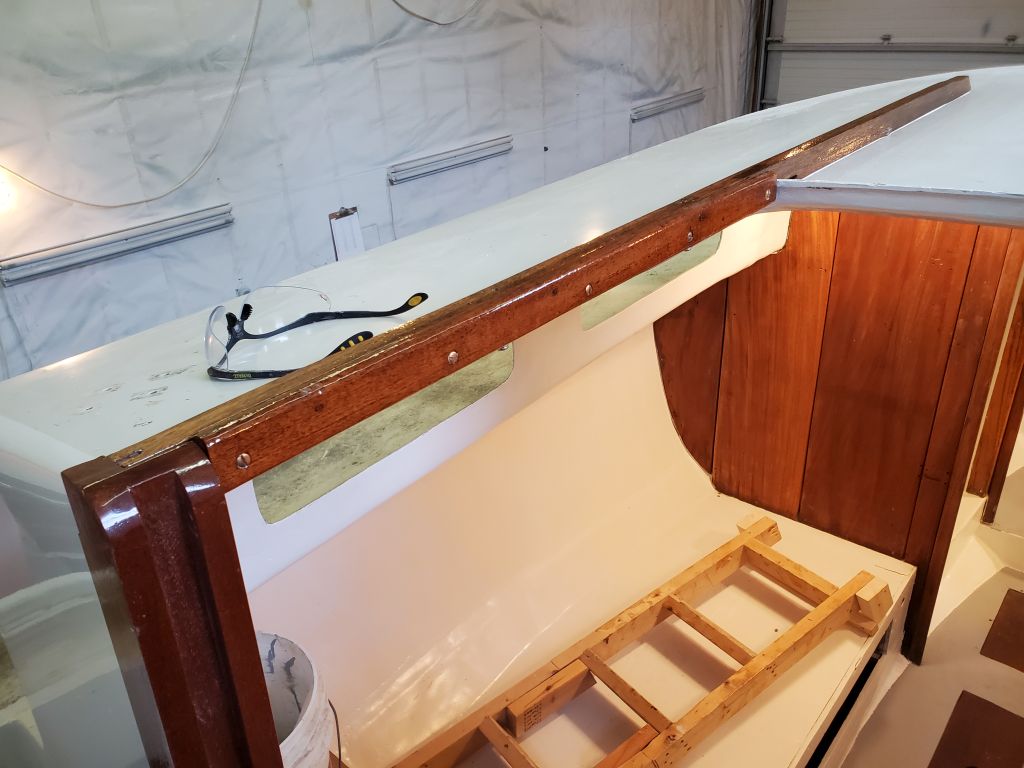
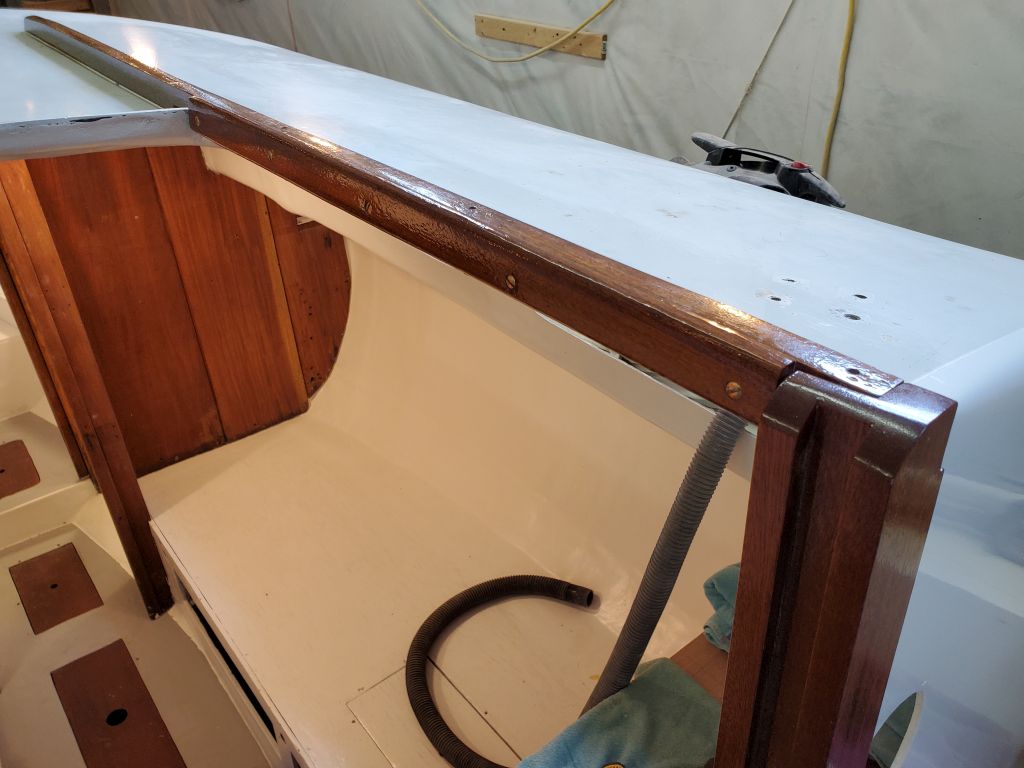
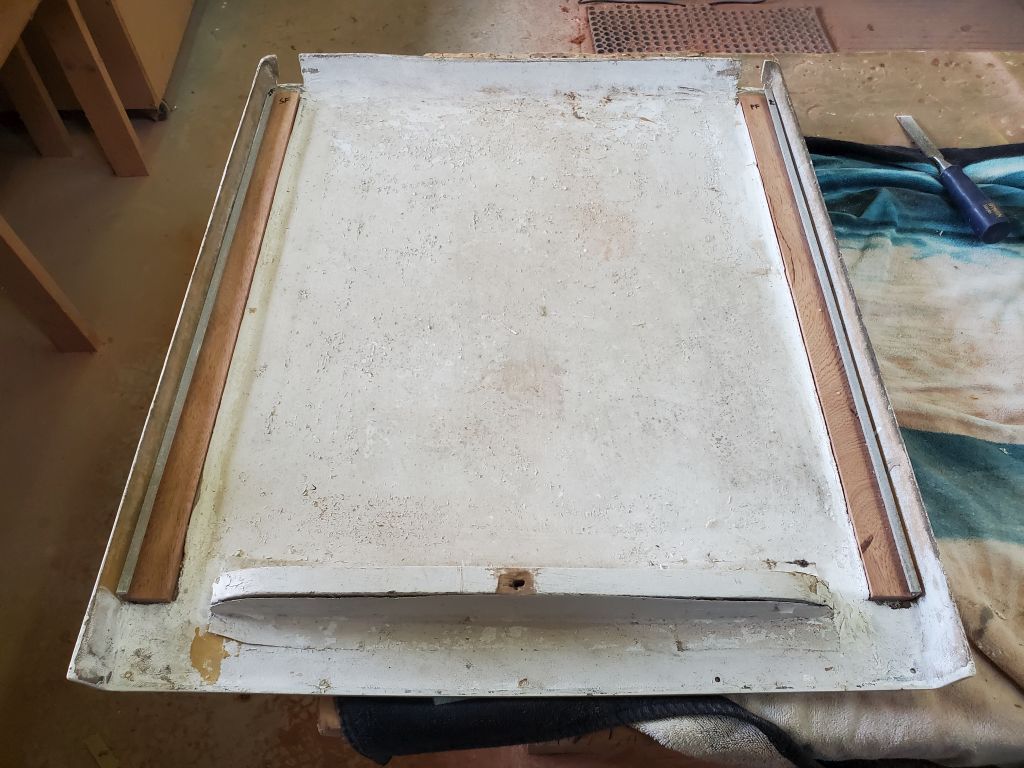
Back on companionway duty, I installed the wooden support rails on the cabintop, drilling from within through the epoxy-filled holes I’d completed last time, then securing the rails with sealant and screws from beneath.
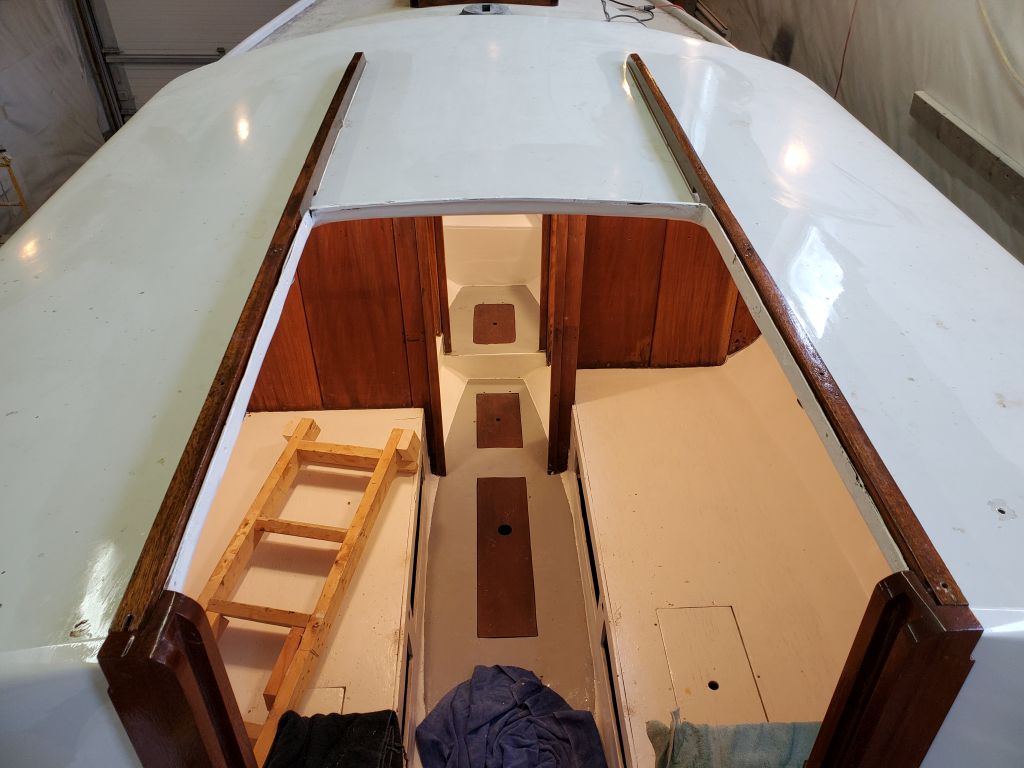


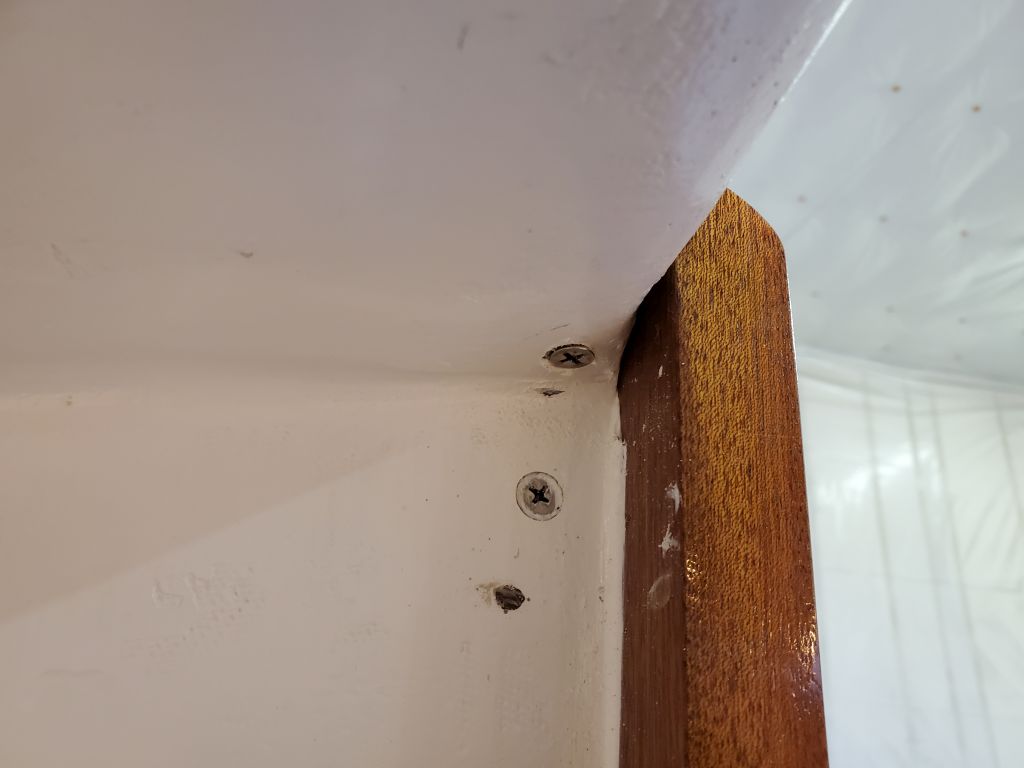
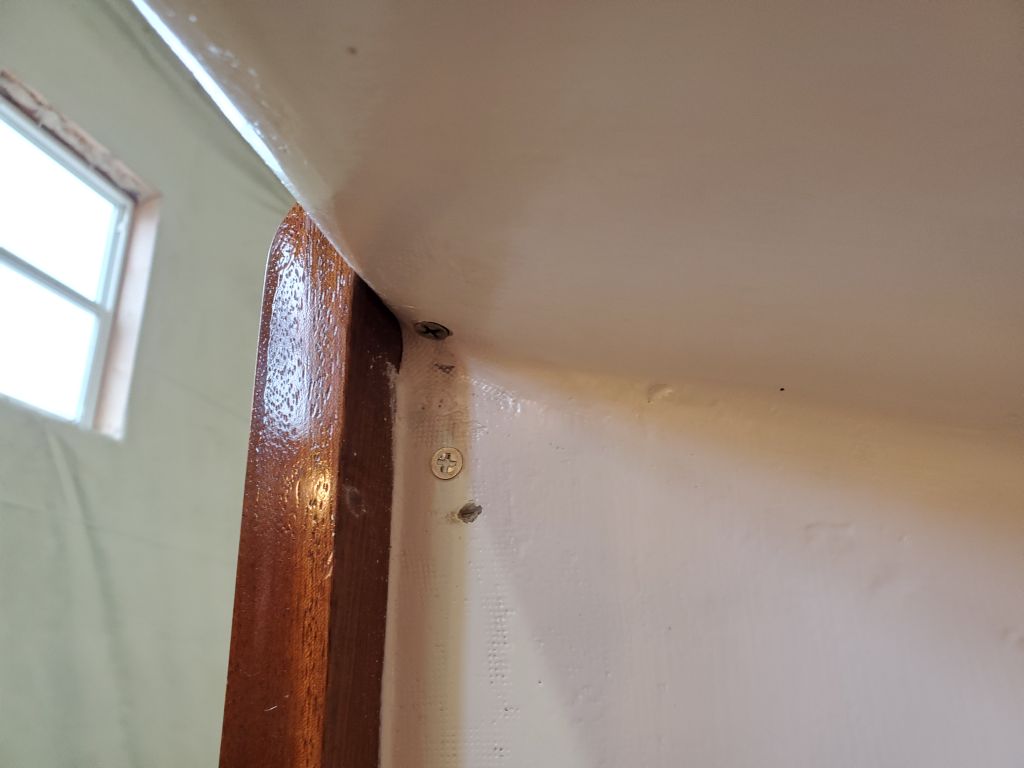

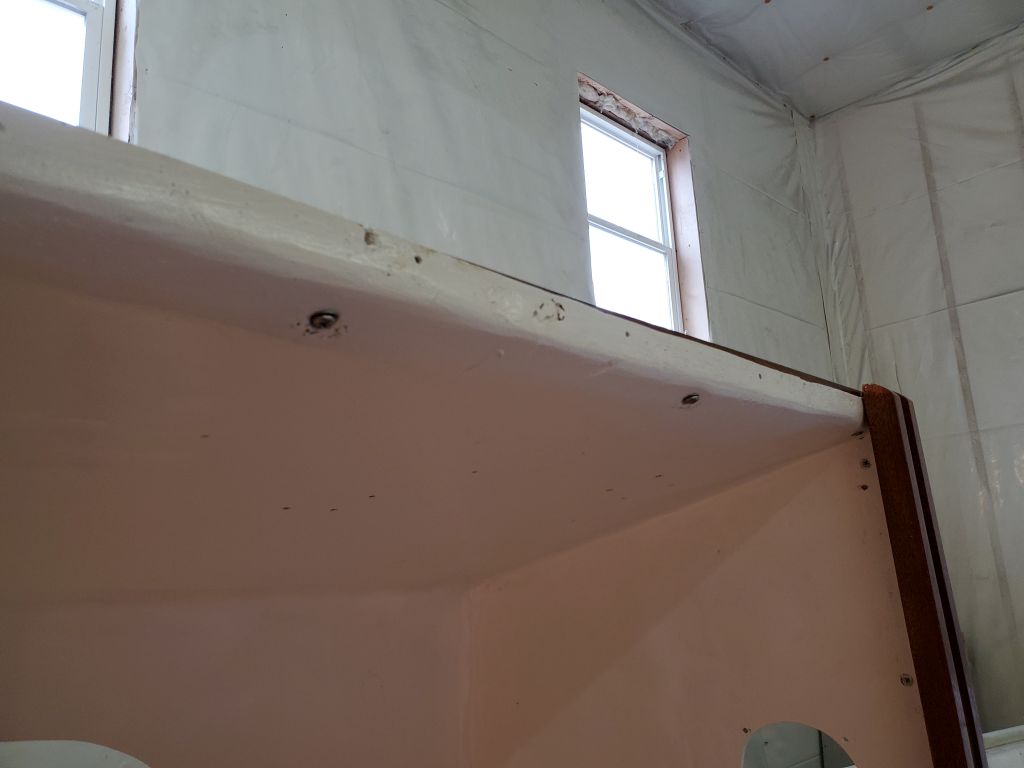
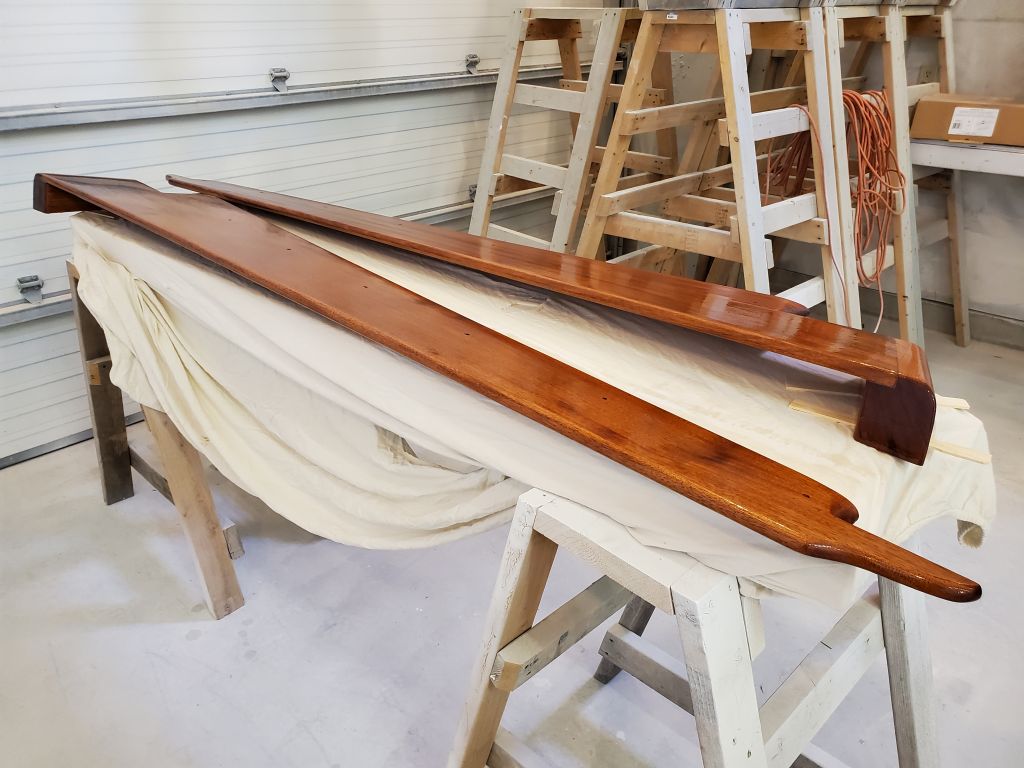
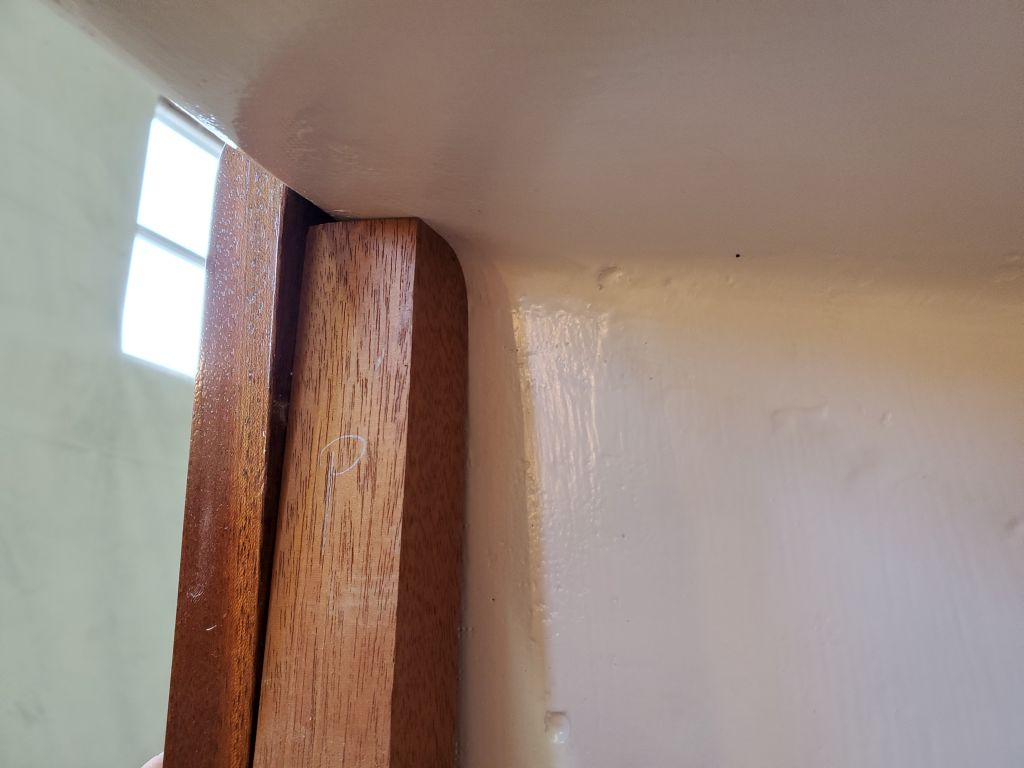
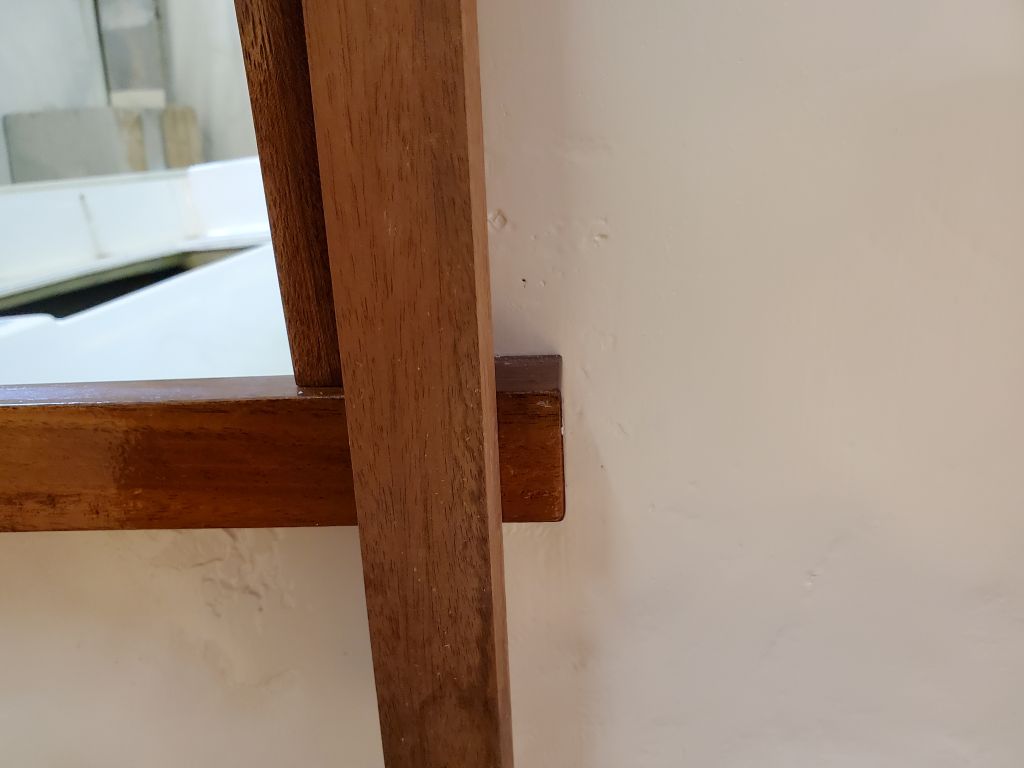
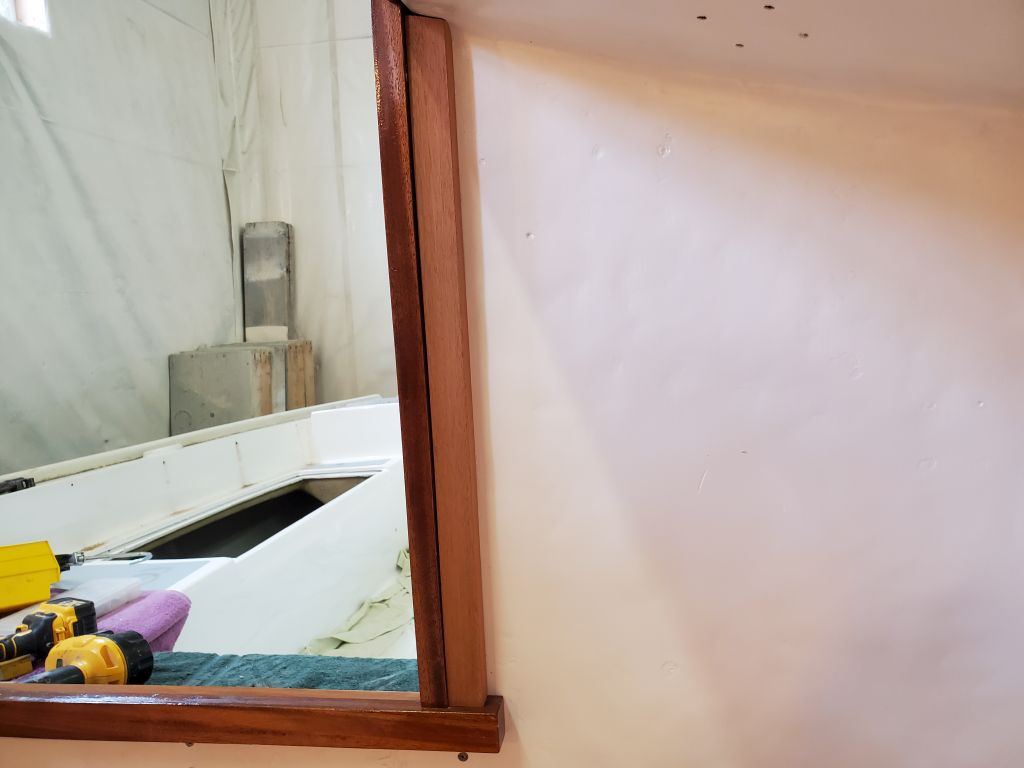
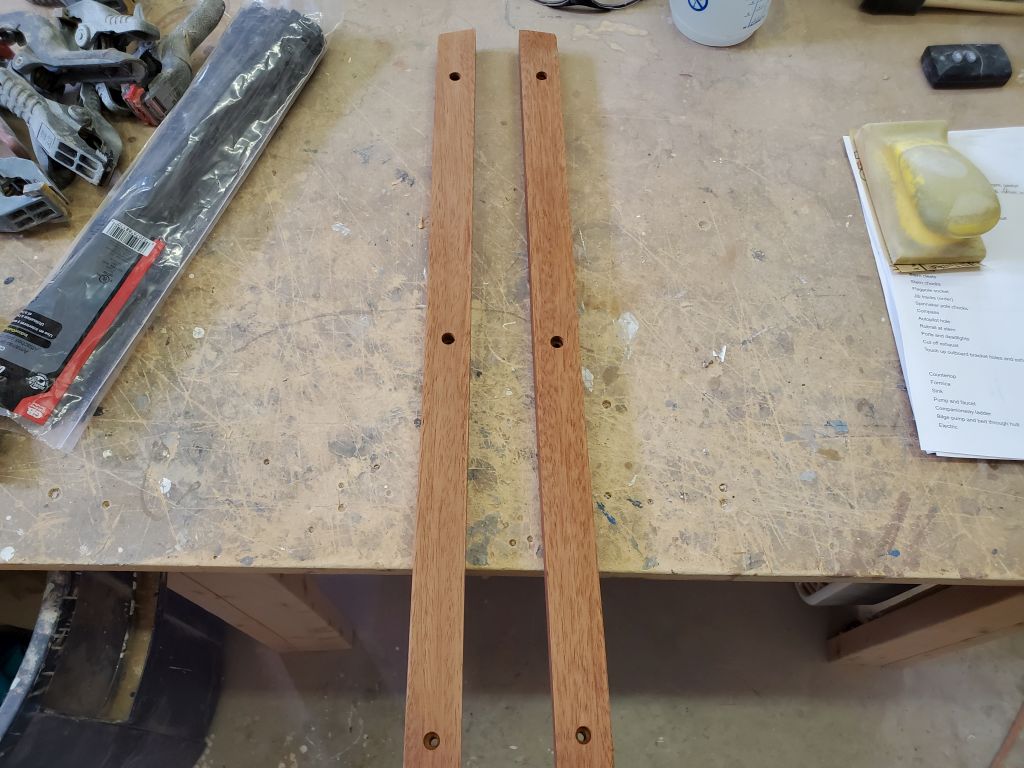
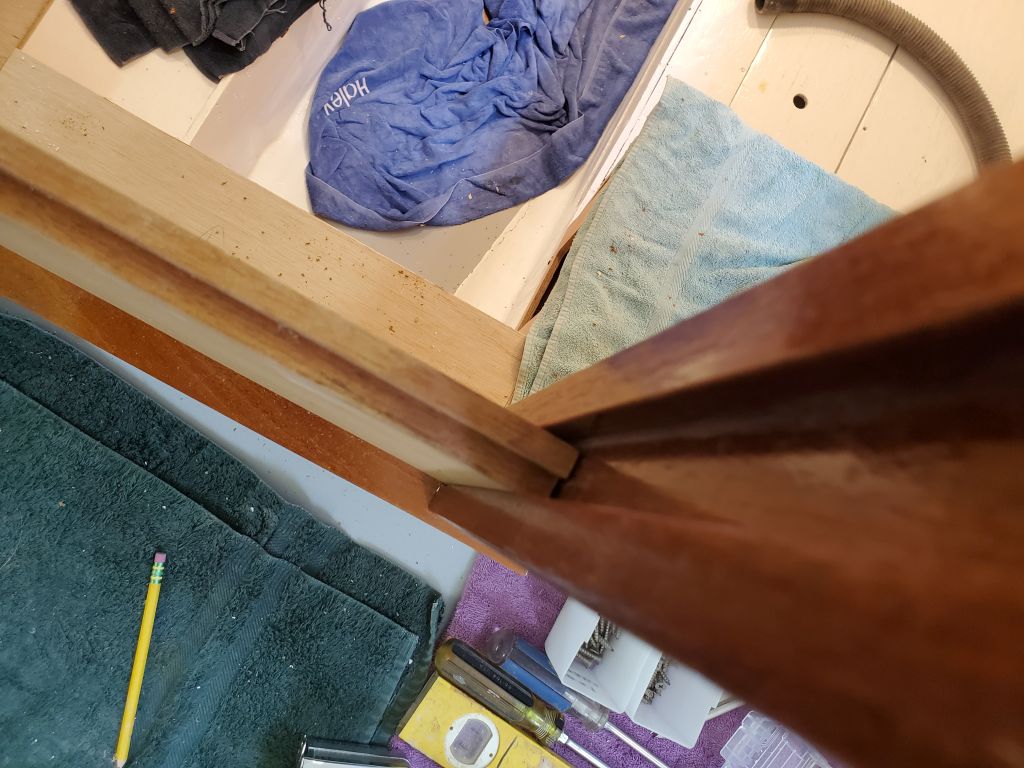
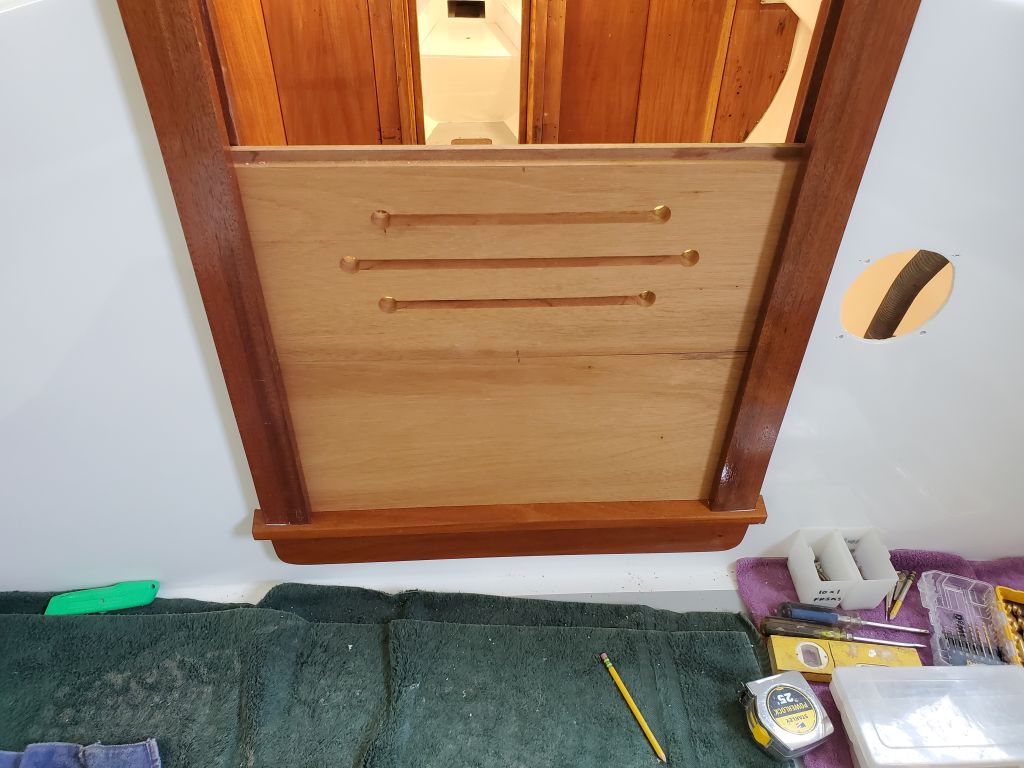
For the interior companionway trim, the owner had provided me with a shaped-and-varnished apron trim, and two dimensioned, but otherwise unfinished, lengths of mahogany for the side trim. These side trims required angle cuts and some minor shaping at the top end in order to fit against the overhead, and cutting to length to fit above the companionway sill. Once I’d completed those steps, I drilled counterbores for bungs and screws, sanded the pieces clean and smooth, and applied a coat of varnish to all sides, wanting the wood fully sealed before installation. Meanwhile, I installed the interior apron with three holes in counterbored holes, which I’d fill with bungs later.
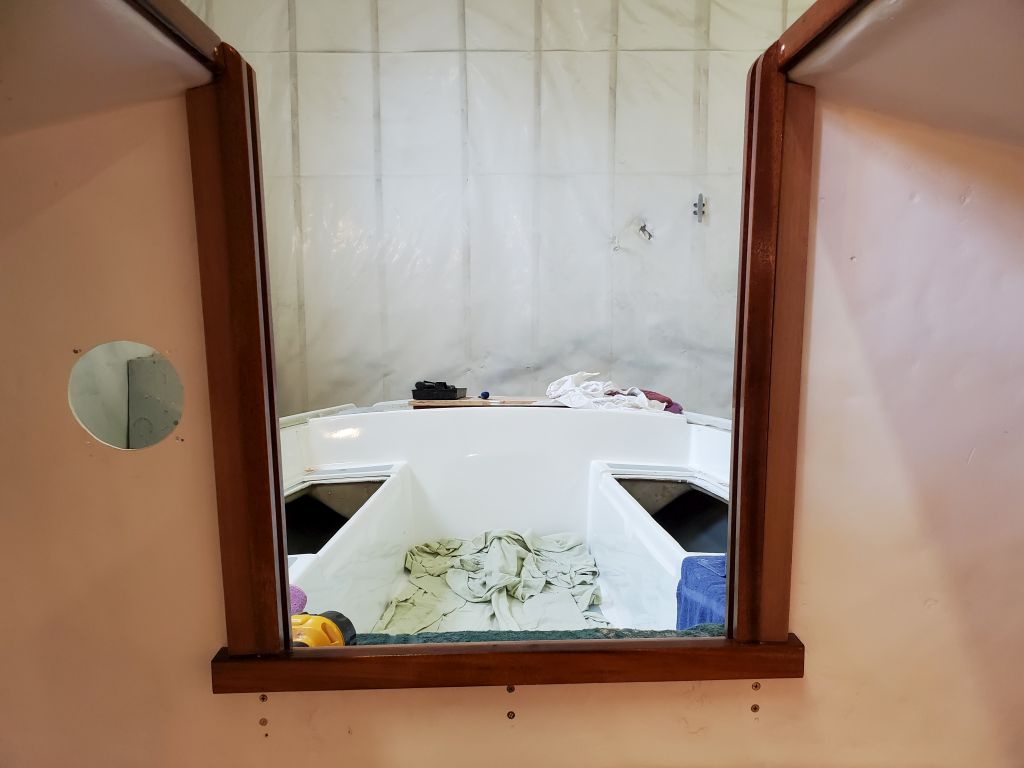


Finishing up the supplied trimwork, I installed two little pieces of varnished trim along the inside edges of the companionway opening in the overhead, using the bronze screws the owner supplied me along with the trim.

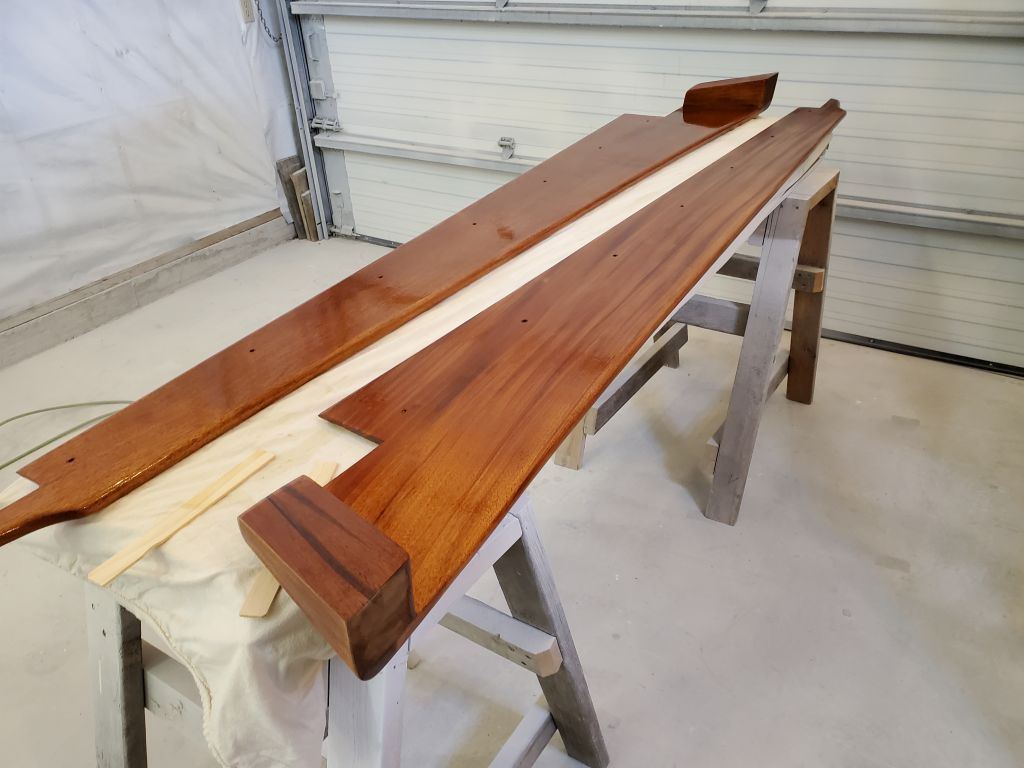
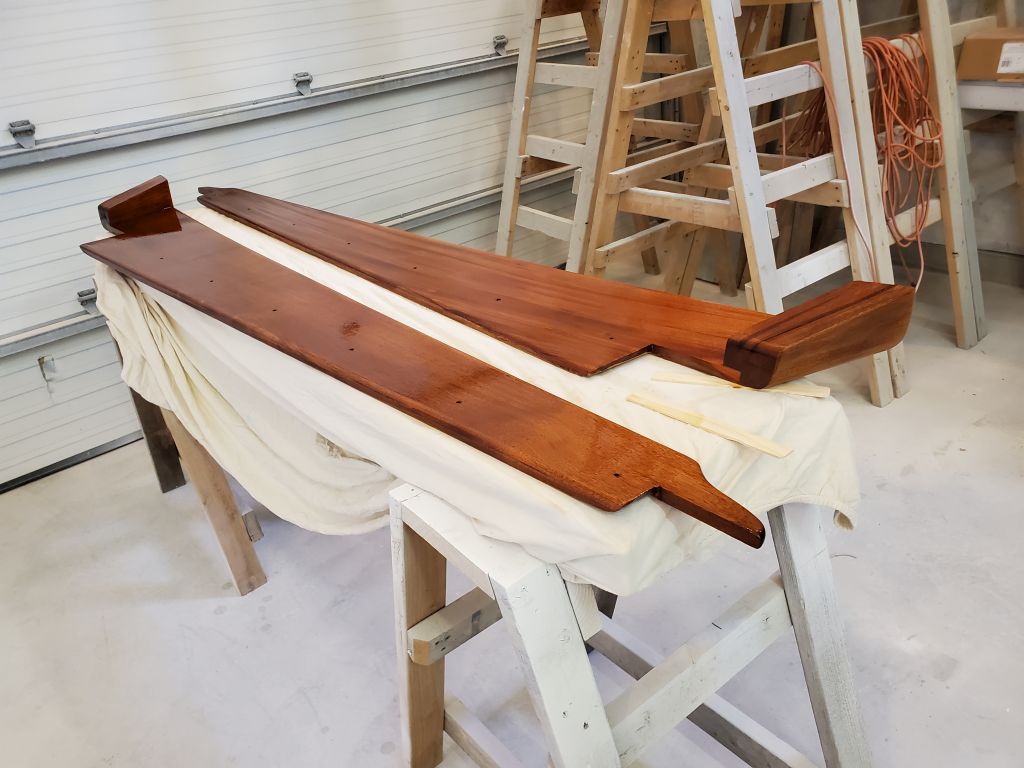
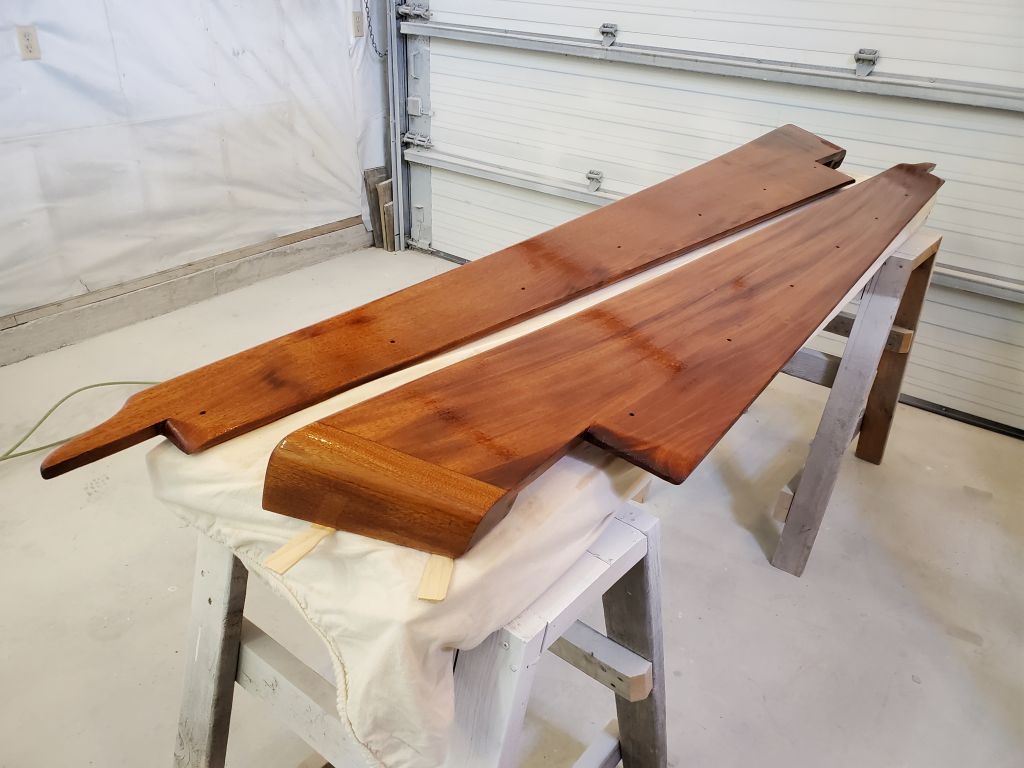
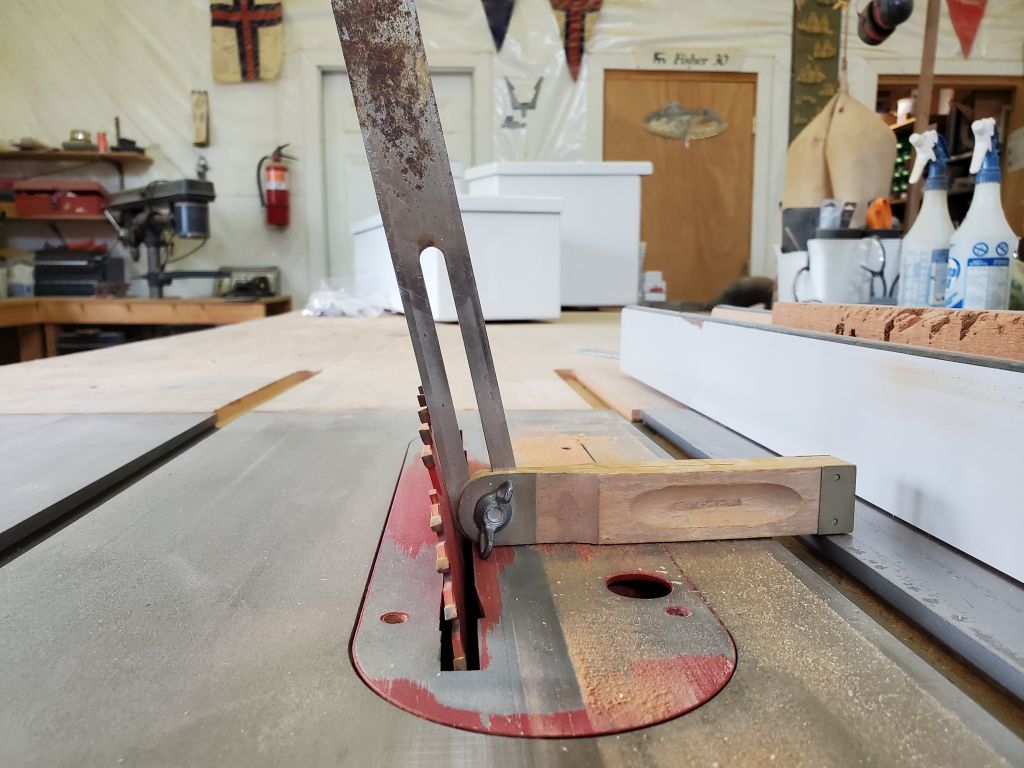
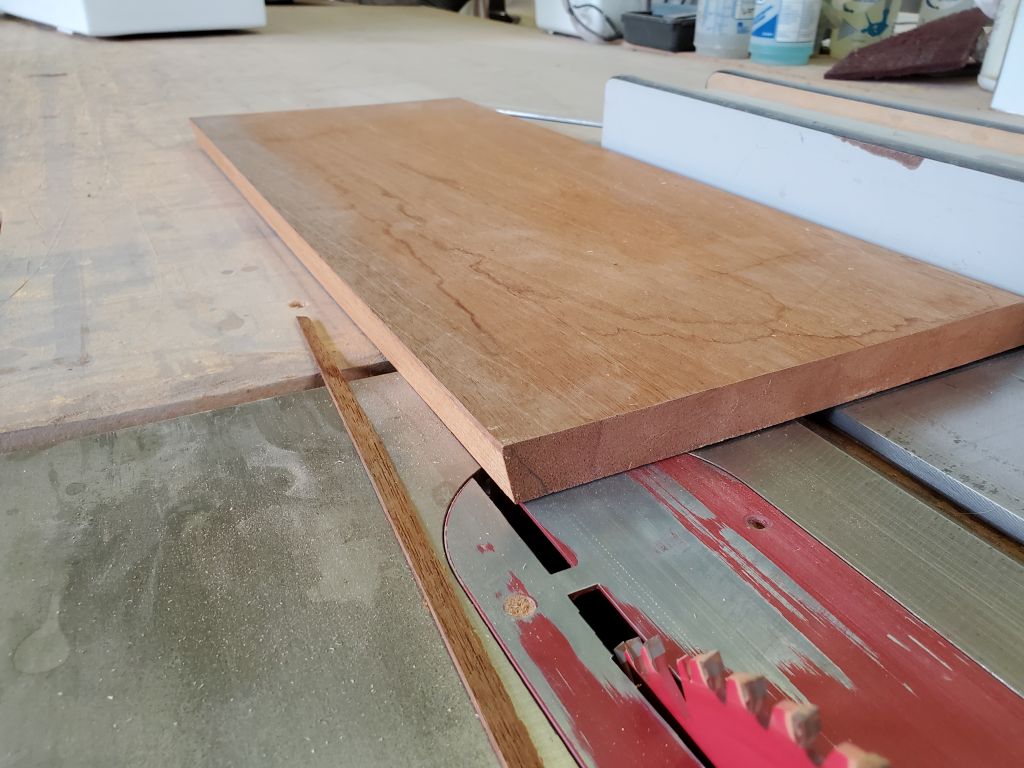
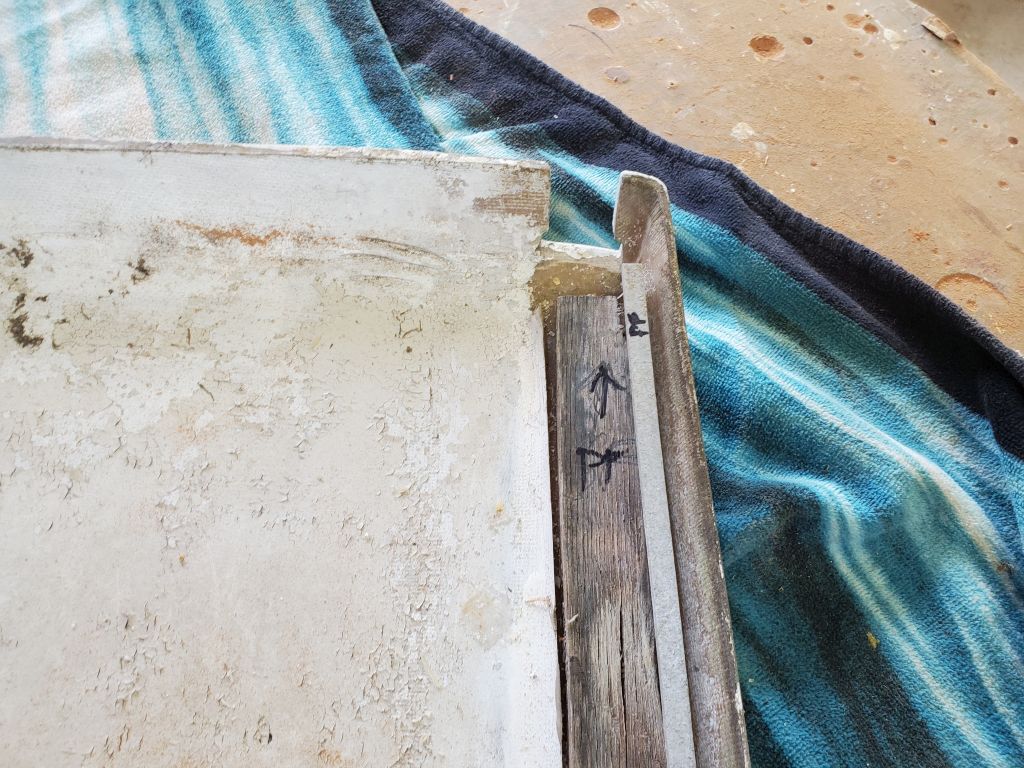
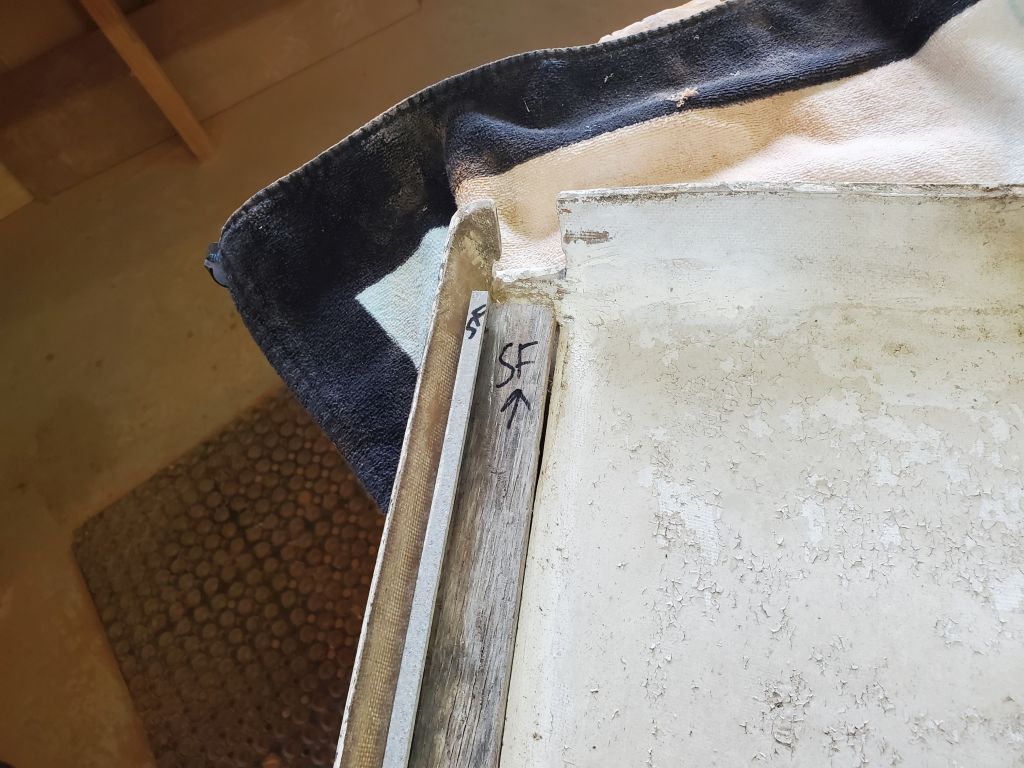
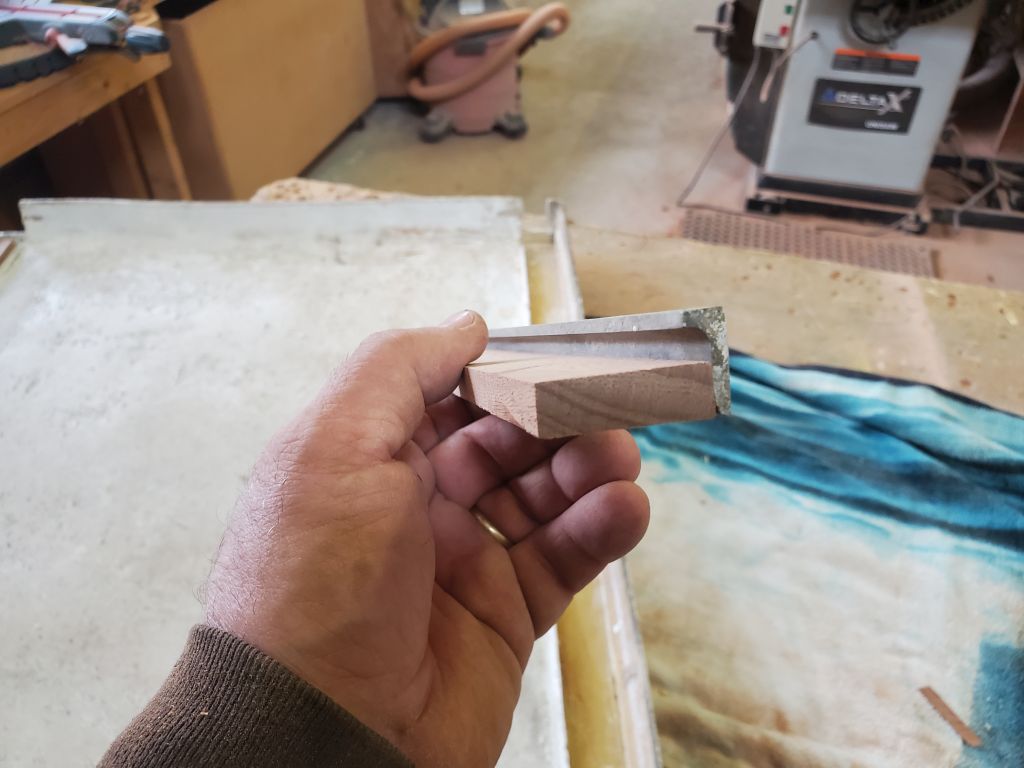
The mahogany swashboards for the companionway were raw mahogany, milled to height with their rabbetted overlaps and some vent slots, but left overlong and requiring additional fitting. To start, the bottom board required a 12° angle cut on the bottom to match the angle on the sill, after which I snuck up on the final width required to fit properly in the slots in the companionway trim. I found that the boards were just a bit too thick for a smooth fit, so I planed all three down to a finished thickness just more than 3/4″, which allowed the boards to fit properly.
Once I had the bottom board fitted, it was much quicker to trim the top two boards to the proper width and fit. The top board would probably require a final cut at the top to match the companionway slide, but I wouldn’t know that till I’d fitted the hatch itself.


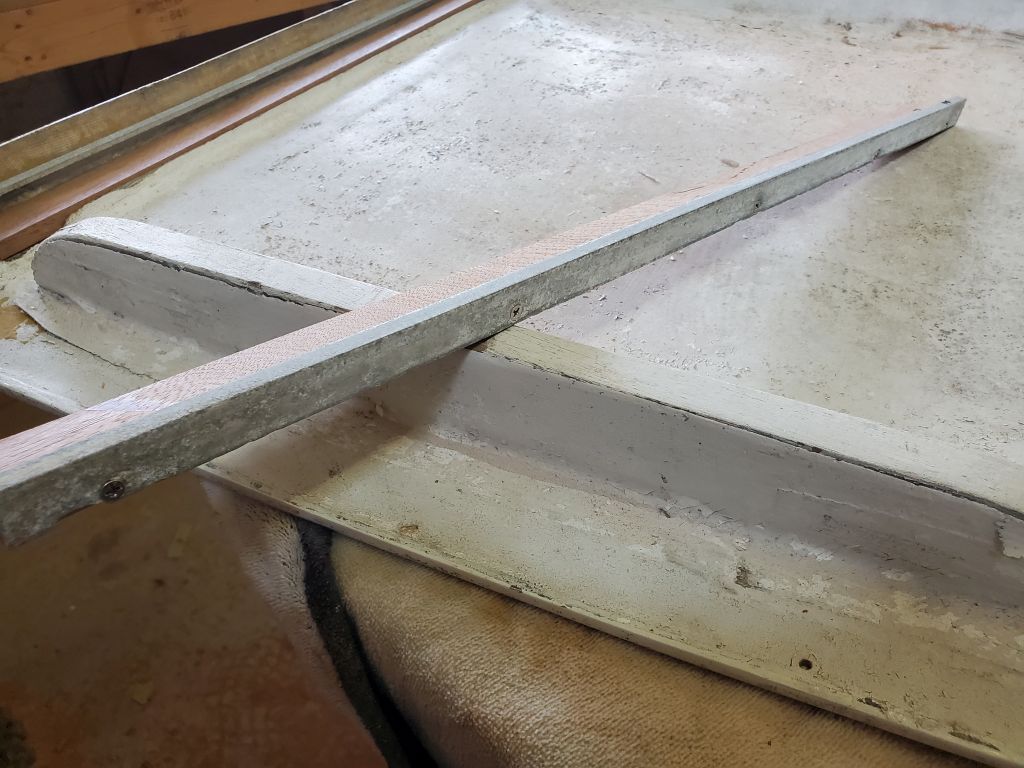
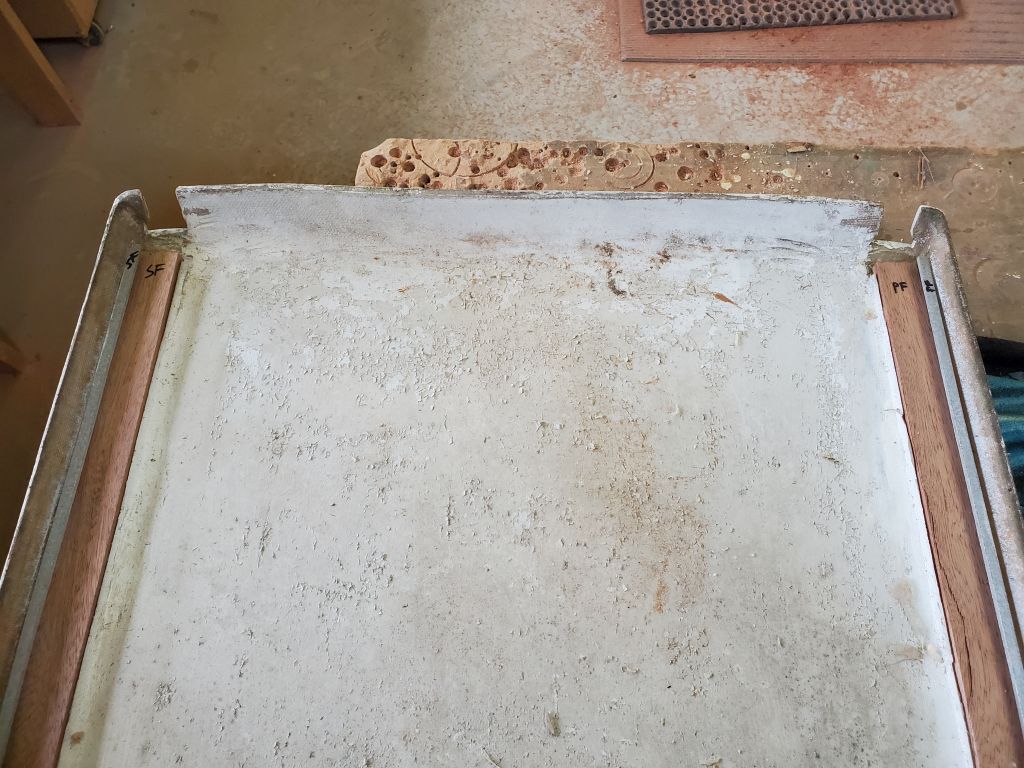
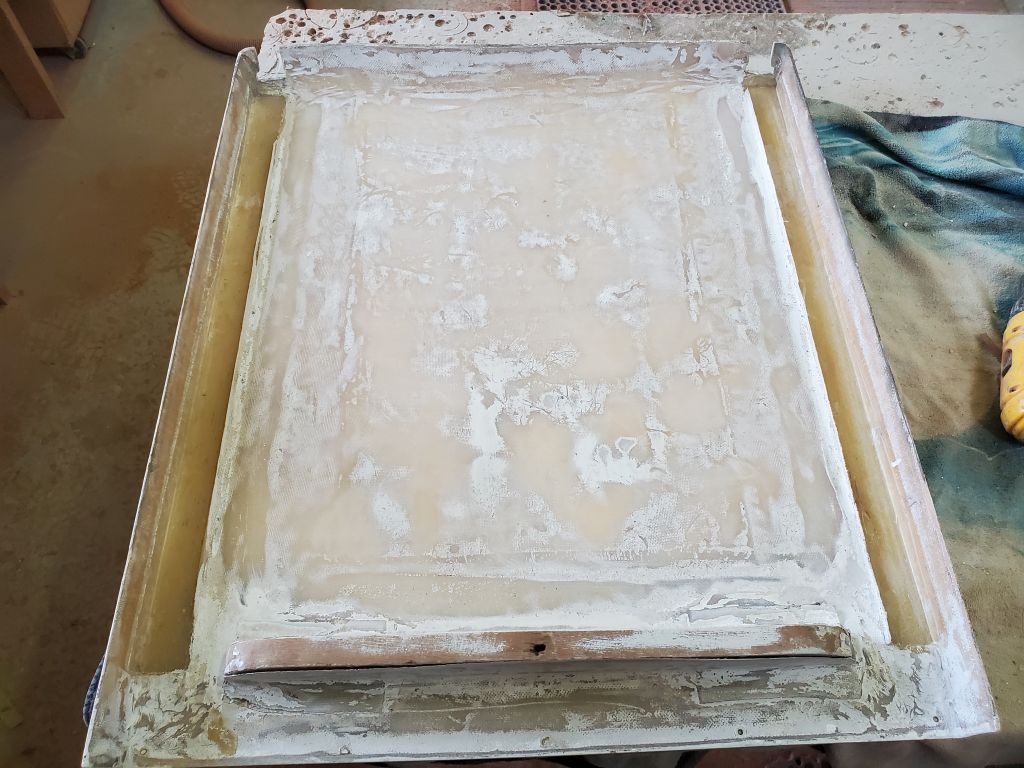
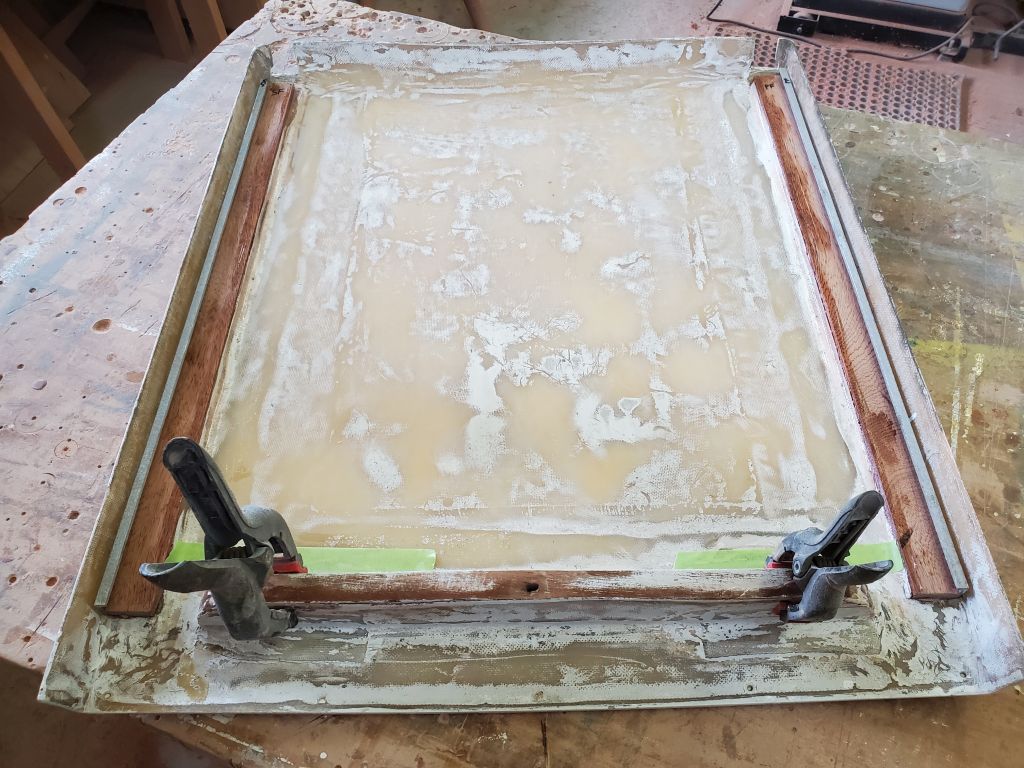
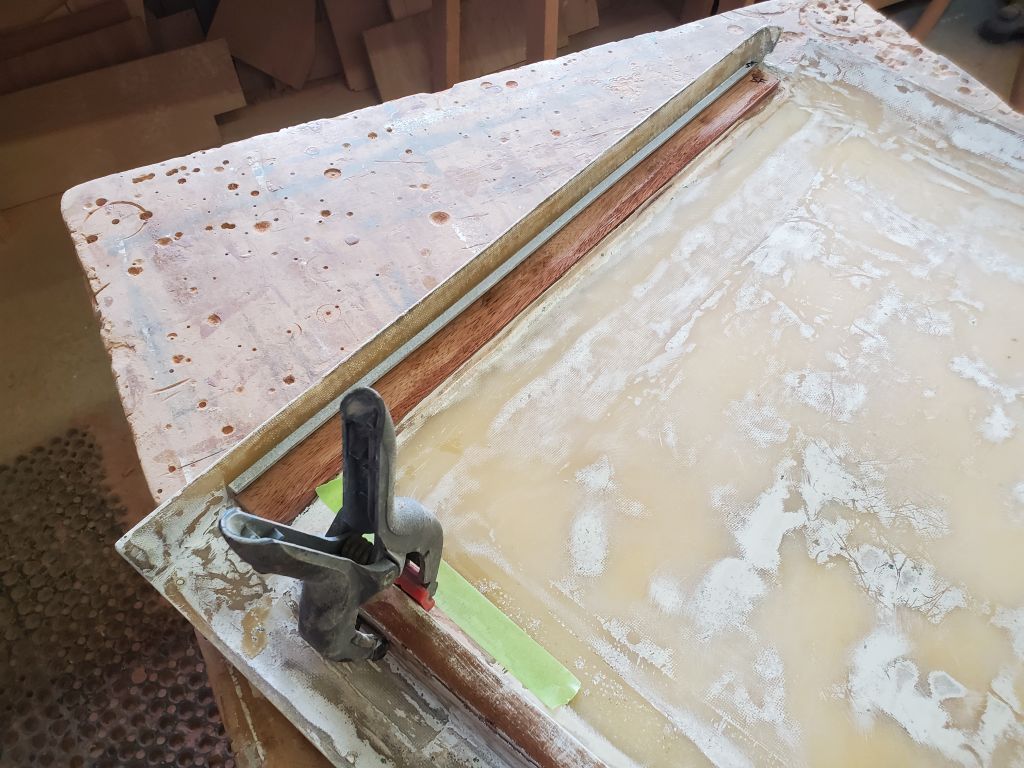
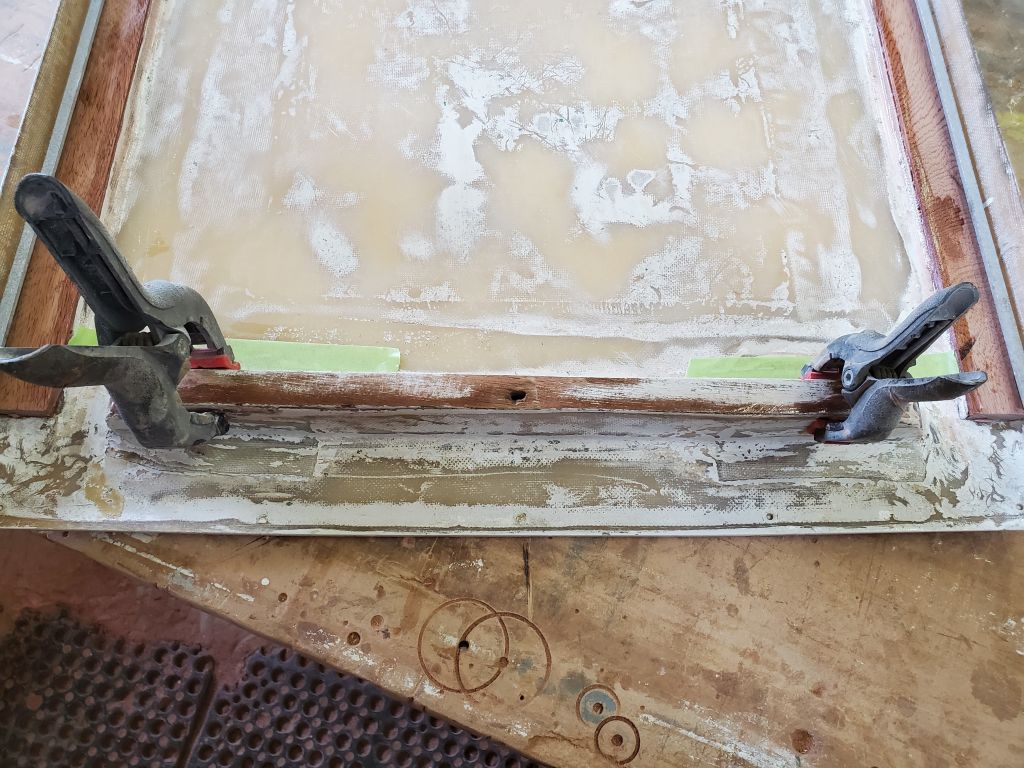
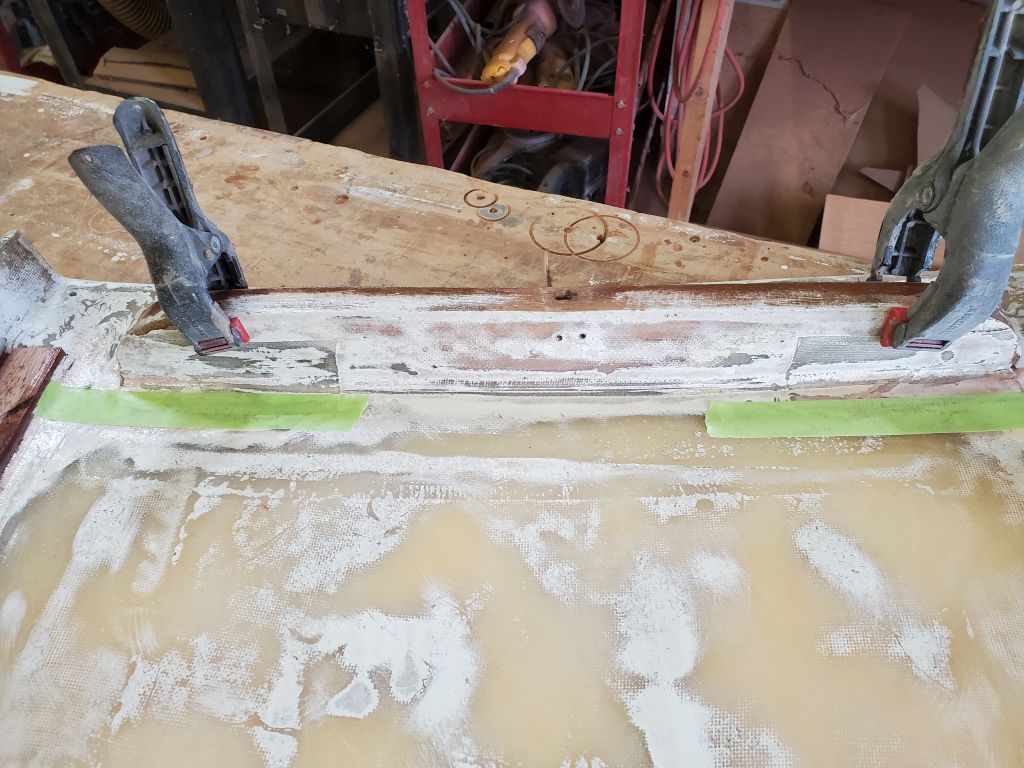
Naturally, then, my next task was the companionway slide itself. This would require a bit of repair and cosmetic work before I could install it, starting with replacing the wooden runners that supported the aluminum L-shaped guides that would ultimately run along the track. The original wood was badly rotted, and had come free from its original mountings on the hatch (just pressed into polyester resin at the hatch edges). The aluminum guides were corroded, and the screws had failed, but were still structurally sound enough for continued use. In these photos, I have the wooden runners and aluminum guides just resting in their proper places to illustrate, and to provide reference for when I reinstalled the pieces.

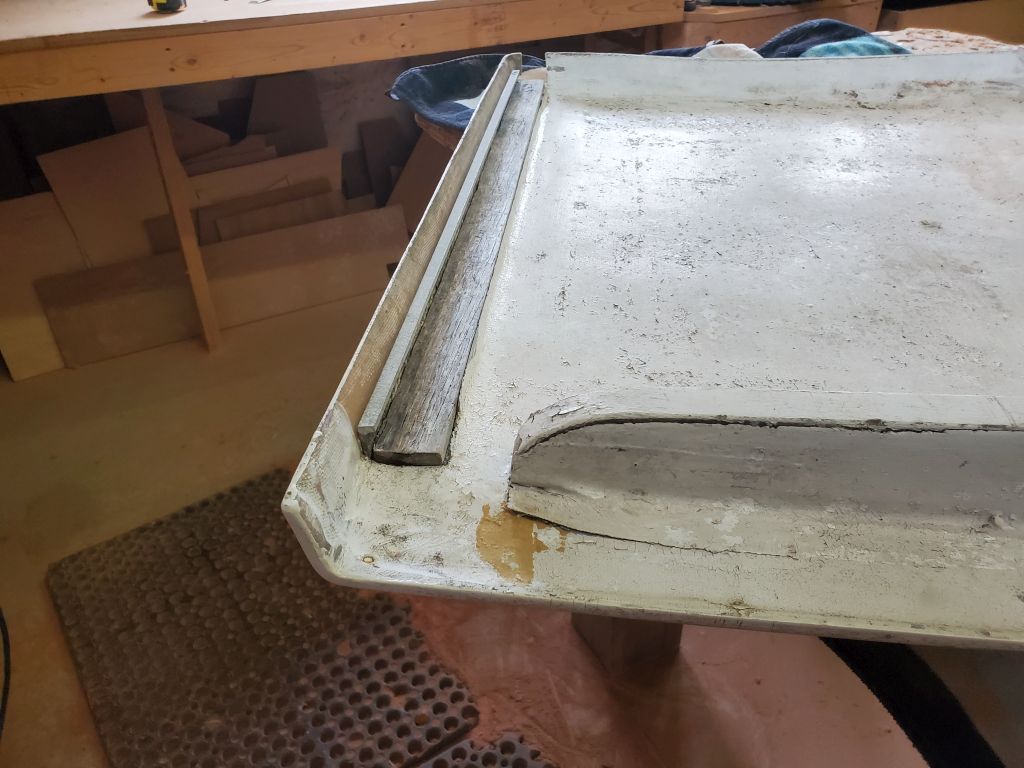


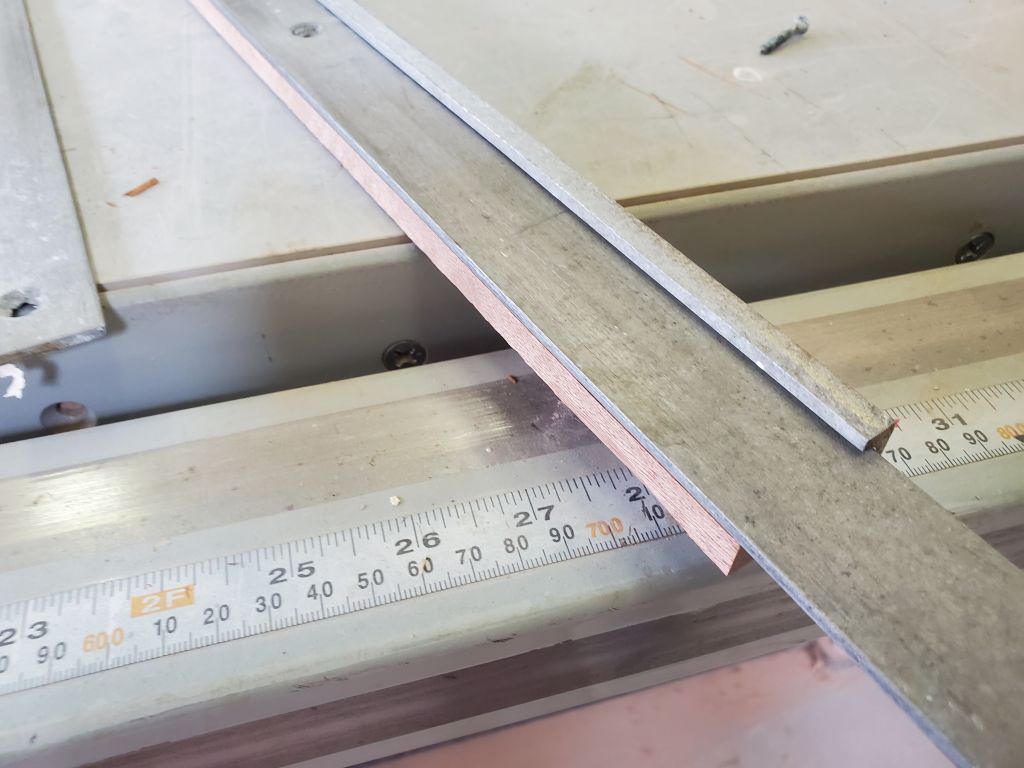
After dismantling what was left of the old guides, and removing the old corroded screws, I cleaned up the aluminum for reuse, then milled new mahogany (sipo) runners to match the old (1-1/4″ x 26″ x 5/16″), and reinstalled the l-shaped guides with new screws. These brackets would hang over the aluminum rails (seen in the 4th photo) that would later be installed atop the wooden supports I’d installed on the cabintop.


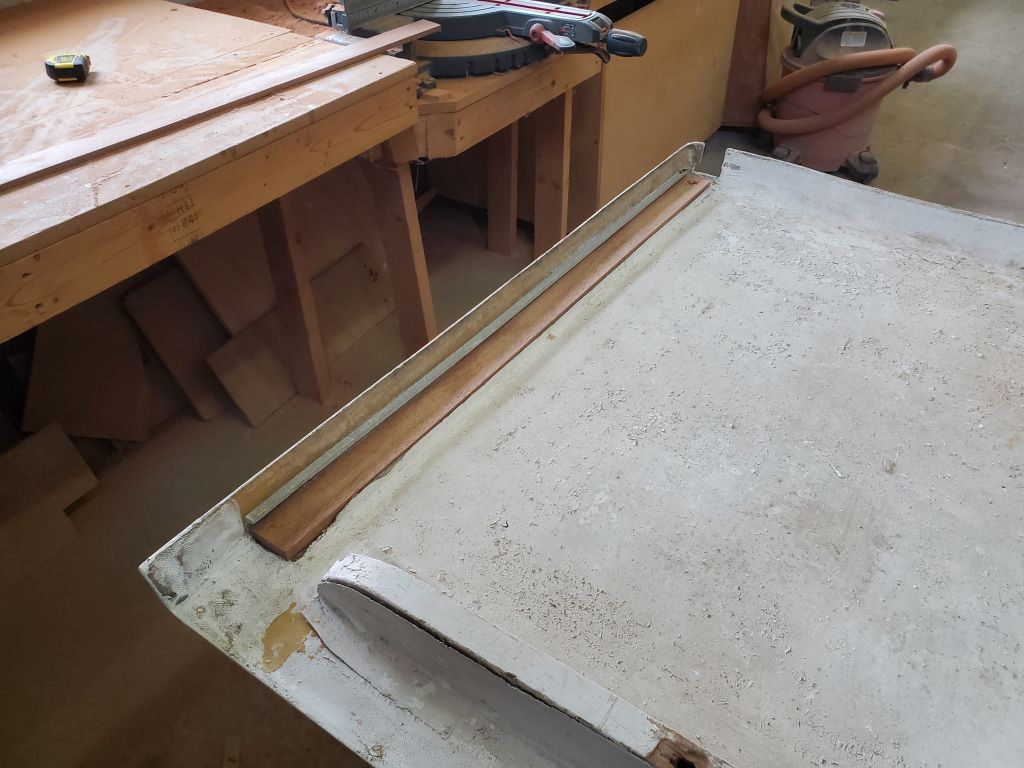
With the new runners ready to go, I sanded the underside of the hatch to remove the flaking old paint and otherwise prepare all surfaces for new work: refreshed paint and some minor epoxy repair work at the aft end. Thusly prepared, I secured the new runners in place with epoxy, and glued back some of the loose tabbing around the wooden support at the aft end of the hatch, leaving this all to cure overnight.

With a little time left in the day, and no further work available on the companionway for now, I went ahead with the final installation of the new transducer. With all the work related to the transducer and its new housing at the forward end of the keel, final installation was straightforward: I masked off the transducer, applied lots of sealant, and pressed it into position, securing it from above with the supplied nut and plastic and rubber washers before cleaning up the sealant and tape from below.
Total time billed on this job today: 7 hours
0600 Weather Observation: Mostly cloudy, 42°. Forecast for the day: Partly sunny, 52°