


May 4, 2021
Lyra 69
Tuesday
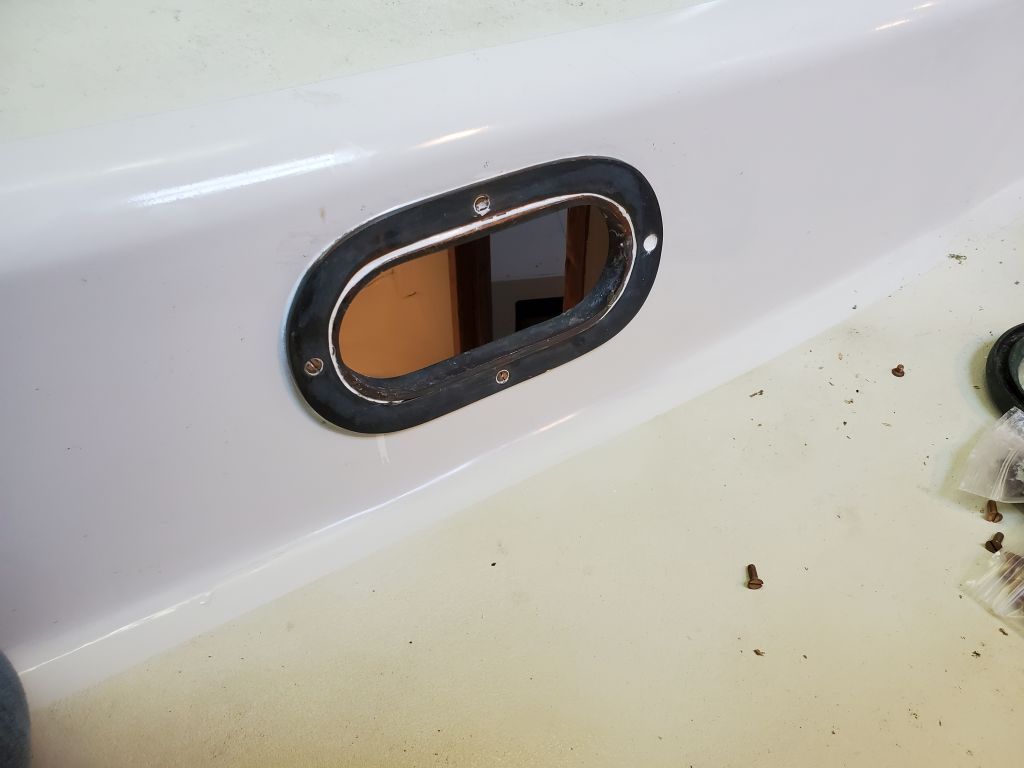
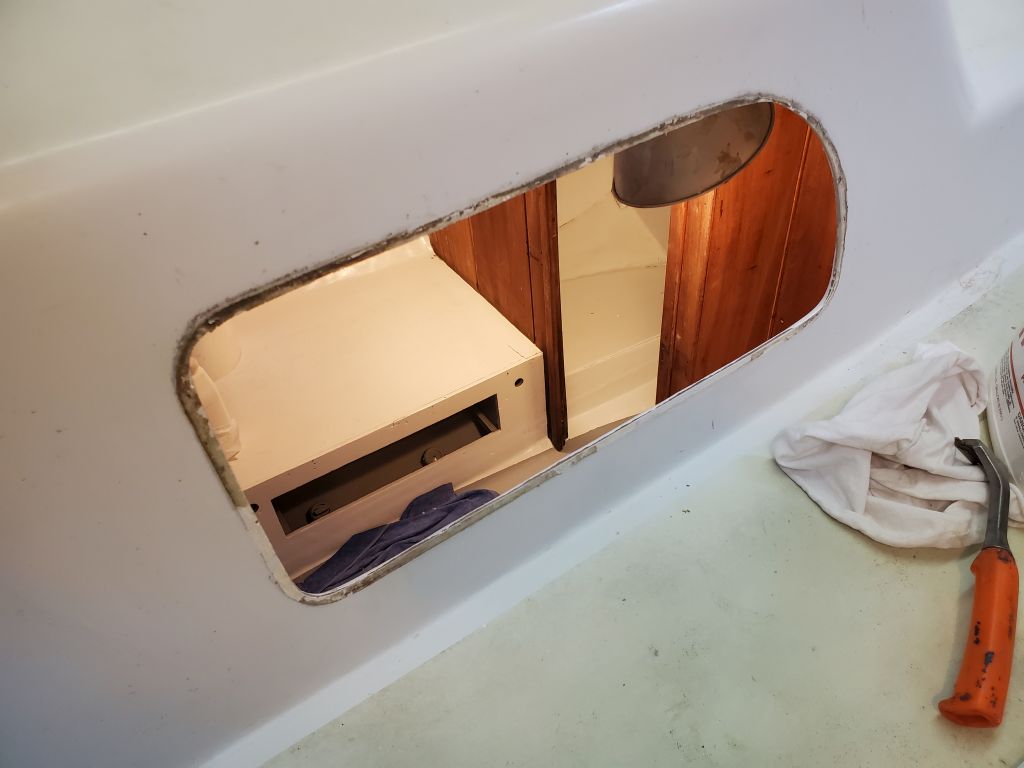
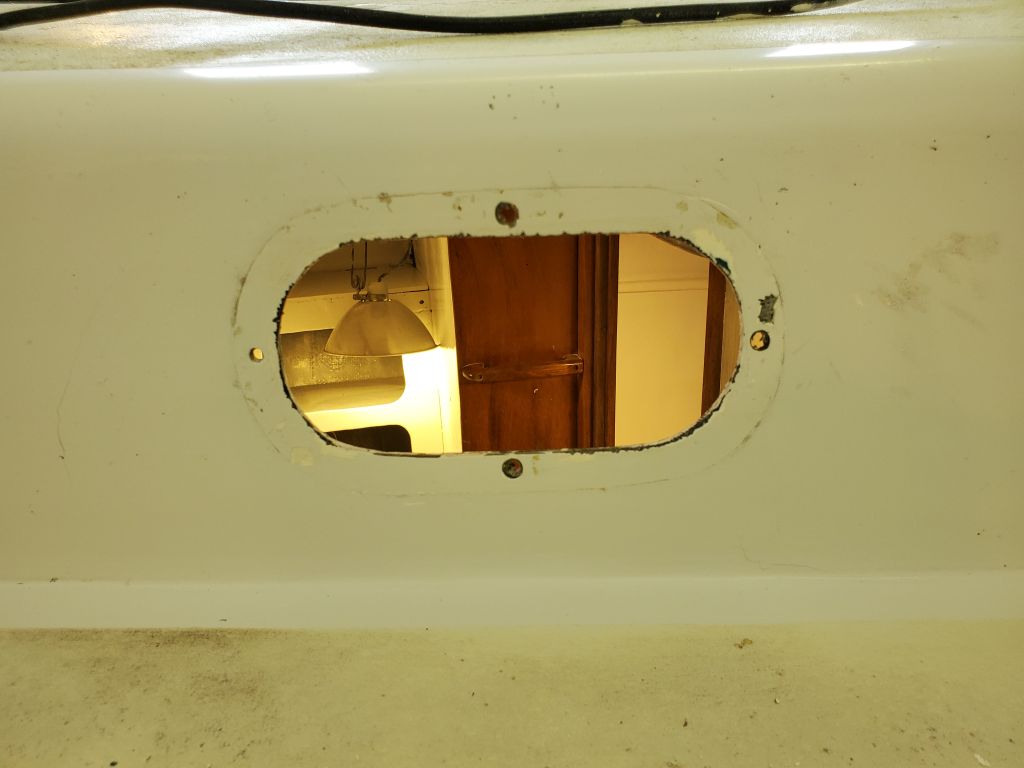
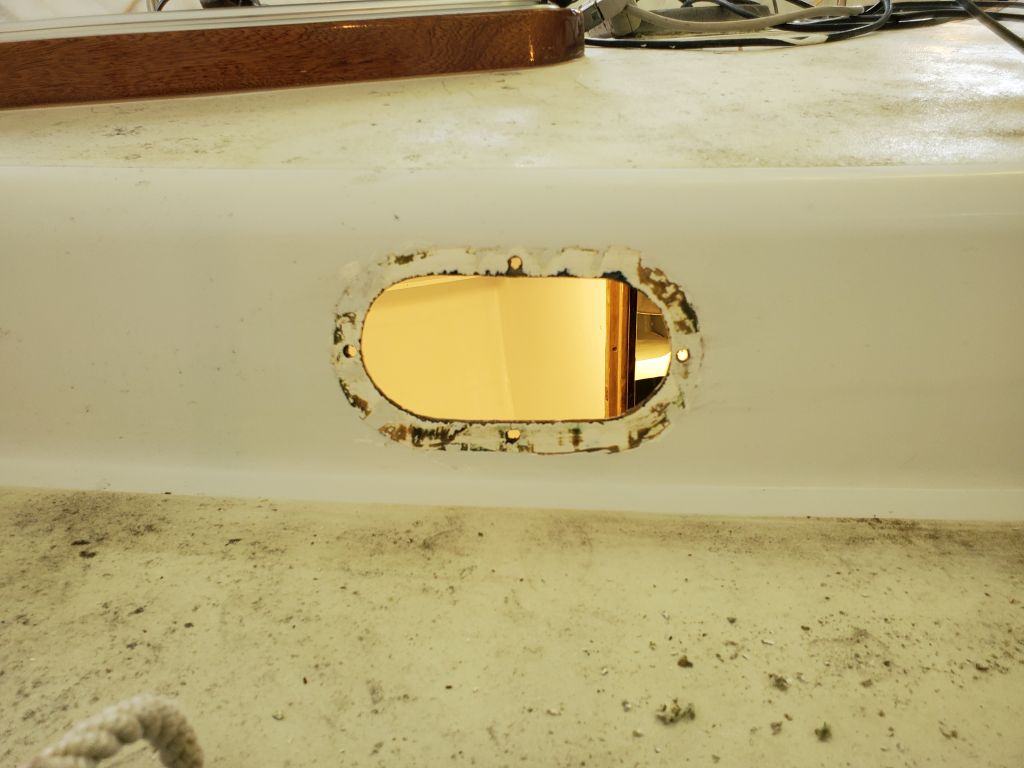
The deadlights required more cure time (as expected), so it would still be a couple days till I could install them, but I still had two small opening ports on hand ready for installation on the starboard side, in the head and forward cabin. Installation was straightforward enough. The old-style port in the head had an odd trim ring that was shaped and substantially thicker on the ends of the oval than on the top and bottom, and therefore required different length screws at each location. The screw holes penetrated completely through into the (for now empty) gasket slot within, so at least I could use longer screws to start, then change them on the top and bottom for shorter versions that didn’t interfere with the gasket slot.
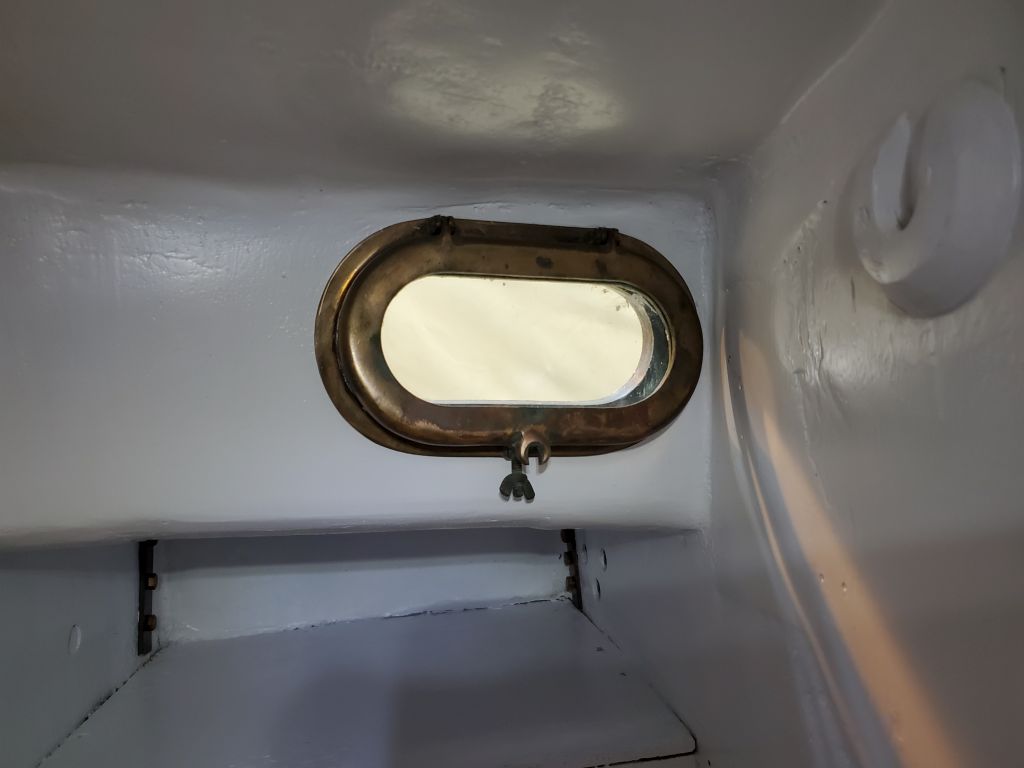
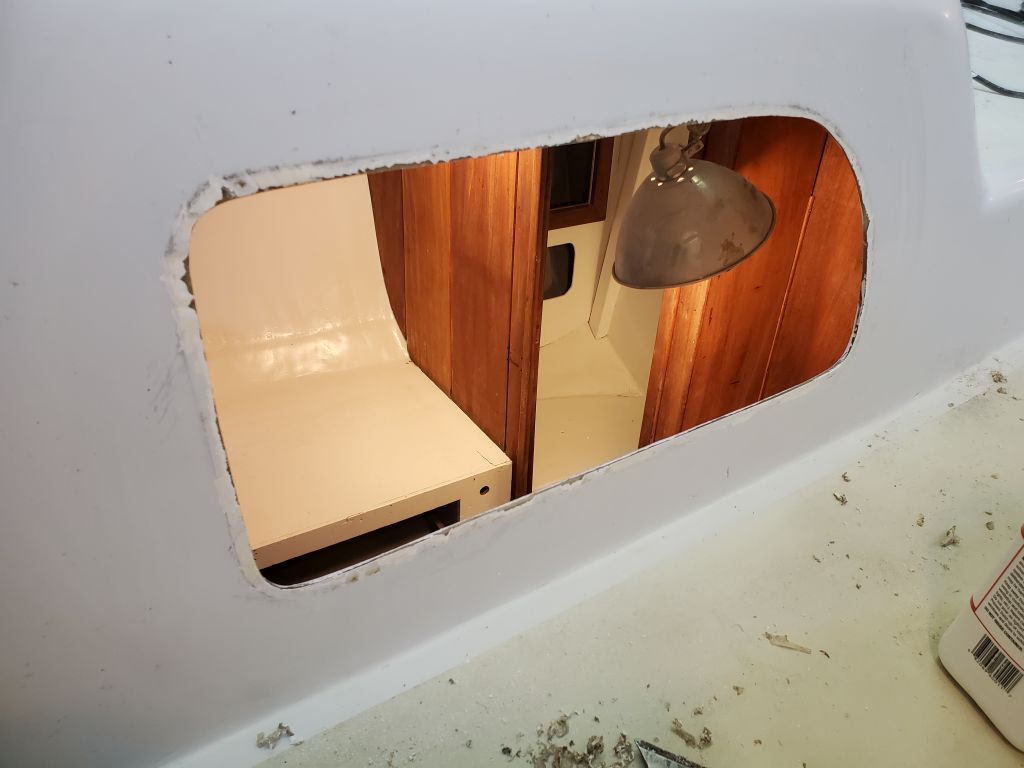
The forwardmost port, in the forward cabin, was another of the newer style that had clearly been replaced some other time earlier in the boat’s life. With a pretty thin laminate on the cabin side at this location, this port required 3/8″ screws all around.
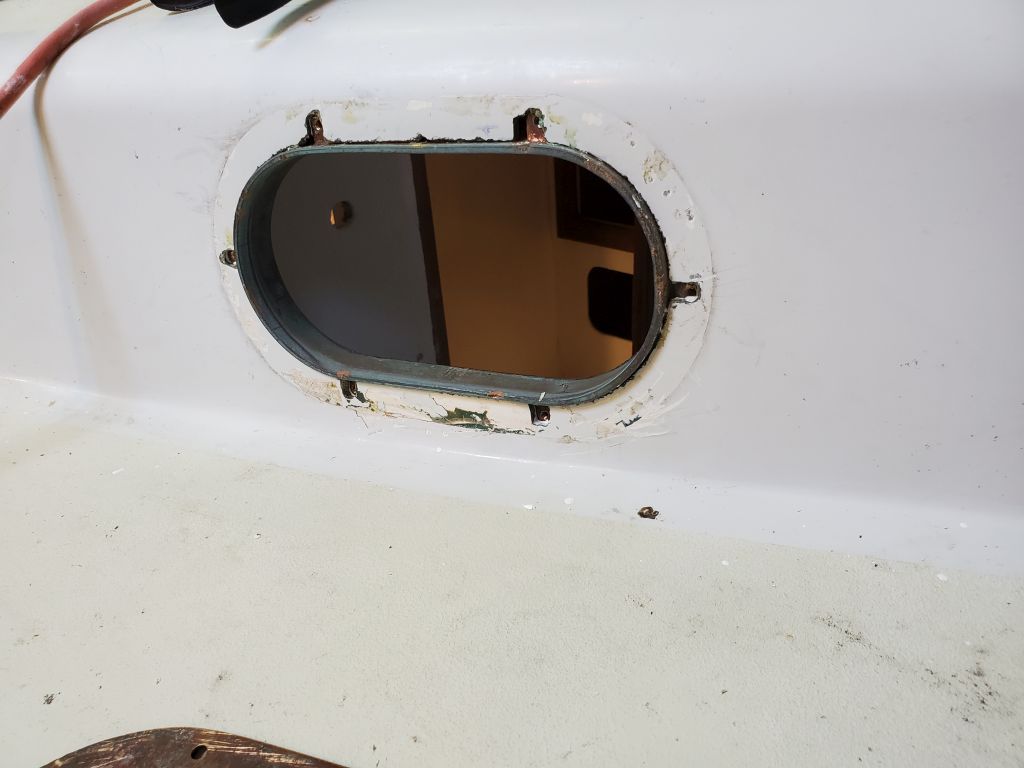
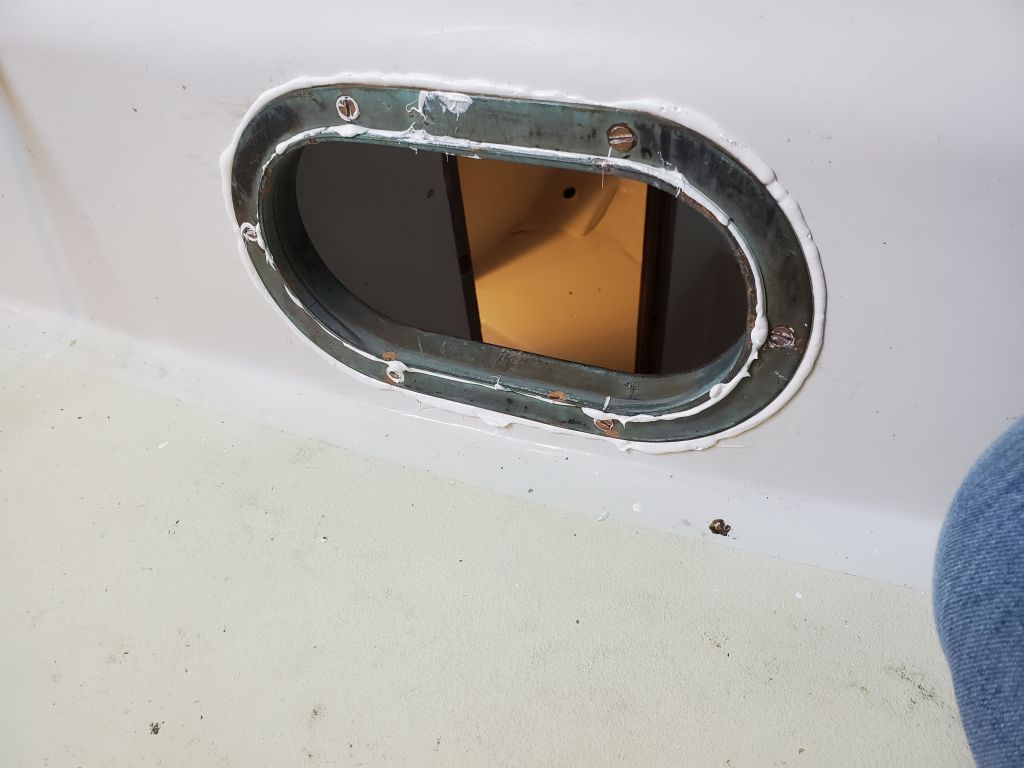


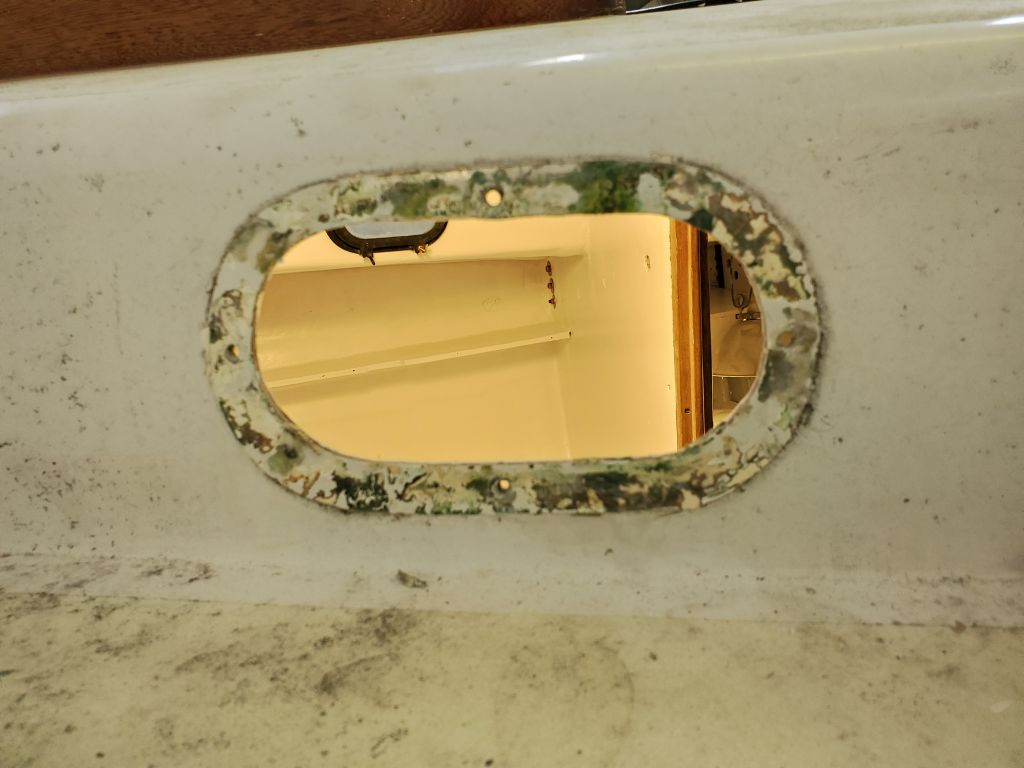
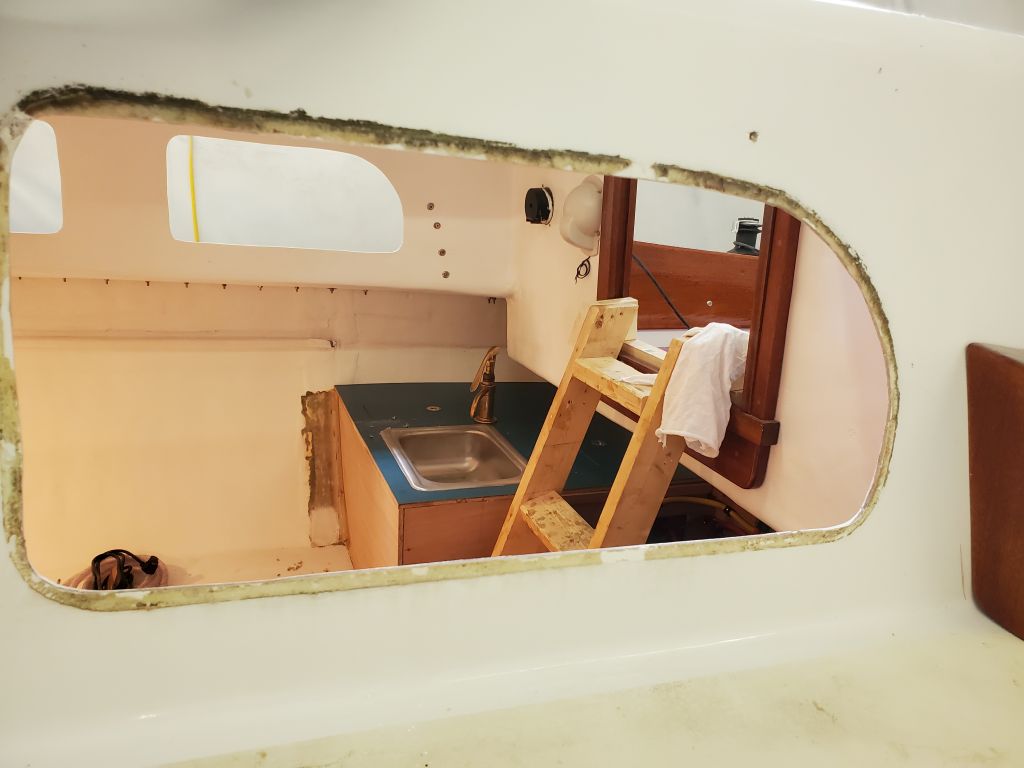
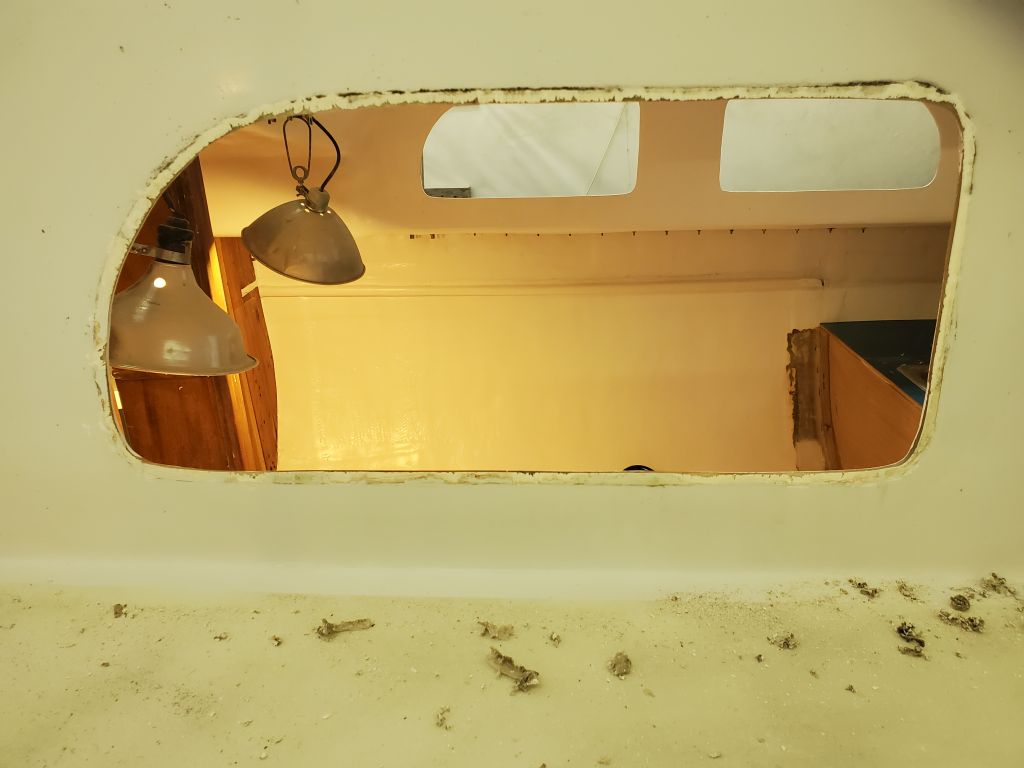
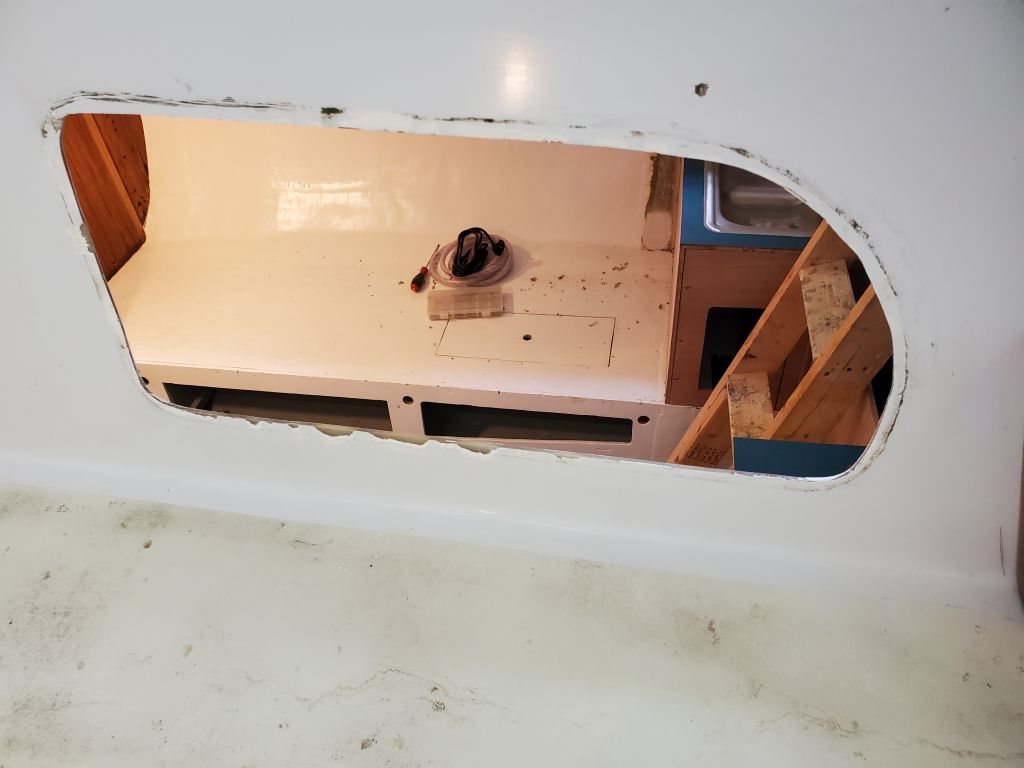
Next I cleaned up the remaining raw openings to prepare for the deadlight installation and the remaining two opening ports. The deadlights, which had been removed before the boat came to me, had been installed earlier with silicone sealant, which as usual was difficult to remove, all the more so because the aggressive process threatened the surrounding paint. Fortunately, the boat was due to return here after the season for a proper deck refinish, so if the preparation wasn’t as ideal as I’d like, I’d have a chance to do it better in a little while. For now, good enough was good enough.


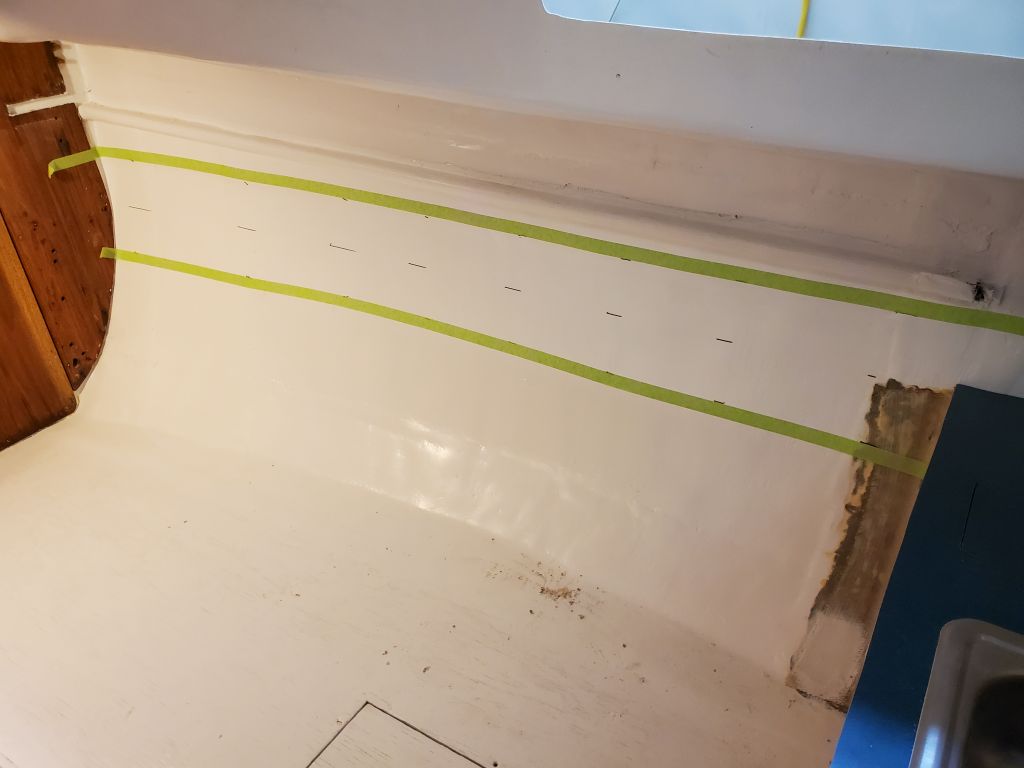
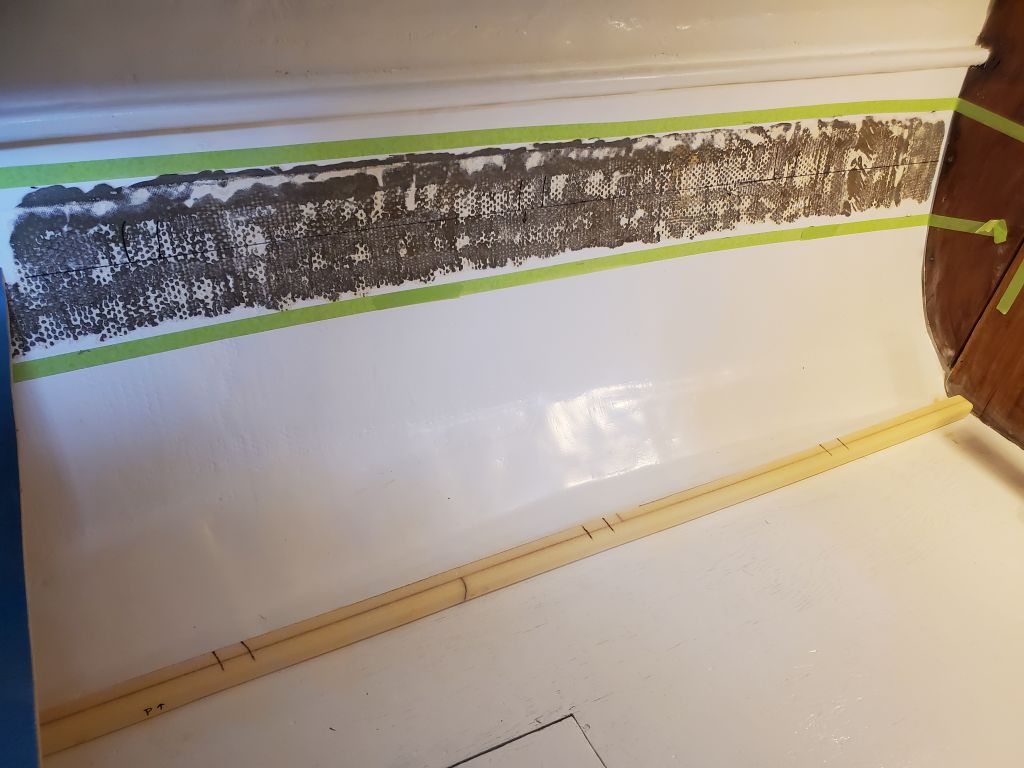
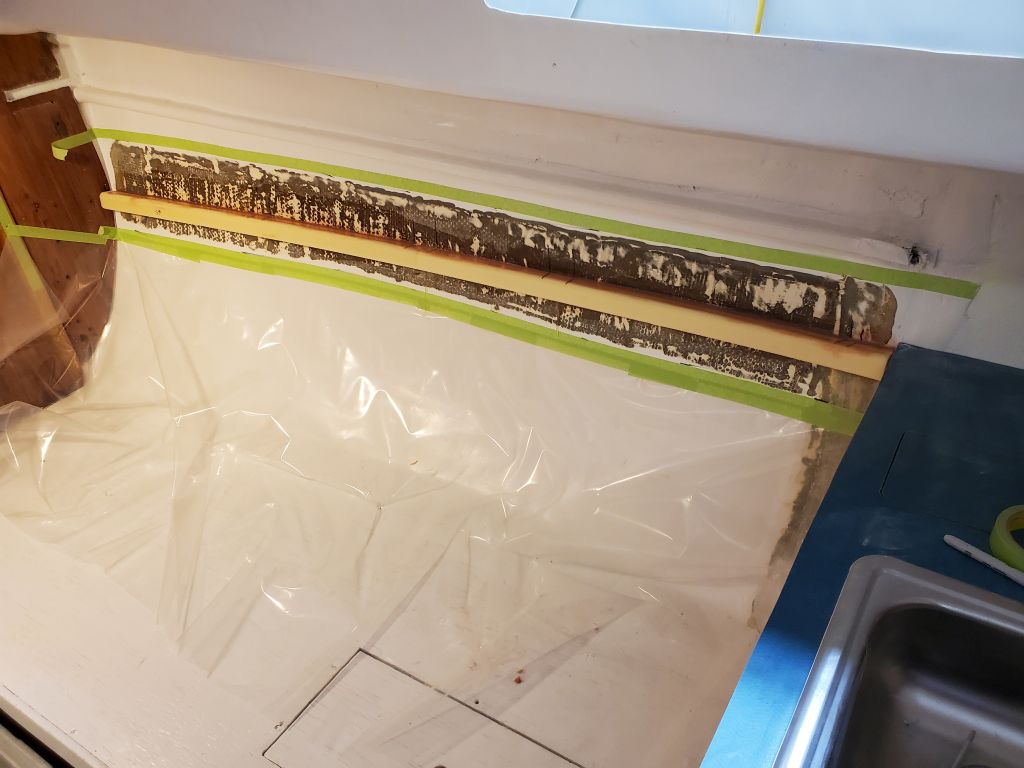
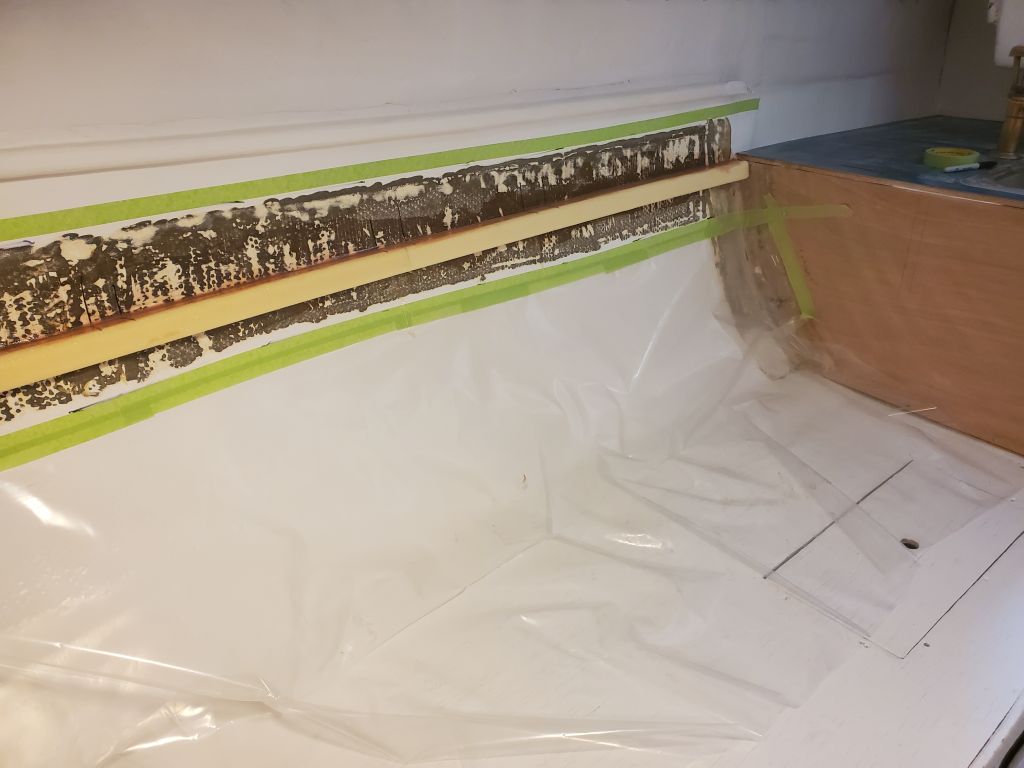
With port operations behind me for the moment, I turned to some interior supports the owner had asked me to install to ease future installation of settee shelving and cabinets forward of the galley. These supports would extend along the hull at the same height as the existing galley countertops, which would integrate the port side with its future electrical box (planned for just forward of the galley) and whatever additional cabinetry the owner chose for both sides when the time came.
To begin, I roughed out the approximate location on each side, using a level to make some marks on the painted hull. Then, I marked 4″ above and below and applied masking tape to mark the extent of the area I needed to prepare.


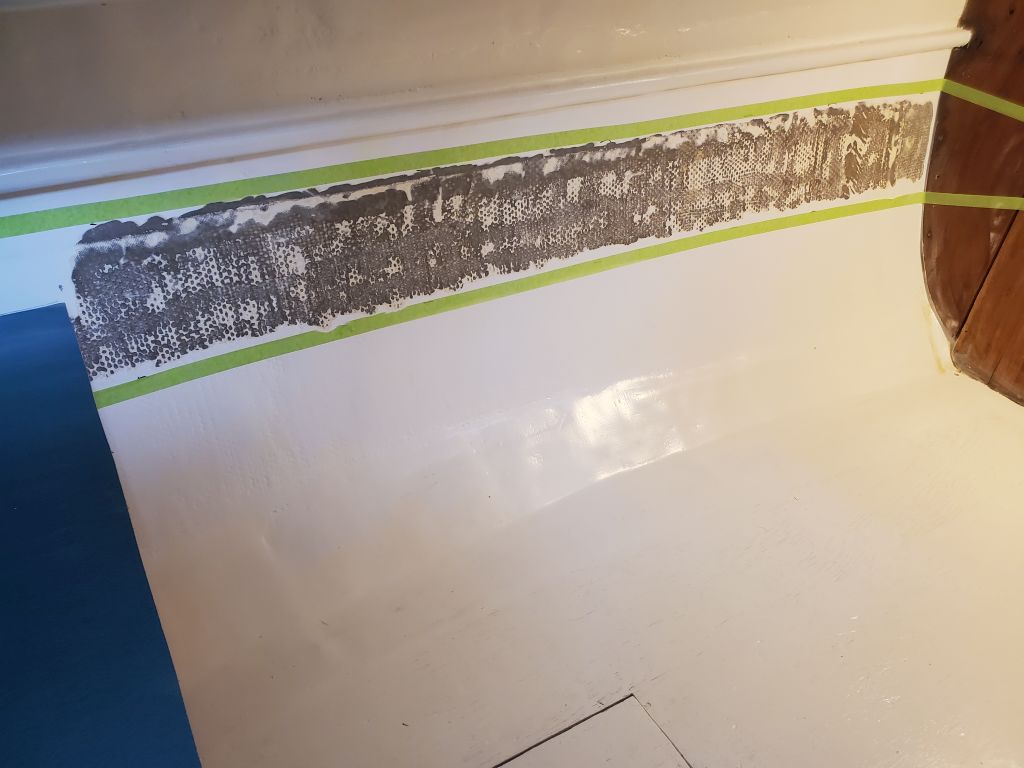
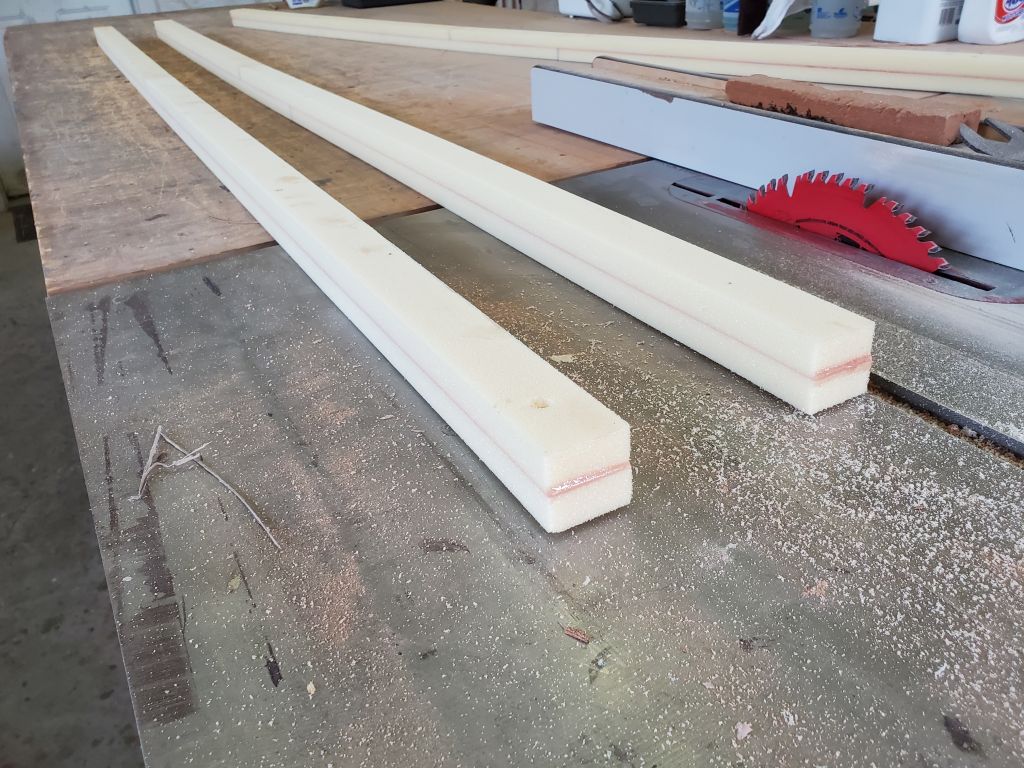
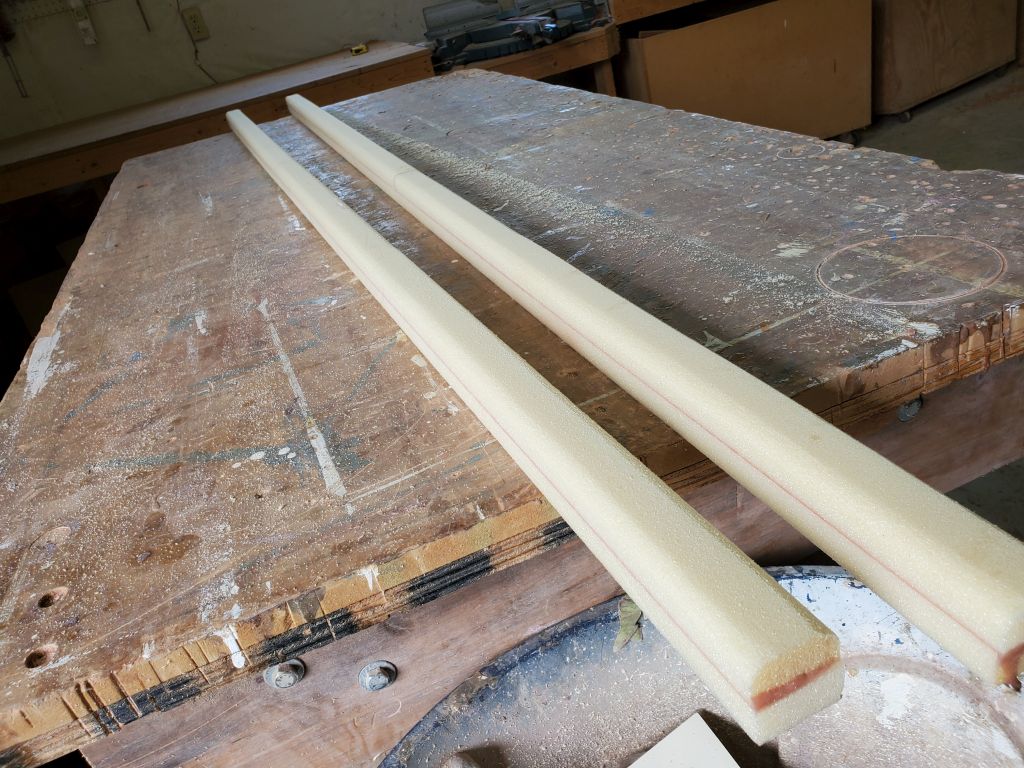
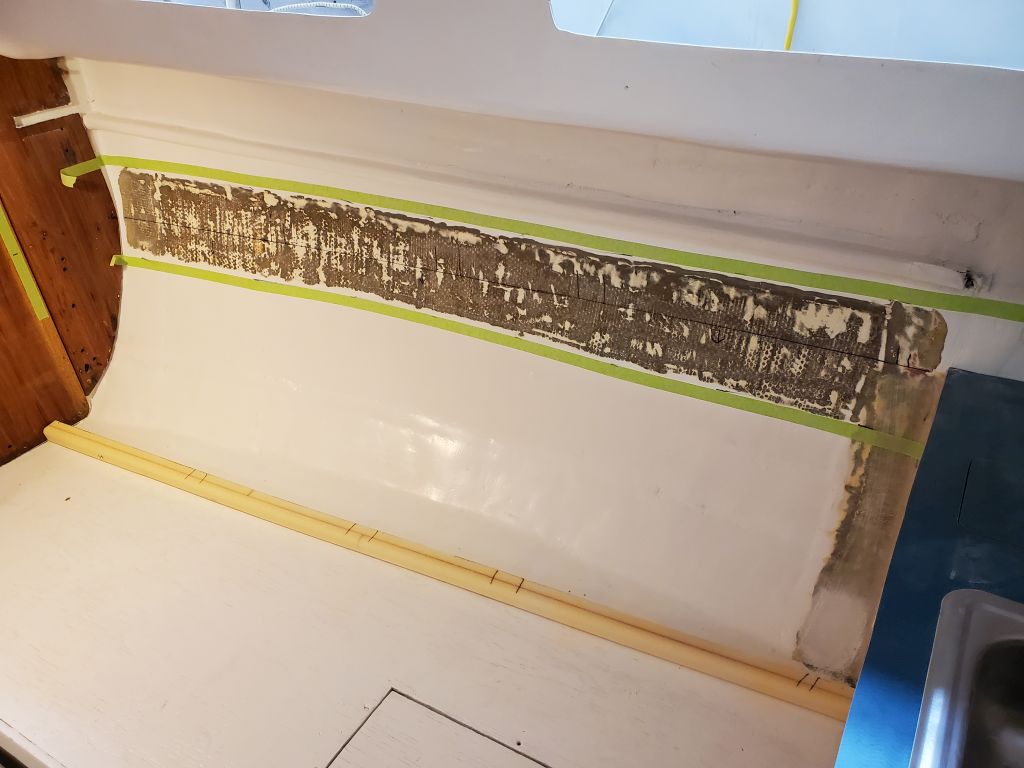
Next, I ground off the paint between the marks to expose raw laminate for proper bonding. While I waited for the dust to settle so I could clean up, I milled my foam blank into a pair of 1-1/2″ square lengths, and rounded the outer edge on each side with a 1/2″ bit to create a broad radius for fiberglassing.


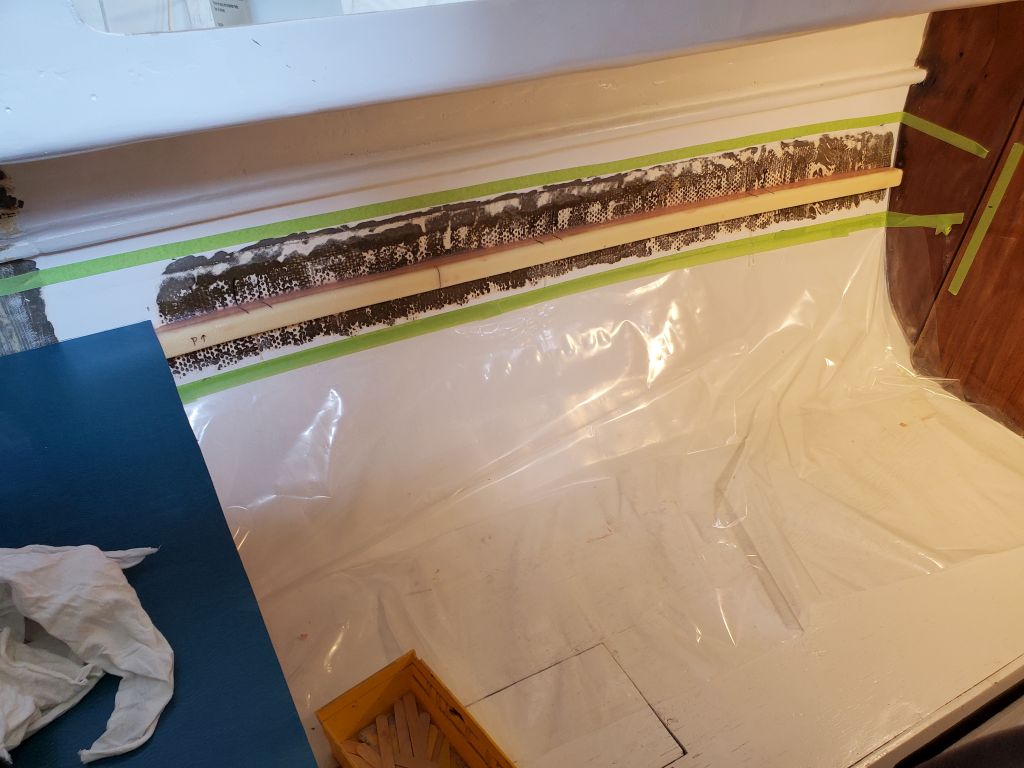
After cleaning up and preparing the installation area, I cut the blanks to length and dry-fit each side in place against the hull, flush with the bottoms of the existing countertops and running forward level with the settees. I made a layout mark on the hull, and also marked the foam and hull in several places where I planned to use hot glue to secure the foam while the epoxy cured. I’d already tested the foam with the glue to ensure it didn’t melt with the intense heat of the glue (it didn’t).
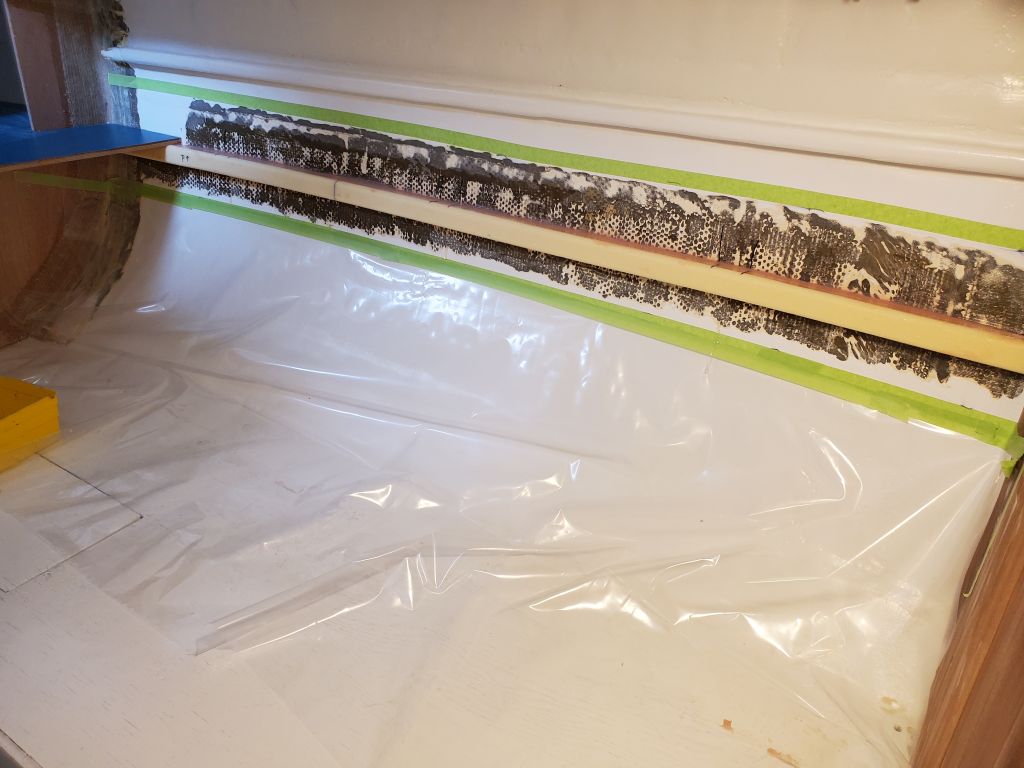
I installed the foam on each side with a thickened epoxy adhesive and spots of hot glue where marked, cleaning up excess and forming fillets as needed where the foam met the hull. I left the new assemblies to cure overnight, and next time would finish up by installing tabbing to secure and encapsulate the supports.
Total time billed on this job today: 6 hours
0600 Weather Observation: 45°, mainly cloudy. Forecast for the day: Mostly cloudy, 58°