


April 15, 2021
Lyra 59
Thursday
After a light sanding and cleanup, I applied the 4th coat of varnish to the inboard faces of the coamings.
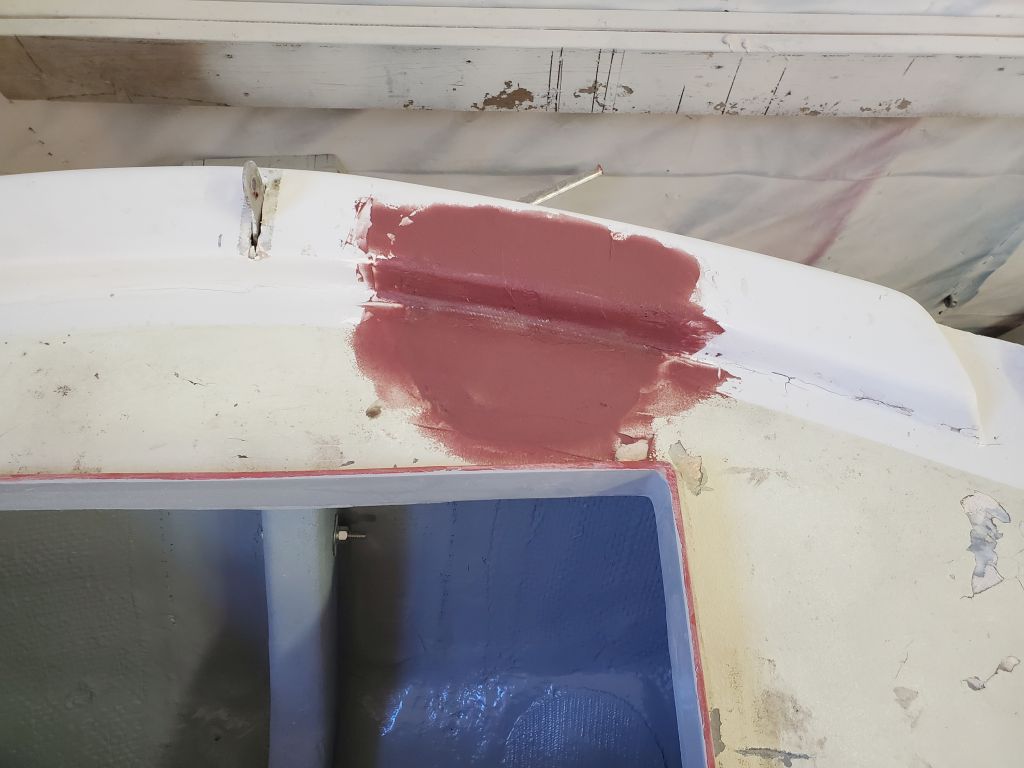
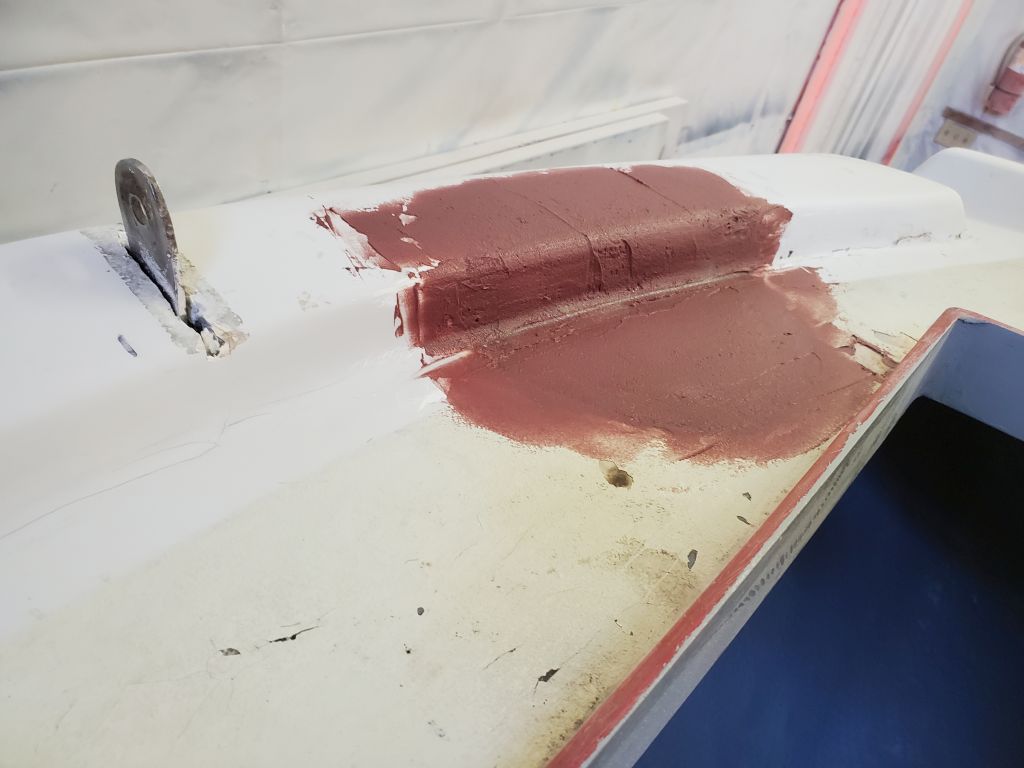
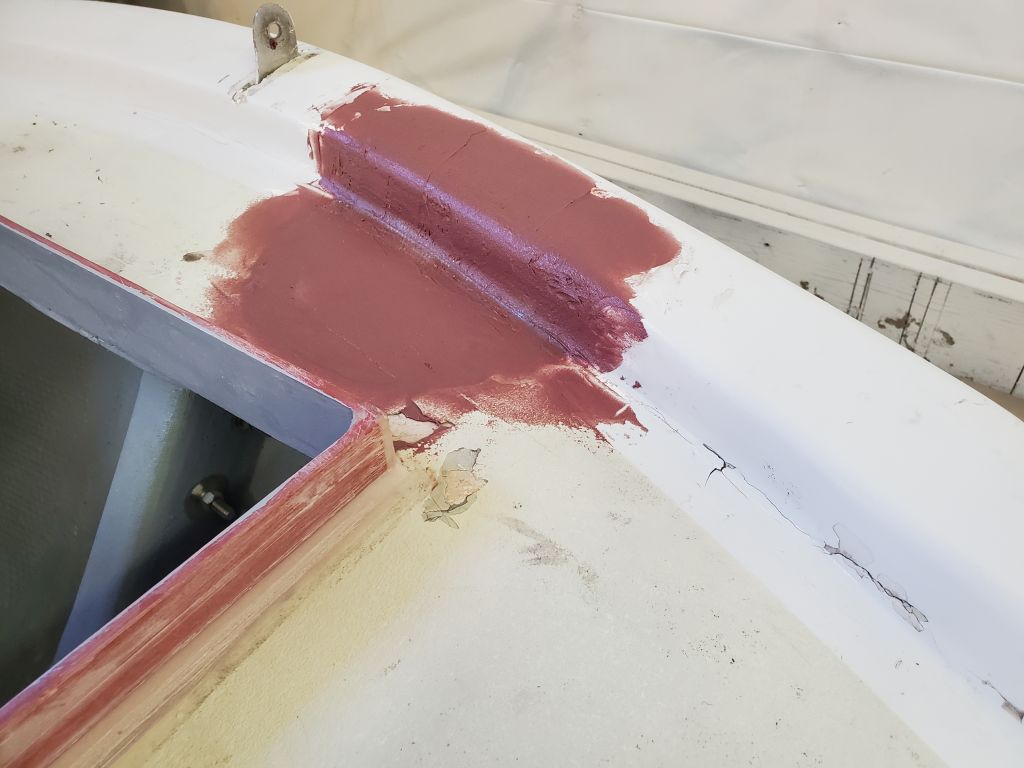
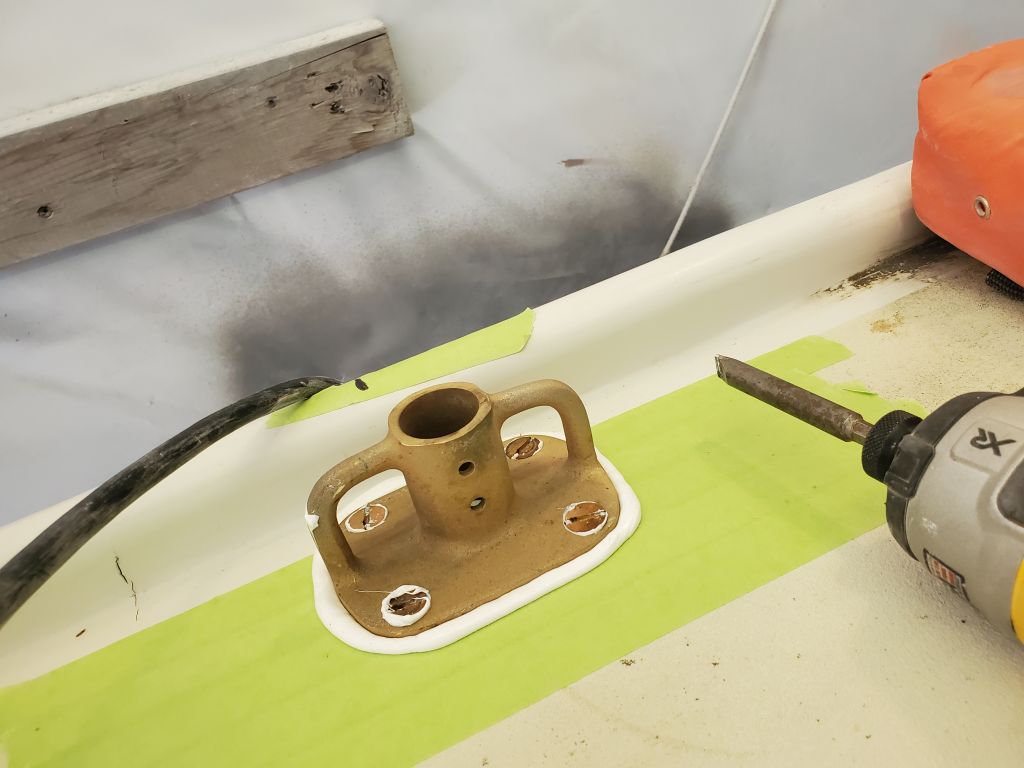
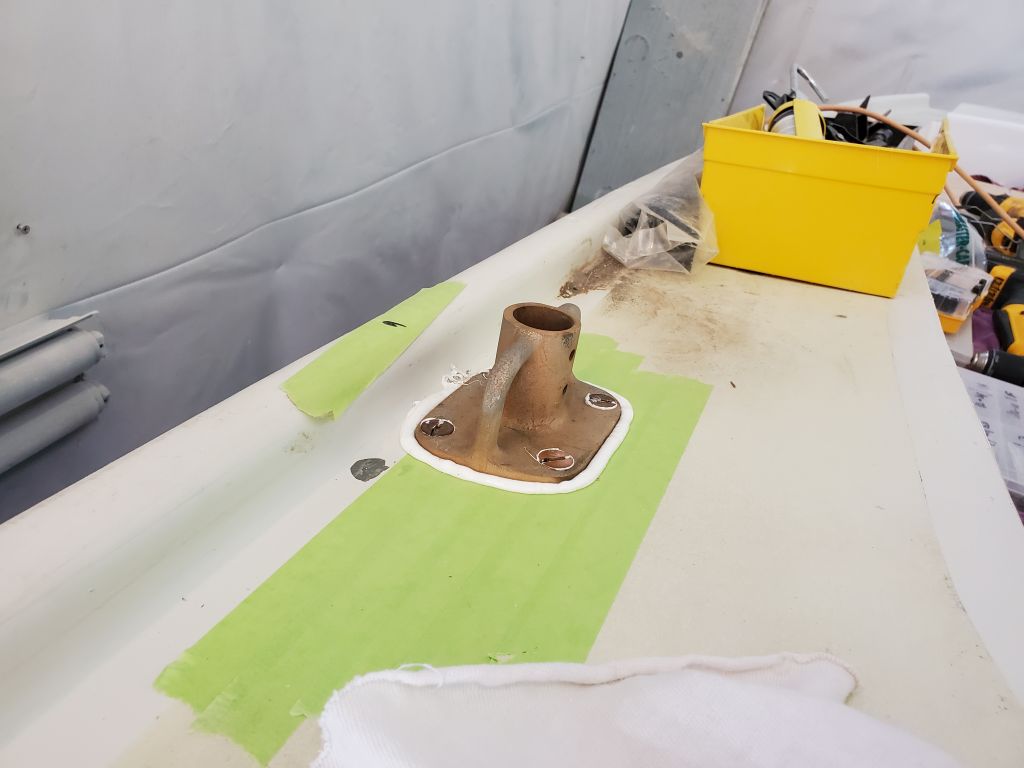
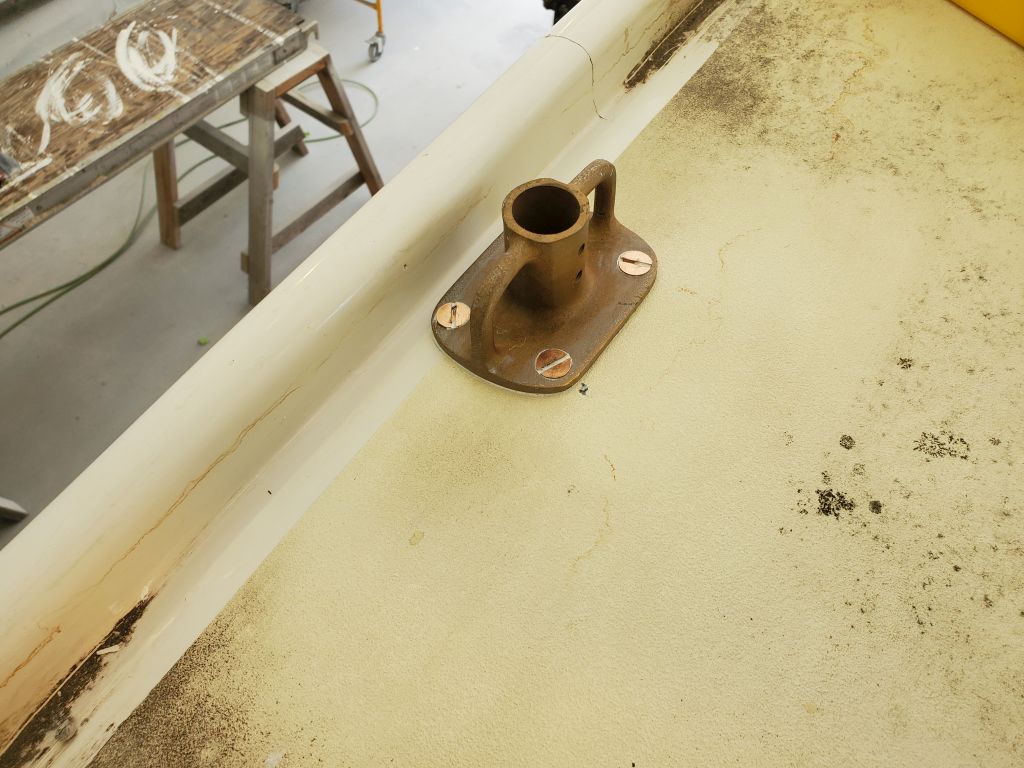
I sanded clean and flush the repair to the taffrail modification, then applied a first round of epoxy fairing compound to fill the fiberglass texture and start to bring the repair to its final contours.


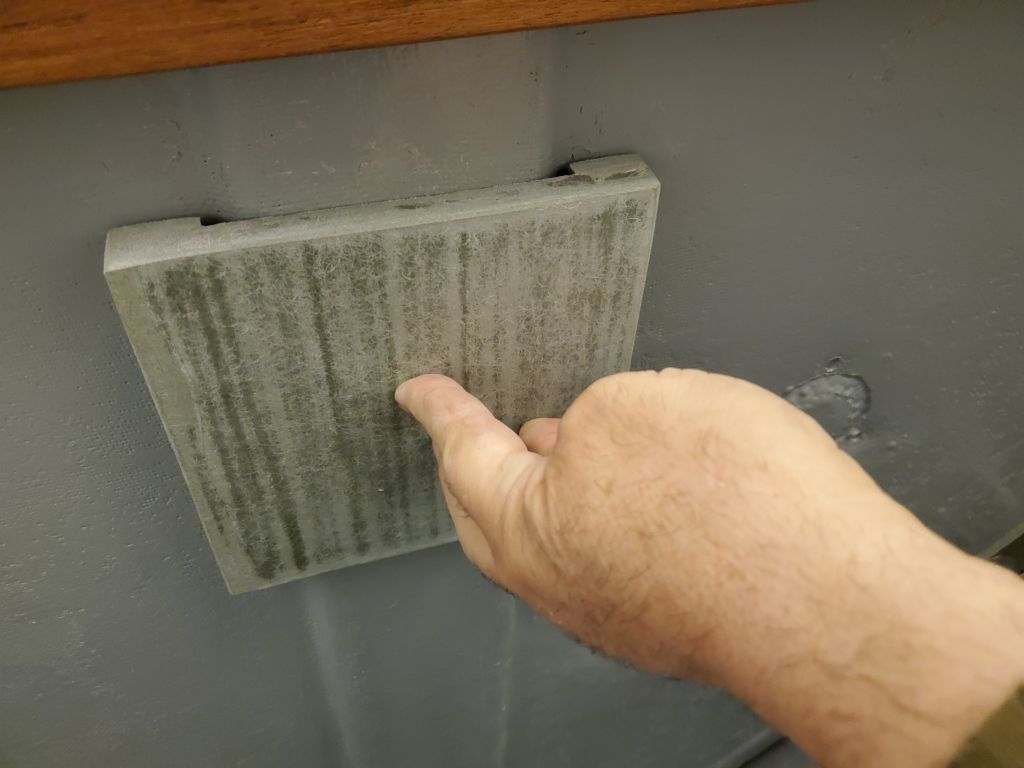
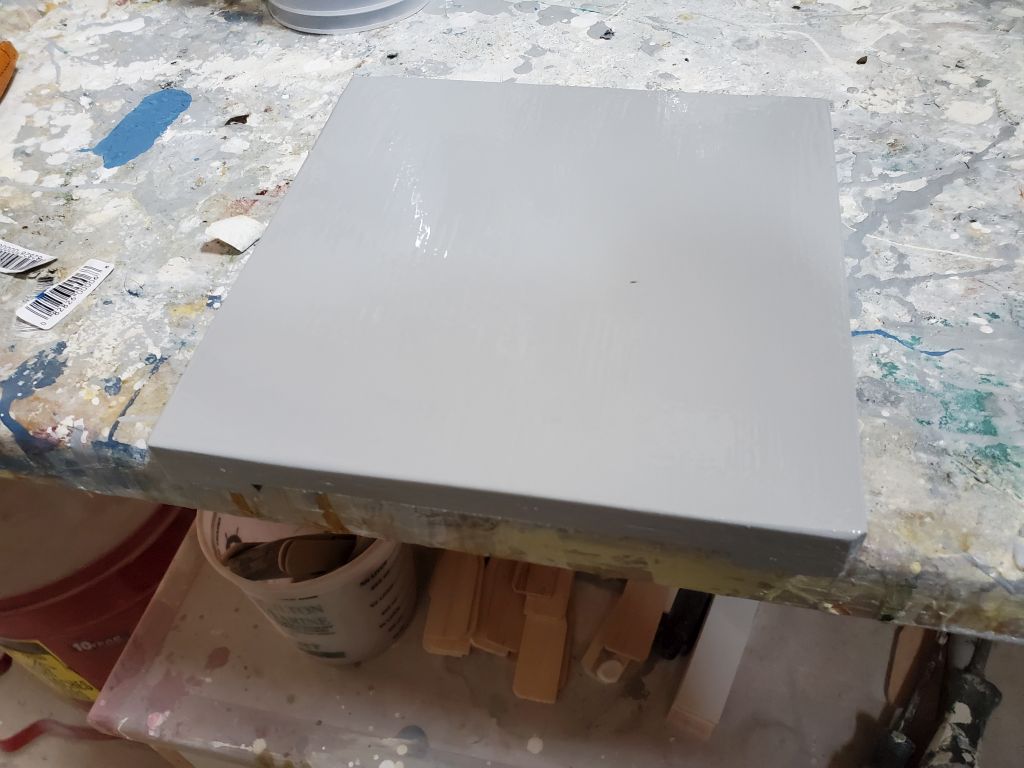
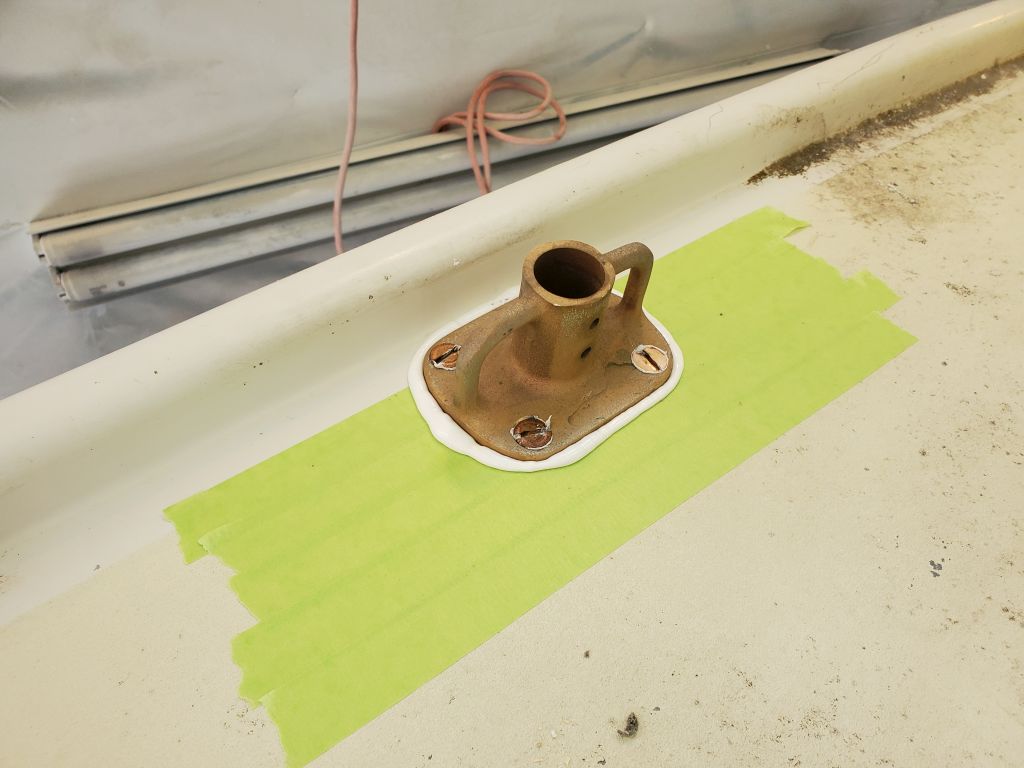
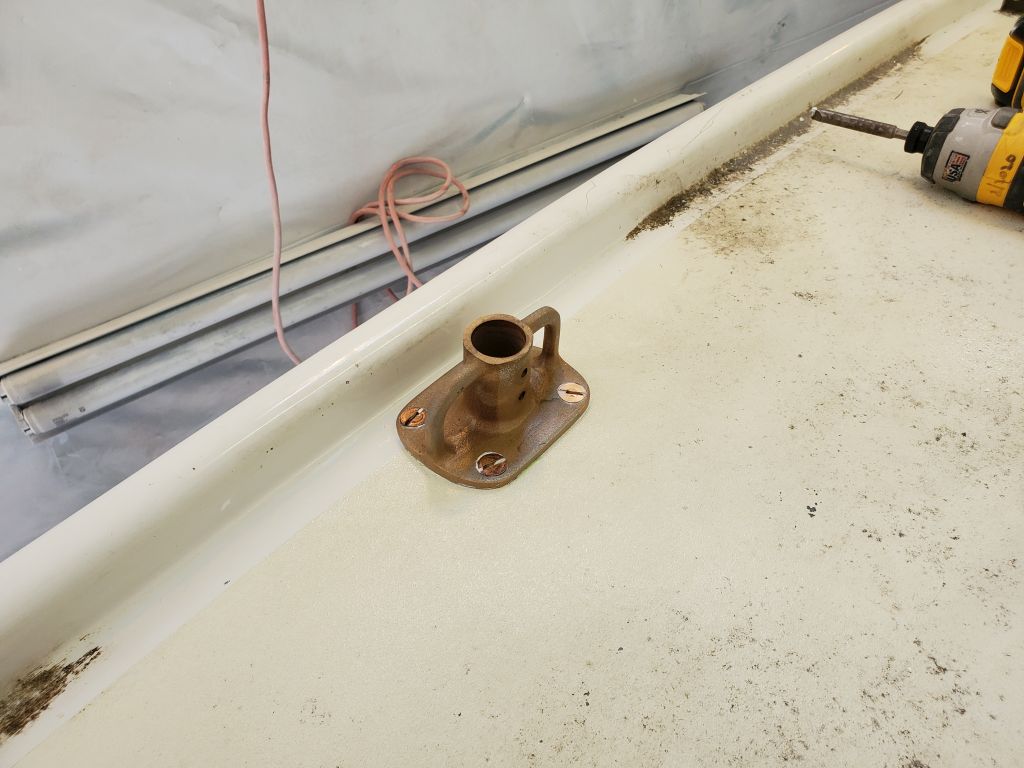
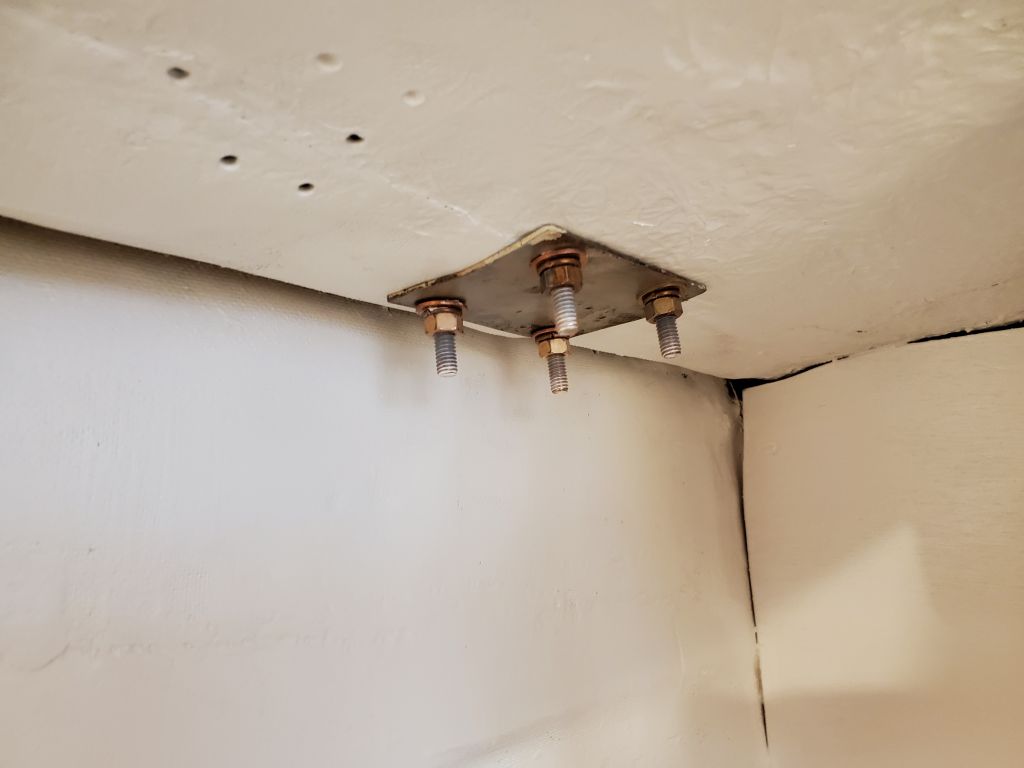
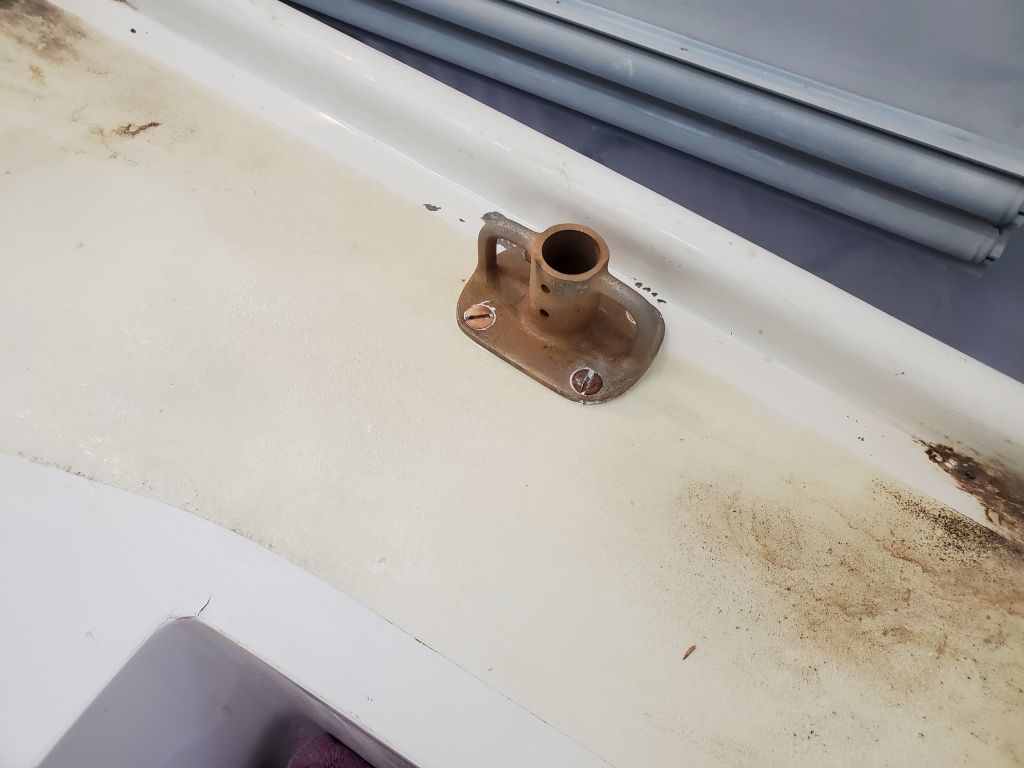
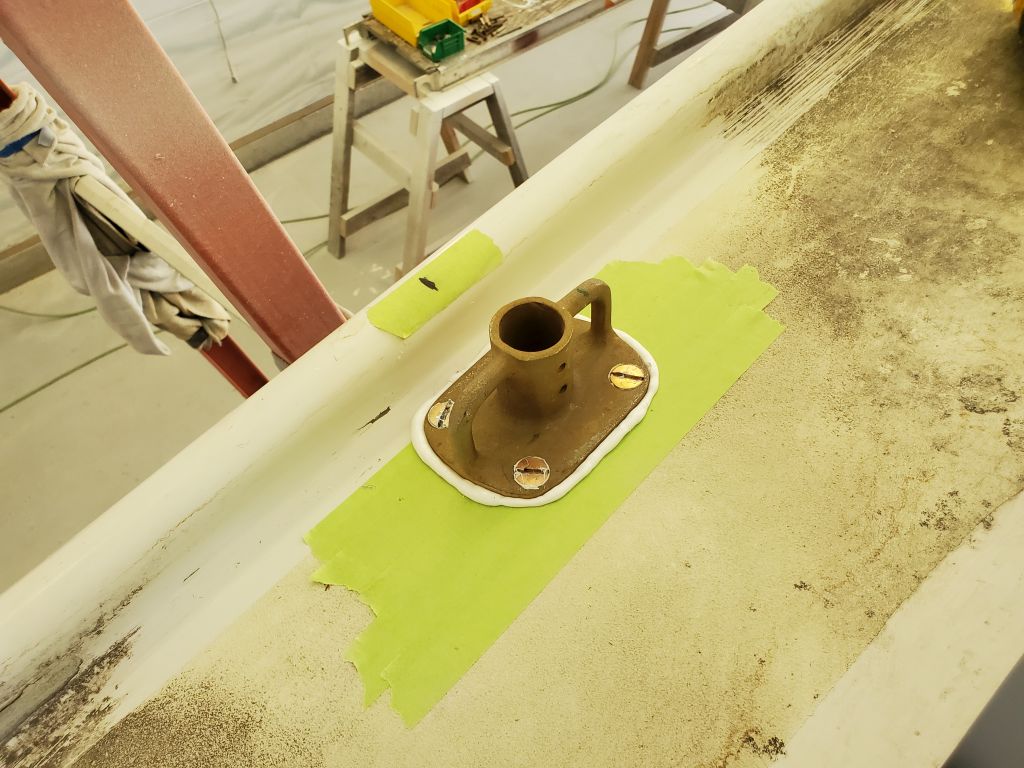
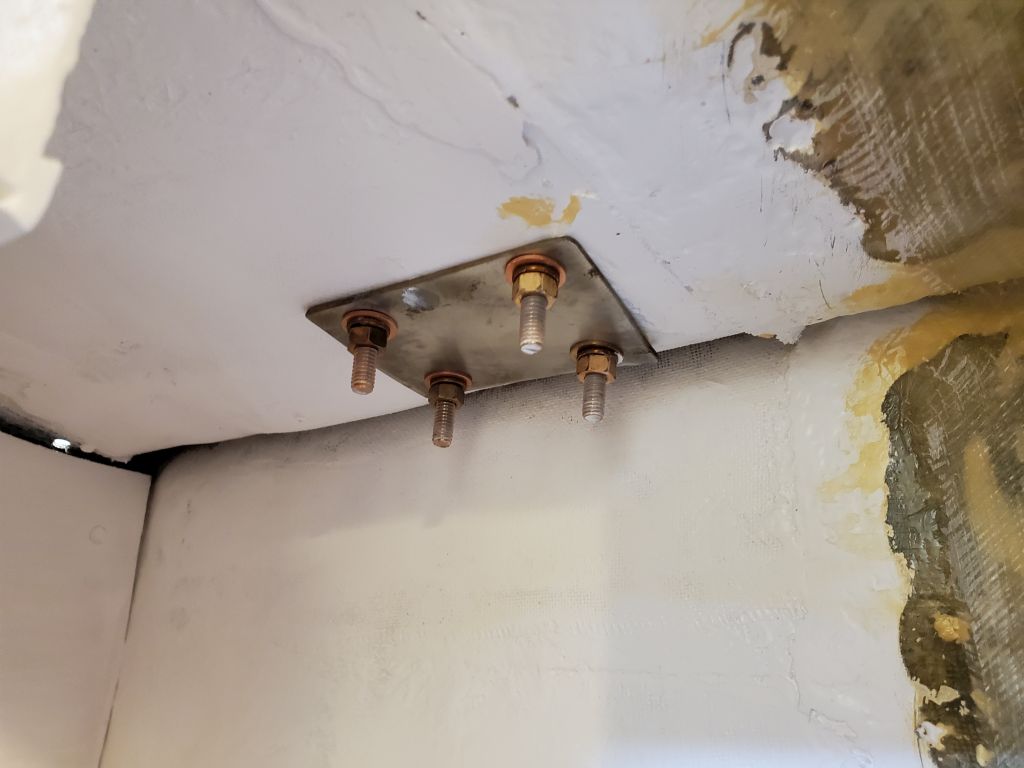
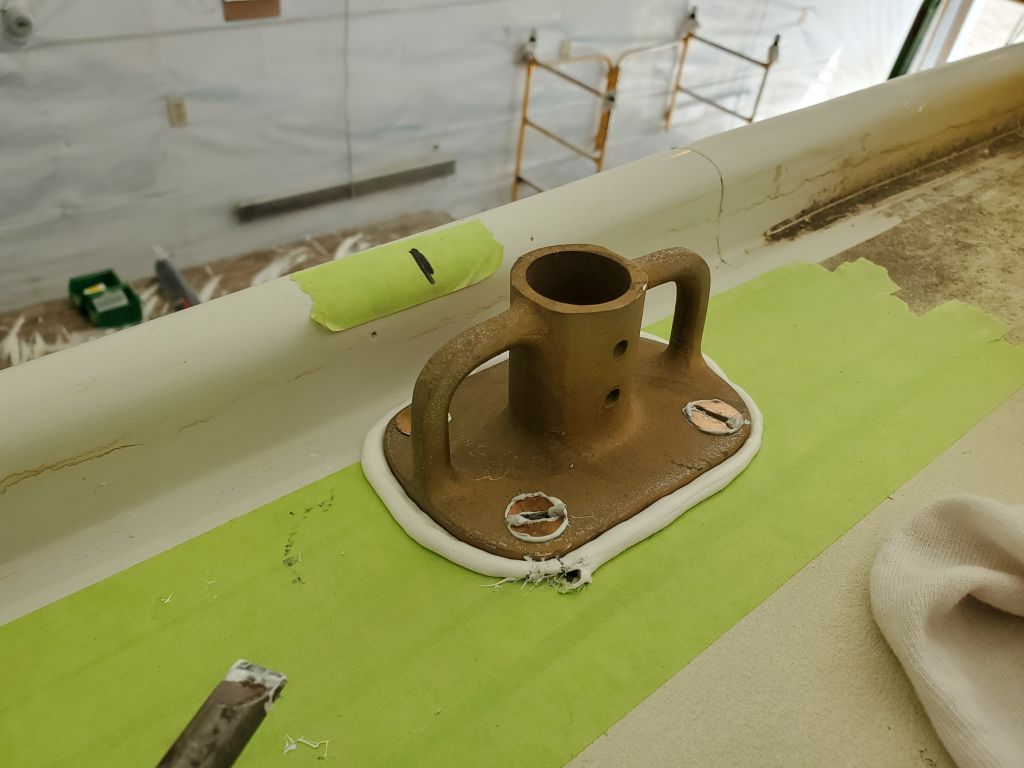
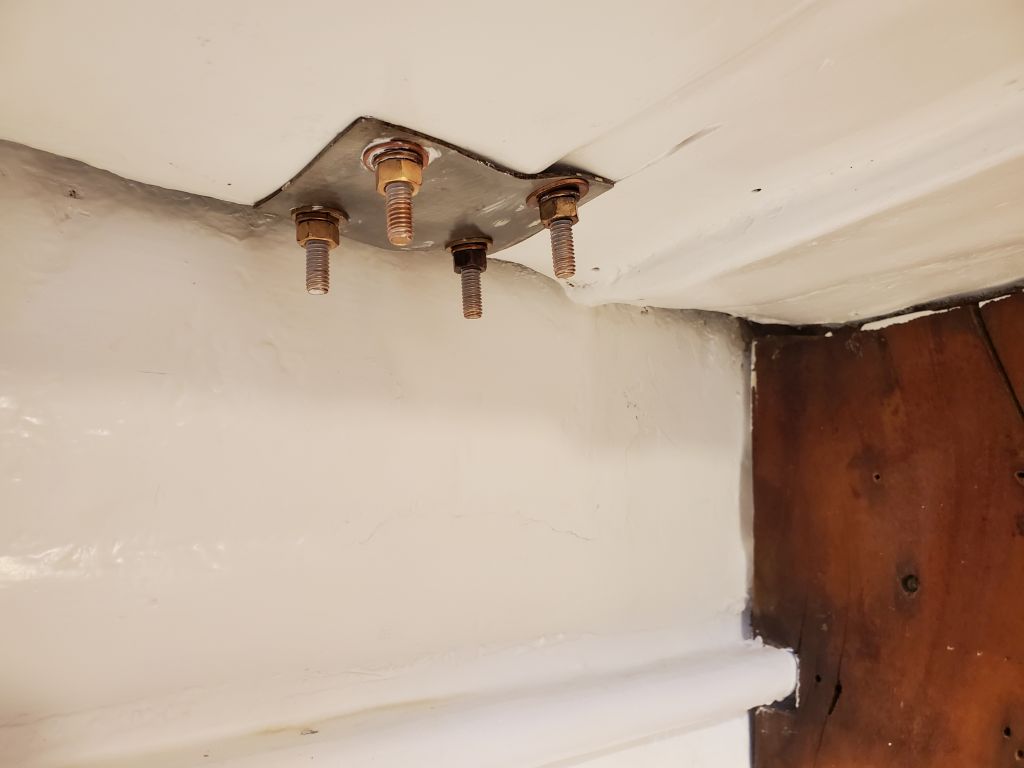
After sanding away any squeezed-out excess epoxy from the backing plate I’d made for the mooring bit on the foredeck, and test-fitting the backing plate to ensure it worked as intended (it did), I painted it with the same gray locker paint, since at least for now the chainlocker area, where this was located, was wide open to the forward cabin.
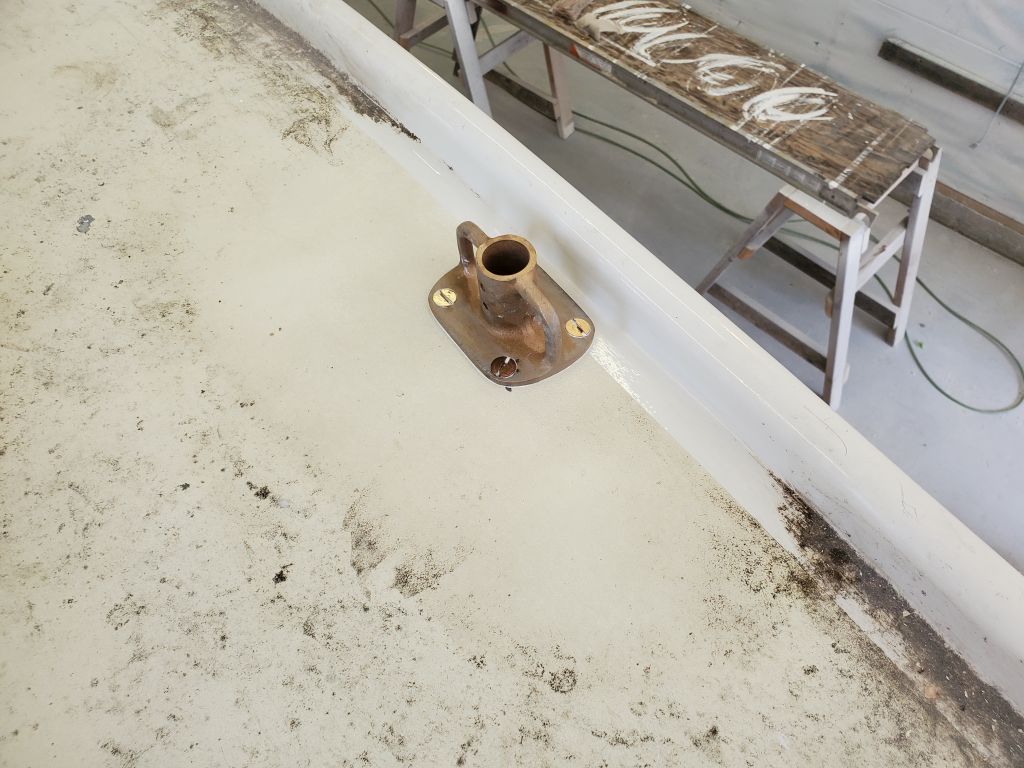
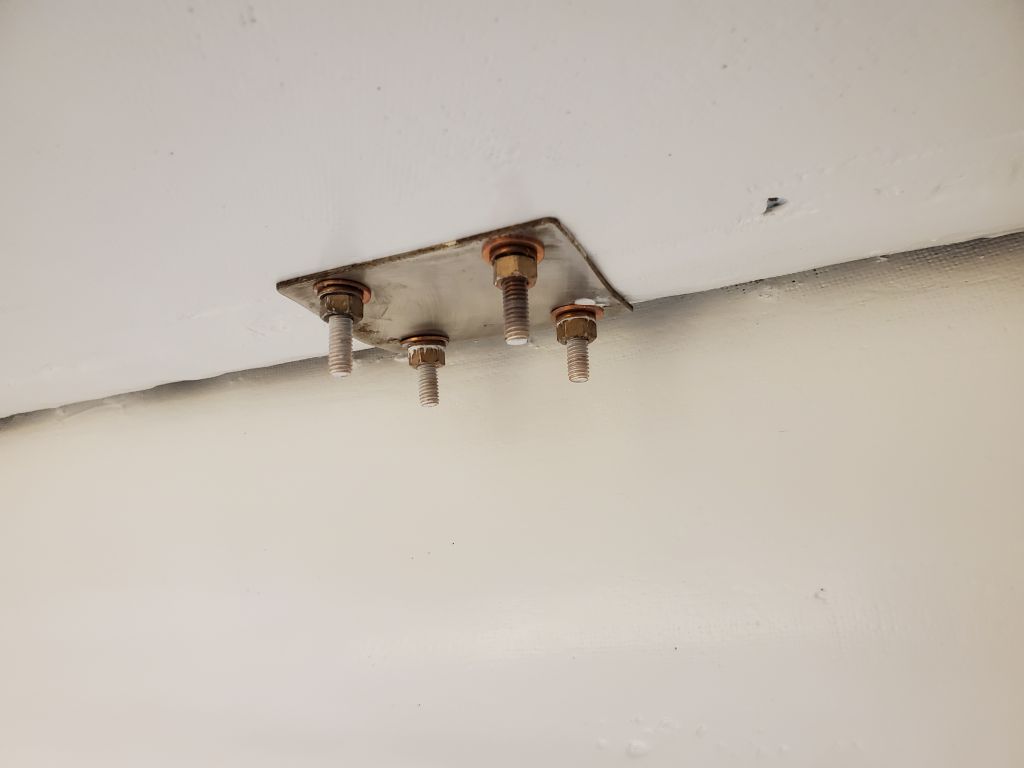
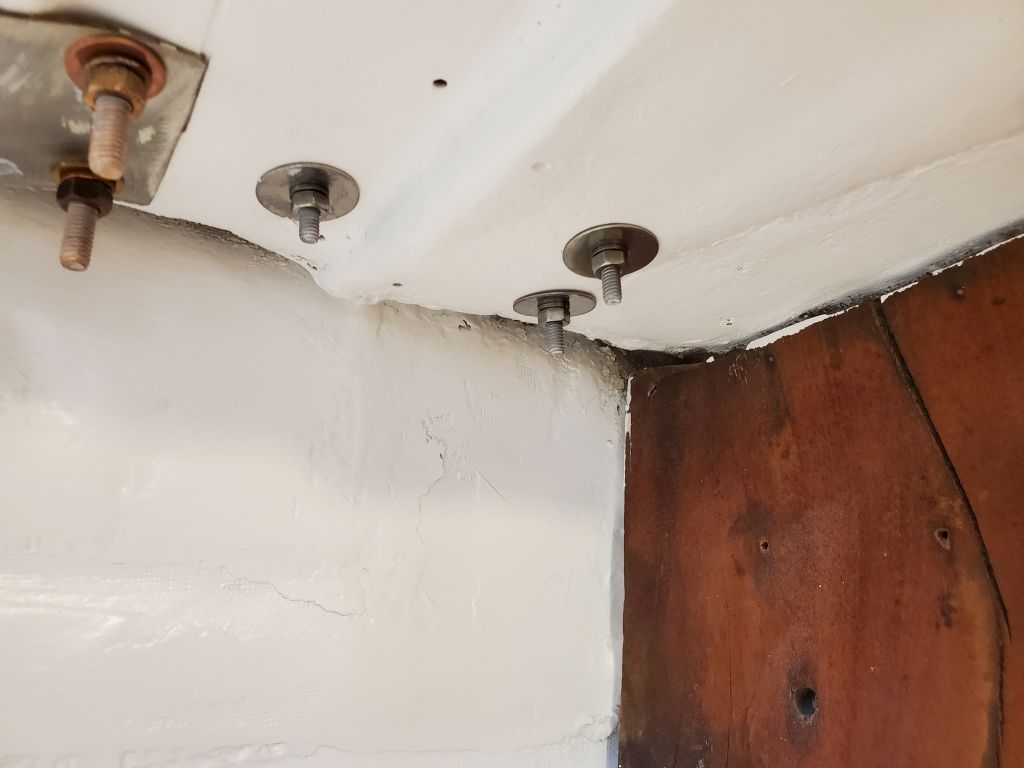
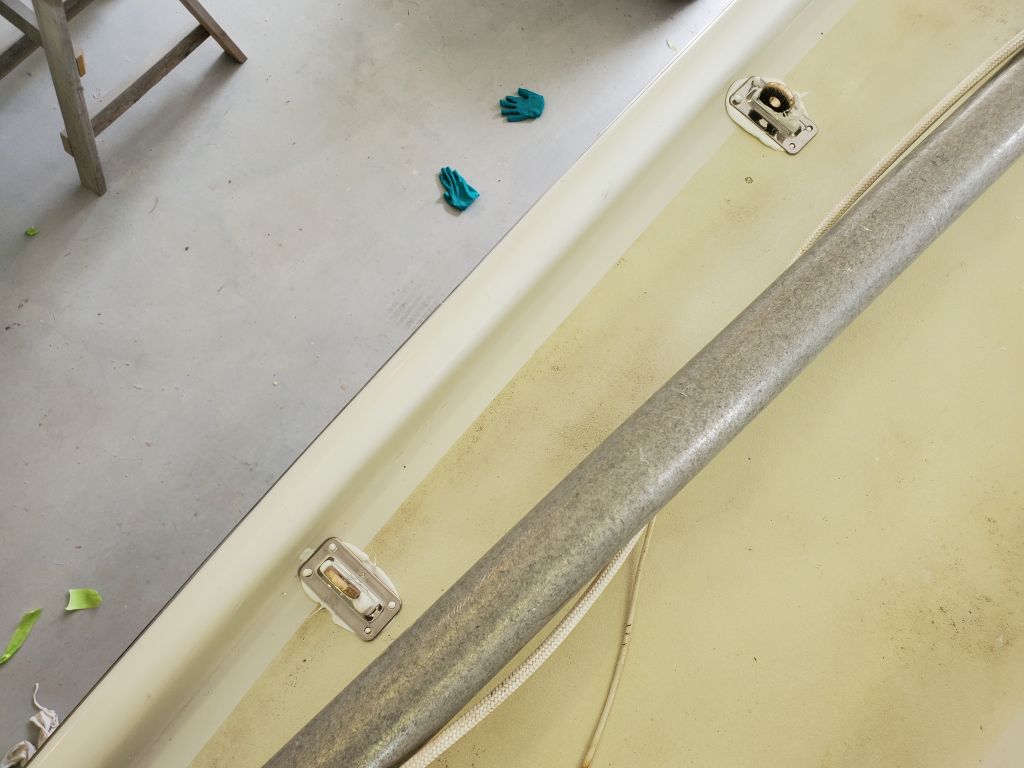
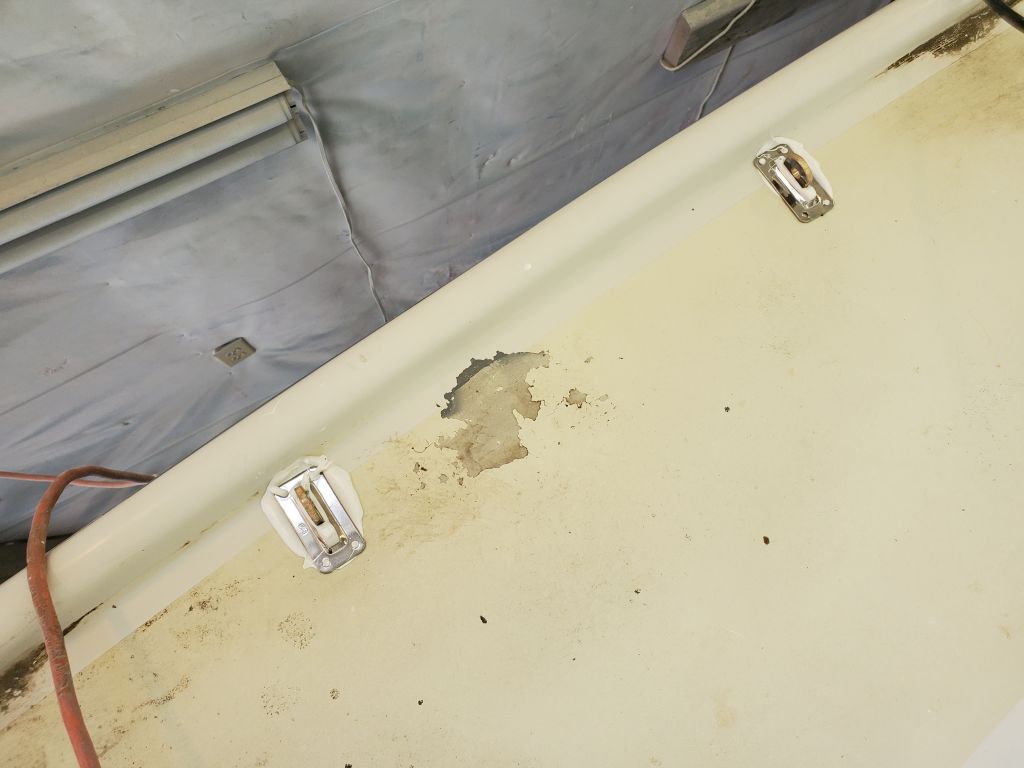
I spent the remainder of the day on hardware duty, mainly the stanchion bases (6). With the fastener holes and deck areas already prepared, for each base in turn I applied sealant, installed three fasteners partway and one fastener most of the way so I could align the stainless steel backing plates that came along with the stanchion bases, then fully tightened the fasteners from above and installing nuts and washers below before cleaning up the excess sealant on deck.


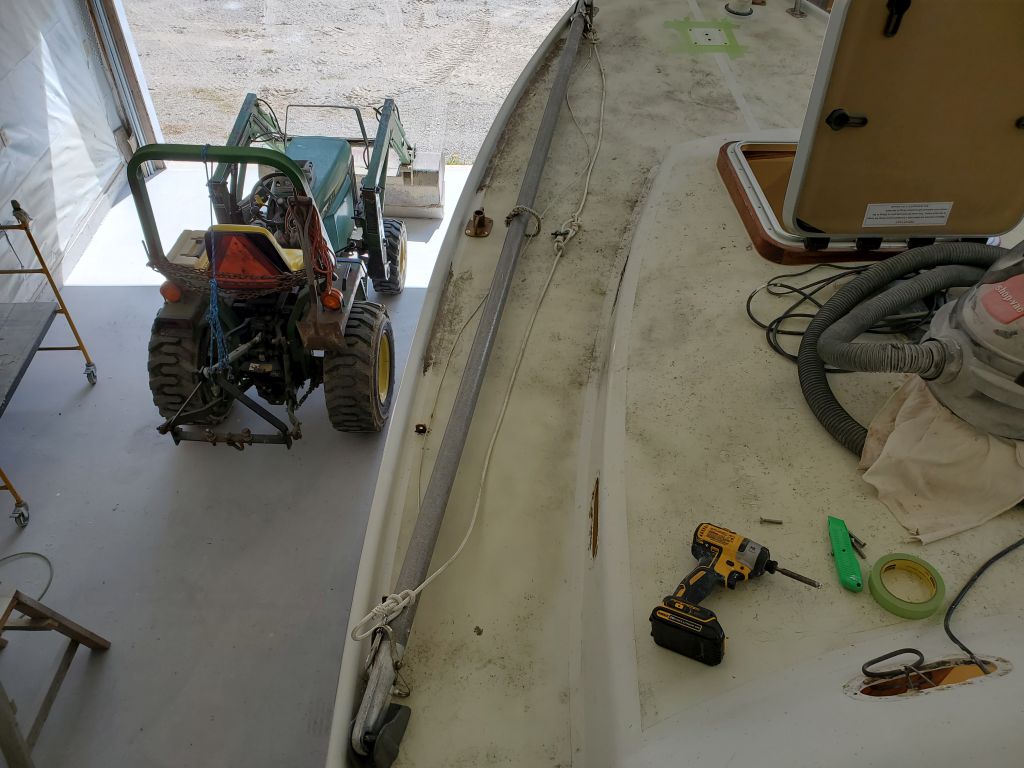
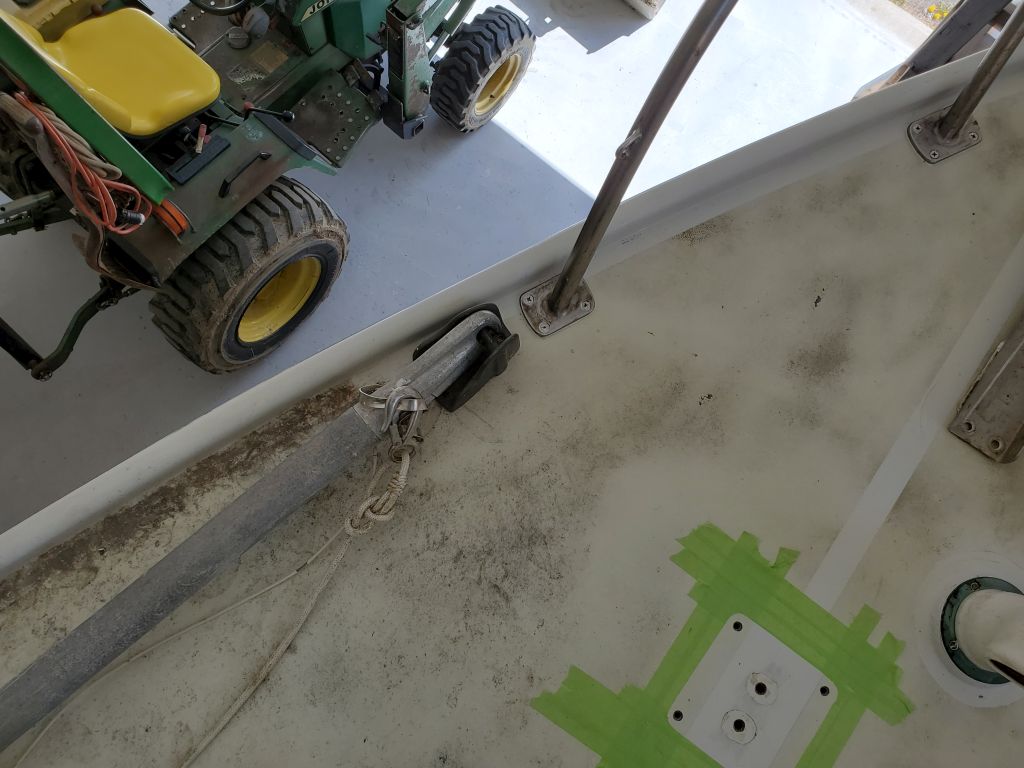
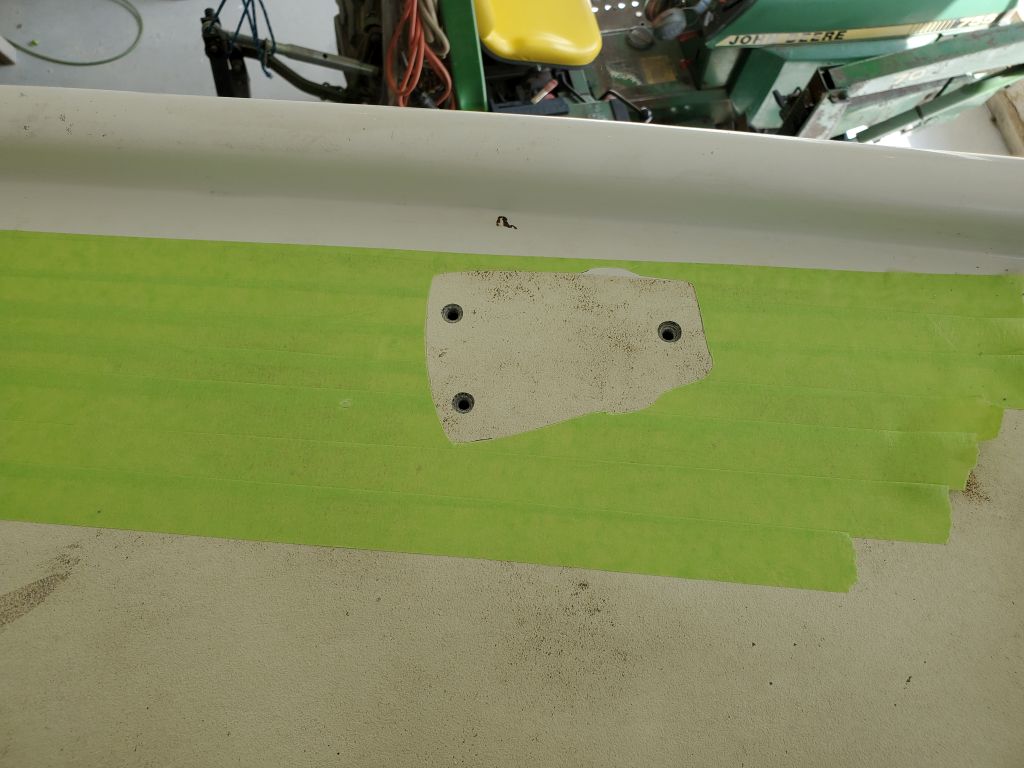
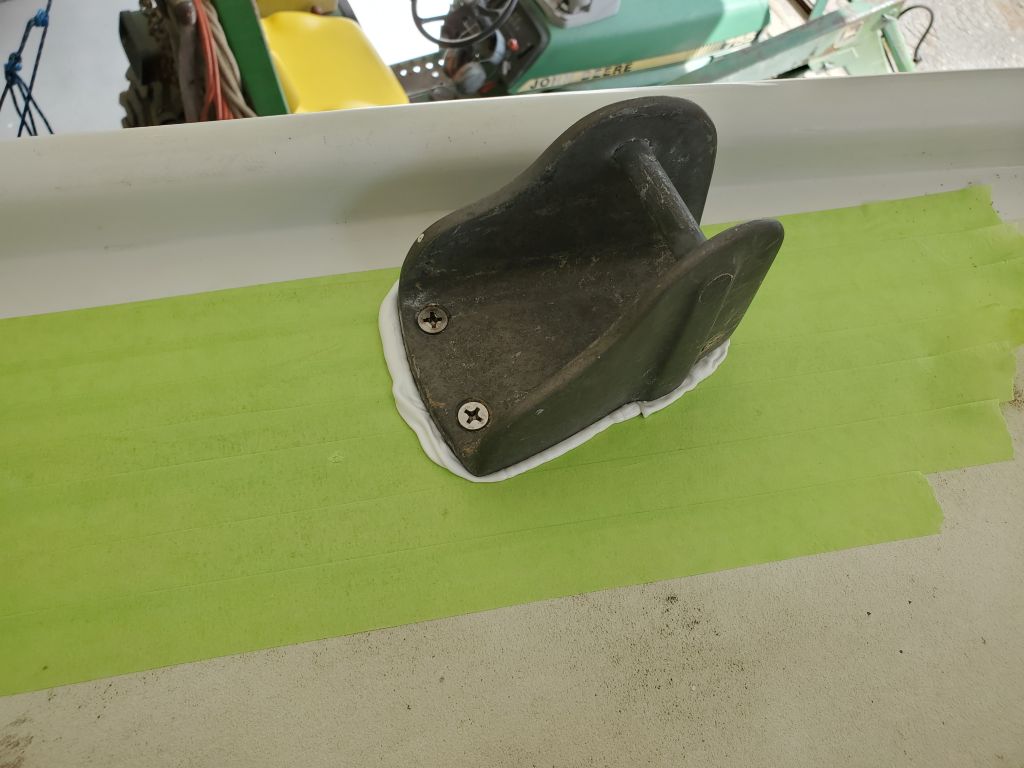
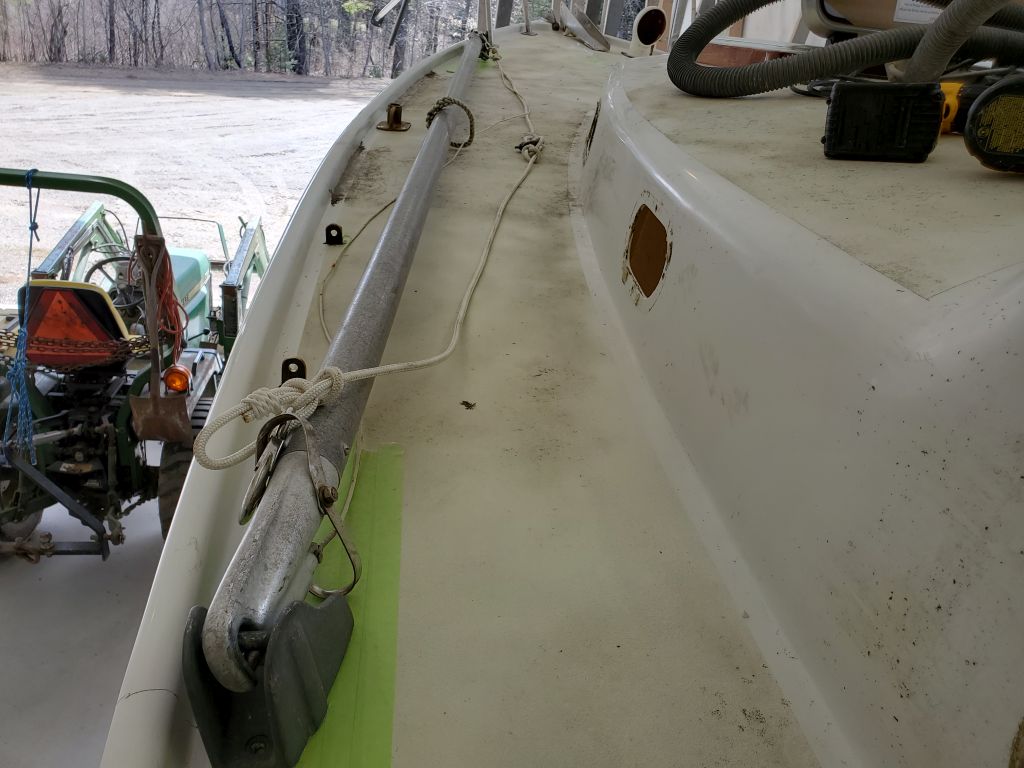
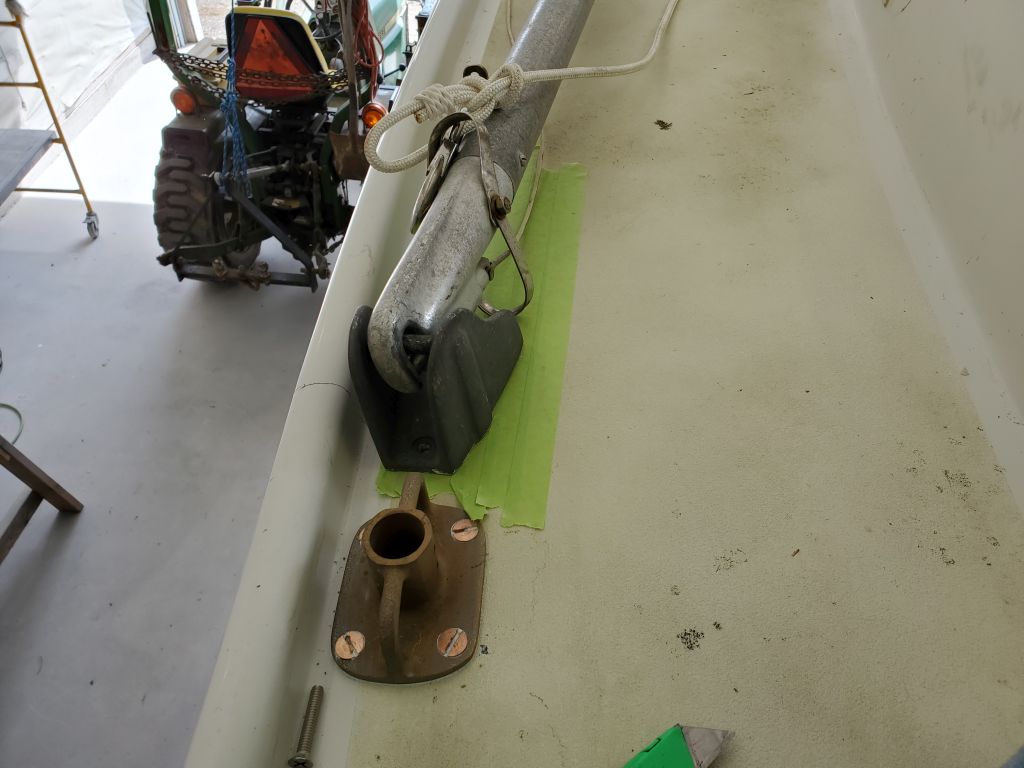
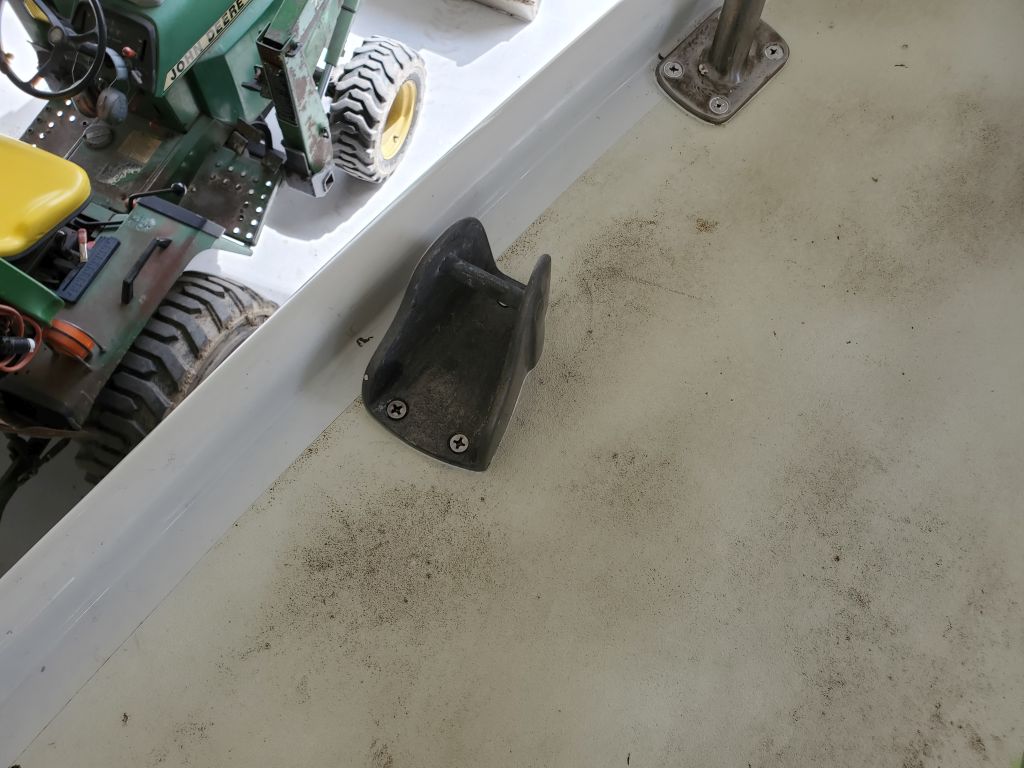
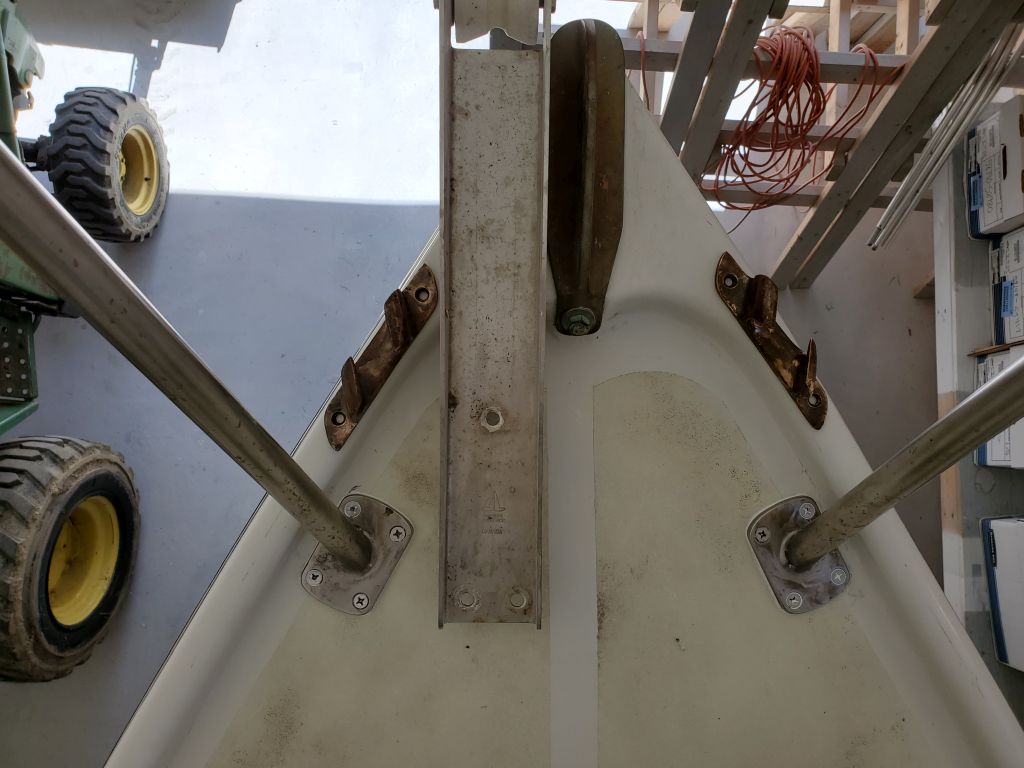
Next, I laid out and installed the spinnaker pole chocks on the port side, choosing the position as needed to best suit the storage of the pole (as far outboard as possible) while ensuring that the bases landed in convenient areas both above and belowdecks. I had to clean off some old sealant from the bottoms of the chocks. Once I had the basic position determined, I masked off the deck at each end and, following my usual installation steps, prepared the decks and fastener holes then installed the bases with sealant and new fasteners.


At the stem, I needed to arrange the position of an anchor roller and the bow chocks. The anchor roller would require a spacer beneath, to make up the height between the deck and the molded stem platform, and I’d work on that soon, but for now it looked like the roller (on the port side by request) and bow chocks would fit well enough together and in logical orientation. These installations would come soon.
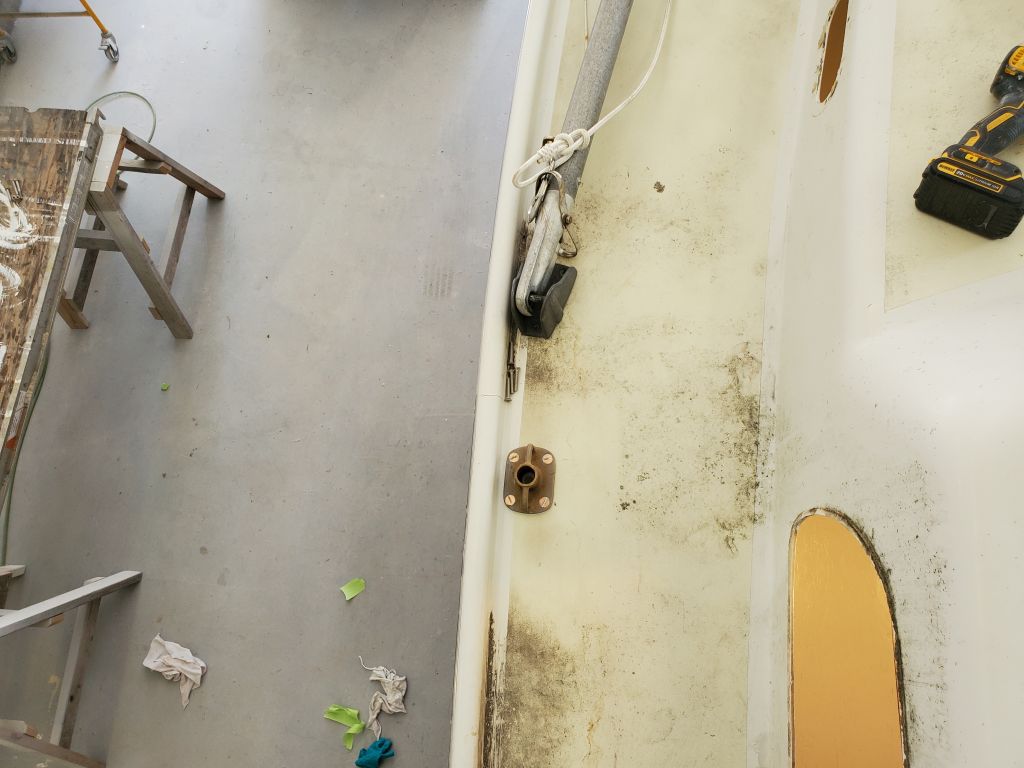
Meanwhile, to finish off the chainplate installations, I applied heavy beads of sealant in the slot and around the base of the four main chainplates, than squished a cover plate into the heavy sealant, which pressed the sealant into the recesses of the coverplate and surrounded the chainplate, as well as securing the covers in place (no need for screws). Later, after the sealant cured, I could come back and remove the excess. These covers were the closest fit for this particular size chainplate, but the slots were still larger than the chainplates by a bit. I chose them since the original tiny bronze cover plates would no longer fit, since the new chainplates were thicker than the originals. I forgot to order a cover for the backstay, so I’d get back to that later.

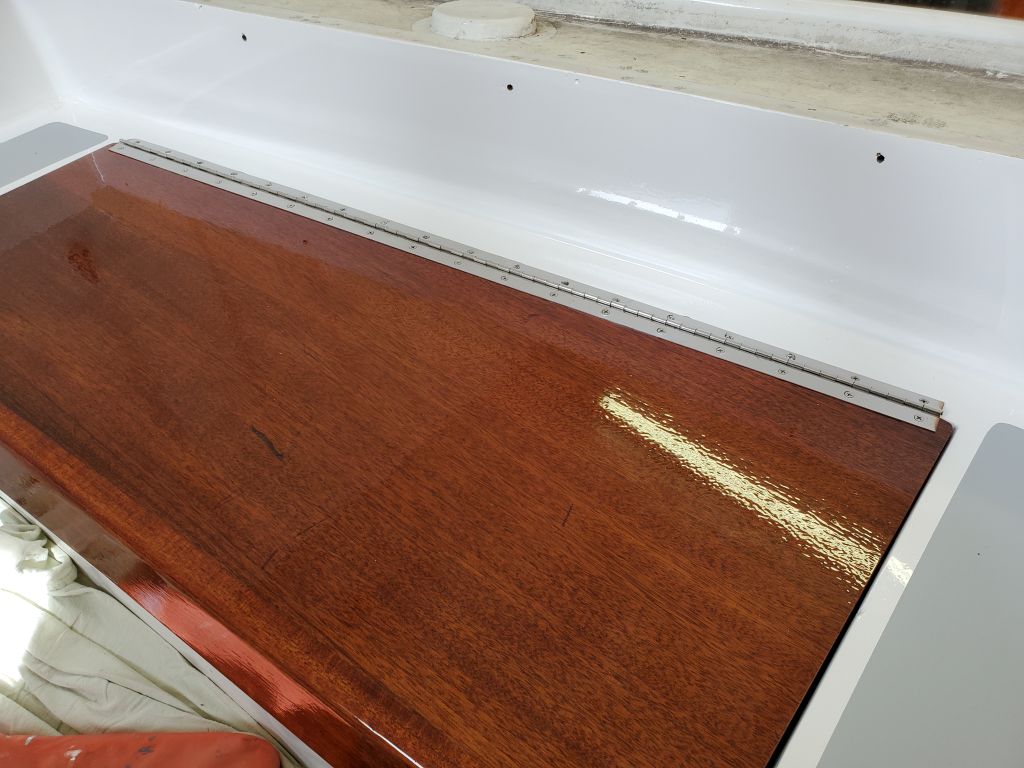
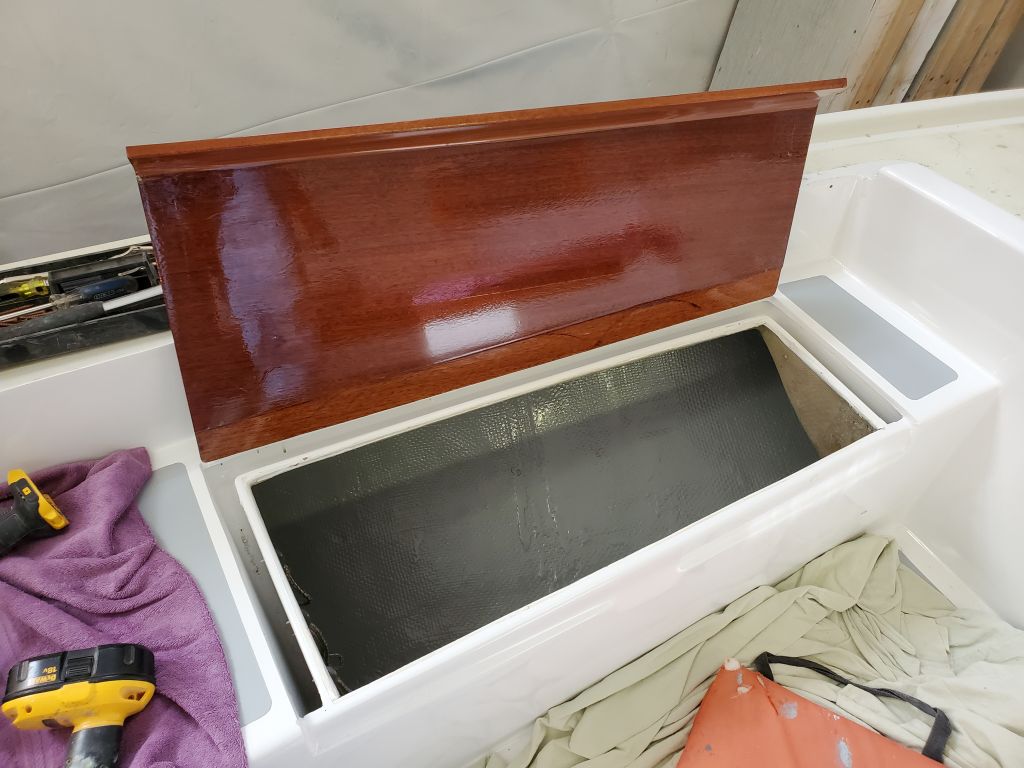
In the cockpit, I finished up the installation of the locker lids, now that I had a new supply of screws on hand.

Total time billed on this job today: 6.75 hours
0600 Weather Observation: Clear, 30°. Forecast for the day: Mostly sunny, 55°