


February 8, 2021
Lyra 13
Monday
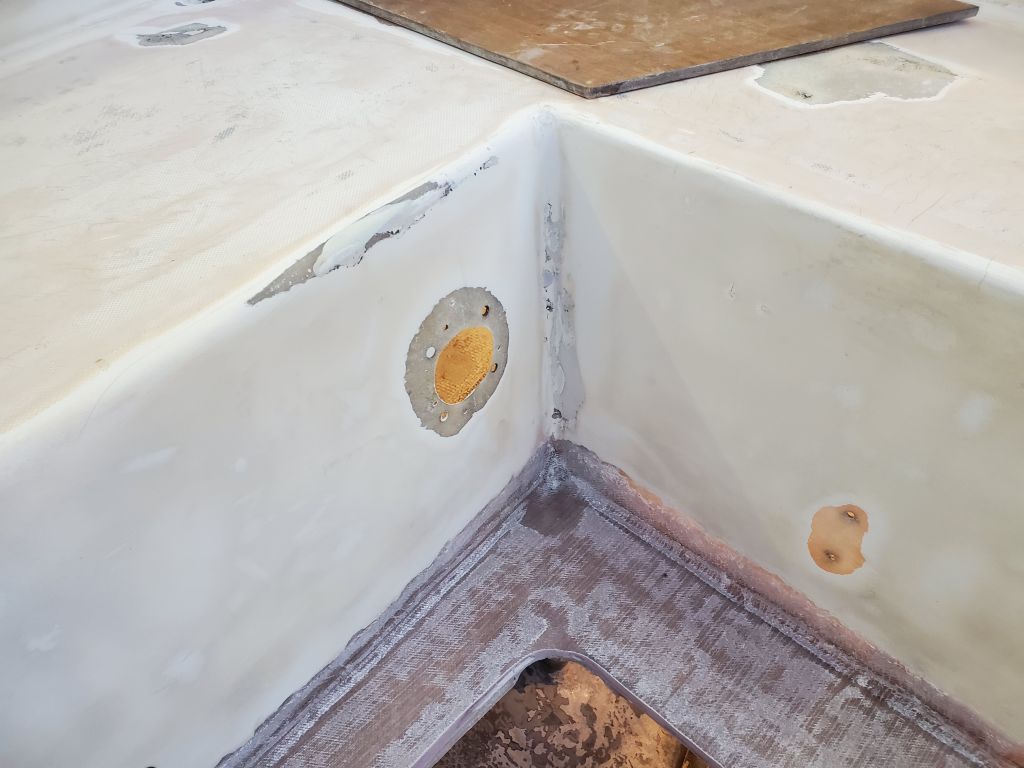
My next task in the cockpit was to lightly sand the new cockpit sole, and particularly the wrapped-up edges in the well, to prepare the new fiberglass for the next steps, and to smooth any rough edges as needed and with the adjacent surfaces. While I was in messy mode, I took care of some other final preparations in other parts of the cockpit, grinding out a few cracked or minorly-damaged areas in the seats and on the raised traveler platform aft, and also sanded the inside of the lazarette now that I had good access from the top. For the crack chasing, I had to be selective as to what I ground out, since if I’d chased all the cracks in the cockpit and seating areas, I’d be grinding and filling for weeks. I avoided the hairline cracks and focused on areas that might tend to show through the paint. In the coming days I’d fill these areas with epoxy in conjunction with related work in the cockpit.
With the sanding complete for now, I cleaned up the cockpit, adjacent lockers, and parts of the cabin fairly well so I could work in the area during the rest of the day.

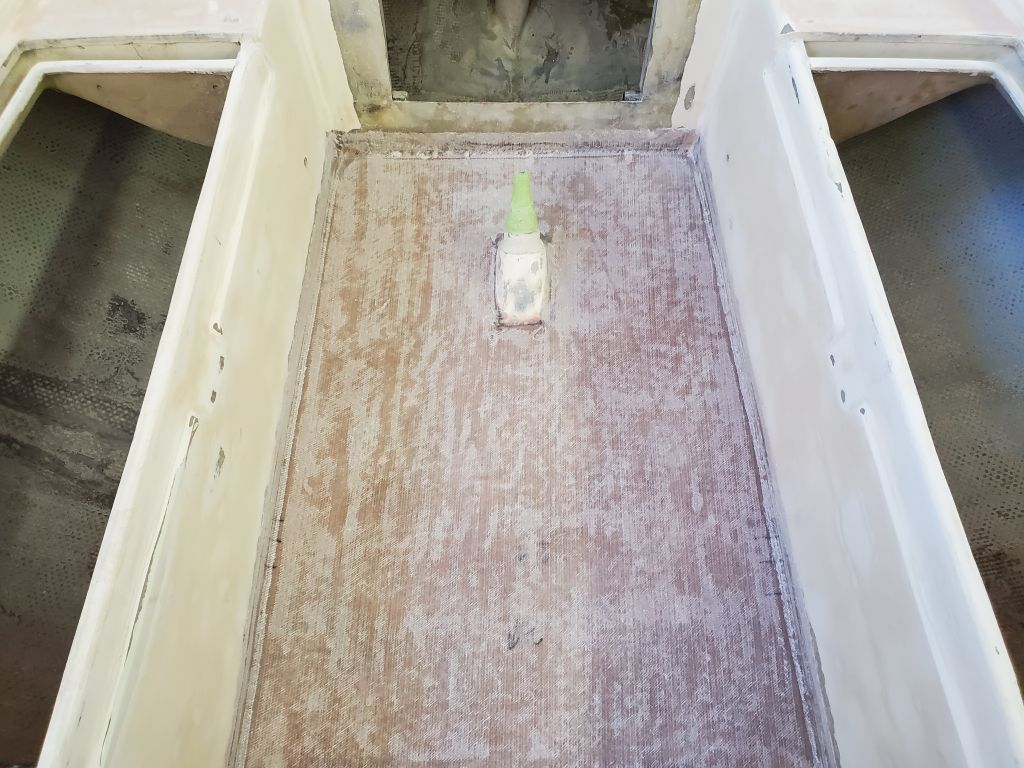


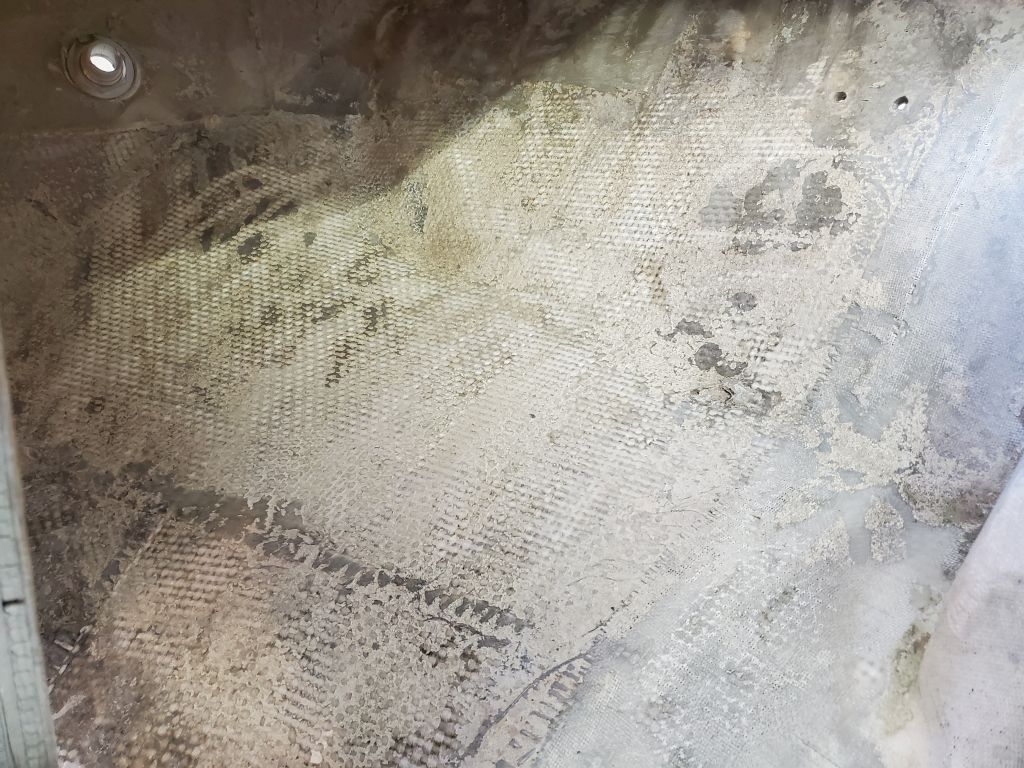
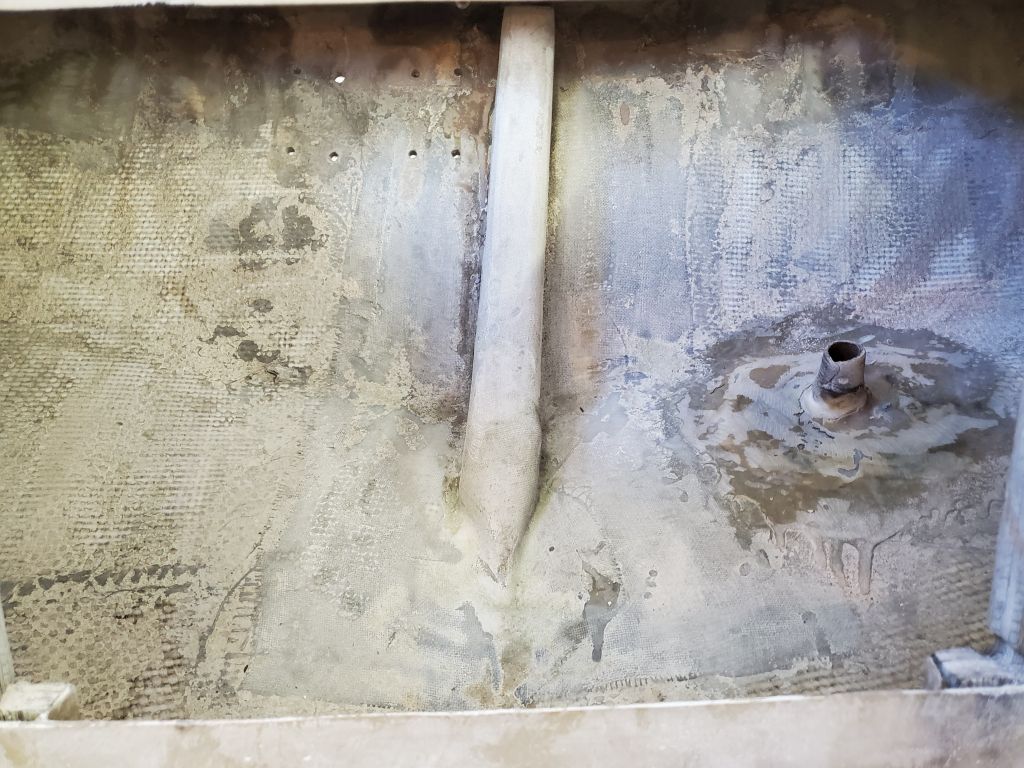
The new cockpit sole was strong and stiff underfoot, a vast contrast from the original condition.
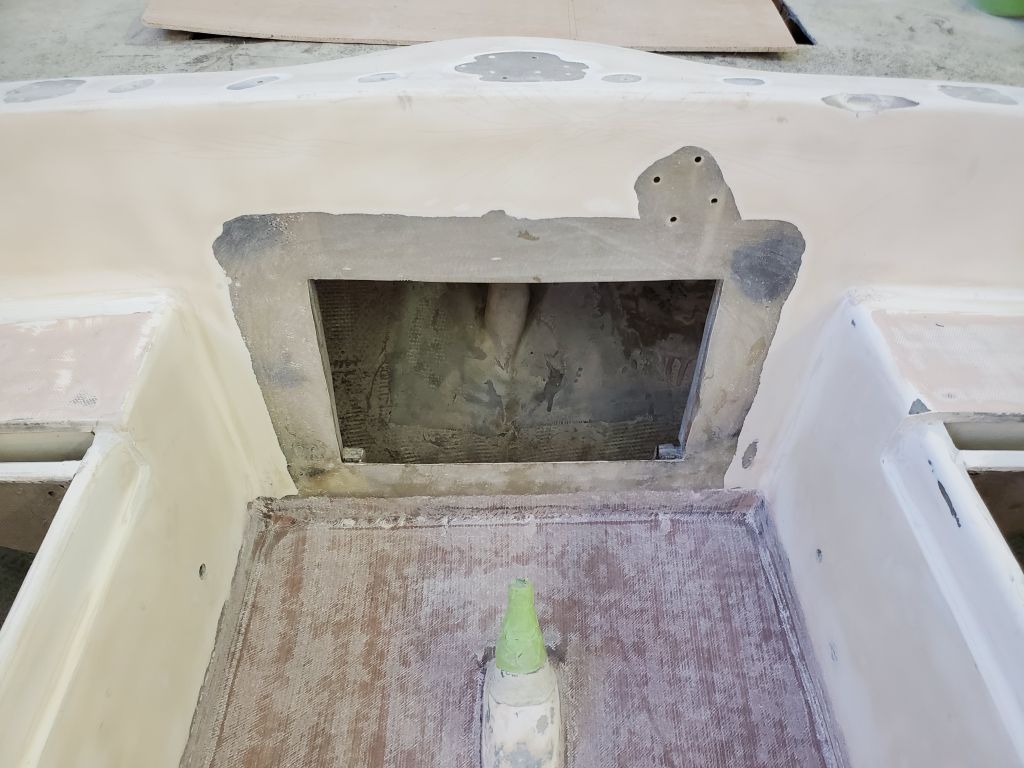
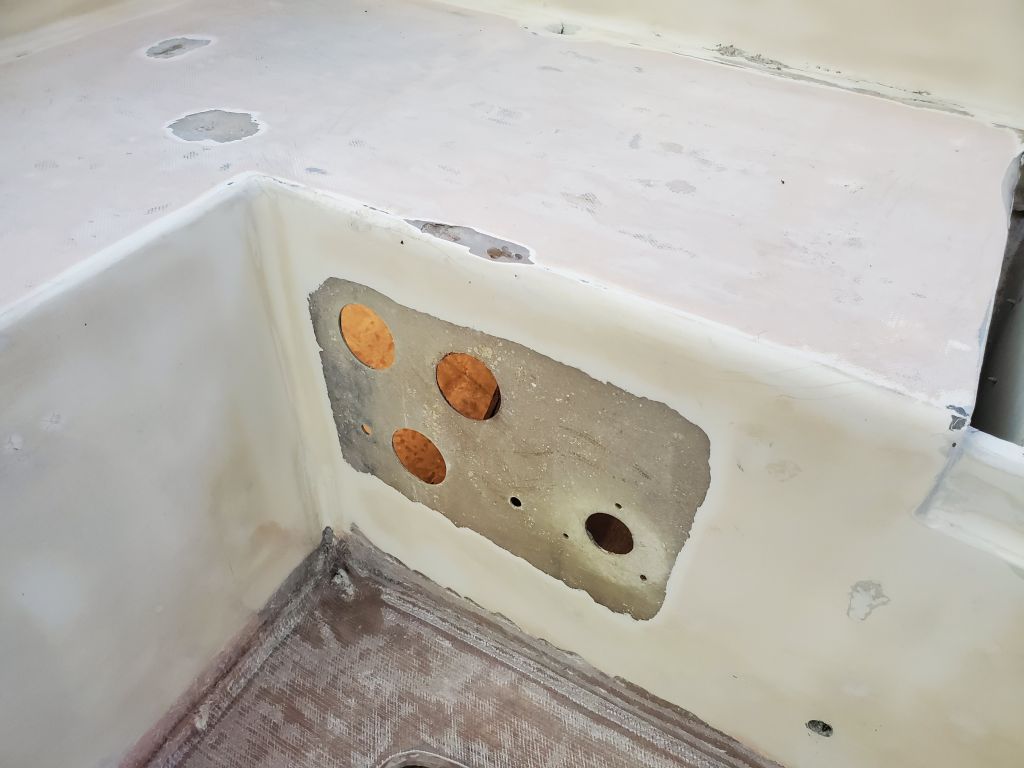
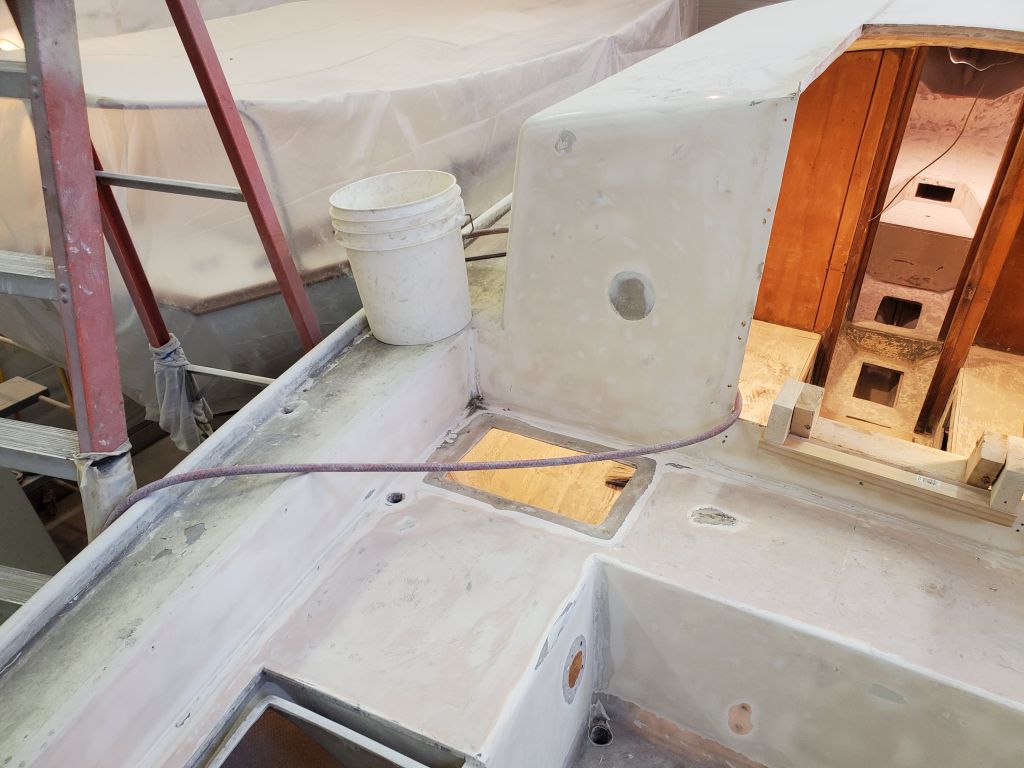
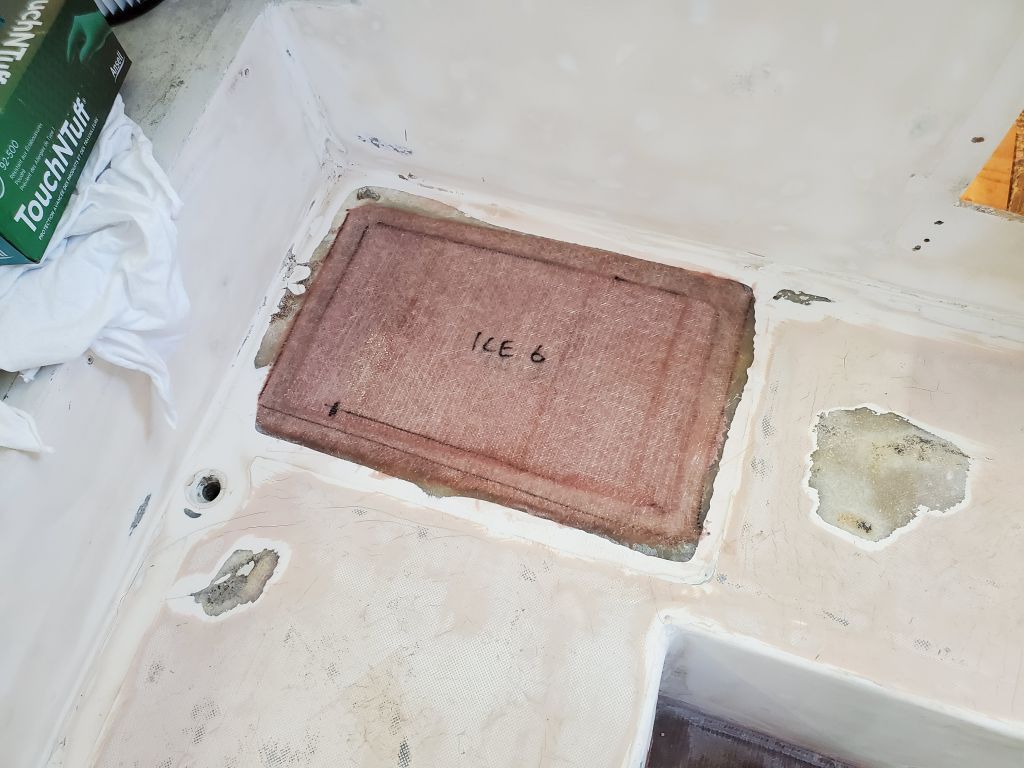
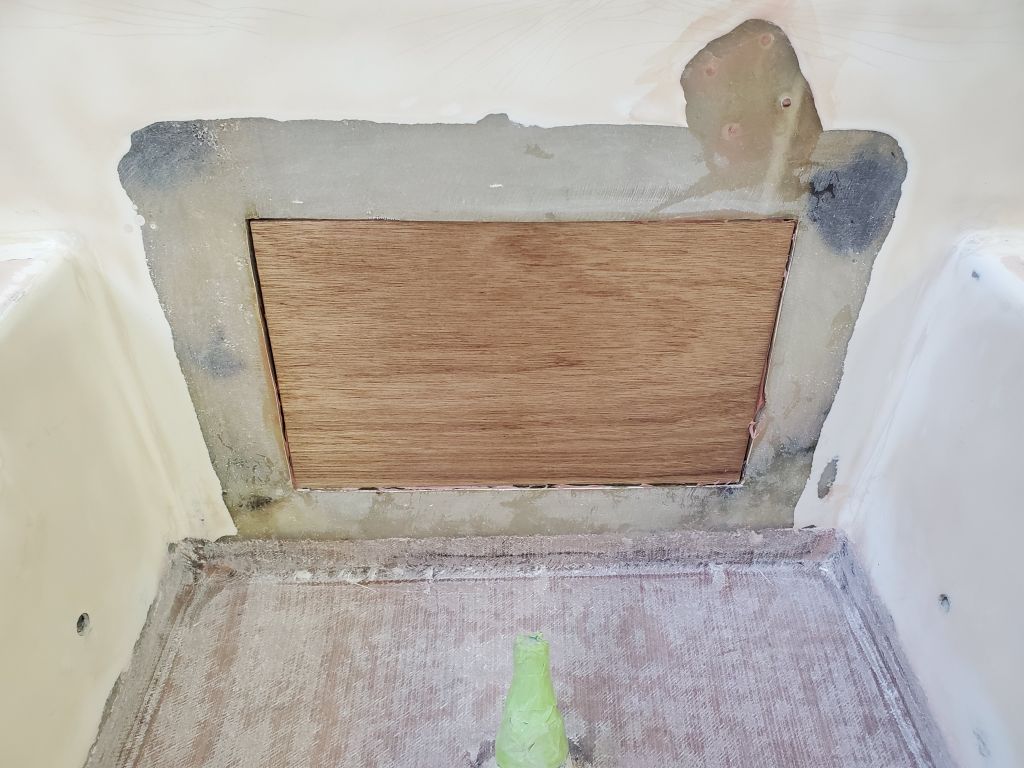
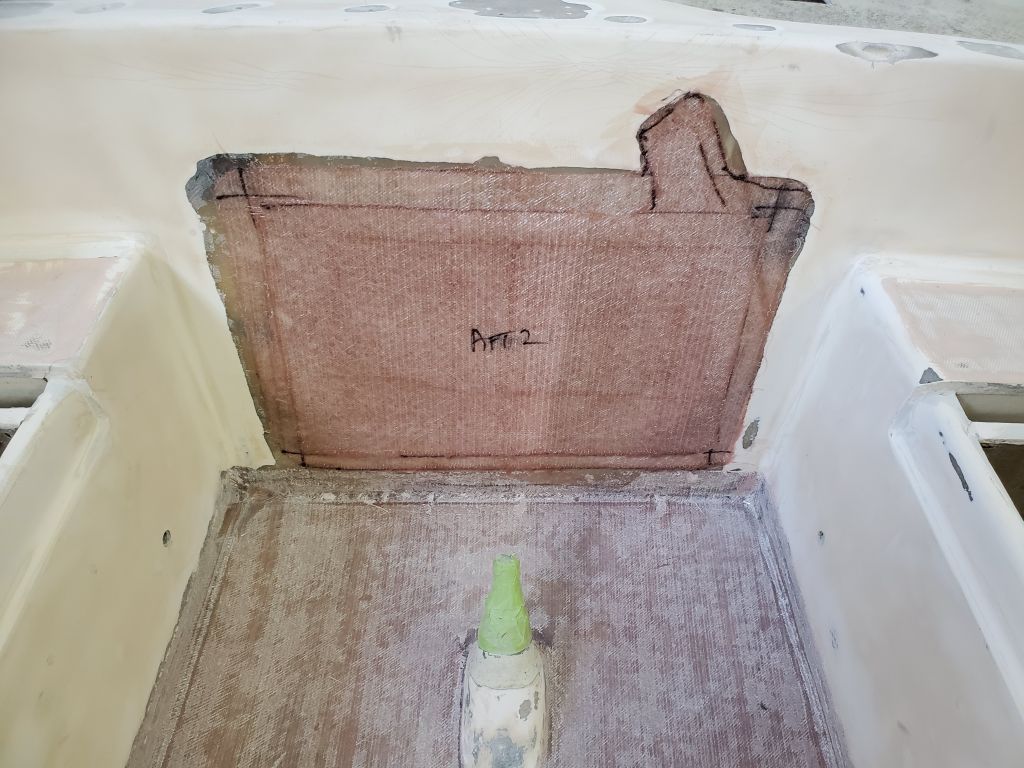
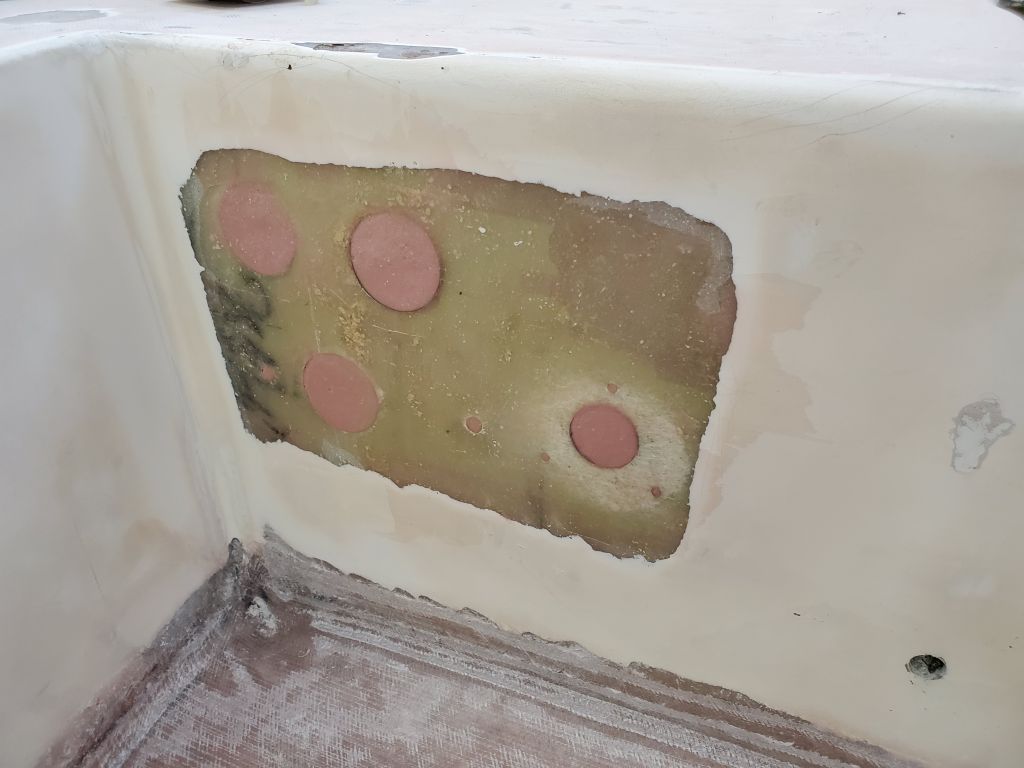
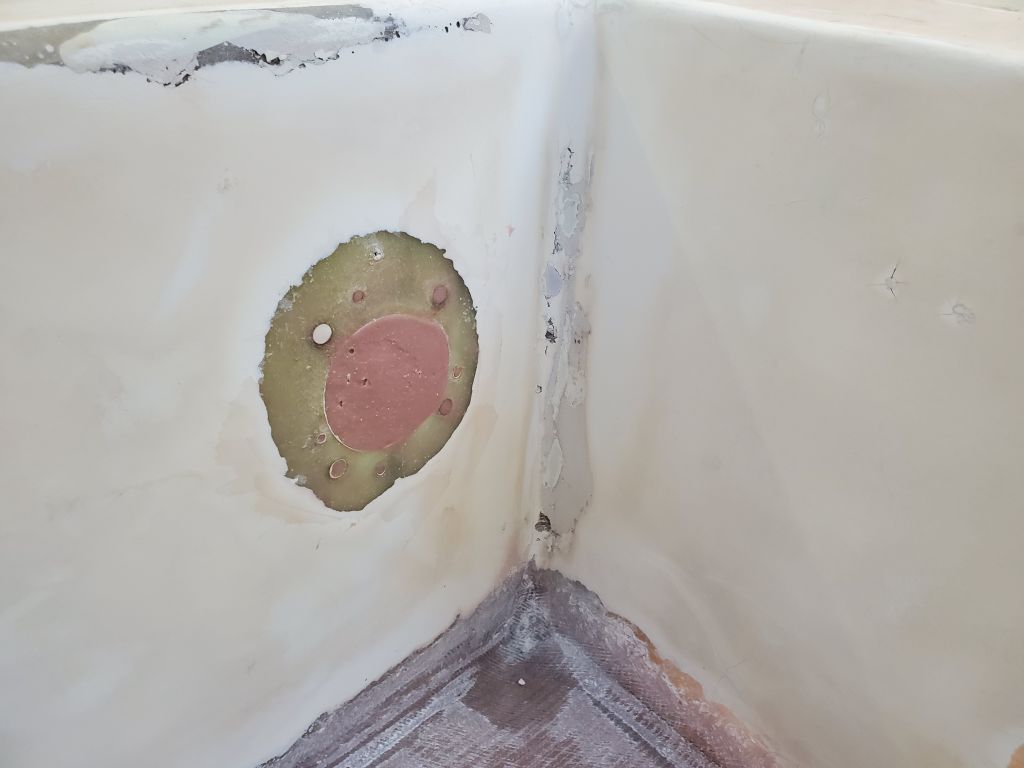
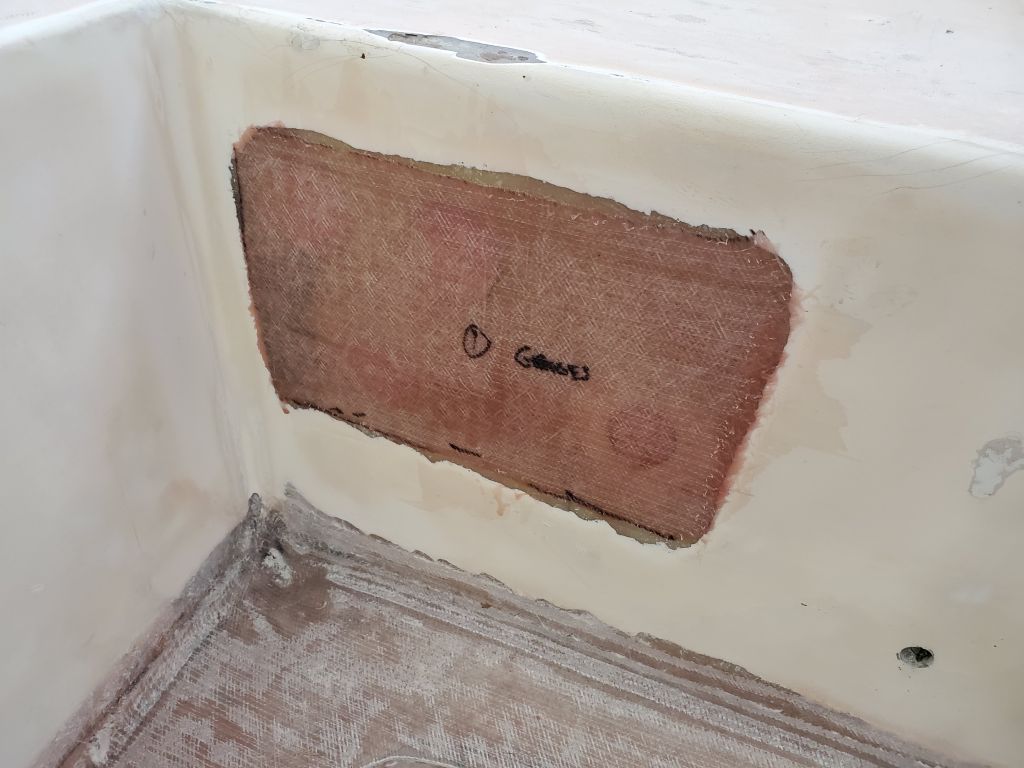
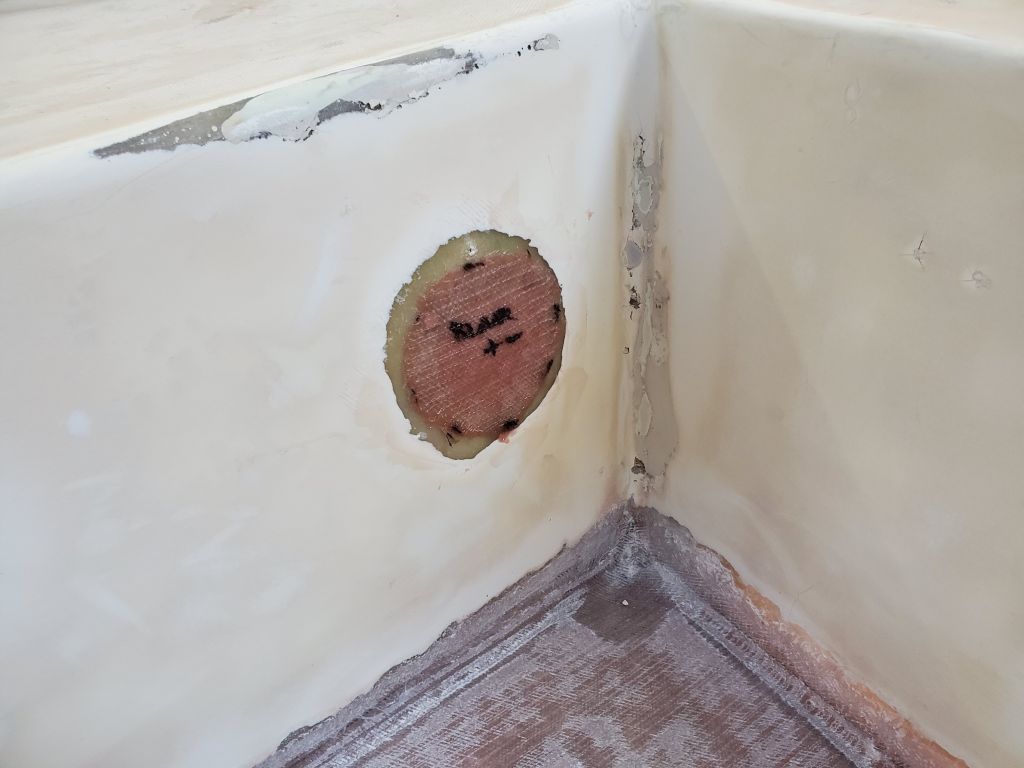
My plan for the day was to concentrate on the remaining cockpit repairs, including patching the old icebox hatch, the vertical opening to the lazarette, and the old engine gauge and blower holes.
I spent most of the morning on final preparations for the various patching, starting with a simple mold for the icebox hatch, made from 1/4″ scrap plywood, plastic, some glued-on stiffeners, and various braces to hold it tightly from below. This would give me a place against which to fill in and laminate the replacement skin for the hatch opening. I cut fiberglass layers to fit within the hatch opening, and then larger ones to overlap the top onto the adjacent seating areas.
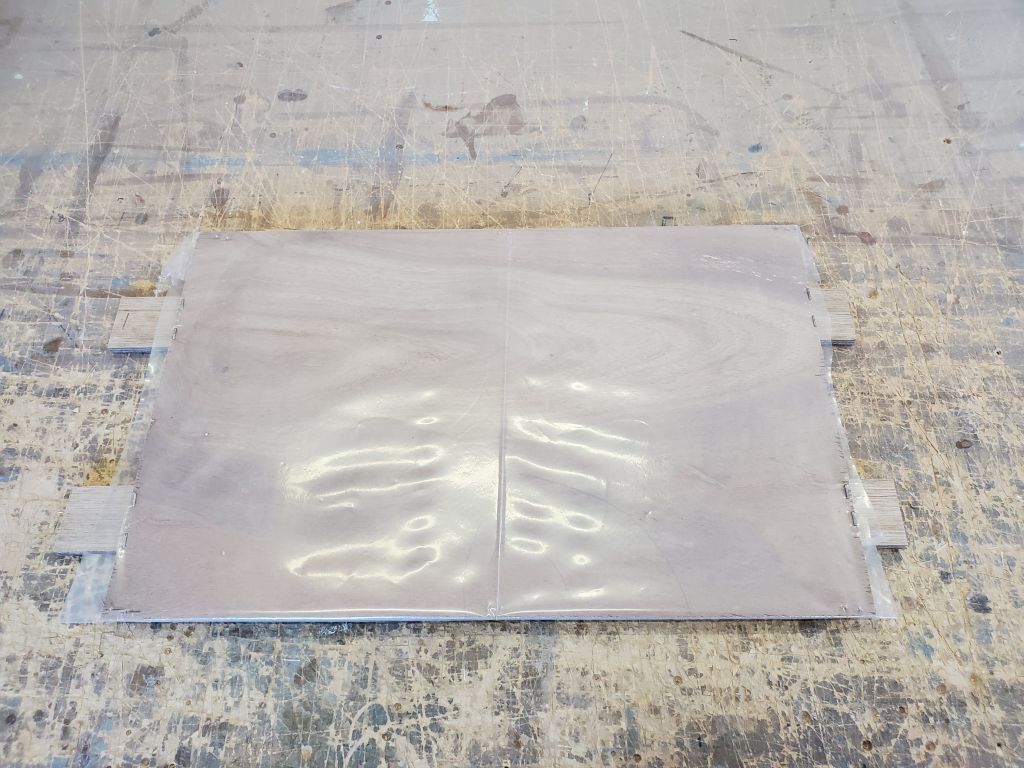


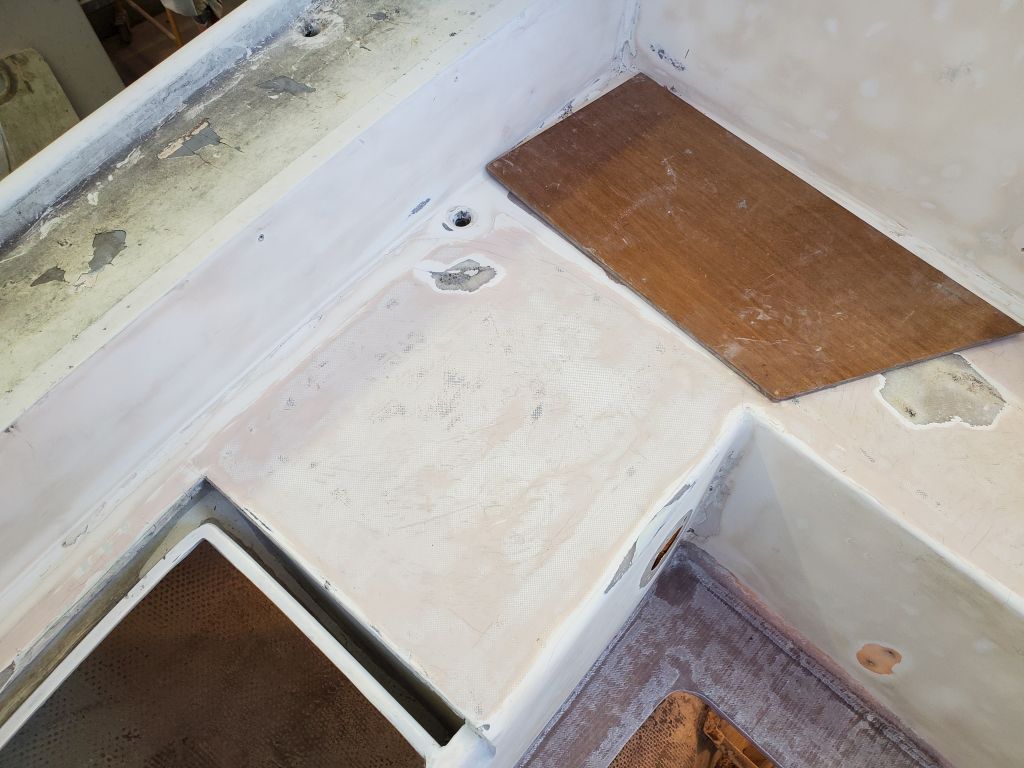
I filled in the icebox hatch opening with four layers of fiberglass, then overlapped them with two additional layers to tie it all into the cockpit seat.
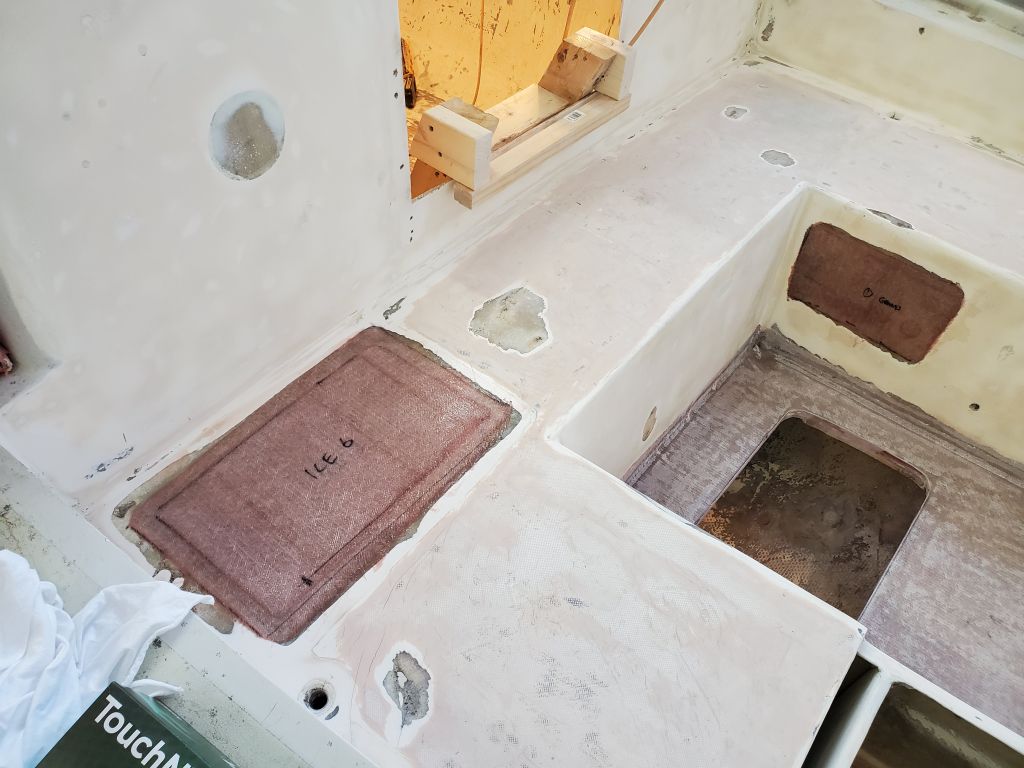
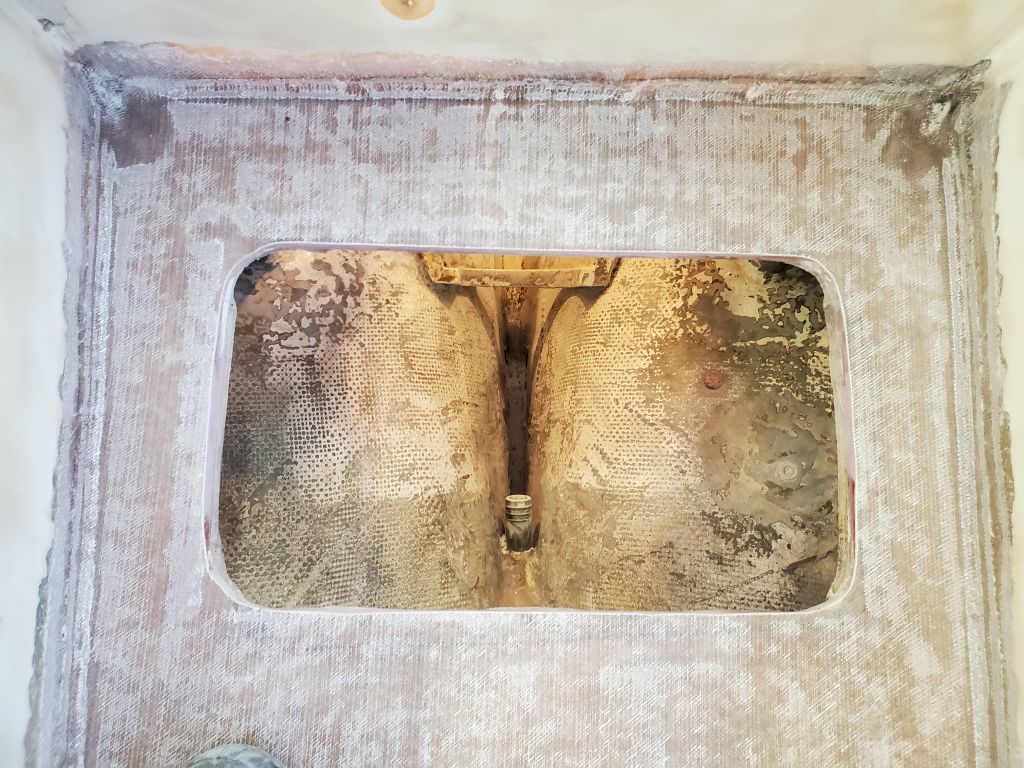
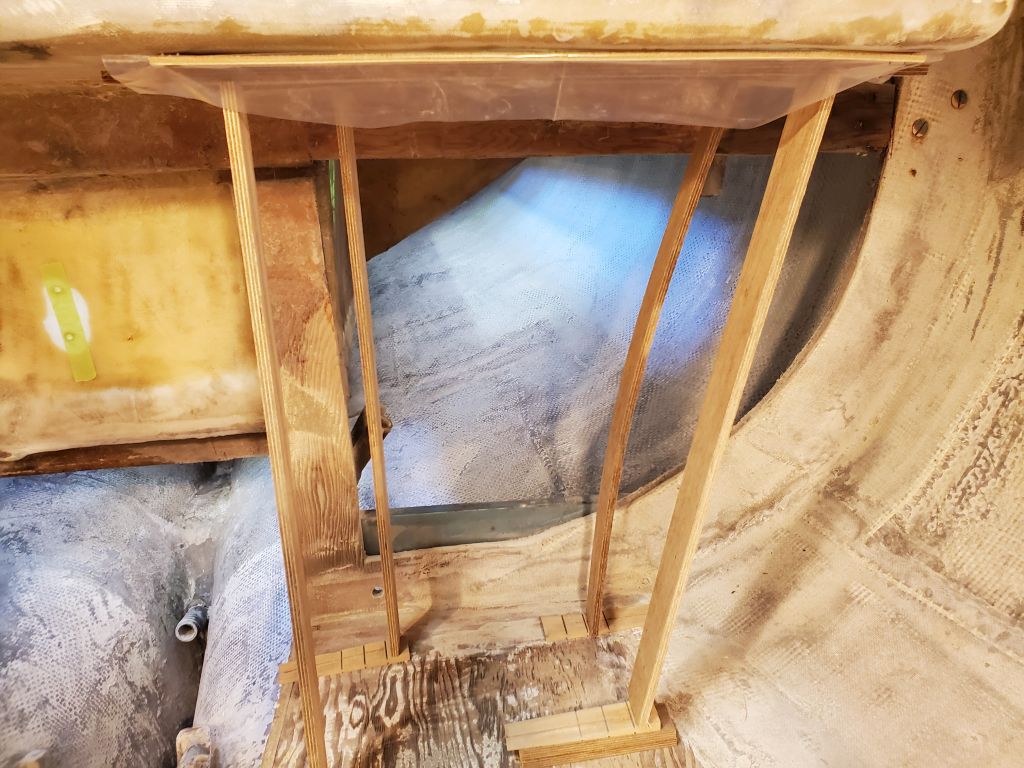
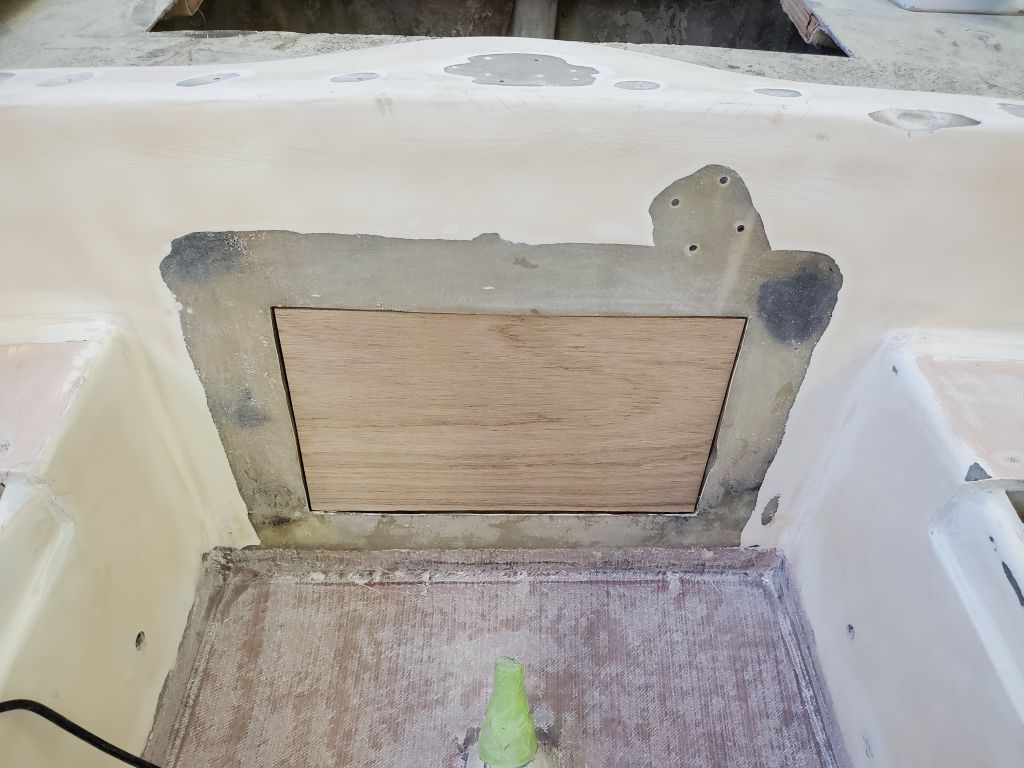
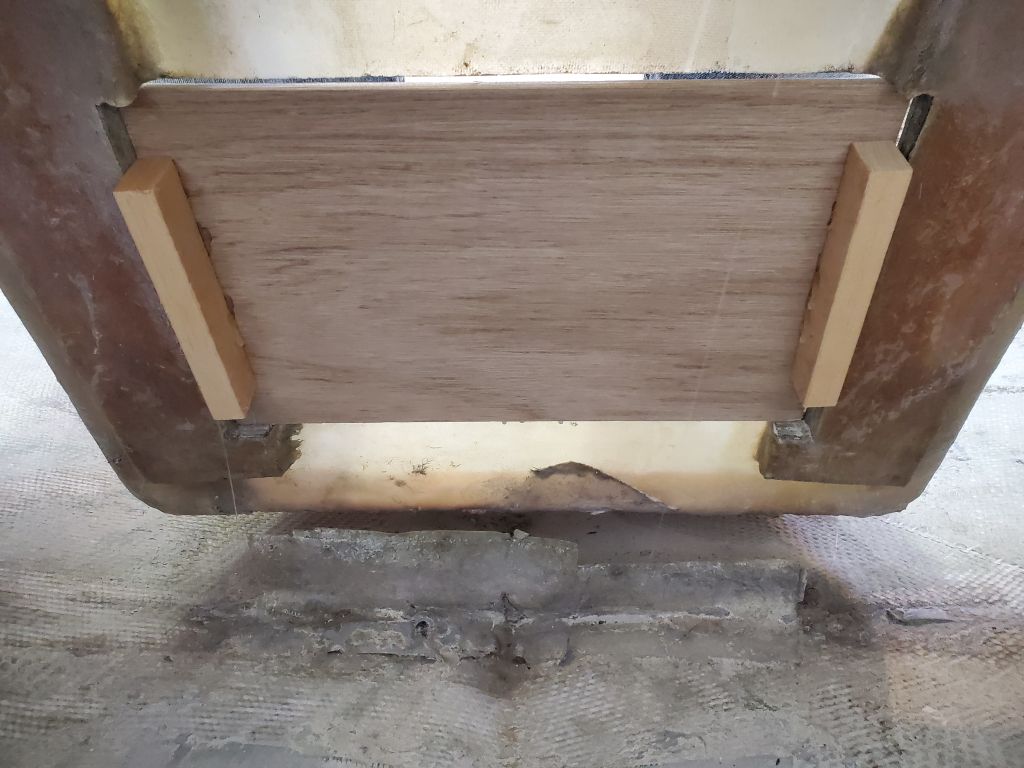
For the old opening into the lazarette, I cut a piece of 9mm marine plywood to fit inside the opening–chosen since there was a plywood banding surrounding parts of the old opening–and secured it in place with some temporary blocks hot-glued on the back side, holding the plywood roughly flush with the back side of the opening. I cut fiberglass to fit over the plywood, and larger layers to extend onto the nearby surfaces to tie the whole thing together. I wet out the plywood with epoxy, then installed three layers of fiberglass over top.

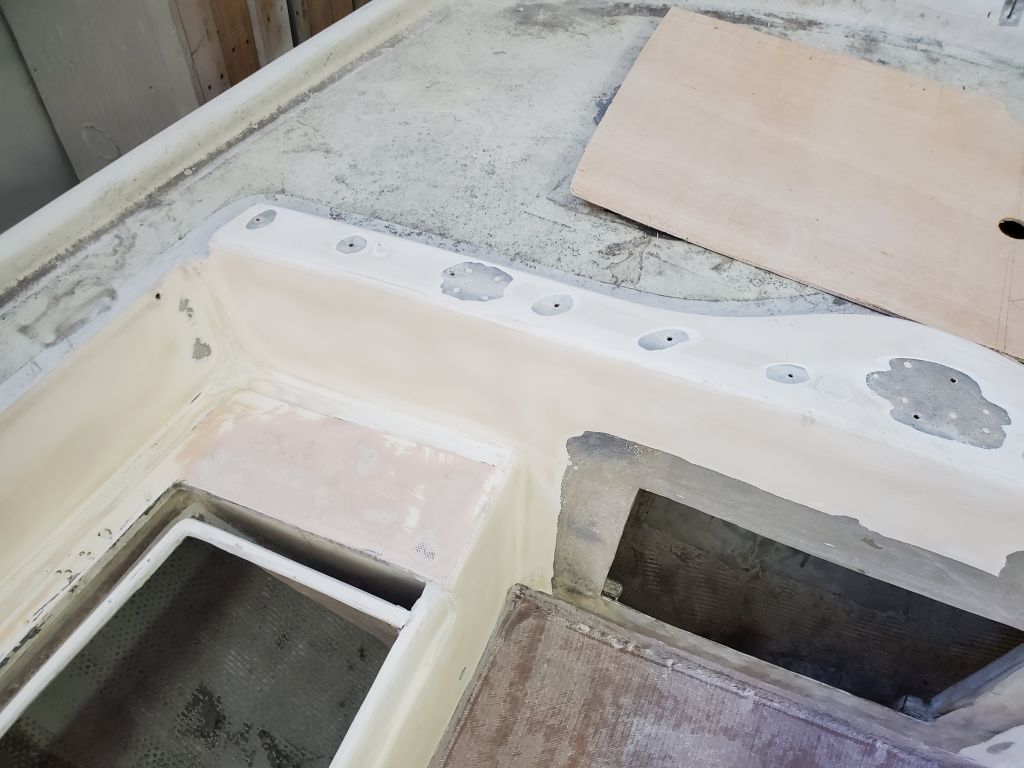
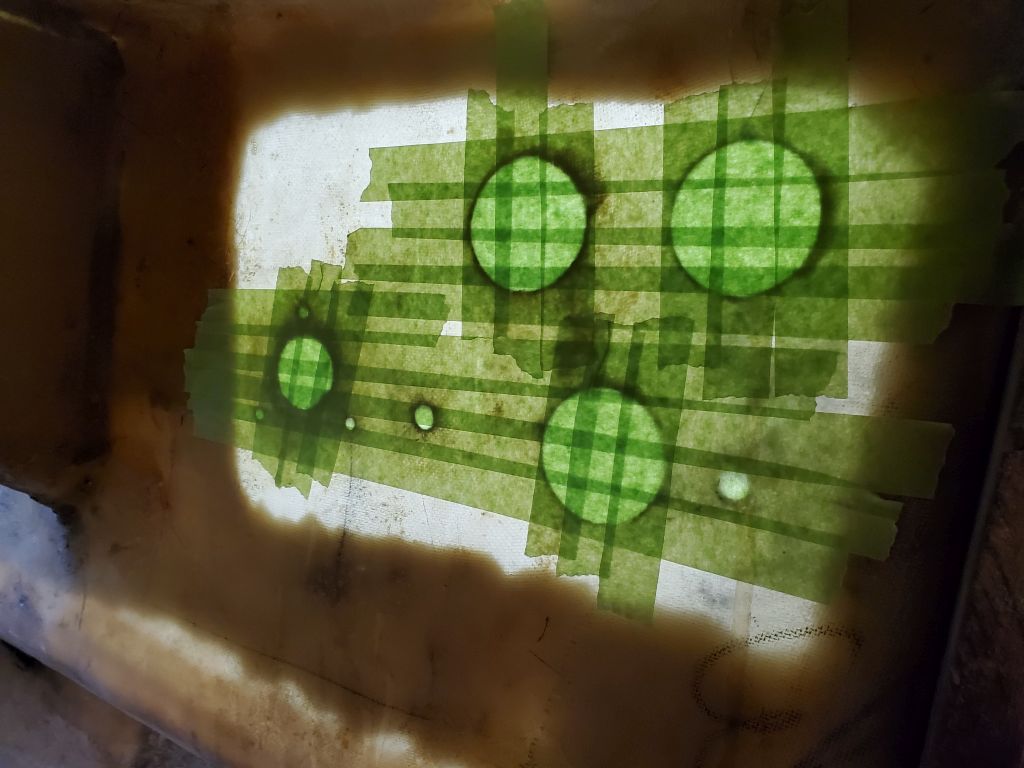
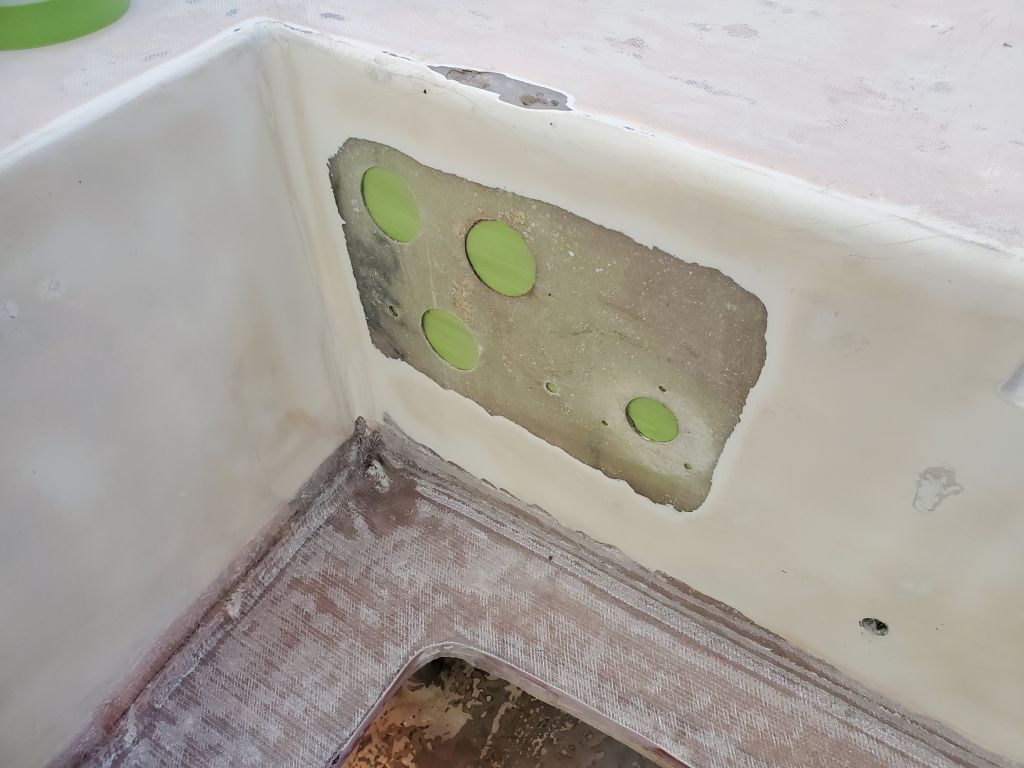
To prepare the round gauge holes and blower opening, I masked over from the back side, then filled the holes with a thickened epoxy mixture that I let partially cure while I cut fiberglass to fit. Then, with all basic and expected preparations complete, I installed the new fiberglass patches over the top of the two areas.


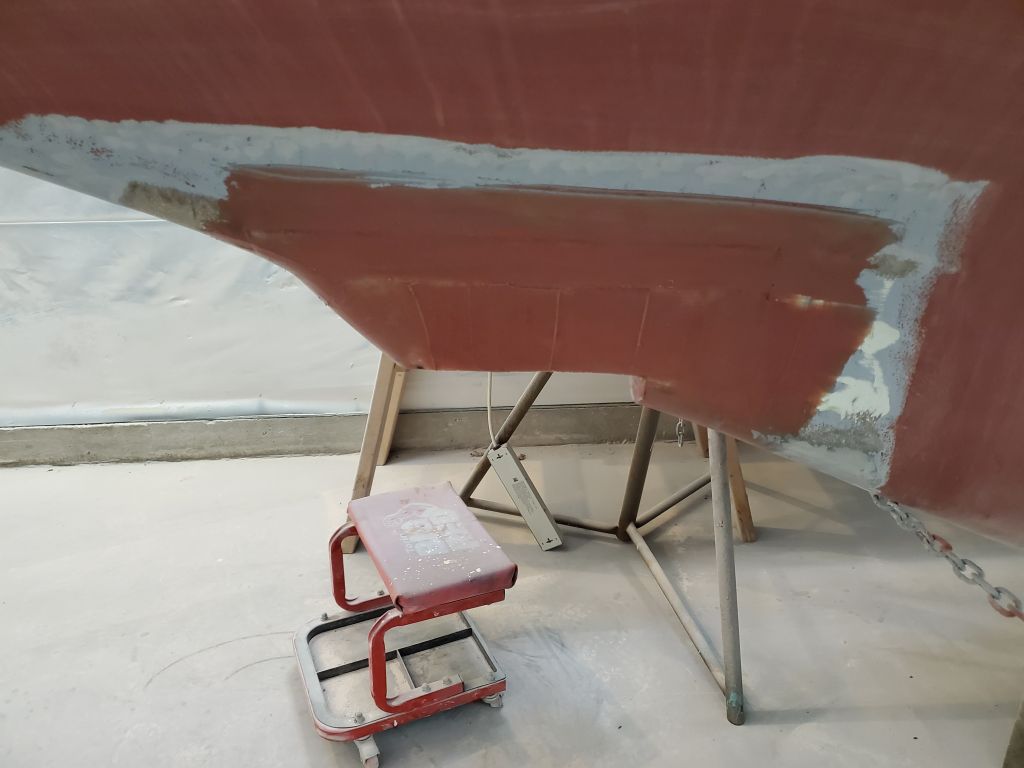
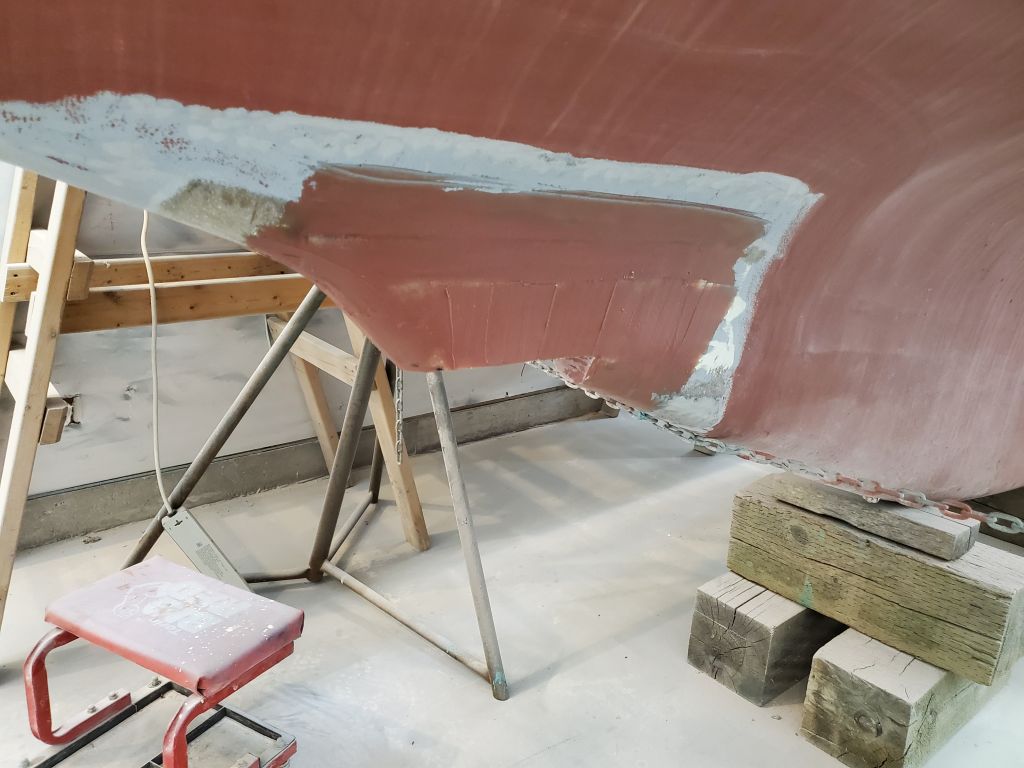
With the cockpit work complete for now, I turned to the transducer housing and, after a quick water wash, sanded the fresh fiberglass lightly as needed.
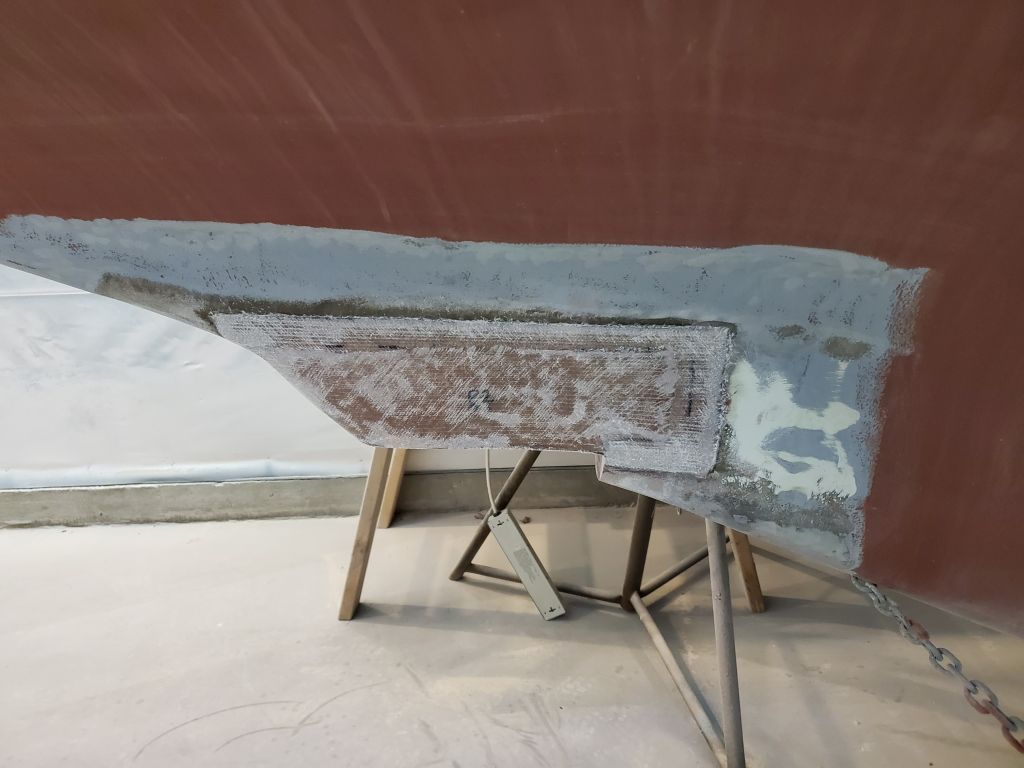
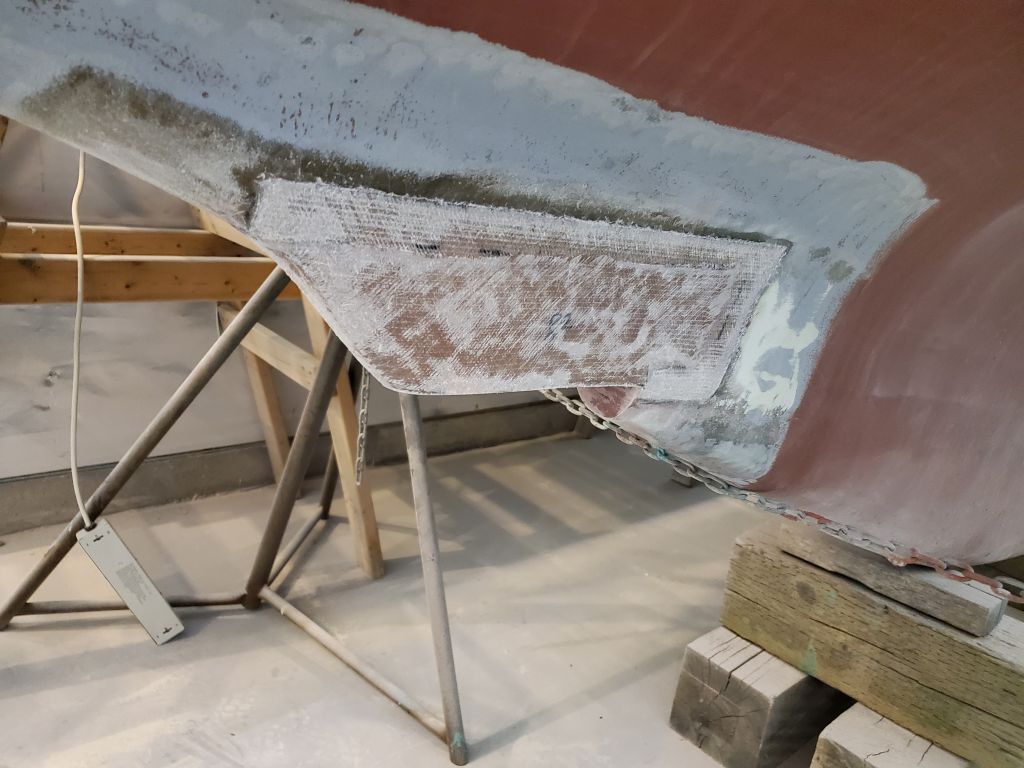
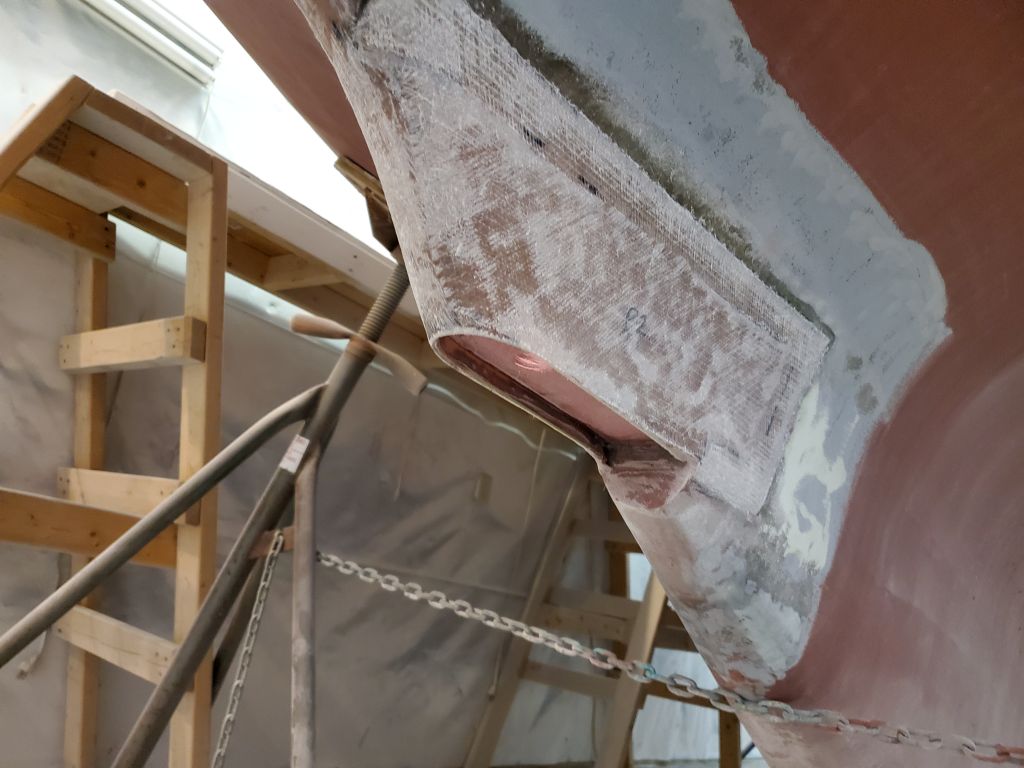
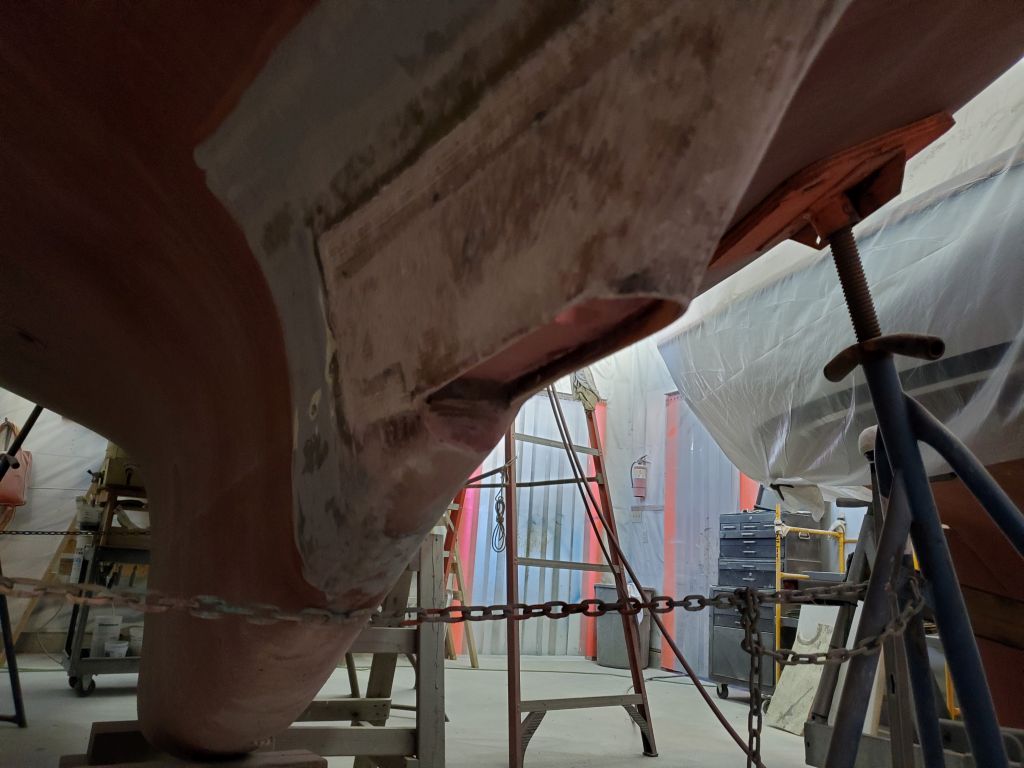
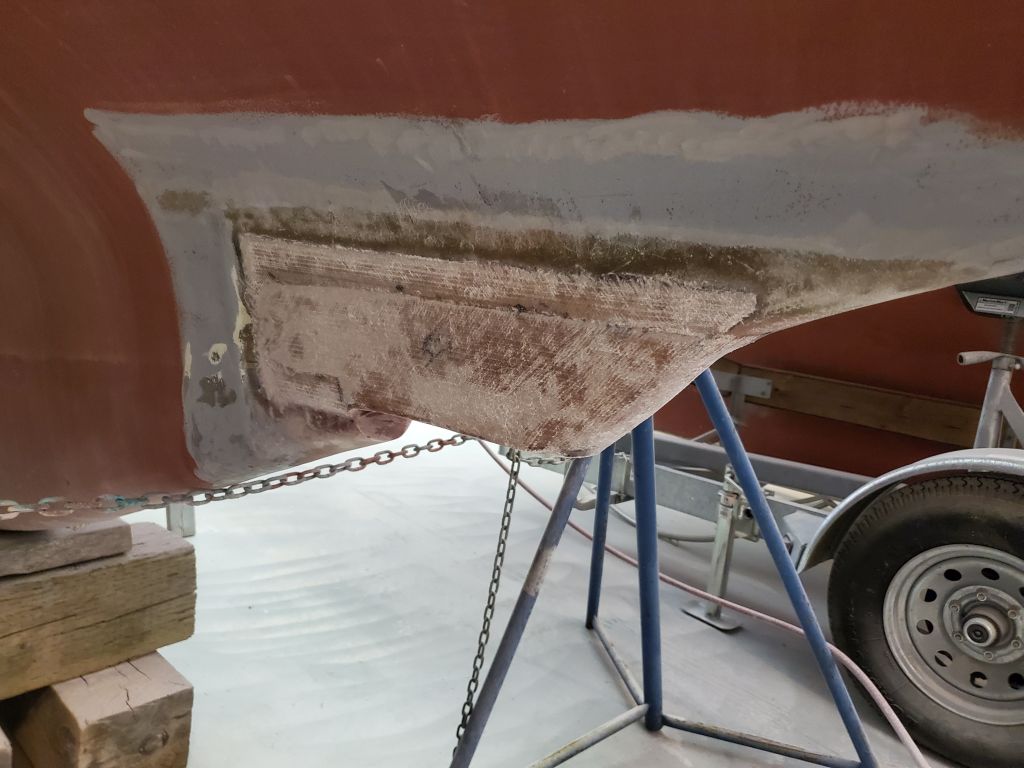
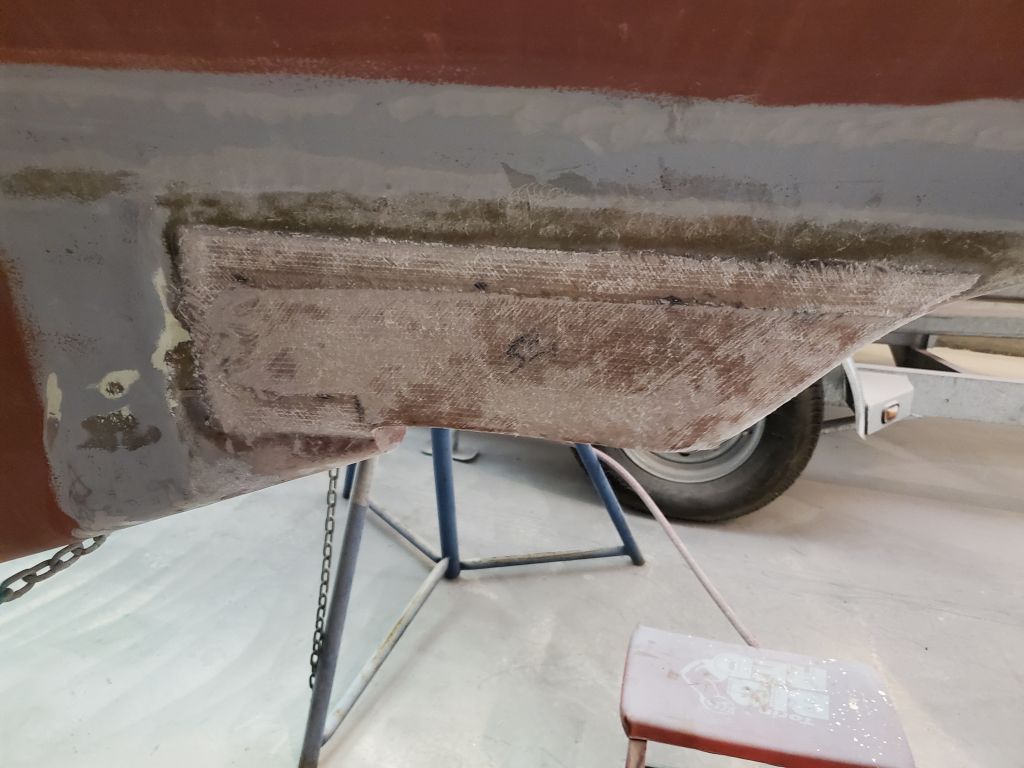
After cleanup, I applied a first coat of epoxy fairing filler to create the final shape of the new housing and tie the structural work into the surrounding hull.

I installed some fiberglass to help reinforce the repair I’d made to the starboard cockpit seat scupper.
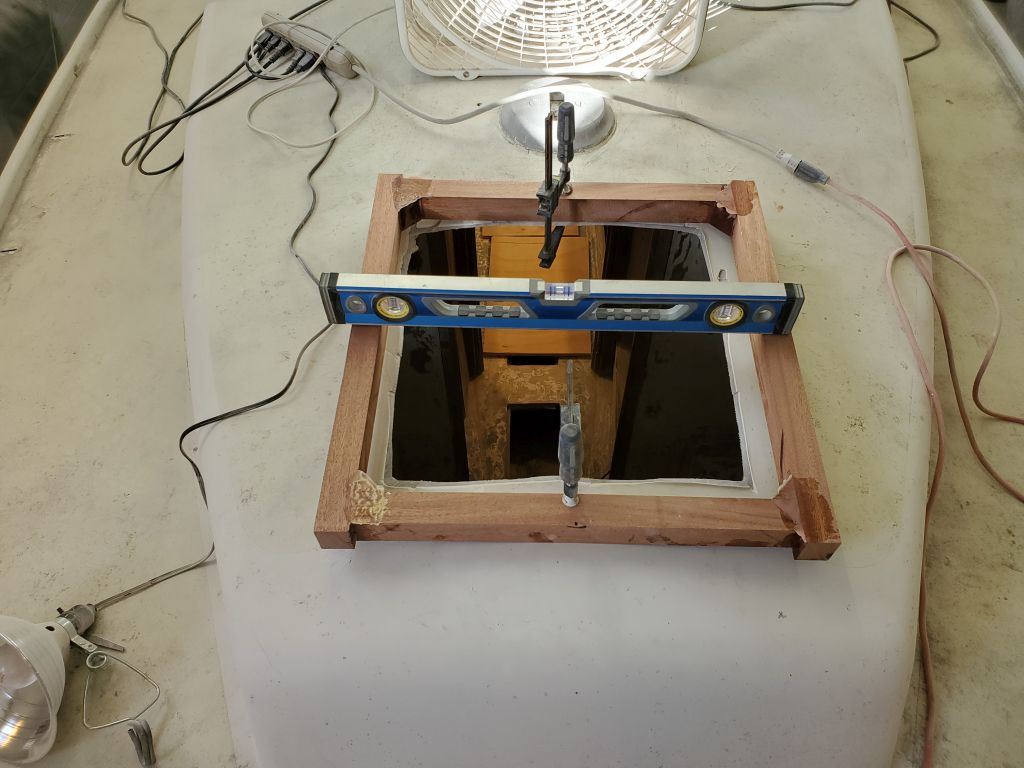
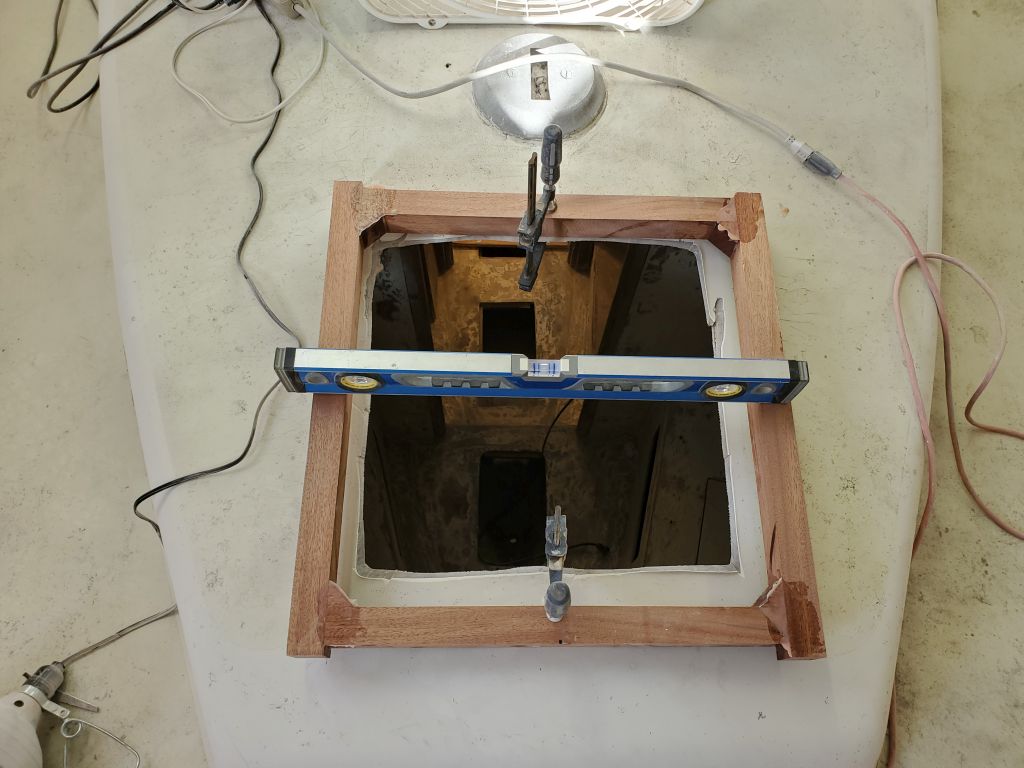
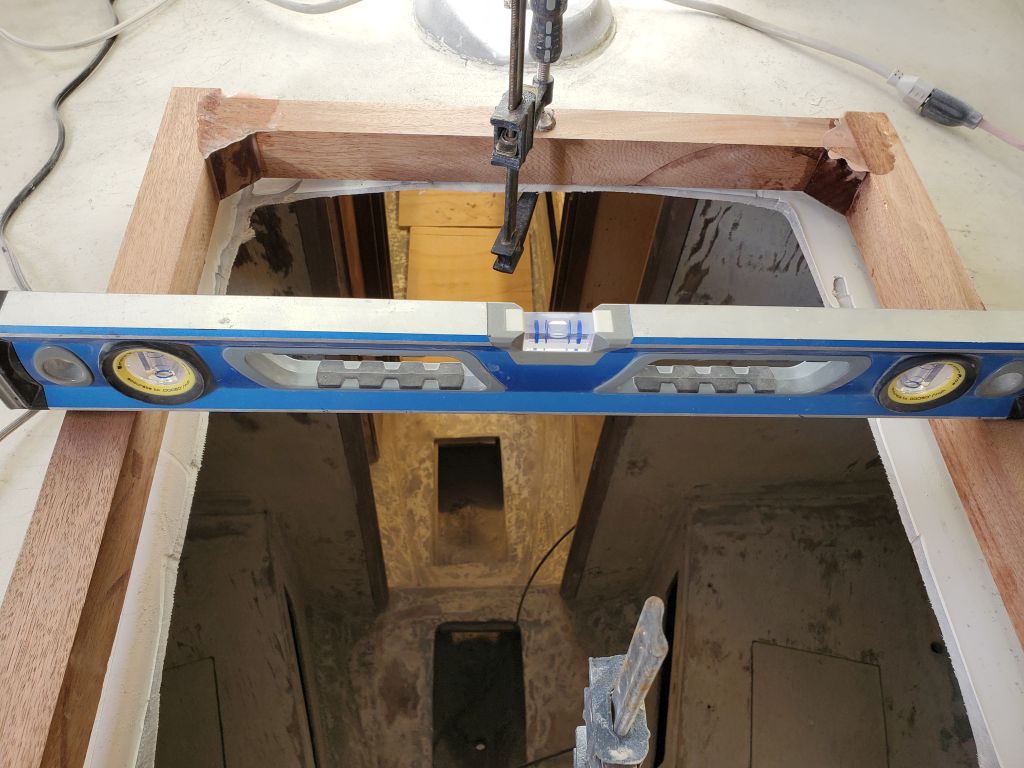
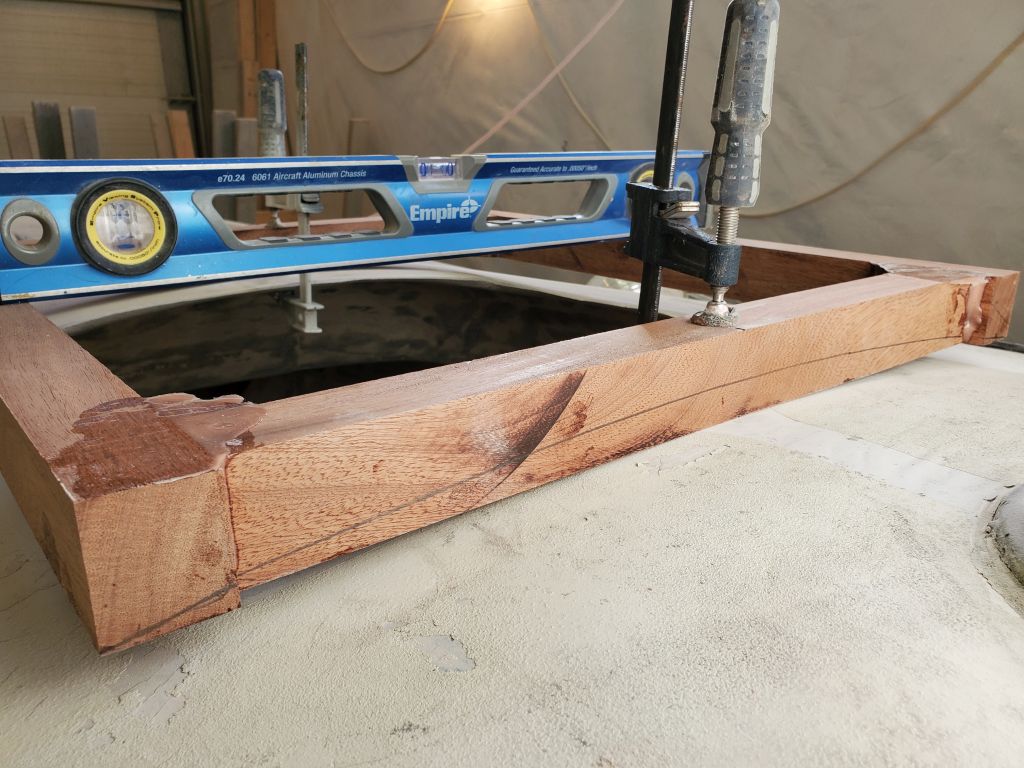
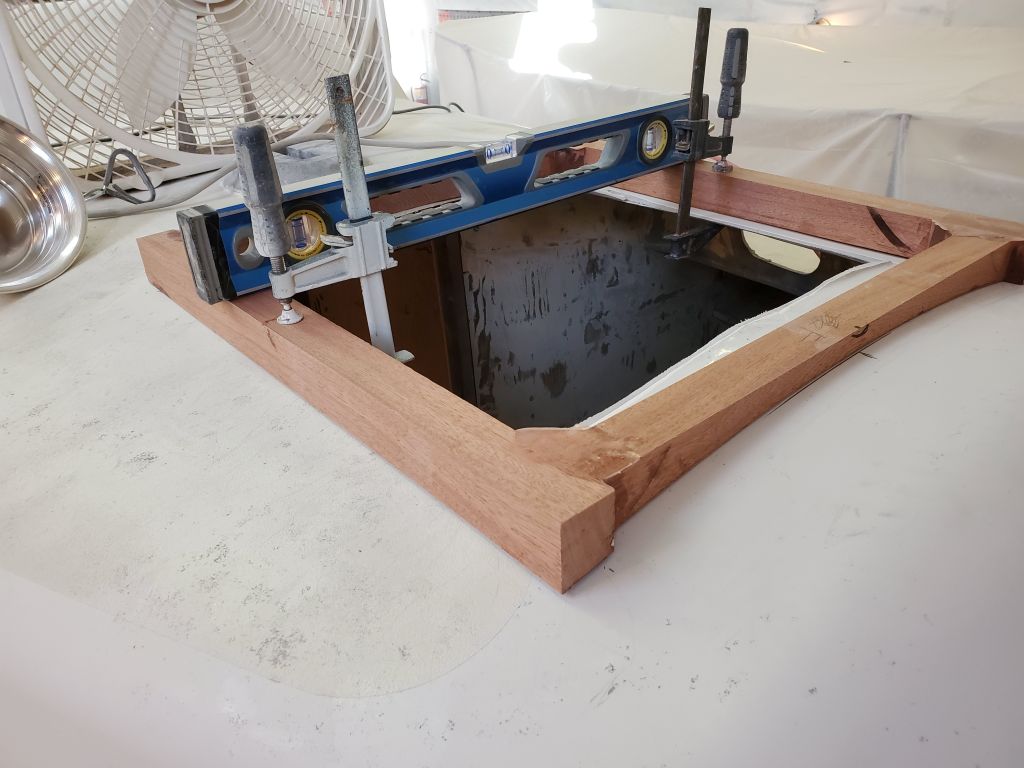
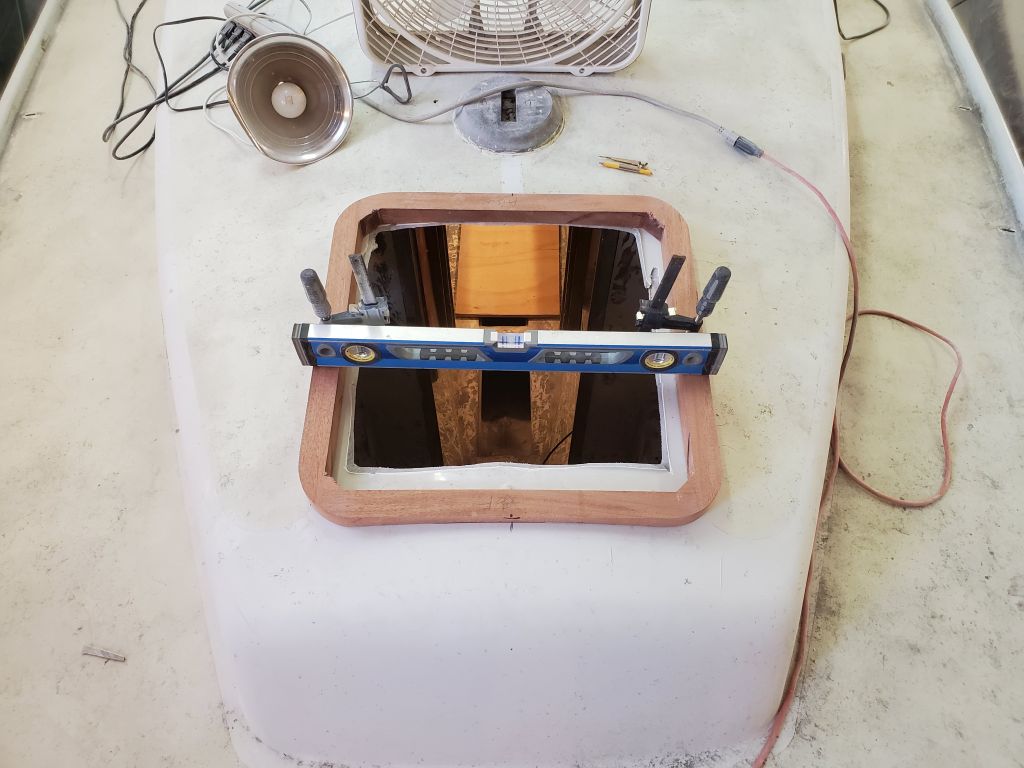
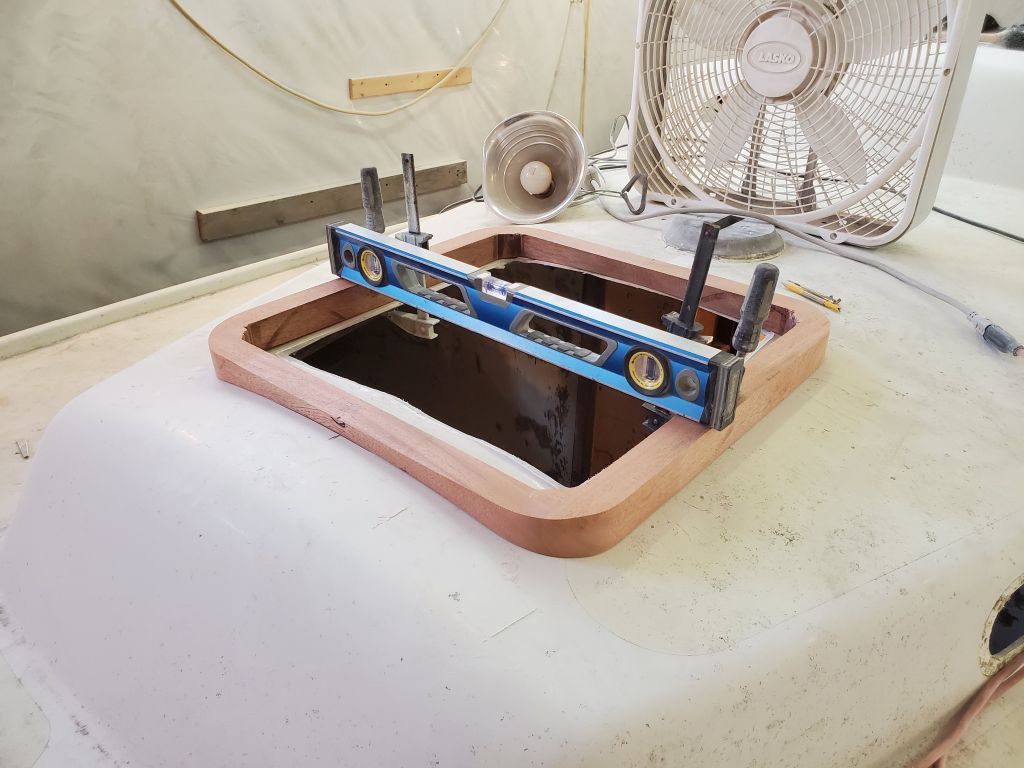
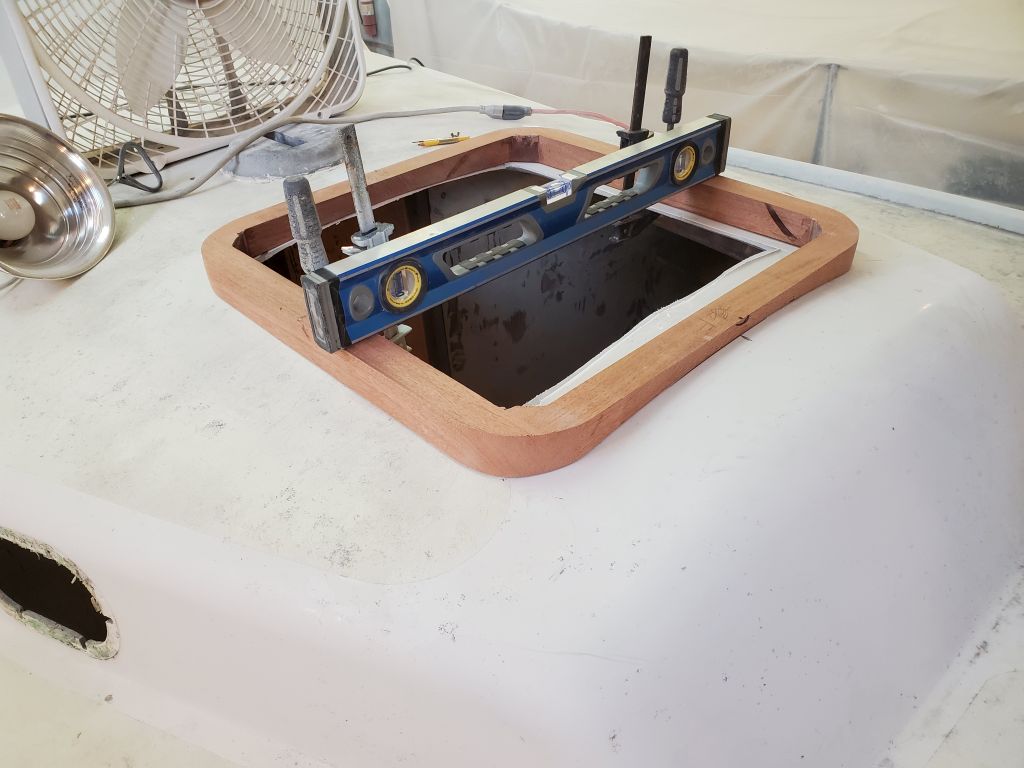
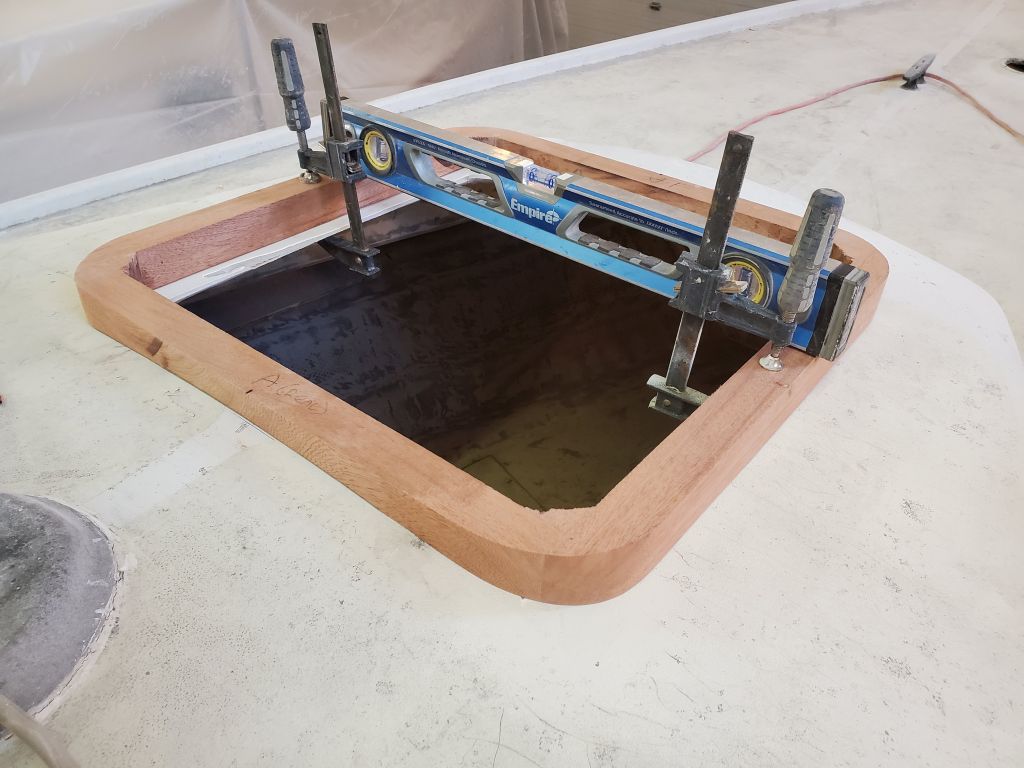
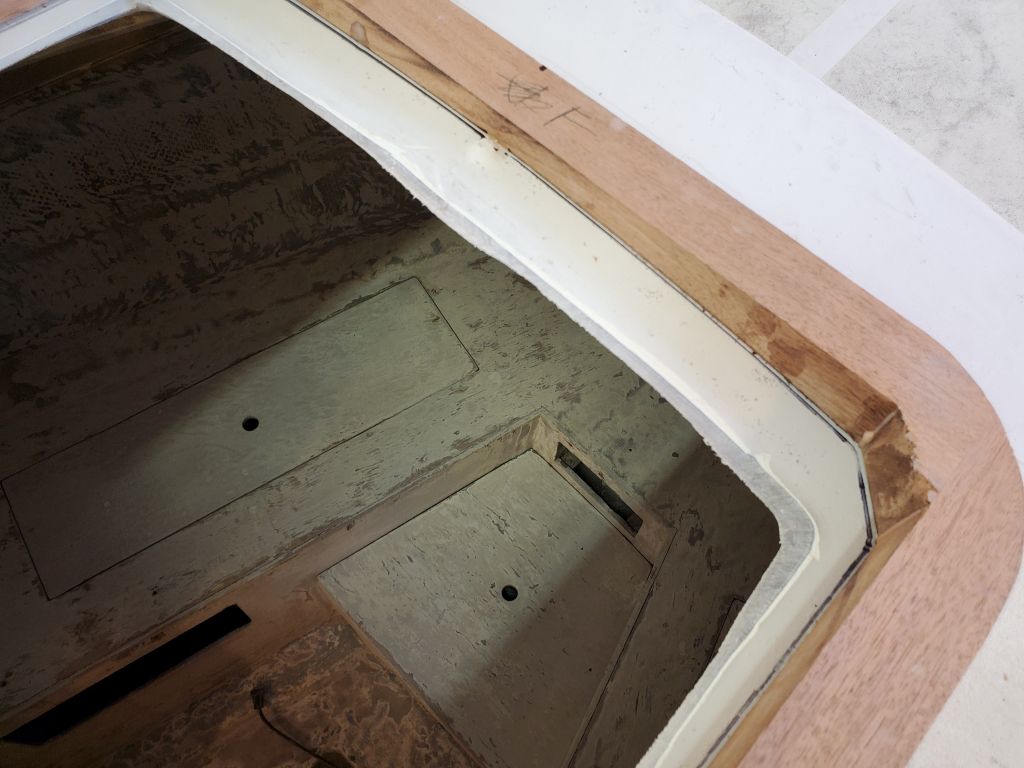
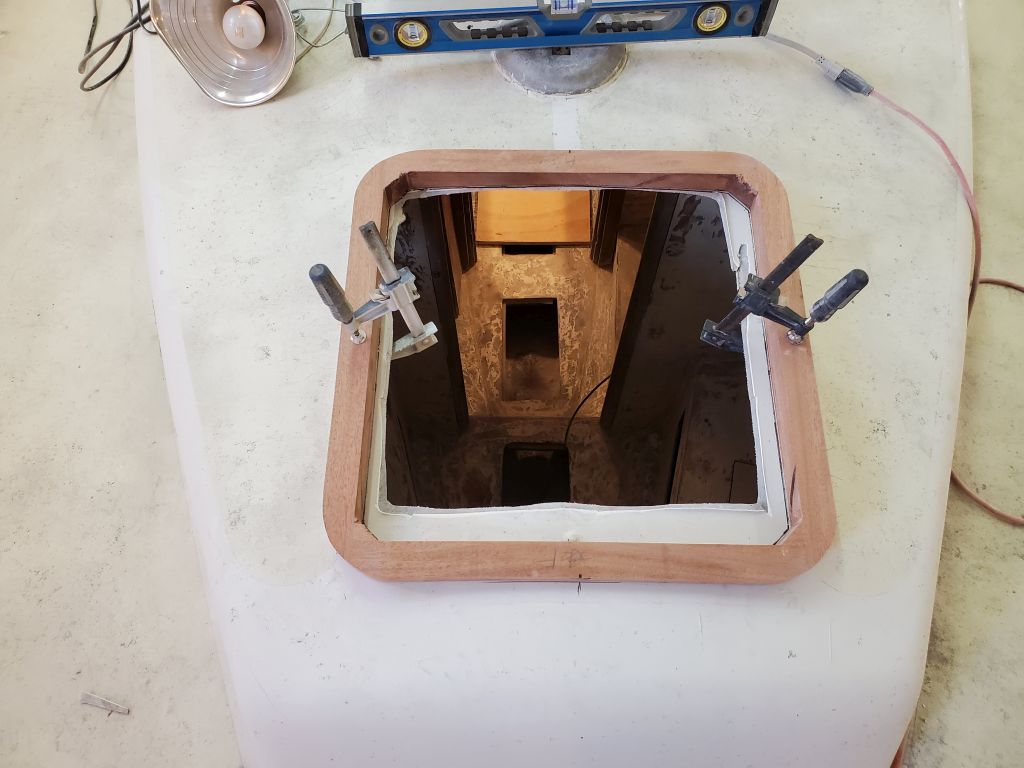
Now nearing the end of the day, I turned to the forward hatch frame. Placing the new wooden frame on deck in way of the hatch opening, I centered it and, with temporary clamps, held it in place level from side to side. Now I could scribe the camber of the deck onto the forward and after sides of the new frame so I could trim the frame to shape and fit the deck properly.
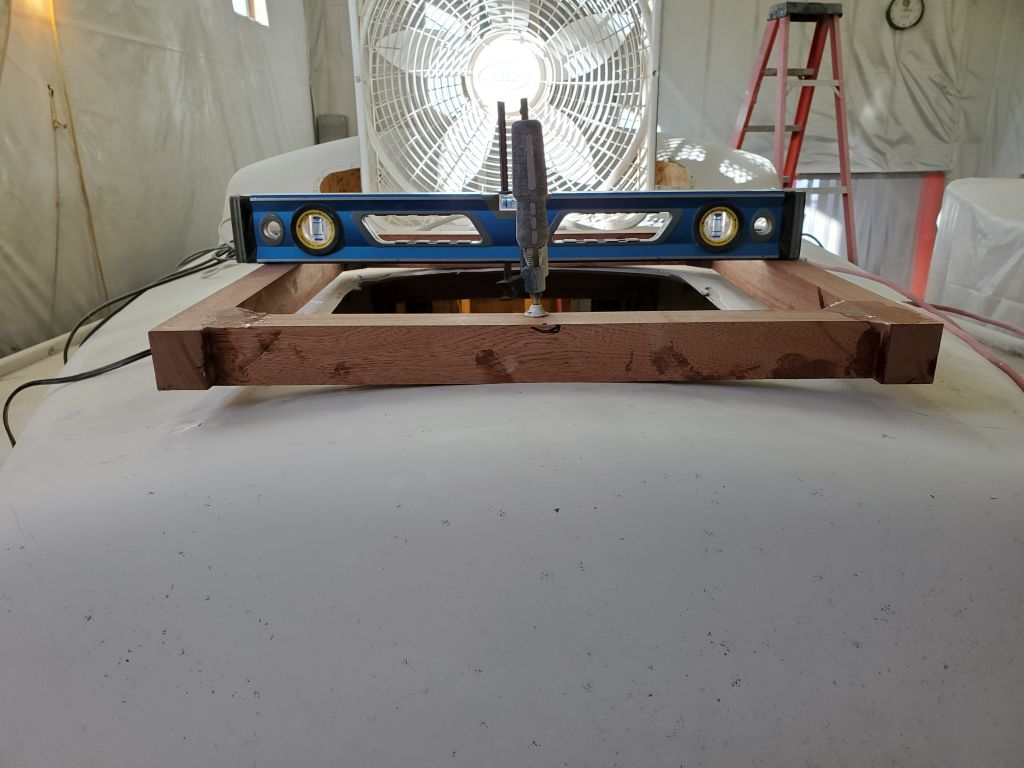
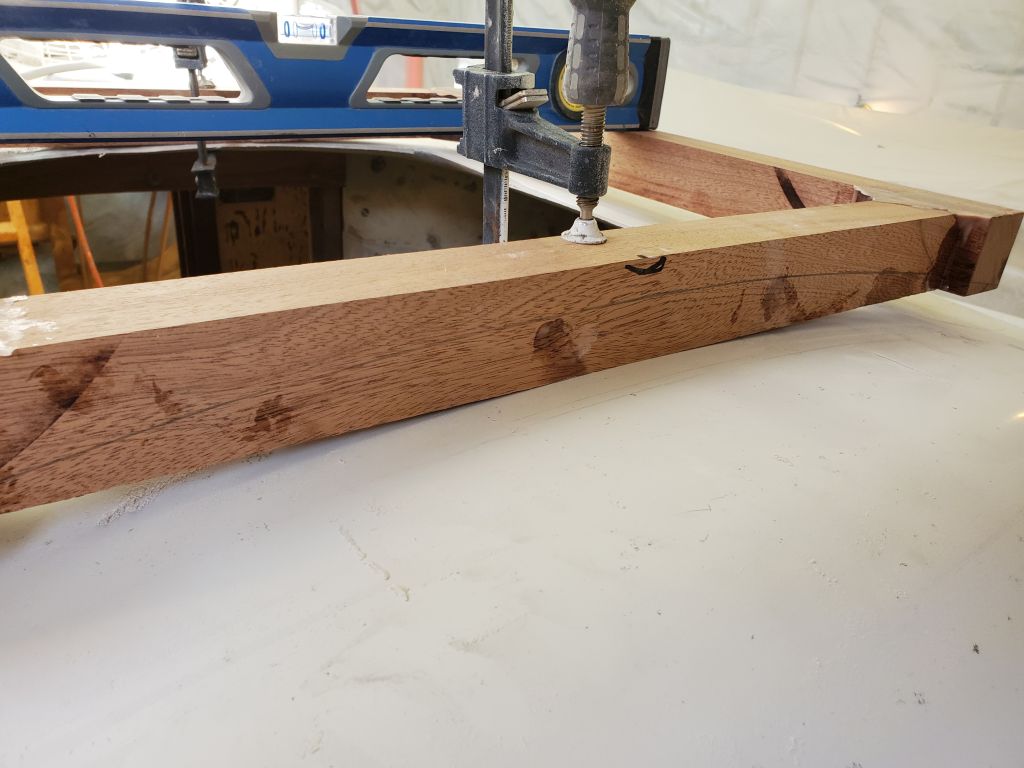
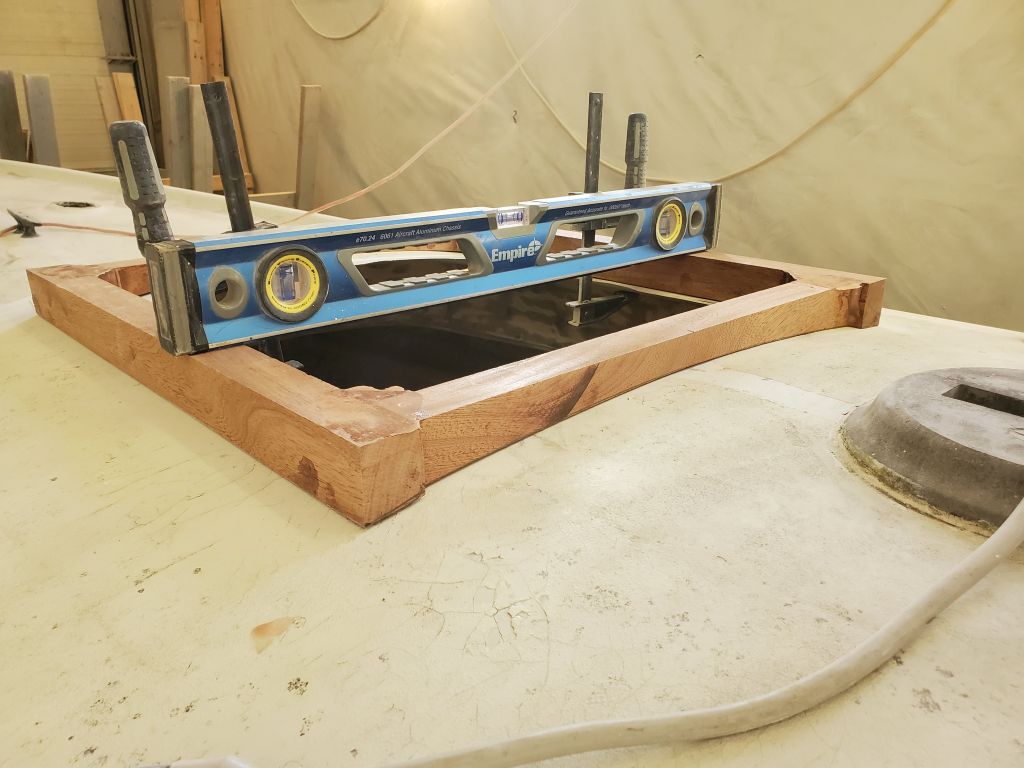
Thusly marked, I returned to the bench and made the curved cuts with a jigsaw, leaving the line and fine-tuning the curved shape with a sander thereafter. Then, I trimmed the longitudinal sides of the frame between the curved ends as needed, and test-fit the frame on deck once more. The newly-shaped frame fit well all around.
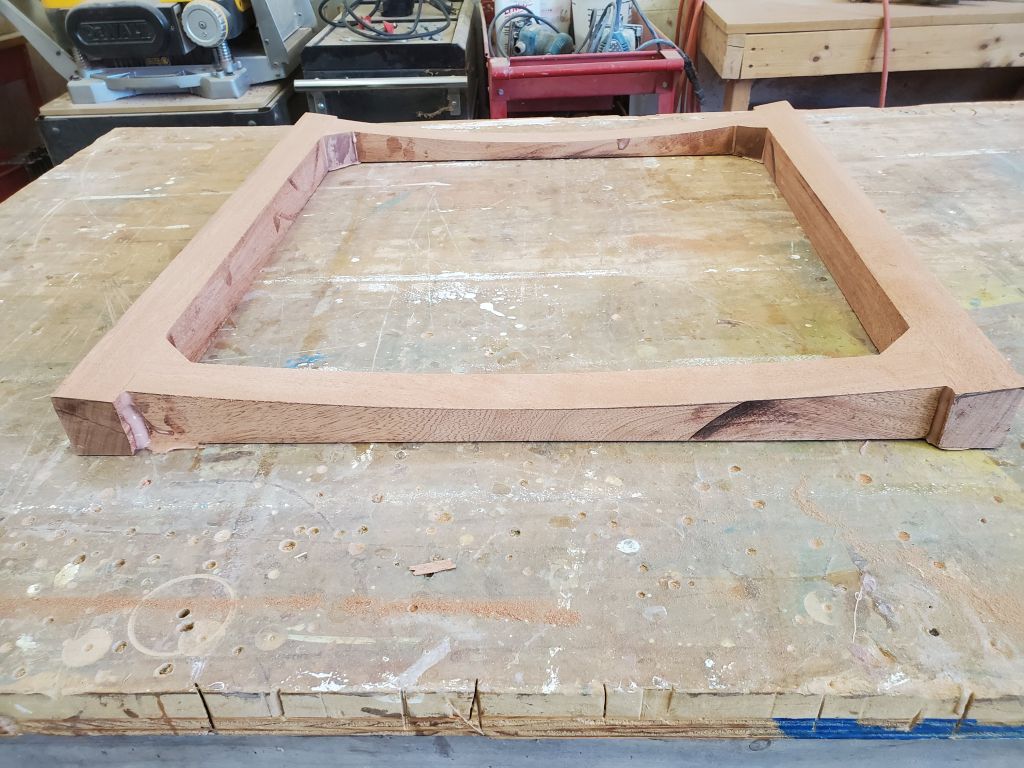
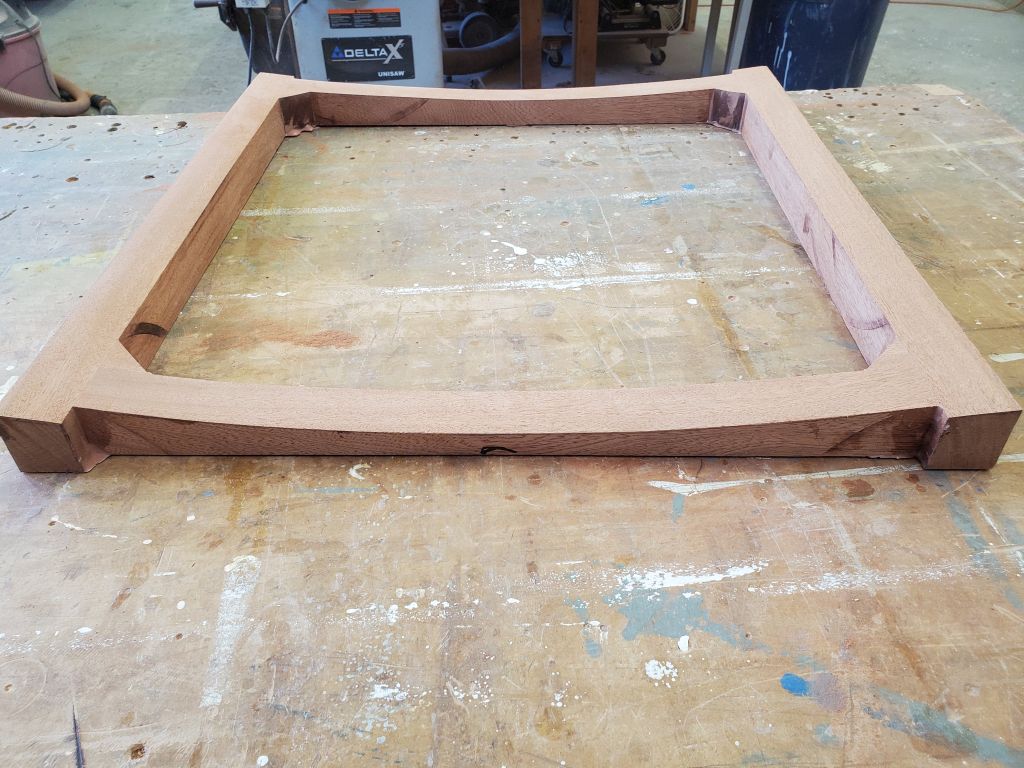


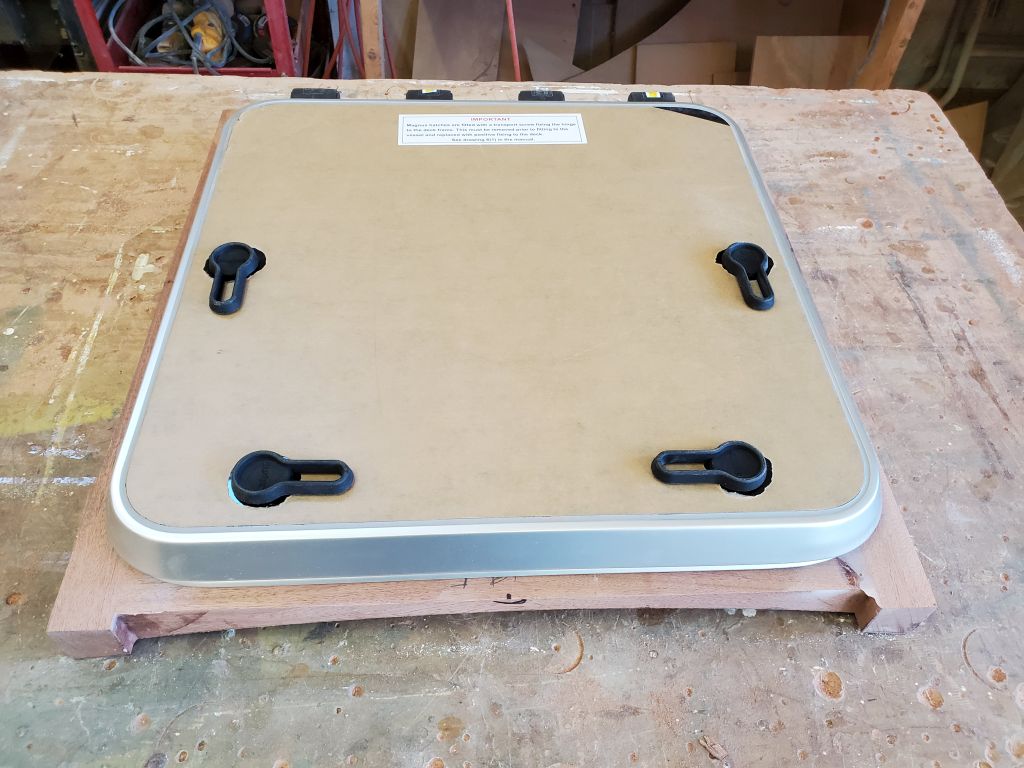
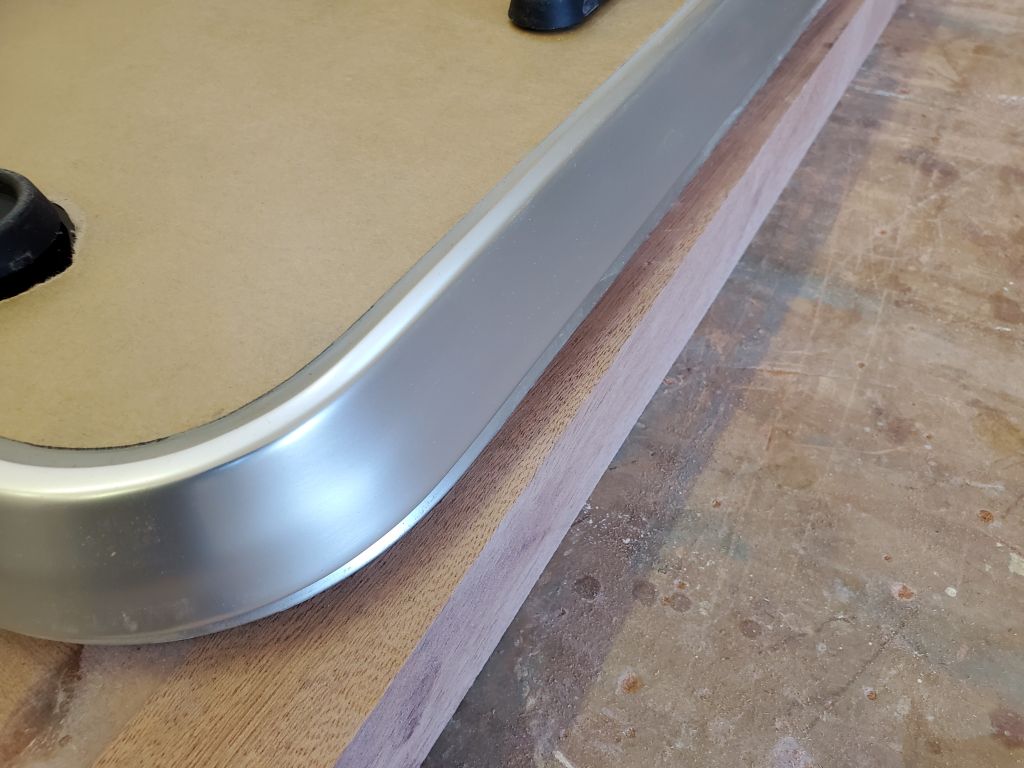
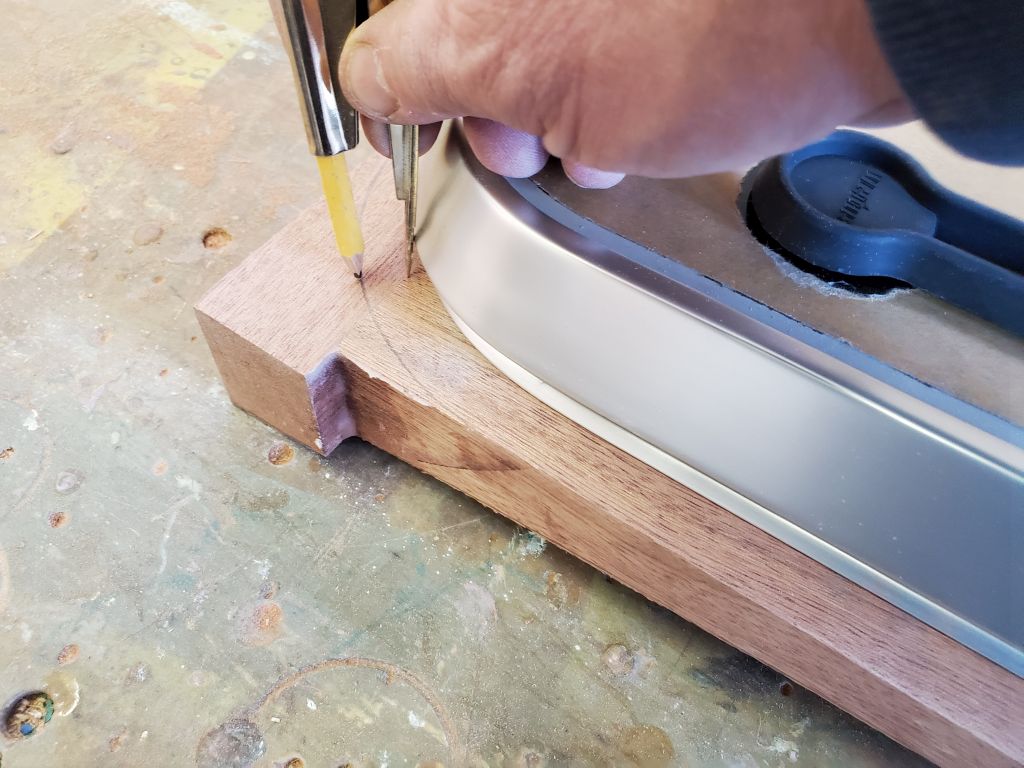
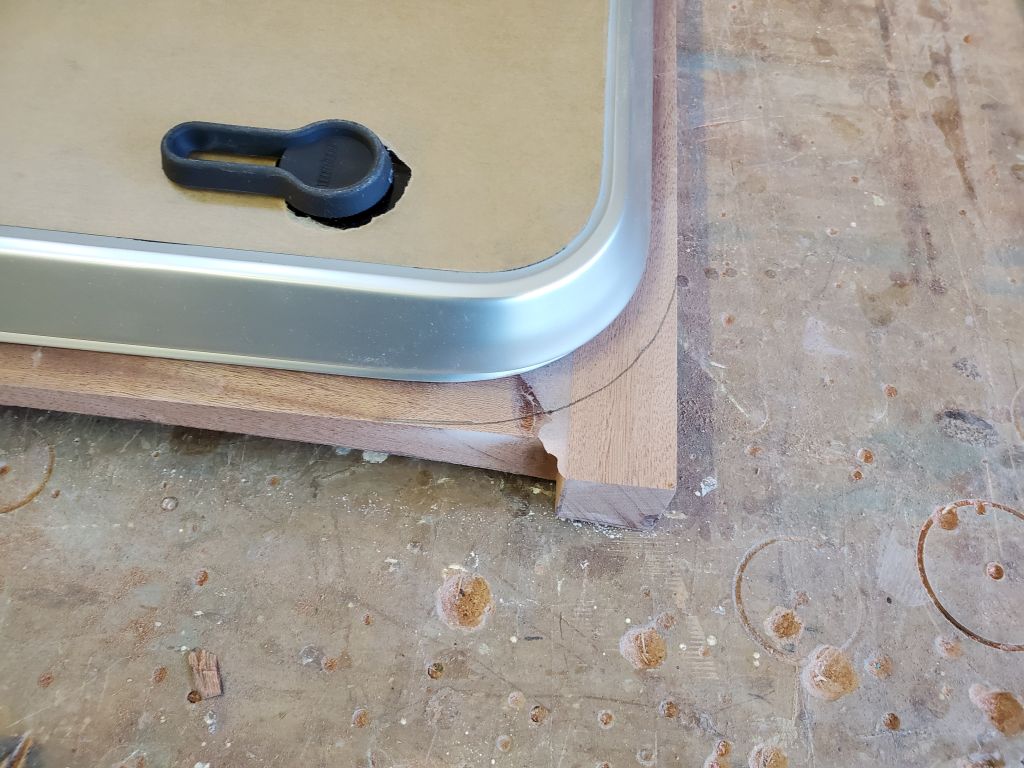
I placed the new hatch in the frame, and with a compass scribed the curves of the four corners, keeping a consistent reveal according to the straight sides of the frame. Then, I made the cuts with a jigsaw and sanded the final curves down to the line as needed.
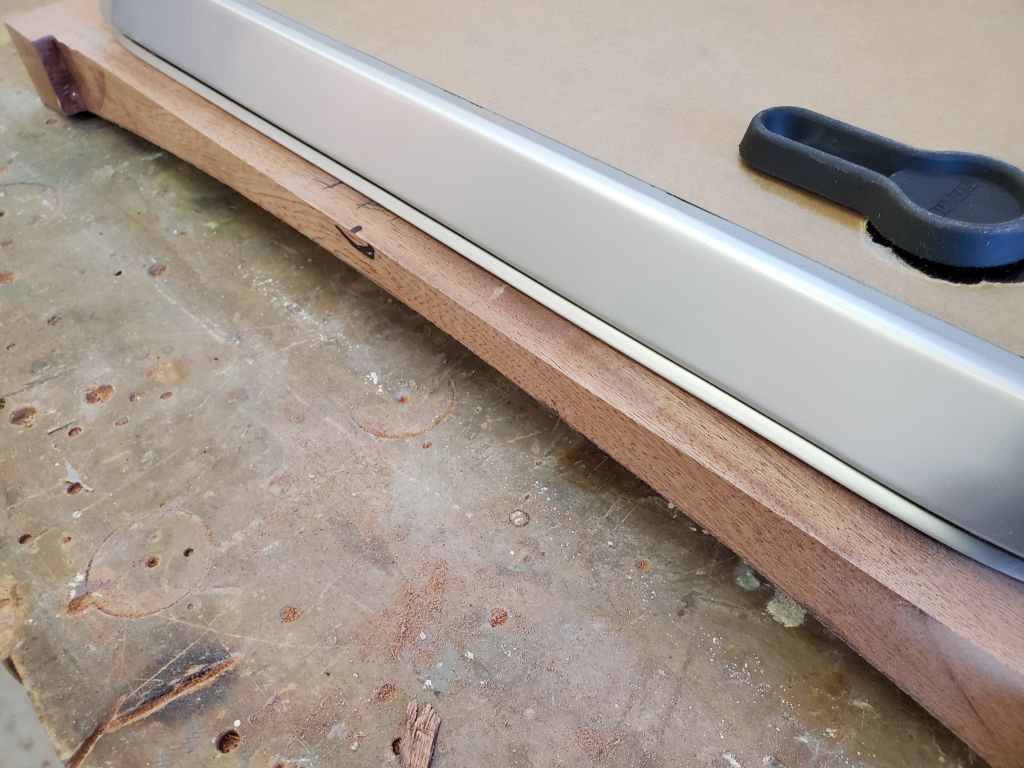
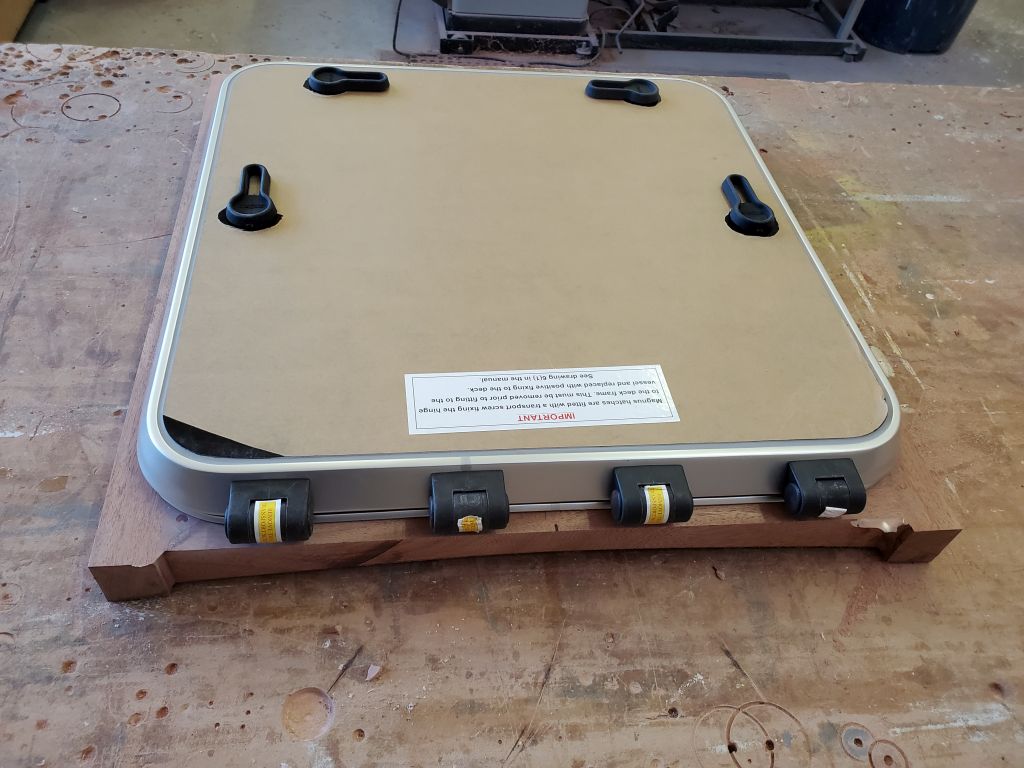
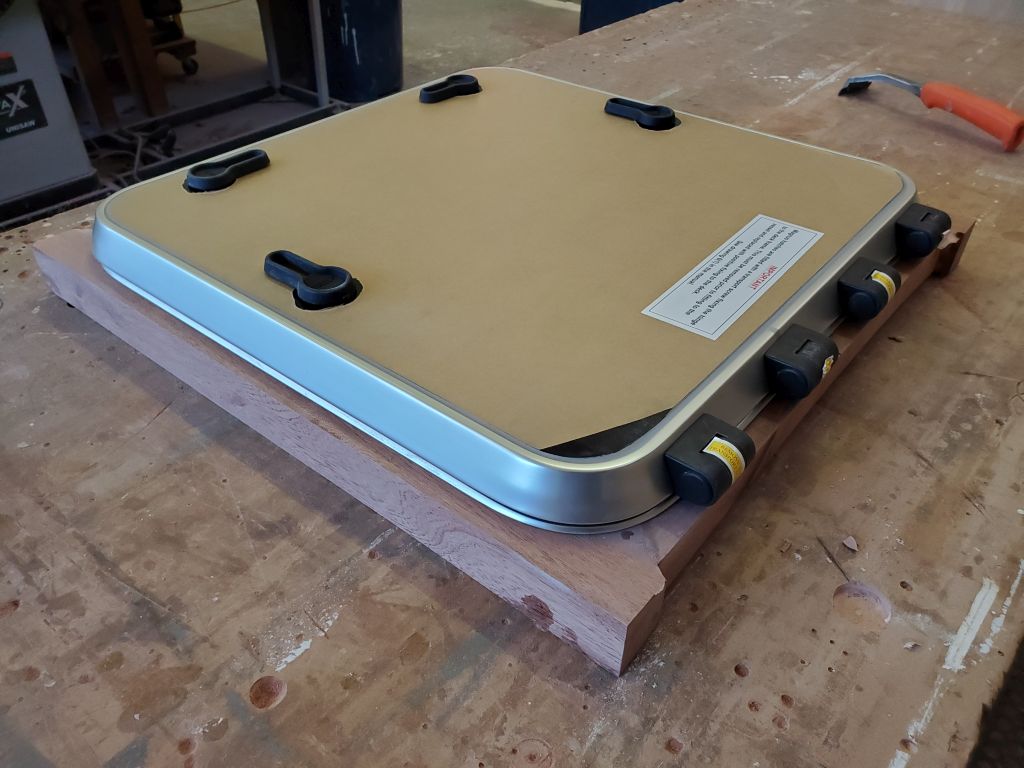
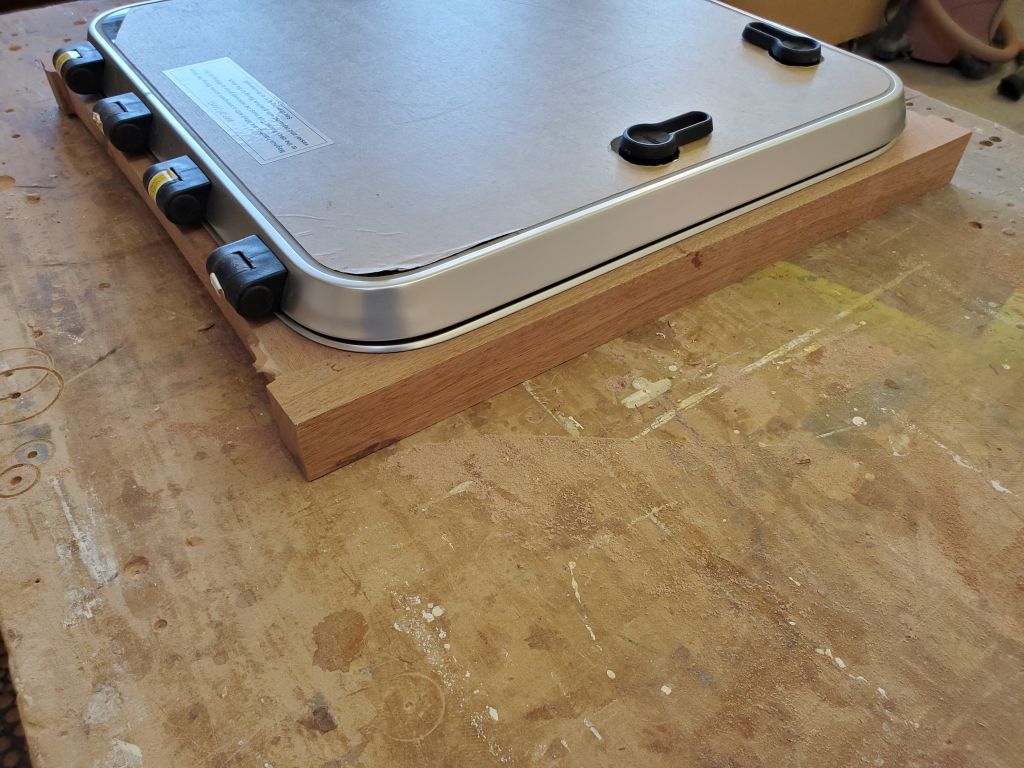
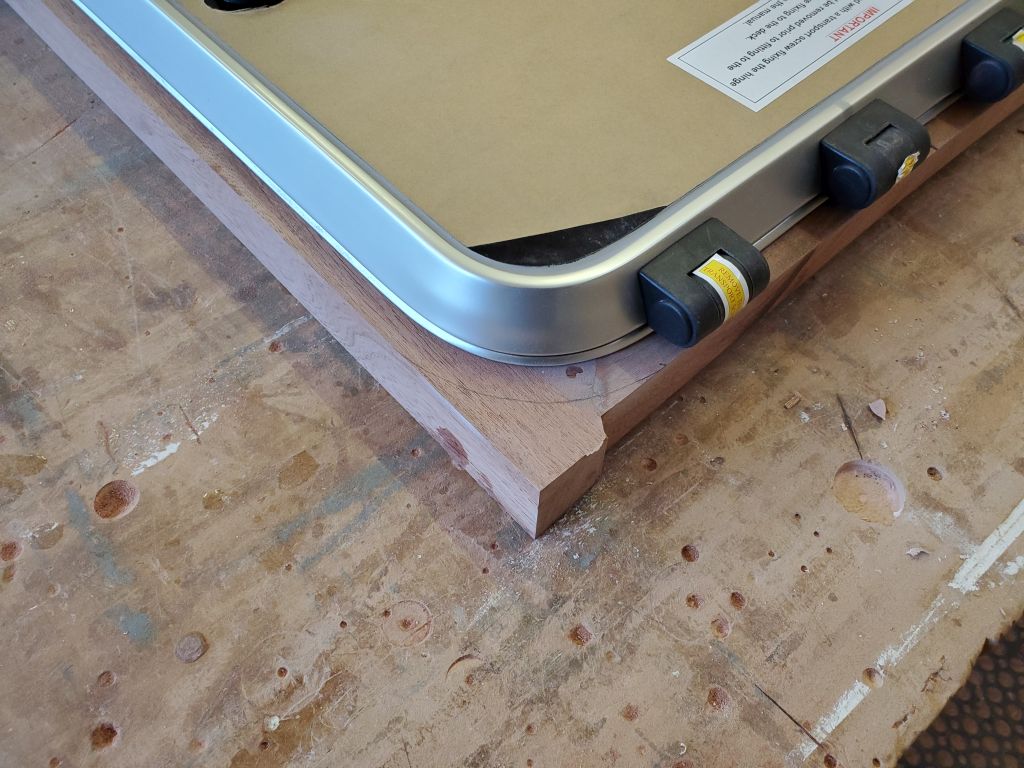
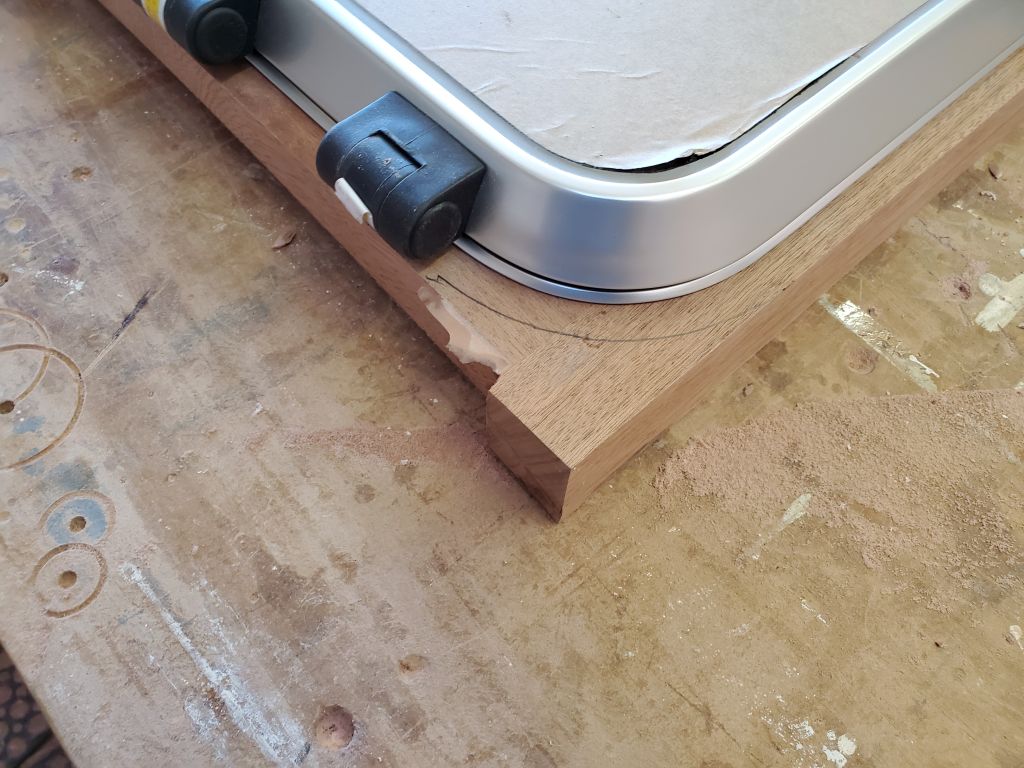

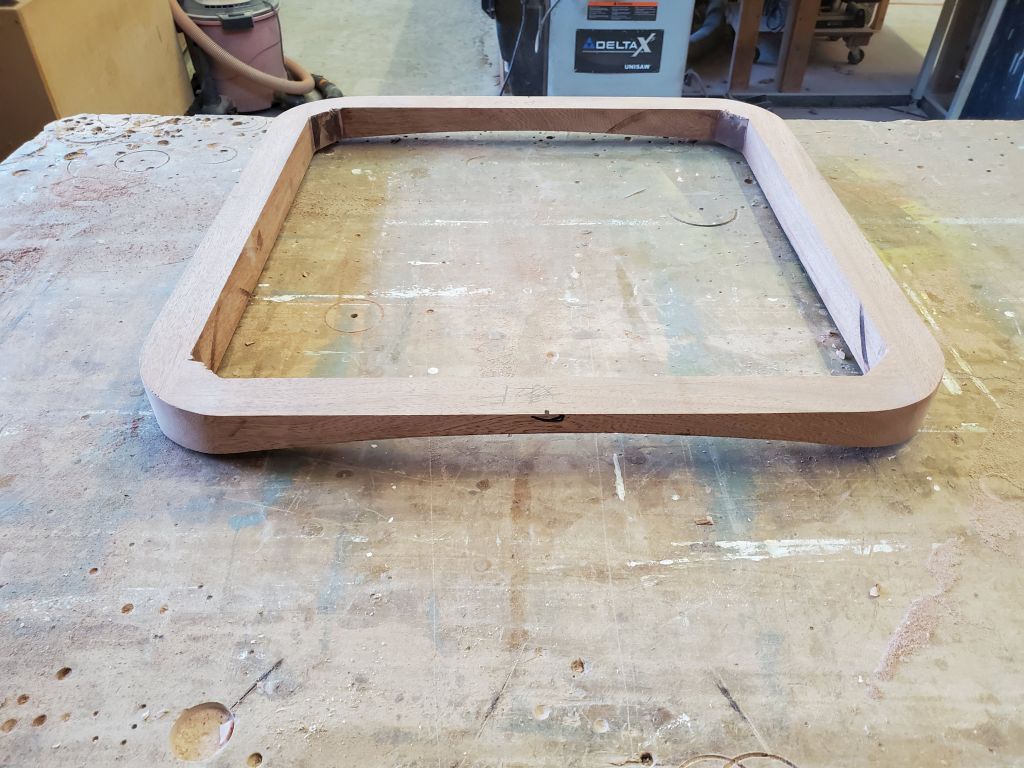
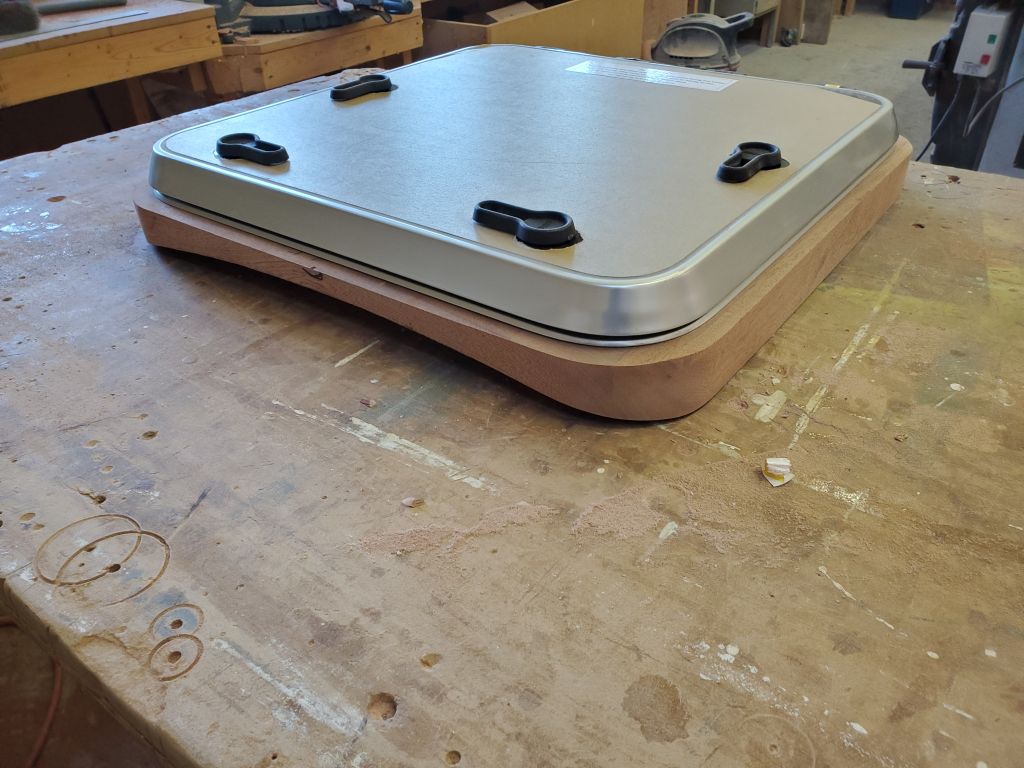
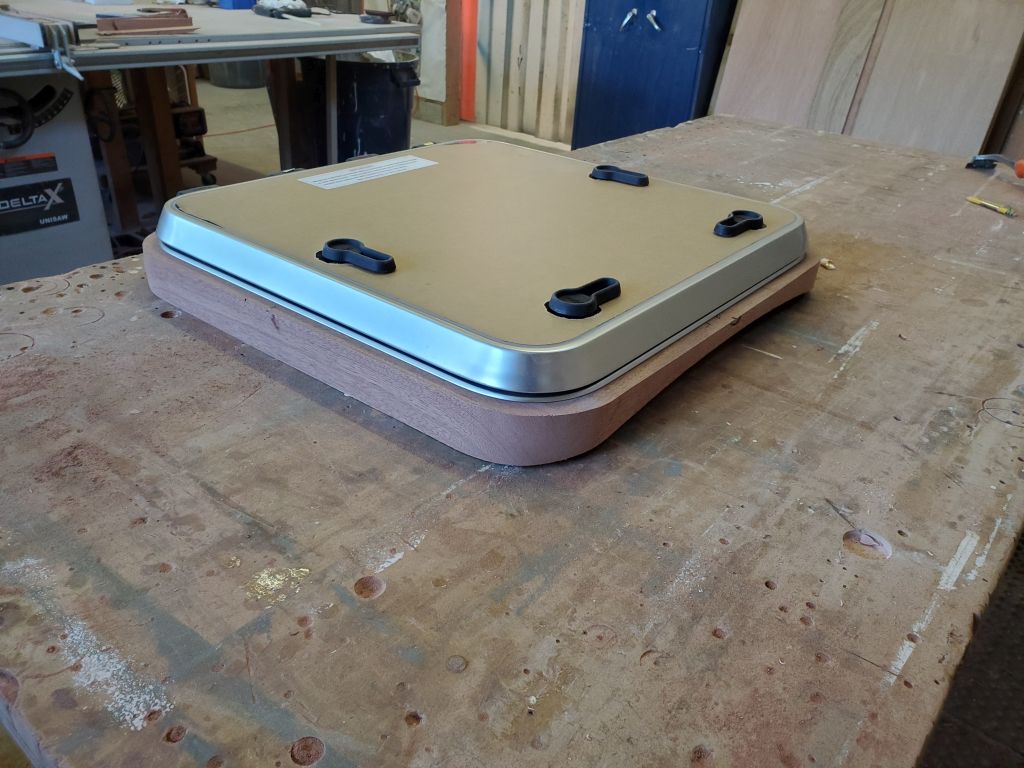
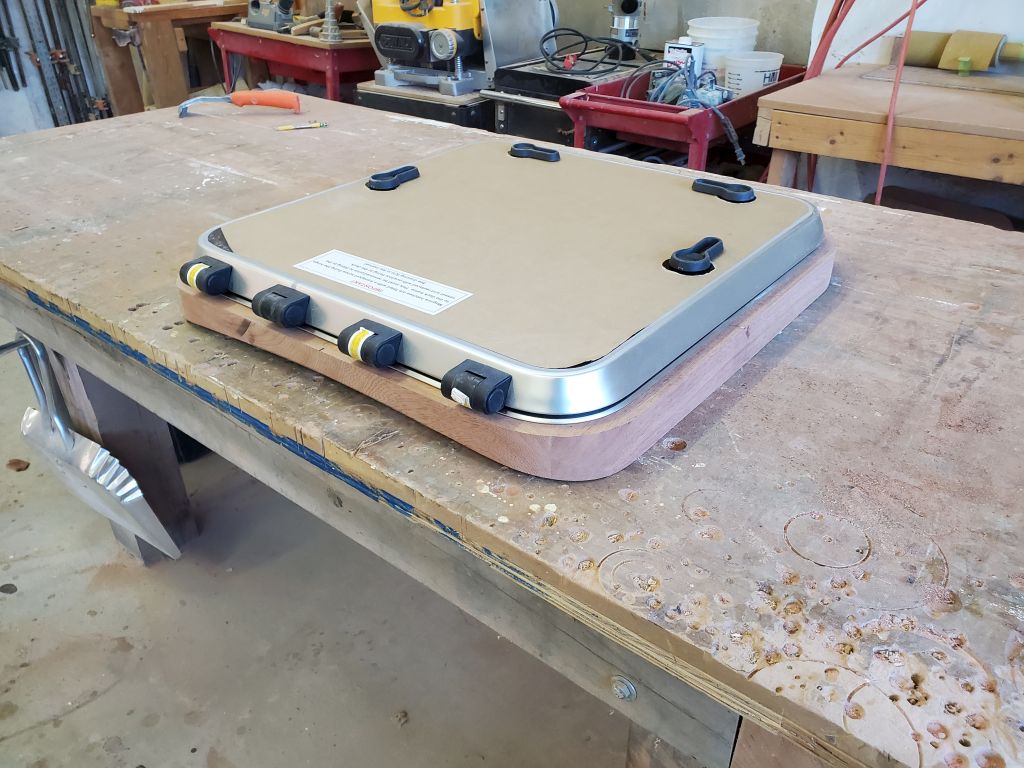

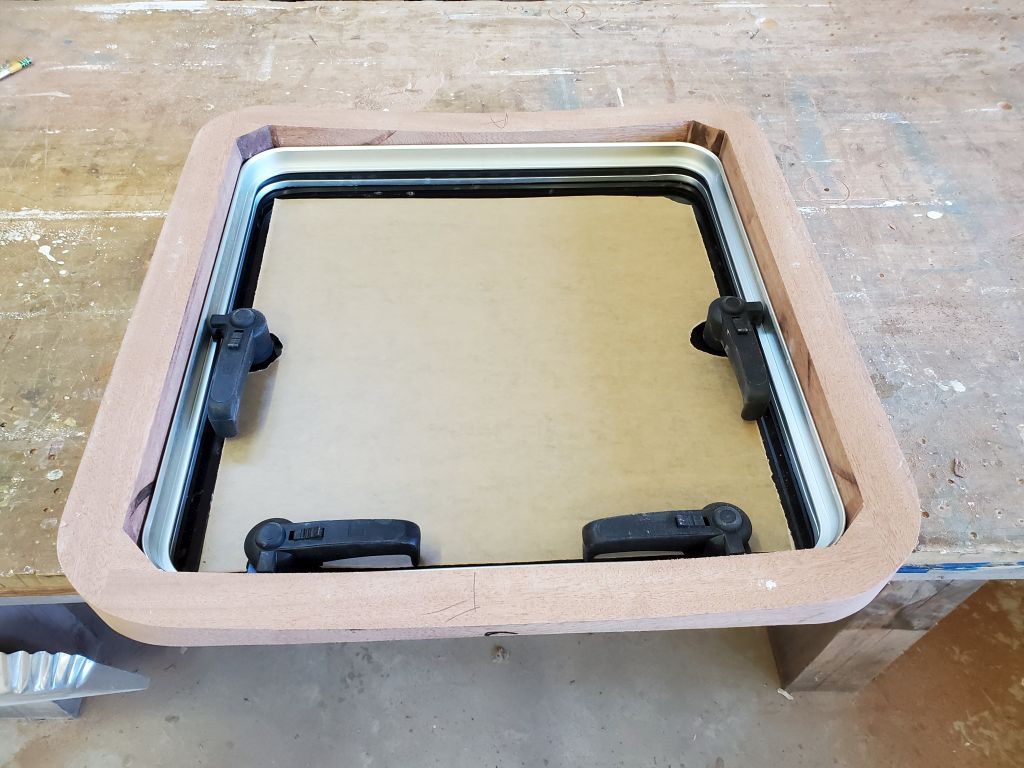
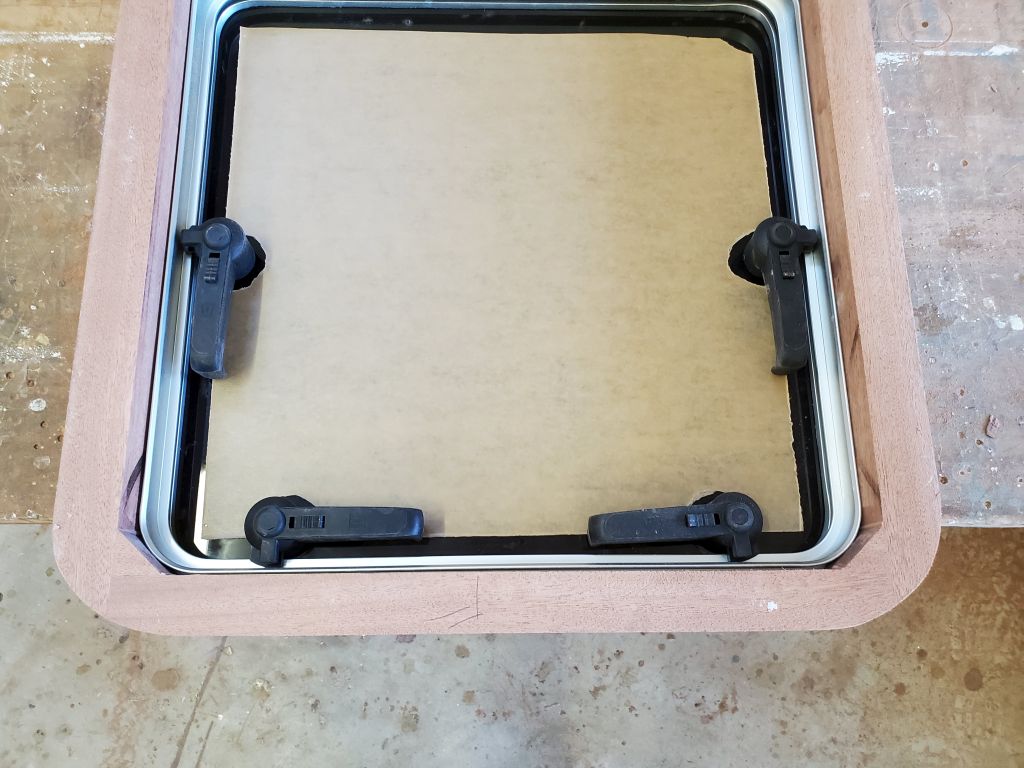
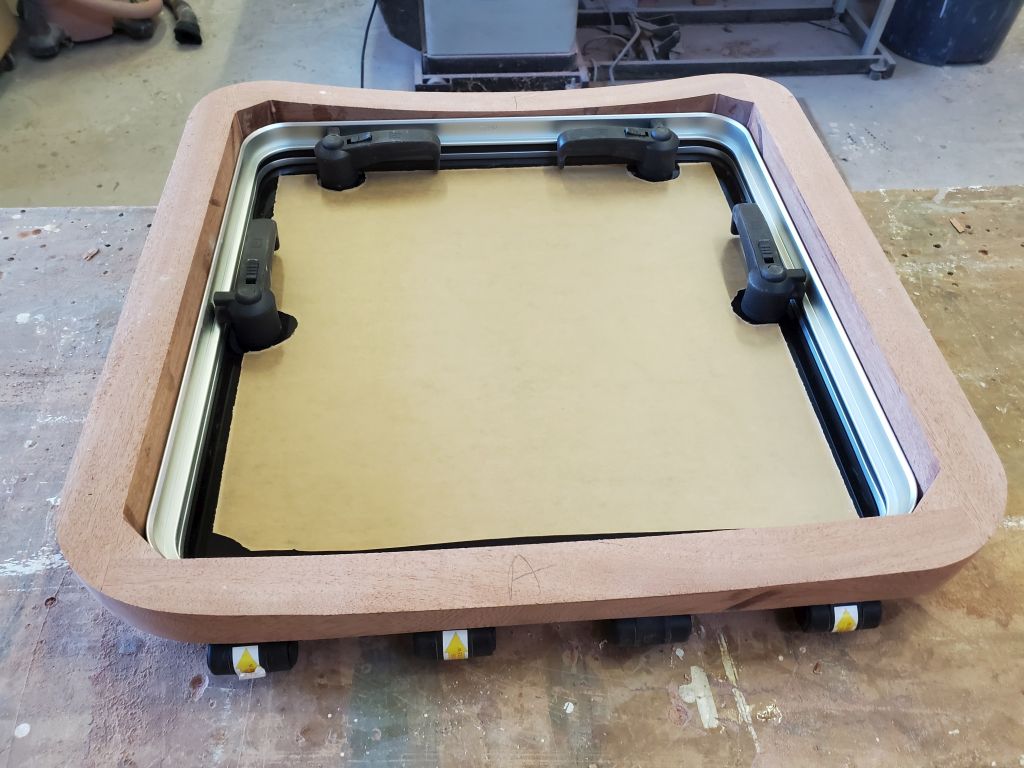
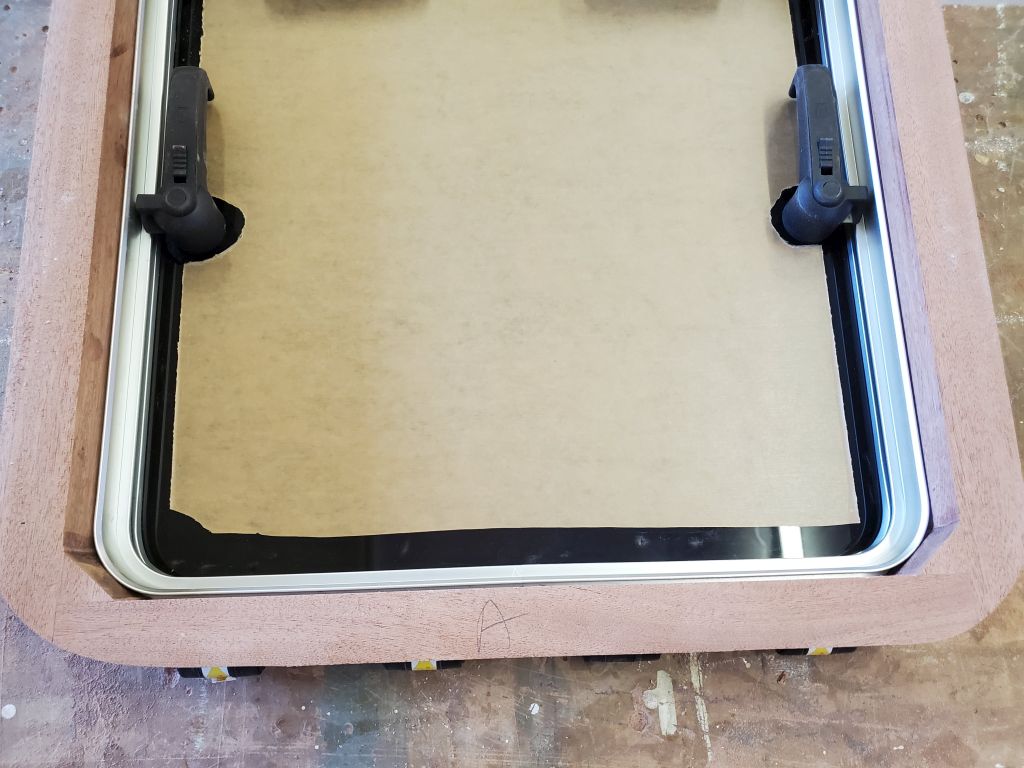
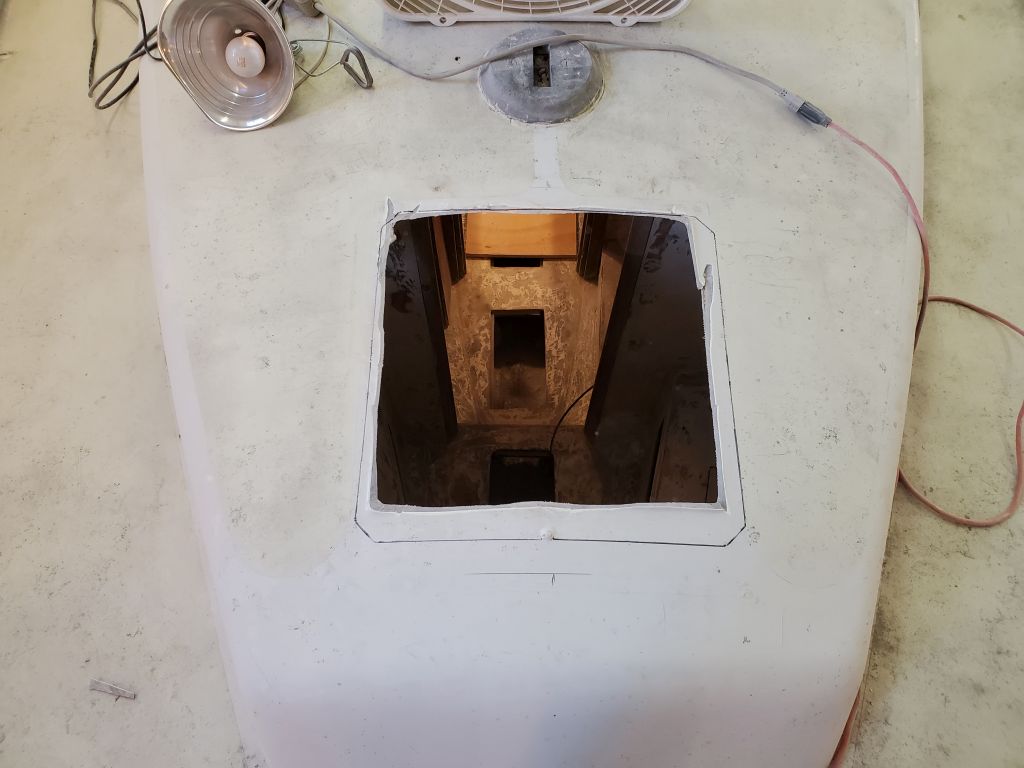
I checked the fit on deck once more, and, satisfied, marked the inside of the frame on the deck so I could make the final cutout to match the new frame. It was too late in the day to make the cut, so that would be for next time. To finish off the new frame before final installation, I planned to round over the top corners, then, apply some varnish to the piece before epoxying it to the deck when ready.


Total time billed on this job today: 6.75 hours
0600 Weather Observation: 16°, clear, 2-3″ snow down overnight. Forecast for the day: Sunny, 25°.