


April 27, 2021
Lyra 66
Tuesday
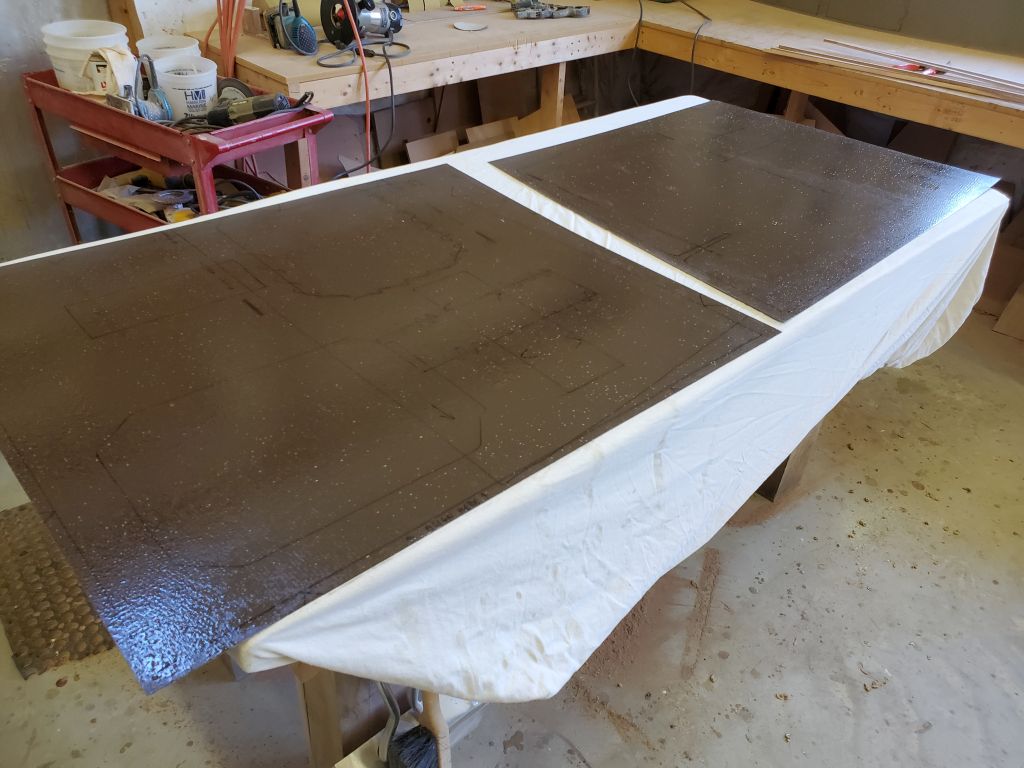
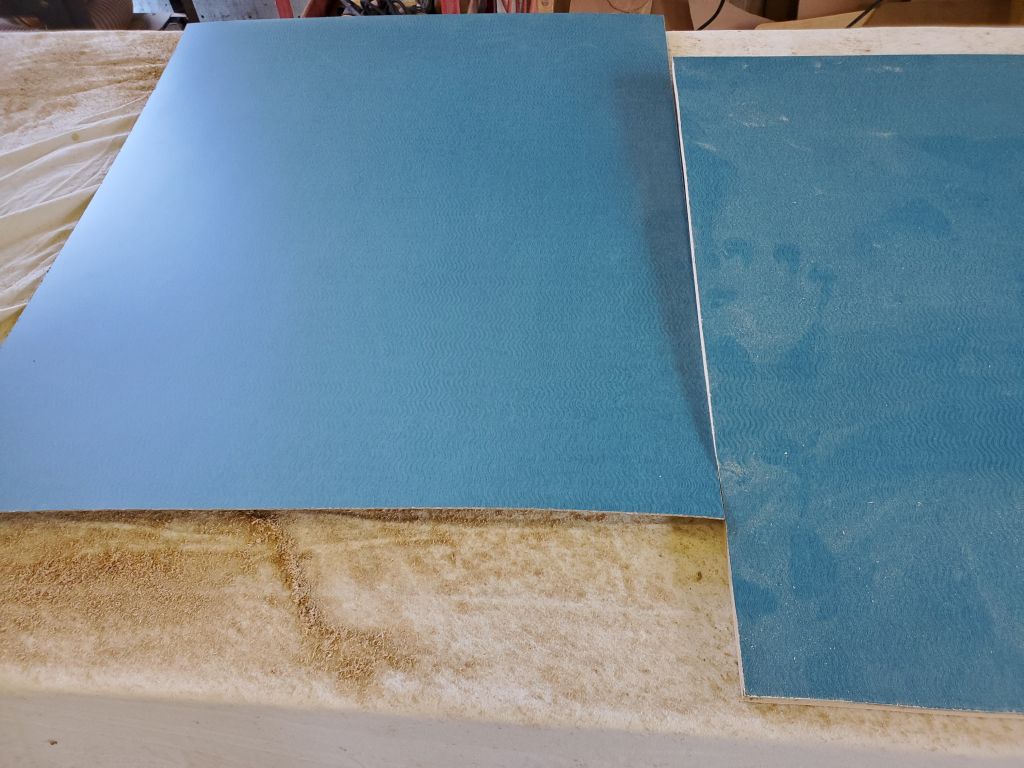
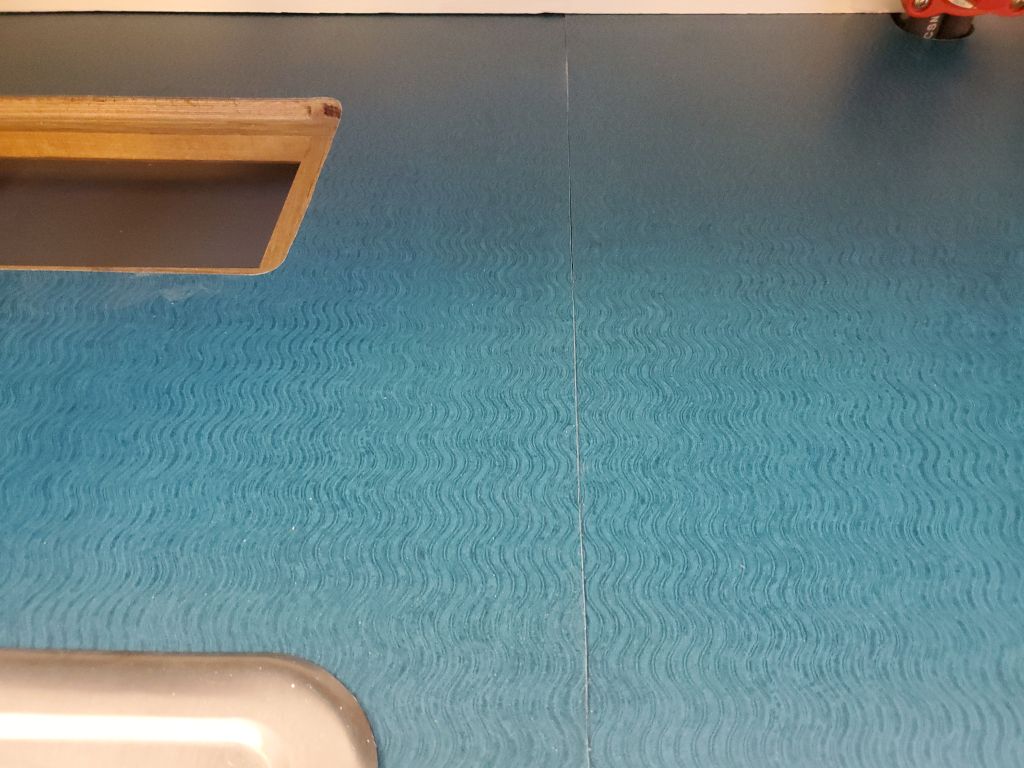
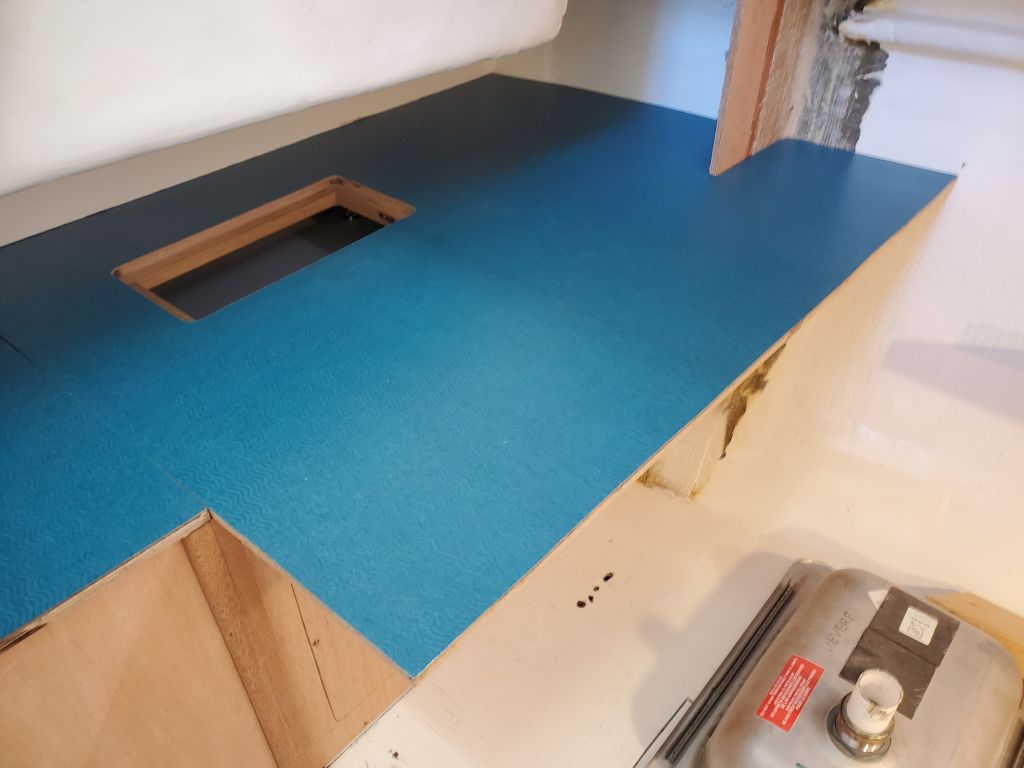
I spent a surprisingly long day working on the countertops, starting with the two larger sections for which I’d already cut the laminate sheets to rough size. Now, I prepared a work station with a soft cloth to help protect the laminate surface, then, after cleaning both pieces of laminate and the two plywood countertops, applied contact cement to both pieces. I’d previously aligned the plywood with the wavy pattern on the laminate itself, and traced the outlines on the back of the laminate, so I’d be able to align things properly once the contact cement was in place.

Once the first coat had dried on the plywood, I applied a second coat to the porous material to ensure good coverage.

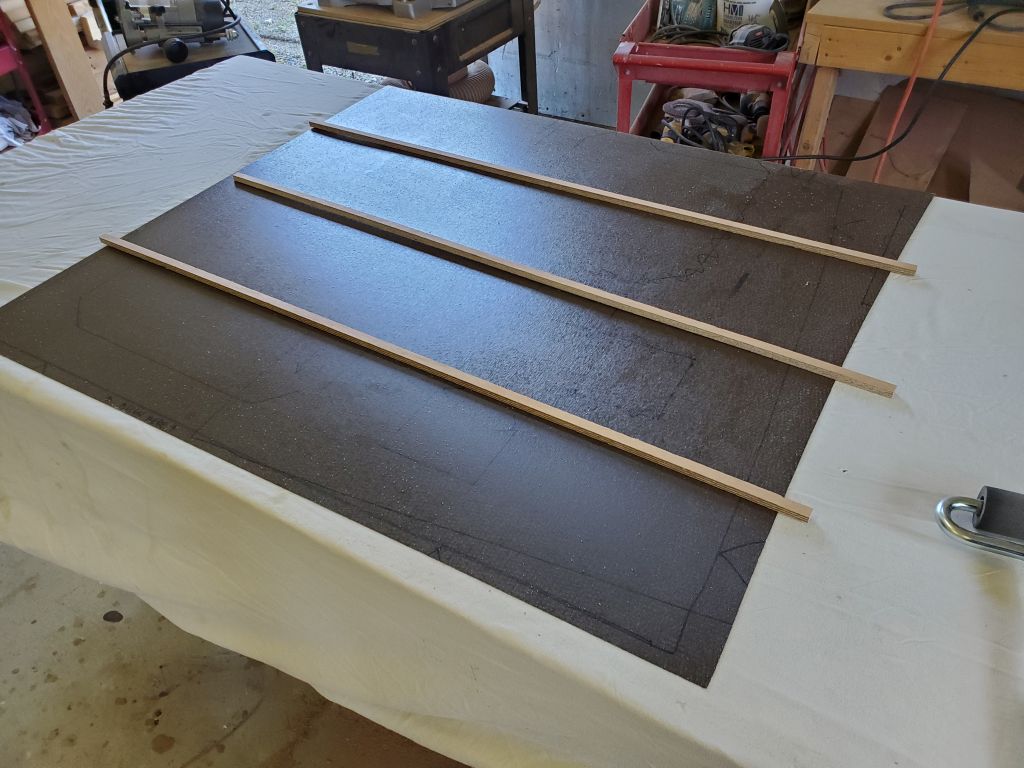
I milled up some scrap plywood into narrow strips that I used to position the plywood above the laminate before removing them one by one to press the plywood into position accurately against the outline marks I’d made earlier. Then I rolled the laminate tightly into position from both sides.


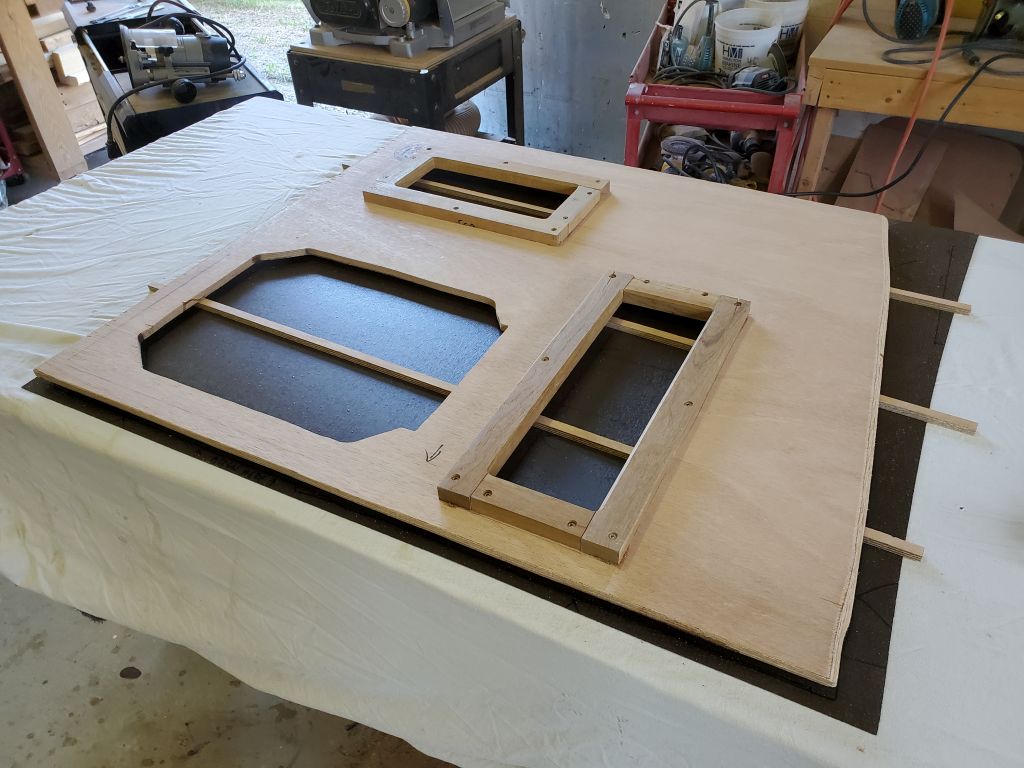
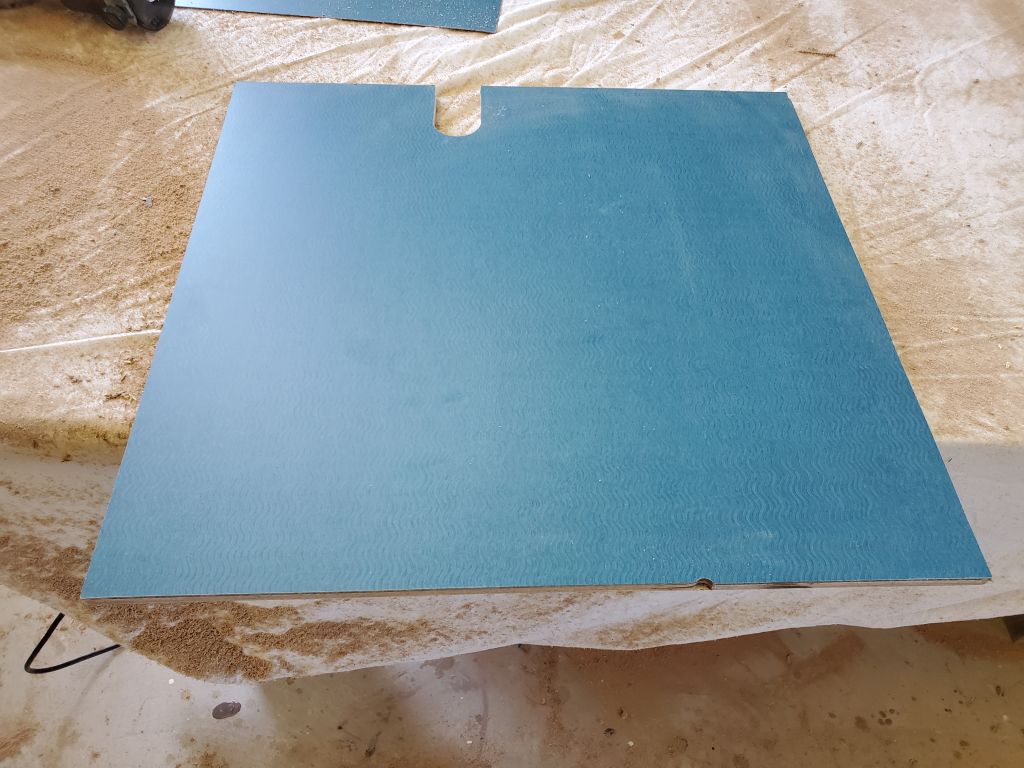
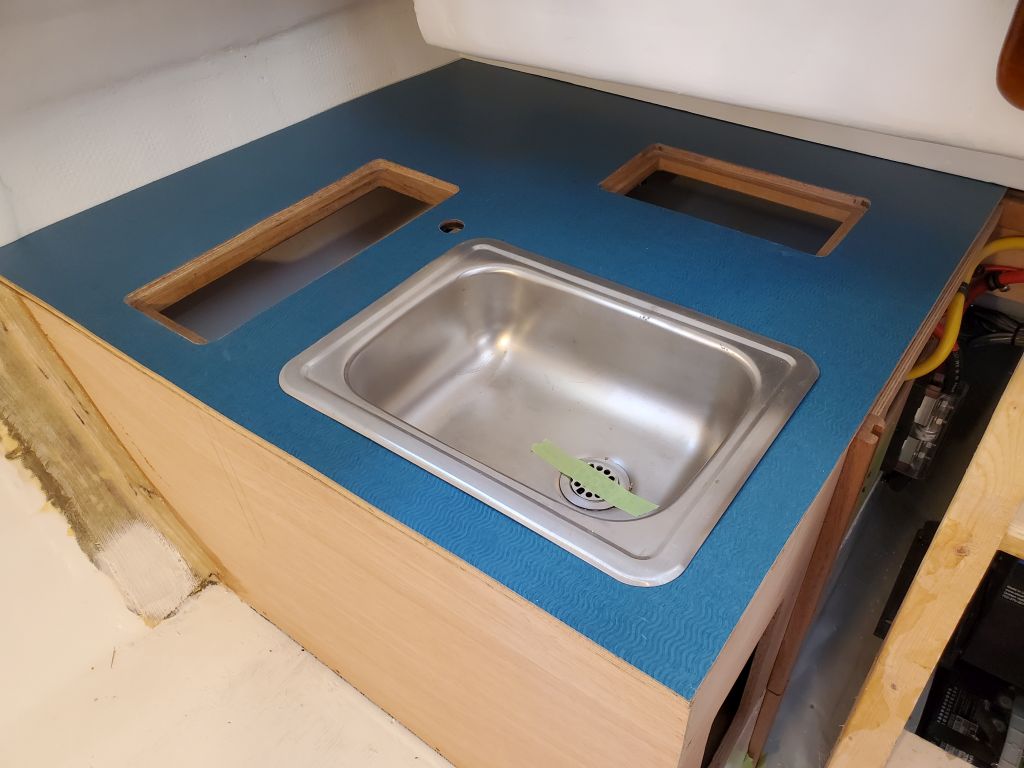
Afterwards, I trimmed the excess laminate with a router, leaving the sink and access holes for now.

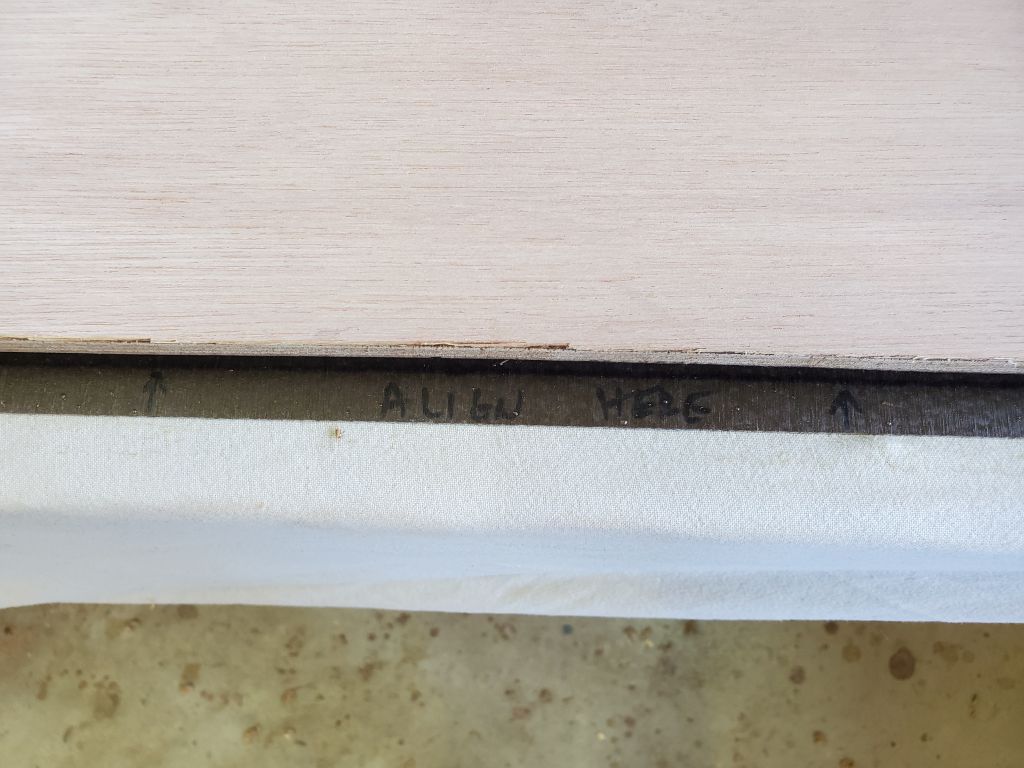
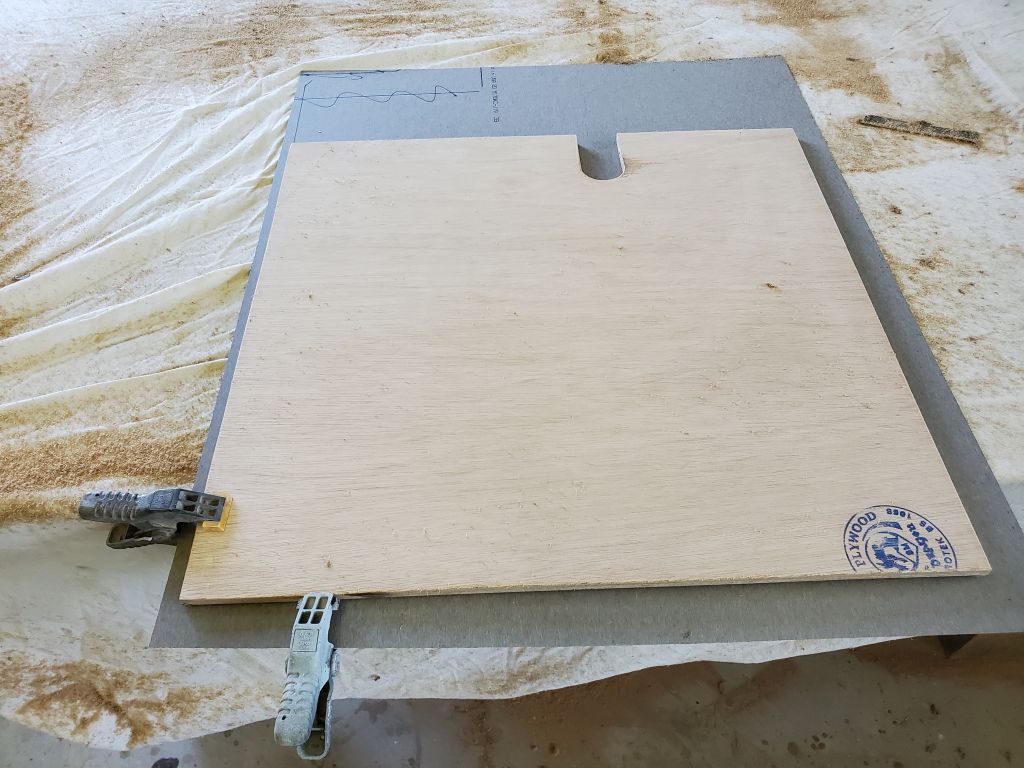
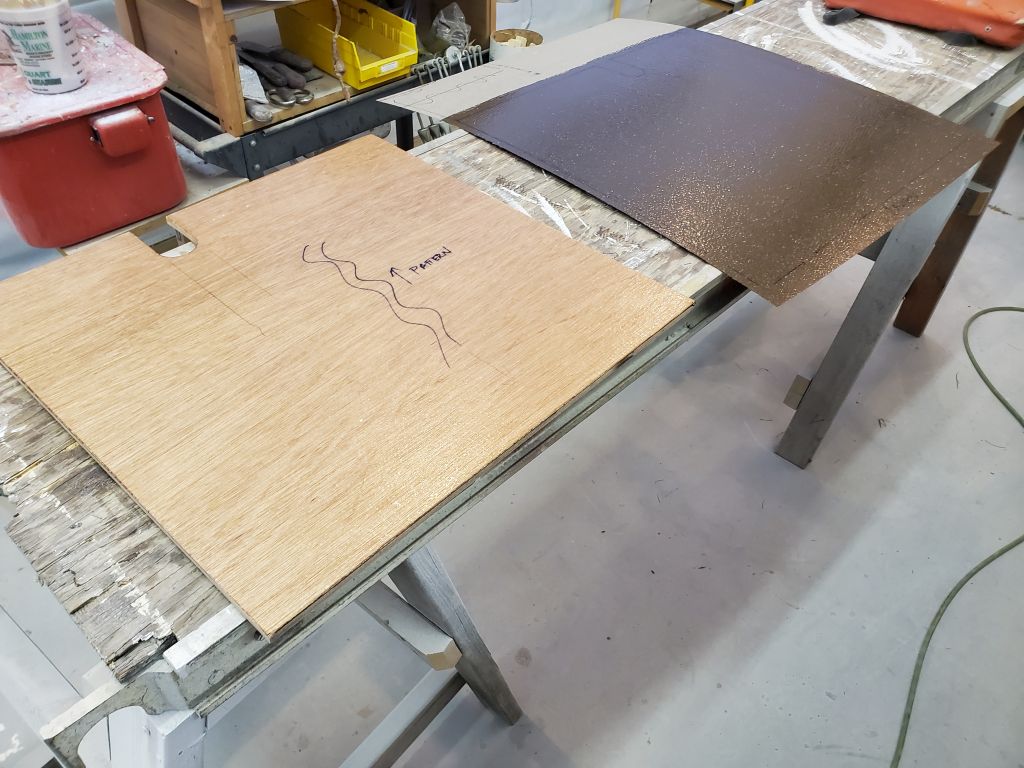
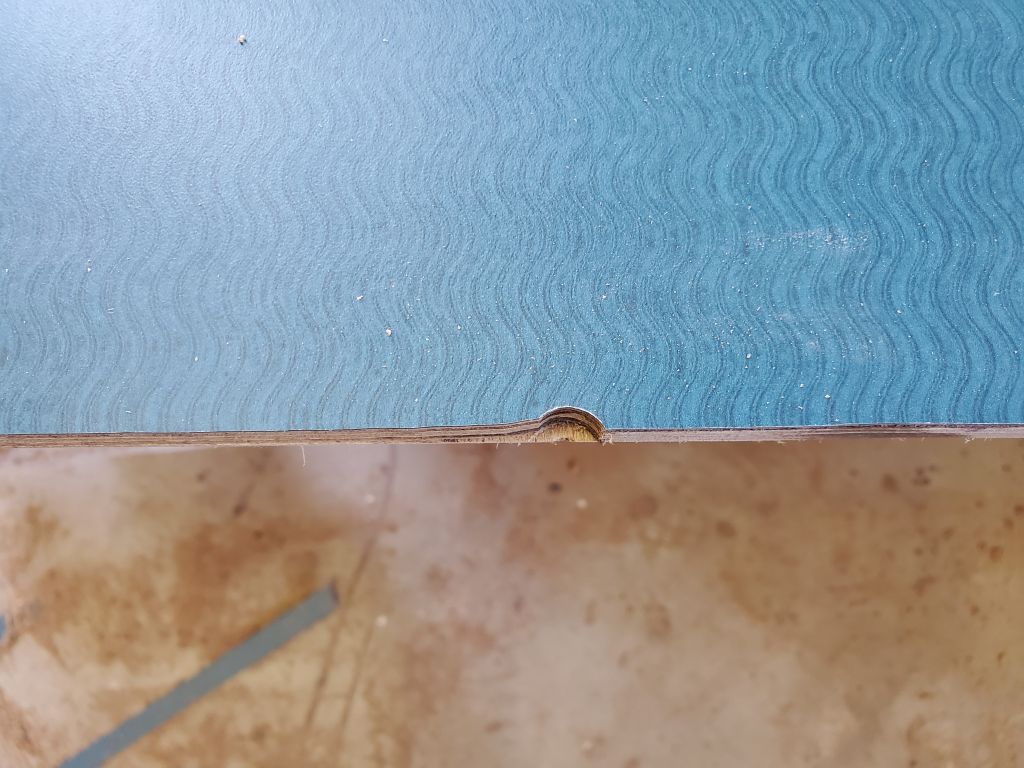
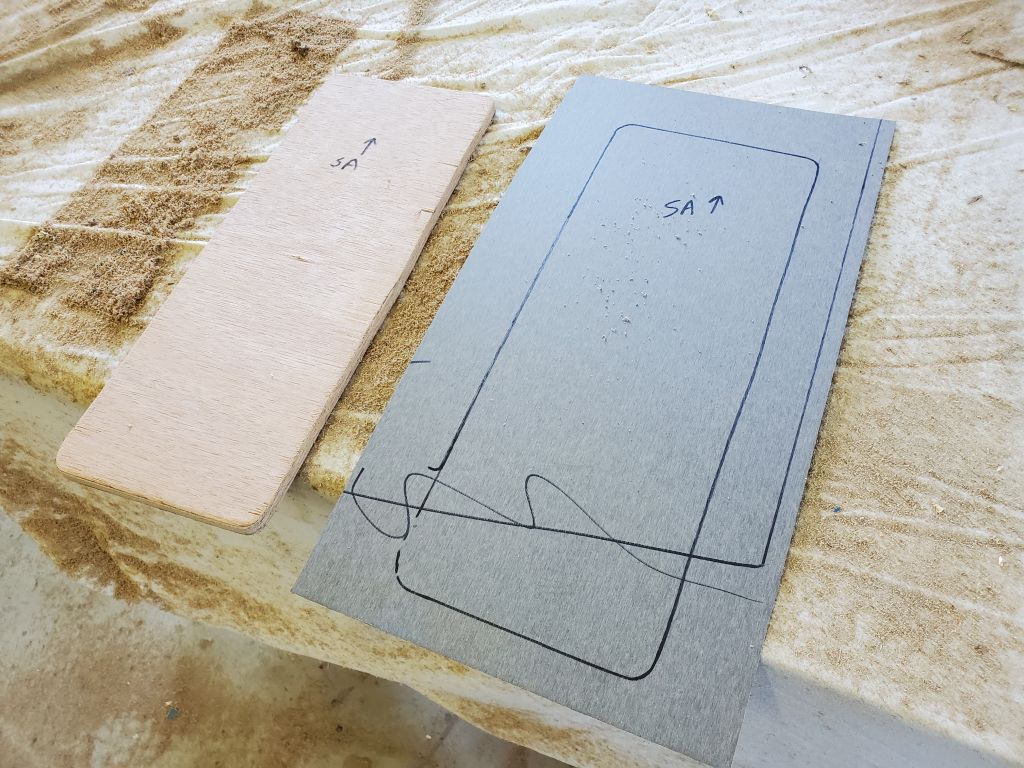
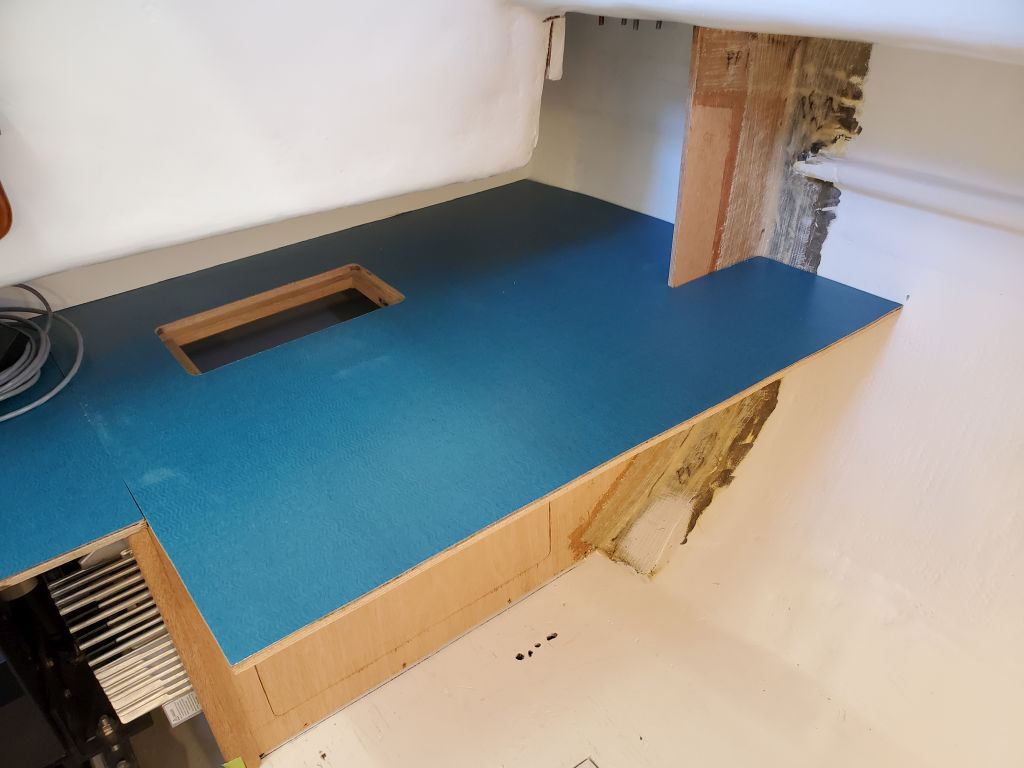
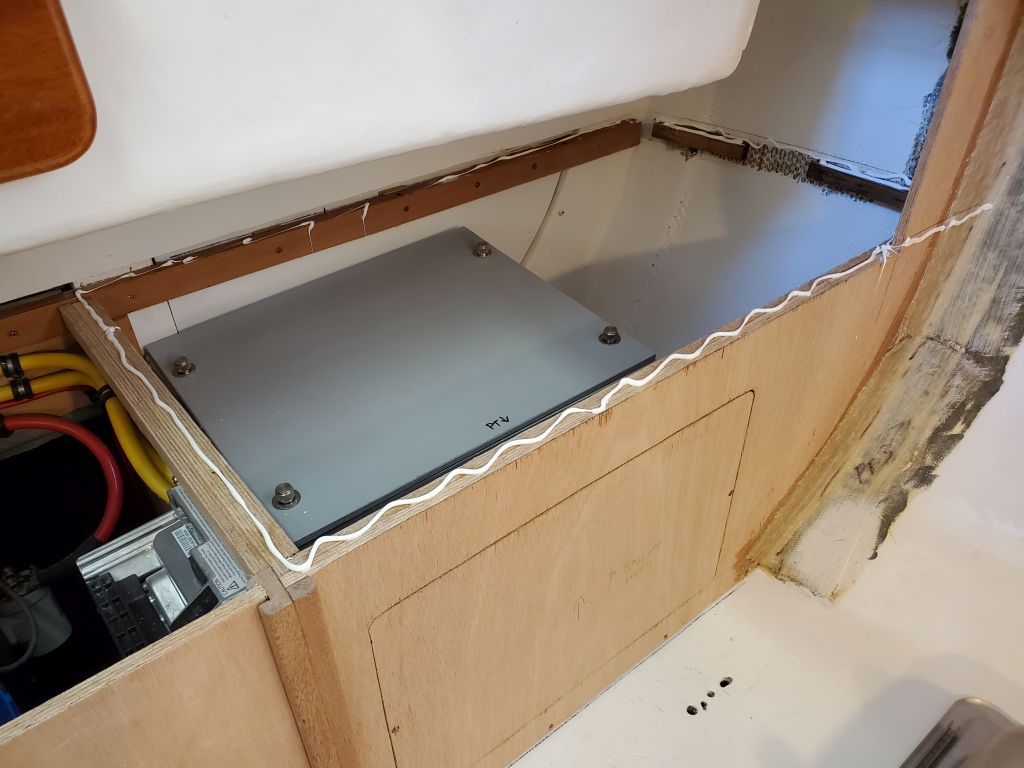
Hoping to do my best to align the laminate pattern between the two main countertop panels and the center, removable engine room panel, I’d waited on laying that one out till the first ones were complete. Now I used the port countertop to help align the laminate on the engine room panel and, with the laminate clamped in place, overturned the panel and traced its outline on the back of the laminate before going through the contact cement application and installation as before. When I trimmed the excess laminate with my router, I had an issue at the front of the panel. I’d purchased a new trim router for this job since my old one had died, and as this was my first time using the new tool, at first I thought the adjustment had been off, allowing the bit to cut into the front of the panel. This was an annoying error, but minor enough that the inevitable trim piece or fiddle required for the front of the engine panel would cover it.

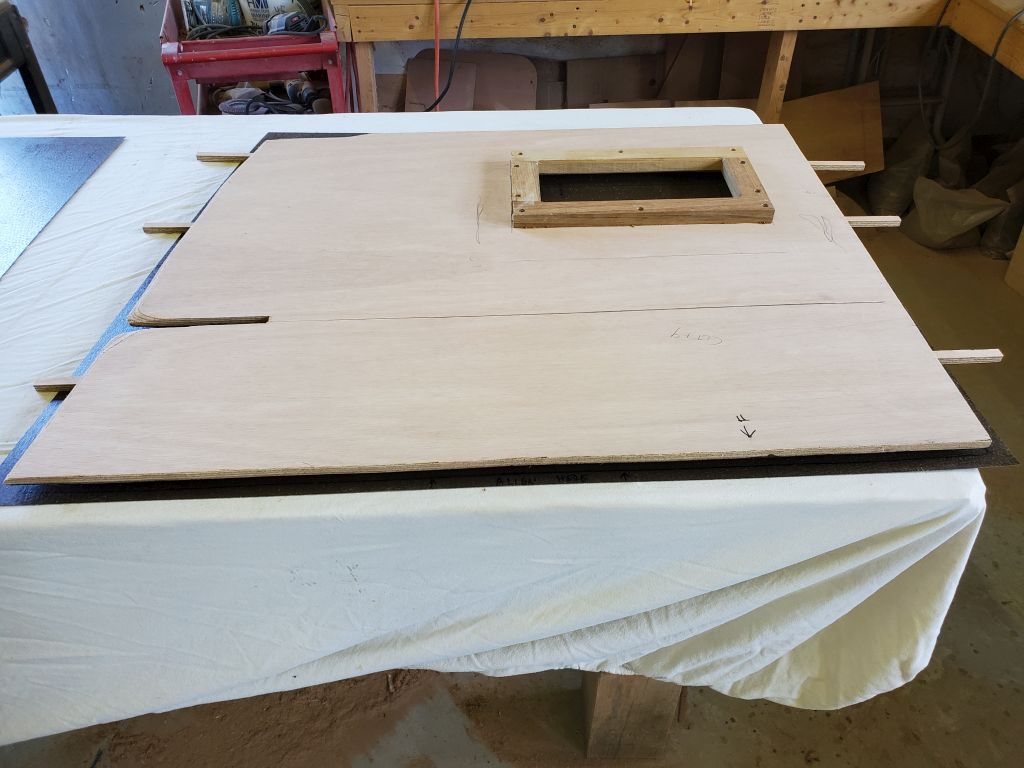
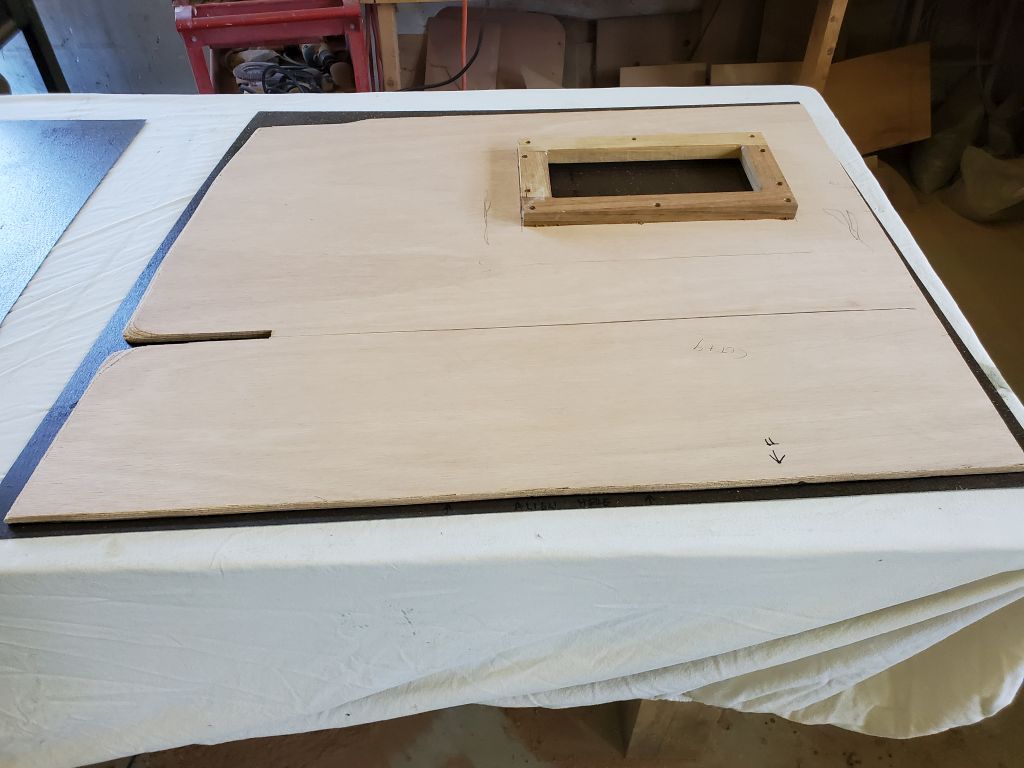
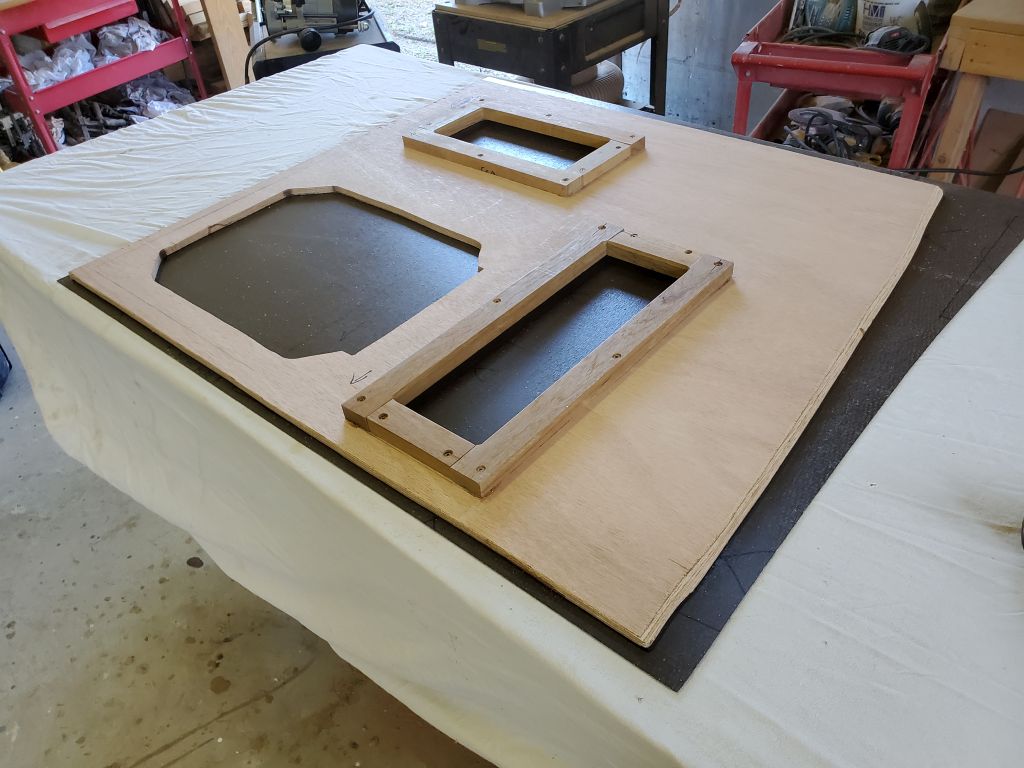
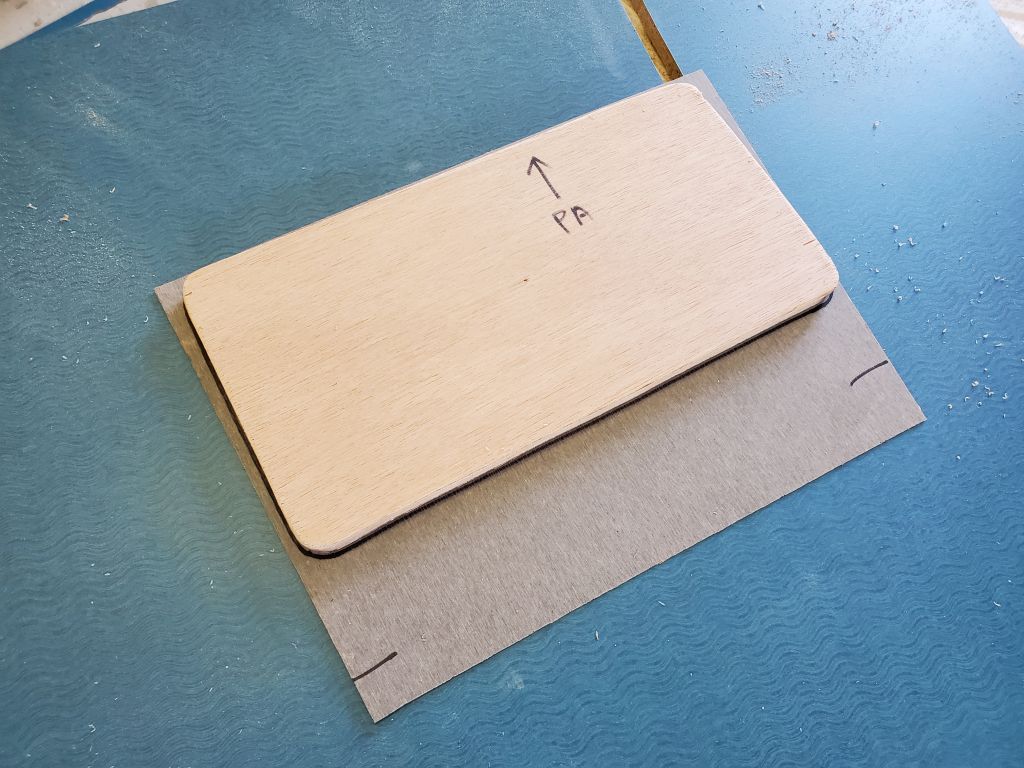
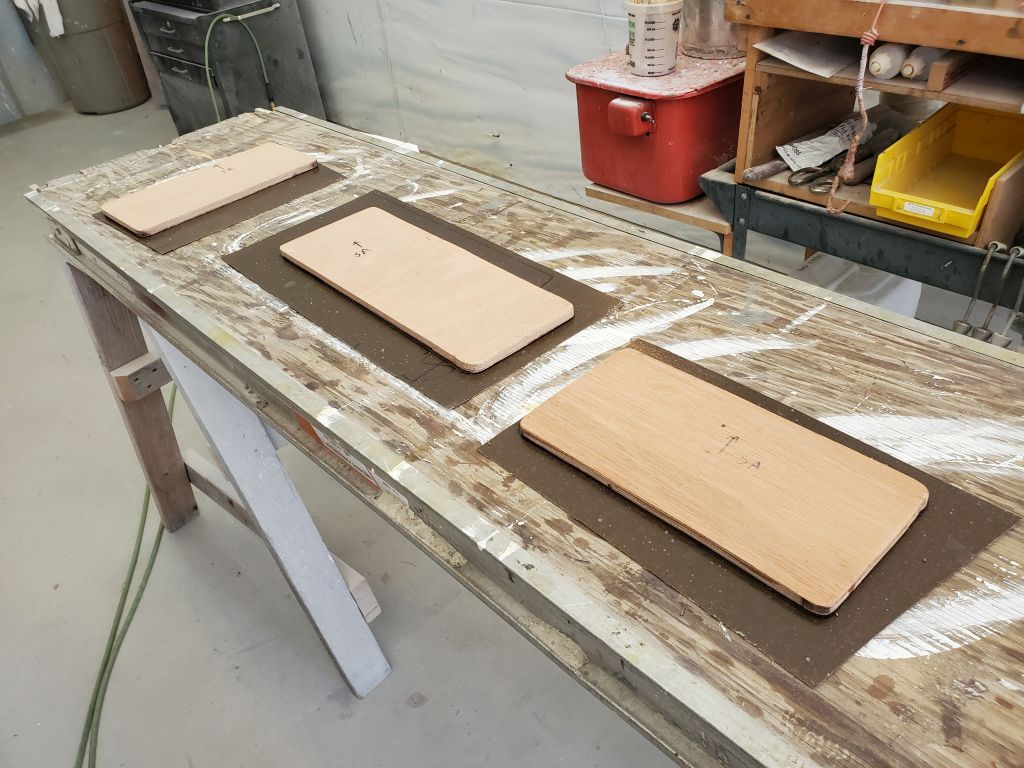
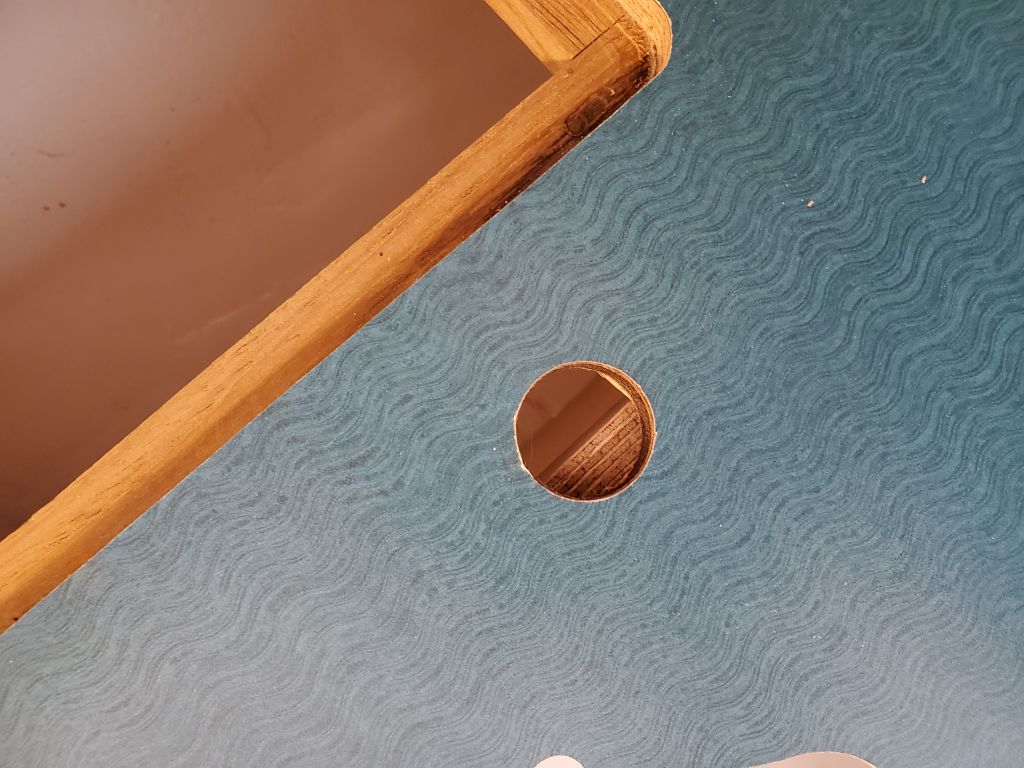
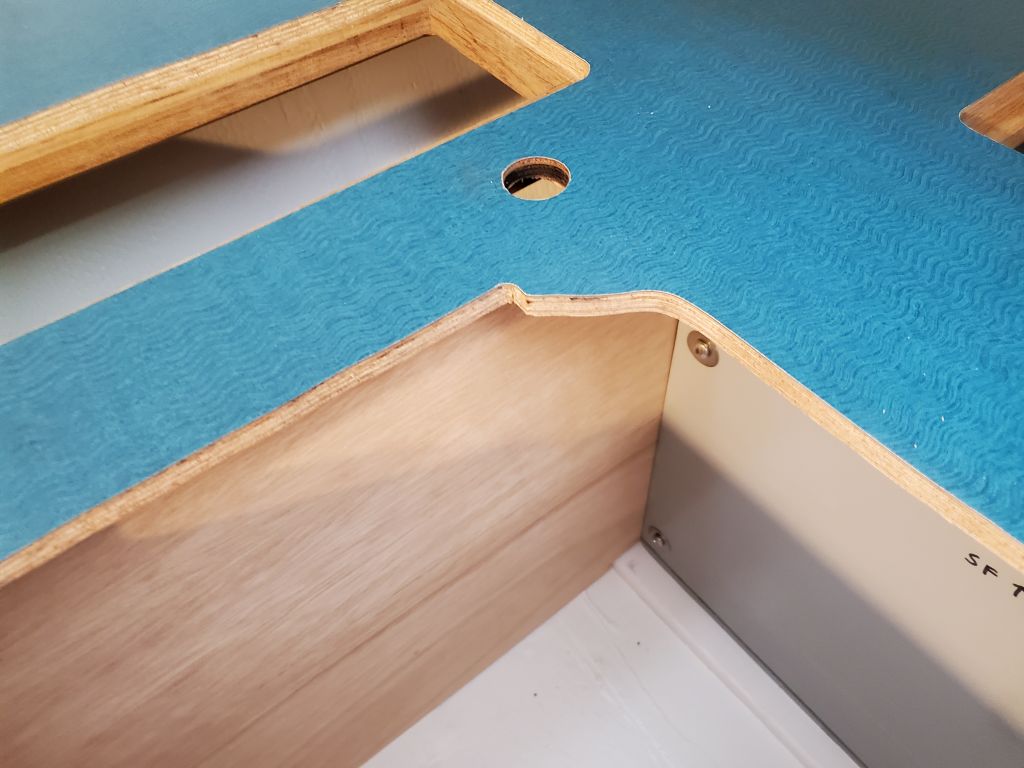
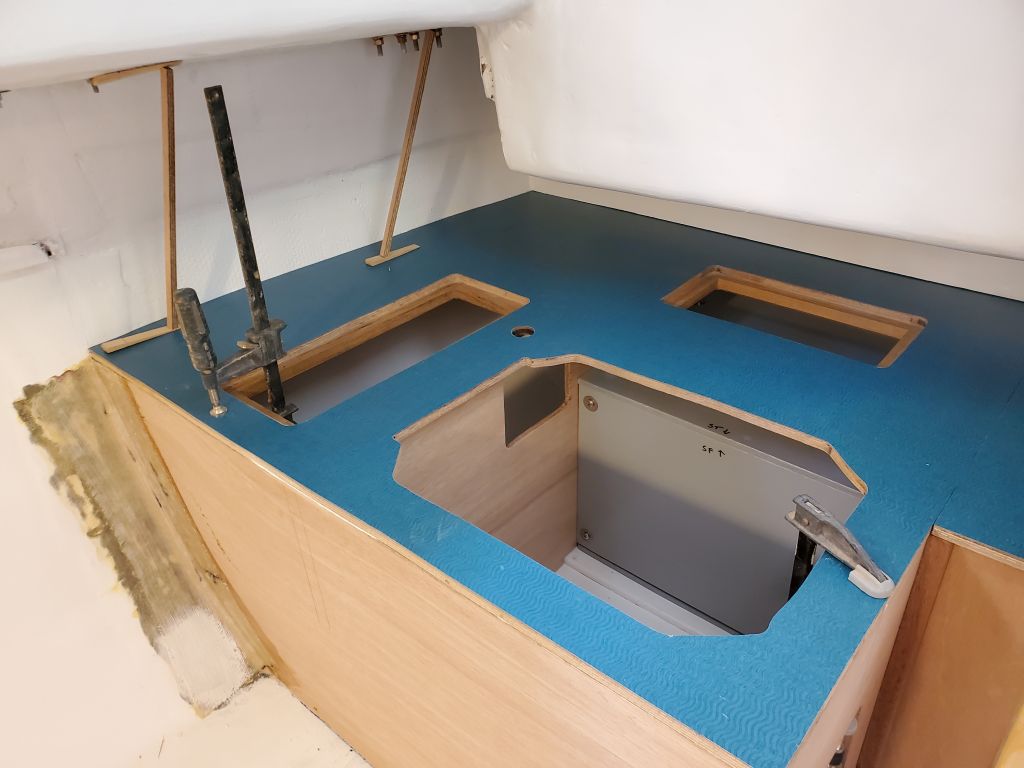
Meanwhile, I continued work on the two larger countertops, first using the router and trim bit to open up the various openings (access hatches and sinks), then using small pieces of the laminate over the three access hatches to align the pattern so the hatches would match their surrounds. With slightly oversized pieces of scrap or offcut, I could move the laminate around till it aligned with the wavy pattern, then carefully remove the hatch and laminate together, without moving things, and mark the outline of the hatch for later alignment.
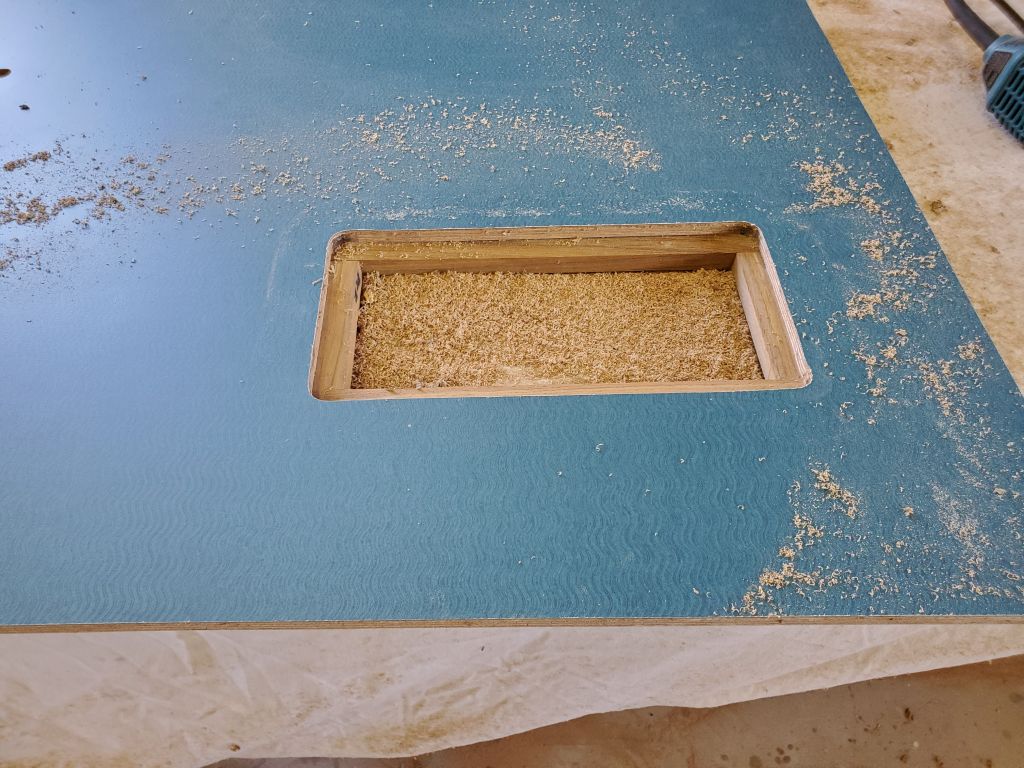


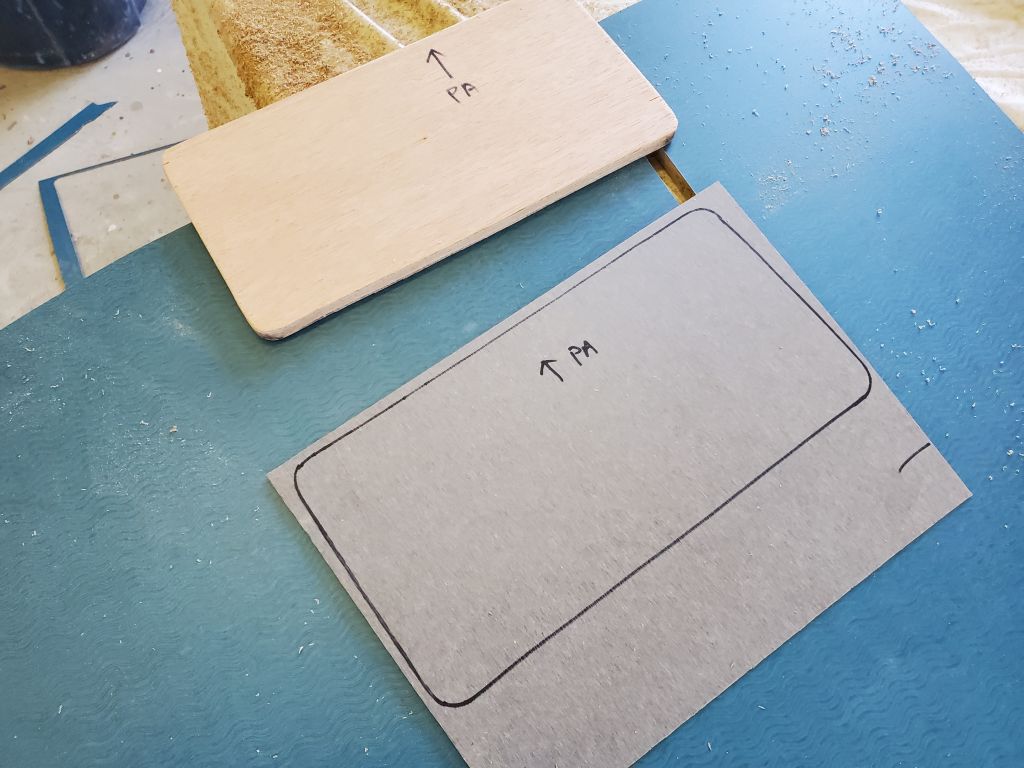


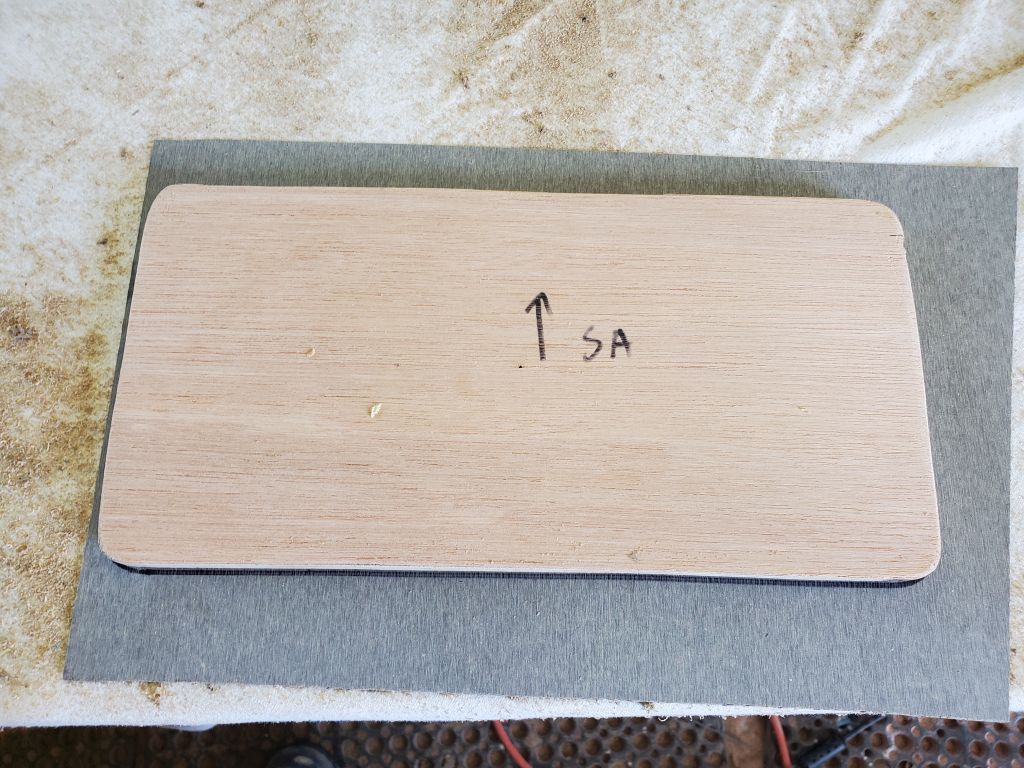
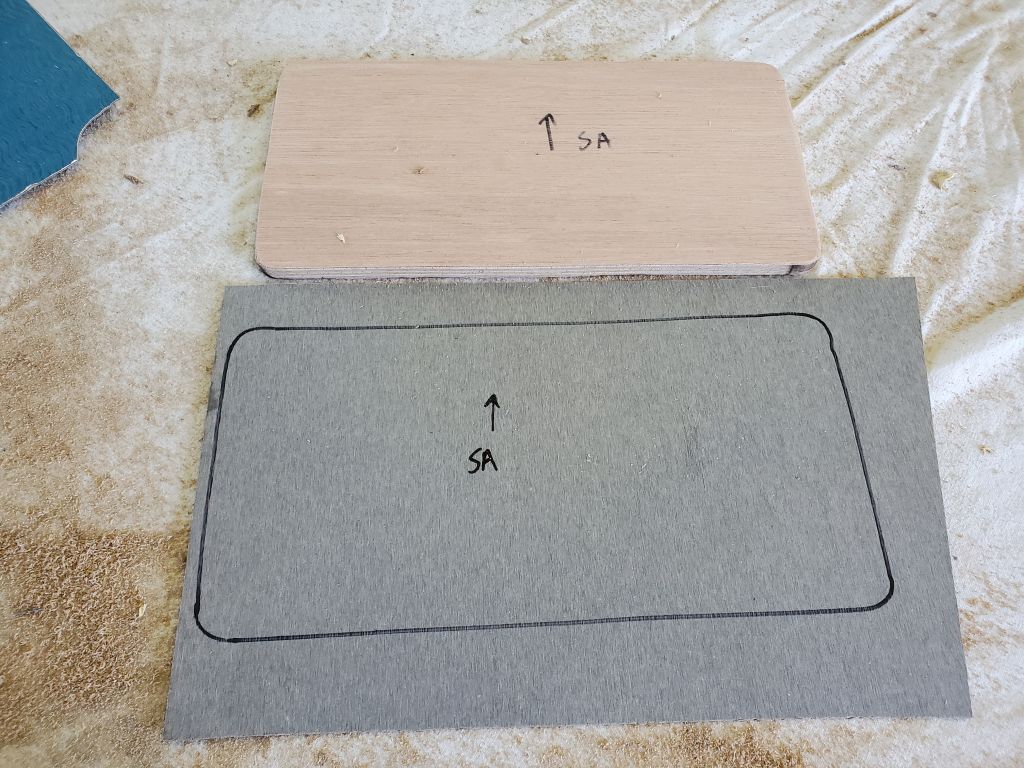
Afterwards, I applied contact cement and, when appropriate, installed and rolled the laminate onto the hatches, then trimmed the excess. Here again, my router had an issue and flubbed up one of the hatches, badly enough that I had to cut a new hatch from leftover plywood and go through the laminate process again (not included in the day’s total). This time, I figured out what was happening with my as-yet unfamiliar router: The bit hadn’t been properly tightened in the collet and was slipping out while in use, eventually to the point that the guide bearing dipped below the edge of the plywood, causing the error. Fortunately this mistake, though it happened twice, happened only in recoverable areas, and taught me something about the router too.
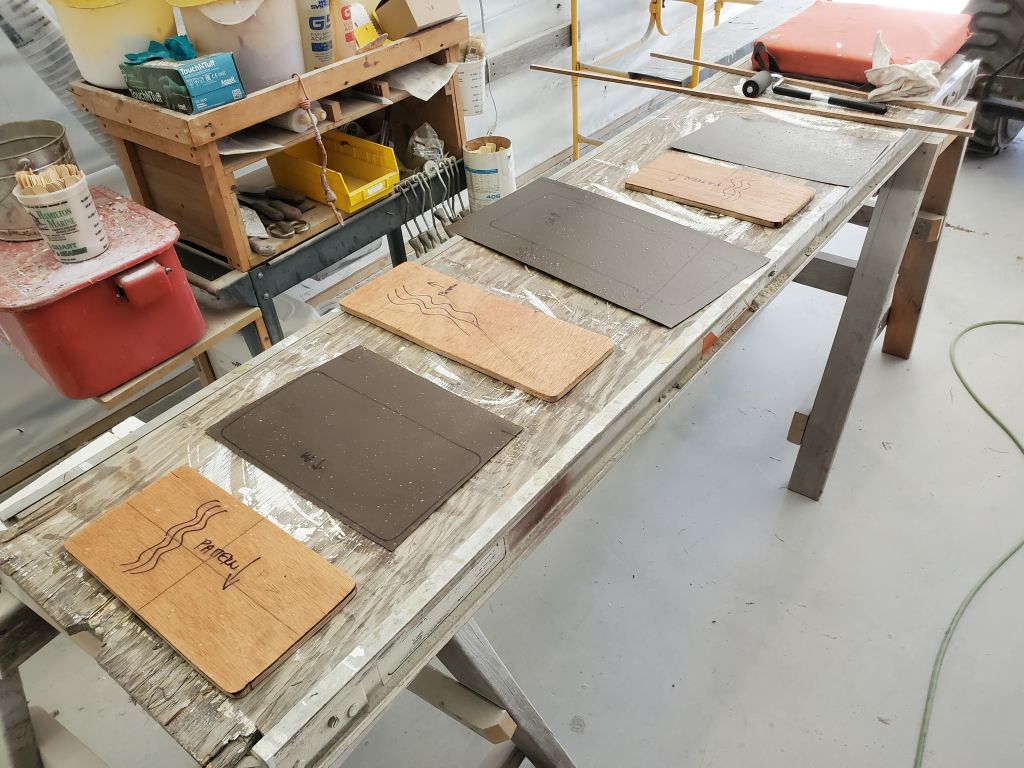


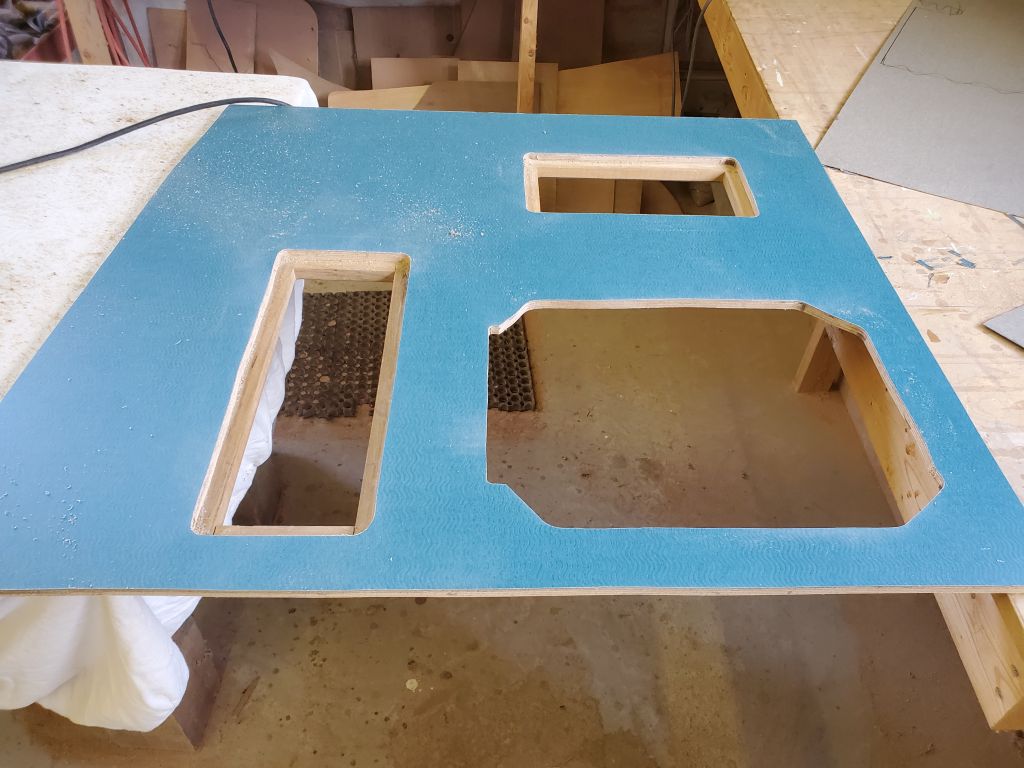
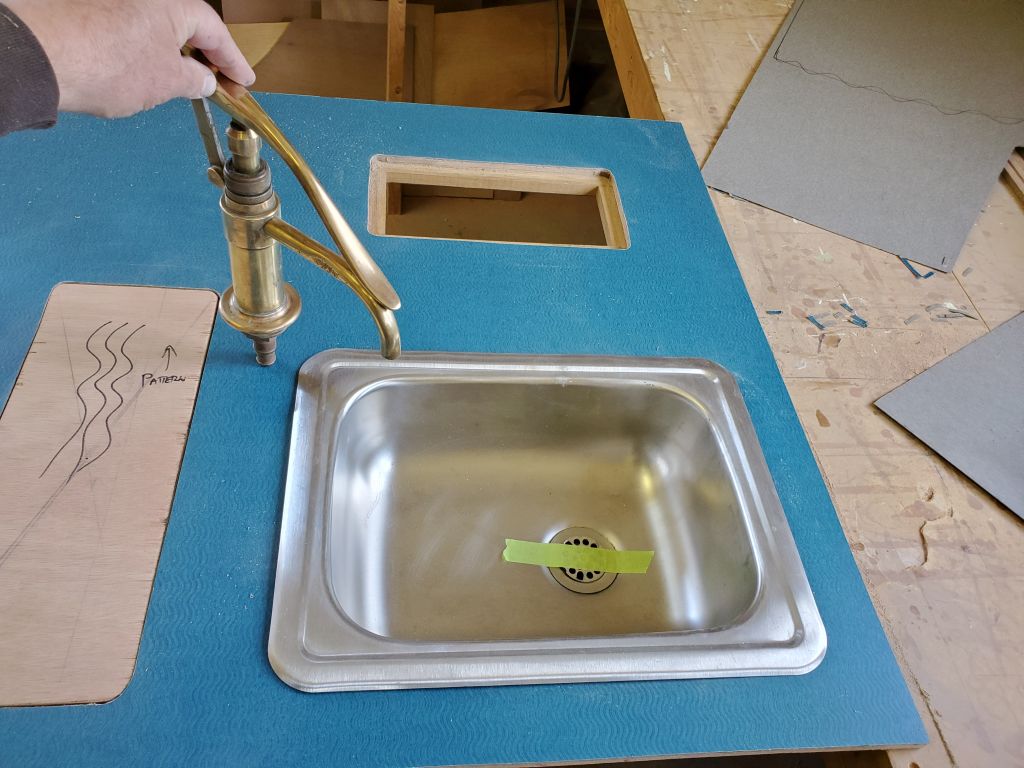
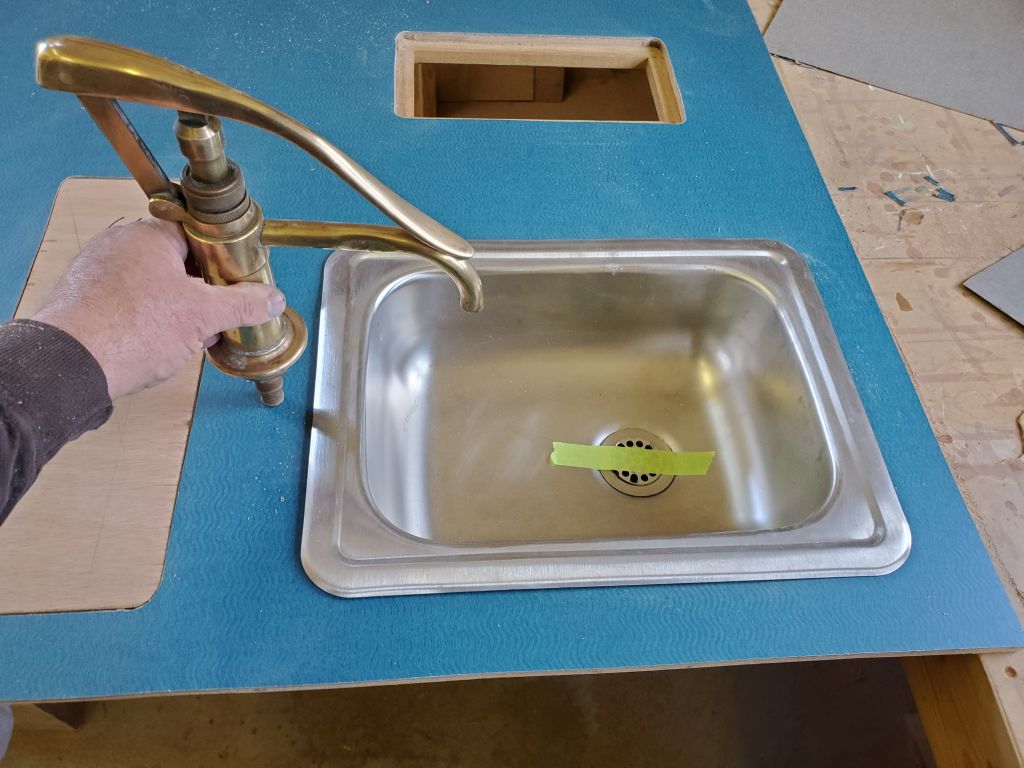
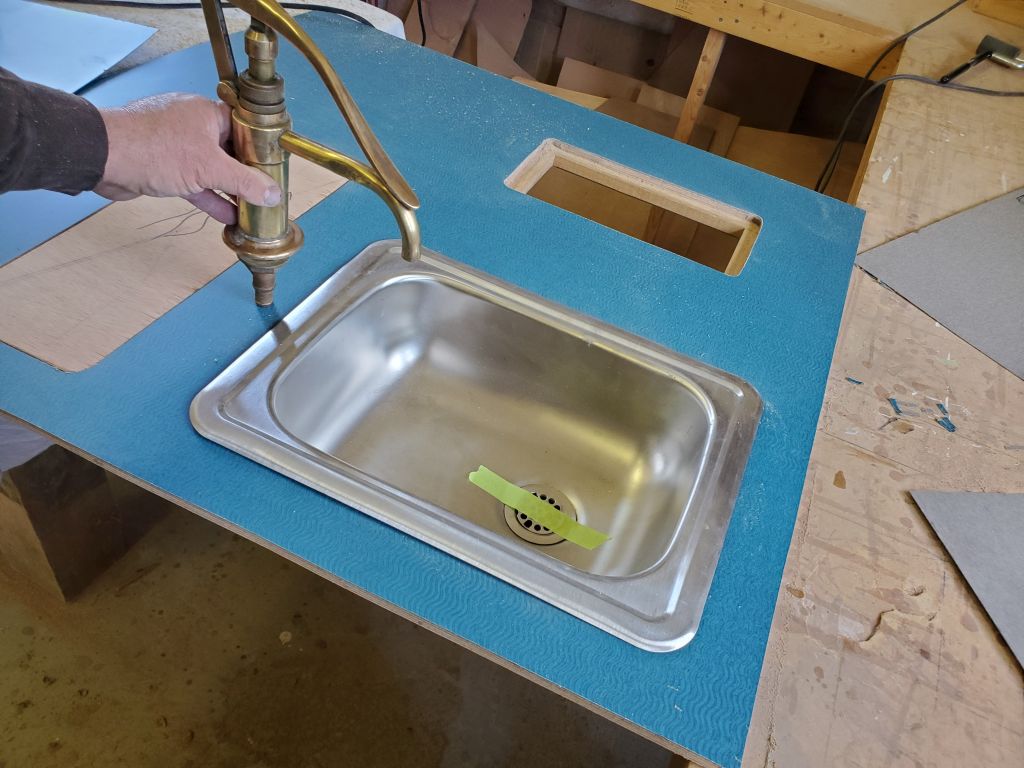
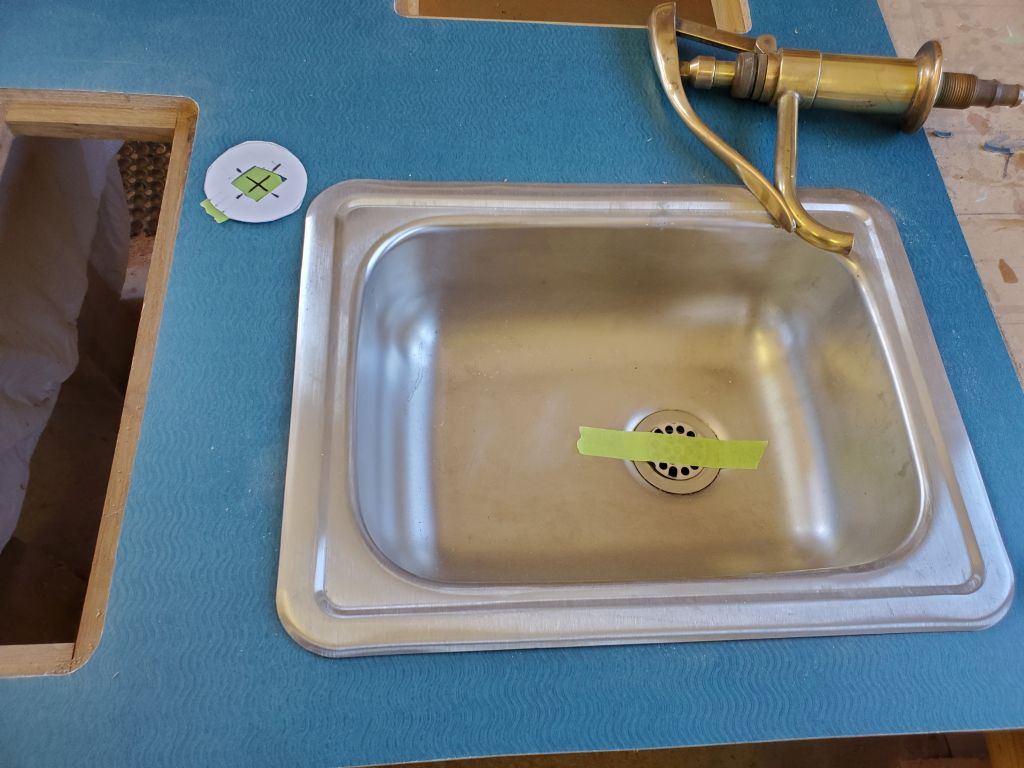
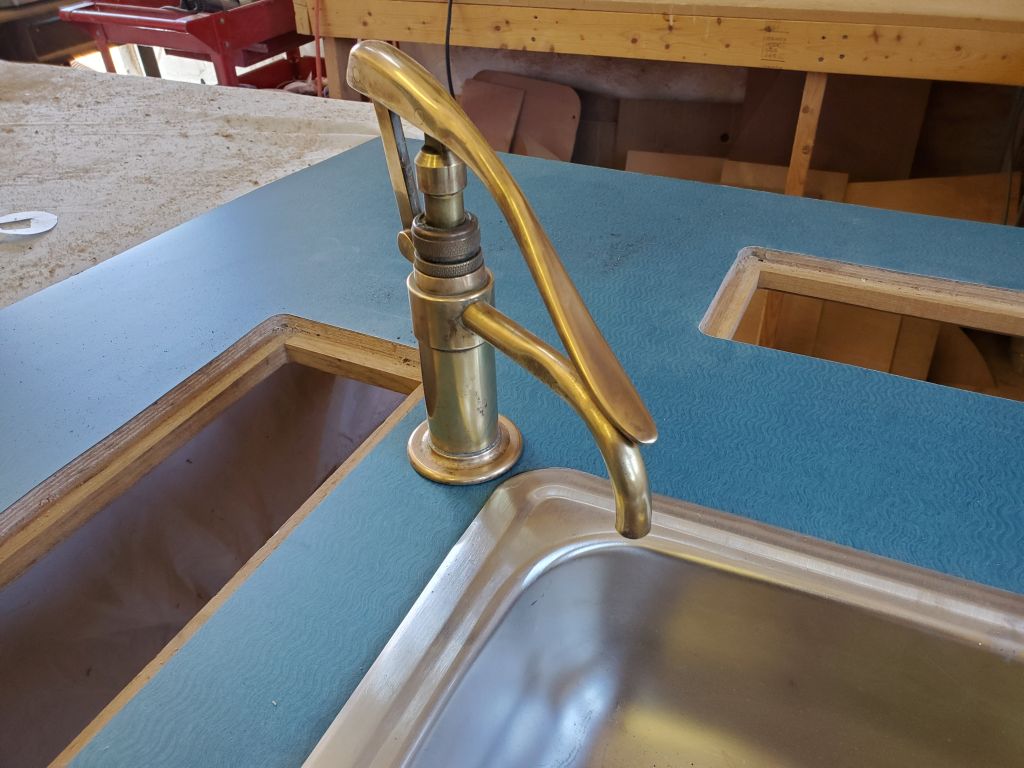
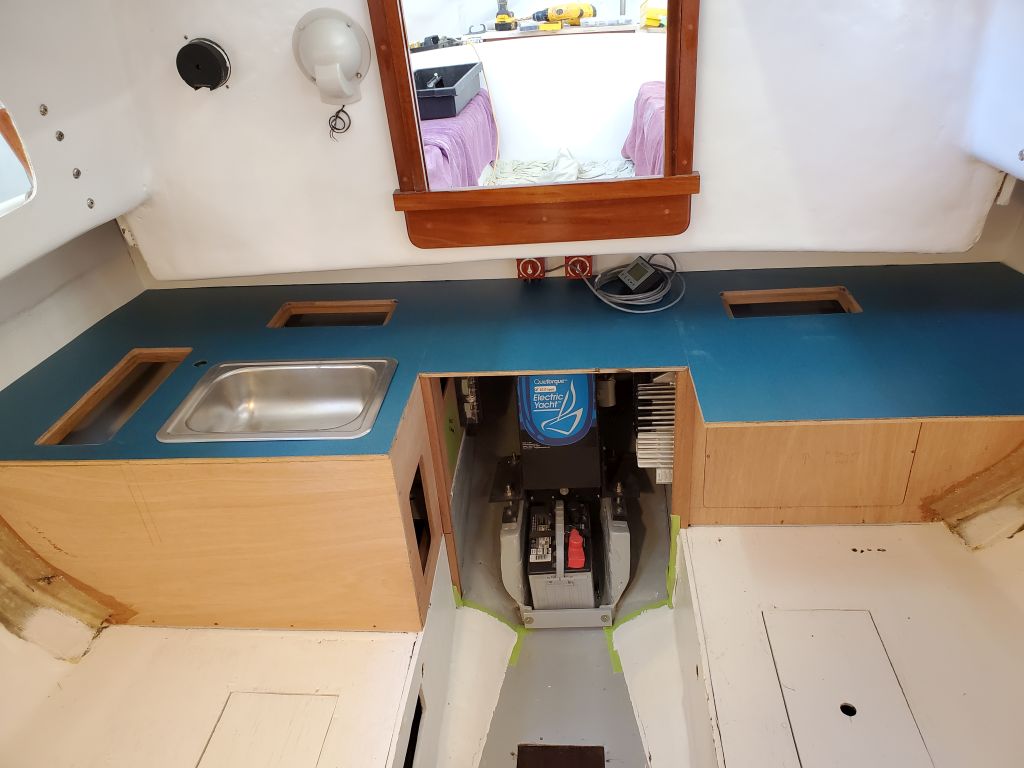
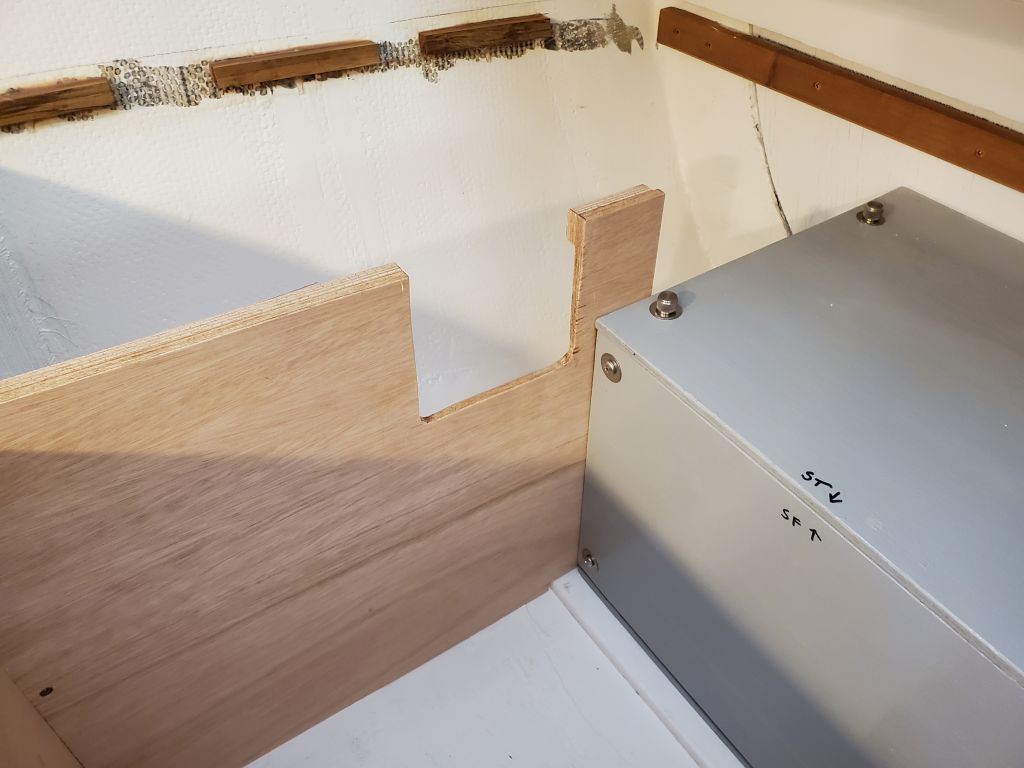
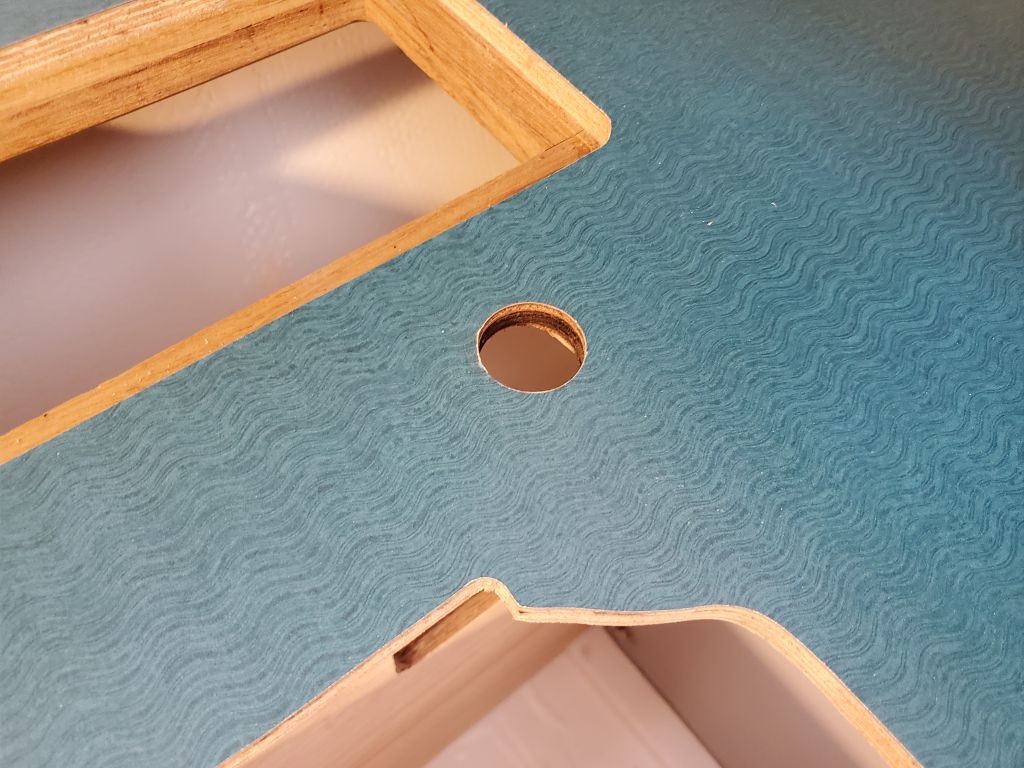
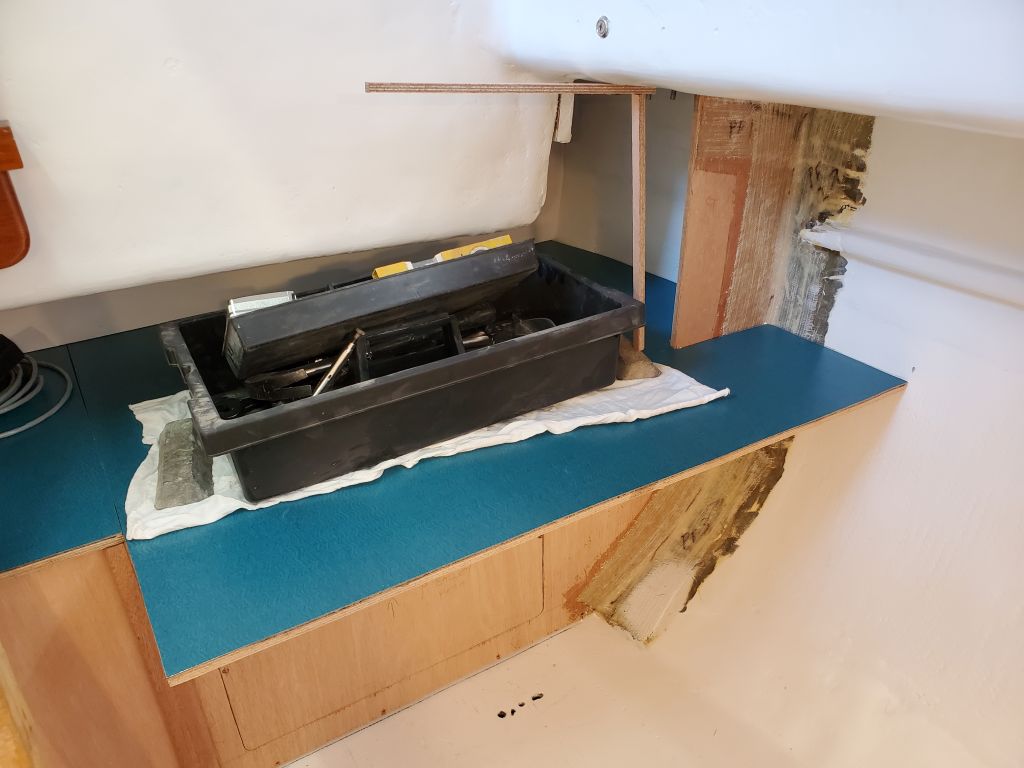
I test-fit the sink, and the owner and I consulted on the location for a large brass hand faucet he wanted to use (to be connected to a foot pump or electric pump, not used with the hand pump). The owner chose the corner location, which looked good and worked well with the access hatch behind, so with this confirmed I cut the hole required for the faucet. The faucet neck and fixing nut cleared the nearby hatch support cleat.

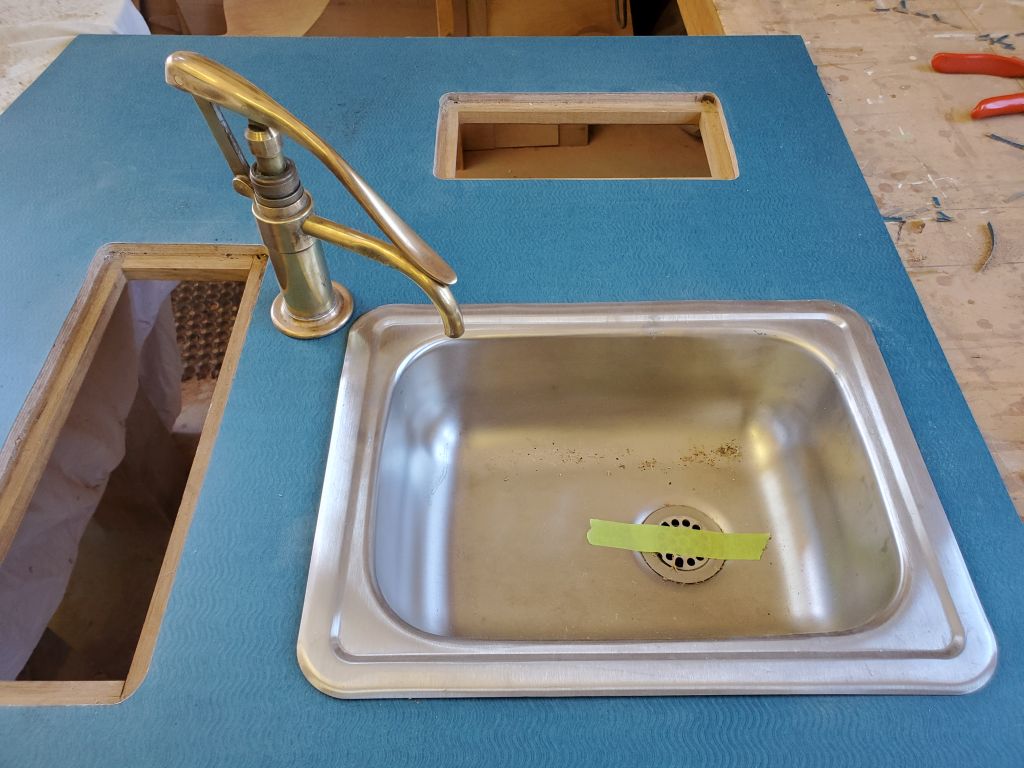
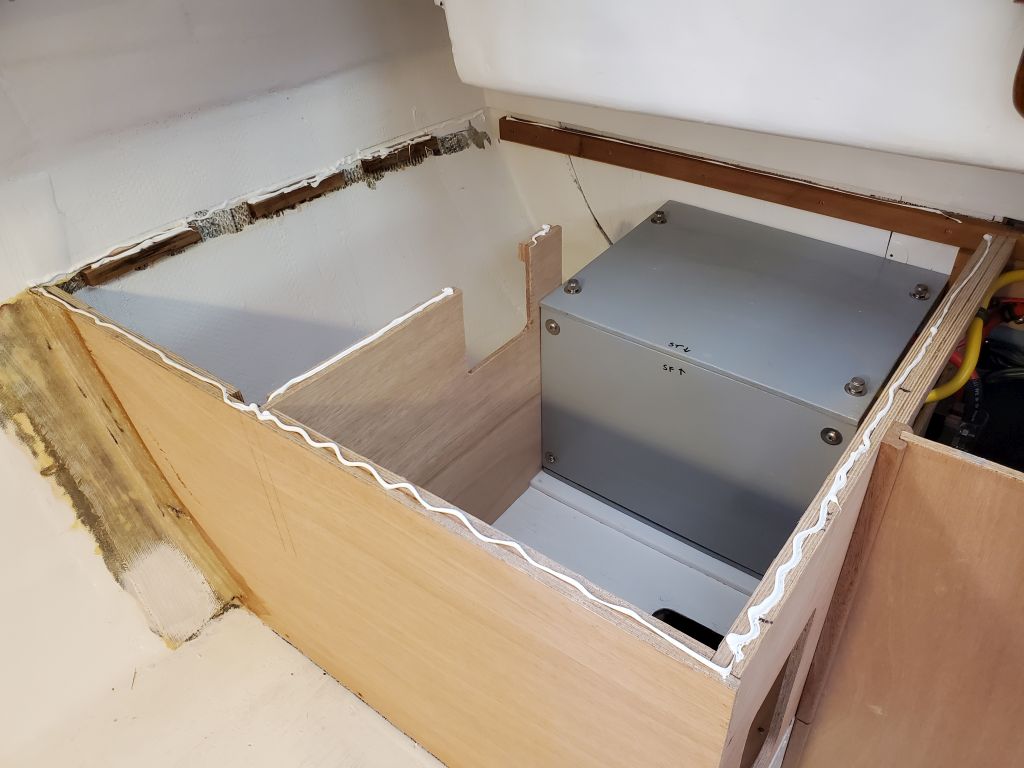
Then, I test-fit the countertop in the boat. Both port and starboard sections were a good fit with their new laminate–I’d built in extra space beneath the plywood aft bulkhead to allow for the thickness of the laminate. The engine hatch fit well, and the patterns were aligned enough on both sides.
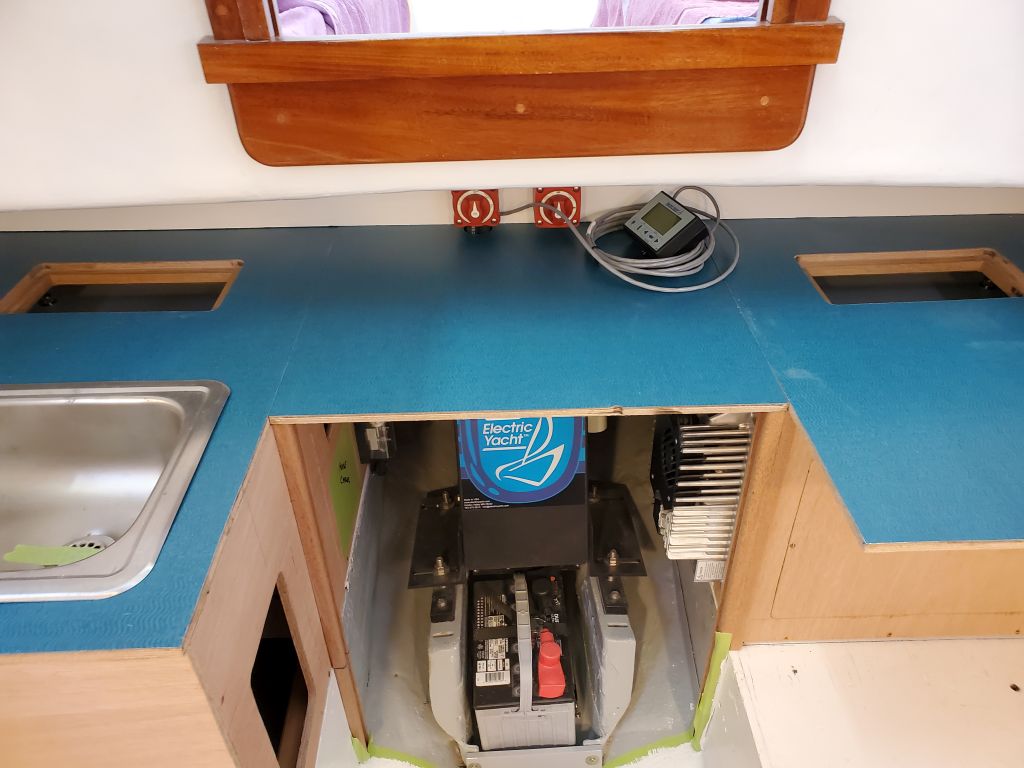

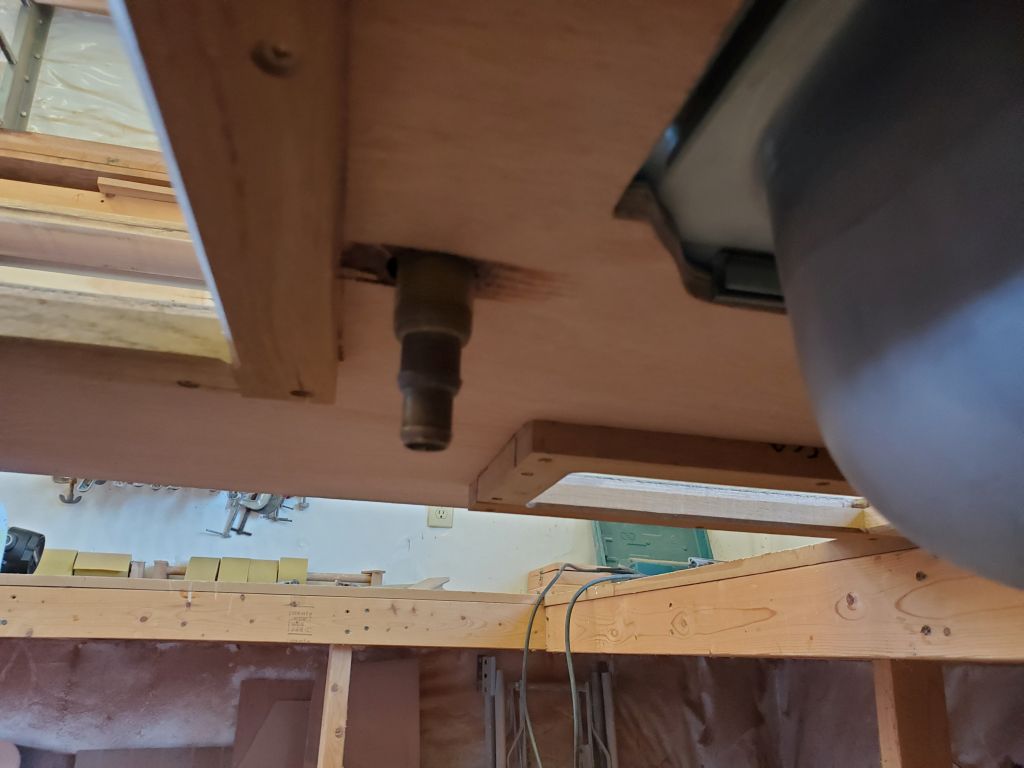
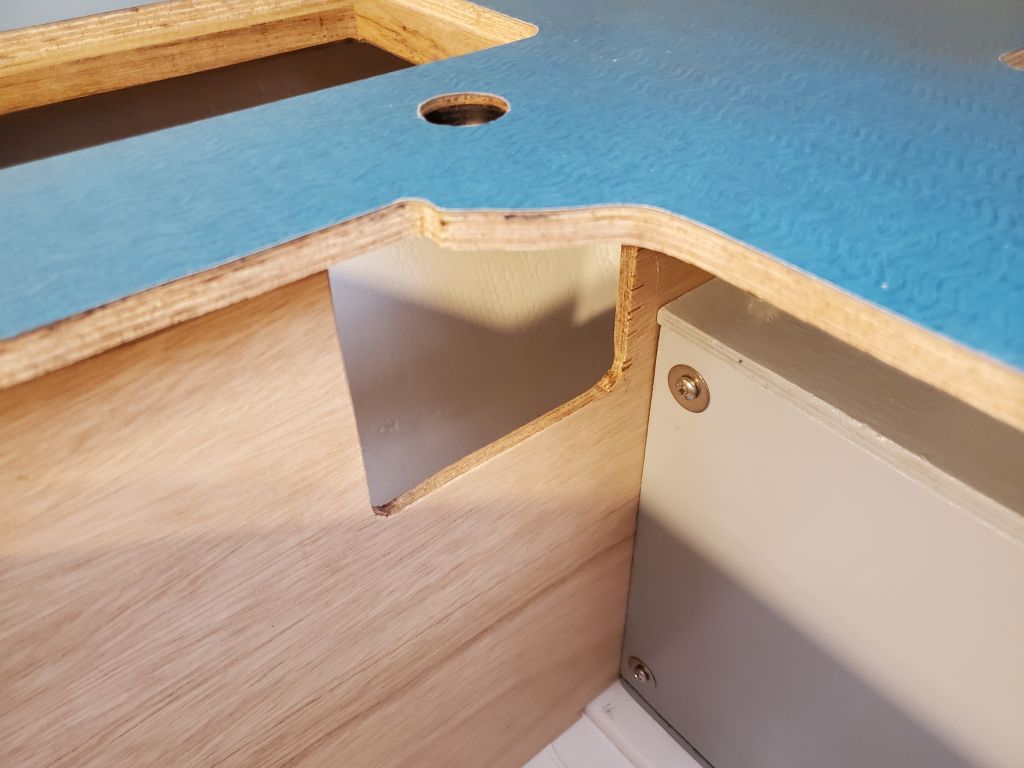
But I discovered that the faucet hole ended up right over the little divider bulkhead beneath the starboard counter, something I’d not thought about. That said, this was going to be the case regardless of its position: it’s simply where it ended up based on the size of the sink and the predetermined position of the bulkhead. This was a straightforward fix: I cut out a portion of the bulkhead to provide generous room for the faucet and hose connection.
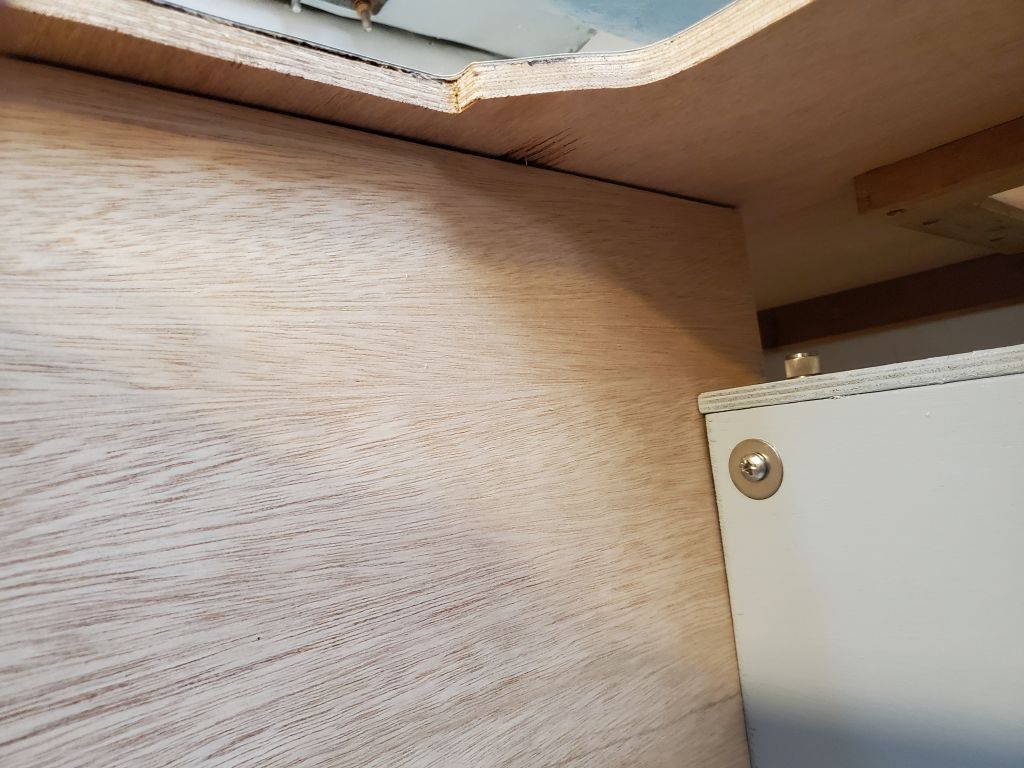
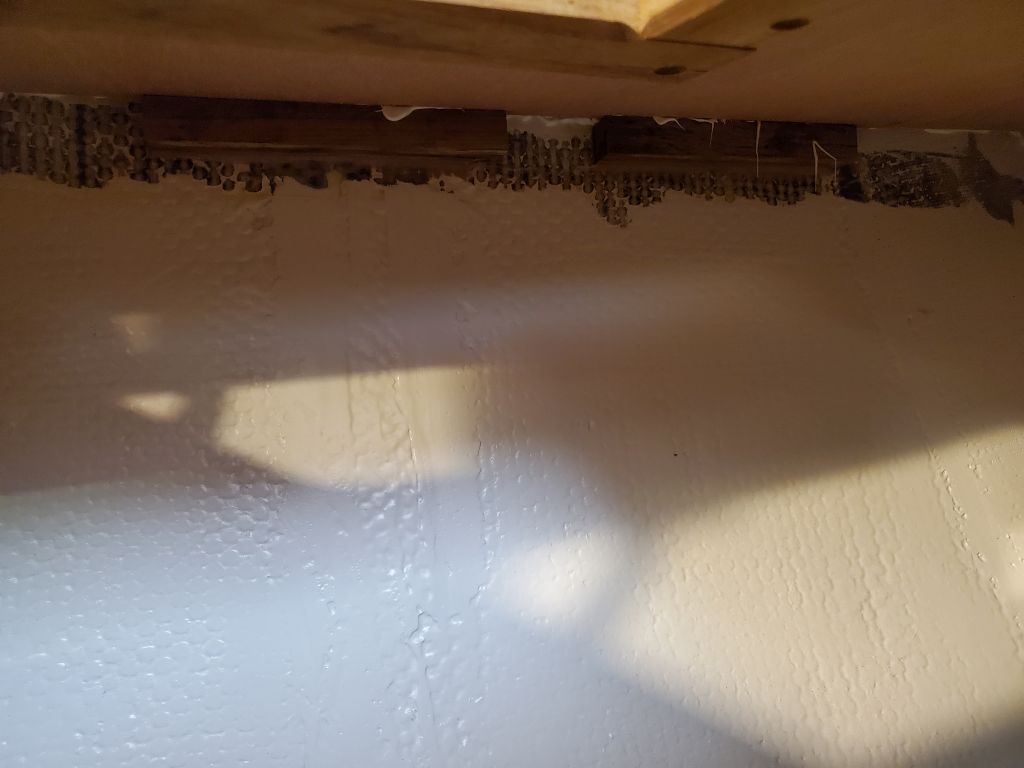
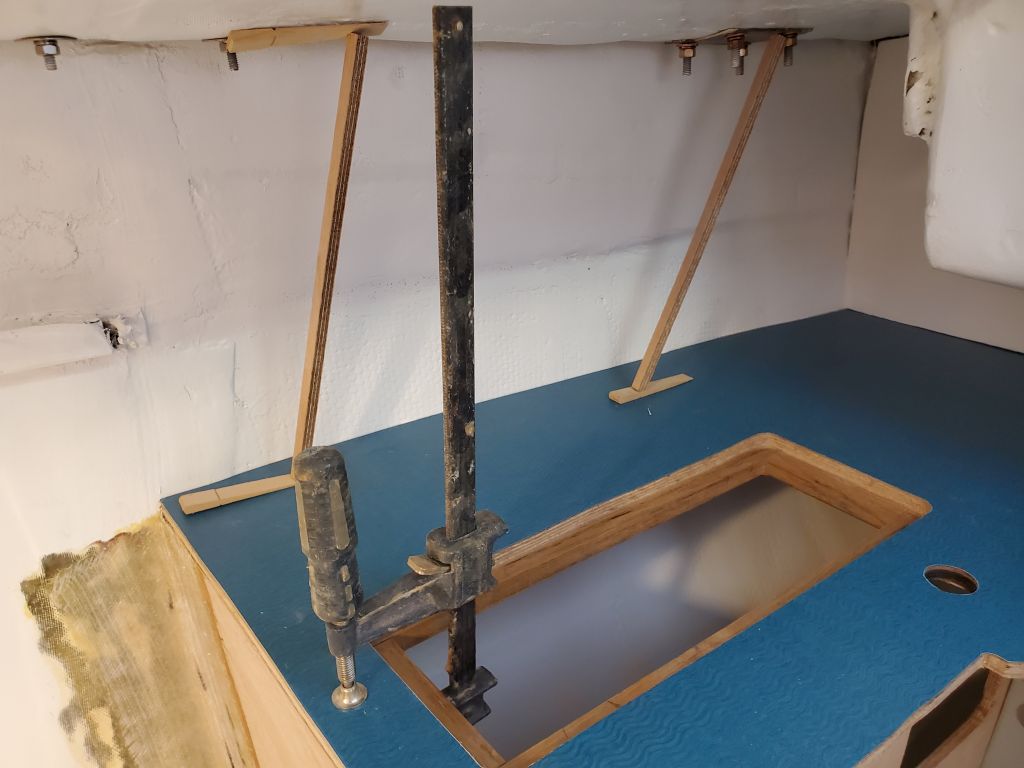
Happy with things, and after convincing myself that there was nothing else needing to be done inside these lockers, I went ahead with the final countertop installation. I used 5200 fast-cure for this, applying smallish beads to the countertop edges, hull, and hull supports all around: not too much, as I didn’t want it to squeeze out all over, but more than ample to secure the countertops. As needed, I used braces, clamps, and weight to press the counters into position tightly. I put the engine hatch into place in the center to ensure that both sides of the main countertop were in their proper positions as the adhesive cured overnight (after making sure there was no adhesive oozed out into the engine top supports).


Total time billed on this job today: 6 hours
0600 Weather Observation: 37°, clear. Forecast for the day: Sunny, 65°