


March 5, 2021
Lyra 32
Friday
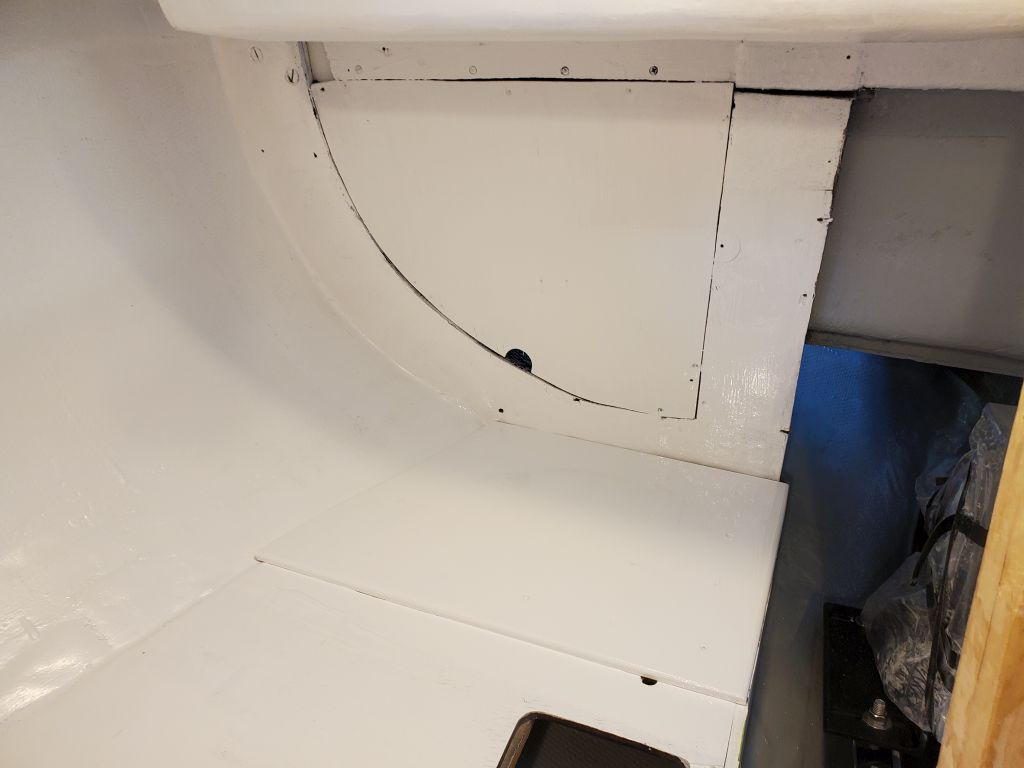
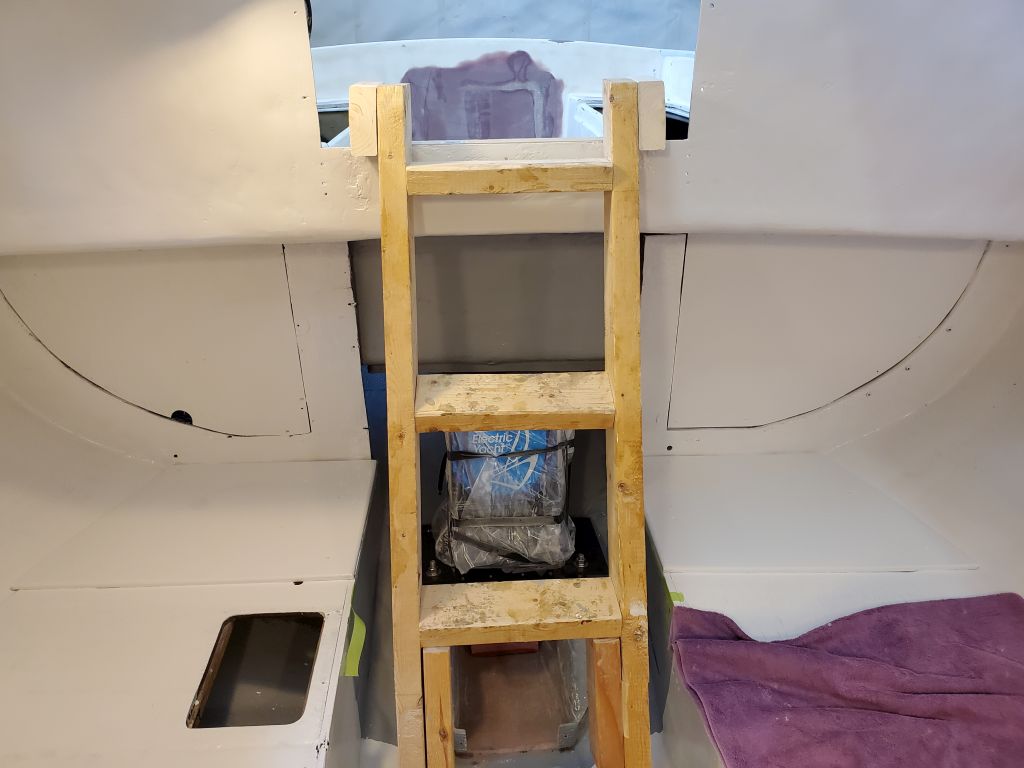
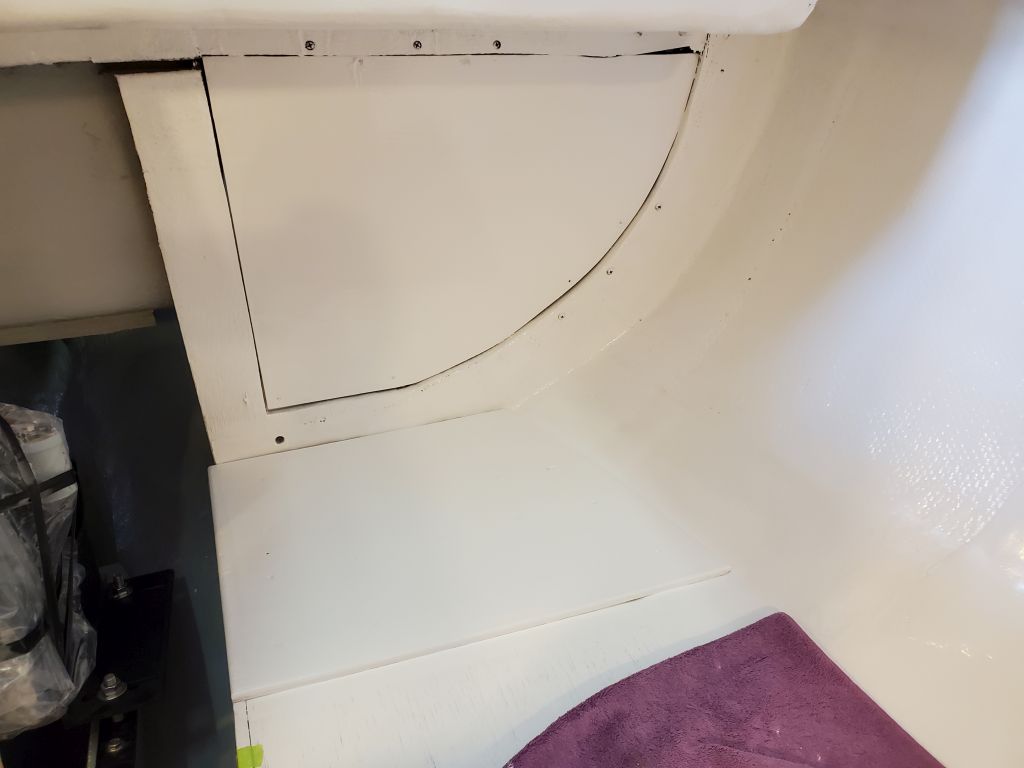
With no plans to do any work in the cabin itself during the day, I could go ahead and apply a coat of the semi-gloss white enamel to the aft bulkheads and battery areas.
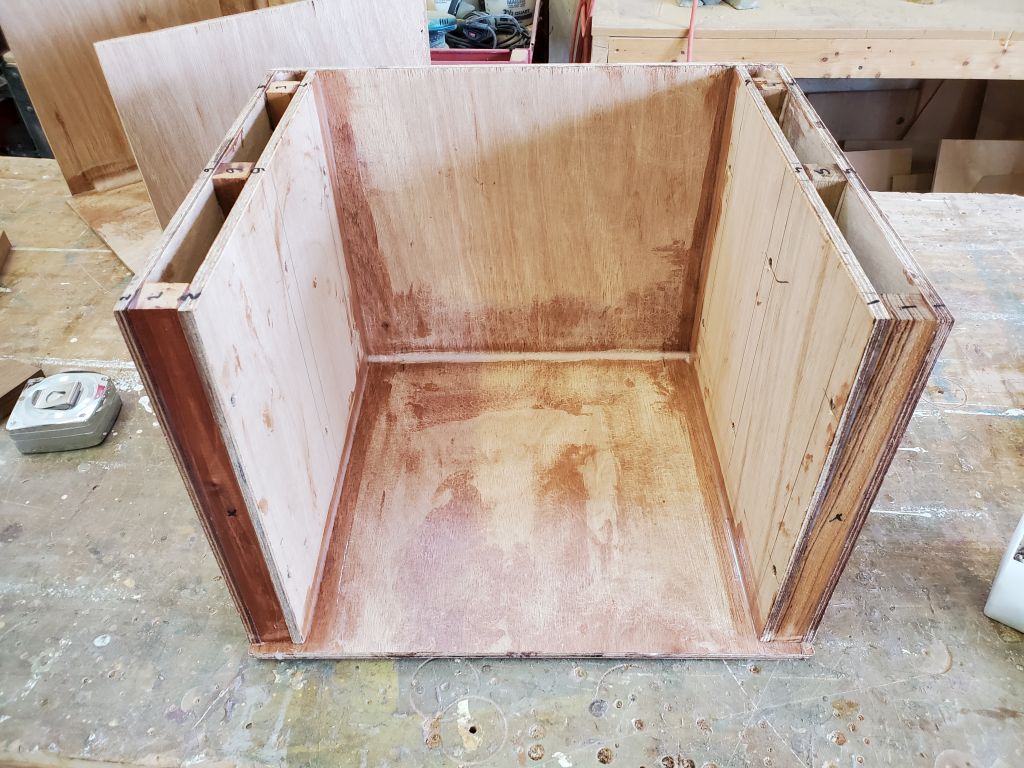
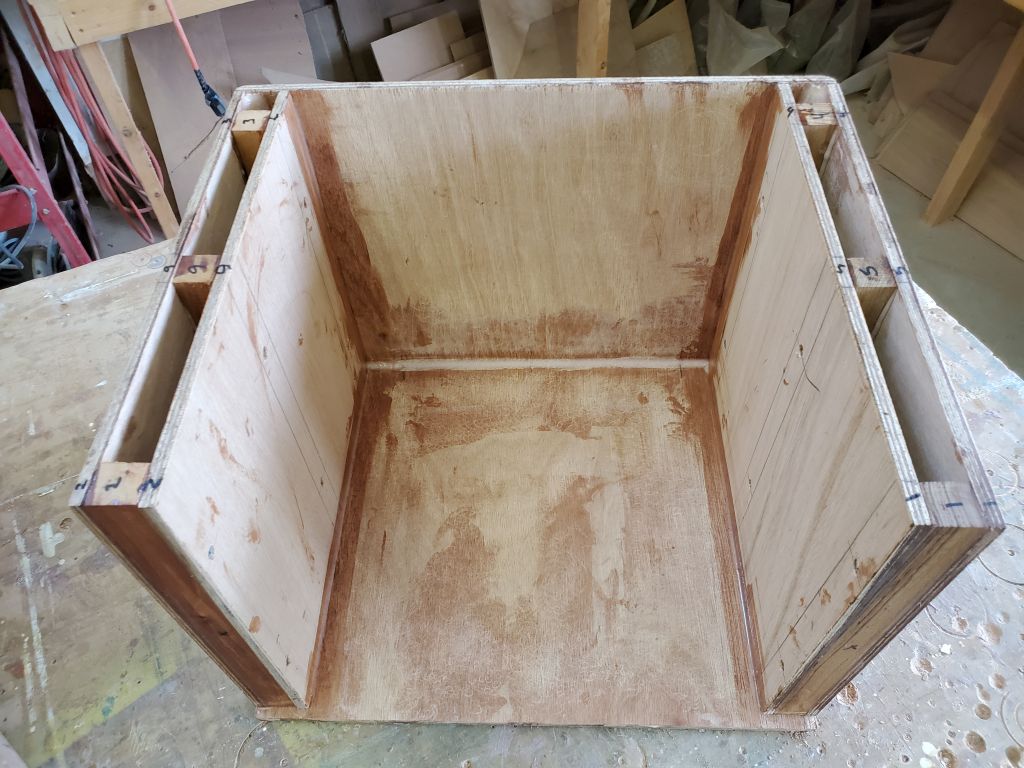
I spent much of the day on the battery boxes, starting by removing all the wire ties that had held the box together while the epoxy fillets cured. I snipped these, then pulled them out with pliers. Afterwards, I lightly sanded the epoxied areas of the boxes as needed, and rounded over all the exterior corners to prepare them for fiberglass later.
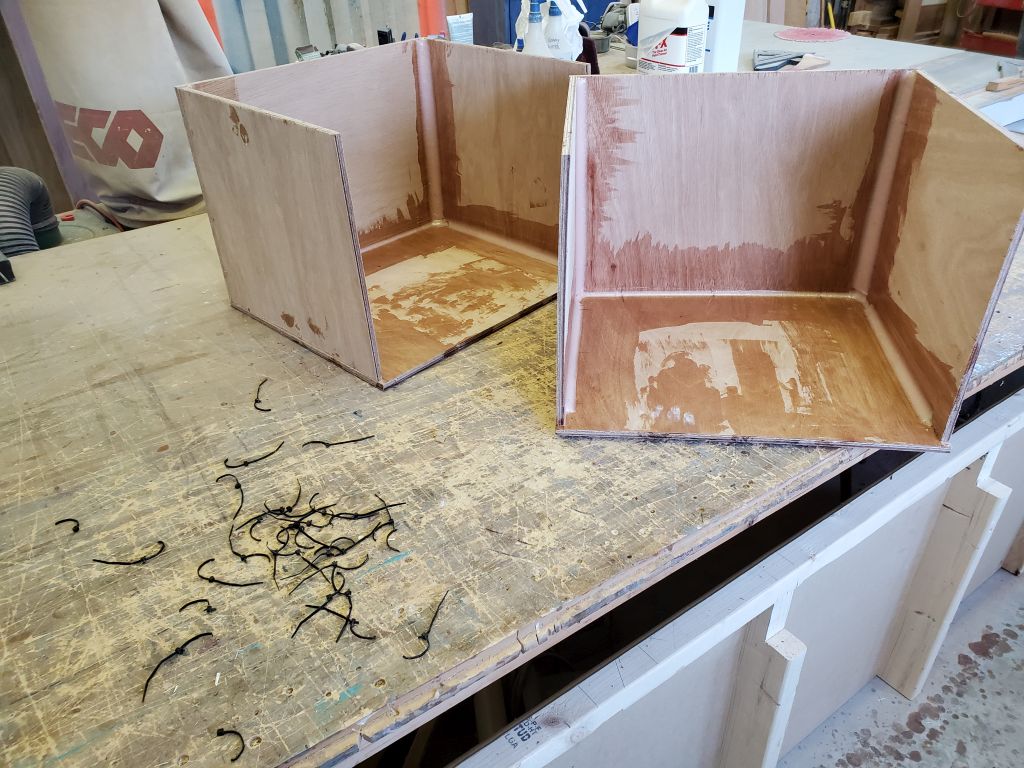
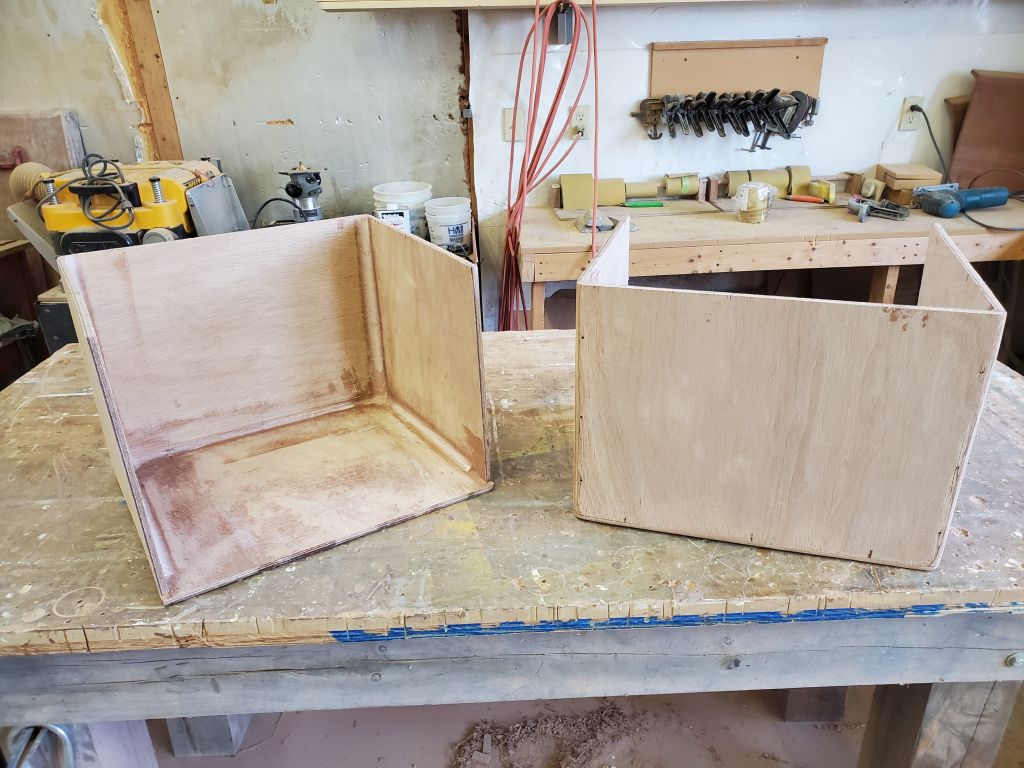
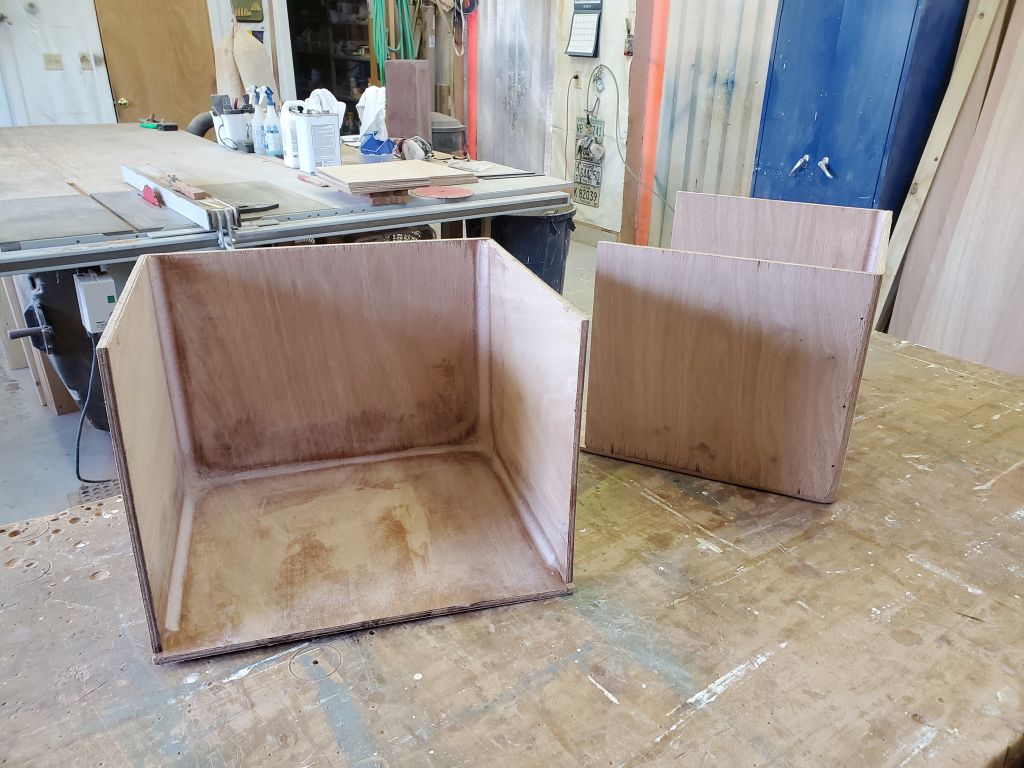
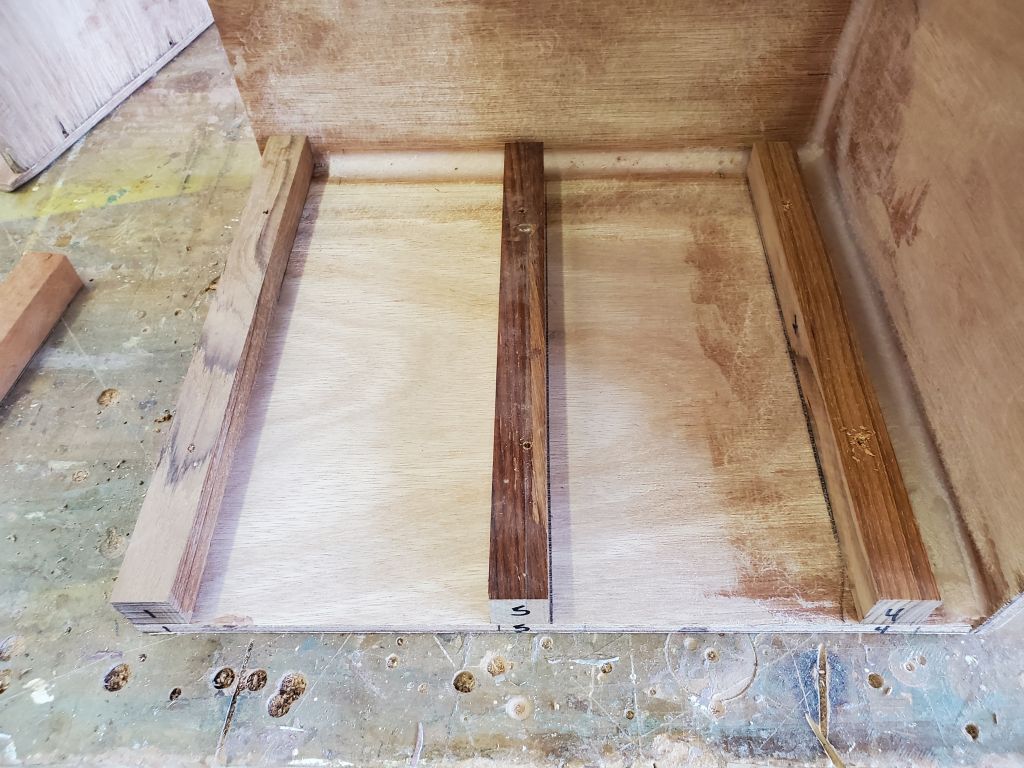
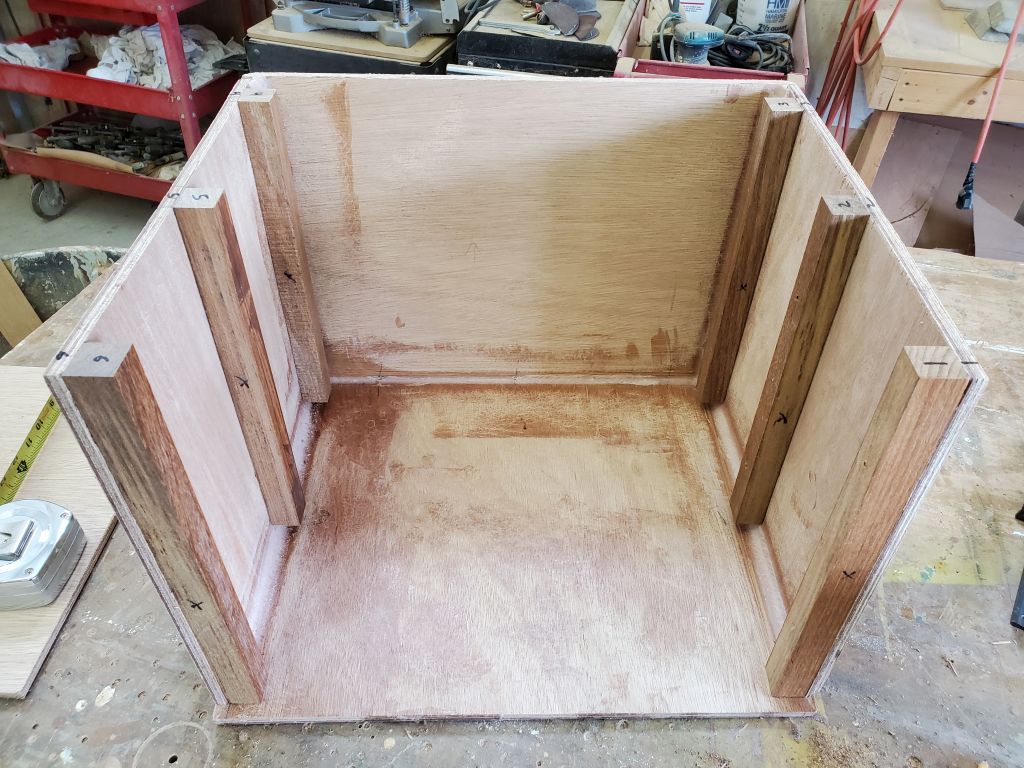
To finish up the box construction, I installed my double wall, the real point of which was to provide a solid bearing and connection for the removable fronts. For each box, I first dry-fit the hardwood cleats–three per side–with screws from outside, then drilled the plywood inner skin as well (though didn’t bother installing the screws dry). With the basic assembly together, I did a final test-fit with one of the batteries to be sure that I’d planned everything correctly.
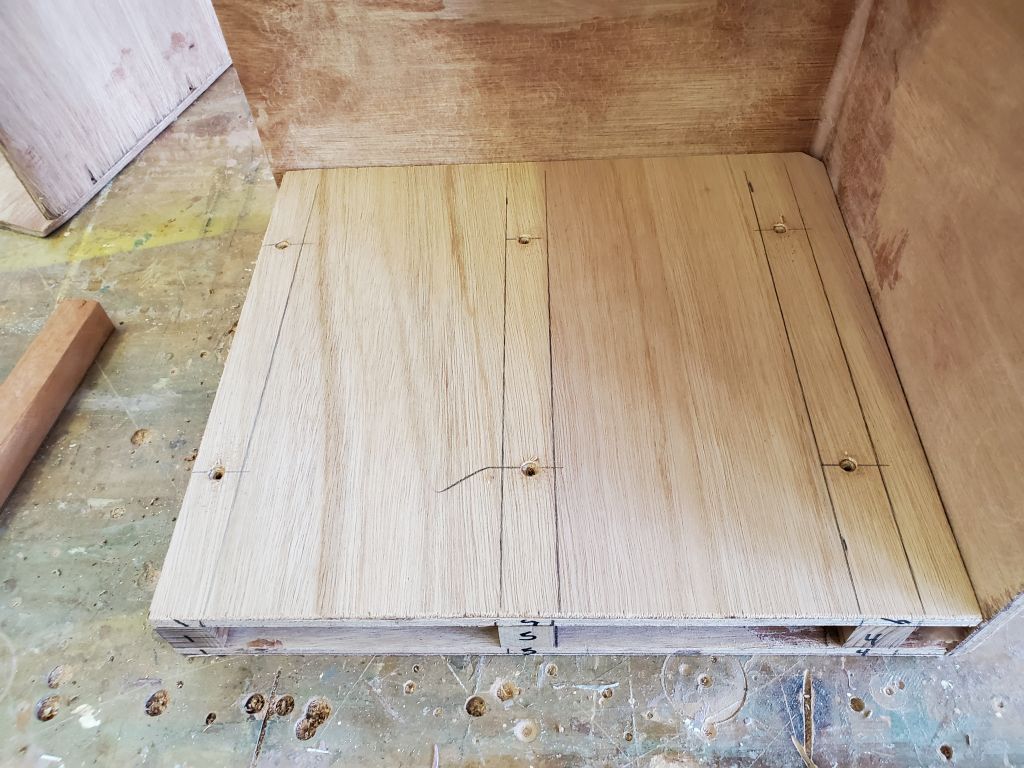

Now I disassembled the cleats and completed the final assembly with epoxy adhesive and screws to tie the cleats and double walls together.
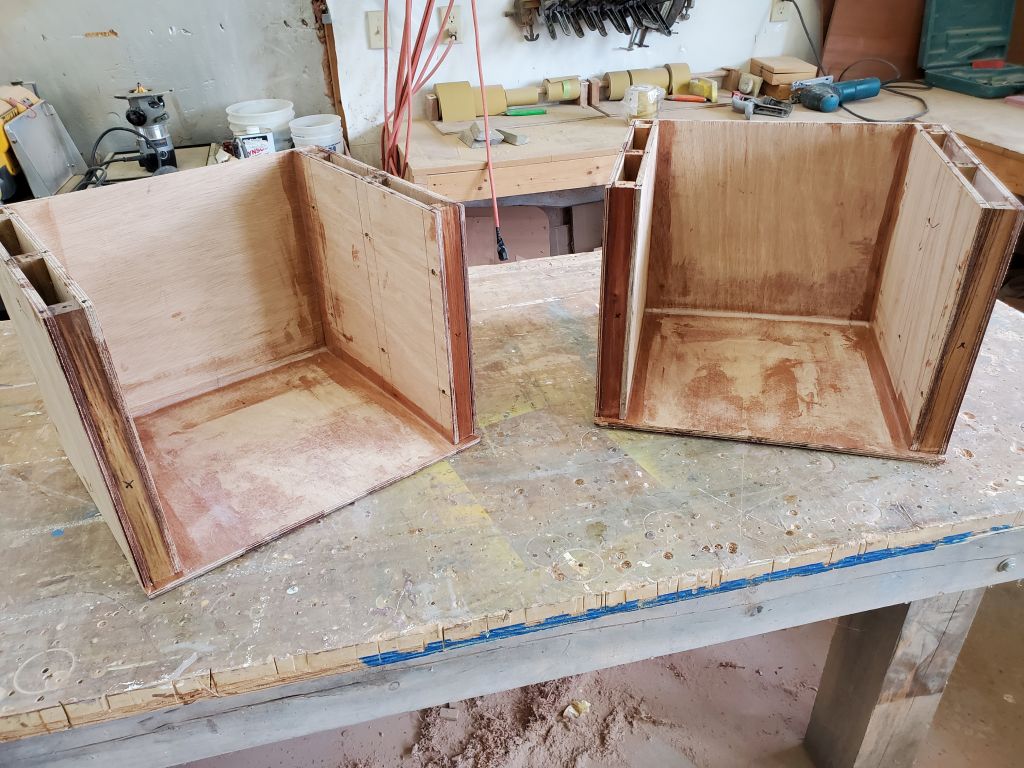
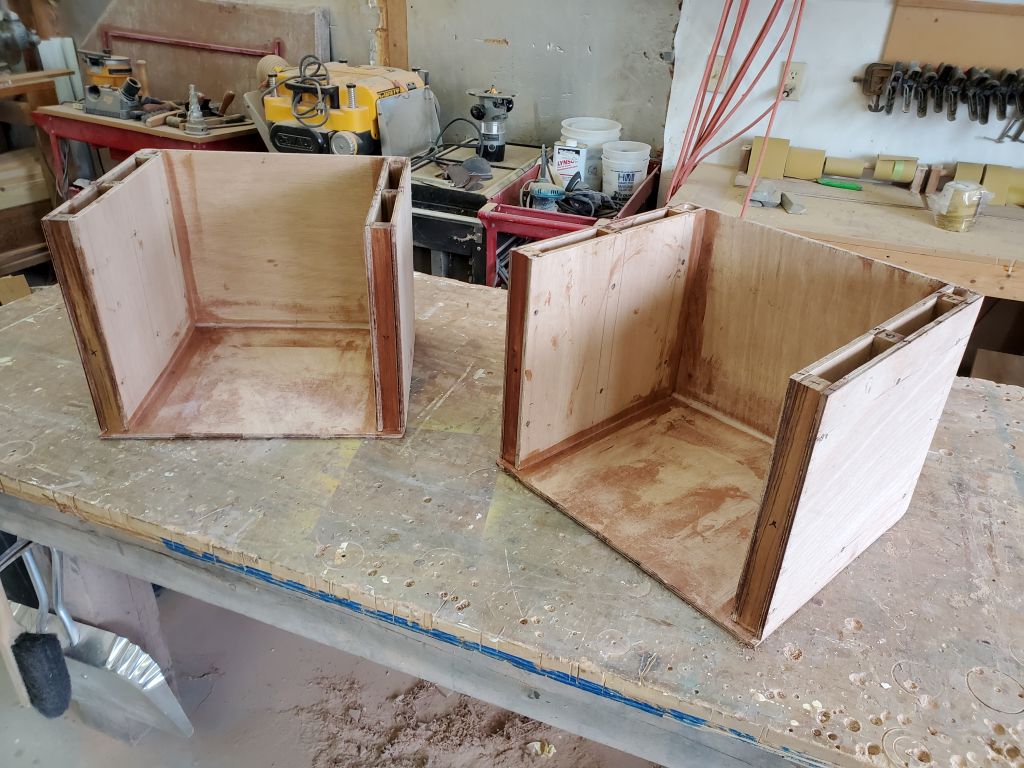
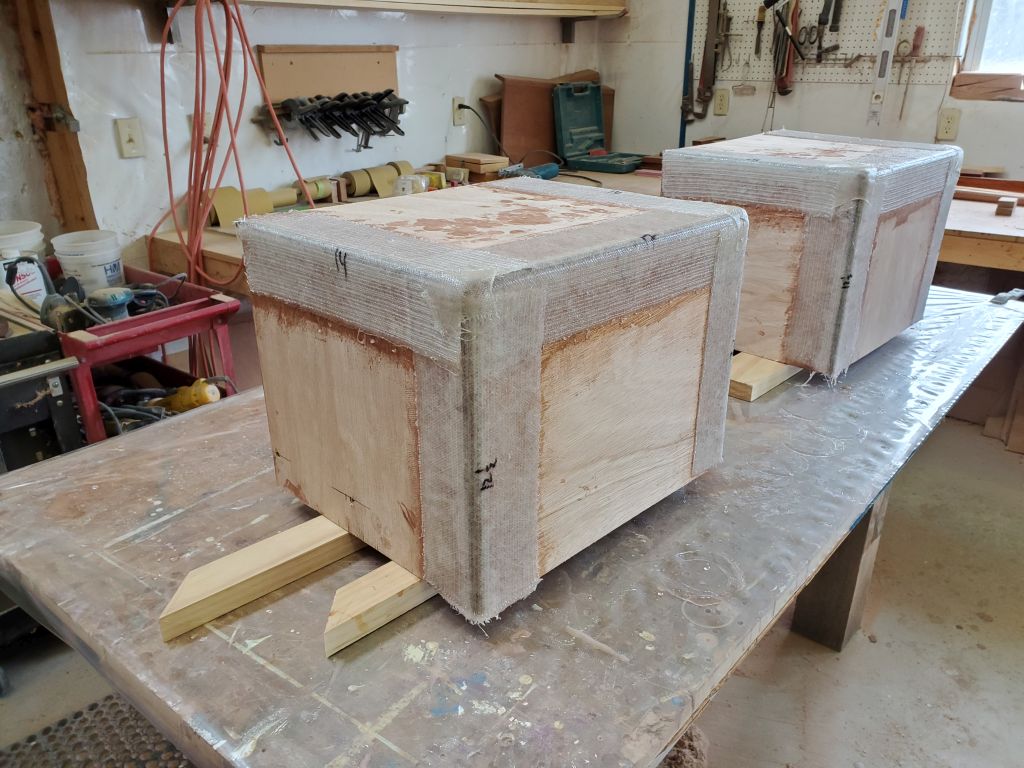
The next, and final, major construction step was to cut and install fiberglass tabbing over all the exterior corners of the boxes.

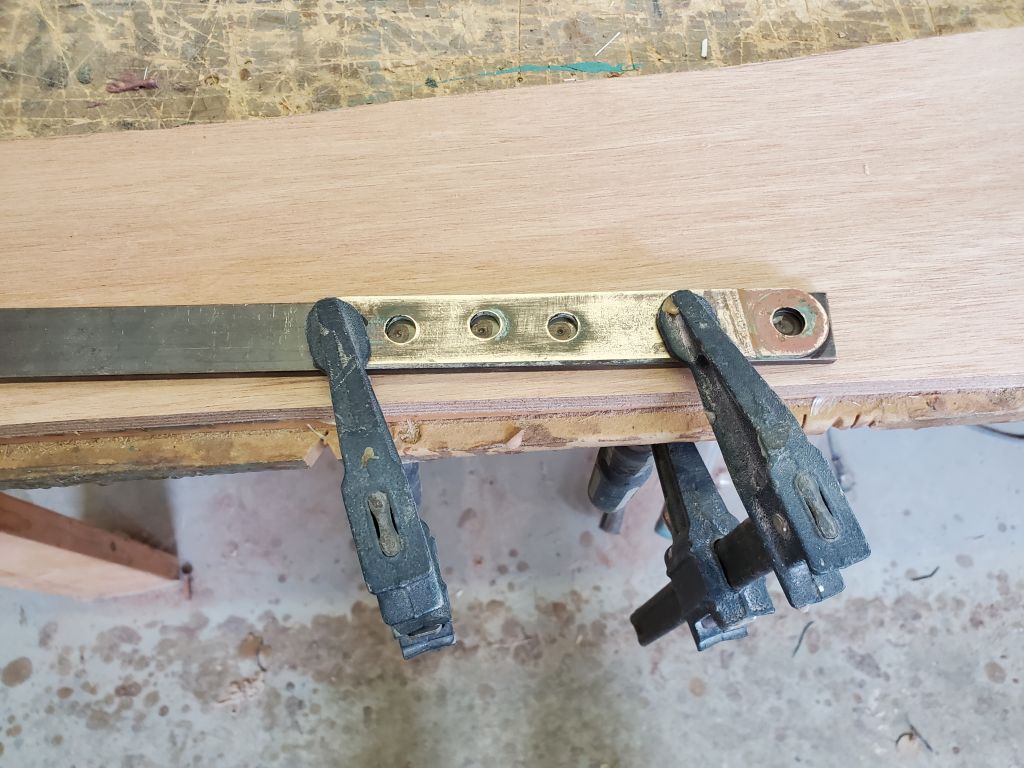
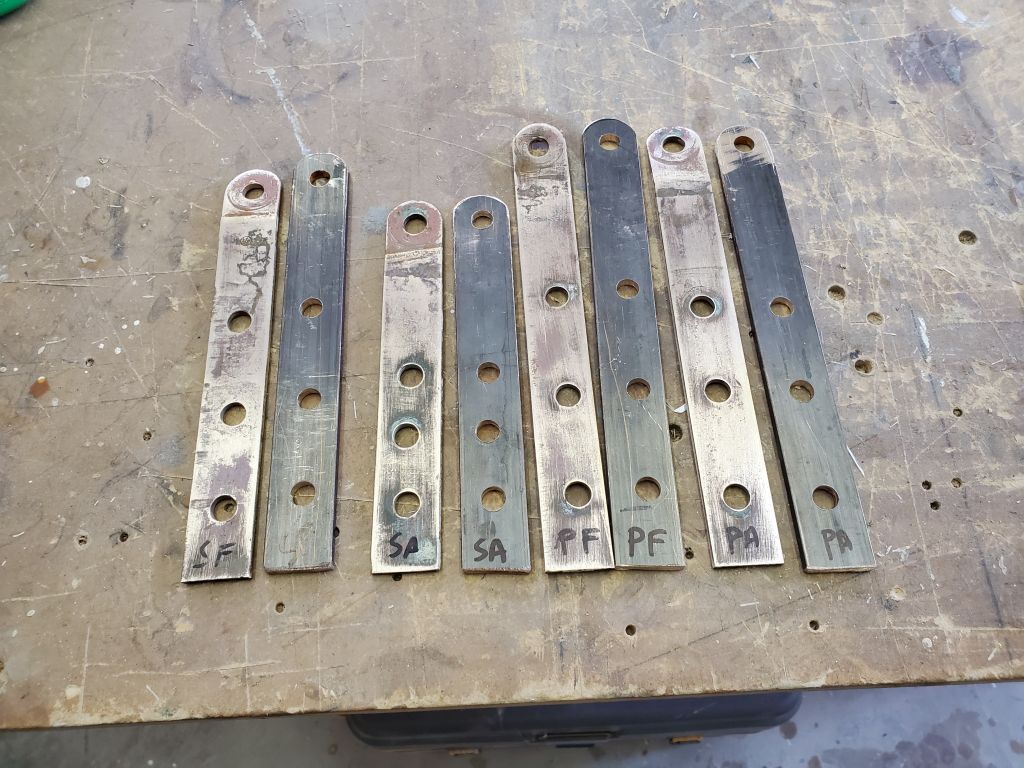
There are always smallish, fairly unmotivating tasks in a project that I like to have available to fill something like a quiet Friday afternoon, once the “real” work is done, and for now this task took the form of making the new chainplates. I’d already ordered and received new 3/16″ thick bronze to replace the old 1/8″ chainplates, and now I needed to drill the bolt and clevis pin holes and cut them to final size and shape. I don’t like metalwork, am ill-equipped for it, and never would have done this with stainless steel, but silicone bronze is so kind to work with that I didn’t mind in this instance.
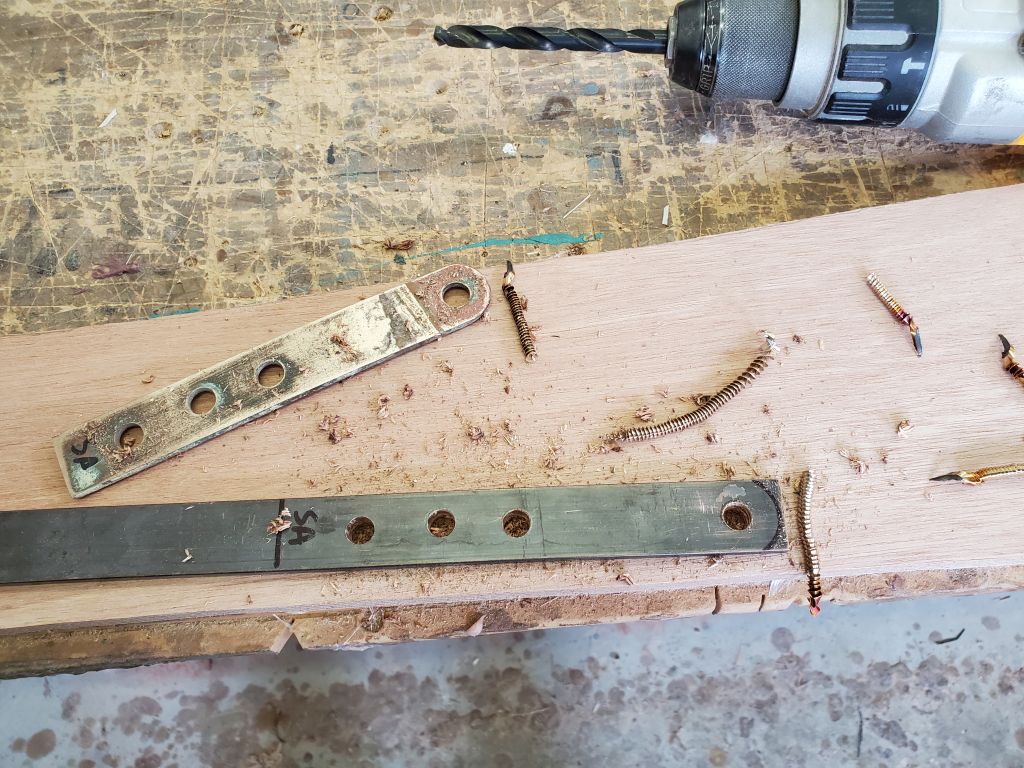
For each of the four chainplates, I clamped the old chainplate atop its new replacement, then drilled all the holes right through into a sacrificial plywood backer. This ensured that the new holes would be in the exact same position (which on these chainplates was not necessarily a consistent pattern). Then, tracing the shape of the old chainplate, I cut the curves at the top with a jigsaw–after trying one with a grinder–and cut the chainplates to their individual lengths.
In the photos, the darker ones are the new chainplates. These were now ready for installation once I started with the hardware work.
Total time billed on this job today: 5.75 hours
0600 Weather Observation: 15°, partly clear. Forecast for the day: Partly sunny, 23°