April 14, 2021
Lyra 58
Wednesday
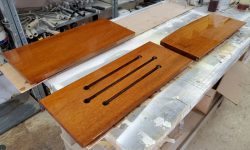
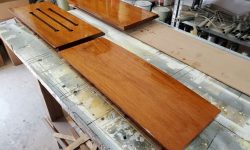
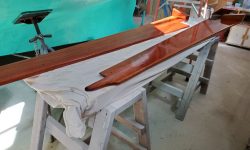
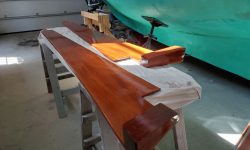
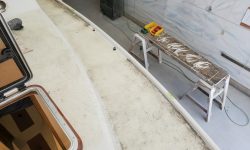
I started off with more work on the ongoing varnish. So I could continue the coaming varnish without worries about open doors or other shop work interfering, I moved the coamings into the other shop bay so I could do my varnish first thing each day. I’d already moved the smaller swashboards to my little upstairs finishing room.
After setup and the usual sanding and cleanup as needed, I applied the 6th coat of varnish to both sides of the swashboards, and the third coat to the second (inboard) sides of the coamings.
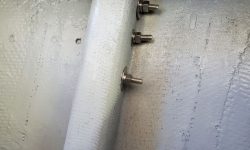
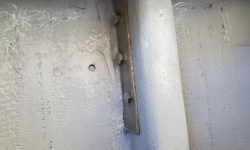
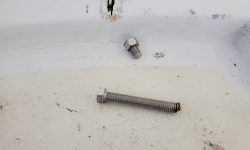
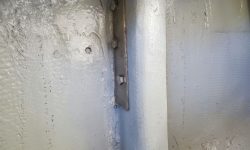
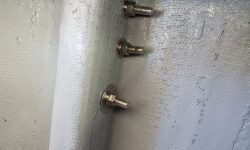
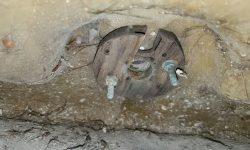
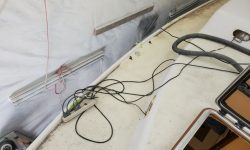
Having decided with the owner to remove the offending part of the taffrail molding, which was preventing the stern pulpit from fitting correctly, I turned to this next. First, however, while I was in the area I finished up the backstay chainplate installation, installing the new bolts I’d ordered. I’d used the old ones to determine the lengths of the replacements, but these turned out to be a bit longer than actually necessary. The topmost bolt galled before I tightened the nut fully–this happens rarely, but is unpleasant when it does–but fortunately I could cut off the bolt inside the nut and replace the whole assembly with a new one. The horrible wonky orientation of these bolts is simply how it is: I used the existing chainplate and existing holes in the knee. I guess no one ever really saw this when the only access back there was through the miserable old vertical hatch in the cockpit.
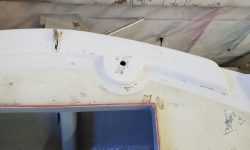
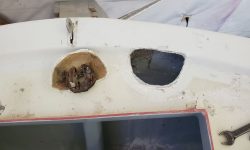
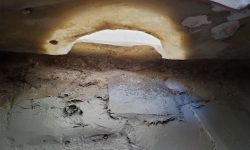
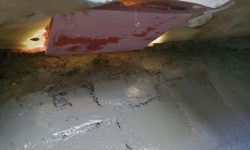
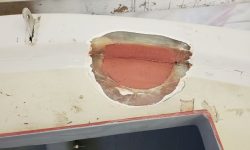
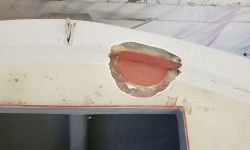
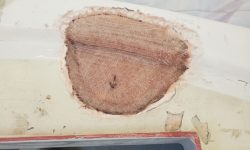
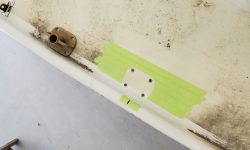
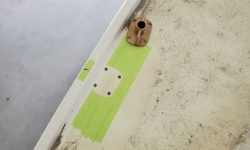
It didn’t take long to cut off the raised molded area that had once been used to mount a stern light (what a silly thing to build into a deck mold), and otherwise prepare the area for patchwork above and below.
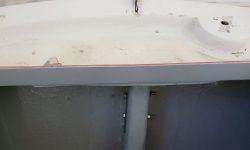
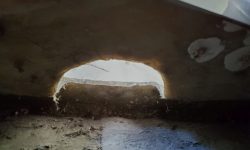
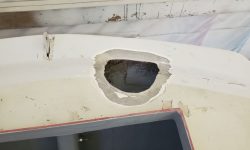
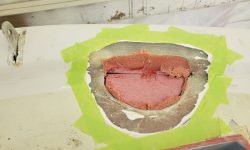
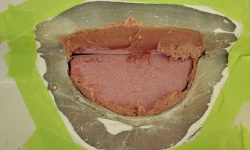
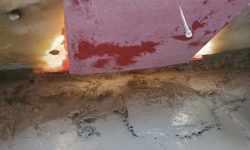
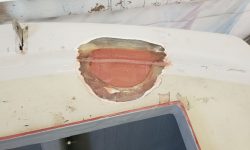
To patch this, I started with a couple pieces of prefabricated fiberglass from the scrap box. I found an offcut of 1/4″ laminate that was basically a perfect fit for the base of the opening: It even had the requisite curve/angle on the aft side to match the curve of the taffrail. To fill the short vertical edge of the repair, I used a 1-1/4″ strip of 1/8″ laminate that I cut to fit. I secured these to the back and undersides of the existing area with a thickened epoxy mixture, and some dabs of hot glue to hold things in place while the epoxy set up. I filled in around the edges of the hole with more of the thickened mixture to smooth the whole area out flush with the edge of the ground, prepared areas of the adjacent deck and left this to cure for a couple hours. This recreated the basic shape needed to fill the opening.
Sometime later, when the first application had cured to the green stage, I fine-tuned the shape a bit with a fillet at the bottom corner and some general smoothing of the first round, then installed two layers of structural fiberglass over the entire area, extending out onto the adjacent areas I’d prepared for this purpose.
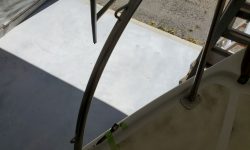
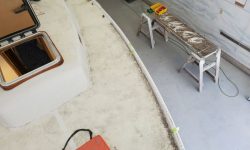
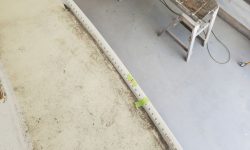
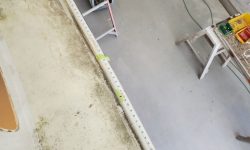
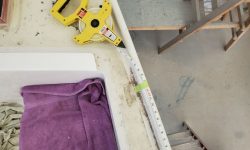
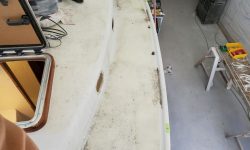
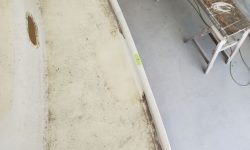
During the rest of the day, I continued work on deck hardware, mostly with the stanchion bases. With six total bases (three per side), I started by installing a flexible tape measure along the gunwale between the points of lifeline attachment on both the bow and stern pulpits (the bow rail was in place, and the attachment point of the stern rail was aligned with the front of the forward bases, which location I’d noted during the pulpit dry-fitting). This gave me a measurement between the points of 24 feet, so I evenly located the stanchion bases six feet apart along this line, making a mark on the gunwale for each. Not only would this spacing look right, but it also worked out well in terms of where the bases landed: Clear of obstructions like the chainplates or space for genoa tracks.
With one side complete, I repeated the process on the opposite side, and afterwards I scrubbed the deck in way of each mounting location to remove the dirt and grime.
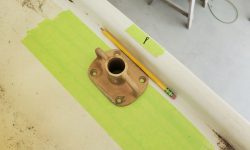
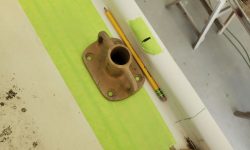
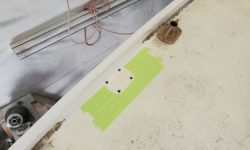
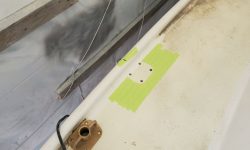
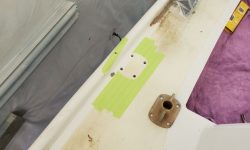
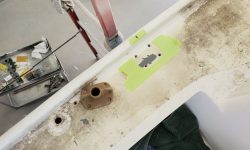
Once the cleaned areas dried, I masked over the deck at each location and, keeping the base 1/4″ or so away from the gunwale, marked and drilled/tapped the bolt holes for the 5/16″ bolts required, and scribed the edges of the fitting on the tape. I chose to do this for all six fittings now, since the day was growing late and I preferred to leave bedding and final installation for one fell swoop next time.
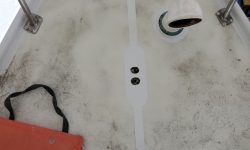
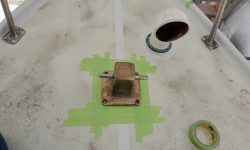
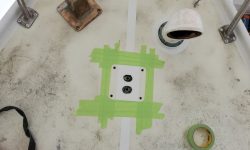
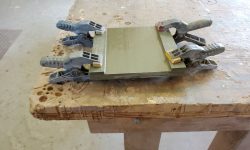
While I was in layout mode, I prepared the foredeck for the new mooring bit and marked and prepared its fastener locations in the usual way. I still needed to fill the old holes left from the original mooring cleat. Also, since this bit would span the built-in centerline reinforcement of the foredeck, which was a bit thicker than the rest of the deck and formed a protrusion on the underside, I built a fiberglass backing plate designed with this in mind, with a 1/2″ thick base cut to fit the bitt as needed, plus 1/4″ extensions epoxied on each edge, which would allow the backing to span the centerline reinforcement when installed.
Total time billed on this job today: 5.5 hours
0600 Weather Observation: Clear, 35°. Forecast for the day: Mostly sunny, 60°


