April 12, 2021
Lyra 56
Monday
Before getting going, I went through the hardware to be installed in the days ahead and noted any lapses in my fastener inventory so I could order what I needed for the specific hardware. I also ordered some backing plate material that I’d need for some of the installations.
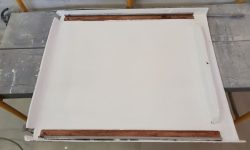
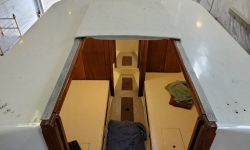
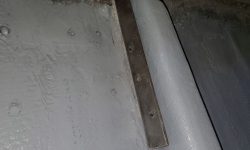
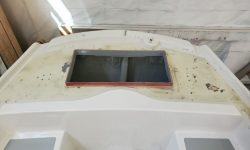
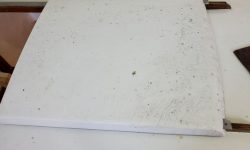
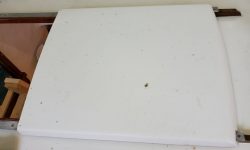
The companionway hatch was ready for final installation. This was straightforward in concept, but I found that the reinstalled/rebuilt guide rails on the hatch rubbed the wooden supports near the forward end of the companionway opening when the hatch was operated, which required me to grind down a bit of the aluminum guides for better clearance. Once the hatch slid more or less acceptably before final installation, I could proceed with installing the aluminum flat stock that the hatch slid over and around, completing the installation.
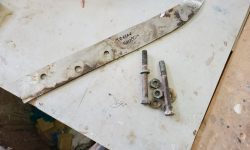
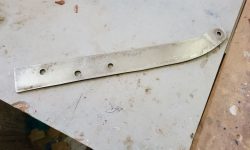
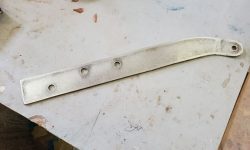
I began the hardware installation with the chainplates, with four new bronze chainplates that I’d replicated earlier plus an older, but sound, stainless steel plate for the backstay. This chainplate required a quick cleanup but was in good condition; I didn’t have long-enough bolts on hand for this, so I ordered replacements to have on hand next time.
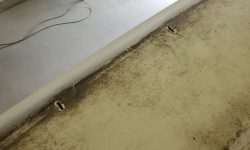
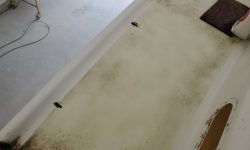
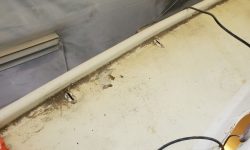
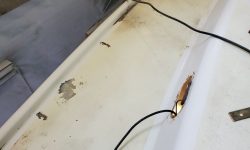
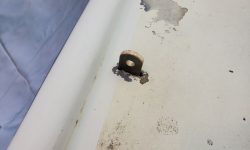
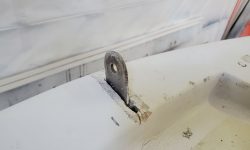
At the chainplate locations on the sidedeck, the existing slots required a bit of cleaning out and slight enlargement to handle the new, thicker chainplate stock. This was quick with a drill bit to ream out the openings as needed. To better prepare the deck for the installation, I had good luck cleaning up the well stuck-on dirt from 10 years of neglect with a Scotch-Brite pad (maroon) and 409: The dirt dissolved with essentially no effort, leaving behind an imperfect but much better surface.
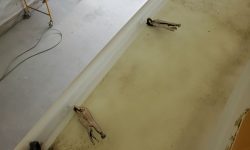
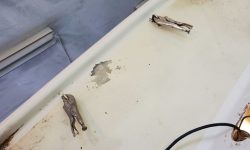
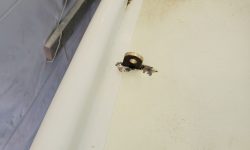
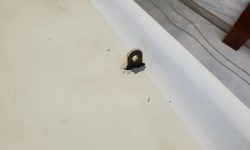
Thusly prepared, I slipped the new chainplates through the slots, clamping on some locking pliers so the chainplates couldn’t slide all the way through.
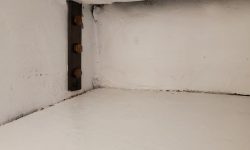
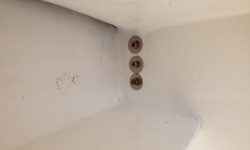
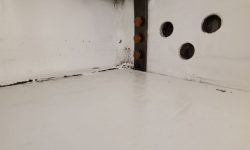
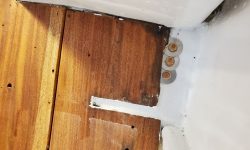
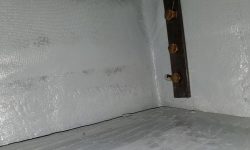
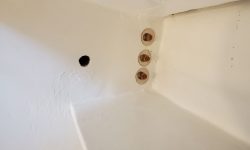
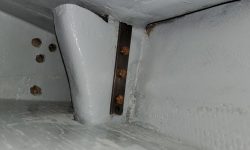
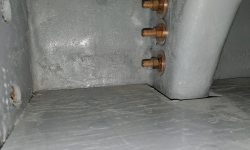
Down below, I bolted the chainplates in with new bronze fasteners and large SS fender washers, since I’ve never seen bronze fender washers.
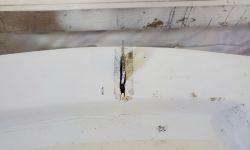
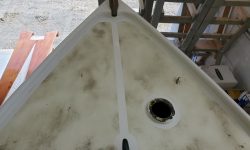
The slot for the backstay chainplate wouldn’t allow the chainplate through–too narrow–so I opened it up a bit as needed and slipped in the chainplate, which now awaited the correct fasteners once they arrived. Meanwhile, I turned my scrubbing attentions to the poor poop deck, which was in dreadful cosmetic condition overall but at least looked a little better once cleaned up. Cleaning this area took only a minute or two.
I also tried the new method on the top of the companionway hatch, which looked better afterwards despite the various sap and resin spots that weren’t going to go away till the whole deck was repainted sometime.
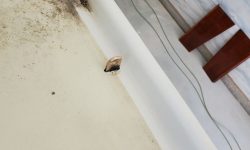
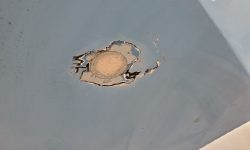
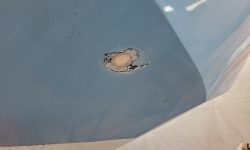
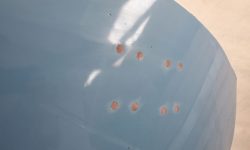
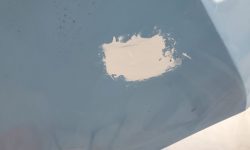
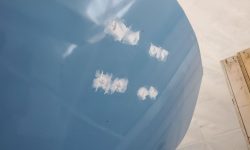
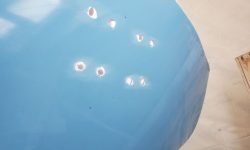
Opening the chainplate slot with a multitool led me, stream-of-consciousnesswise, to the old engine exhaust outlet in the counter, which I’d been meaning to cut off for ages and now, with the tool plugged in and on the go, I took care of it. Afterwards, I applied some quickie acrylic fairing compound over the old opening, and also to refine the previous epoxy fill work on the four outboard mount bolt holes in the transom. I had an old can of the current hull paint on hand, provided by the owner, and hoped that I could use enough of it to color in these areas for improved appearance till such time as the boat might be repainted in the future, at which time a more permanent and better repair could be completed on these basic hole patches.
The lightweight compound on the transom holes cured enough to allow light sanding late in the day, but the slightly thicker application on the exhaust needed a bit more time. I’d get back to it next time I passed by.
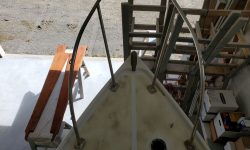
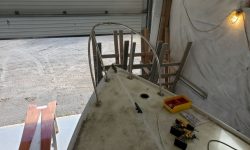
I wanted to start laying out the bow pulpit, though I wouldn’t have time to complete its installation this day since I soon needed to turn to sanding and varnishing in my daily way, but I could get the process started first by scrub-a-dubbing the foredeck in way of the pulpit mounting area (my goal was to have the deck clean enough to accept sealant where needed), then figuring out where the pulpit should land. Since the pulpit wouldn’t stand upright on its own, once I figured the location I marked, drilled, and tapped one mounting hole for a 1/4-20 machine screw to tack it in place so I could eventually layout and mark the remaining fastener holes. Knowledge of the work done on the boat previously, 10 or more years before, indicated that the main decks had been recored with Coosa board, so there would be no need to overbore and epoxy fill at most or all fastener locations.
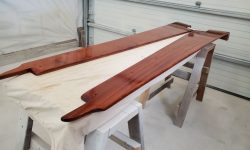
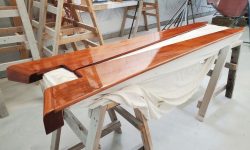
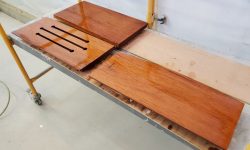
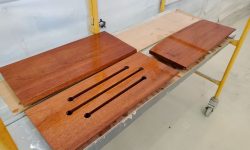
I’d get back to the pulpit next time, but now I had to get to my daily varnish work, somewhat reduced now that the cockpit locker lids had their sufficient first-season coating (6 coats). I continued work on the coamings, which were now receiving their 6th coat on the current side, and the swashboards, now on their 4th coat on both sides.
Total time billed on this job today: 5.5 hours
0600 Weather Observation: Overcast and fog, 45°. Forecast for the day: Eventual clearing and windy, 56°


