March 15, 2021
Lyra 38
Monday
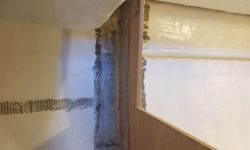
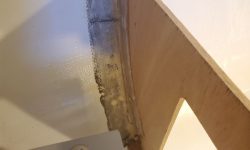
After a late-ish start following an errand, I finished up the new galley tabbing with a quick water wash and light hand sanding just to remove any sharp edges or nubs from the fresh fiberglass.
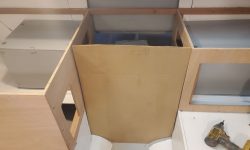
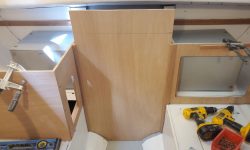
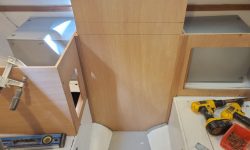
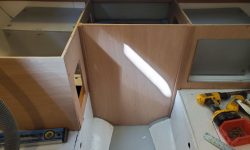
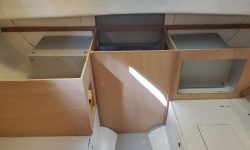
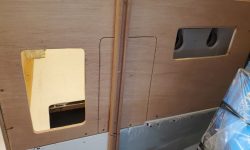
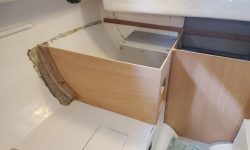
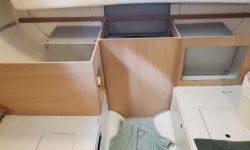
With the side galley cabinets and engine room defined, now I could build and finish up the front panel to the engine room, which would finish off the galley in the main and further define the mechanical space, which would be helpful as I transitioned into some of the wiring and related installations. I used my original cardboard template/mockup to check the fit between the real cabinets and, finding it good enough for the purpose for now, proceeded with the final installation details and construction.
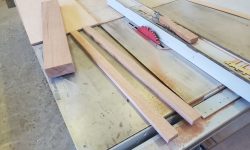
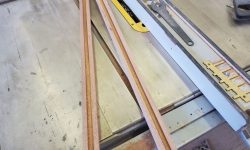
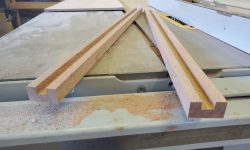
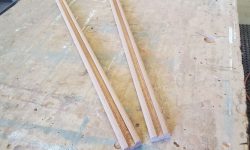
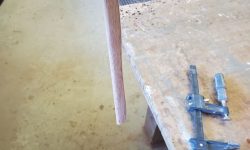
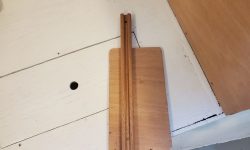
To position and secure the front panel, allowing for easy removal, I chose to build simple channels for each side, into which the panel would slide and by which would be held. From some of the available stock of Sipo, I milled two blanks 1-1/2″ wide (allowing for a 1/2″ wide dado to accommodate the plywood, plus 1/2″ on each side) and 3/4″ thick, and long enough to span the height and then some. I milled 3/8″ deep by roughly 1/2″ wide dados through the centers of the strips, which held the 12mm plywood securely, but not tightly to allow for ease of installation and removal. To finish off the pieces, I rounded the outer corners and sanded them smooth.
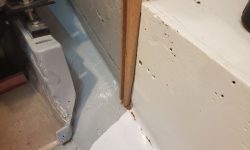
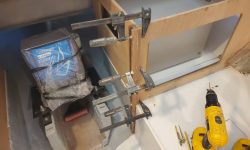
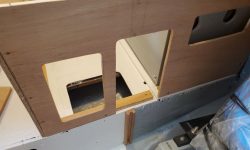
In all-new construction, installation would have been quick and simple, but here I found it to be fussier than expected, since the stiles needed to run on and between both the new, generally straight and true cabinetry in the galley, and the older, less-so original settees and tabbing at the bottom edge. For the panel to work properly, the grooved stiles needed to be basically straight and plumb, and it required several rounds of scribing and shaping and fitting along the bottom few inches before I got the stile to fit acceptably over its whole length. I secured it for now with screws and glue through the dado into the cabinetry behind, with the groove aligned with the front of the adjacent cabinet.
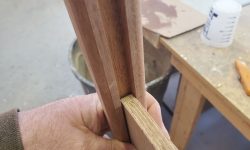
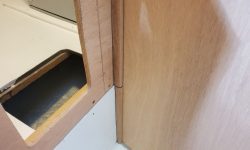
This let the stile overhang the front of the port cabinet by about 1/2″, and although at the onset I’d considered making a trim that would incorporate a little return onto the cabinet to finish off this overhanging edge (while also hiding the joint in the plywood), this would have turned into a highly fussy and difficult thing, so instead I added a second piece of the mahogany to finish off the corner, gluing it to the stile during its final installation (which was a bit later on in the process).
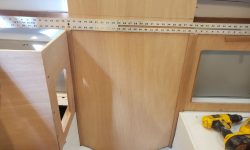
To ensure that the engine room front panel was properly in plane with the port cabinet as intended, once the first stile was in place I used a straightedge to mark the cabinet on the opposite side, at both the top and settee level. These two marks gave me a layout line where I could align the stile for the starboard side. For now, I cut the stile to length and shaped the bottom as needed to fit the hull and tabbing and other contours of the cabinetry; this went more quickly than its counterpart to port.
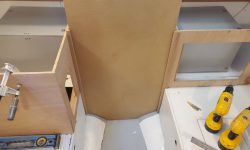
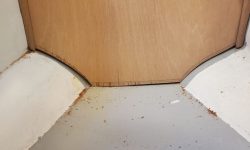
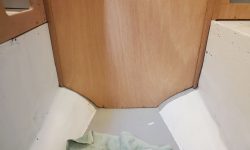
Before installing the stile, however, to be sure it ended up exactly where it needed to be–measurements and transfer marks notwithstanding–I decided to cut and fit the actual plywood panel first, which would help ensure that the stile was where it needed to be. Starting with my original mockup panel, I decided to cut a new cardboard template since the original was creased and a bit beat up at the sides. Using the new, fresh cardboard, I made some needed adjustments to the edges of the panel, and eventually transferred it to a section of 12mm plywood for the real thing. With the base cut roughly to shape according to the template (fine-tuning to come just a little later), once the panel fit well enough in the grooved stile I could finalize the position of the starboard stile and install it with screws. As it happened, there was a slight, perhaps 3/32″ adjustment to the top edge of the original line I’d struck.
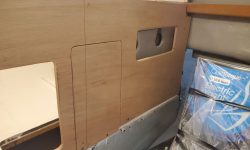
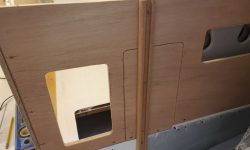
The stile spanned directly the removable battery access panel in the bulkhead, which was expected but turned out to be more useful than anticipated since it would give me a way to secure that panel without additional cleats, enhancing simplicity and avoiding undue obstructions in the right-sized opening.
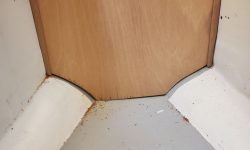
Now I scribed, cut, and fitted the bottom edge of the panel to better fit the curvature of the hull and cabin sole. Once I was satisfied with the fit, I used a straightedge across the two sides of the galley to strike the top edge of the panel and cut it to the correct and final height.
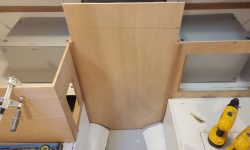
To allow the battery panel to be removable if needed, I marked and cut the engine panel stile just below the bottom of the battery panel, creating two sections. The top section, secured to the panel with two screws and glue, held the panel securely, while the top few inches of the stile, which secured to the main bulkhead with a single screw, held the panel properly in place and alignment with the surrounding cabinetry. With one additional screw through the bottom of the small panel into the cleat on the settee, this panel was well-secured, yet easily removable when needed.
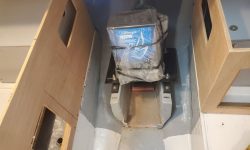
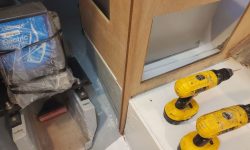
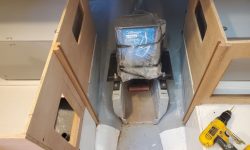
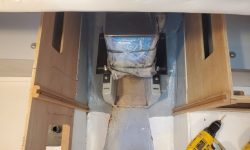
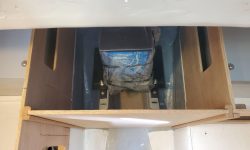
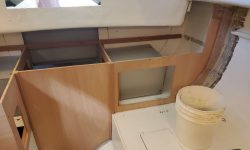
The new engine room front panel finished off the basic galley cabinets, and fit as far aft as practicable to leave as much cabin space available as possible. There was just enough clearance forward of the engine foundations to allow for the installation of the fiberglass cleat I’d made to secure the house battery beneath the electric motor.
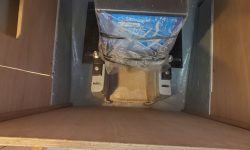
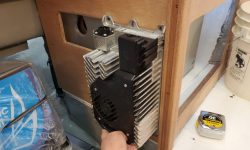
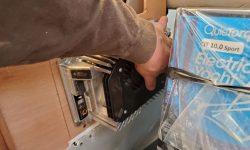
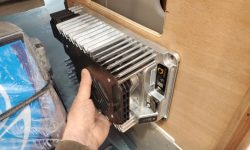
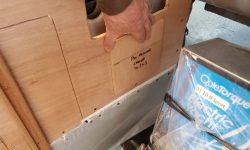
Now it was near the end of the day, but with the engine room now fully defined I could start thinking about the final layout for a pair of battery chargers–one for the 48-volt propulsion bank, and a smaller one (not on hand, but with a plywood stand-in) for the 12-volt house battery. The engine room seemed the best place for these chargers, and I mocked up a few possible positions for the larger charger for the owner’s consideration.
The smaller charger, represented by a scrap of plywood cut to size, would fit in any of the same positions, depending on where the big one ended up, and thus posed no particular installation issues. Other installations that would compete for the remaining space on these bulkheads included a shunt for a battery monitor, a large main system fuse for the engine bank, wire runs for various cables, and possibly in the future some 110-volt outlets to power the chargers, I’d account for these and other installations once the chargers were located.
Total time billed on this job today: 5.75 hours
0600 Weather Observation: 8°, clear. Forecast for the day: Sunny, windy, 18°


