February 15, 2021
Lyra 18
Monday
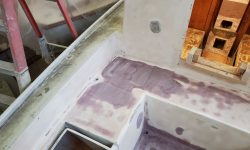
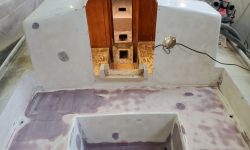
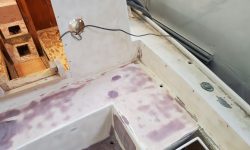
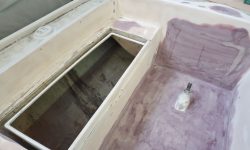
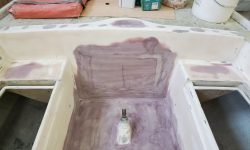
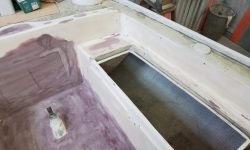
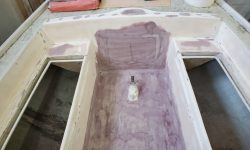
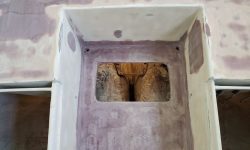
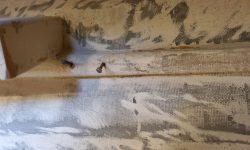
The cockpit required (what I hoped was) one final round of major sanding, this time just to square away the two larger patches over the icebox hatch and at the lazarette, and the minor areas at the cockpit well corners that I’d still been working on. Using only a finishing sander and finer paper than during the earlier stages, this work still occupied a fair bit of time, and afterwards, I sanded the entire cockpit–seats, coamings, bulkhead, and well–with 120 grit on the finishing sander to bring the whole area into readiness for high-build primer.
The lazarette hatch patch (natch) still required a small bit of touch-up fairing to take care of a troweling seam in the center, but that was small stuff. The cockpit scupper openings required just a touch more work too, but now I could and would take care of these small chores in between some of the other work I’d planned rather than having the cockpit remain the priority.
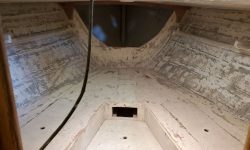
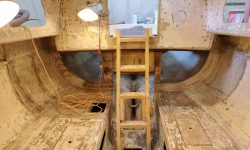
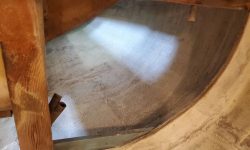
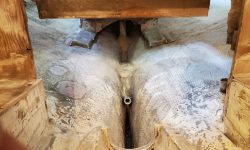
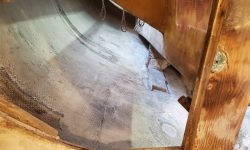
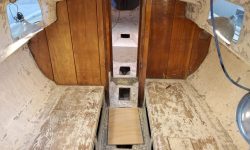
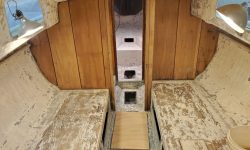
After doing some minor sanding work on some small projects unrelated to Lyra, I spent some time cleaning up the boat, mainly the interior, to make it habitable and get ready for the work list ahead. In the immediate future my plans included painting most of the interior, including bilges and lockers, which would get things ready for some of the other critical installations like the propulsion and electrical systems, and some initial interior construction.
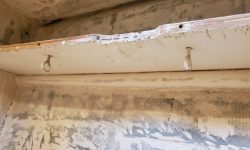
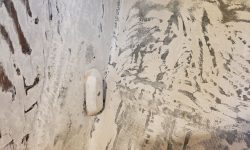
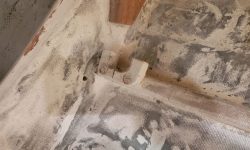
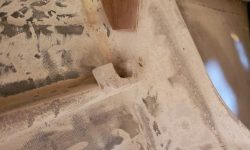
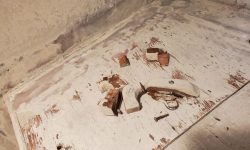
Before I could get to the painting prep and painting itself, there were a couple small jobs I should take care of first, starting in the forward cabin, where I had to remove a few leftover pieces of whatnot to clean up the space: A couple eyescrews beneath a shelf, some old fasteners, and some wooden supports that remained behind from some old installation or another. This was hardly a noteworthy project, but part of the process nonetheless. I made short work of it.
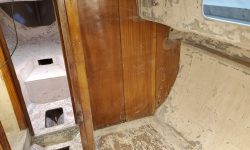
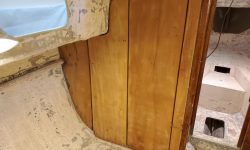
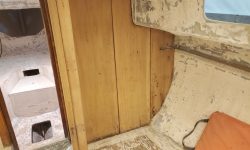
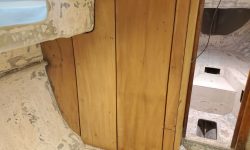
During the interior sanding, I’d sanded away the varnish from the port side of the main bulkhead, where some previous owner had installed thin (but wide) mahogany planks over the plywood beneath. But I’d stopped after doing that section, as the old finish was too stubborn to remove efficiently with sanding alone, gumming up sandpaper too quickly, so I’d left the starboard side to be stripped with scraper and heat, which I turned to now. I wanted to finish this before I did any painting so as not to harm new finishes; I planned get a coat or two of varnish on the raw wood to seal and protect it before I painted as well.
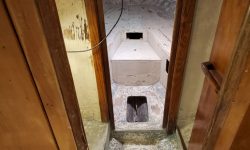
The starboard bulkhead was deceptively large, and took some time to strip as the old coating was heavy and gummy and didn’t scrape that cleanly either. I also stripped the trim at the passageway leading to the head, but stopped there, planning to leave the bits of natural woodwork in the head as is because of scope considerations (those areas could be lightly sanded and some new varnish applied later).
Once I’d stripped the old varnish, I sanded both sides of the bulkhead, and all the trims in the area, with a finishing sander and a couple grits of sandpaper to clean up the wood and prepare it for recoating.
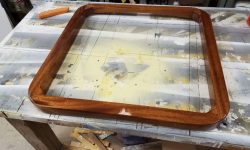
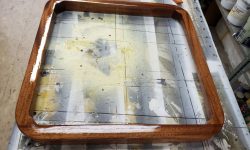
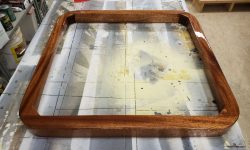
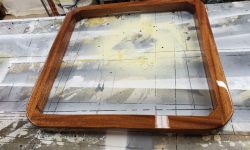
This took up the bulk of the afternoon, and I finished up with another light sanding and the 5th coat of varnish on the new forward hatch frame.
Total time billed on this job today: 6.25 hours
0600 Weather Observation: 15°, clear. Forecast for the day: Becoming cloudy, snow at night, 30°


