February 5, 2021
Lyra 11
Friday
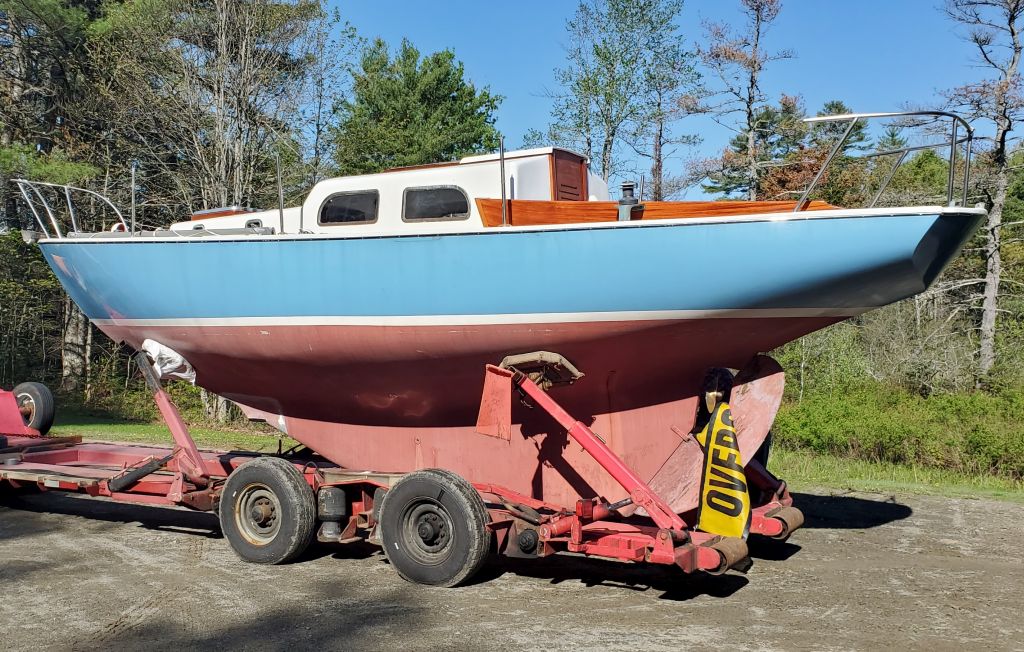
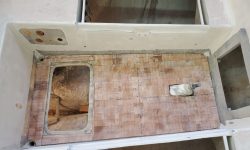
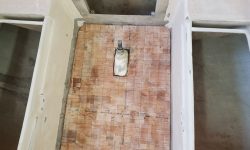
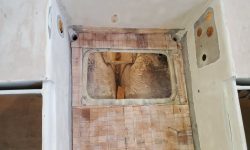
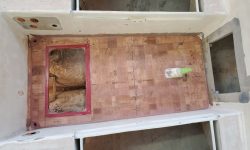
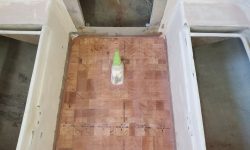
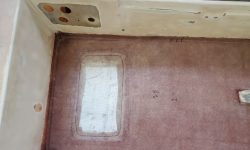
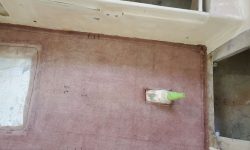
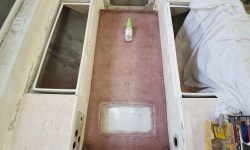
My main focus for the day was the cockpit sole and installing the new top skin laminate. Before I could do that, however, I had various other preparations to complete. Removing the weights and plastic sheeting, I lightly sanded the top of the core to remove any ridges or high spots leftover from the epoxy and installation.
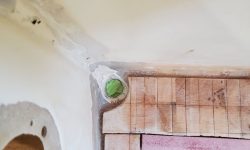
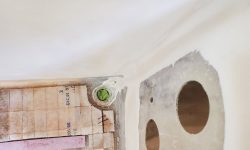
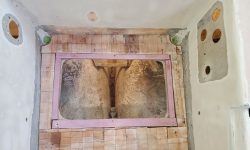
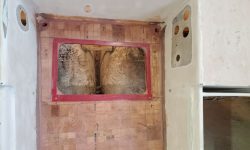
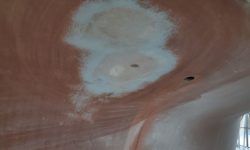
To fill in the area around the hatch opening, I cut pieces of 1/2″ fiberglass laminate to rough size. Then, I glued them in place with epoxy adhesive, using more of the thickened epoxy to fill in small gaps around the hatch and, eventually, at the edges of the new core where it met the cockpit sides. Since the original sole had a fairly wide radius at this corner, and the cockpit well featured slightly angled sides, the top edge of the core didn’t touch the sides, so I had to fill these gaps with epoxy now. After filling the cockpit drain tubes with some tape just below deck level, I filled the voids I’d left in the core around the scuppers with more thickened epoxy; I’d redrill and shape these openings more later in the reconstruction process. Finally, I filled all the kerfs in the core with thickened epoxy and troweled over the whole area, which served not only to fill and smooth, but also to wet out and prepare for the top skin.
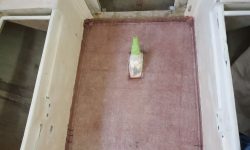
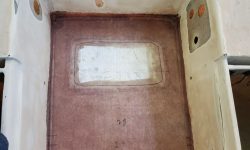
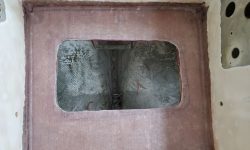
While allowing the epoxy to tack up just a bit, I prepared my station to wet out the top skins, then, when appropriate, I installed two layers of 1708 fabric over the new core, bringing the material slightly up the edges of the cockpit well as designed. I brought the laminate right over the scuppers for now and would redrill the holes later. During fabric cutting earlier, I’d cut out the bulk of the opening for the new deck hatch in the first layer of cloth, but, belatedly growing wiser, I’d left the cloth whole for the second lager but didn’t wet out the whole area. This did make the cloth more stable during installation. Much later in the day–so late I almost forgot and worried I’d waited too long–I used a sharp knife to trim the fiberglass at the edges of the hatch opening, removing the excess from within. As it happened, the epoxy had cured just the right amount to allow for a clean cut. This hatch opening would require minor recutting to the pattern later.
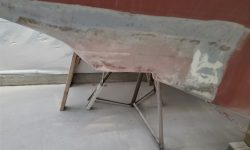
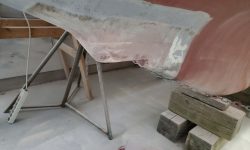
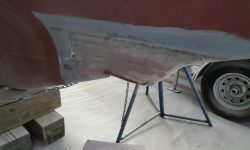
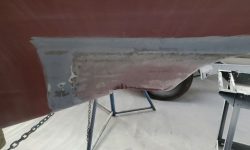
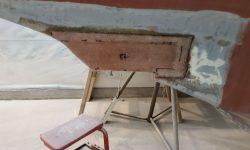
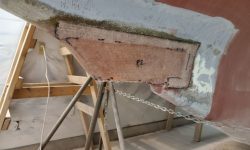
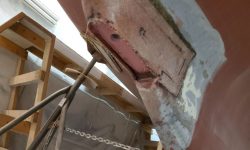
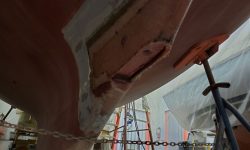
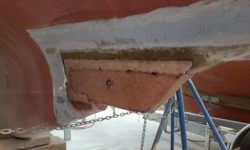
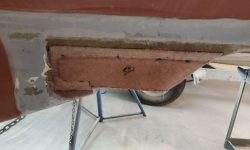
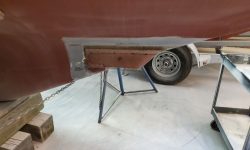
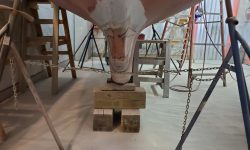
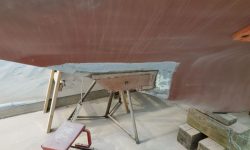
With the day’s main event behind me, I turned to some additional tasks, starting with the transducer housing fairing and ongoing patchwork on the old engine intake through hulls. These works required light sanding, which nearly completed the work on the engine intake–save for a small low area that required a bit of filler-and prepared the transducer for the next step, which was to install structural fiberglass over the whole area, to strengthen and complete the housing, and to tie it all in with the adjacent hull.
I patterned and cut two layers of fiberglass for the transducer, staggering the layers and overlapping the seams between the two. Each piece required a custom cut at the forward edge to wrap around the curved portion of the housing. Afterwards, I installed the new fiberglass in epoxy resin. All that remained now was some final fairing once the new fiberglass had cured.
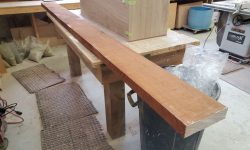
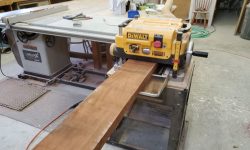
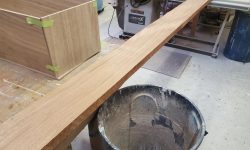
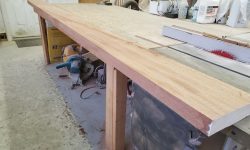
I’d received a piece of 8/4 Sipo (mahogany) for the new forward hatch frame (and other trims as needed), and to finish up the day’s work I planed the rough stock till it was smooth on both sides, ending up with about 1-7/8″ thickness thereafter. Then, I straightened one of the irregular edges to prepare the stock for final dimensioning and the construction of the hatch frame in the near future.
Total time billed on this job today: 7.25 hours
0600 Weather Observation: 19°, clear. Forecast for the day: Increasing clouds, rain or snow in the afternoon, 38°.


