


April 28, 2021
Lyra 67
Wednesday
The adhesive securing the countertop had sufficient cure time overnight, so I removed the wedges and weights in order to continue work on the countertop.
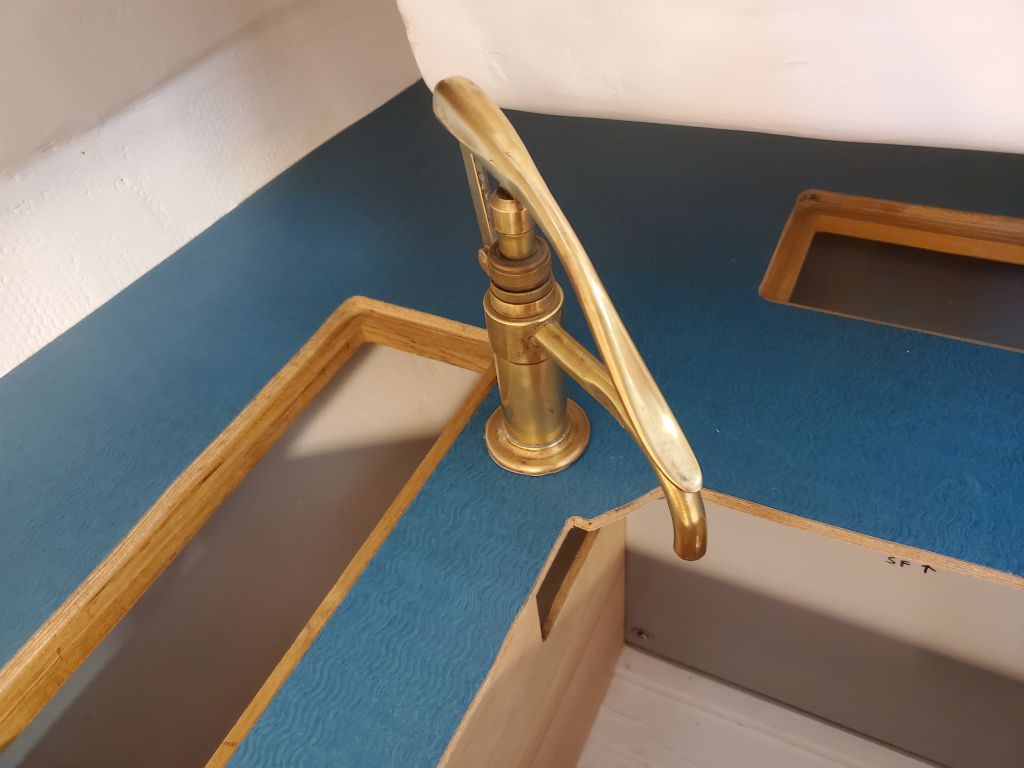
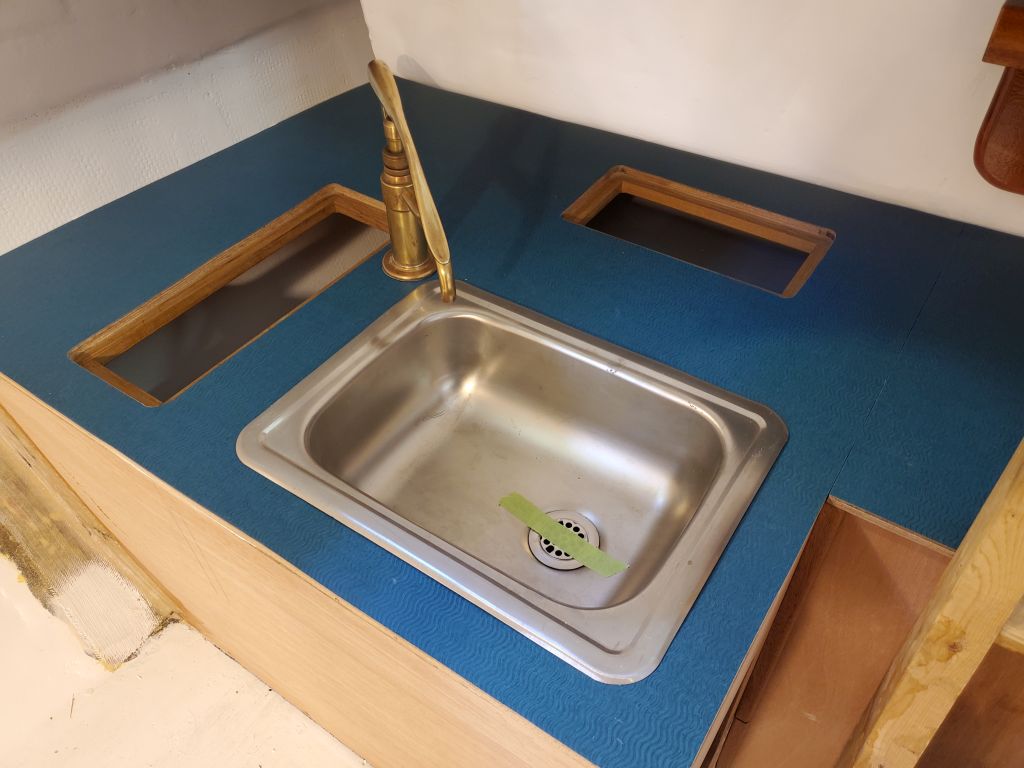
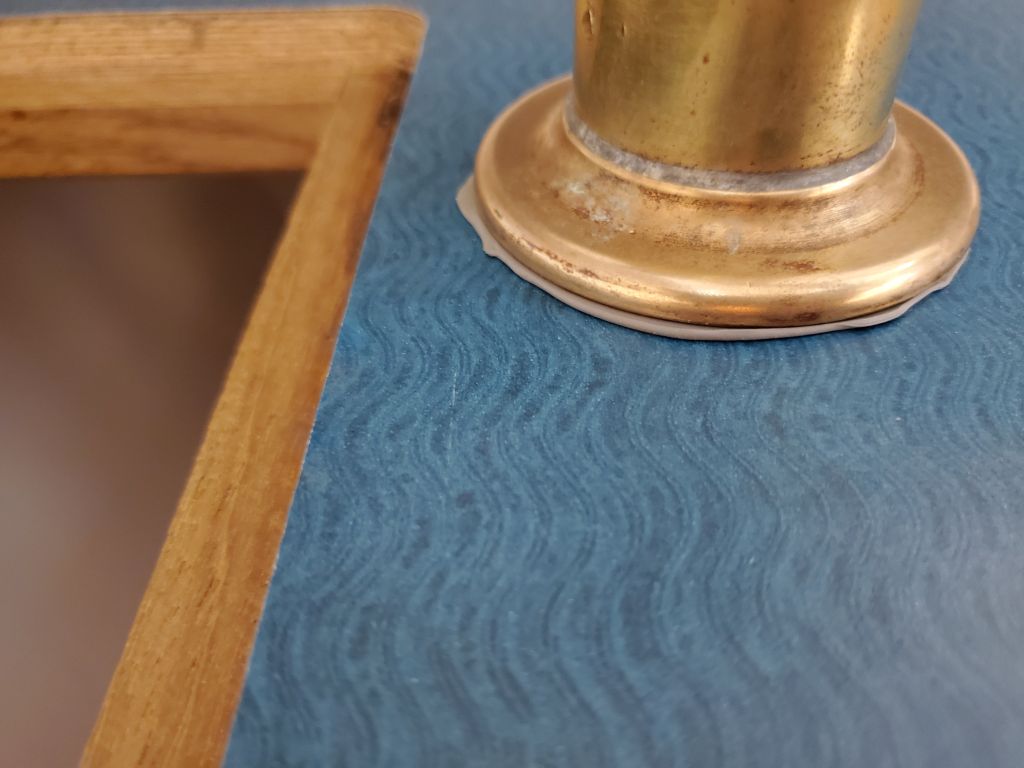
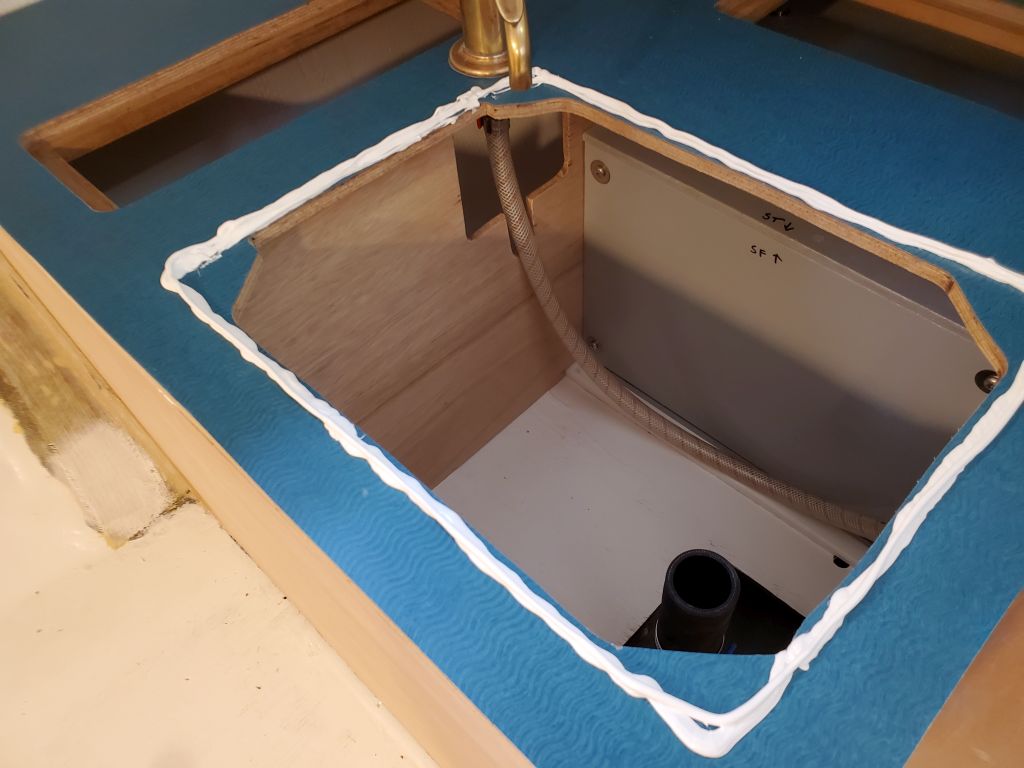
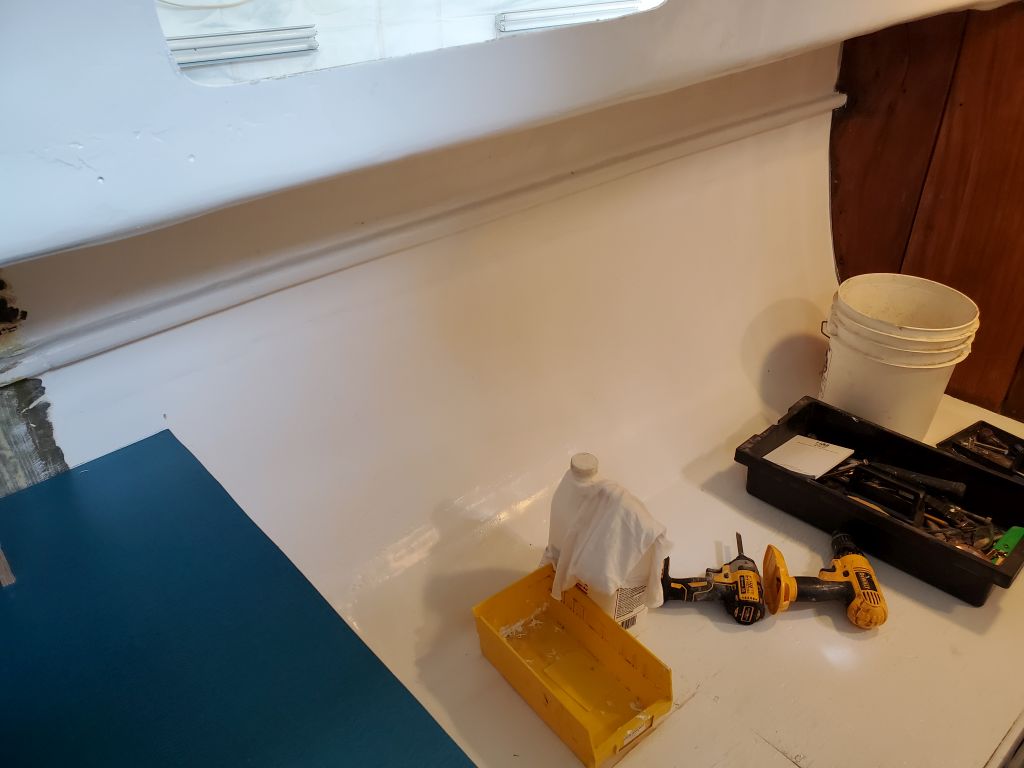
Next, I installed the faucet, sealing the base with butyl tape to prevent any stray water on the countertop from seeping through the mounting hole and securing the faucet tightly with its fixing nut.
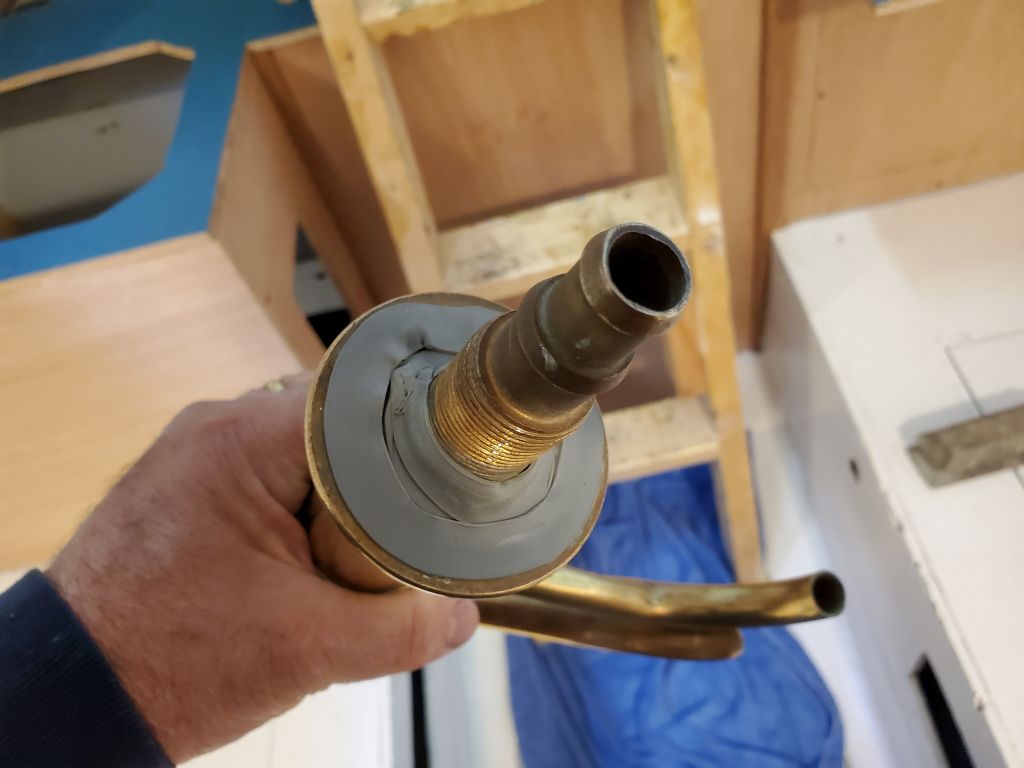
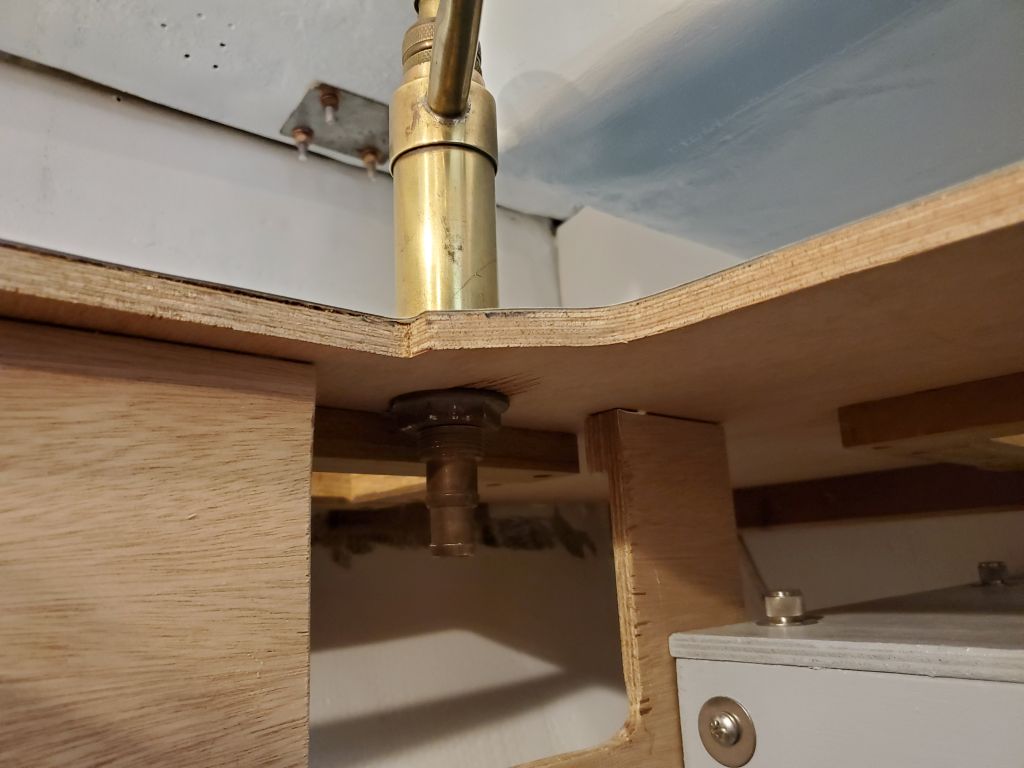
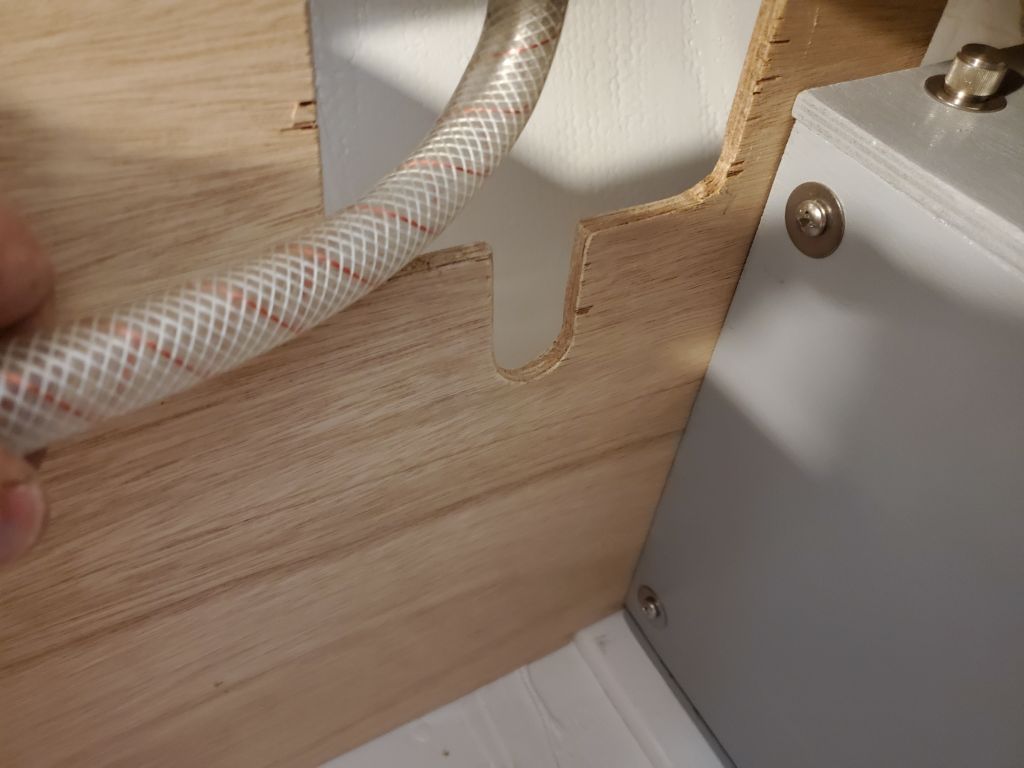
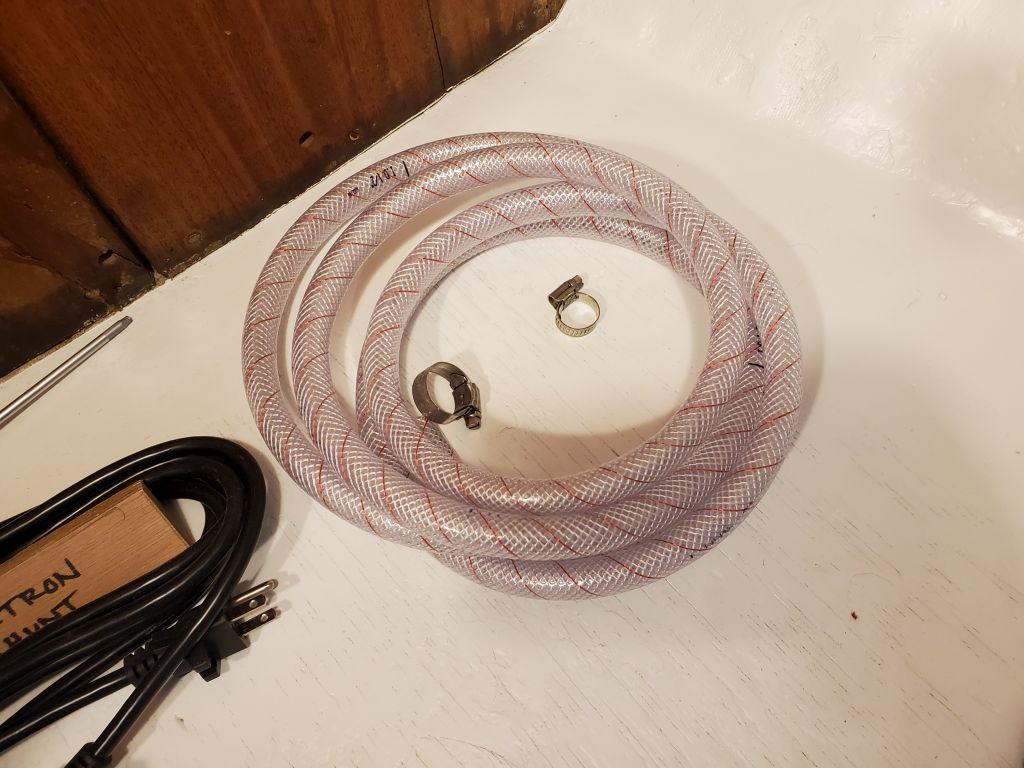
Though there was reasonable access to the underside of the faucet from the locker just behind it, I thought it’d be nicer to pre-install a length of water hose while access was wide open. The foot pump, and standard size for water fittings in boats of this sort, was for 1/2″ hose, but the faucet had a hose connection designed for either 5/8″ or, further up, 3/4″ hose, which I discovered when I tried to install the 1/2″ hose. So instead, I installed a shorter length of 5/8″ hose, which would have to be reduced down to 1/2″ for the pump and the water tank outlet itself. I didn’t have a reducing adapter on hand, so that would have to wait.
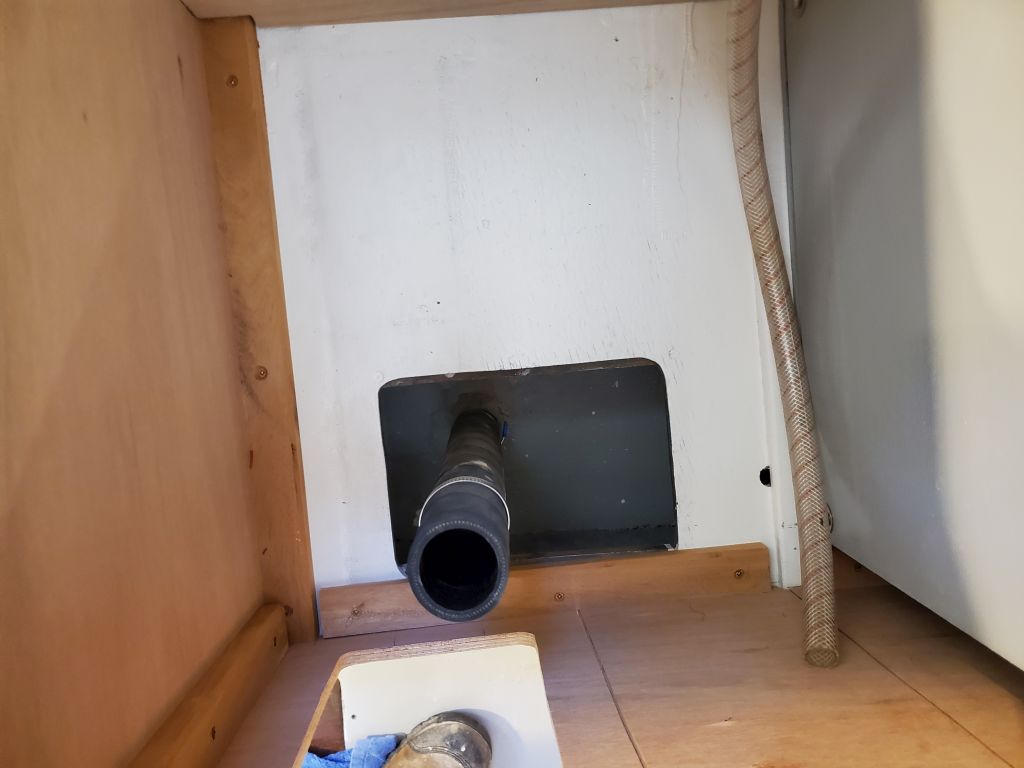
The the nearby bulkhead beneath the faucet pinched the hose more than I liked, so I created another relief cut in the bulkhead to allow the hose to run freely down from the faucet connection.


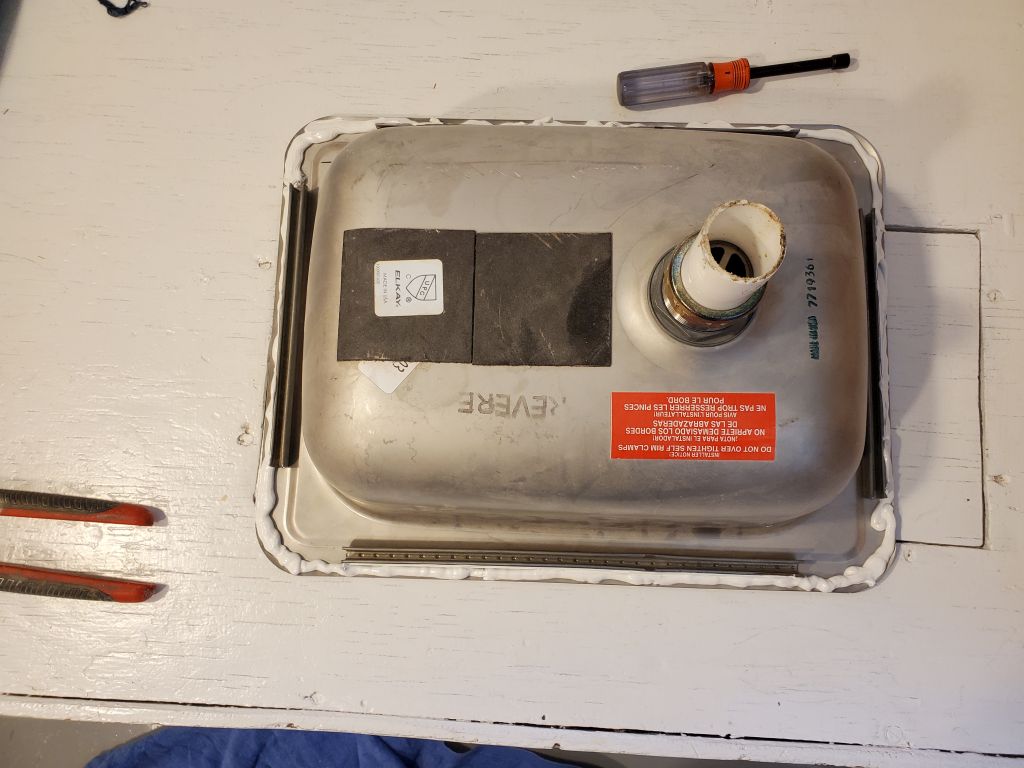
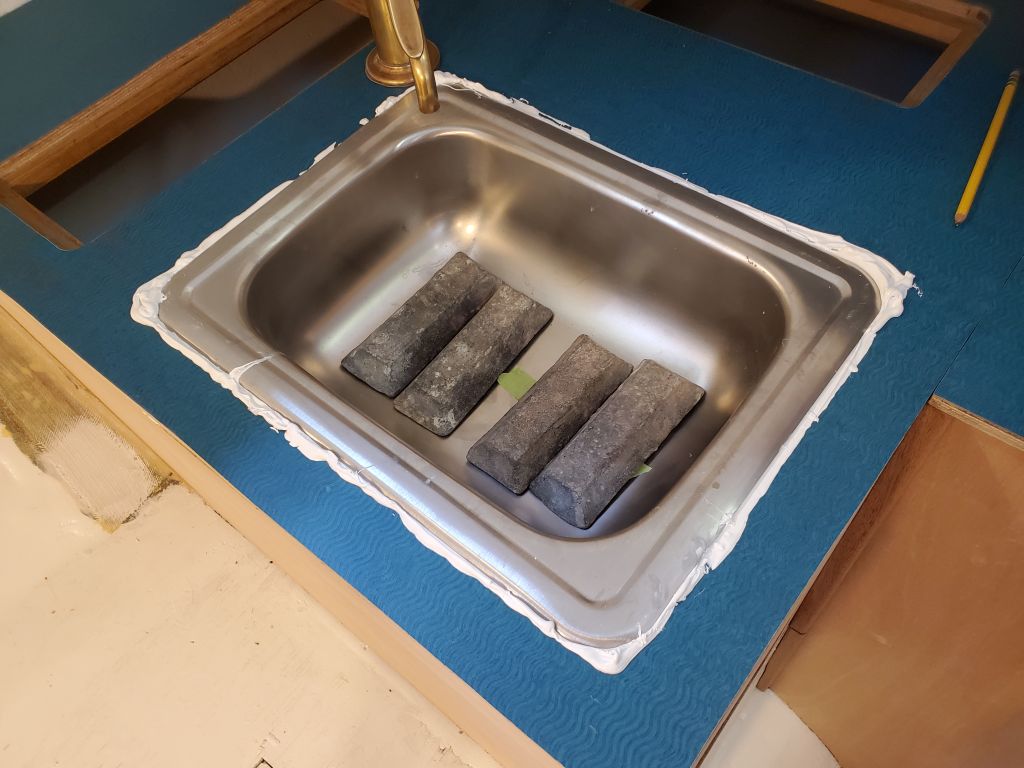
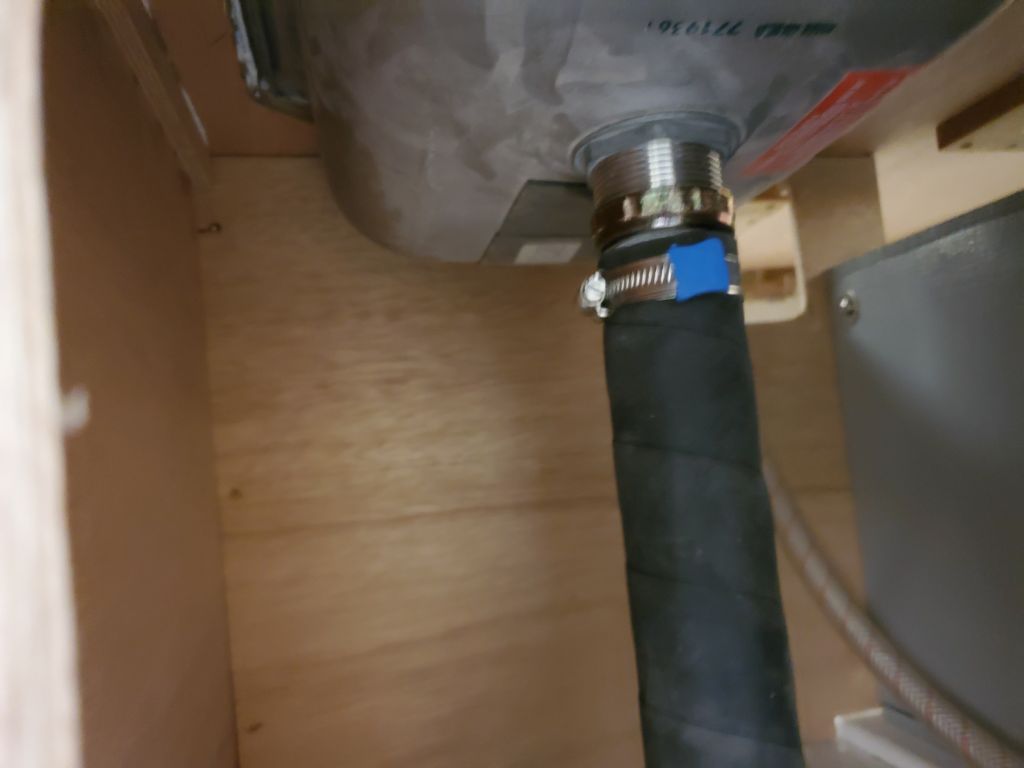
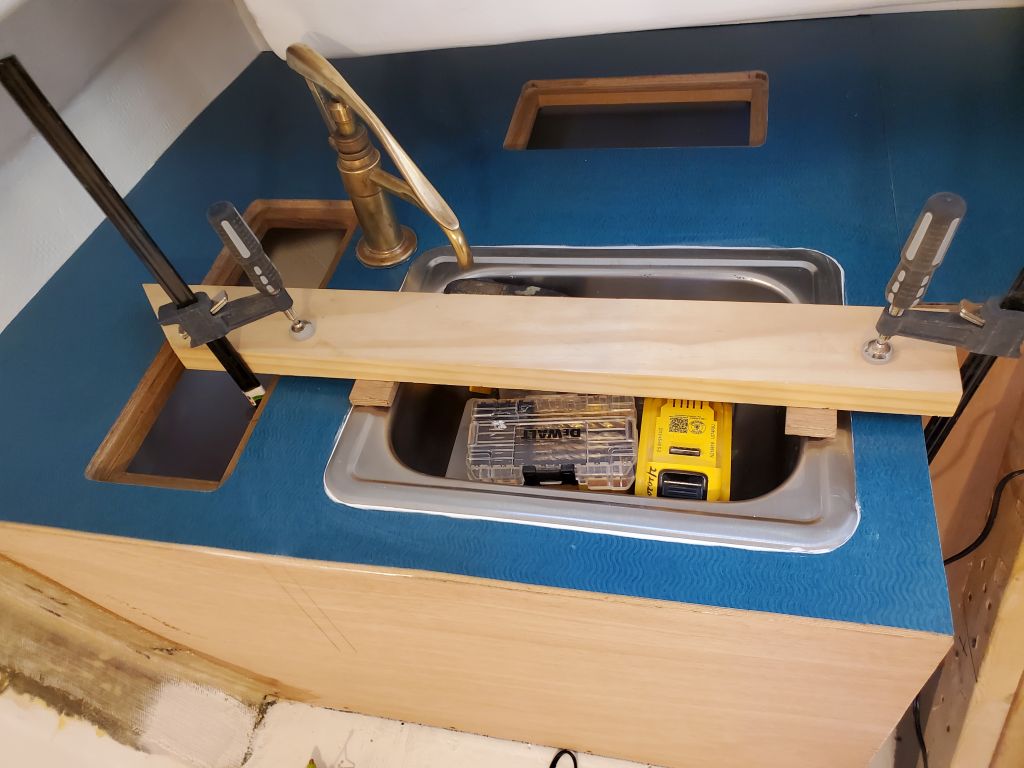
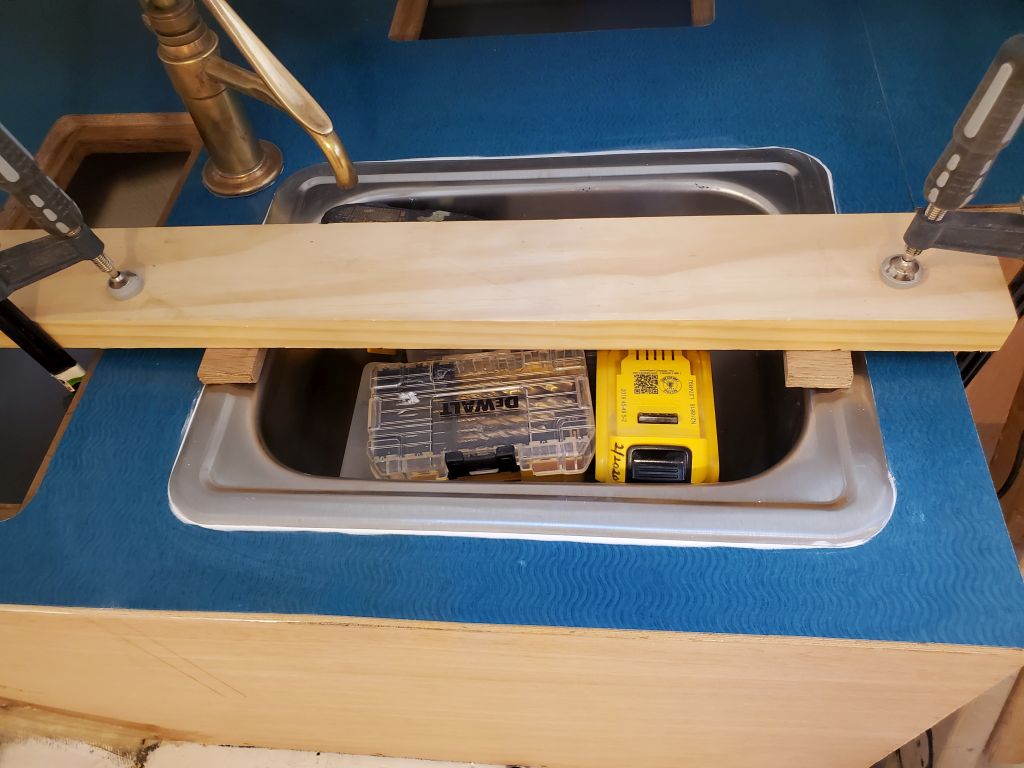
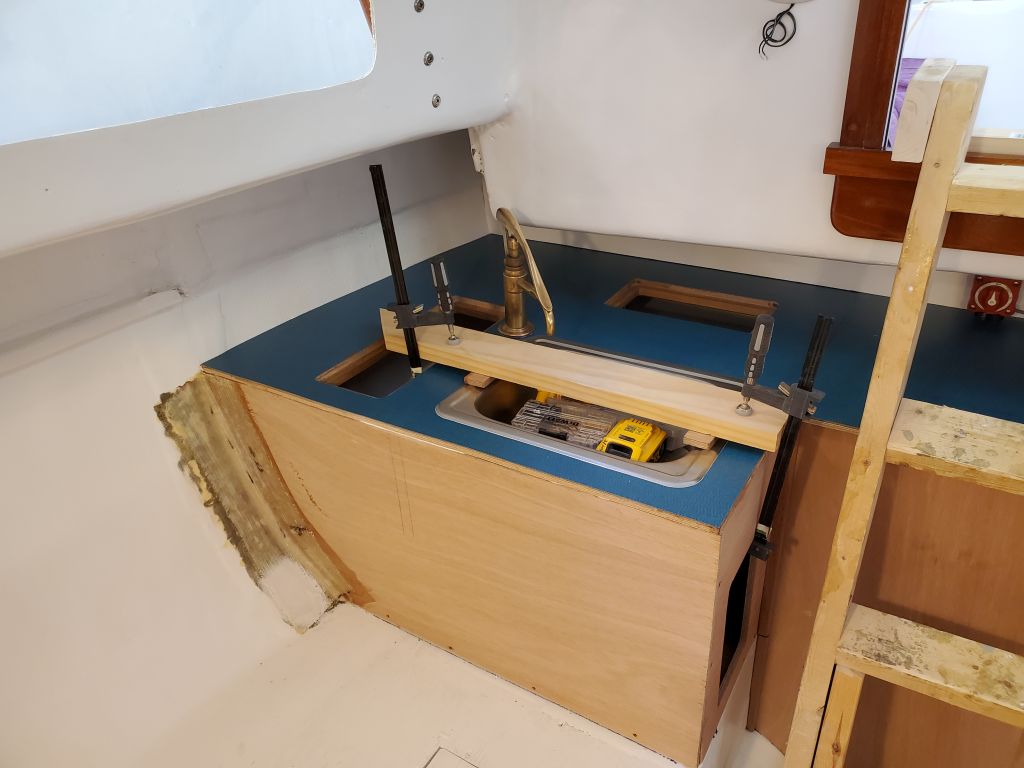
Next, I installed the sink in a heavy bed of sealant, which would secure and seal the sink in place. Before doing so, I cut the drain hose to the proper length, secured the lower end to the hull outlet, and, while installing the sink, aligned and installed the upper end at the sink drain. I filled the sink with heavy things and, needing some additional pressure to flatten and secure the flange, made up a clamping block that pulled things down as needed. All but the final photo in this series show the sink before final sealant cleanup; somehow I have only the single photo after cleaning up the squeezeout completely.

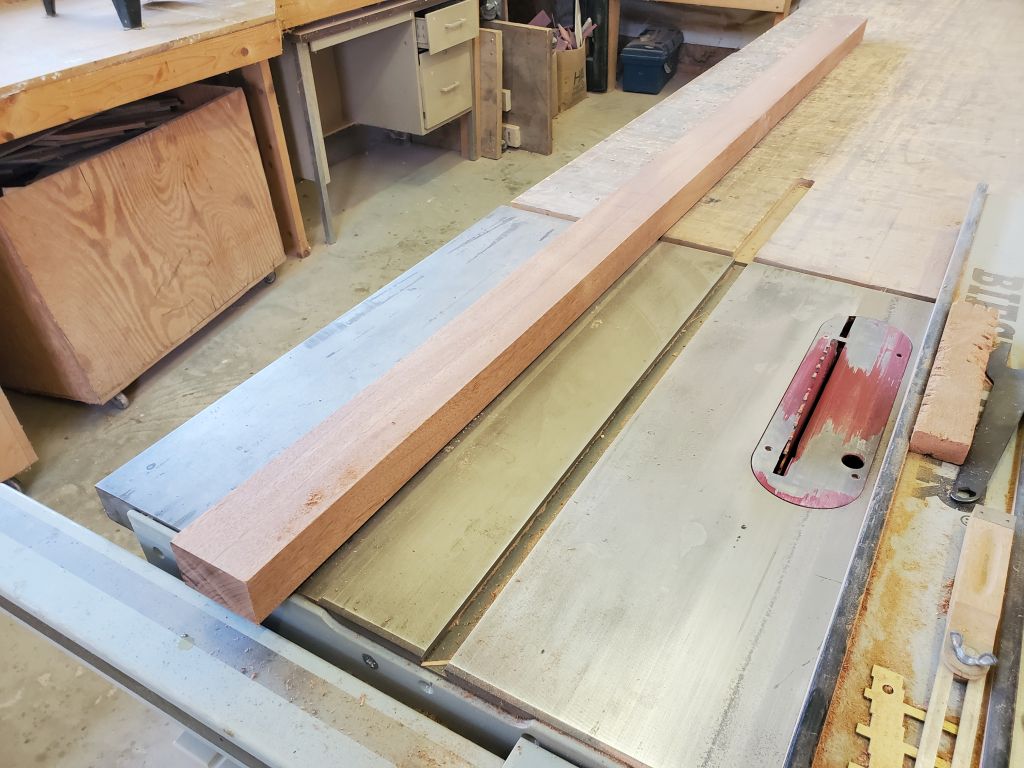
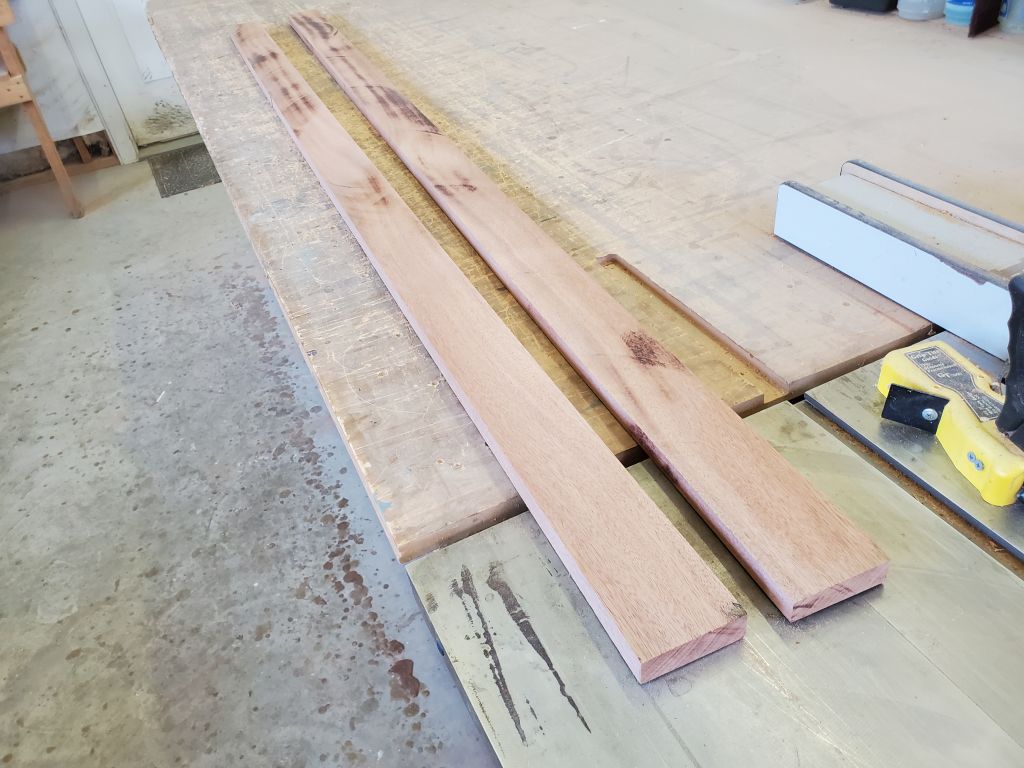
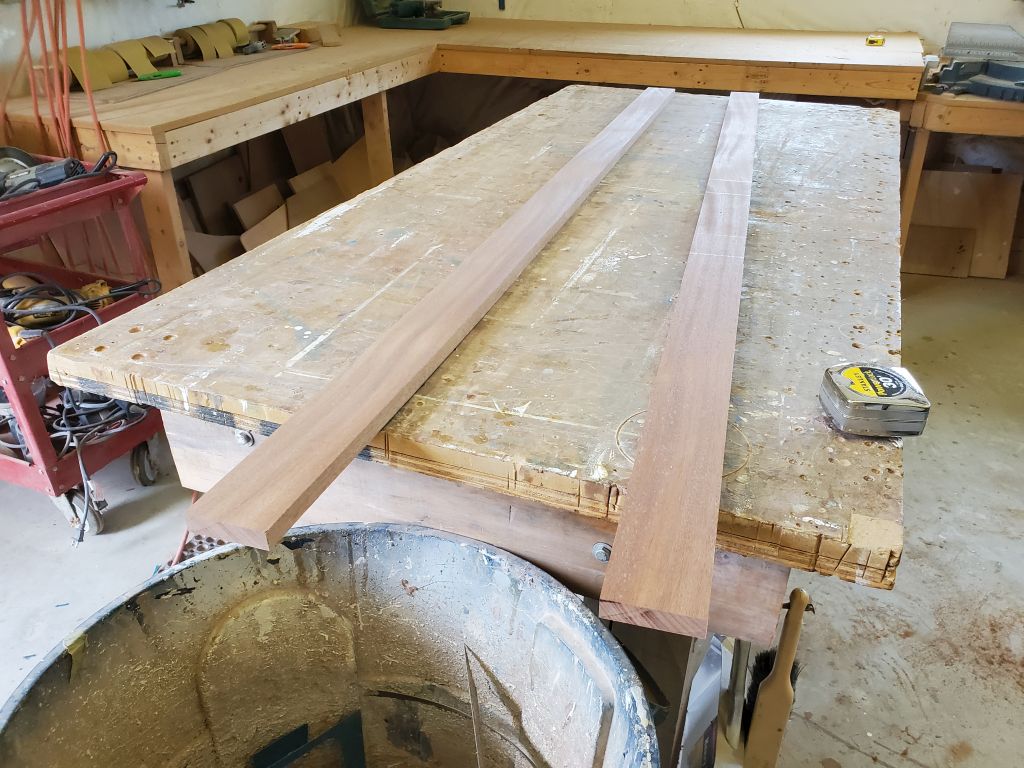
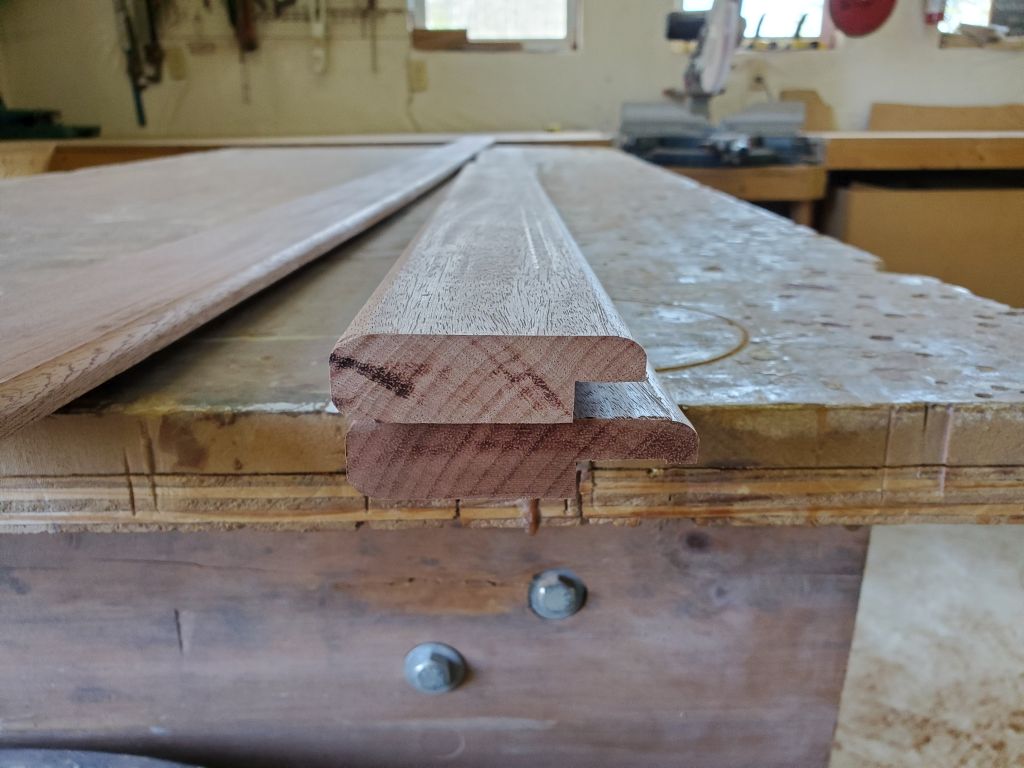
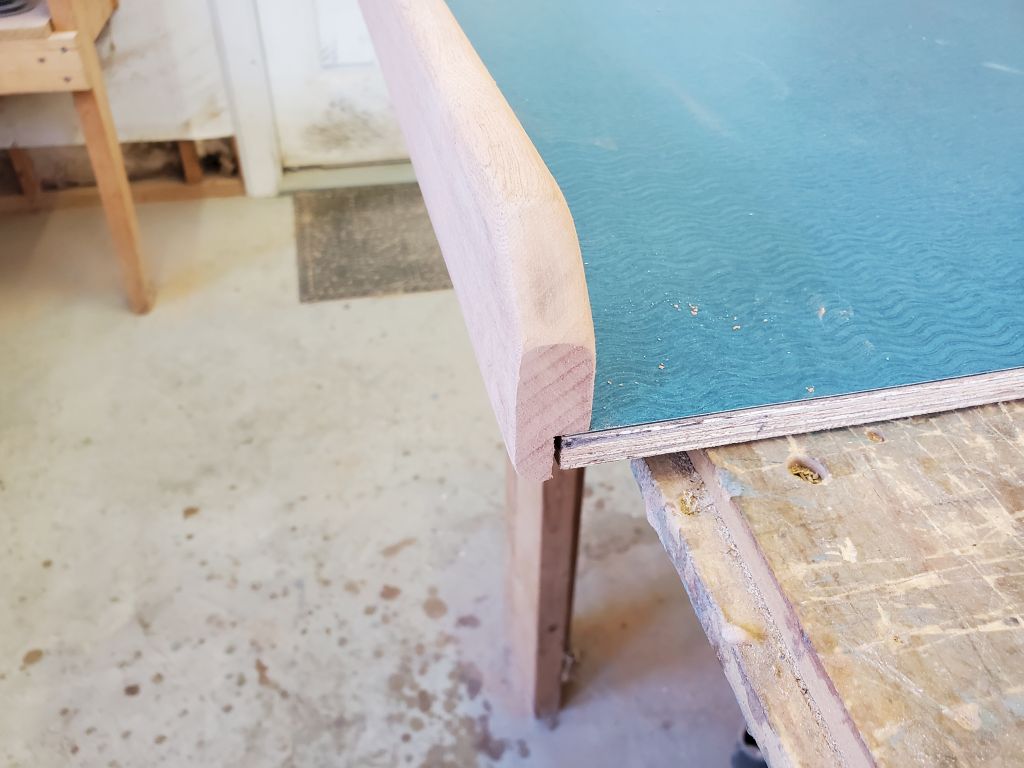
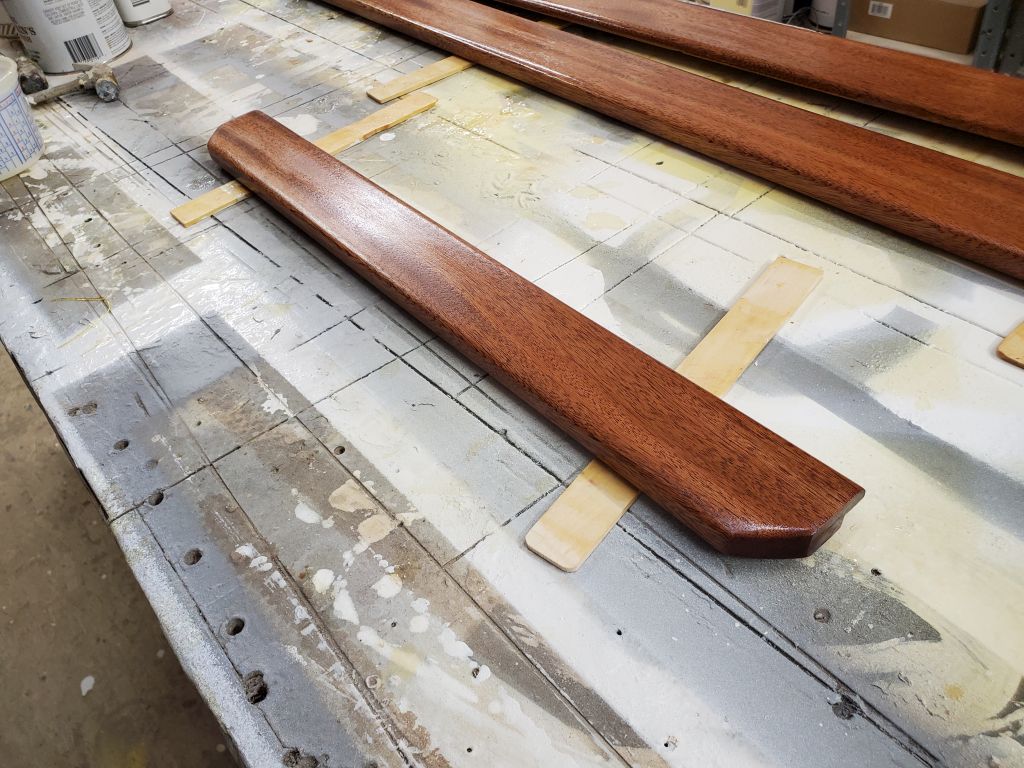
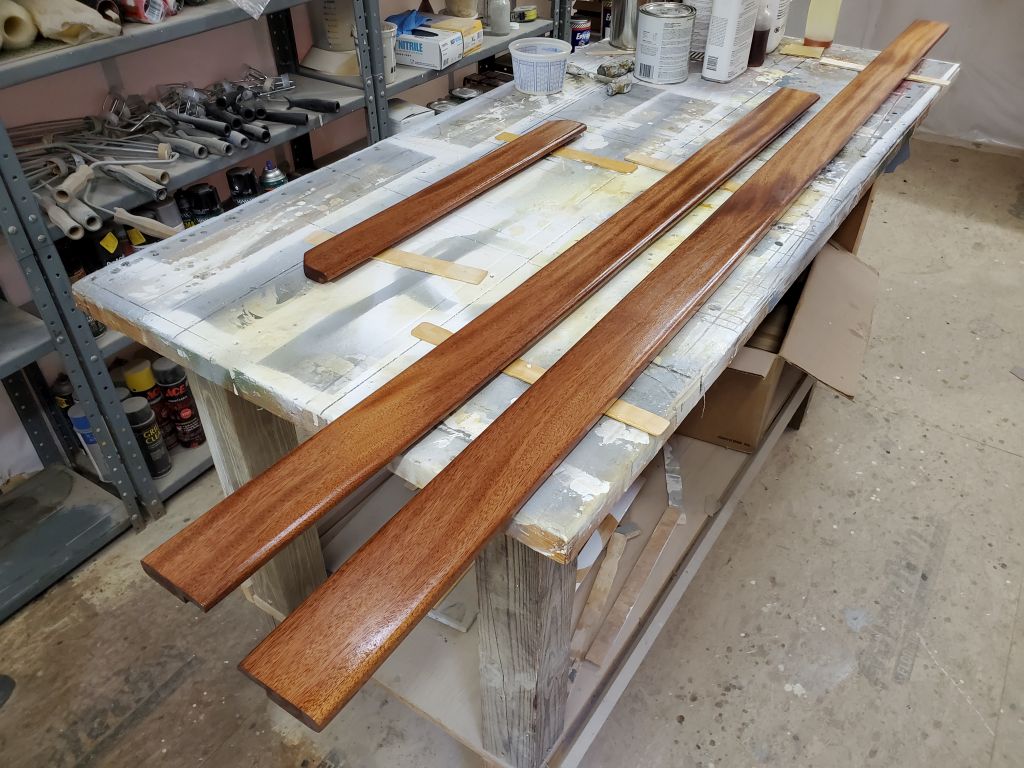
To help overcome my error on the engine room countertop, I volunteered to make up some trim to cover that edge, and, at the same time, for the remainder of the galley as well. After agreeing with the owner on a profile for the trim, I milled 8/4 sipo into two planks 3″ wide and just over 3/4″ thick, then planed them down to their final 3/4″ thickness. To create the fiddle profile, I rabbetted out a 1″ wide by 3/8″ deep section at the bottom of the trim, which would overlap the countertop and hang down the front edge to cover the plywood, then milled a roundover on the remaining three edges. For the engine room countertop itself, I cut off a 2′ long section, then slightly shortened the overhang at the front edge so the trim just covered the plywood, or about 9/16″ rather than the 1″ overhang on the remaining pieces.
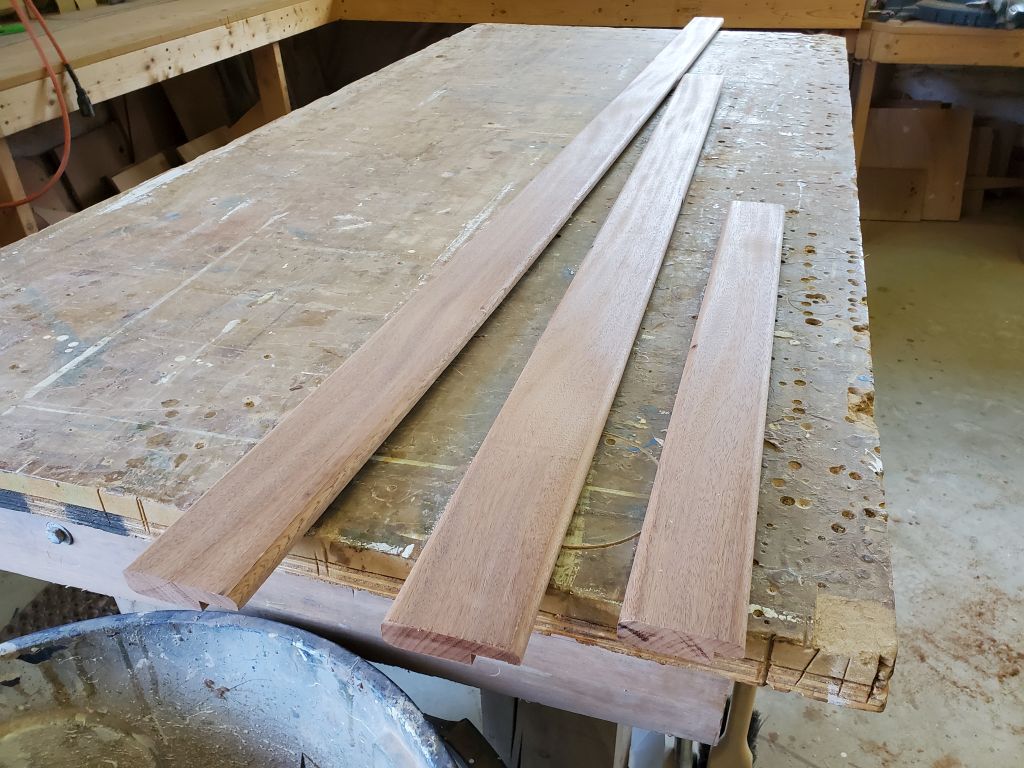
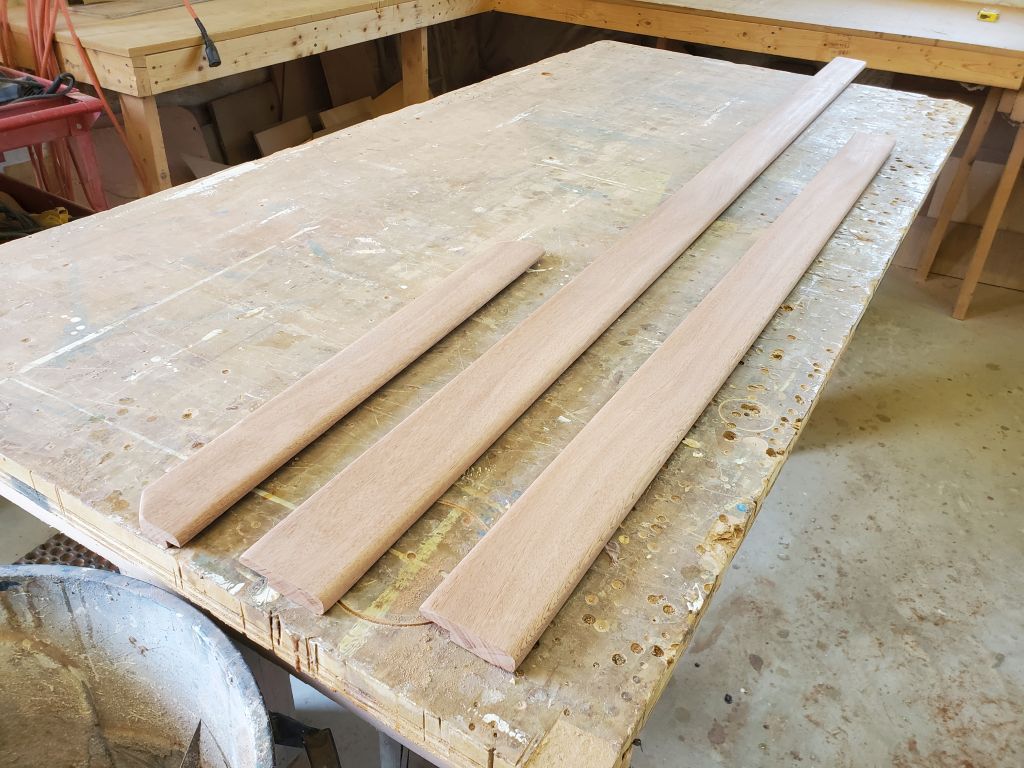
Afterwards, I sanded the new trim smooth, and cut the engine room piece to the proper length, with angled corners since this countertop piece would be removable and the trim couldn’t properly conjoin its counterparts on the sides, once fitted. Then, I applied a sealer coat of varnish to all sides of all pieces. The owner would later do the final fitting and finishing of the fiddles on the fixed countertop sections, though I planned to complete the engine room piece myself.

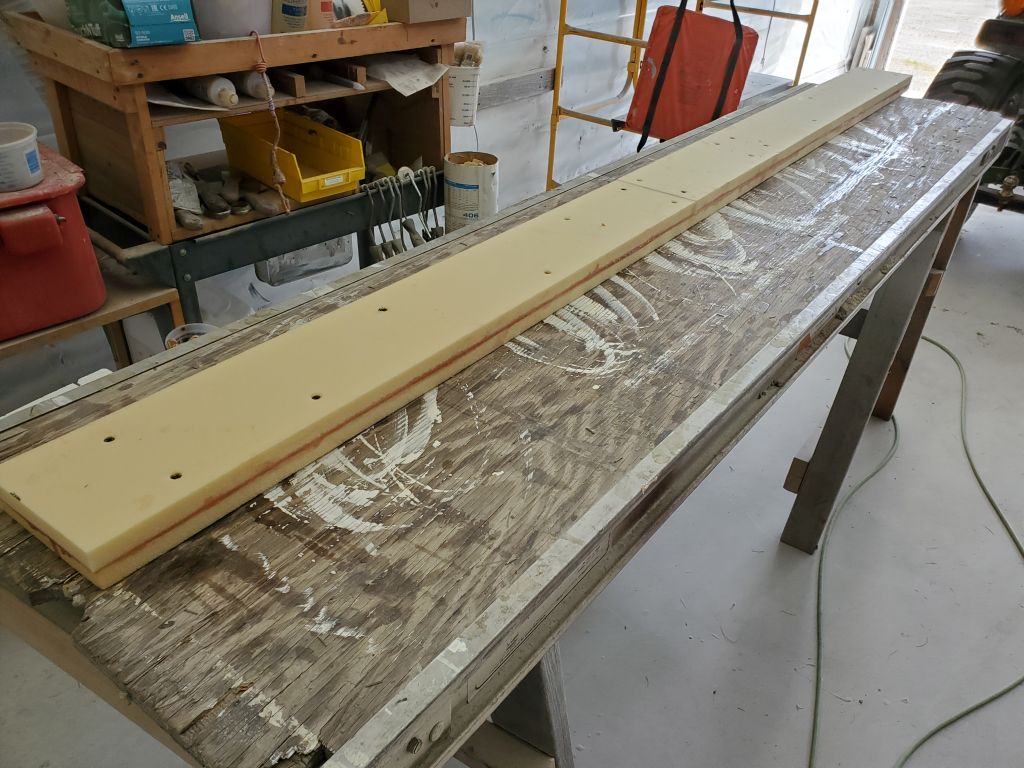
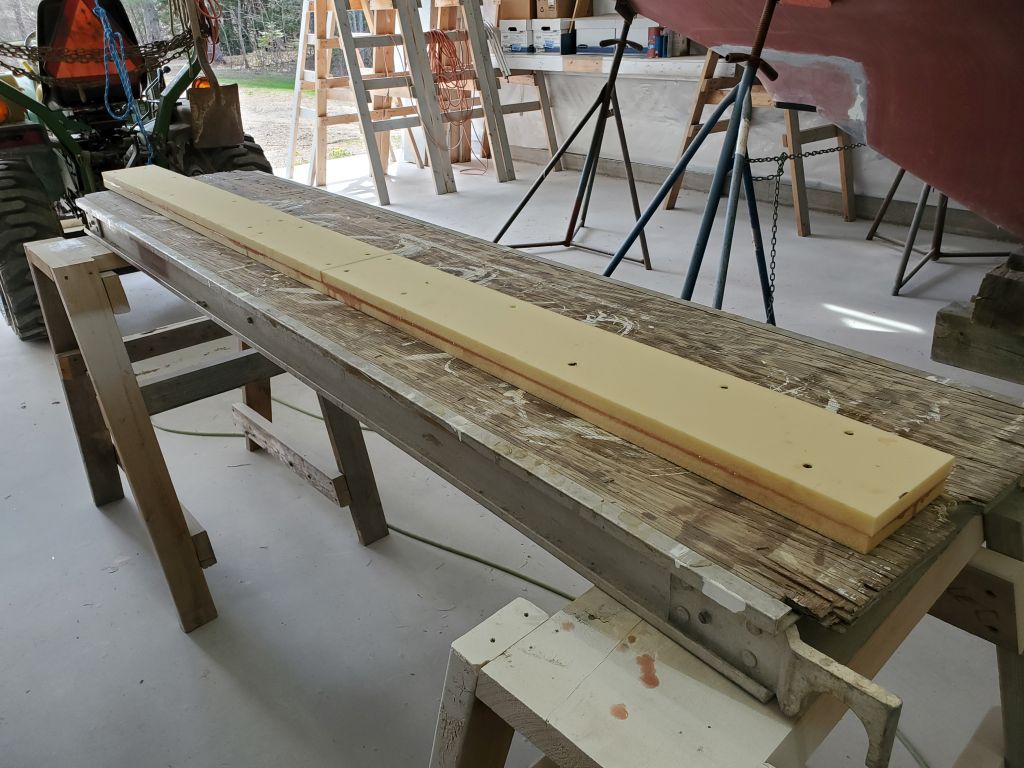
One of the “if there’s time” projects on my dwindling list was to install shelf supports running forward from the galley on each side of the hull, much like the old, original shelf supports further up the hull (now obsolete). Since I’d be away from the shop for the last couple days of this week, and with only a few work days remaining for me on the project (a couple of which would be dedicated to reinstalling the ports and deadlights that the owner had been cleaning up and preparing), I thought I still might have time to install the supports, so to that end I made up a core blank from some scrap 48″ x 6″ x 3/4″ Corecell foam I had on hand, overlapping pieces and seams, and gluing them together with epoxy and temporary screws to create an oversized blank roughly 6″ wide and 1-1/2″ thick, and 7′ in length. From this, I planned to mill the roughly square pieces required to form the supports (and thereafter glassed over). To complete this project, I’d need to lay out the rough position of the supports, grind off the paint on the hull, mill the cores to size and shape, epoxy them to the hull, then glass over to fully secure.
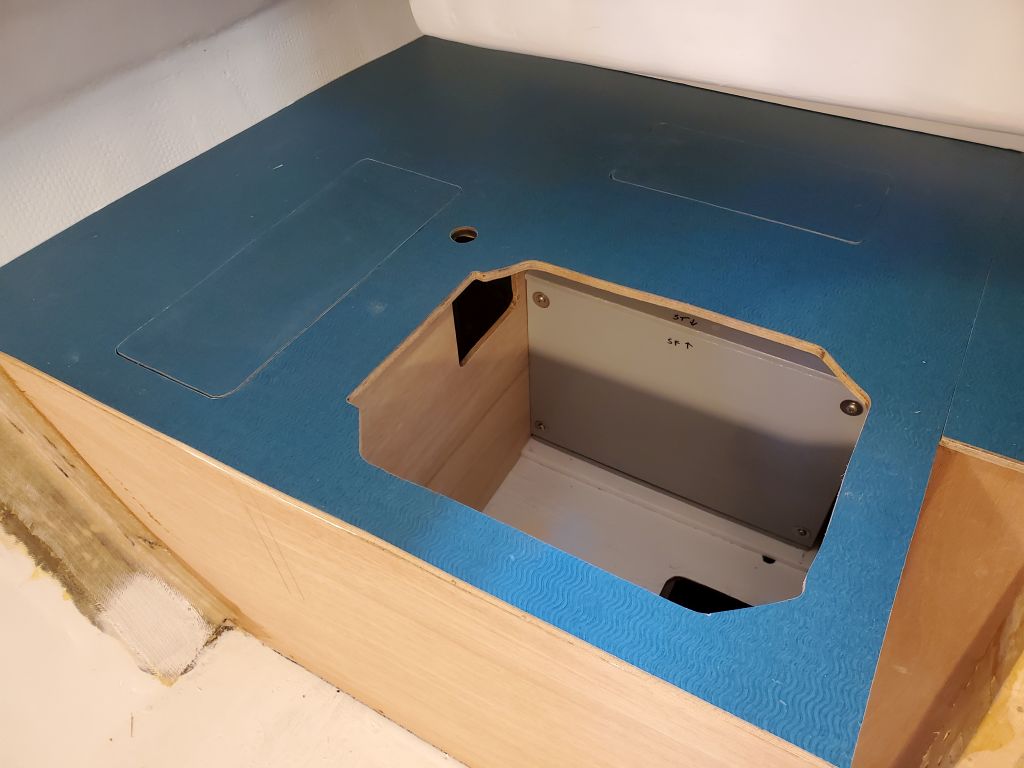
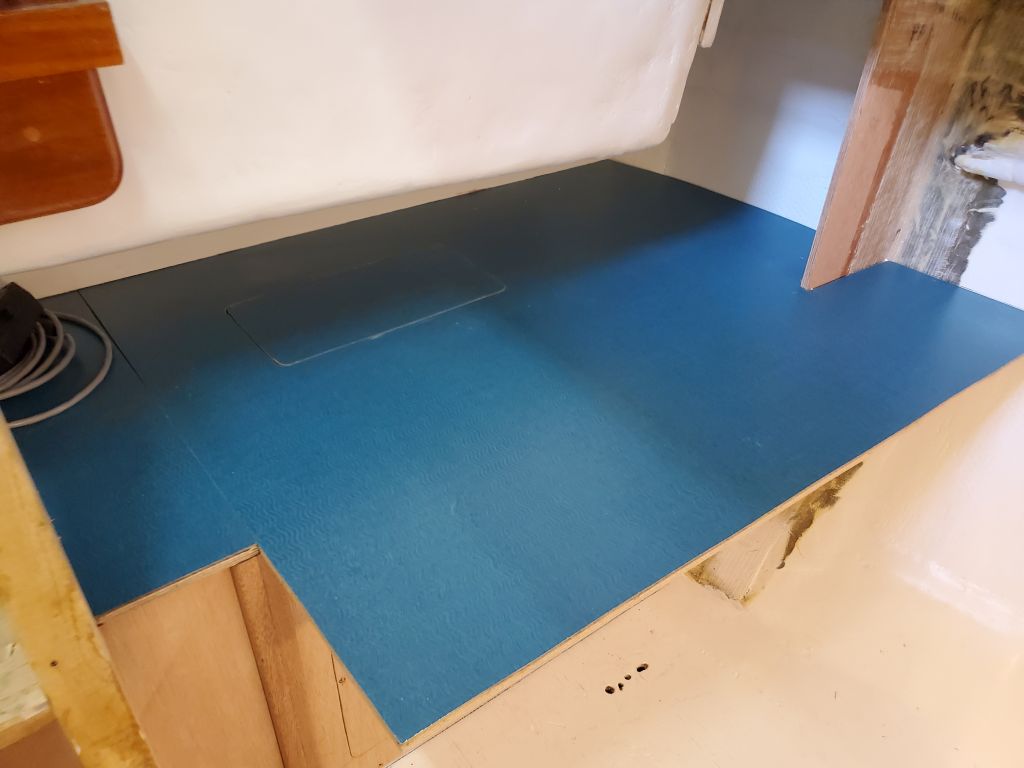
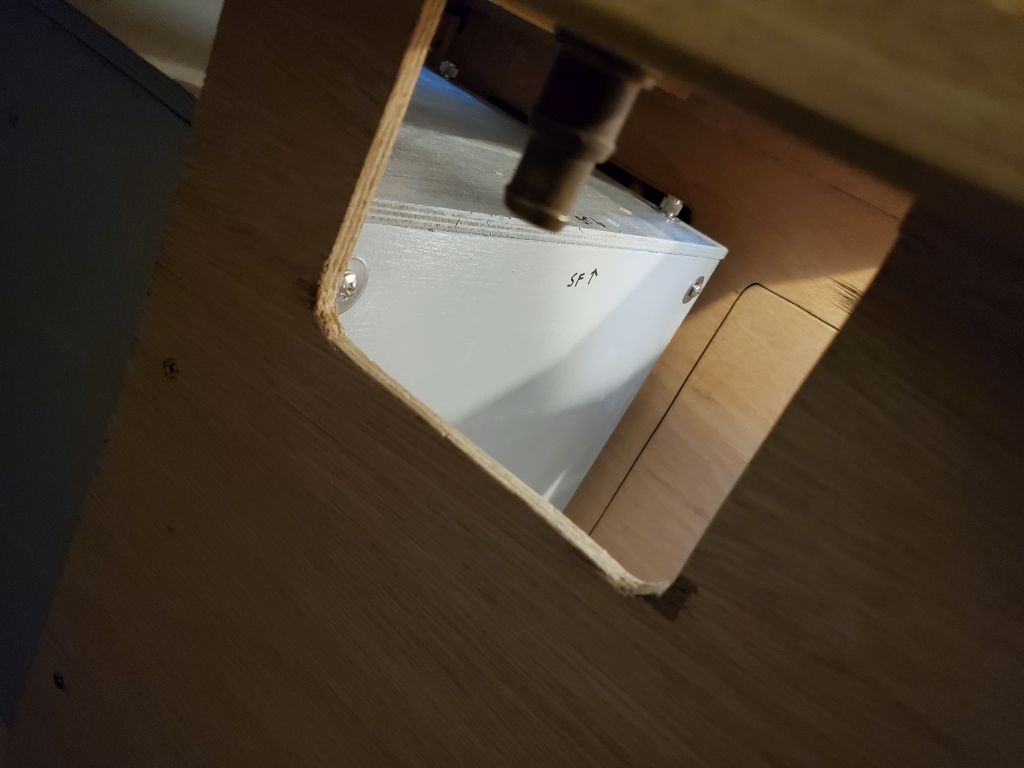
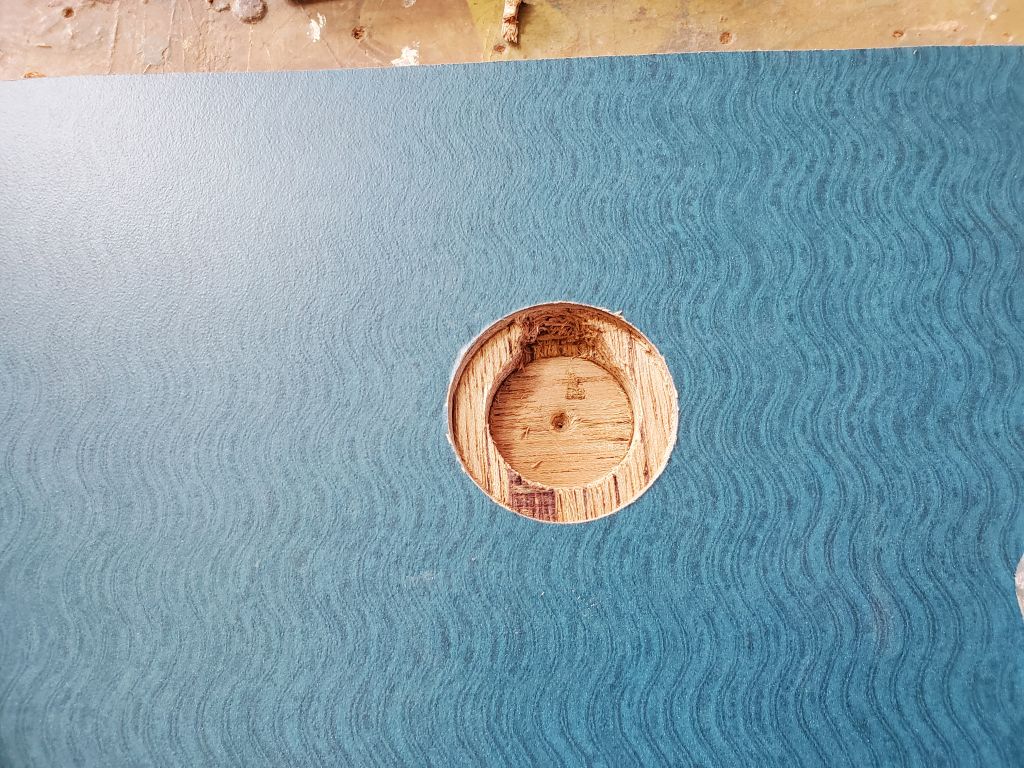
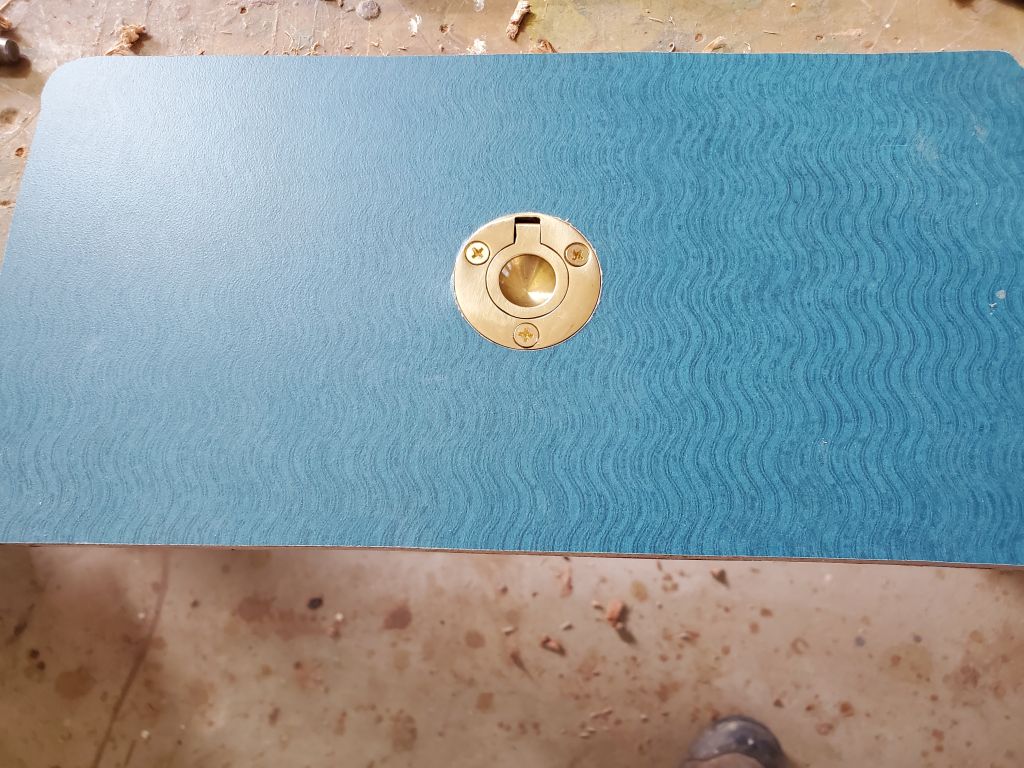
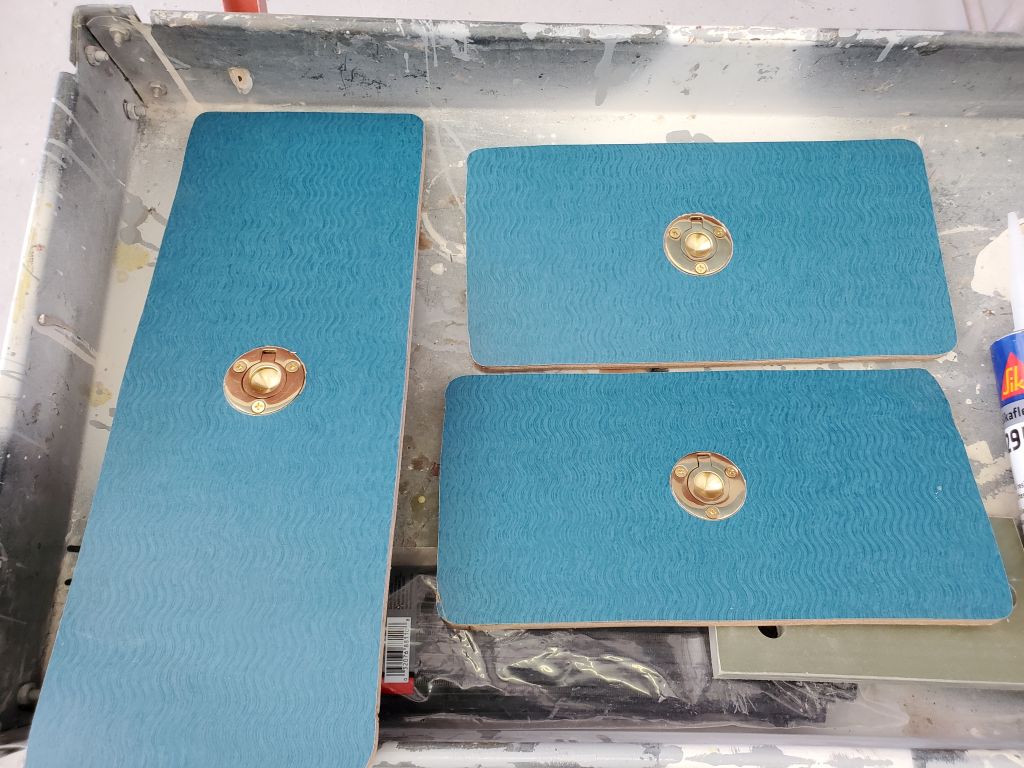
Later in the afternoon, the ring pulls I’d ordered for the galley hatches arrived, so I could finish that up. These ring pulls required a round recess, which was more straightforward to create than a square one, particularly in high-pressure laminate.

Total time billed on this job today: 3.25 hours (plus 2.25 unbilled hours)
0600 Weather Observation: 42°, mainly cloudy Forecast for the day: Partly sunny, chance of showers, 64°