


September 14, 2015
Salty 1
Although work on Salty wasn’t scheduled to begin till sometime in late spring or summer 2016, one of the significant portions of the project was to assess and rebuild, as needed, the existing Universal diesel engine. The owner had been in contact with a rebuild shop, and rather than wait till the project began many months later, I wanted to get the engine on the ground and to the rebuild shop sooner than later.
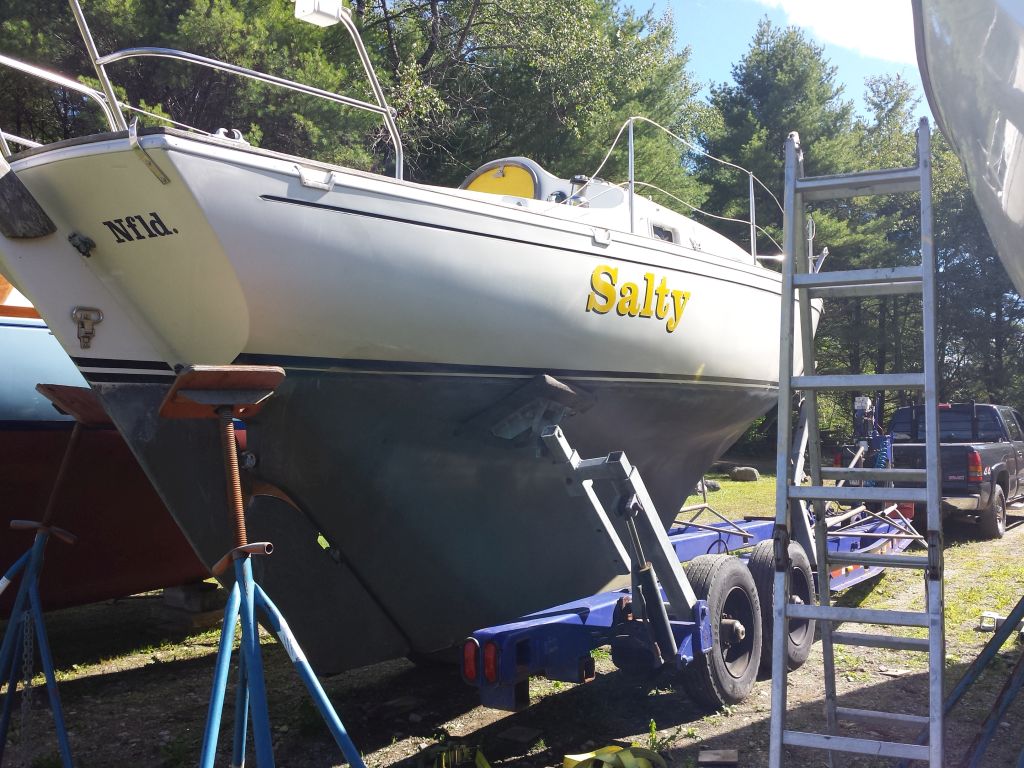
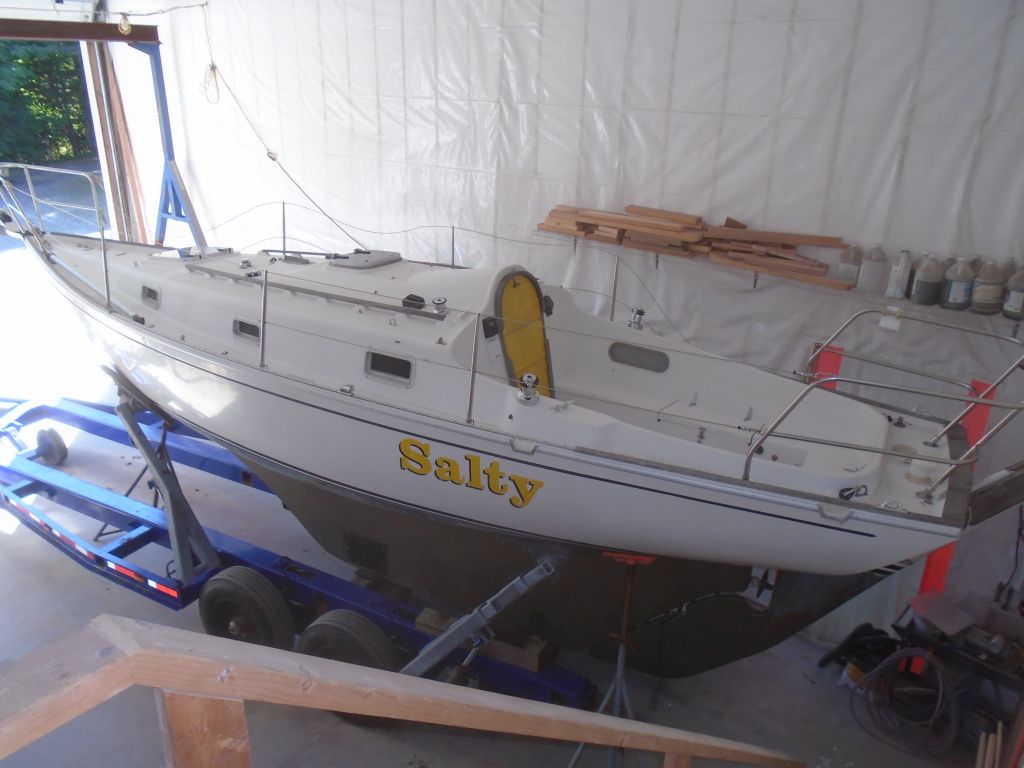
So, taking advantage of the natural shift between two other projects, I decided to work on removing the engine, and to that end I moved the boat into the shop temporarily. I shuffled another boat (on its own trailer) into the main work bay for the moment, so I could put Salty in the bay containing my gantry crane. I didn’t even take her off the trailer, as her time in the shop would be short and she’d then be going back outside for storage. It took a while to pick the boat up on my trailer, since the hauler who delivered here here a week or so earlier had blocked the keel oddly, obviating installation of my crossbeam; I had to temporarily lift the boat with some straps so I could reblock the keel and leave room for the forward beam.

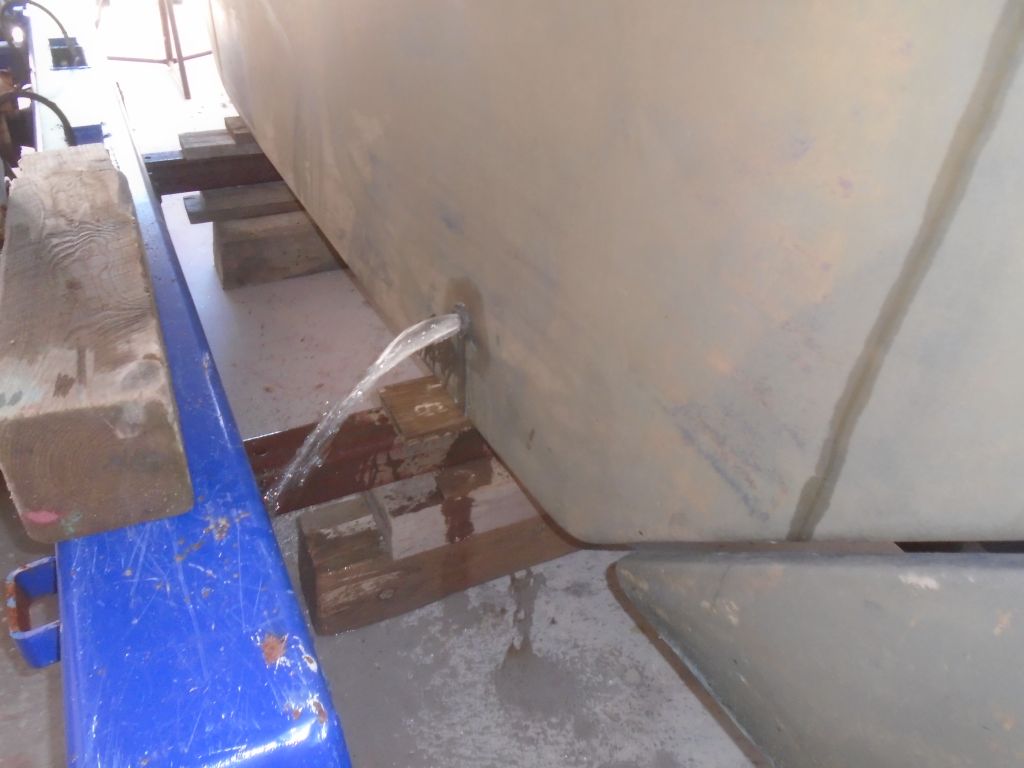
The first thing I did was to remove the bilge plug, which I’d not even noticed before–and immediately wished I’d done this outdoors, but alas. It was neither the first nor almost certainly the last time that I’d poured oily water all over the shop.
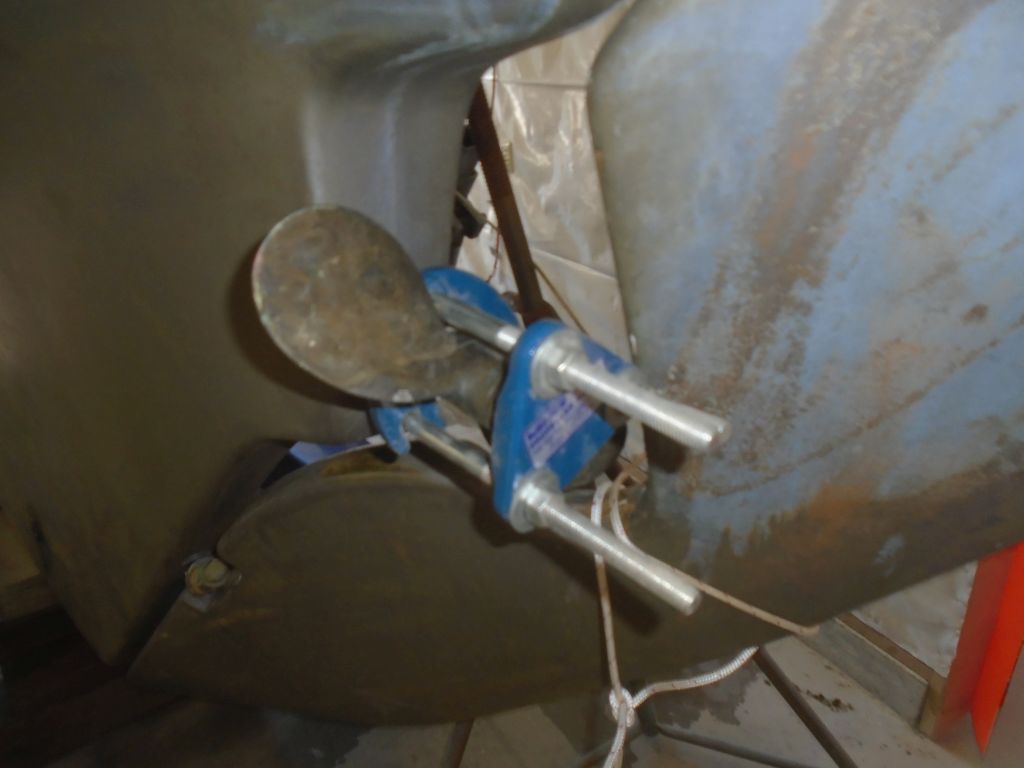
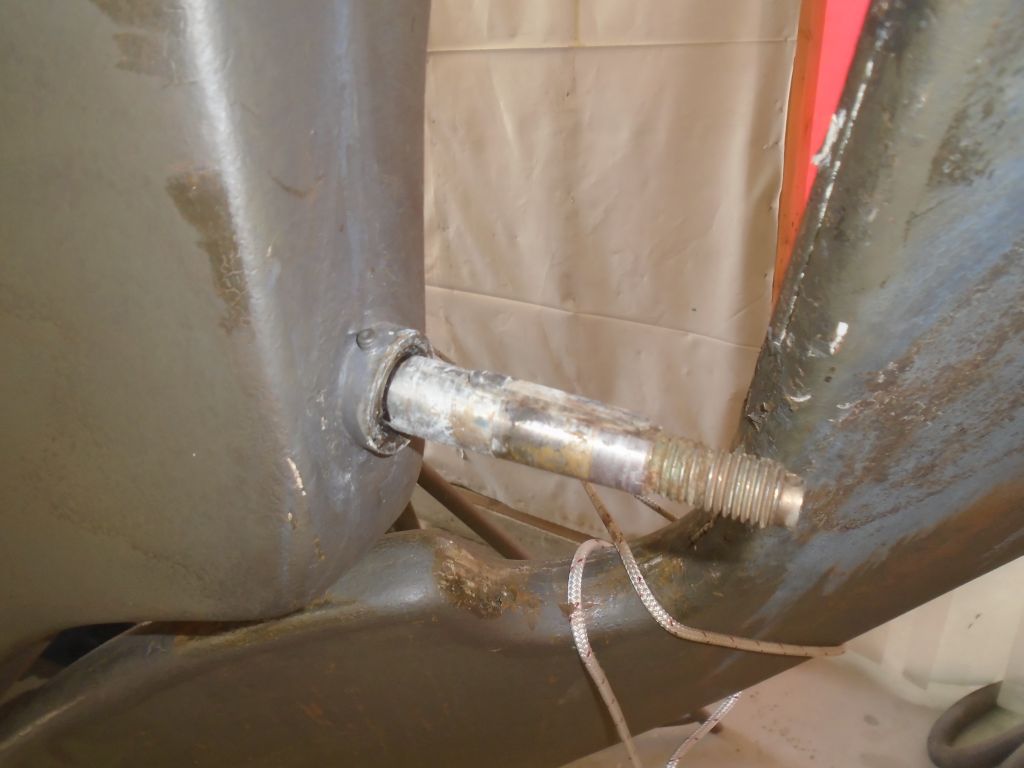
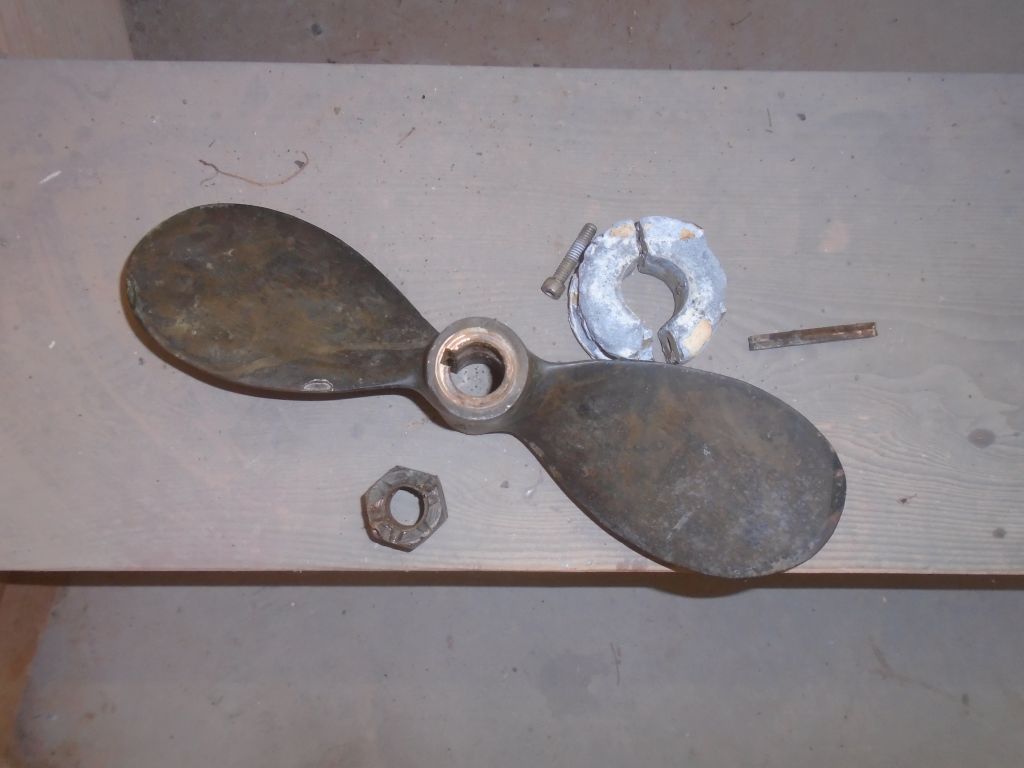
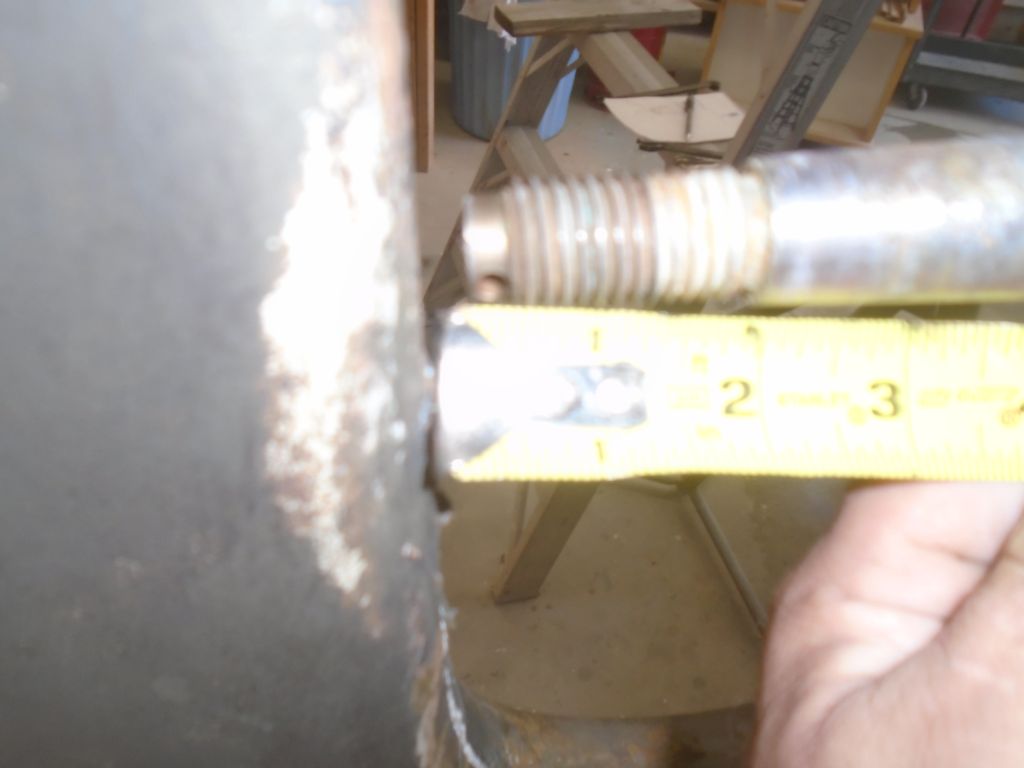
I began by removing the propeller, and noting various aspects of its original installation for later reference (mainly shaft clearance to the rudder (5/16″) and how much shaft was exposed behind the Cutless bearing (5″) The propeller was a 2-blade 12RH9. With my puller, the propeller came off without issue, and I set it and its component parts aside.


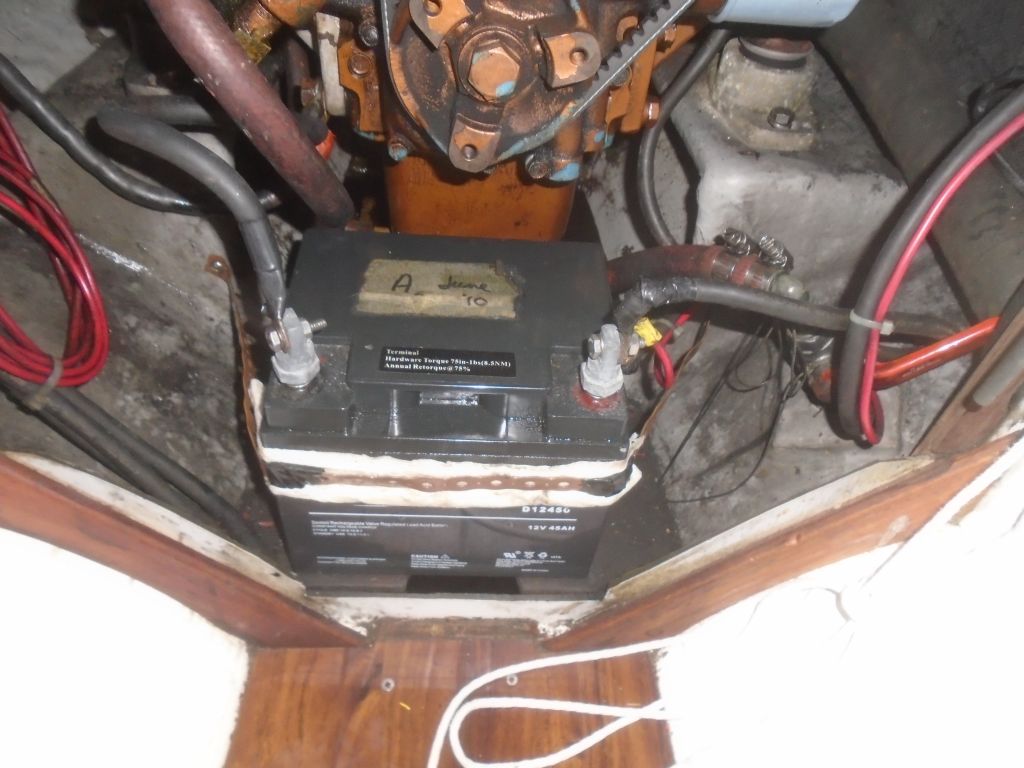
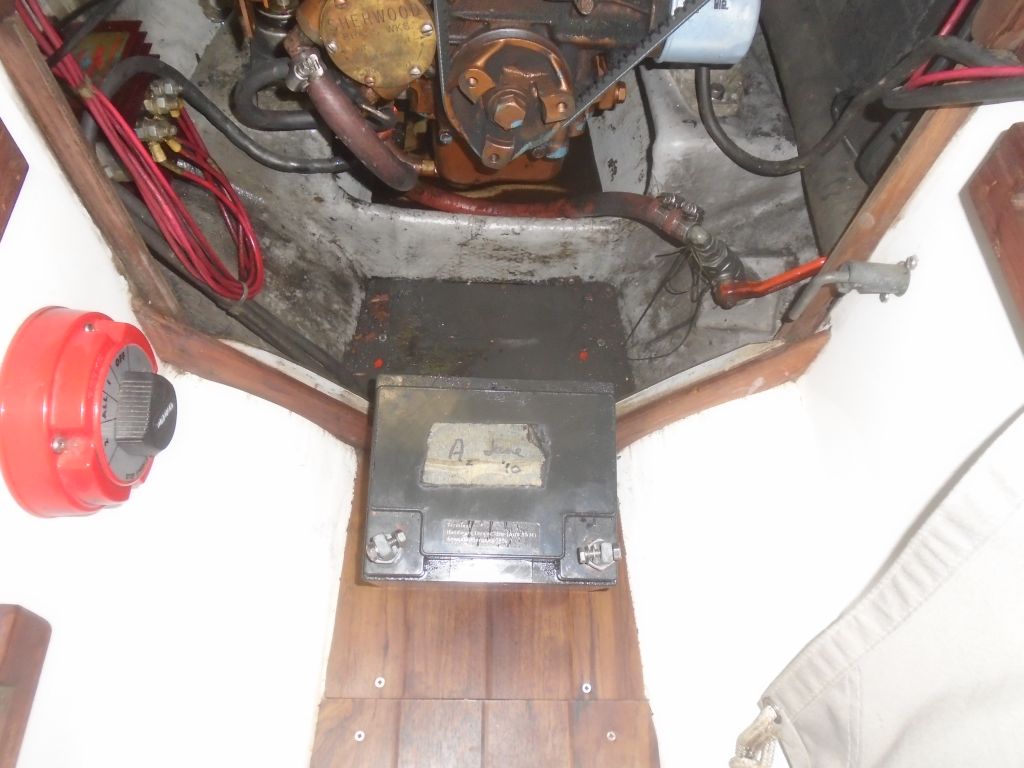
In the cockpit, I removed the cockpit sole hatch–essentially the entire sole–which provided access to the engine room beneath. I took a number of pictures of the original installation for reference purposes.
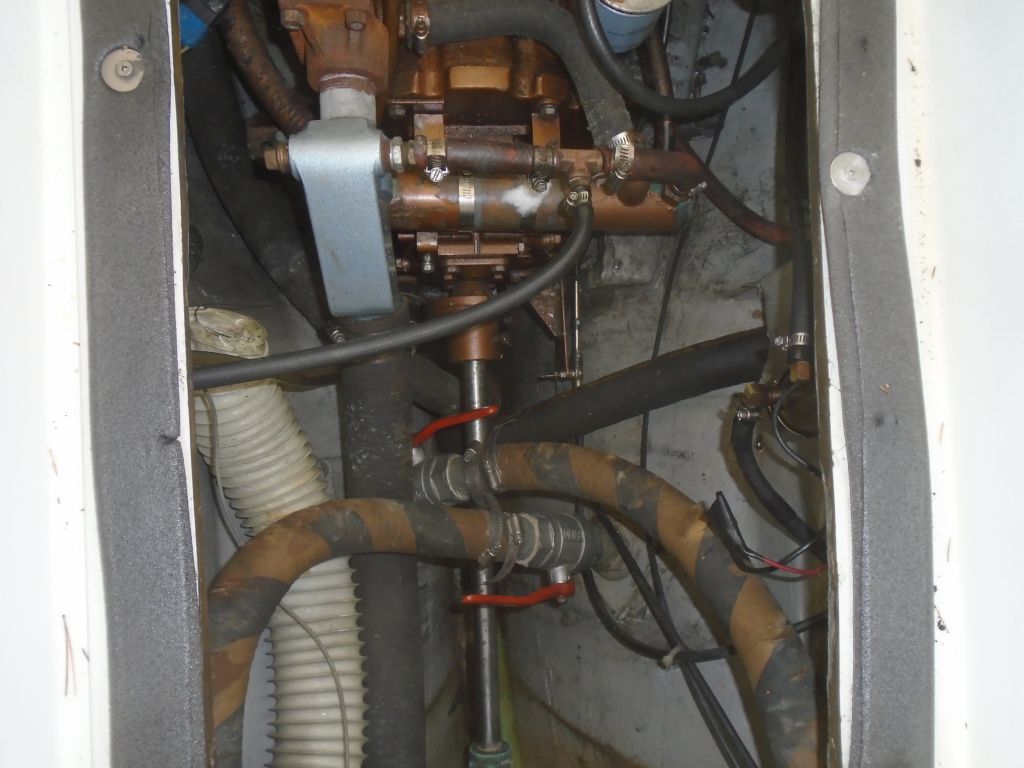
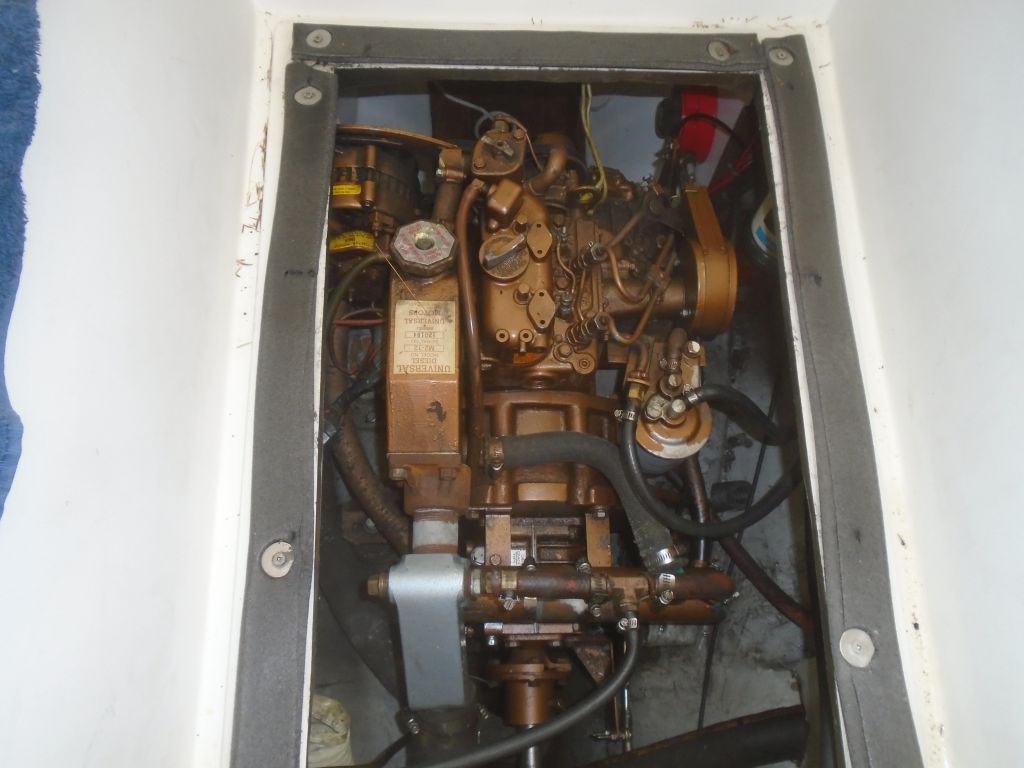
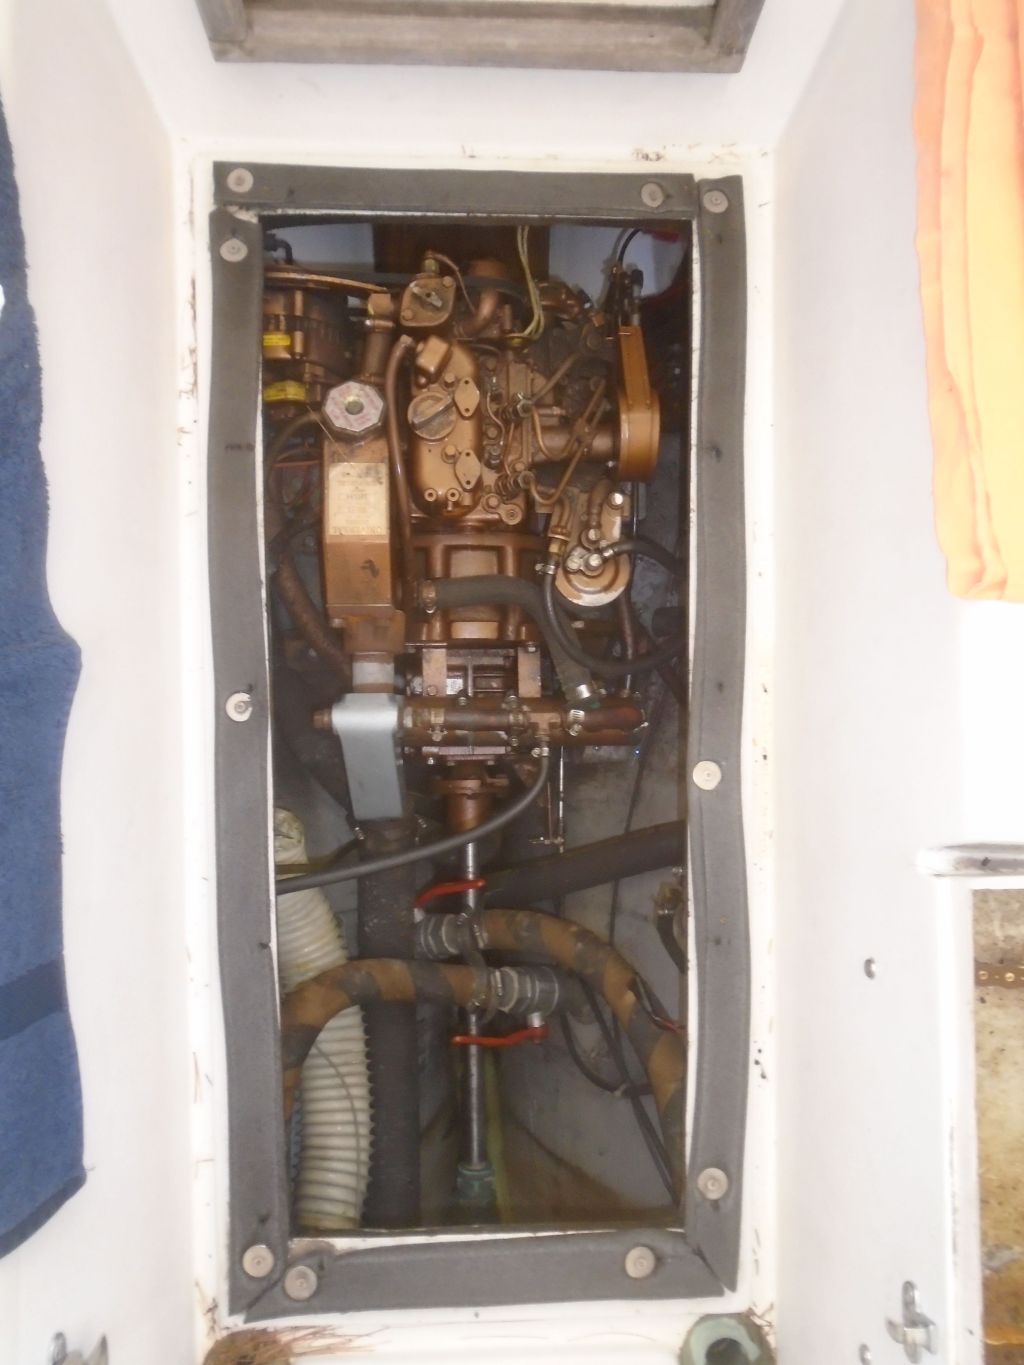
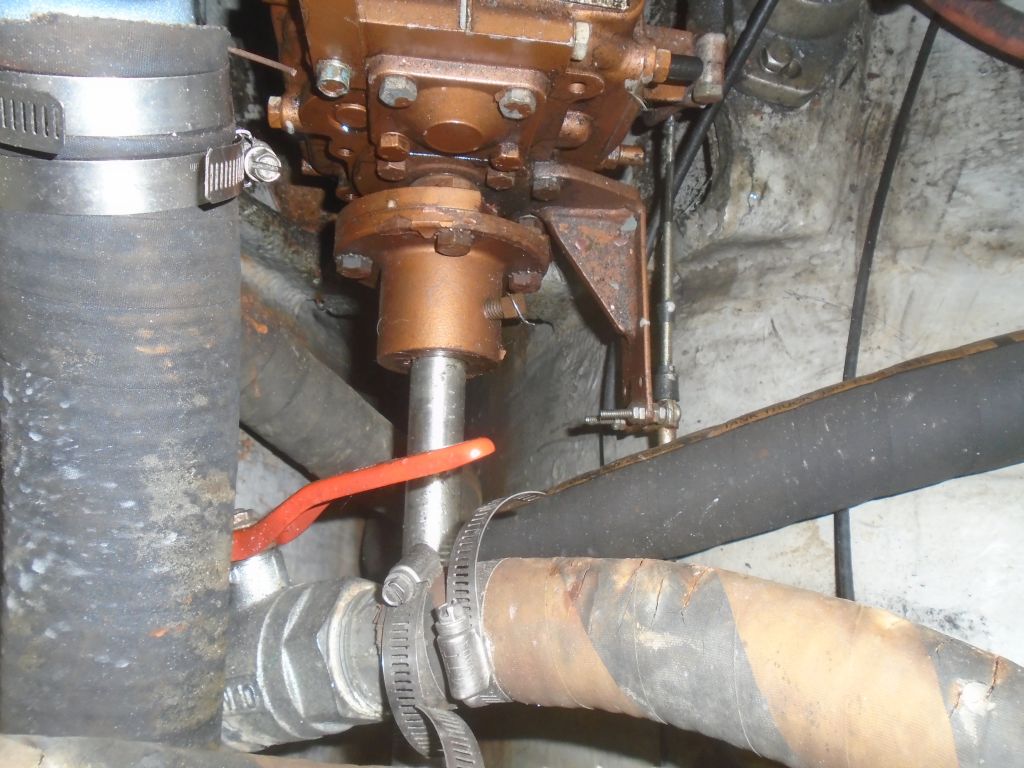
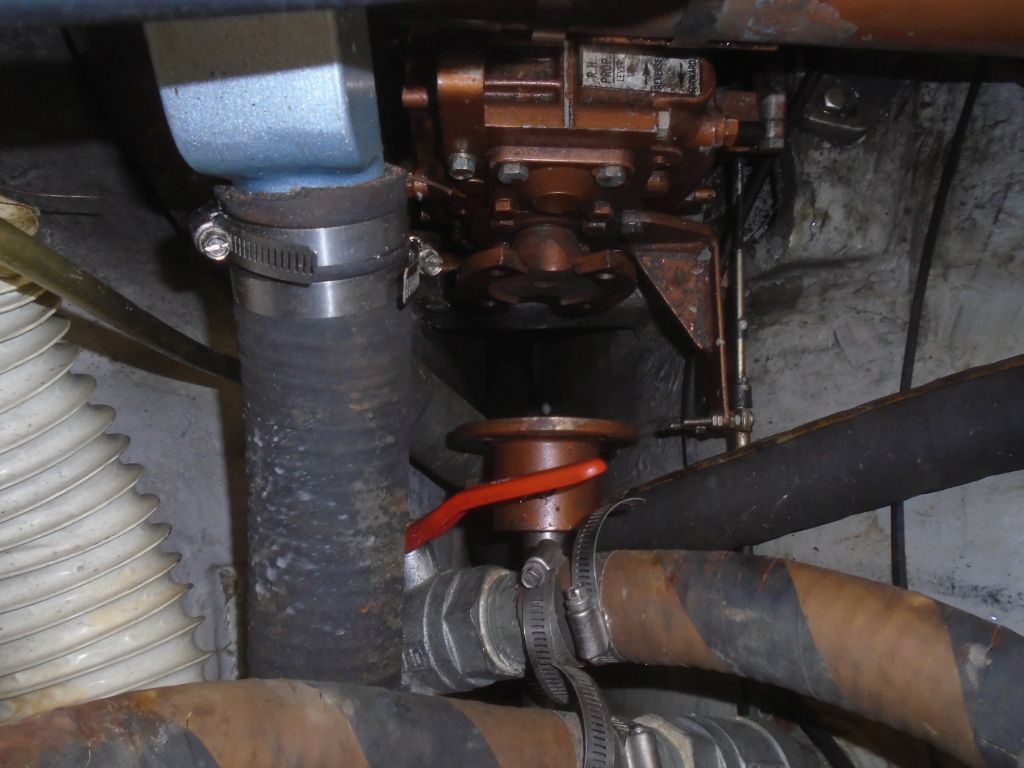
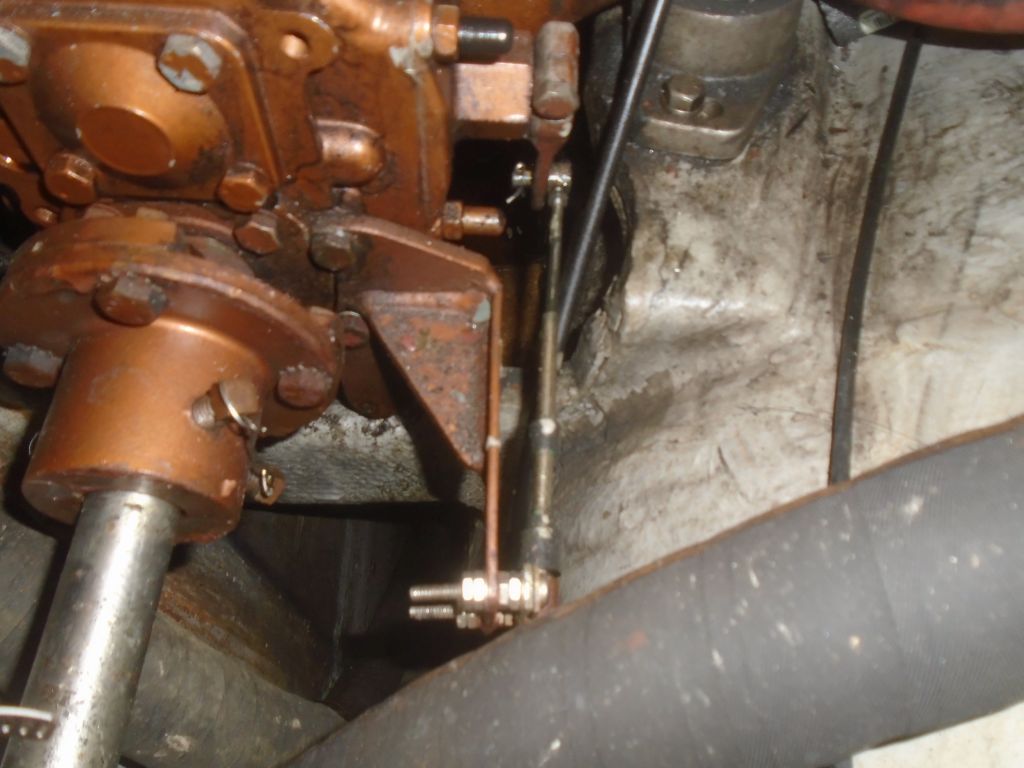
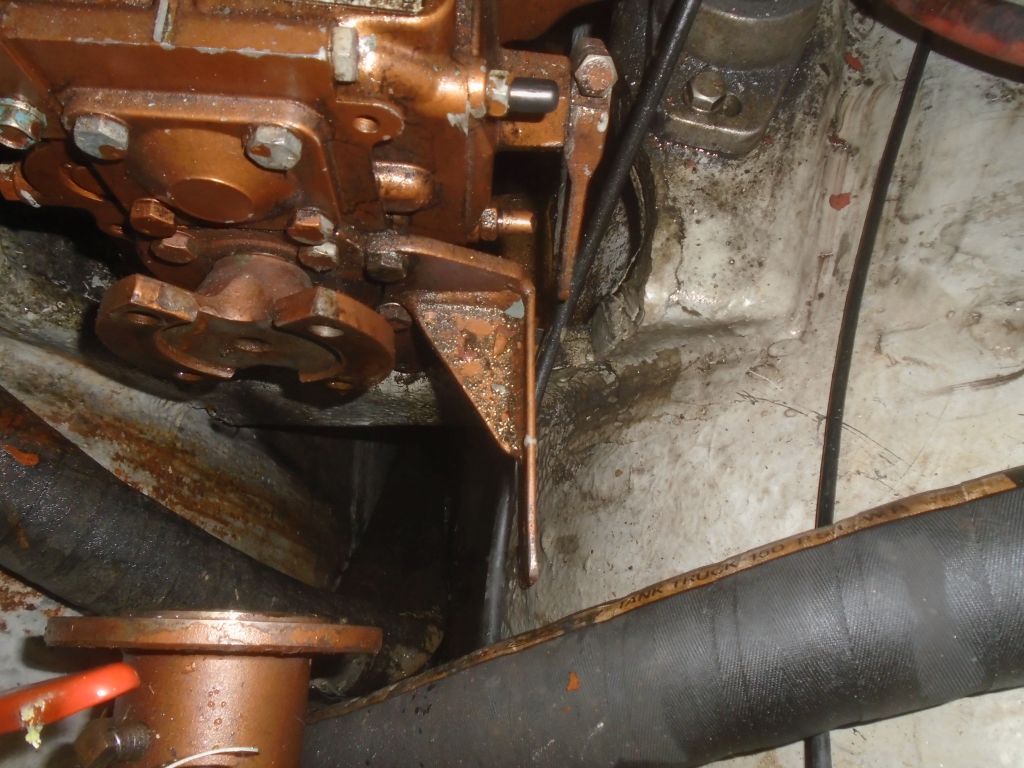
I started with the shaft and coupling, and unbolted the coupling from the engine. Other than the challenging access–top access like this seems at first like a great idea, till one realizes that when the hatch is gone there’s nowhere from which to work–the coupling bolts came off with ease, and I slid the shaft back enough to clear the engine. Once the engine was out, I’d pull the shaft out from inside.
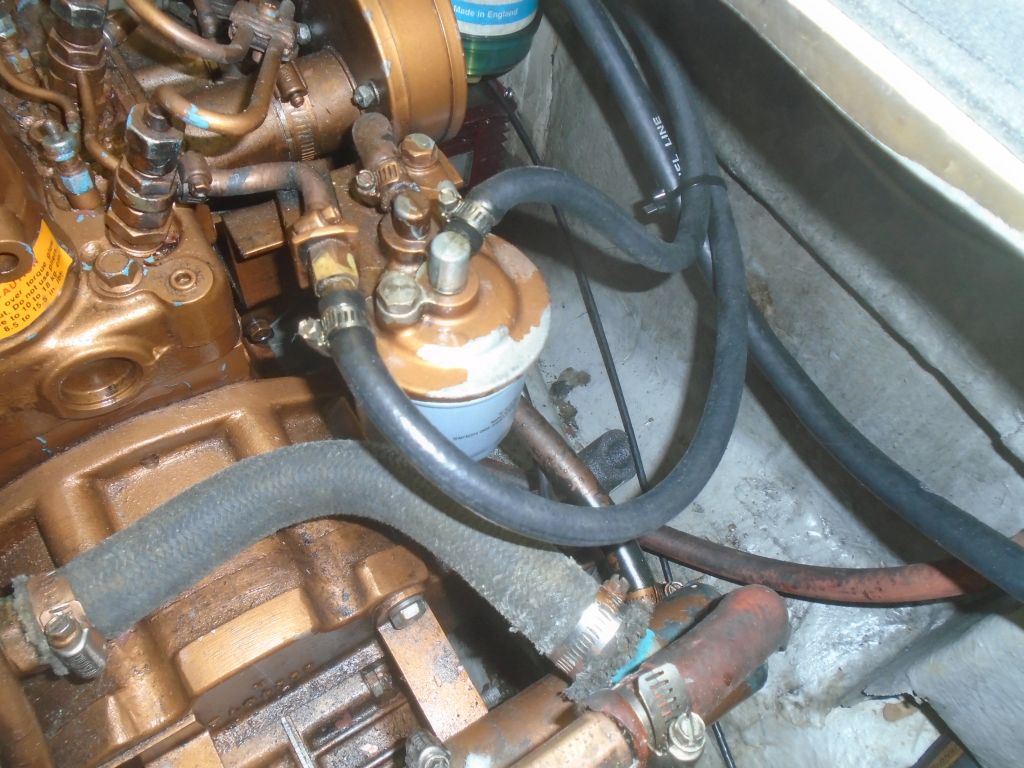
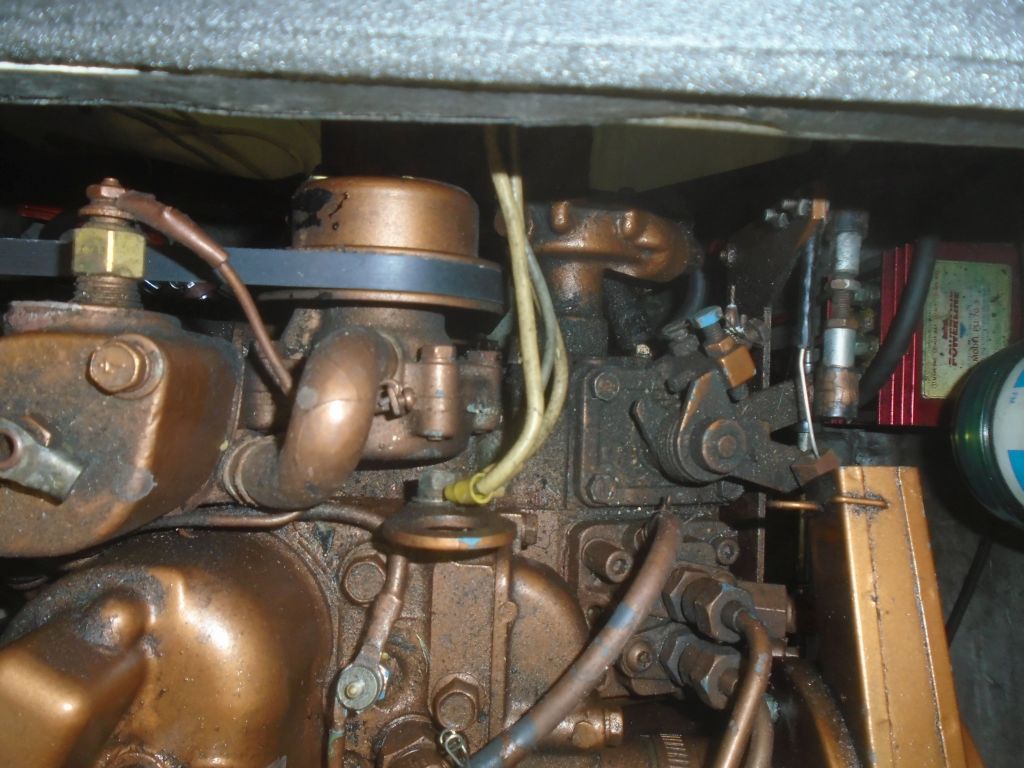
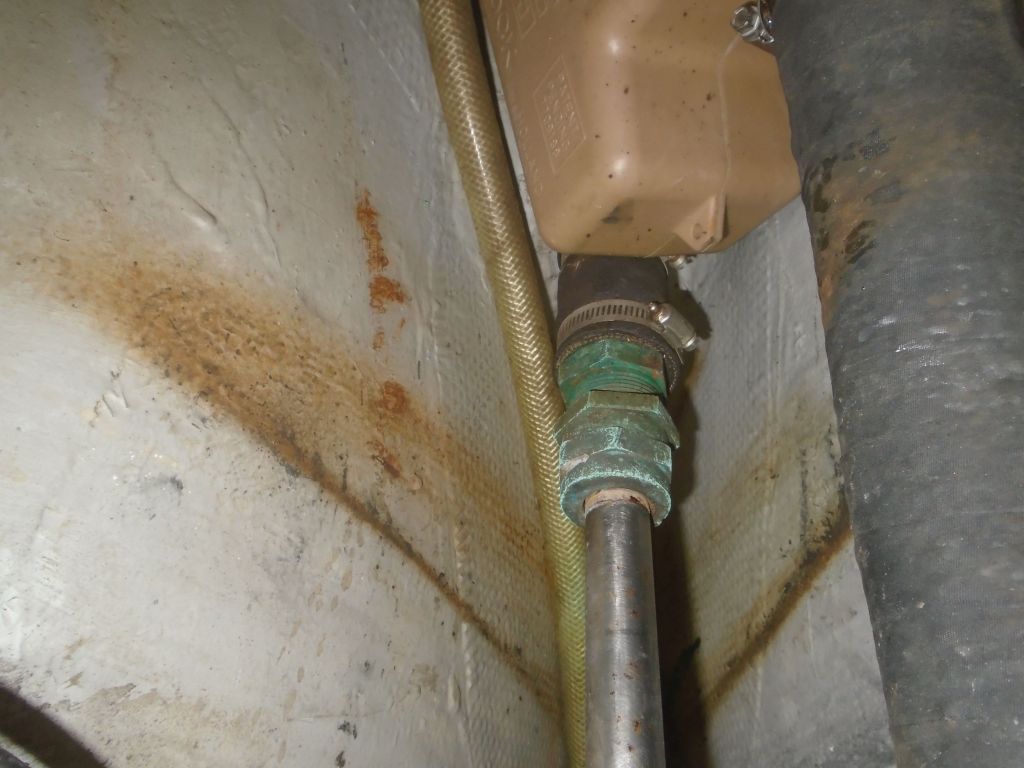
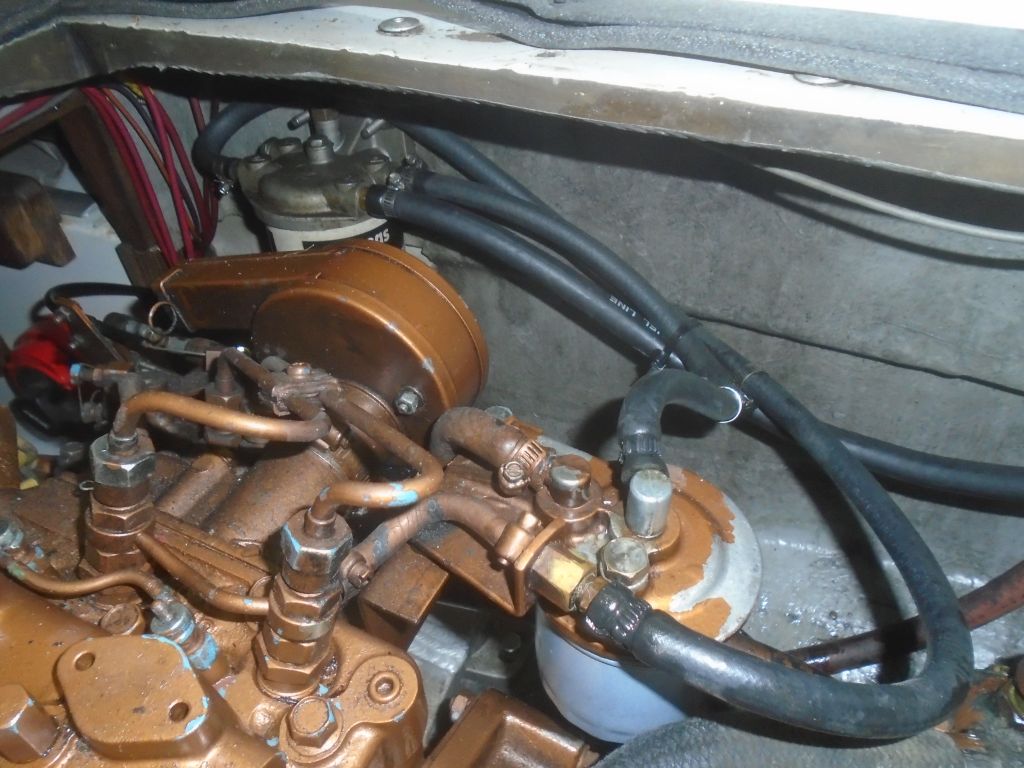
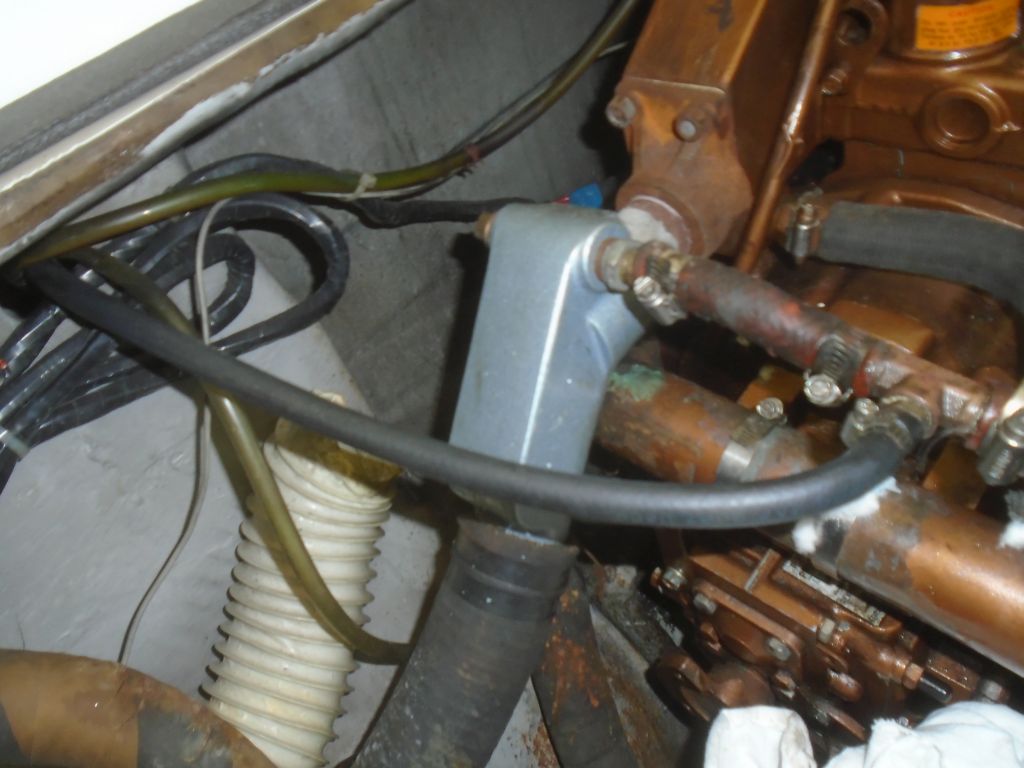
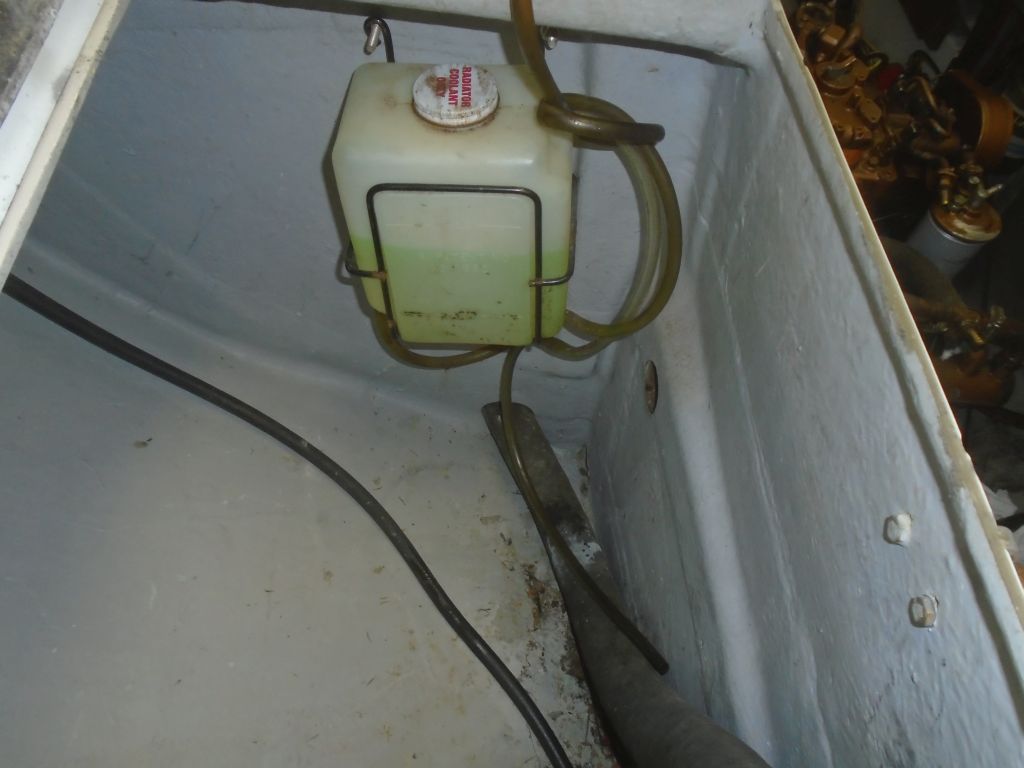
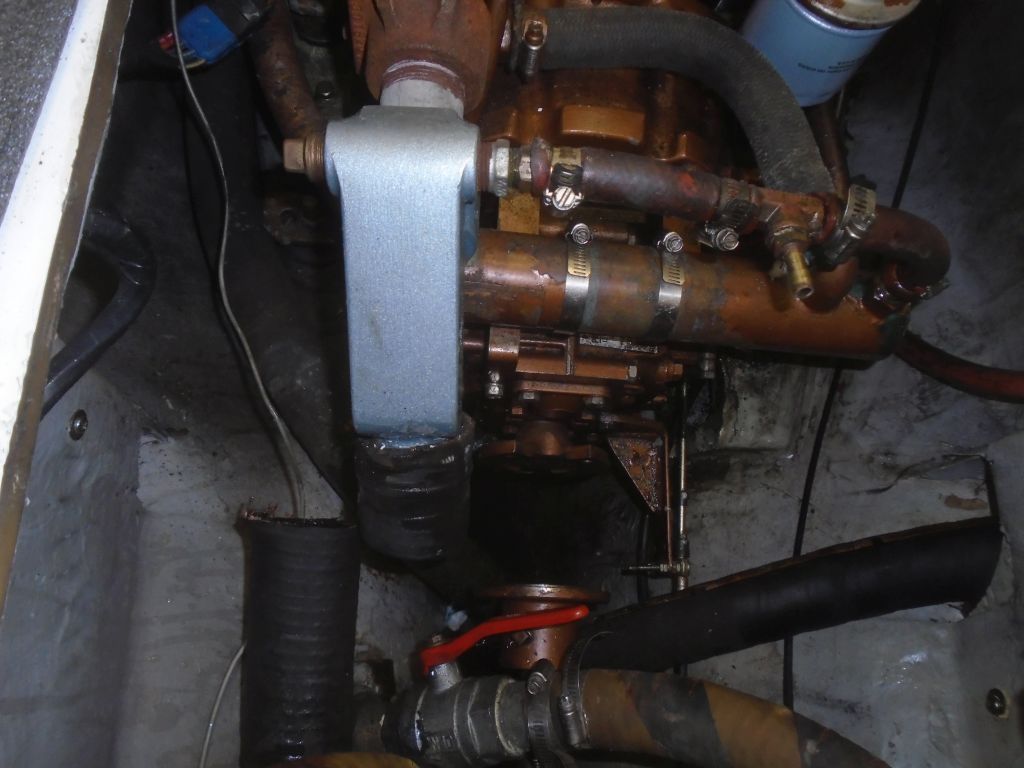
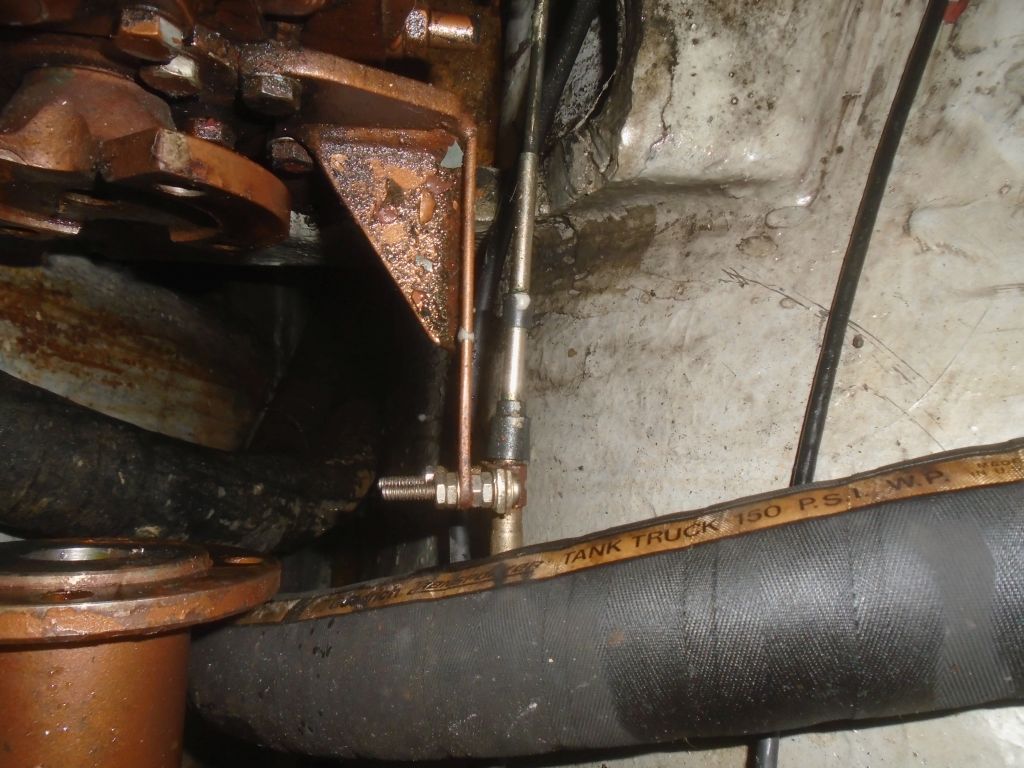
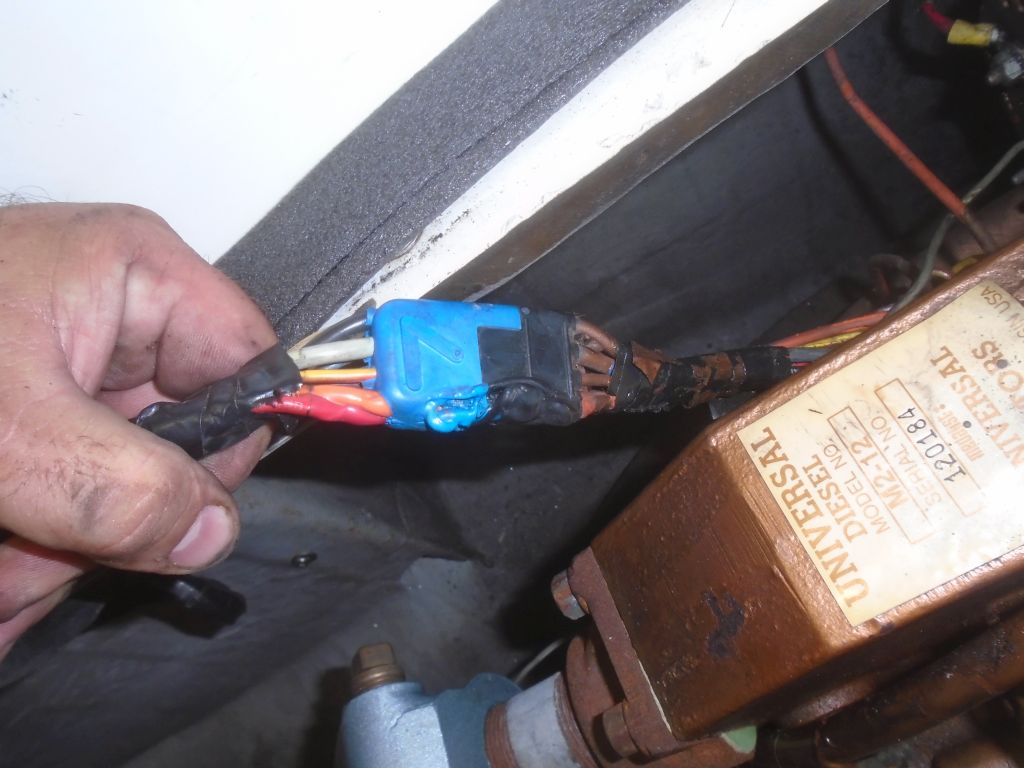
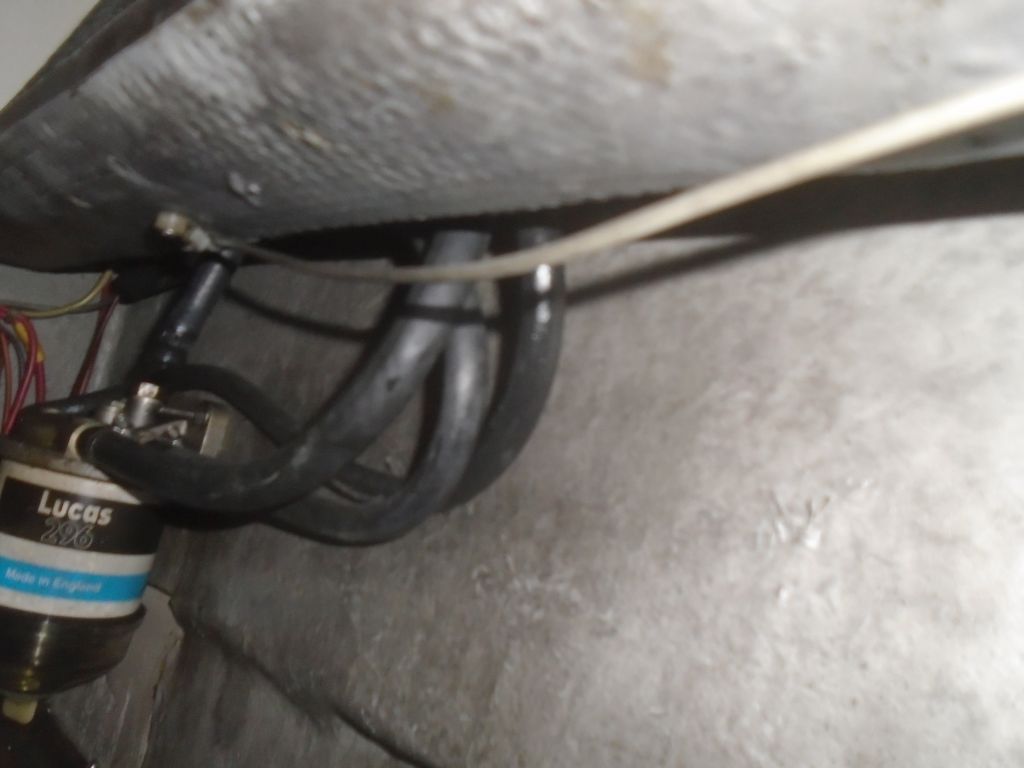
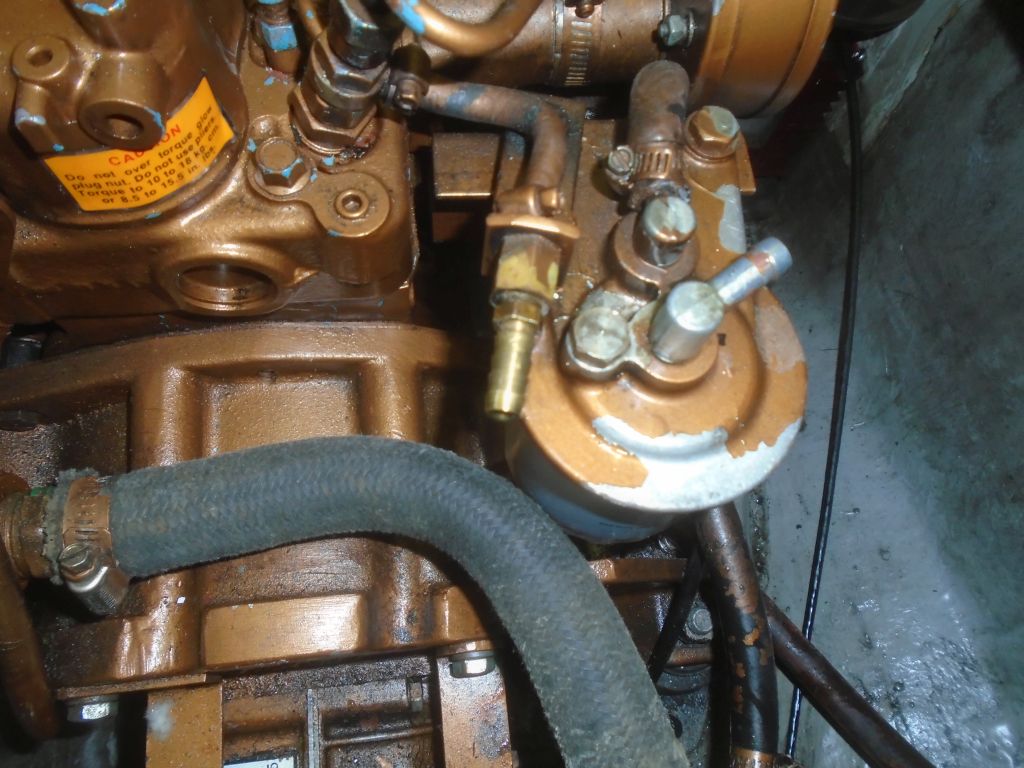
Continuing from the aft end, where access was most uncomfortable, I began to systematically disconnect what I needed to in order to remove the engine, documenting the original situations as I went. In this way, I removed the fuel lines, exhaust hose, raw water bypass, coolant overflow lines, engine wiring harness, and gearshift cable, all the things I could reach from the after end of the compartment. Then I removed the battery from the forward end.


This brought me to the end of the day; I’d continue on the ‘morrow.
Total Time Billed on This Job Today: 4.5 Hours